Twirly Dolly Skirt Tutorial
So there are a million other things that I should be doing today. My house is a wreck from having the kids home for 2 weeks and I’ve got some deadlines to meet for some sewing projects…
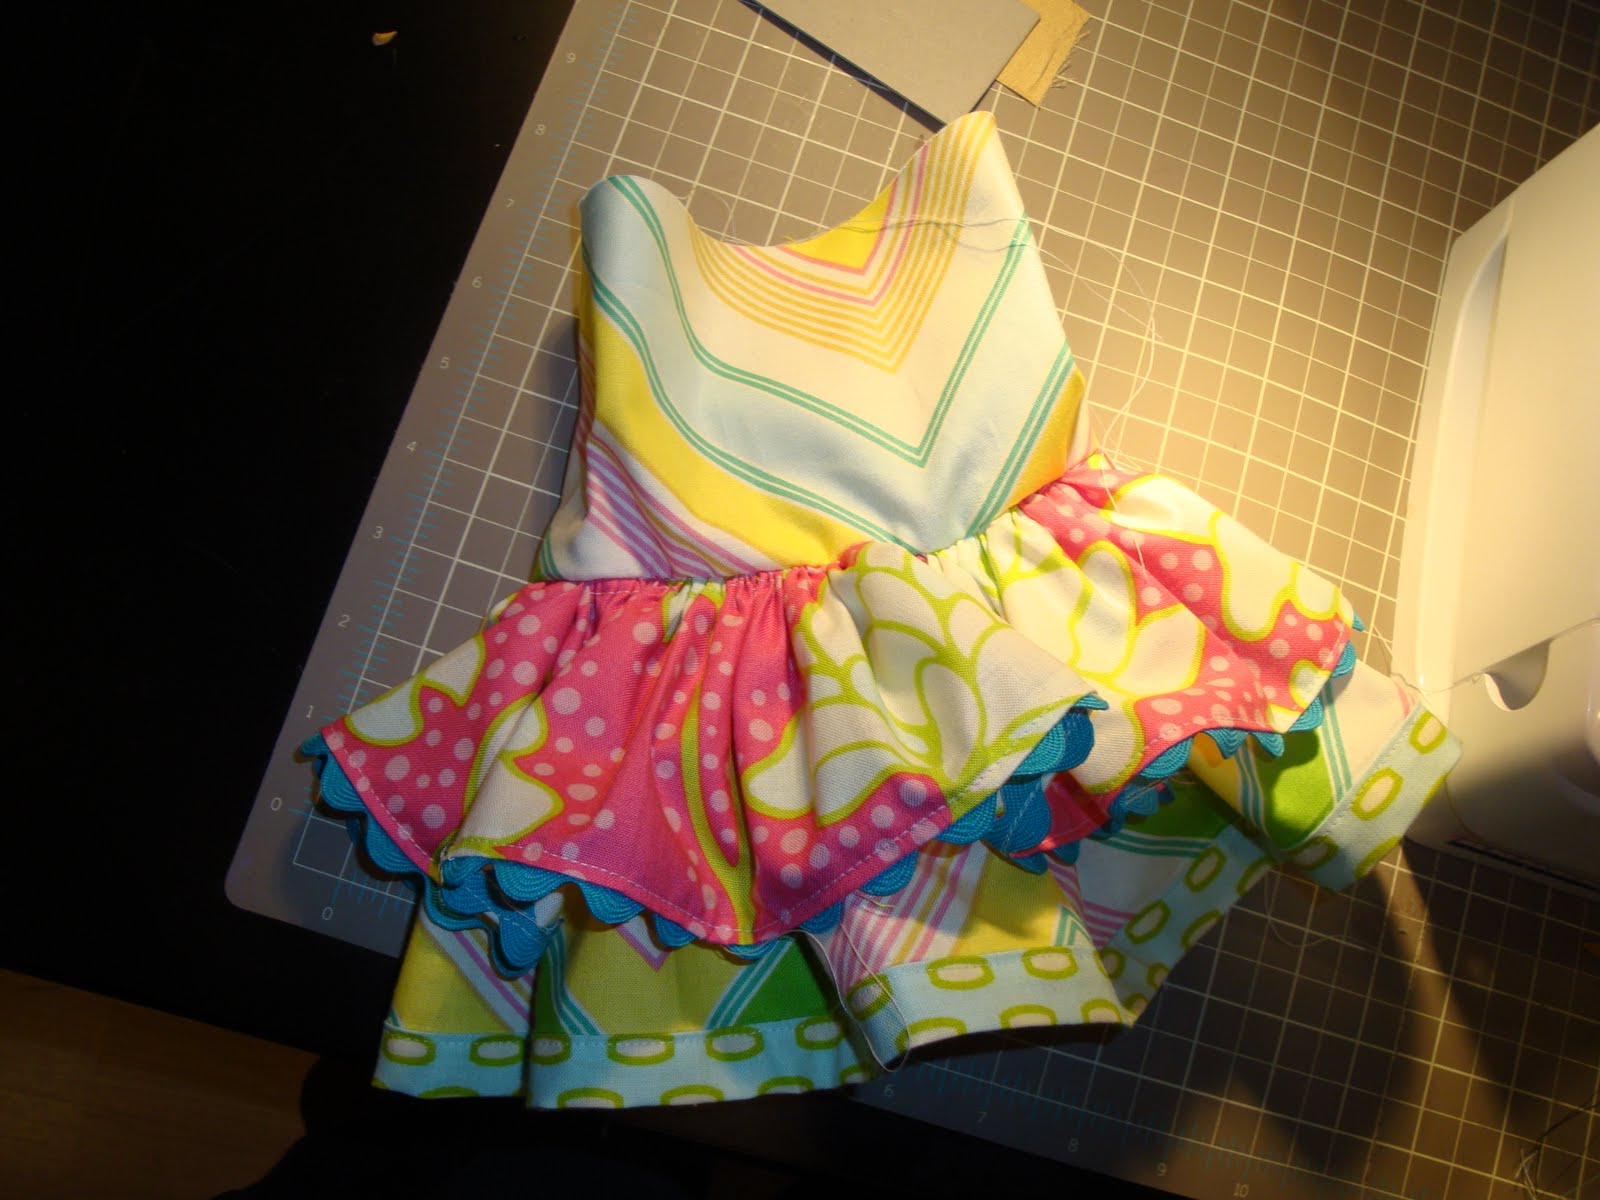
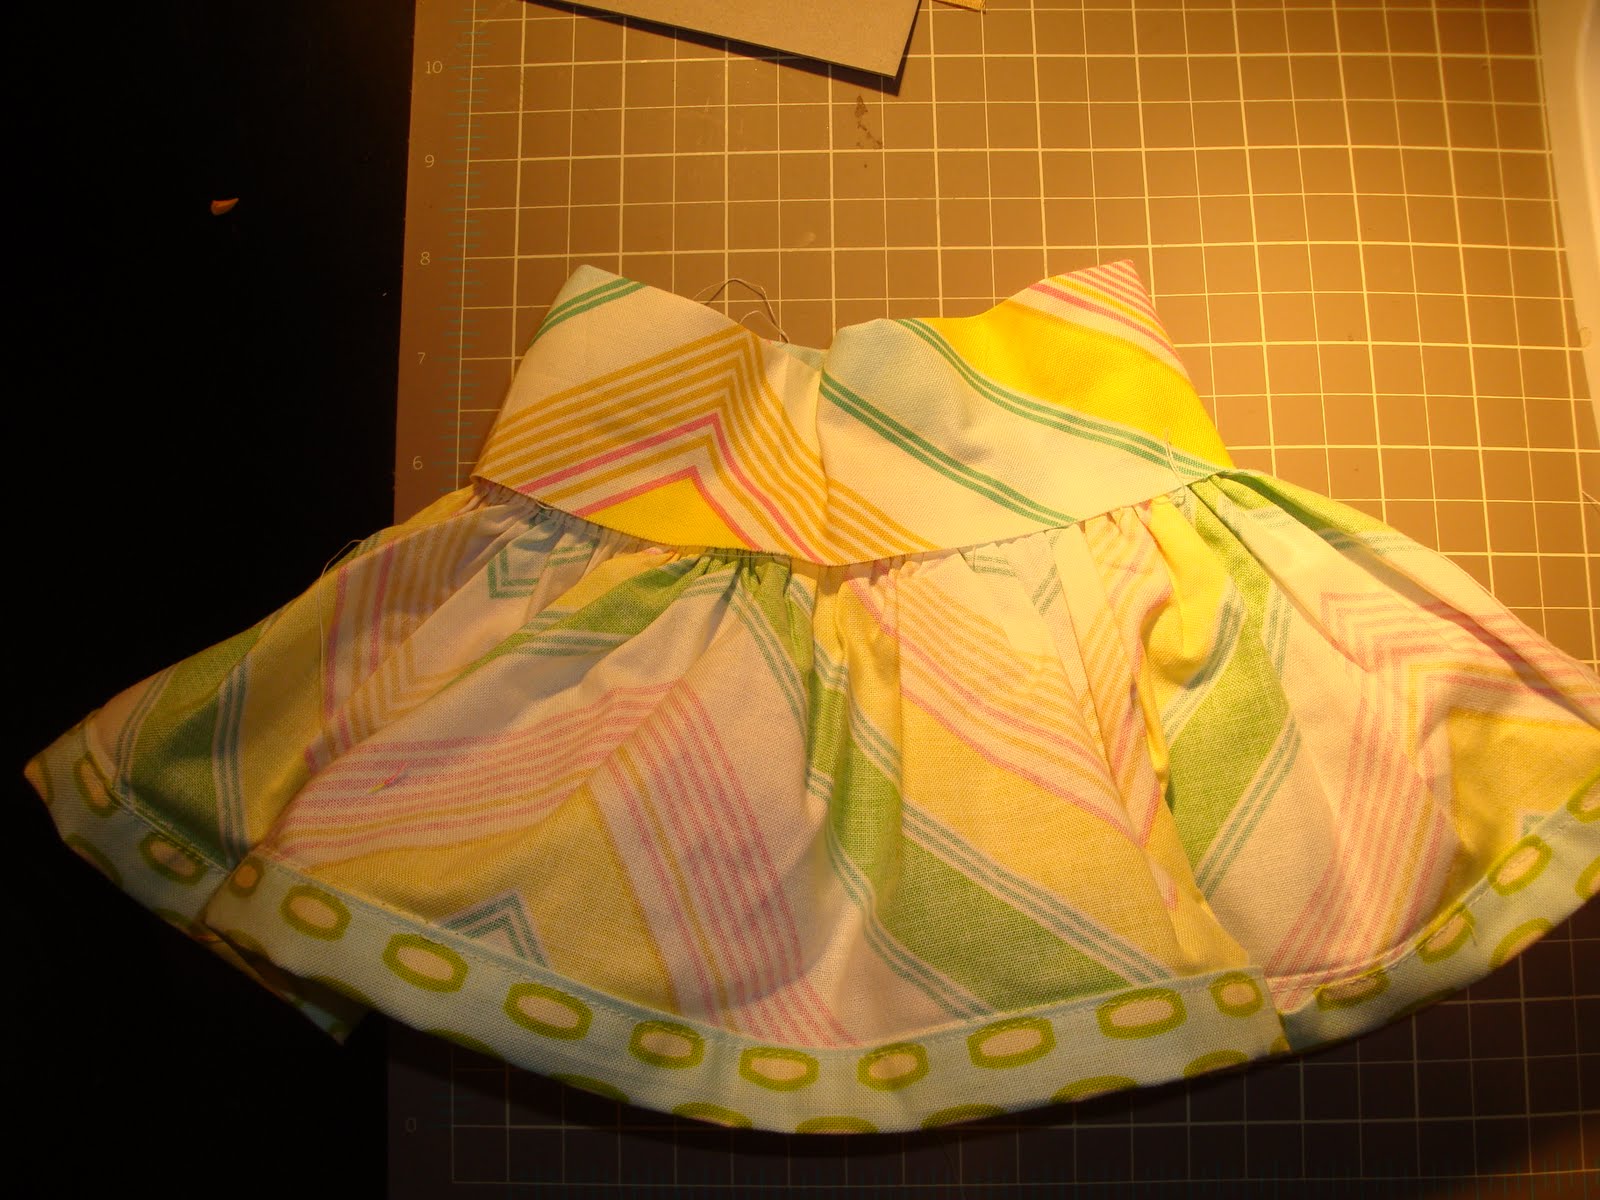
BUT instead of doing any of those things, I got a “bee in my bonnet” last night and decided to make this today:

Remember this skirt?

Well, I decided that her dolly needed one to match.

The construction is essentially the same as the kids skirt. Just a few changes and the math is different….
Since it’s been a little while since I’ve had a sewing tutorial on here, and since this IS a sewing blog…
Here you go!!

To begin you will need:
1- 4.25″ x 44 ” piece for the top skirt (just cut it the width of your fabric)
1- 5″ x 44″ piece for the underskirt
1- 2″ x 44″ piece for the skirt band
1 – 15″ x 4.5″ piece for the waistband.
You will also need:
1 package of rick rack
11″ of 1/4″ elastic
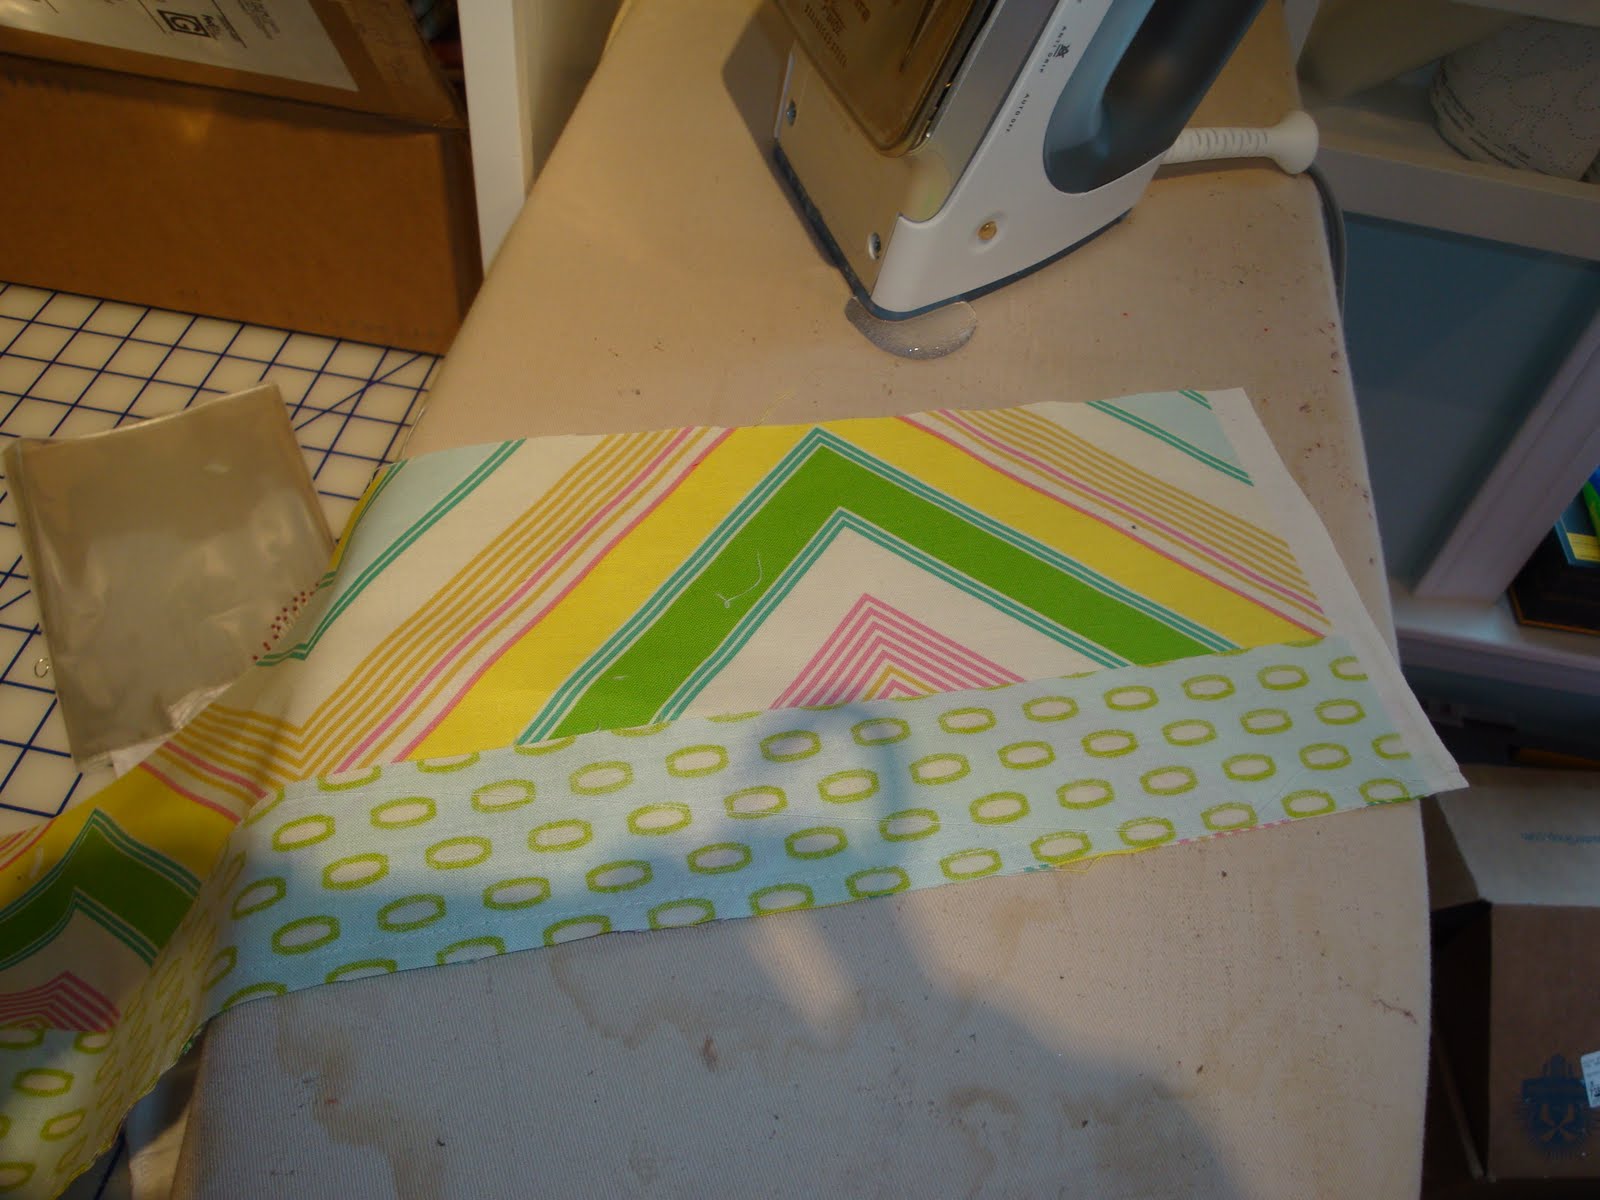
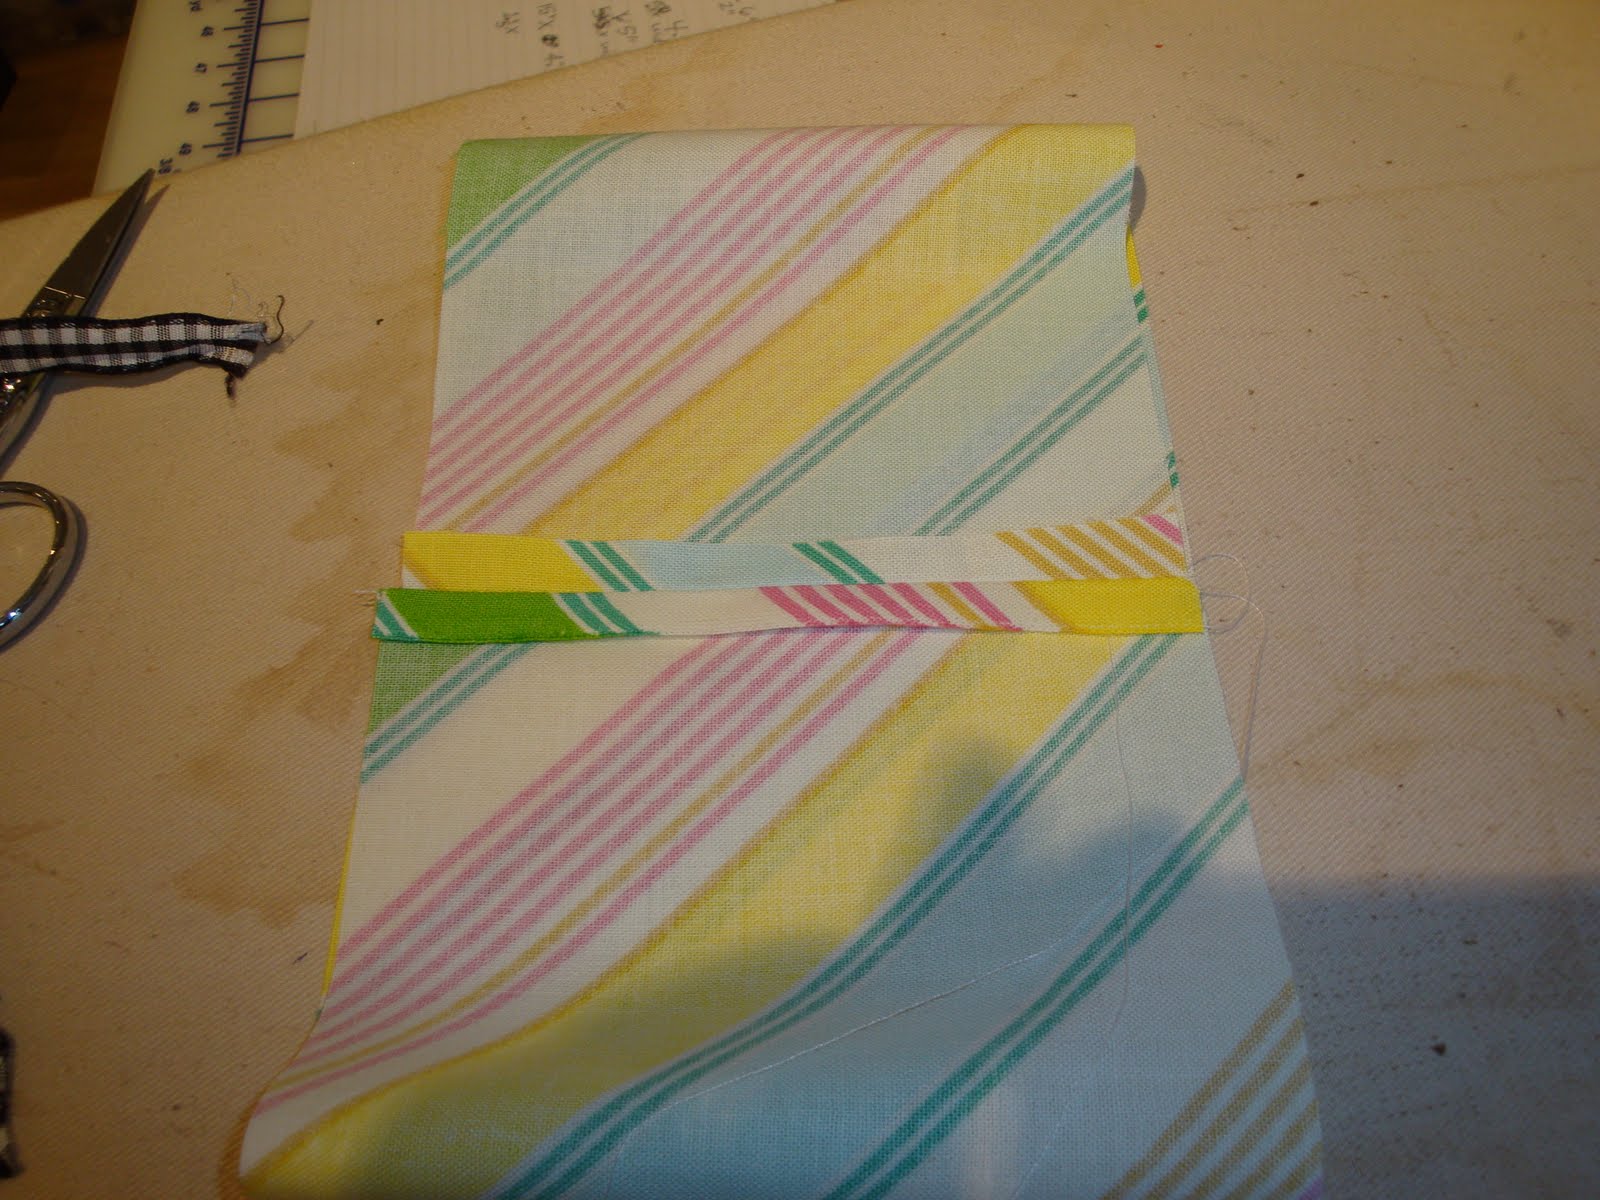
Sew the skirt band to the underskirt using a 1/4″ seam
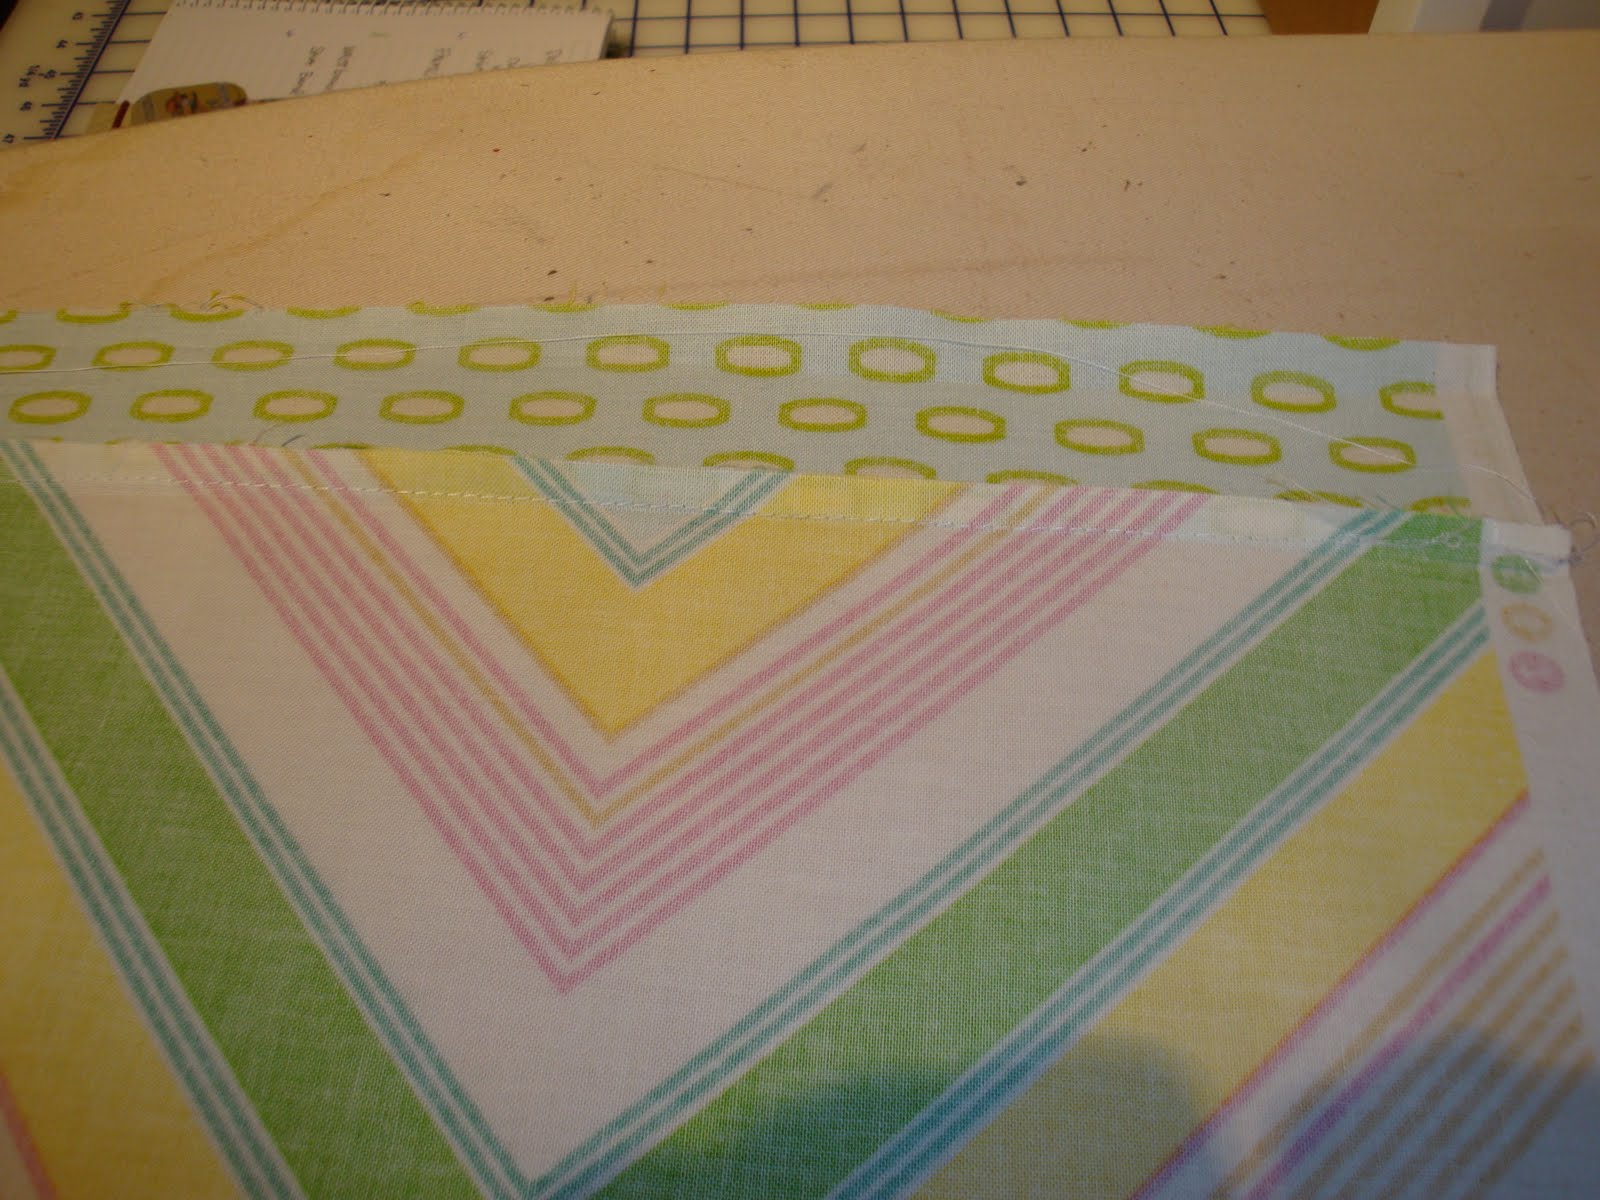
Press seam towards skirt band
Sew sides of underskirt together. Press seam open
Turn under bottom edge of skirt band 1/4″ and press.

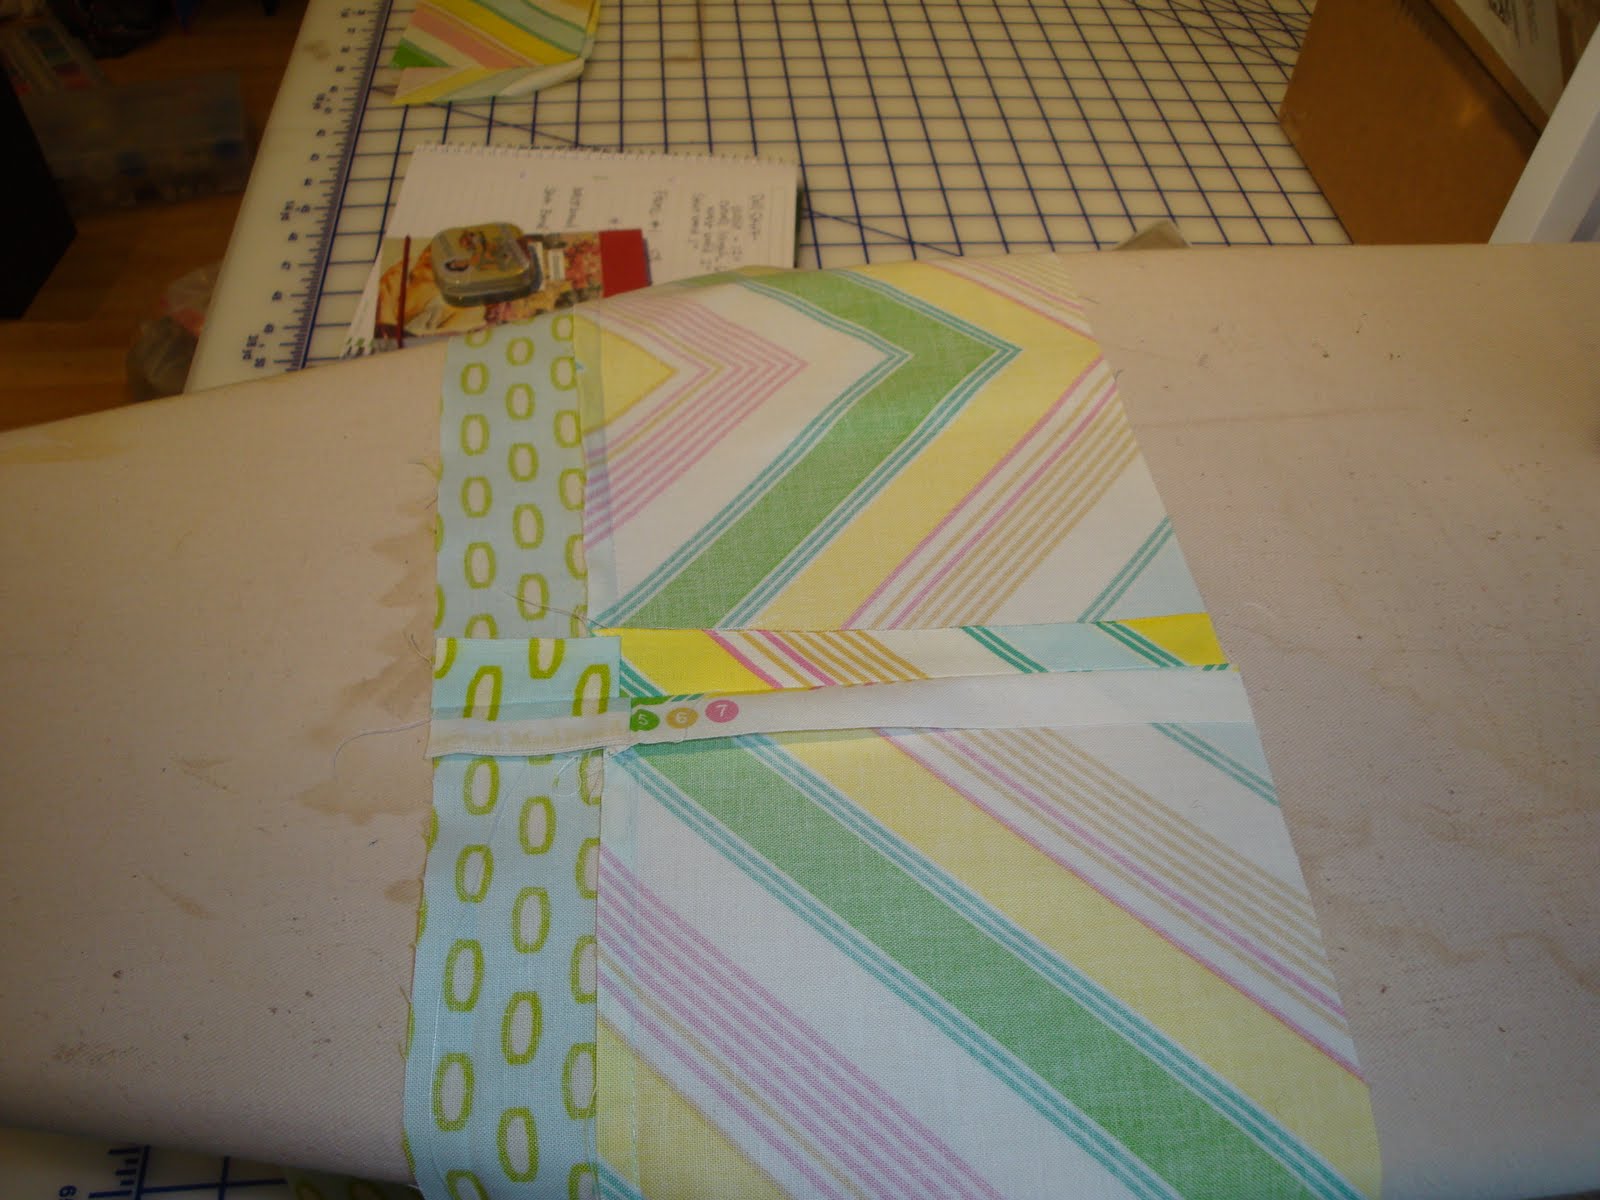
Fold skirt band so that the folded edge is flush with the seam between the underskirt and skirt band.
Press
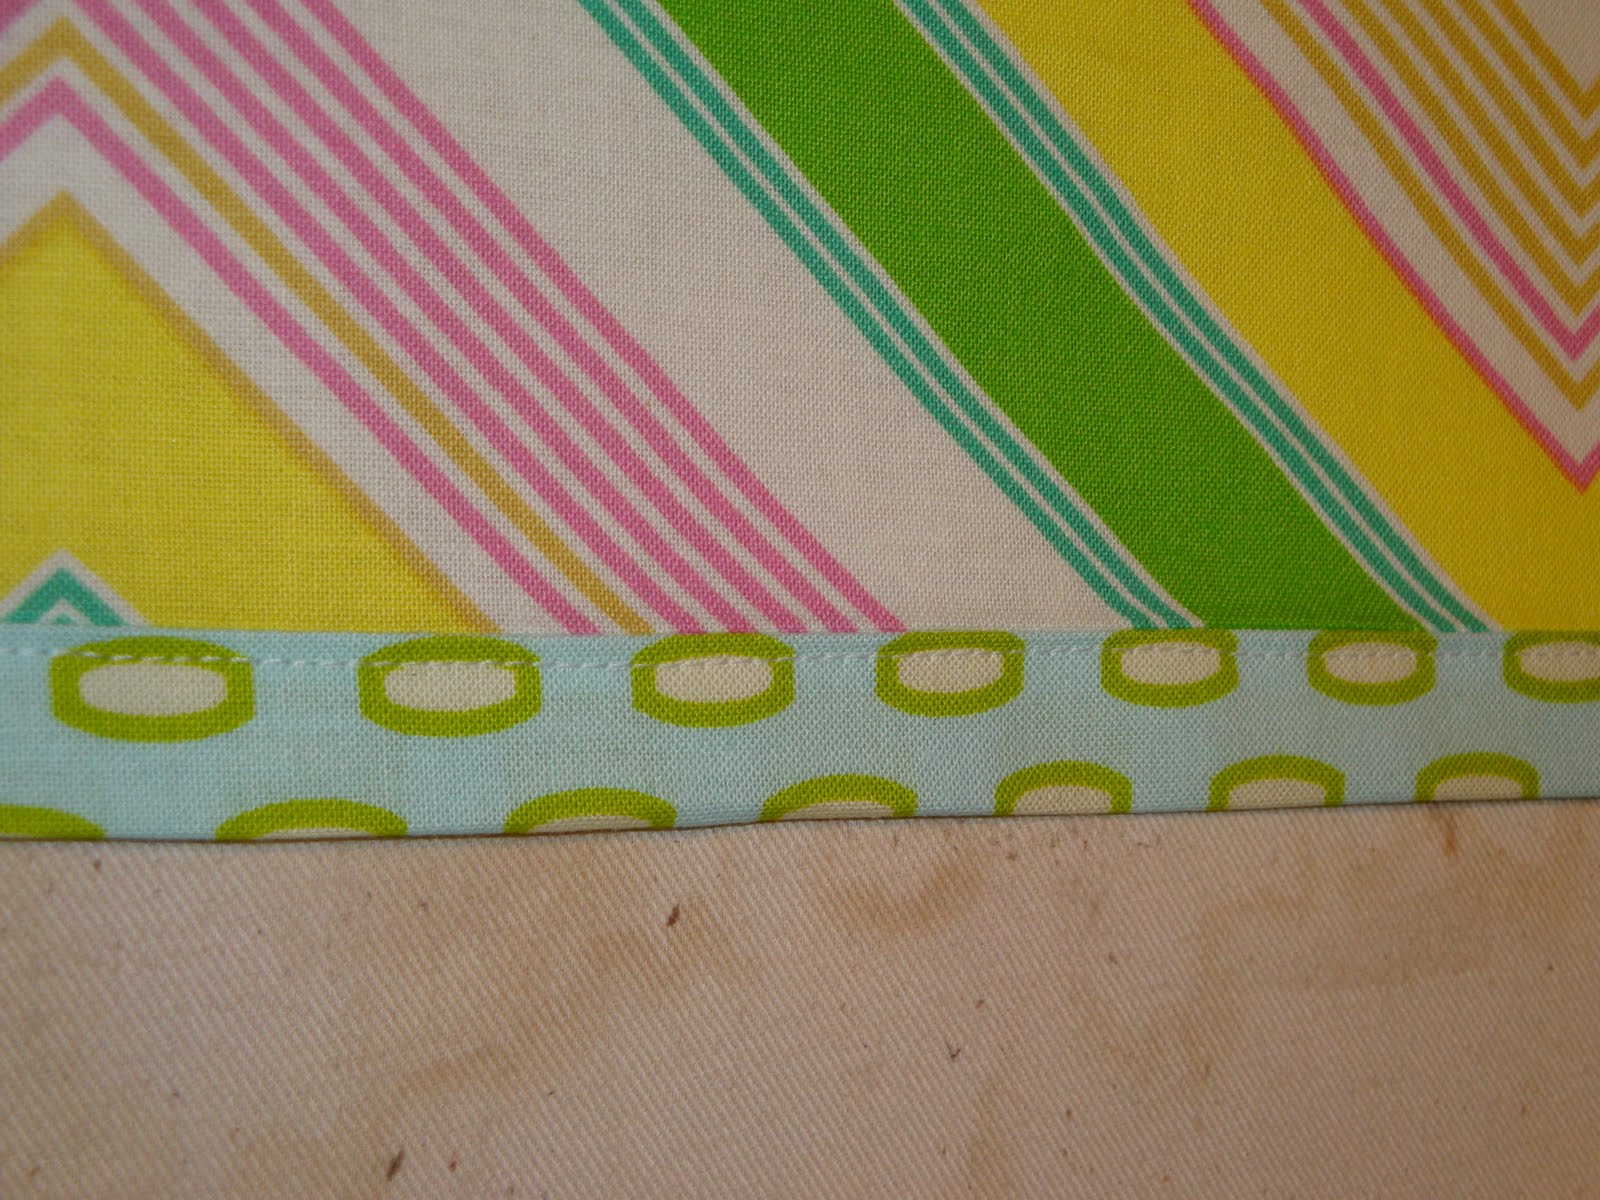
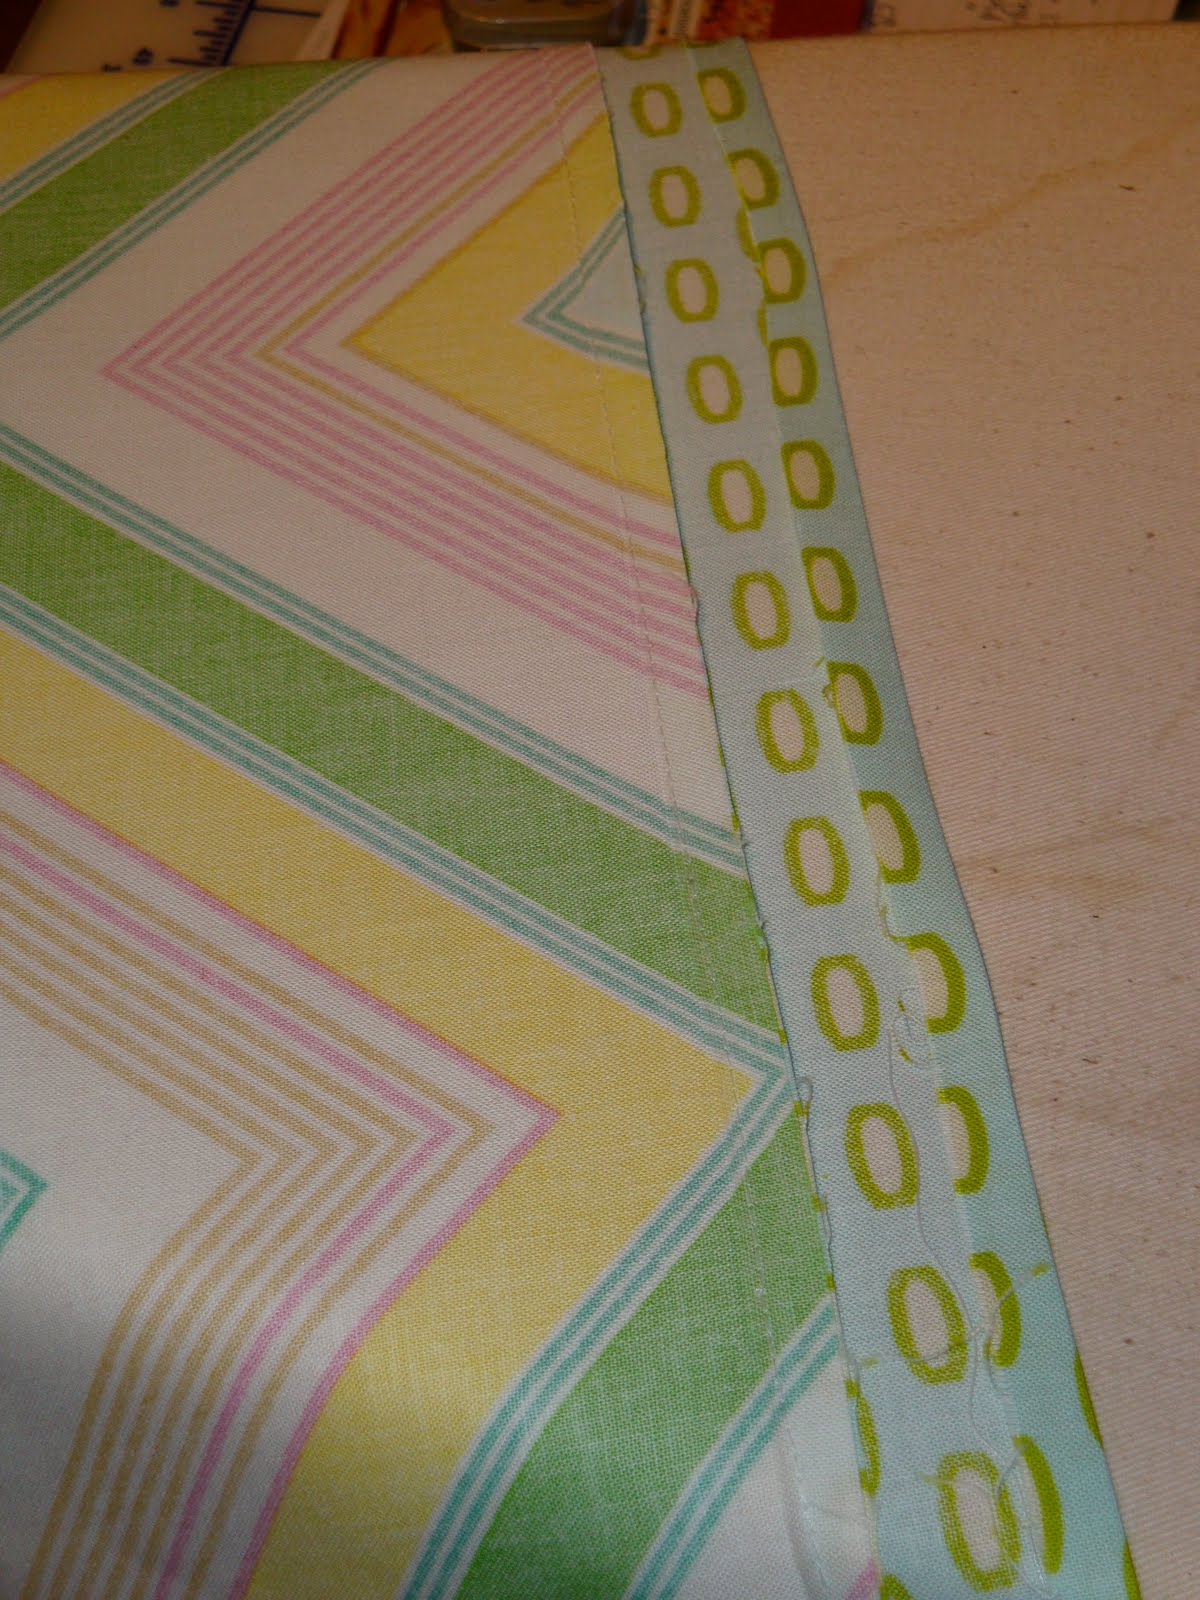
On right side of fabric, top stitch skirt band in place. Making sure to catch folded edge of skirt band as you sew.
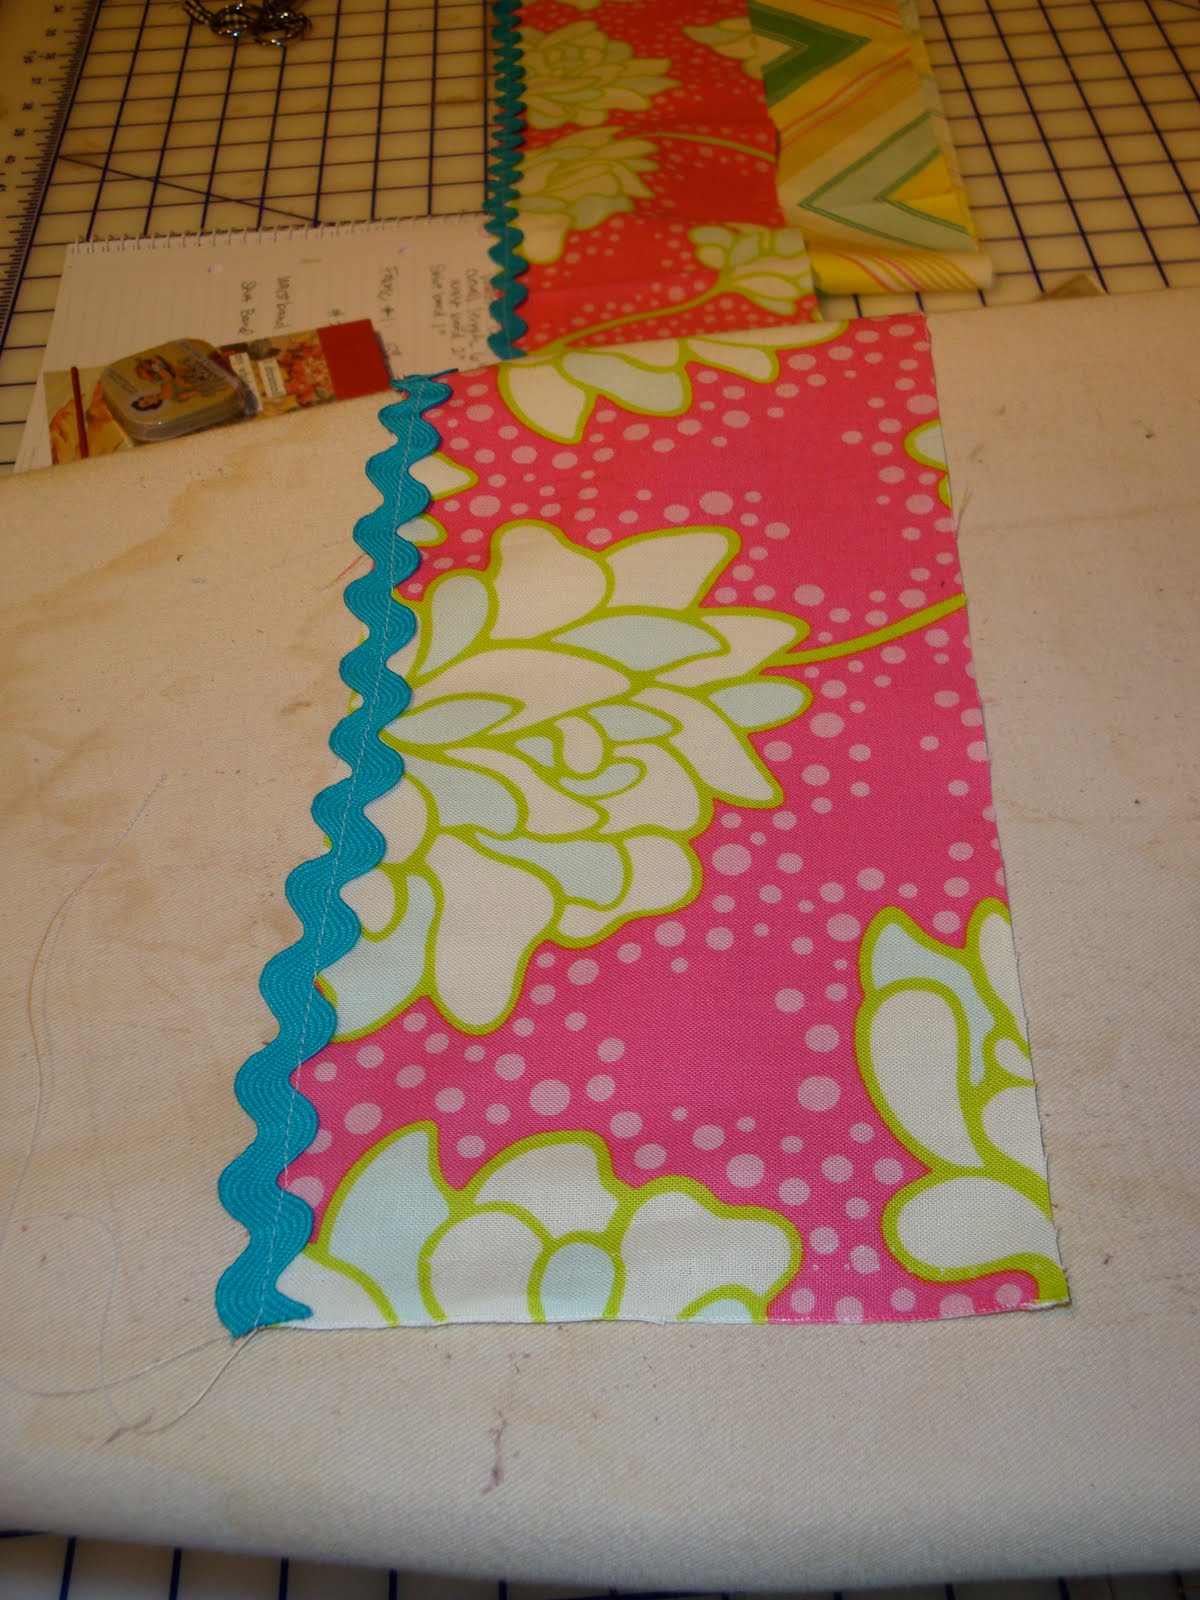
Stitch rick rack to bottom edge of top skirt piece. Stitch as close to the center of the rick rack as possible.
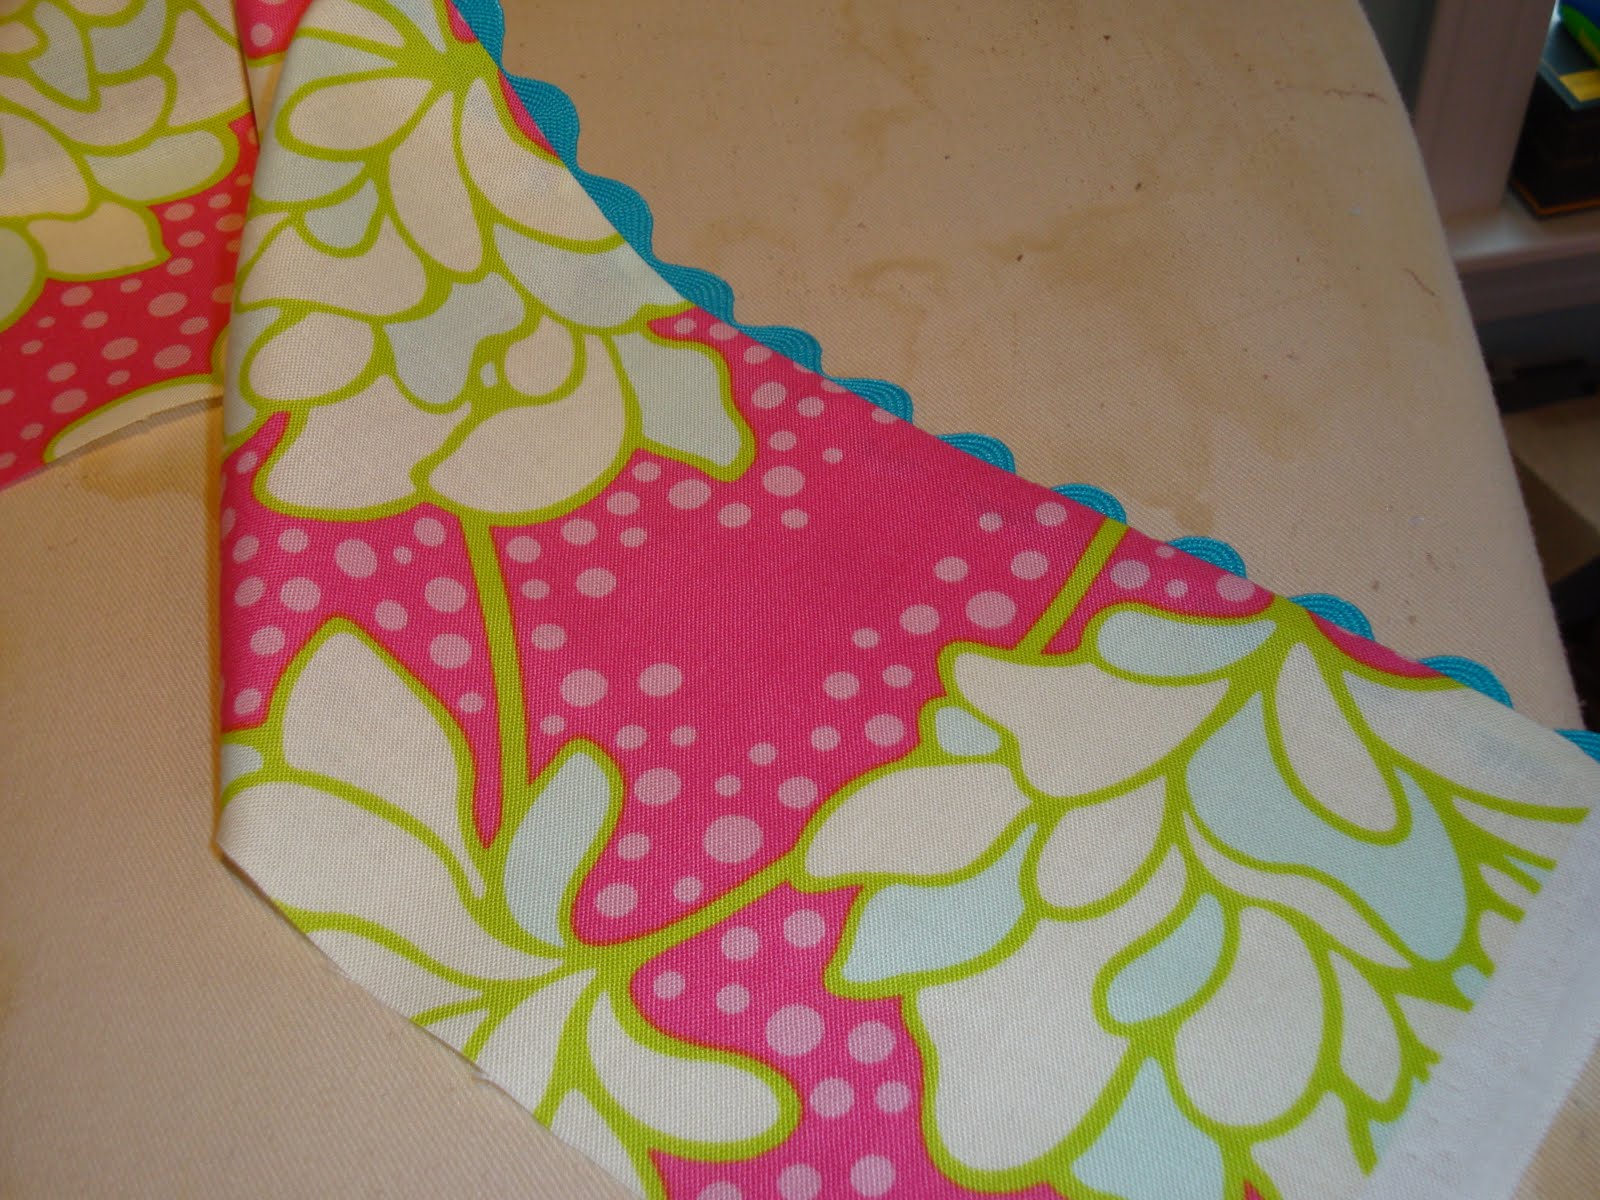
Turn rick rack under to wrong side of fabric and press.
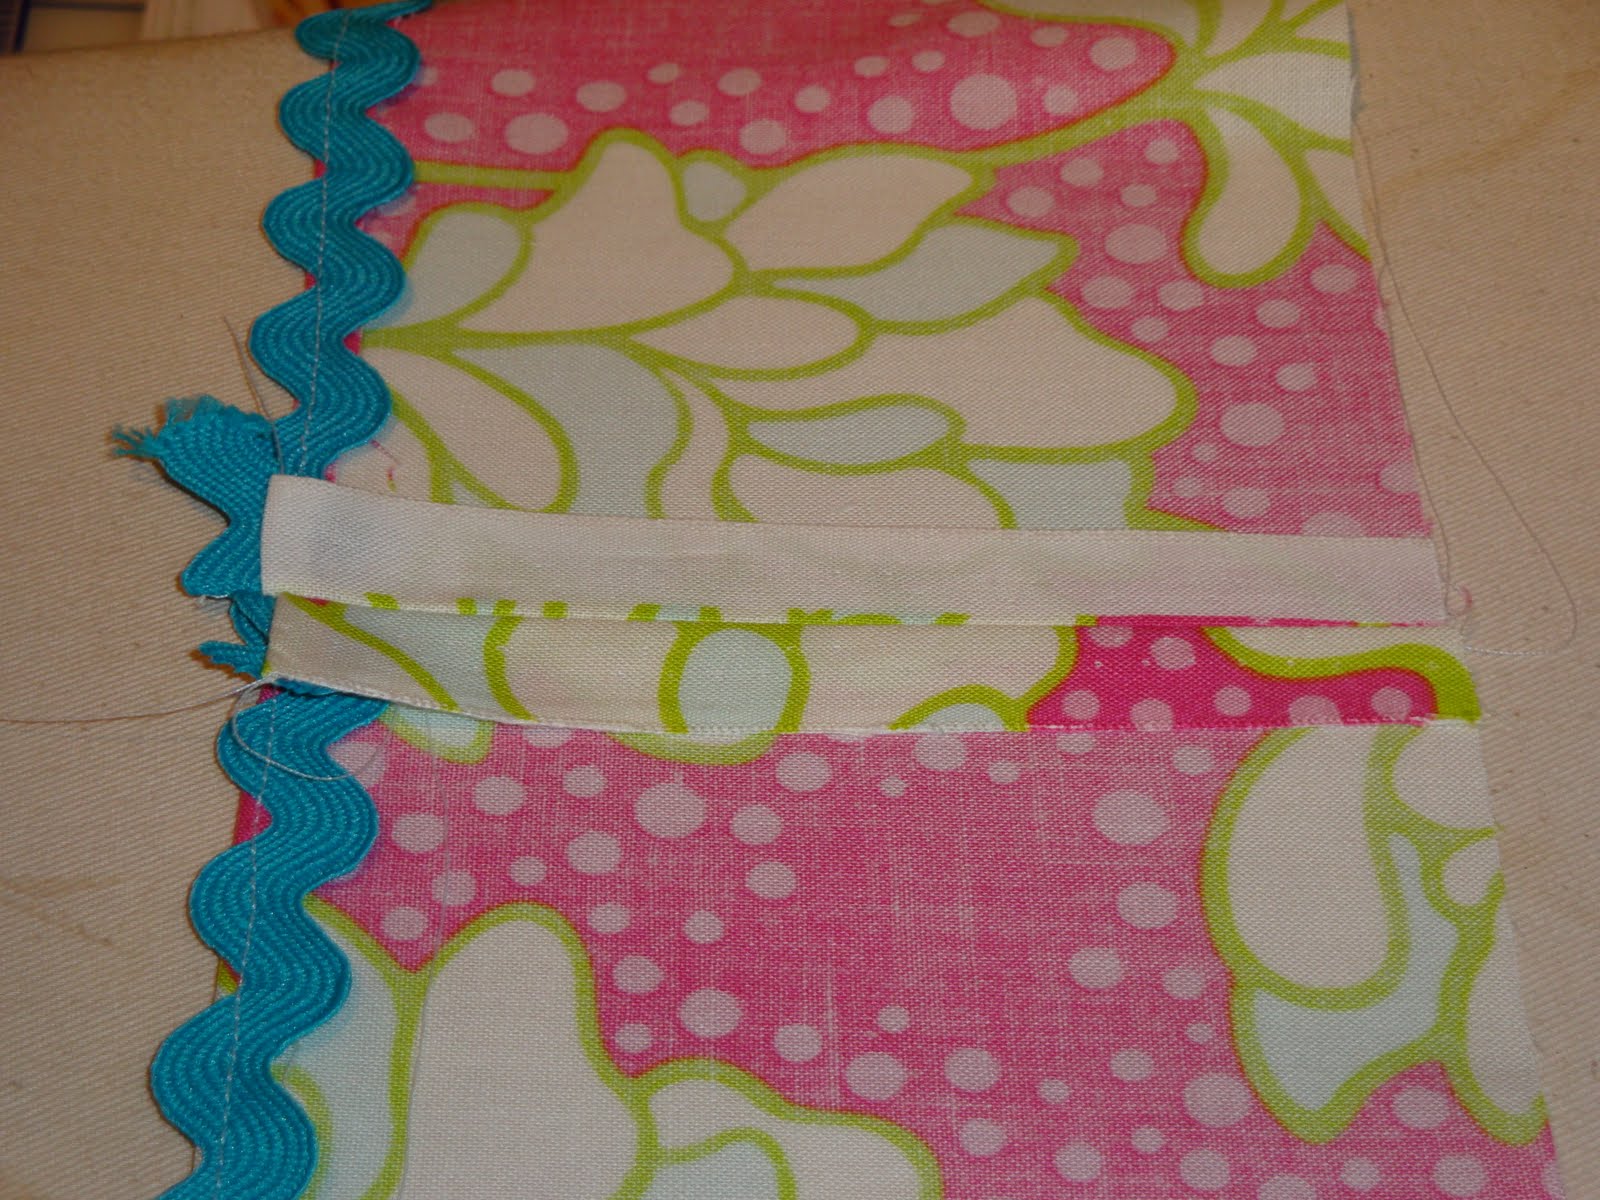
Stitch upper skirt together. Press open, trim excess rick rack.
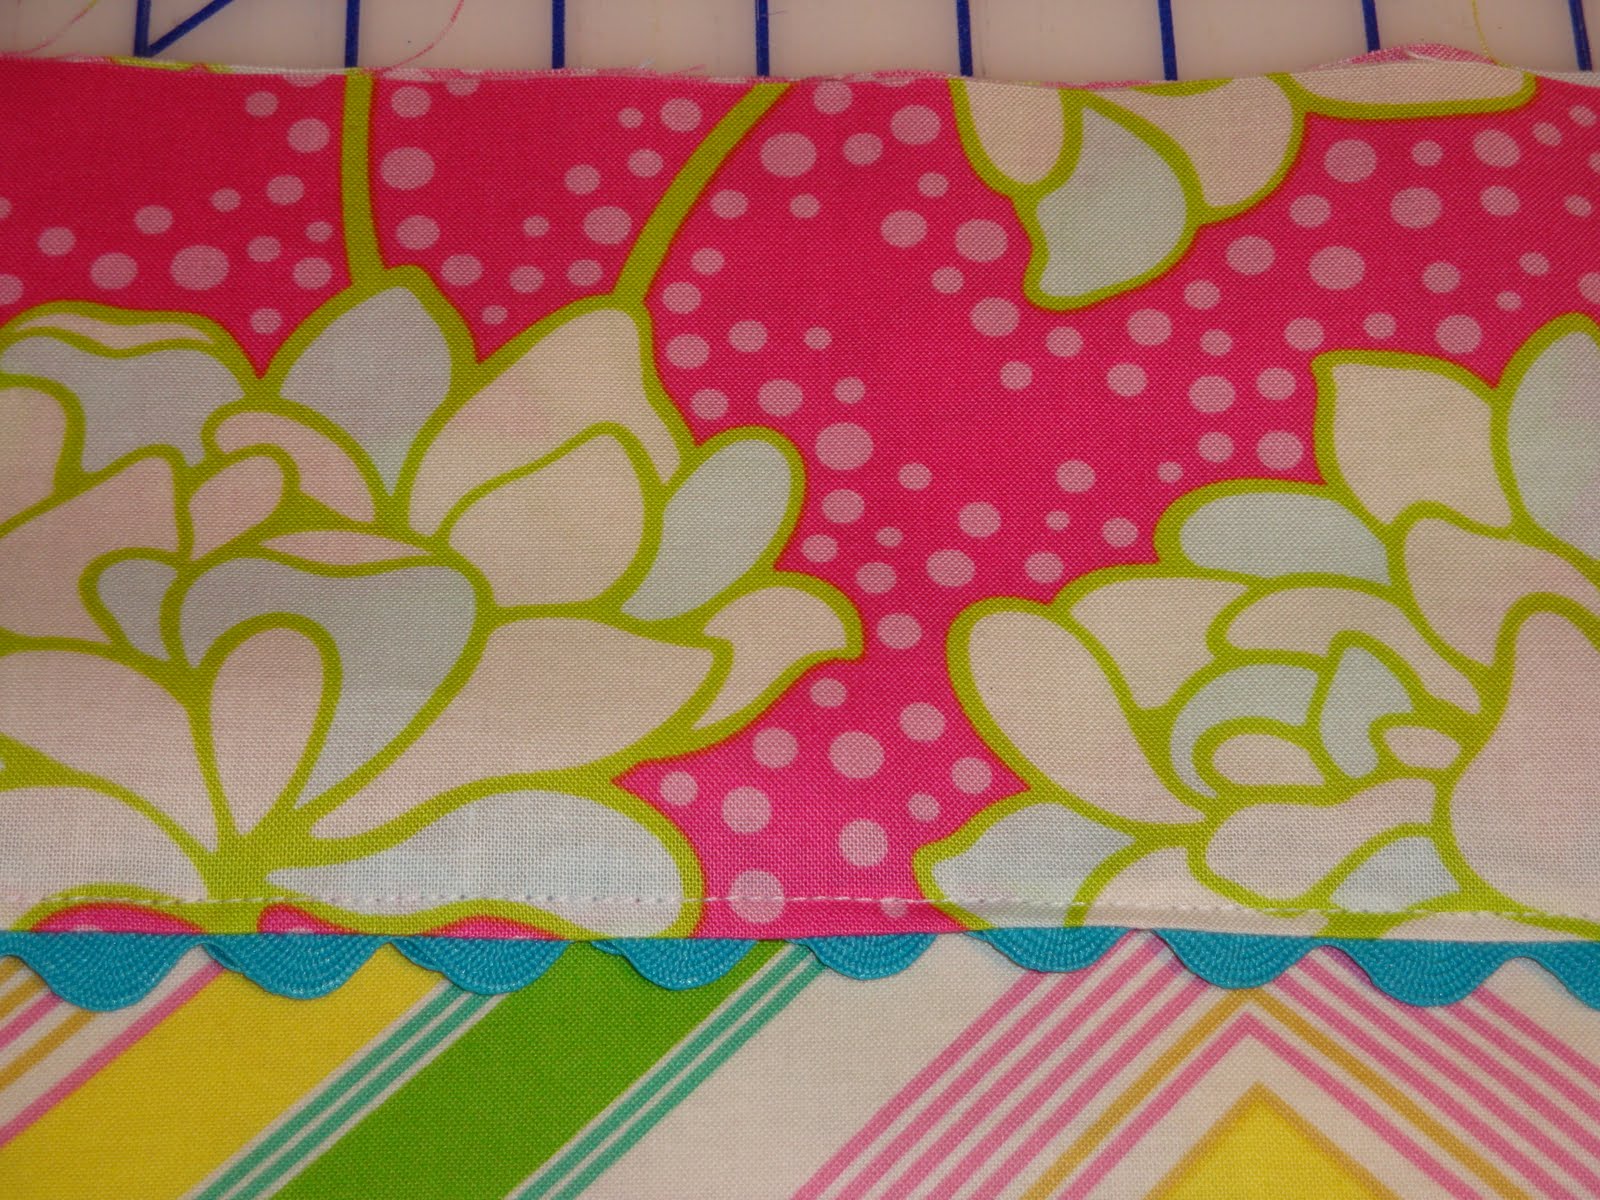
Top stitch rick rack in place.
Sew short sides of waistband piece together. Press seam open.
On both the top skirt and underskirt pieces, run 2 rows of gathering stitches 1/4″ and 1/2″ from the top of the fabric.
Mark the center of all 3 pieces (waistband, top skirt and underskirt).
Beginning with top skirt, pull up on the gathering stitches so that the skirt piece will fit inside the waistband piece. Match right sides together, match centers and seams.
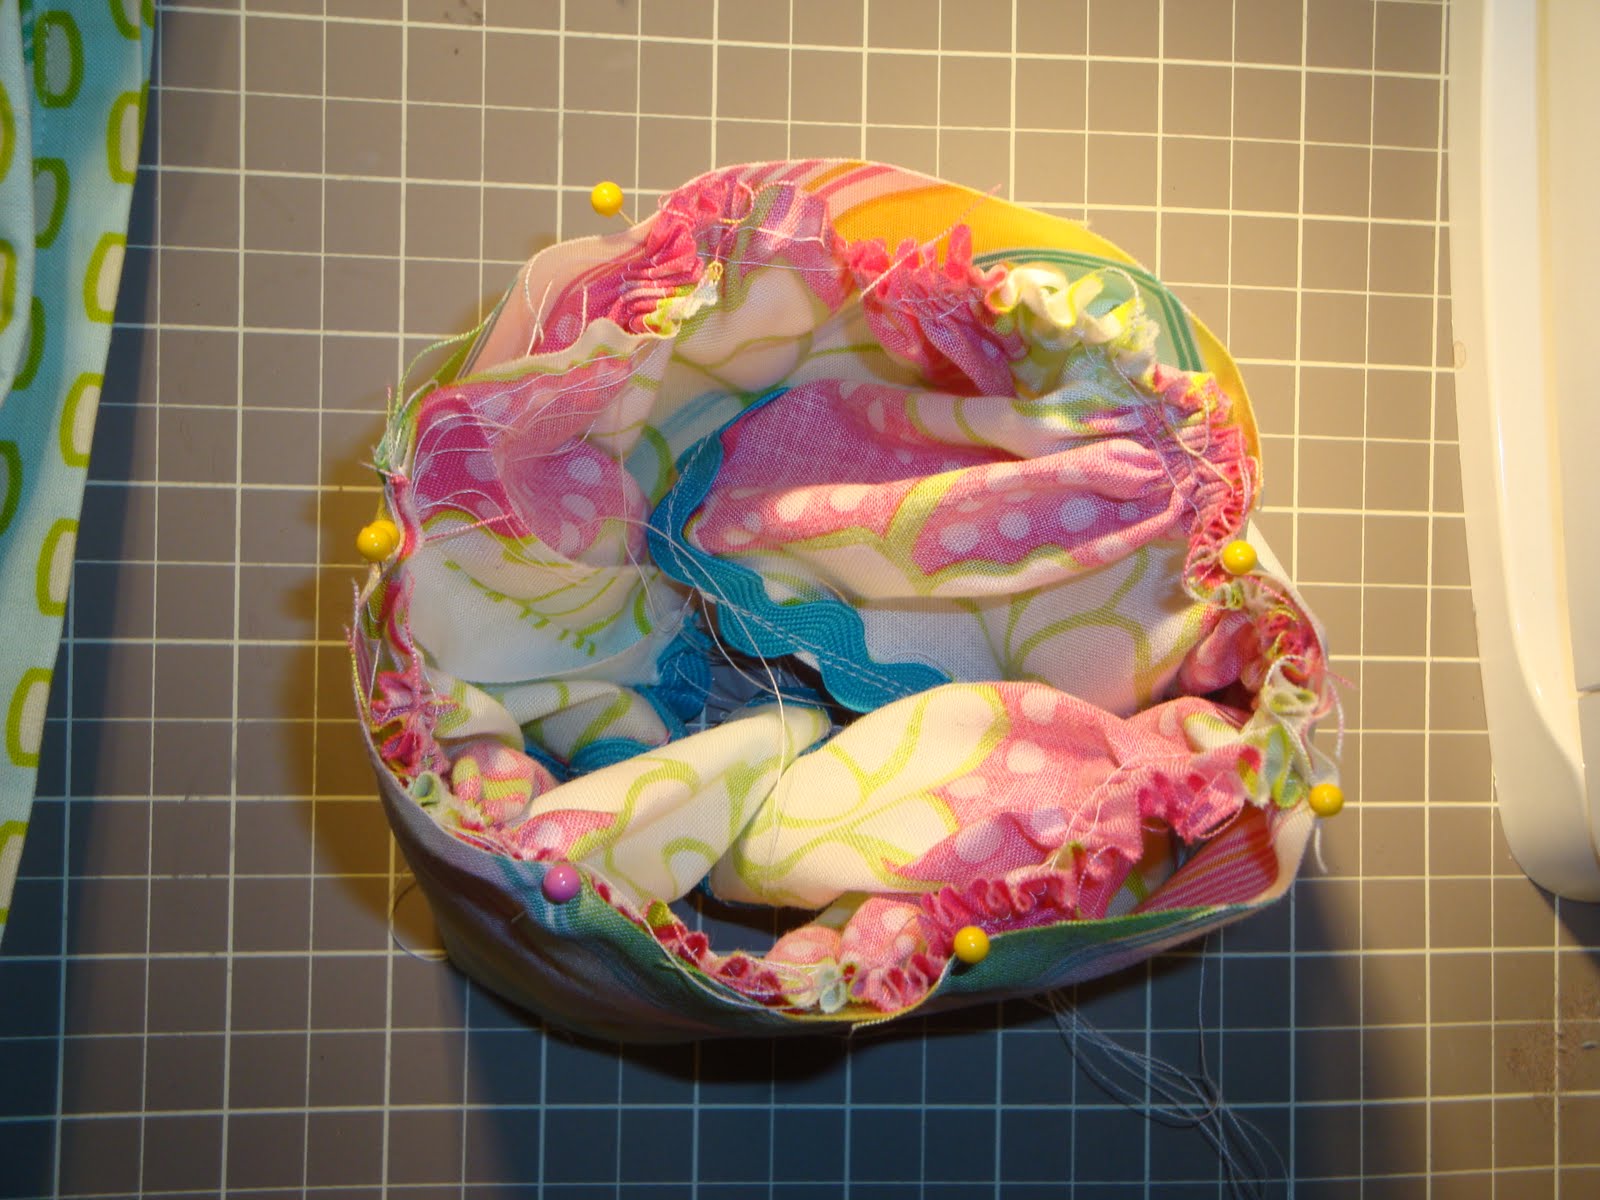
Pin in place

Pull up on the gathering threads for underskirt piece.
Place it inside the waistband/top skirt piece. Match the right side of the underskirt to the wrong side of the top skirt.
Pin in place… You will have a “sandwich” with the waistband on top, then the top skirt in the middle and the underskirt on the bottom.
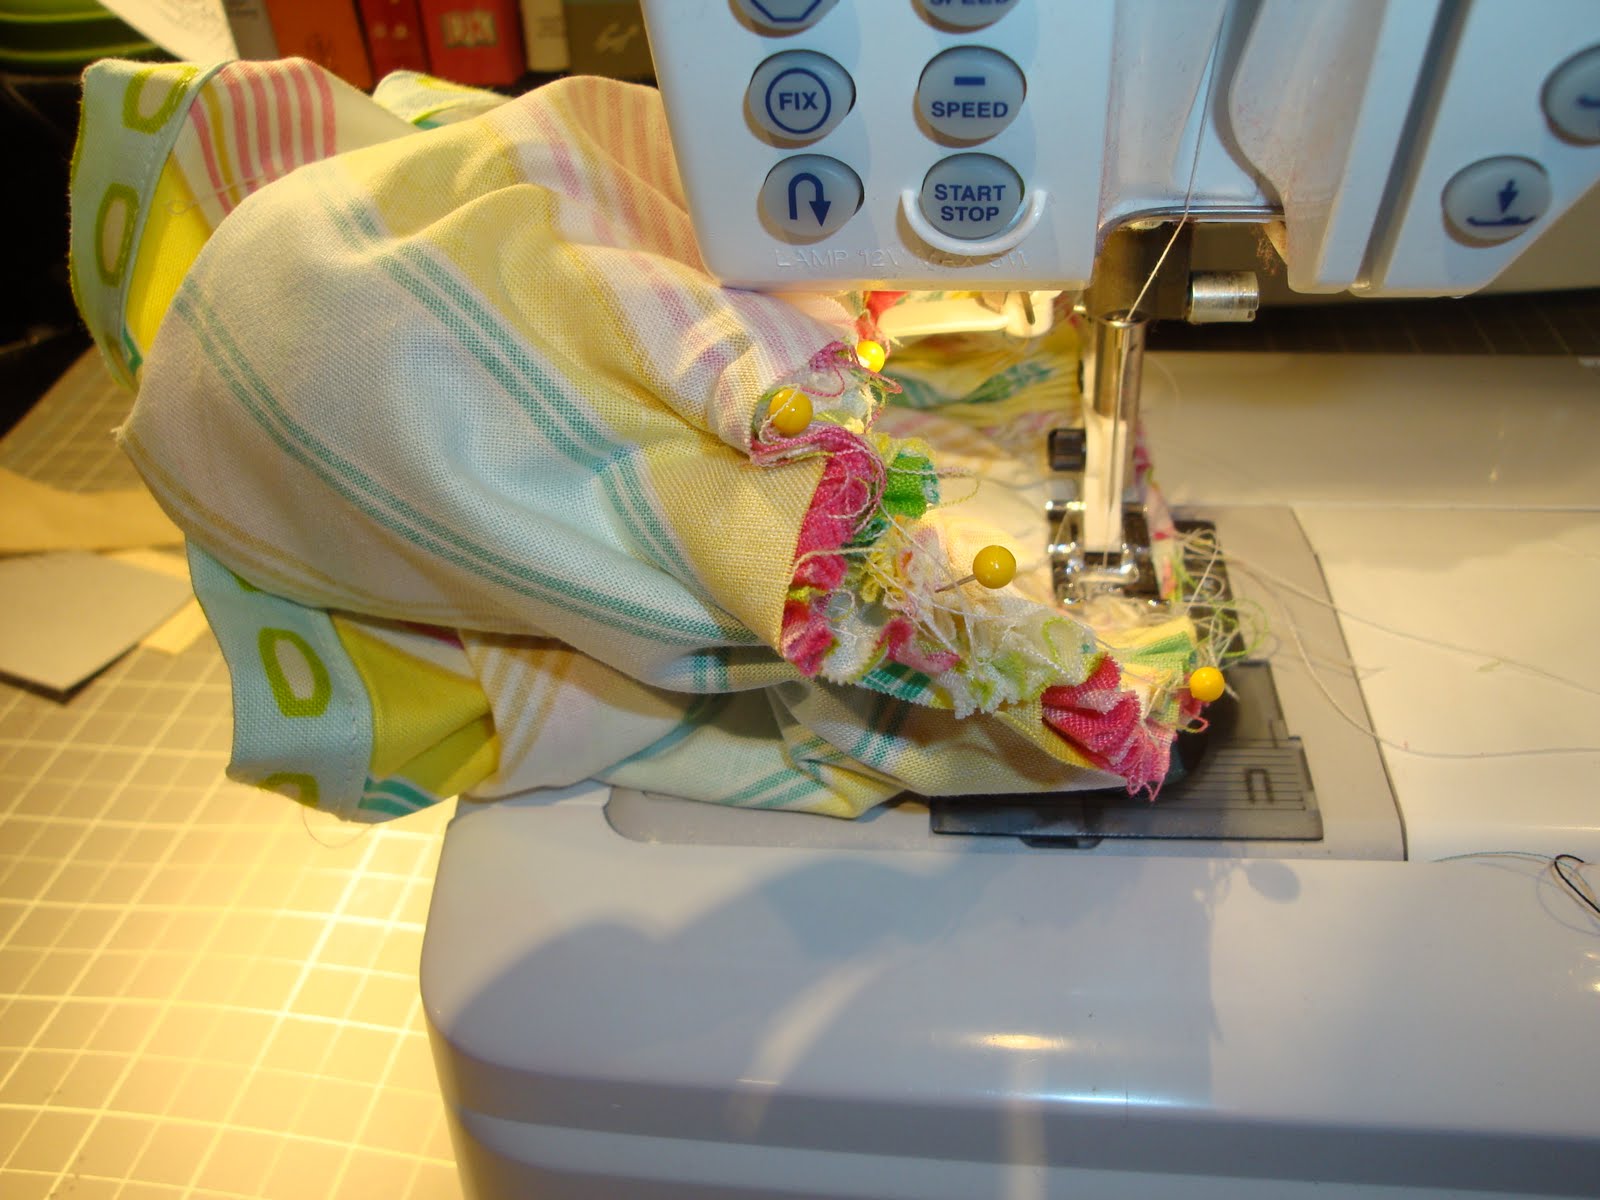
Sew through all 3 layers.
It will look like this when you are done:
Turn skirt inside out. Fold the waist band in half so that the raw edge of the waistband overlaps the seam of the skirt/waistband by about 1/2″
Press.
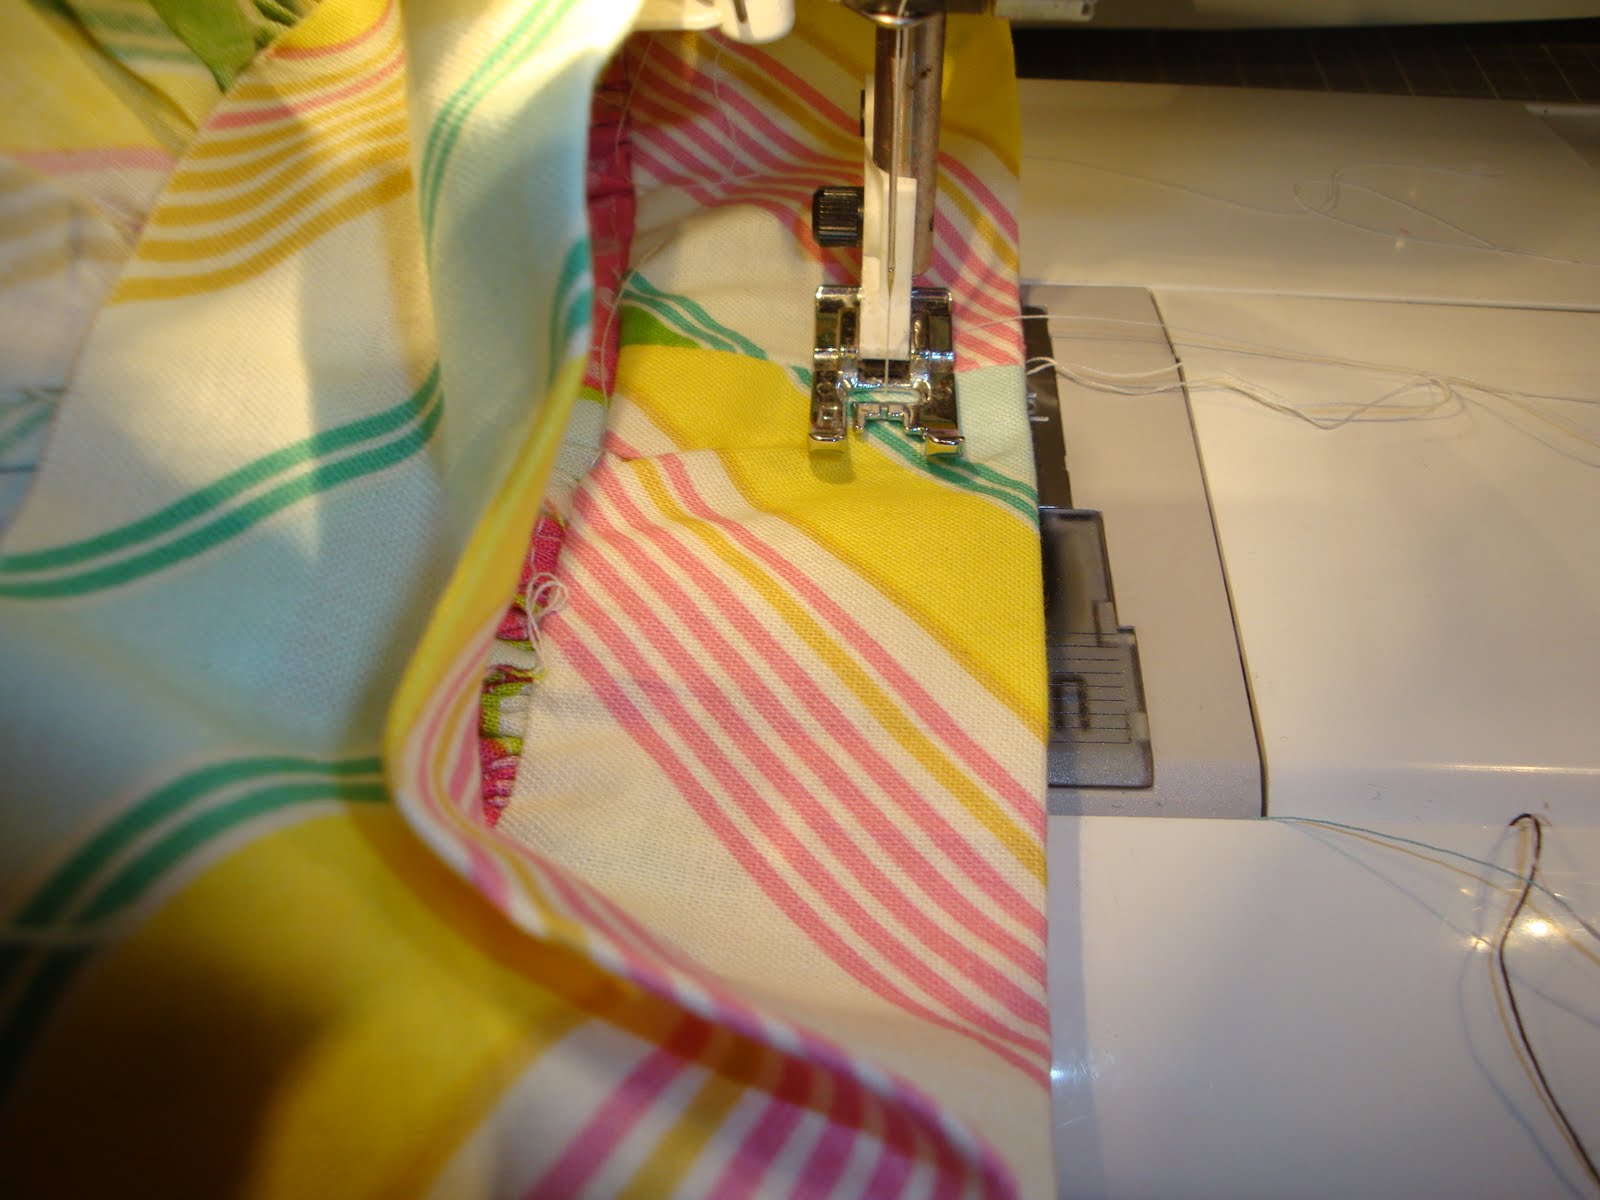
Sew a seam 1/2″ from the top folded edge of the waistband. This will be the casing for your elastic. Leave an opening to feed the elastic through.
To finish:.
Thread elastic through the casing, sew elastic together then sew the opening closed.
Fold under the raw edge of the waistband 1/4″ and whip stitch down. (since it is a skirt for a doll you could also use iron on seam tape to tack it down).
Clip threads
You’re done!