So let’s continue the Valentine’s day crafts with a quick and easy freezer paper stencil tutorial.
OH!!! Remember this year’s Valentines Banner? A tutorial is coming and ONE will be given away next week, and will only be open for 24 hrs (you’ve got to get it BEFORE the big day right??) so keep your eyes peeled…
Now onto our craft!
Yesterday, Traci of Amazing Maeand our friend Vicki came over to “play”…Grown up’s can have play dates right? I mean we all need to have something to do to chase away those long winter days right???
Mallory’s cute fairy shirt, got to Traci’s blog to see photos of the other shirts she made. fairy image from A Childs Year cartridge
The “project of the day” started because I could not find any Valentines shirt’s for my 8 yr old son… Traci has been freezer paper stenciling for a while now and always told me how easy it was, so I thought I’d give it a try.
With Traci’s experience and my Cricut we were able to knock out a few really cute t-shirts today for the kids. I know there are a lot of freezer paper stencil tutorials out there, but I thought I’d share how we did ours today.
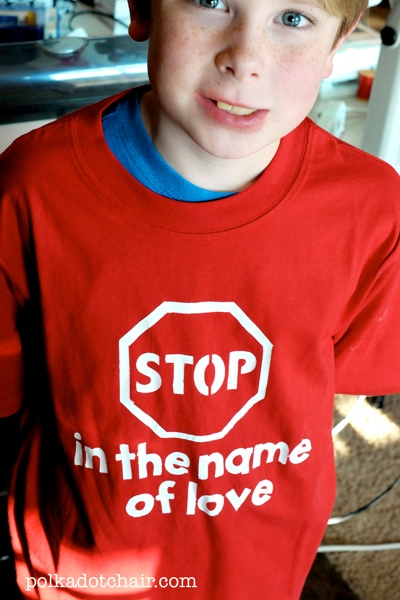
what I came up with for Andrew, I’m still trying to think of something more “clever” for him for Valentines Day. But he seems to like “Stop, in the name of love” even if he doesn’t “get it”. Stop sign from Going places cartridge
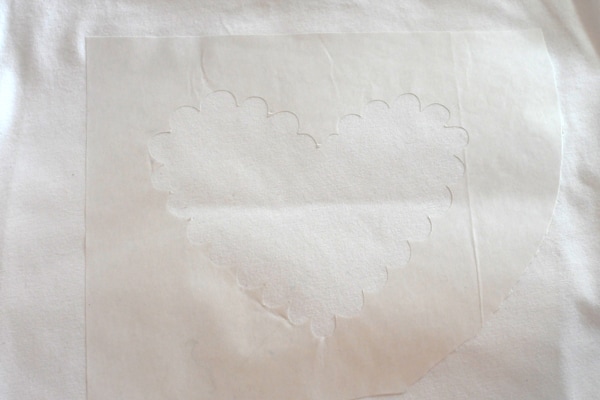
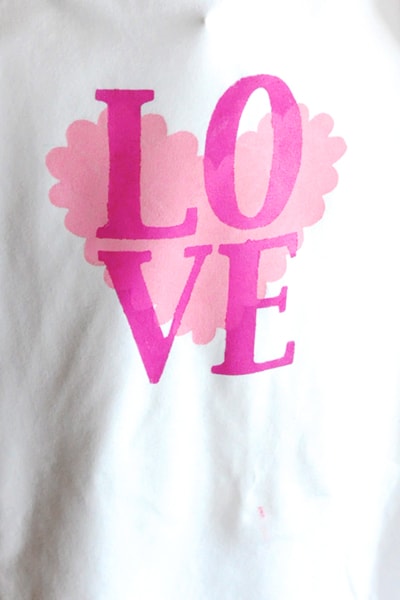
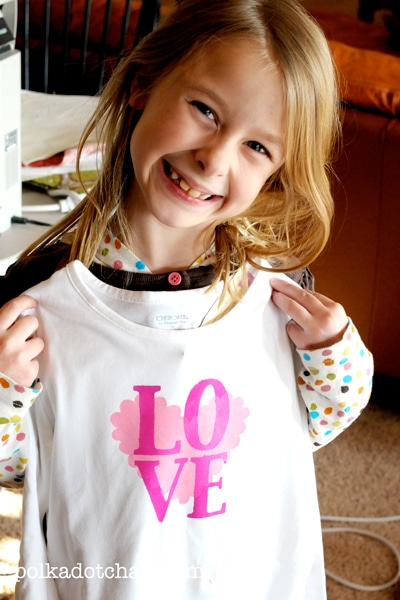
heart from doodlecharms cartridge
Okay… Take your freezer paper and cut it to 12×12 (or 12×6 if you have the earlier cricut).
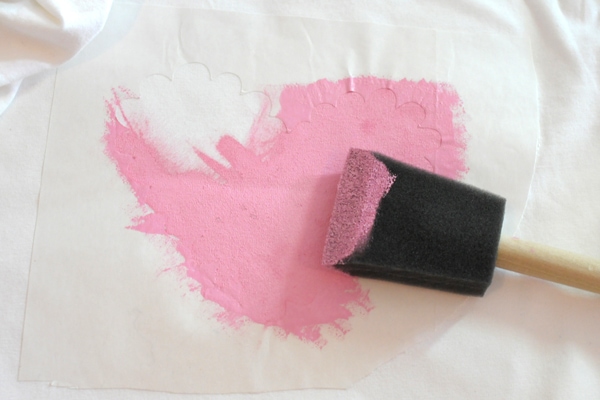
Adhere it shiny side down to your cricut mat.
Cut out your design.
sorry white is not the easiest to photograph
Peel off freezer paper and cut around design leaving 3″ around as a border. Iron shiny side down onto your t-shirt.
Cut another piece of freezer paper in a rectangle the same size as your design. Iron this to the INSIDE of the t-shirt. You will have a little t-shirt sandwich with a piece of freezer paper ironed onto both sides.
Dab your fabric paint onto your design.
Let dry COMPLETELY
Peel off freezer paper.
Iron part 2 of your design (the 2nd color) onto your shirt.
Dab paint on and let dry.
Peel off and you are done!
Oh… Also a couple of things…
* YES I will post a tutorial on my blog for the baby twirly skirt. Half way thorough making the skirt I thought of a better way to do it (doesn’t that always happen?). So once I make it again I’ll take photos and post the information. In the meantime, if you want to make it ASAP, just use the twirly dolly skirt tutorial and increase the waist measurement to 18″ and make it longer.
*just a note: I listed one kit of fabric
on etsy today for the Sunday bag. I don’t have the ability to order fabric wholesale, but was willing to sell off some of my “stash”.. if anyone wanted to make the bag as shown in the photo… I’m still just figuring out what to list etsy. If there is demand I can list some more fabric kits*
Love the shirt for Andrew! (and Sydney’s too!) It is SO hard to come up with things to sew/ make for our boys. This is really cute! Also, love the Sunday bag in your shop. Will definitely be ordering the pattern! And I already have the same fabric too! I love the fabric combination you used. And, you’re right. It is really practical for Sunday. I carry at least 2 bags to church every week! Congrats on all your recent ‘stuff’!
Those are adorable! And it’s just another reason why I absolutely NEED a Cricut.
Those shirts are really cute! I wish I had a Cricut.
I am excited about the Sunday bag pattern. I will need to get over there and order it!
btw, there is a place in Houston where you can order fabric by the bolt at wholesale prices. They have a website and you can call them with your order! It’s called Glick Textiles. Someone told me about it last year, so I thought I’d share the love. There are no minimum bolt requirements!
It’s so hard to find cute boy shirts for Valentine’s. This would be perfect for my son!
where did you find the fairy silohette? Could you post it for us? It’s adorable!
Love that idea! So fun!
I was going to try freezer paper stenciling for the first time today so thank you SO much for this simple tutorial. I was wondering if it would work with the cricut and I am so thrilled that it does!!
Thanks! Lindsay
Gotta love Freezer Paper – you make it looks SO cool!
Your designs are so cute! Come link your tute at my party: Thursday’s Treasures!!
http://treasuresfortots.blogspot.com/2010/02/thursdays-treasures-week-8.html
Love ALL of them. Now I just need to keep my eyes open for cute plain shirts.
This is one of the best tutorials for freezer paper t-shirt painting. I haven’t tried this yet, but I want to. Still trying to think of a cute pic!
Linked to your blog on my blog! Nice projects.
OMG! I just arrived to your blog from, honestly i don’t remember from who, but you were featured and then i went from one post to the other to see all your fantastics ideas. WOWZERS Girl, amazing and thanks for sharing! Got you on my favorites list and can’t wait to see more!
Okay, now I am determined to try freezer paper stenciling, which I had avoided because I am a messy painter. Thank you for the lovely tutorial and inspiration.
Hello,
These T-shirts are really very nice.
What do you call “freezer paper”?
I don’t know this in France…
Love these shirts! I featured your Stop In the Name Of Love shirt and linked back to you! http://fortheluvofboys.blogspot.com
I love the ideas you have! I will be featuring on my blog!
seemesew.blogspot.com