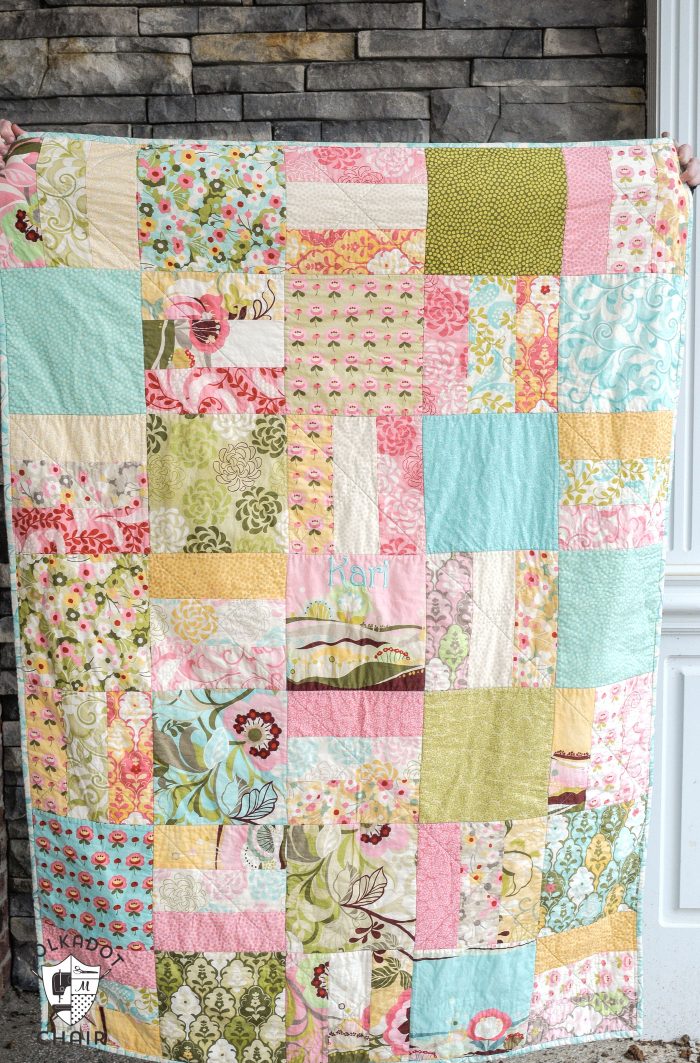
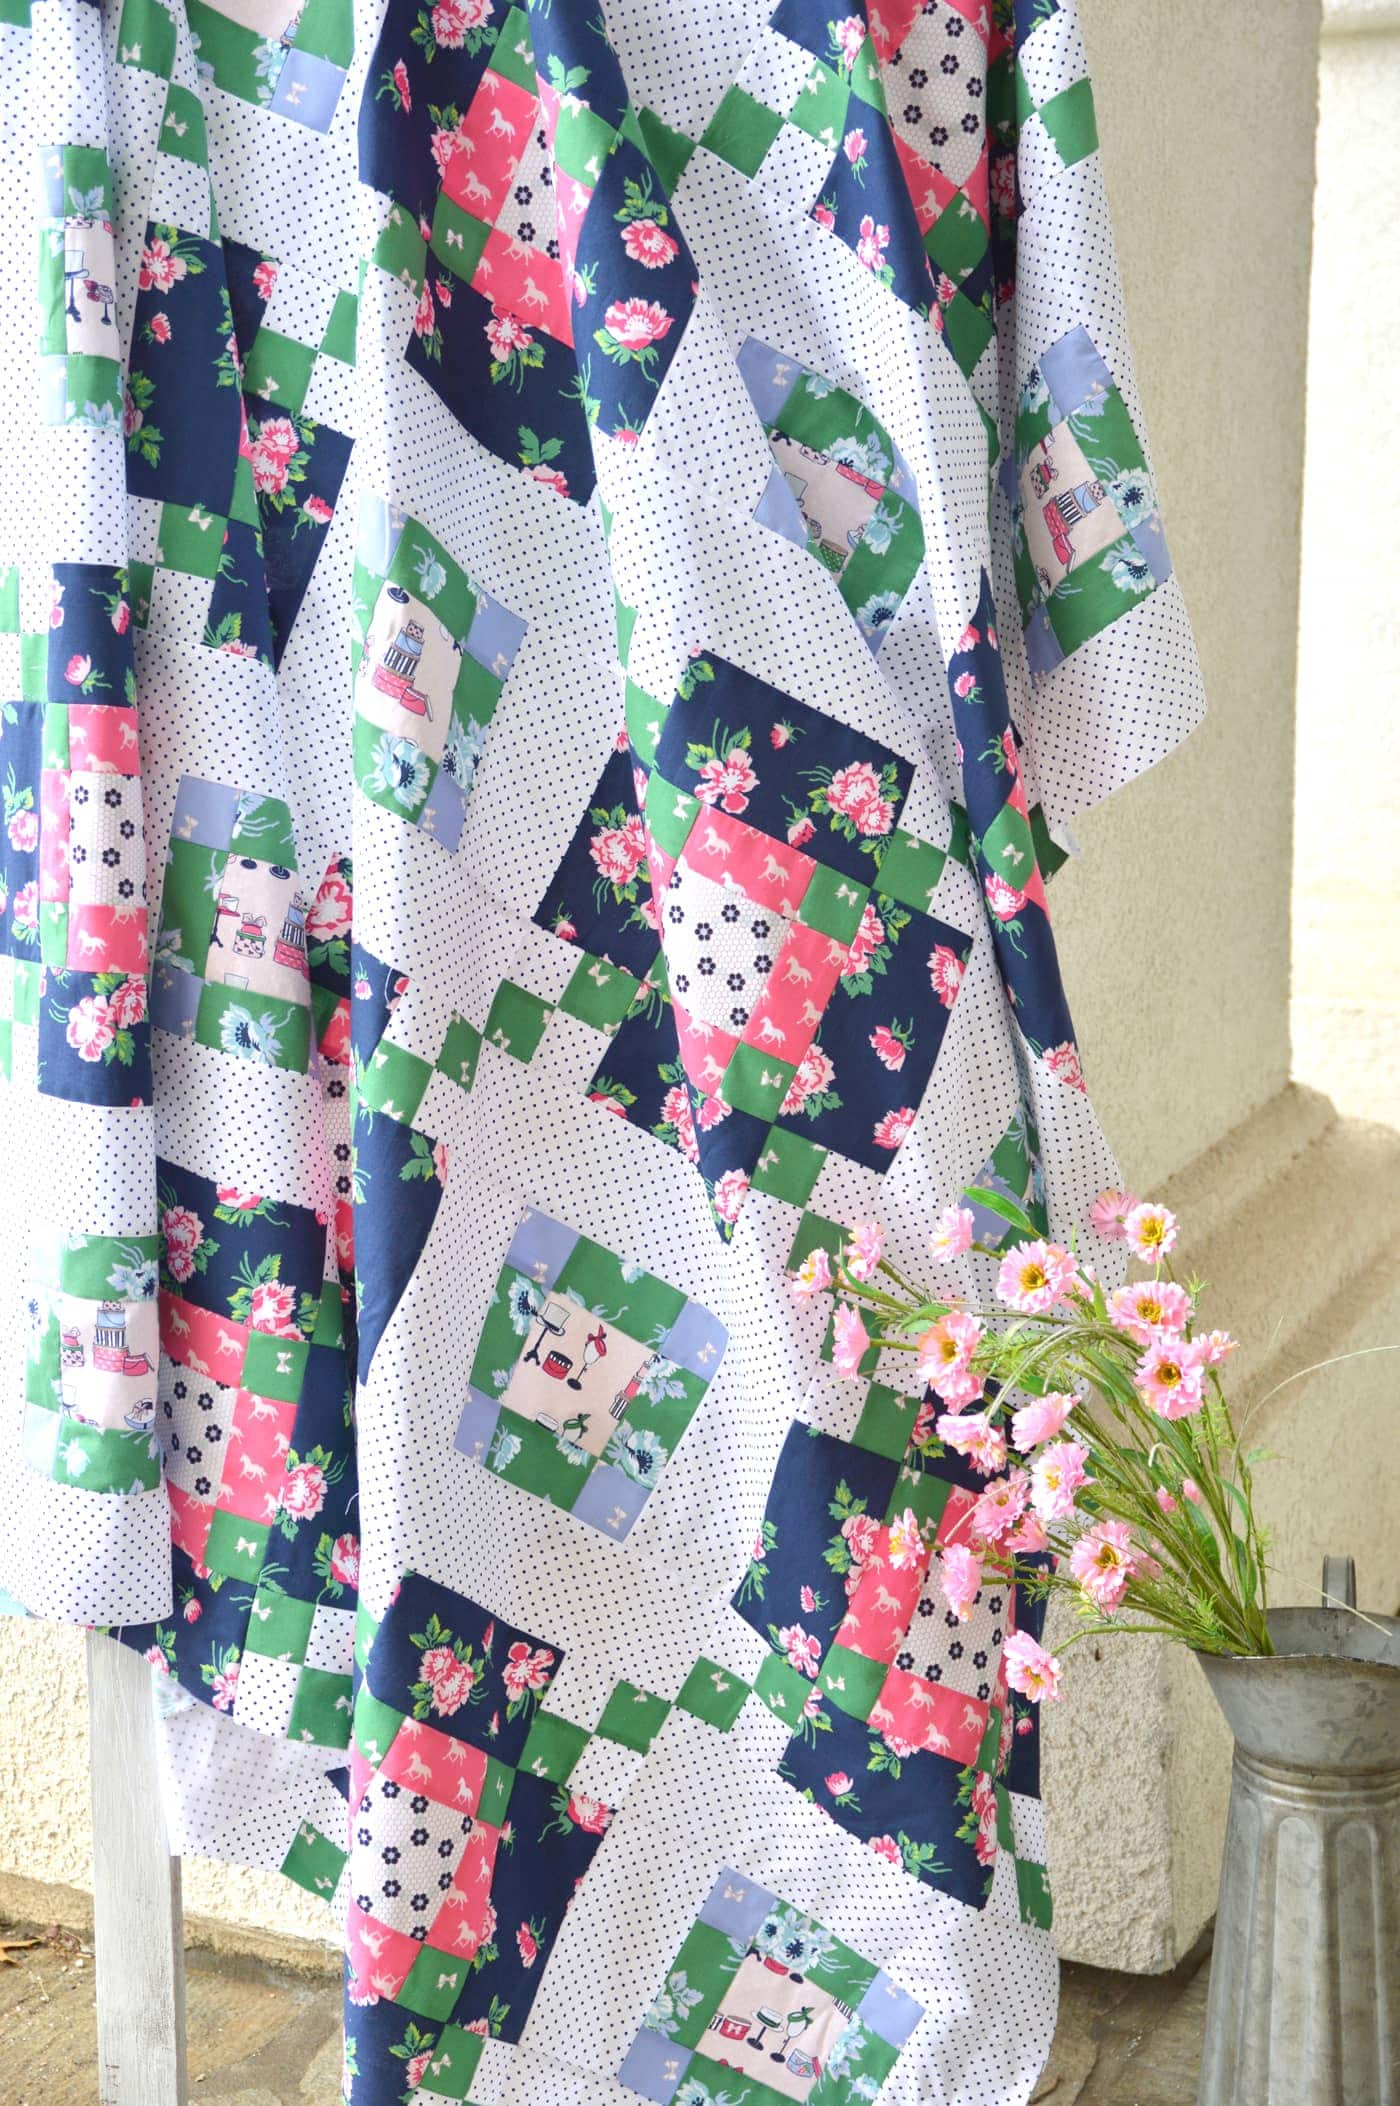
Snuggly Pre-Cut Layer Cake Quilt Pattern
This quilt pattern and tutorial sews up fast and makes use of 10″ pre-cut squares (or layer cakes). If you like this project you may also love this free hexagon quilt pattern.
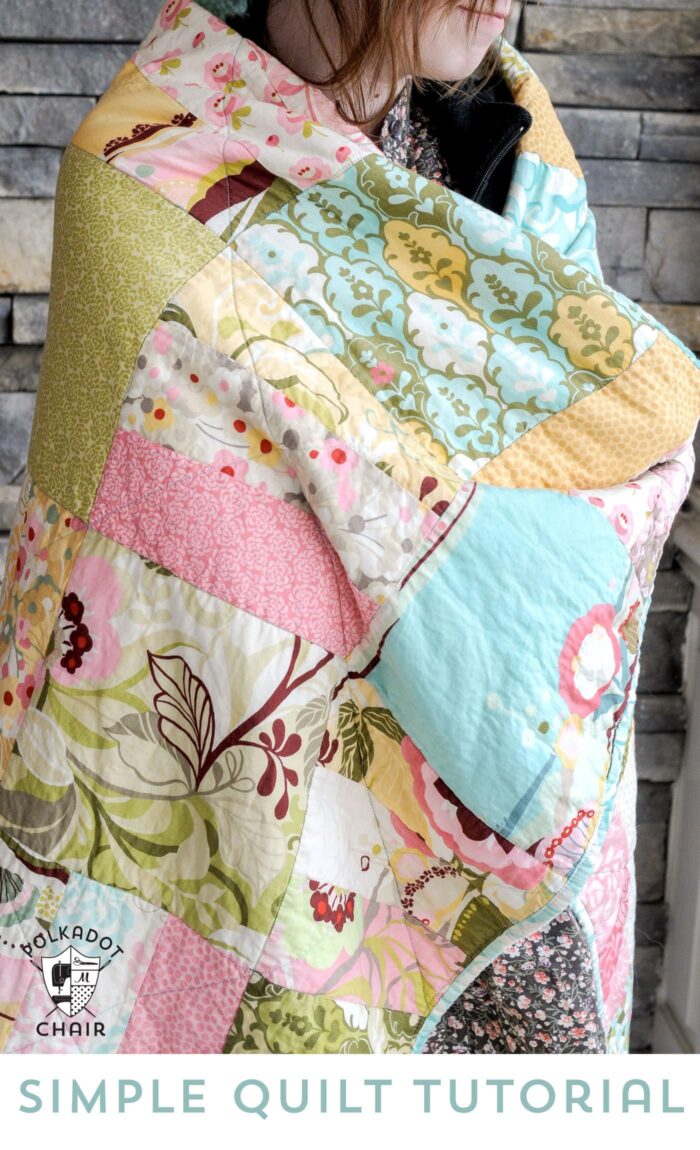
In my opinion, there are two types of quilts that are the simplest and easiest for beginners to sew. A simple patchwork quilt and a simple strips quilt.
After you’ve tackled one of those quilt projects, you may be ready to move on to something with a bit more detail.
I designed this Layer Cake Lap quilt pattern for just such an occasion. It’s still simple to construct and beginner-friendly, but it adds a bit of piecing for a bit more detail and dimension.
A “Layer Cake” is a term used by Moda Fabrics which refers to a stack of 10″ pre-cut squares all from the same fabric line. Most companies call these fabric stacks a “10” pre-cut stack” and most stacks contain 42 pieces of fabric.
Snuggly Layer Cake Throw Quilt Pattern
Supplies
- 1 10″ Precut Stack of Fabric (sometimes called a Layer Cake)
- 1/2 yard fabric for binding
- Cotton Batting (I use quilters’ dream cotton)
- 2 yds Minky for Backing
- Thread to match the backing fabric
- Optional: Applique letters or machine embroidery
Cutting Instructions
Block size before finishing: 8 3/4″ X 8 3/4″.
Finished quilt size: 41 3/4″ x 58 1/4″

- Sort your pre-cut pieces into piles based on the predominant color. It is essential to pick out all of your pieces before you start cutting. Otherwise, you won’t have enough of each color to complete the pattern. The colors I chose were pinks, creams, yellows, blues, greens.
- Save one piece that you really like (one with a large or unique print) for your center block.
- Set aside 6 each of 3 different colors for your strip blocks.
Also:
- Set aside 8 blocks of one of your other colors (blue in my case). These will not get cut.
- Set aside 8 blocks of your last color (green in my example); these will also not get cut.
Take your 3 strip colors and begin cutting the layer cake pieces into strips. Cut them to three strips 3 1/4″ wide (leave them 10″ tall for now).
When you are done you should have:
- 18 pink strips
- 18 creams strips
- 18 yellow strips.
Construction Steps
1. Construct the Strip Blocks
With the cream in the center, begin sewing the 3 colored strips together, taking care to vary the patterns not to have 2 blocks the same.

Press your seams to one side.
2. Trim the Blocks
Trim your entire block to 8 3/4″ x 8 3/4″, making sure to keep the center strip centered as you cut.
Repeat until you have 18 sewn blocks.
Take 8 blue blocks and trim them to 8 3/4″ x 8 3/4″. Do the same for your 8 green blocks and center feature blocks.
If desired, add an applique or machine embroidered name to the center of your center feature piece.
3. Assemble
Begin sewing the blocks into rows using the diagram below.

Press seams to one side, alternating each row (for example, press the seams of all of the odd rows to the right and the seams of all the even rows to the left).
When your quilt top is assembled, cut a piece of cotton batting and your backing fabric about 3″ wider on each side than your quilt top. Using basting spray, assemble your quilt “sandwich.”

With a fabric pen/pencil (something that will wash off), draw diagonal lines on the quilt top according to the diagram above (the dashed lines are your stitching lines).

I chose to use a thread that would match the backing fabric but contrast the top of the quilt.
First, using a walking foot, quilt a stitch in the ditch down the long side on each side of the center column, then once down the short side on both sides of the center row. This will stabilize your quilt to help prevent stretching as you finish quilting it.
Stitch in the ditch the remaining rows/columns of the quilt. (you are quilting around each square).
Then quilt along the diagonal lines you drew.