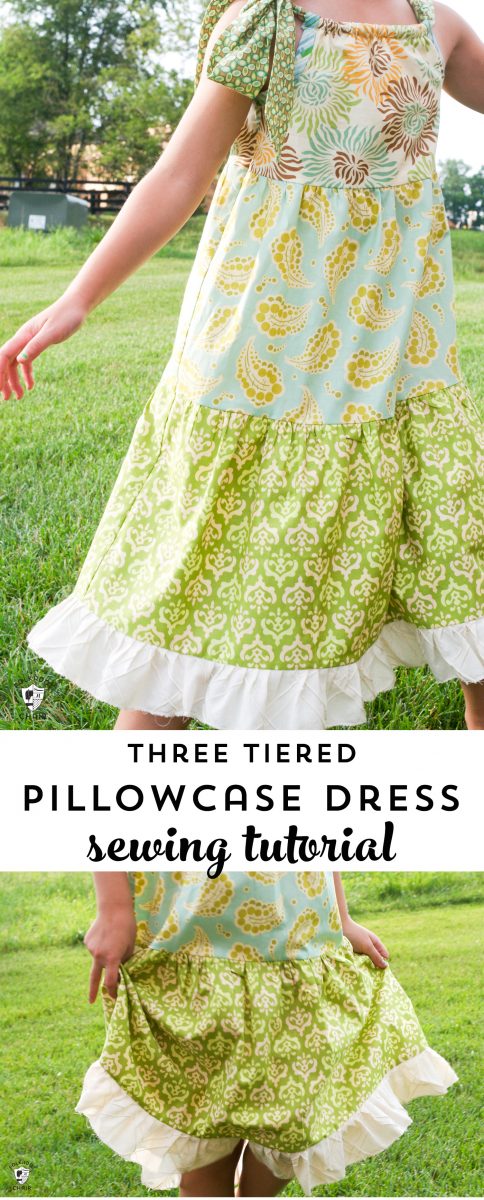
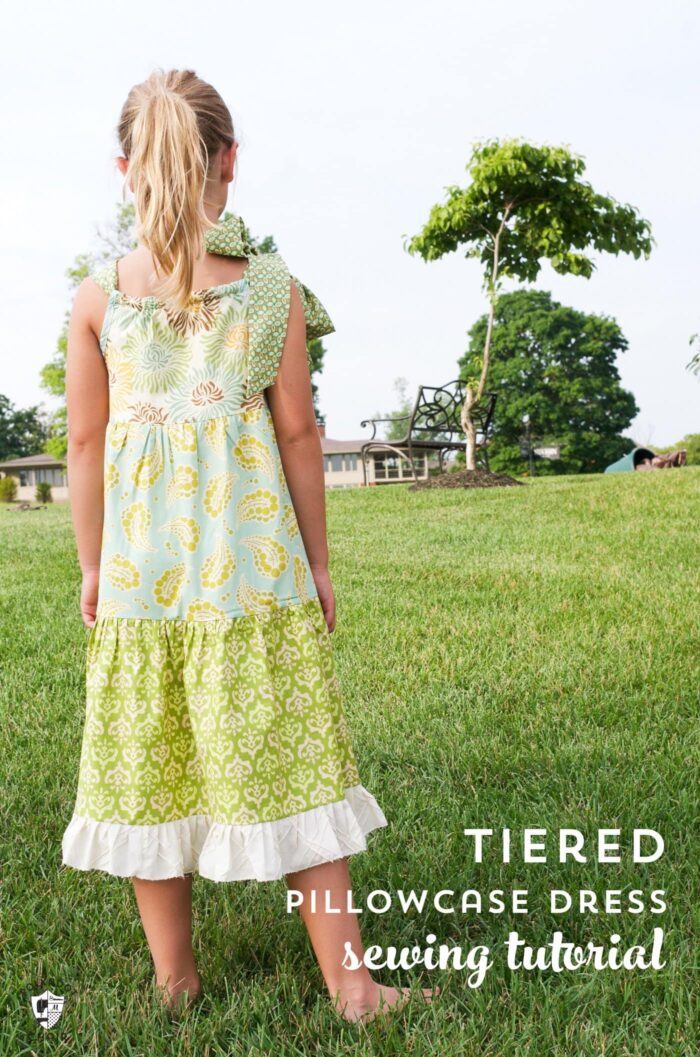
Tiered Pillowcase Dress Pattern

A few weeks ago I shared a free pillowcase dress pattern with you. I did it for a baby gift and made it along with a fun and simple baby quilt to give as a gift. This is another variation of a Pillowcase Dress, you can see my previous pillowcase dress tutorial by clicking HERE.
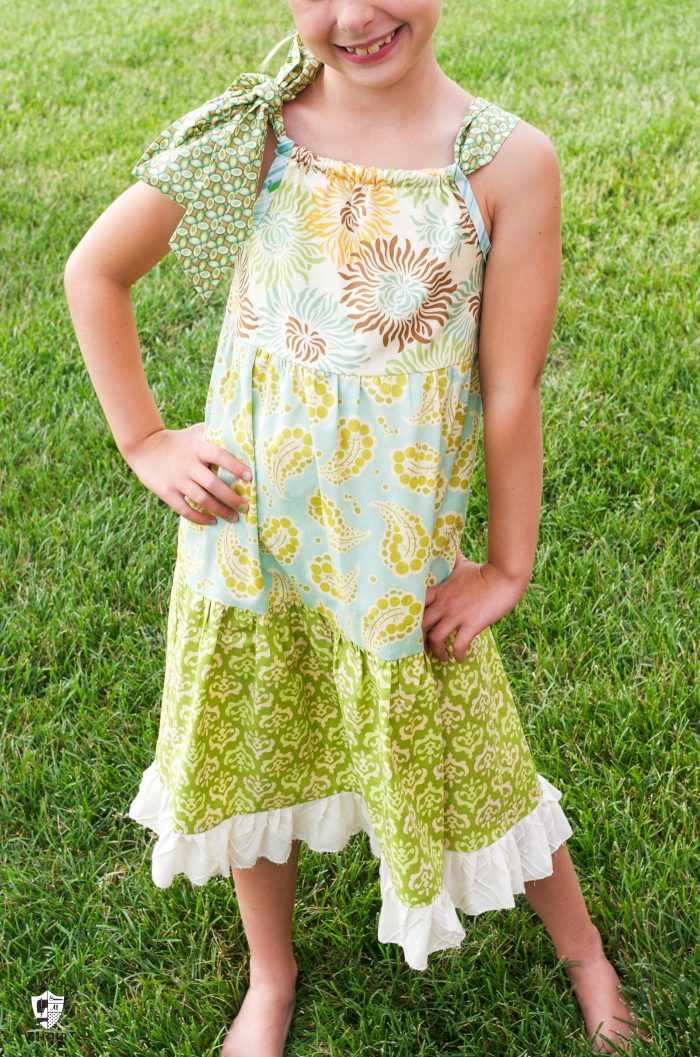
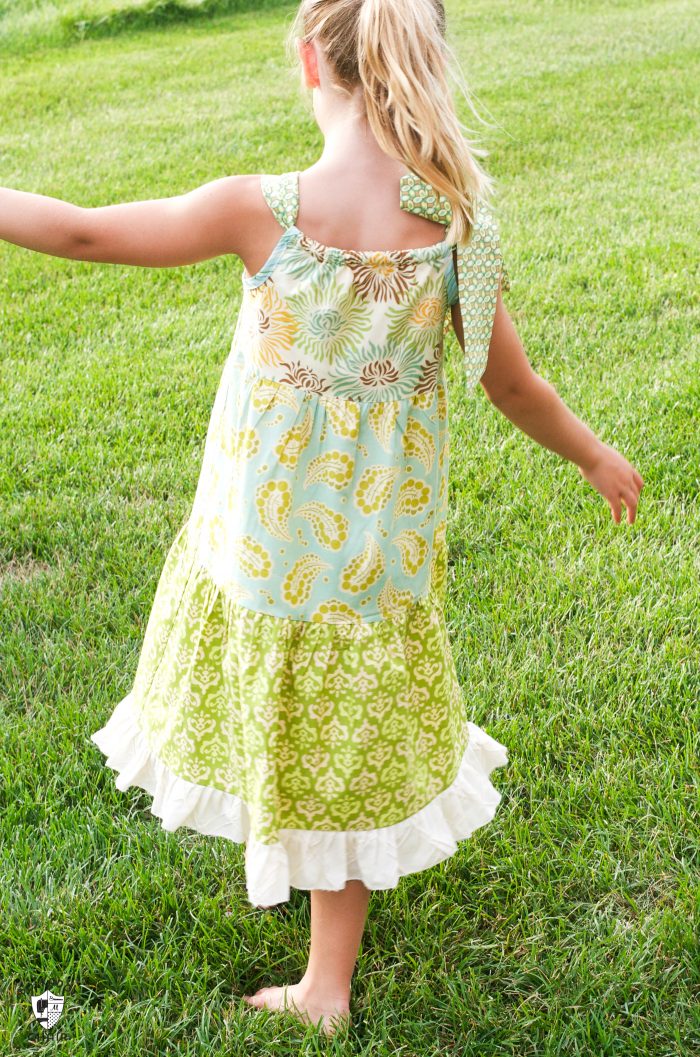
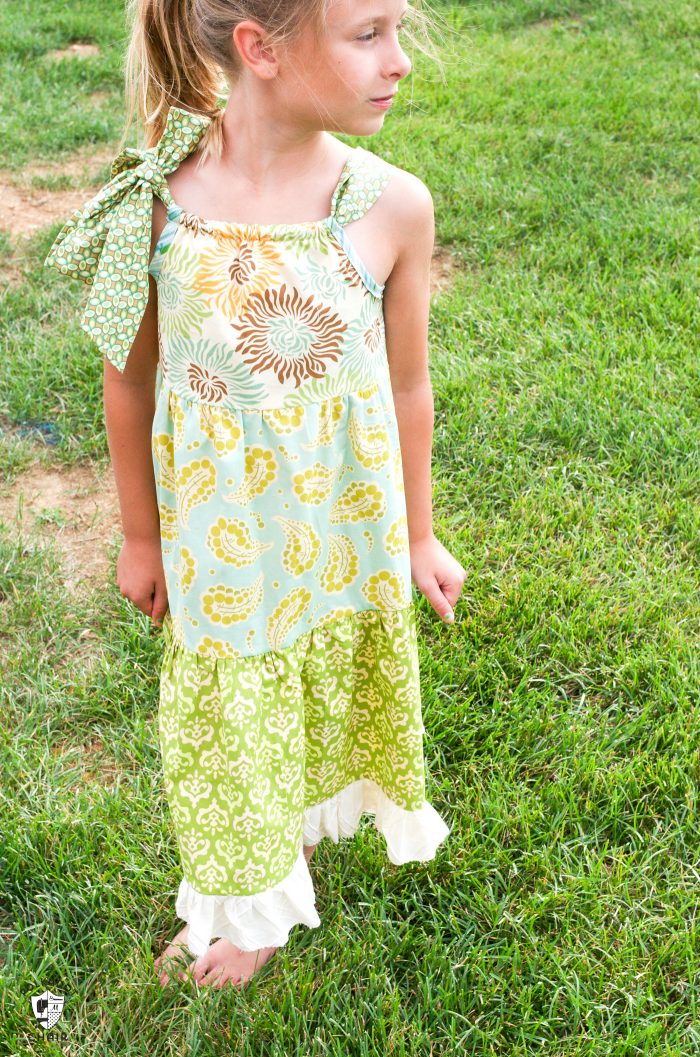
This all started a few weeks ago when I wanted to make a simple pillowcase dress for a friends baby. Then I couldn’t find a tutorial for one like I wanted, then while I was sewing it I kept thinking of ways to change it. This idea got stuck in my head this week… so stuck in fact that I could not rest until I finished it. One of the best thing about this summer dress? Is that it’s perfect for twirling!
Tiered Pillowcase Dress Sewing Pattern:
Fabric Requirements for Ruffled Pillowcase Dress:
(up to size 8, larger than that and you may need more fabric)
1/2″ yard for tier 1
1/2″ yard for tier 2
3/4″ yard for tier 3
1/4″ yard for sash
1/2″ yard for ruffle
double fold bias tape
Cutting Directions:
To begin you will need to do some math. I will include the measurements that I used if you want to recreate a size 8 dress. Otherwise, just adjust accordingly.
1- Measure from the shoulder of your model down to mid-calf. This is the overall length of the dress. My daughters were 34″. Take this measurement and divide by 3″ (just round).. I came up with 11″. This is the height of your bottom 2 tiers of your dress. For the top tier take your measurement and subtract 2″. I came up with 9″ tall for my top tier.
2- For the width of your fabric, take your model’s chest measurement. Just put the measuring tape right under her arms. Take this measurement and multiply it by 1.25. Round to an even number. My daughter was 23″.. so it came to 28″ (rounded). Take this number (28 in my case) and divide it by 2. This will give you the width of your top tier.
So the top tier of my dress was 14″ wide by 9″ tall.
3- Take the width of your top tier and times it by 1.5. This will give you the width of your 2nd tier.
The 2nd tier of my dress was 21″ wide by 11″ tall.
4- Take the width of your 2nd tier (21) and times it by 1.5″ This is the width of your 3rd tier.
The 3rd tier of my dress was 32″ wide by 11″ tall.
5- For your ruffle measurement, take the width of your 3 tier (32) and double it.
My ruffle piece was 3″ wide x 64″ long.
Now cut your sash pieces, 2 pieces, 5″ wide by 42″ long. (you will cut some of it off)
Construction Steps:
You will need the following pieces:
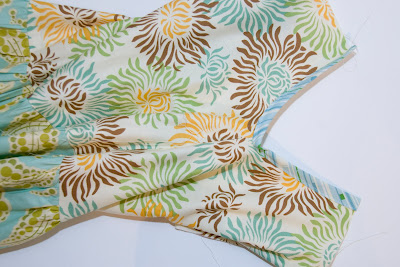
2 pieces for tier one (use your measurements from above) **for example, I cut two pieces EACH 9″x14″ for tier one of my dress, one for the front and one for the back**, 2 pieces for tier two, 2 pieces for tier three and 2 pieces for the ruffle.
Step One:
To sew dress front:
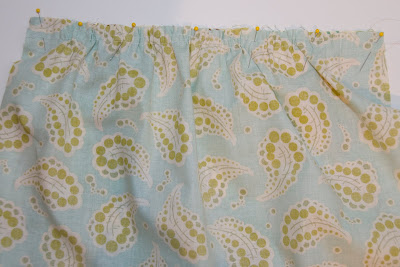
Run 2 rows of gathering stitches on the TOP only of your tier 2 piece. Pull on threads to gather fabric. Make sure your gathers are evenly spaced and pin to the BOTTOM of your tier 1 piece. Sew.
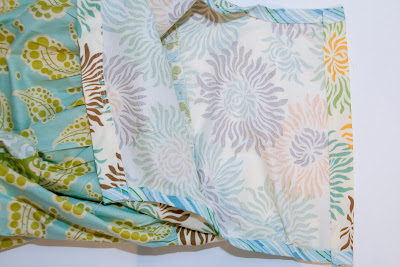
Run 2 rows of gathering stitches on the TOP only of your tier 3 piece. Pull on threads to gather fabric. Make sure your gathers are evenly spaced. Pin to the BOTTOM of your tier 2 piece.

Press & serge or zig zag seams.
Repeat for back of dress.
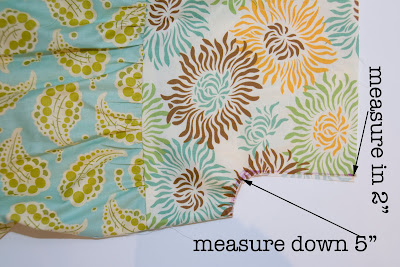
Step Two:
To make armholes in the dress. Measure in 2″ from the edge and place a mark. Measure down 5″ (or use your own measurement, an inch or 2 less than 1/2 way down). Draw a J shape and cut out. Do this for both the front and back pieces.
Sew front and back pieces together. Match seams.
Press and serge or zig-zag seams.
Finish the unfinished arm holes by sewing on bias tape. I made my own, but you could use store bought for sure.
Step Three:
Make the casing
Turn the under the top of dress 1/4″ and stitch. Press.
Turn under again 3/4″ and stitch. This will create the casing for your sash.

Sew your 2 5″x 42″ sash pieces together at 5″ edge.
Fold in half lengthwise and stitch with 1/4″ seam.
Turn right side out. Move seam to center of sash and press well.
Feed sash though dress.
Step Four:
Finishing
Gather up the dress so that it looks good to you. Then tie a bow.
Cut off the extra sash length at a 45-degree angle.
To finish sash edge, turn under 1/4″ and use steam a seam to close.

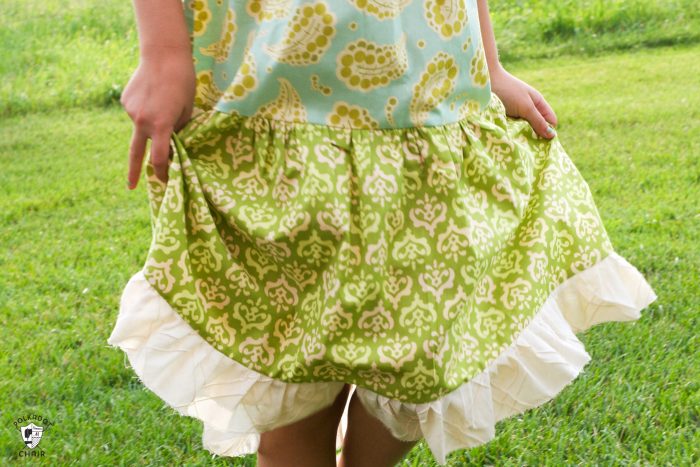
I used some cream textured cotton fabric for my ruffle. I wanted a more “organic” feel to it so I did not hem it !! (yes, I know! I was thinking of Nina Garcia on Project Runway going “you didn’t finish the HEM!!). Instead, I just zig zagged it. I was really happy with how it turned out.
There is a good ruffle tutorial here on my Sydney Skirt Pattern.. you can refer to it to attach your ruffle.

TIPS for sewing the Tiered Pillowcase Dress:
* I have made a few other pillowcase dresses (not good enough to share here). Each one I thought had a TOO BIG armhole. Making it hard to wear. I cut this armhole tighter.
* The other problem I noticed is the ribbon slipping and not holding the gathers around the neck. I made the sash MUCH wider than my casing. Now the gathers stay in place.
Other Dress Patterns for Girls that may also like:
Learn how to make a T-Shirt Maxi Dress
How to make a Simple Pillowcase Dress