Laminated Tablet Case Sewing Tutorial

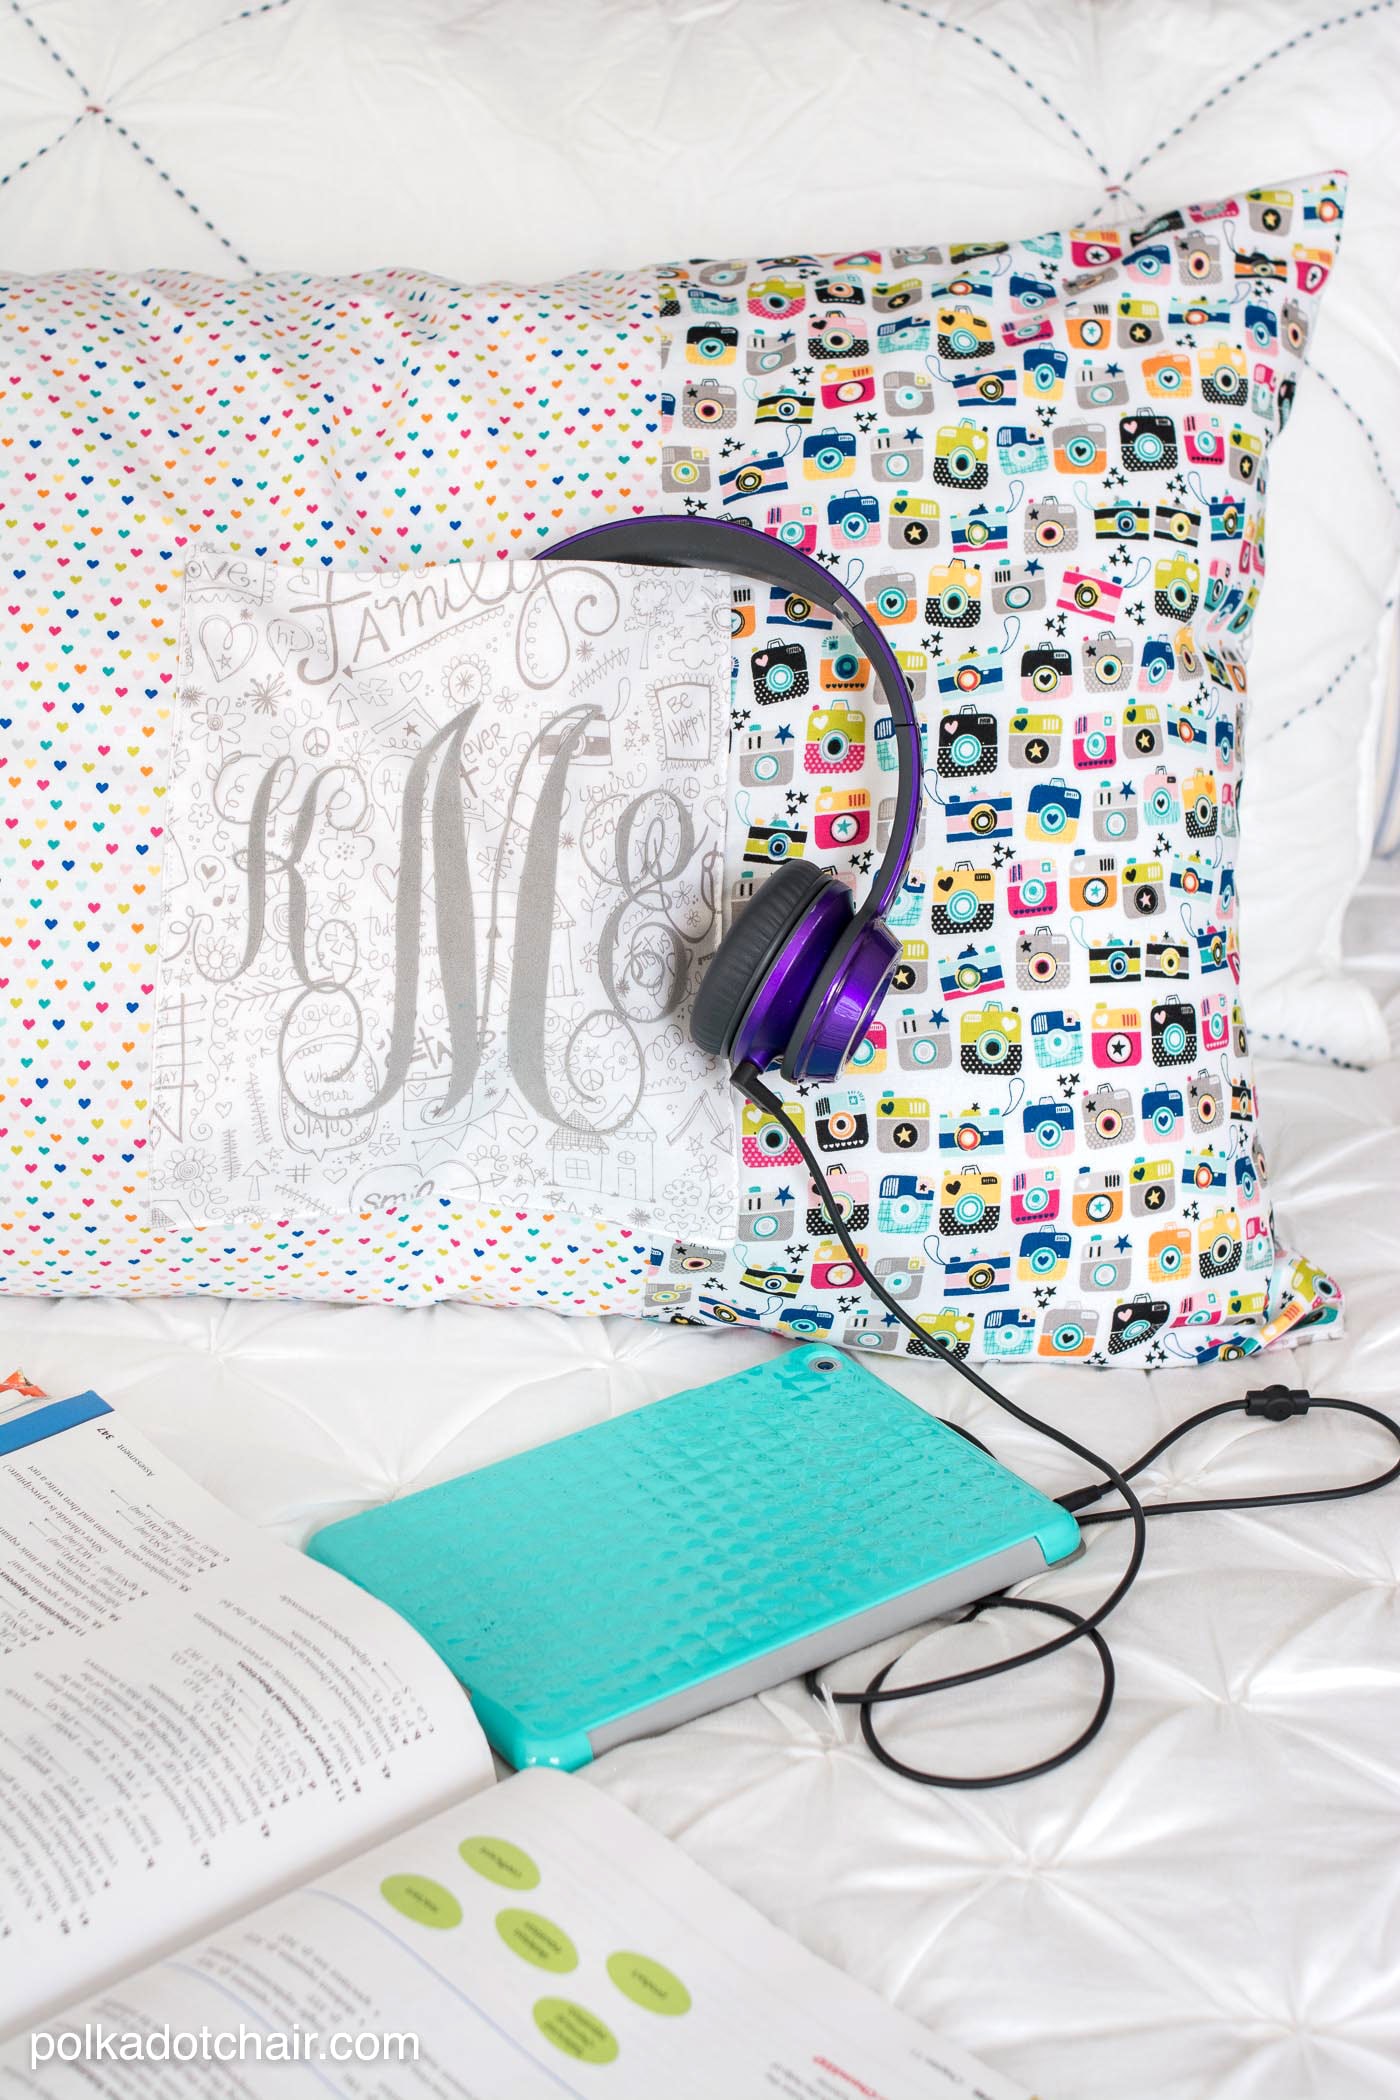
I got a Kindle a few years ago, and have loved it! When I saw they were coming out with a new one, I decided it was time to pass mine onto my daughter (less books to haul around at school).
The new one came this week and my old cover didn’t fit it. I knew very quickly that it would need a cover to survive bouncing around in the depths of my very unorganized purse!

This project is a great scrap buster! I used some fabric I had leftover from that sneak peek last week.
It’s lined with fusible fleece and corduroy. I wanted something soft but was not in to mood to work with Snuggles/Minke. The corduroy gave it great softness without creating any bulk.
To keep it from getting dirty, I laminated the fabric first. Now I can just wipe it clean.
This case was created for a Kindle, however you can also use it as a case for any tablet or phone less than 5 1/2″ x 8″. It would also be great to use as a notebook or jewelry travel case.

Supplies
- 2 pieces of fabric for the front and back, each 6″x8.5″. (I used home decor weight)
- 2 pieces fusible fleece 6″ x 8.5″
- 2 pieces iron-on vinyl (buy it in a roll at the fabric store next to the wonder under), 6″ x 8.5″
- 2 pieces iron-on vinyl 4″ x 6″
- 2 pieces fabric for flap 4″ x 6″
- 2 pieces corduroy 6″ x 8.5″
- 2 pieces 2″ wide ribbon 16″ long
- Teflon foot. You MUST have this to sew on the iron-on vinyl. trust me 🙂
**edited to add:.. As I’ve been using this I think the measurements are a bit snug, IF you line it with anything heavy (like Minke, Snuggle, or thick corduroy I would recommend increasing your measurements by 1/2″, so 6.5″ x 9″.
**note: if I were to make this project again, I would use lightweight fusible interfacing on the back of the corduroy pieces. They stretched a bit and could use some stabilization.
ALL seams are 1/4″ unless noted
Instructions

First apply the iron on vinyl to your front and back pieces and flap and flap lining pieces. To do this, peel the vinyl off of the paper. KEEP THE PAPER.
Place the vinyl sticky side down onto the right side of the fabric.
Place the paper (you just peeled off the vinyl) shiny down on top of the fabric/vinyl. You will have the grid side up. Make sure that the vinyl is completely covered (unless you want a mess on your iron!) and iron.
KEEP your paper pieces, once I cut a 16×16 piece of iron-on vinyl and I kept the paper backing. That way it’s a big enough piece to press your project when you are done. You CAN iron on the vinyl afterward, you just have to use the paper it came with to protect your iron!

Take one of your pieces of ribbon and pin it to the long side of one of your flap pieces. Stitch in place.

Using a spool of thread, trace a curve onto the 2 bottom corners of your flap. Place your flap and flap lining pieces together, stitch with a 1/4″ seam. Clip your corners and turn right side out. Press (remember to use your leftover paper).

Top stitch the edges. Set aside.

Using your leftover paper from your vinyl, iron the fusible fleece onto the wrong side of your 2 outside pieces.
Stitch your 2nd piece of ribbon onto your front piece. Stitch it 3″ in from the left edge (the edge the flap will be attached to) and centered. Stitch one straight stitch, then zig zag over the raw edge of the ribbon.

Fold the ribbon back and stitch in place. Make sure you back stitch.
Place front and back pieces together, right sides together. Round the 2 bottom corners as you did for your flap piece, and stitch a 1/4″ seam around the 2 sides and the bottom, leaving the top open. Clip your curves.

Stitch your 2 lining pieces together with 1/4″ seam, clip curves turn RIGHT side out and press.

Take your flap piece and slide it into your pouch. You will want the right side of your flap facing the BACK side of your pouch. Stitch in place.

Slide the lining piece into the pouch, the lining will be RIGHT side out and the pouch will be wrong side out. Pin well.
Stitch around the top opening. Starting at one side seam around the back of the pouch (the part that the flap is sewn to) and ending at the other side seam. Make sure you backstitch. Do not sew the front.
Turn right side out.

To close the opening on the front of the pouch, turn under and pin. Then topstitch in place.
Clip your strings and press! (remember to use your leftover paper piece, as long as you have that piece you can press out the wrinkles that will come as you sew)
Enjoy! I think these would make fun and easy gifts at Christmas time!
More Tablet Cases
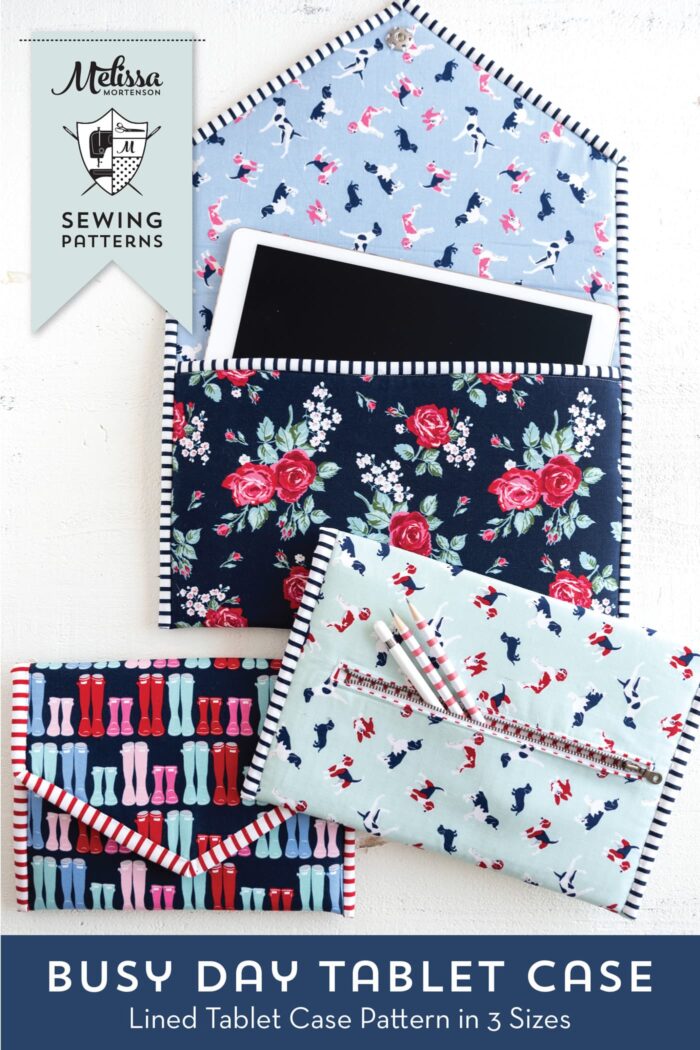
If you’re looking for a larger tablet case, then you may like our Busy Day Tablet Case Pattern.