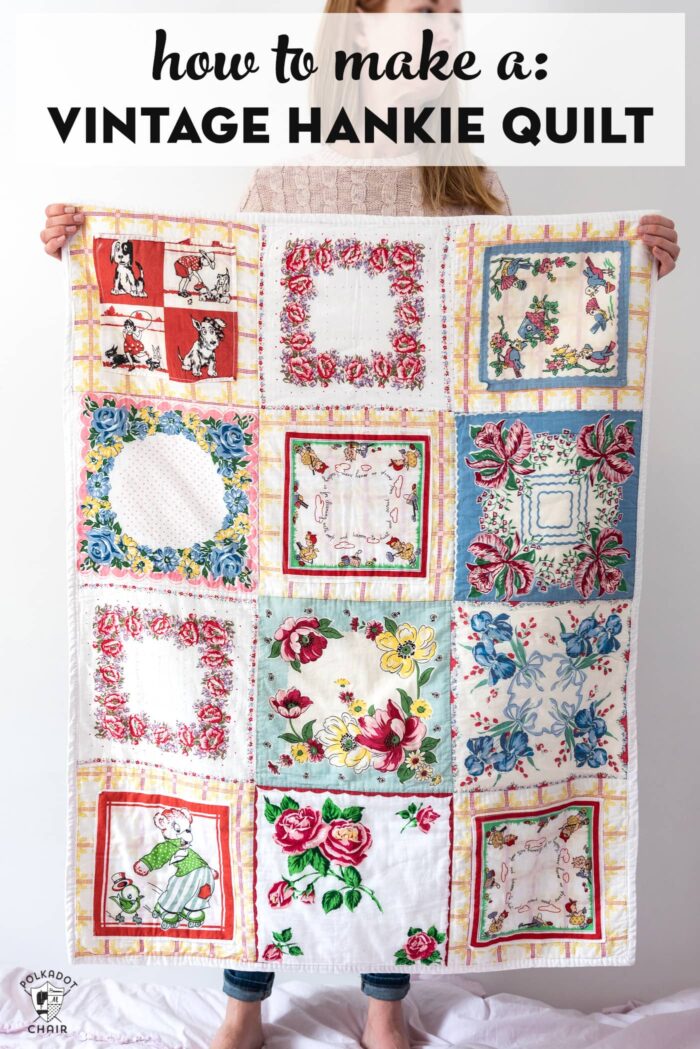
How to Make a Vintage Hankie Quilt
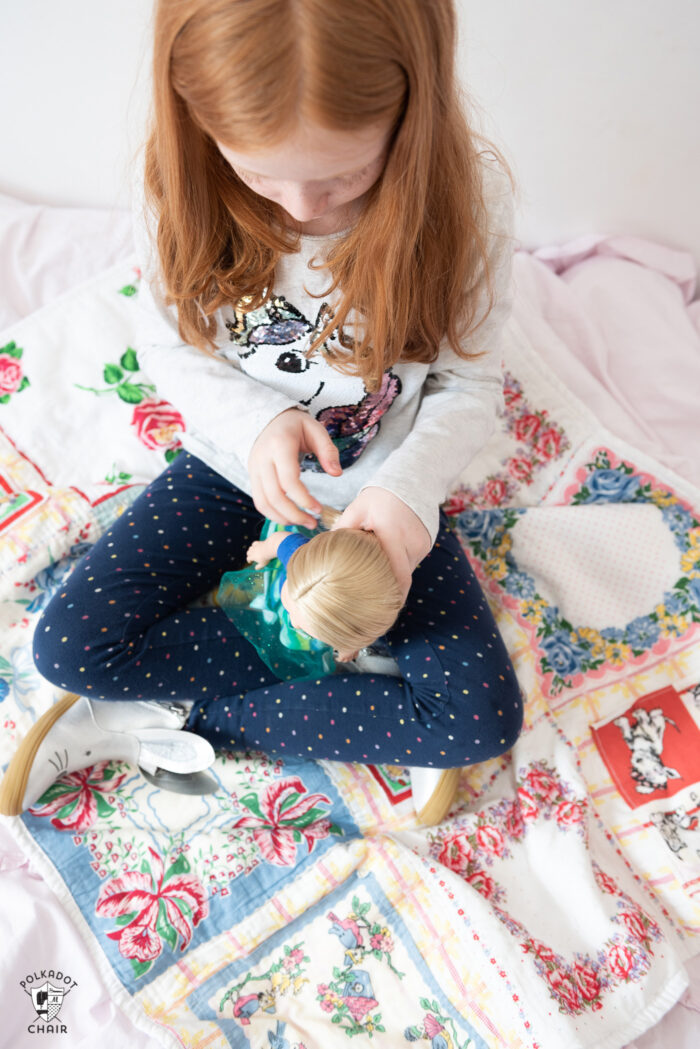
Today I’m going to show you how to make a Vintage Hankie Baby Quilt. It’s a great way to use up some vintage handkerchiefs taking up space in your closet! I think this quilt makes such a sweet keepsake for a new baby!
I love to collect vintage linens, the unique styles, colors, and prints that you can only seem to find in vintage linens. My sister had a baby girl and I decided to use up some of my stash of vintage hankies to make a quilt for her sweet baby girl.
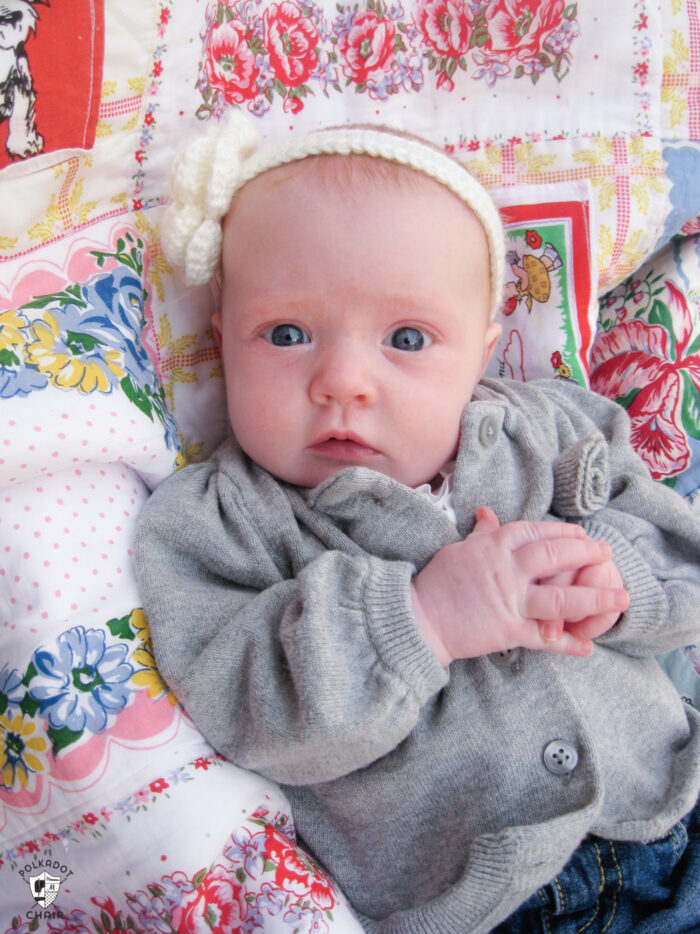
(and here is that sweet baby girl many years later)
Vintage Hankie Quilt Pattern & Tutorial
One of the things I love about this quilt is that it’s incredibly soft, totally one of a kind and perfect for little ones to snuggle up in! It’s extra soft since I backed it in chenille (if you use chenille DON’T forget to prewash).
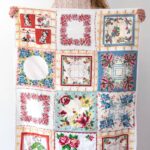
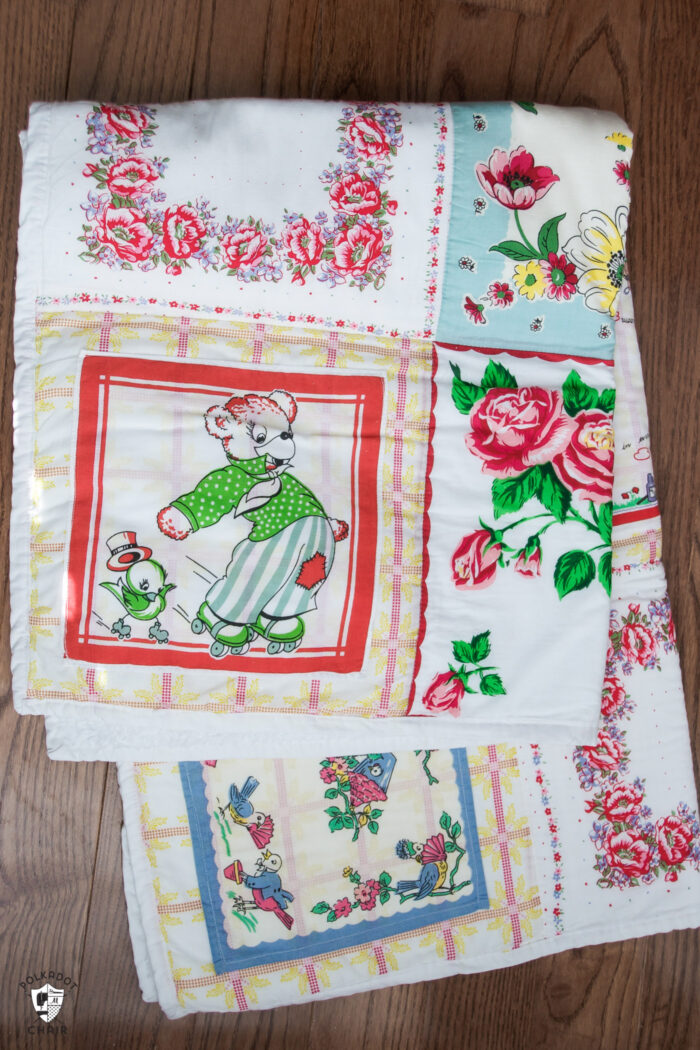
I’m very happy with how it turned out. It’s made from Twelve 9″x9″ blocks. I’ll share with you a little about how I made it.
Where to Find Vintage Hankies
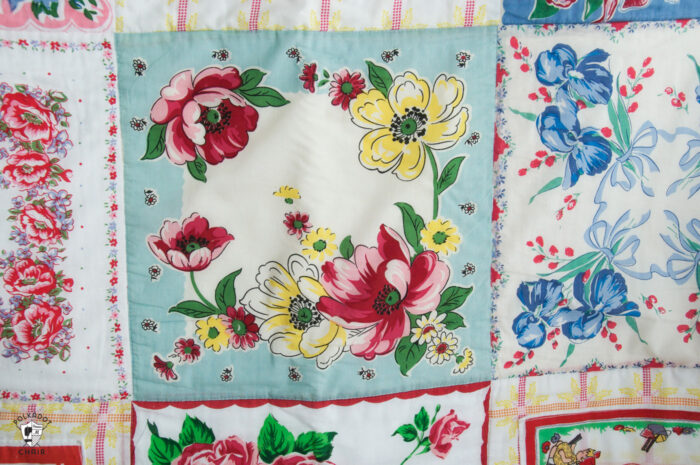
I can usually find vintage hankies at local thrift shops for less than a few dollars apiece. You can also find them on Etsy. When I was picking out ones to use in this quilt, I looked for red or turquoise ones to hopefully tie the colors of the quilt together.
Just a note before we get started. I have received A LOT of emails telling me that I should not EVER cut up or sew vintage linen. I understand their perspective. However, I would argue that these hankies are much better used (and remembered) in a quilt. Seriously, otherwise, they’re just sitting in a box in a closet, and who gets to enjoy that?
Okay to make the quilt…
Supplies
My Quilt is approximately 25″ x 34″
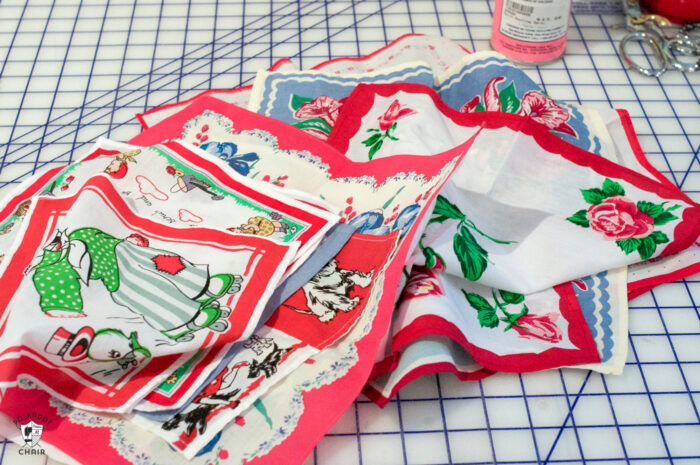
- 12 Vintage Handkerchiefs – try to get them all close to the same size; if you can’t find 12 the same size, I’ll talk about handling that.
- 1/2 to 1 Yard of a Lightweight Cotton like a Voile or a Lawn (Liberty would be great for this!)
- Quilt Backing: 1 yard of fabric – I used chenille, but you can use whatever you’d like.
- Binding: 1/2 yard
- Quilt Batting to fit quilt size
NOTE: I normally do not pre-wash my fabrics, but since your hankies have been washed (let’s hope at least!) already, you want your other fabrics to be washed as well. Wash and dry on low your voile fabrics and quilt backing.
Instructions
Step One: Decide what size Squares you want to work with
Measure your largest hankie then subtract 1/2″ from each side. So if you have a 10 1/2″ hankie, you’re dealing with 10″ squares.
If you only have one large hankie and the rest are small, I recommend going with whatever is the most common size. Assuming you’re ok with trimming your largest hankie down to size.
So if most of your hankies are 9 1/2″ squares, and you have one that is 10 1/2″, I’d trim the 10 1/2″ one down and work with a 9″ square as your base. Adjust based on what you have on hand.
On your largest hankies, trim the hem off of the hankies so that they are 10″ x 10″ (Or whatever size you’ve decided to work with).
Step Two: What to do with Small Handkerchiefs
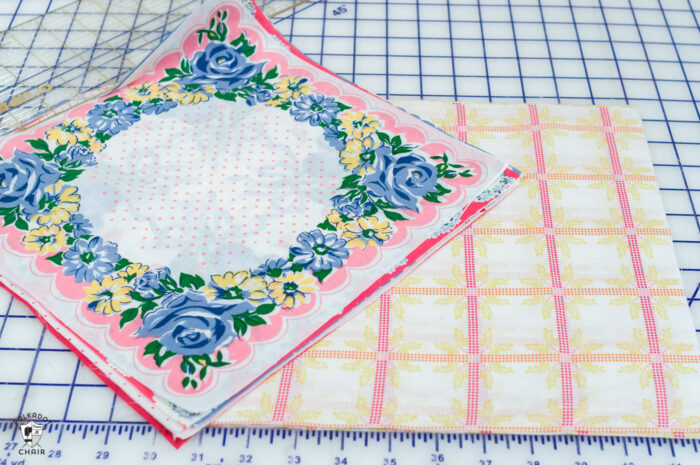
Cut one piece of Voile or lawn for each of your small hankies. Center the hanky on the square, and stitch the hanky to the square leaving the original hem on. You will stitch right on top of the existing hem.

Step Three: Assemble the Top
Arrange your squares into 4 rows of 3. I like to use a quilt wall to help me decide on a layout. It makes it much easier to visualize.
Stitch each of your rows together, and press the seams to one side. I like to press my even rows to the right and odd rows to the left.
After your rows are sewn, stitch the rows together.
Step Four: Quilting

Make a Quilt Sandwich and stitch the quilt using straight seams. I think the easiest thing to do since you don’t want to cover up the hankies is to do a “stitch in the ditch.” This means to stitch quilting lines into the seams between the squares.
To see how to make a “quilt sandwich” check out this tutorial.
This post was published previously. It has been updated with additional information and instructions.
More Fun Vintage Hankie Projects:
Baby Burp Cloths Made from Vintage Hankies