Whew!!
How was your all’s weekend? Ours was crazy busy…. We had a family wedding to attend, sick kids needing to get better, and a million errands to run.
In the midst of it all, I spent lots of time last weekend doing this…
Writing, editing, and writing again, and fighting with the computer to get my newest pattern ready to for you! Let’s just say that Photoshop, InDesign and Illustrator were all my best friends last week.
So now…
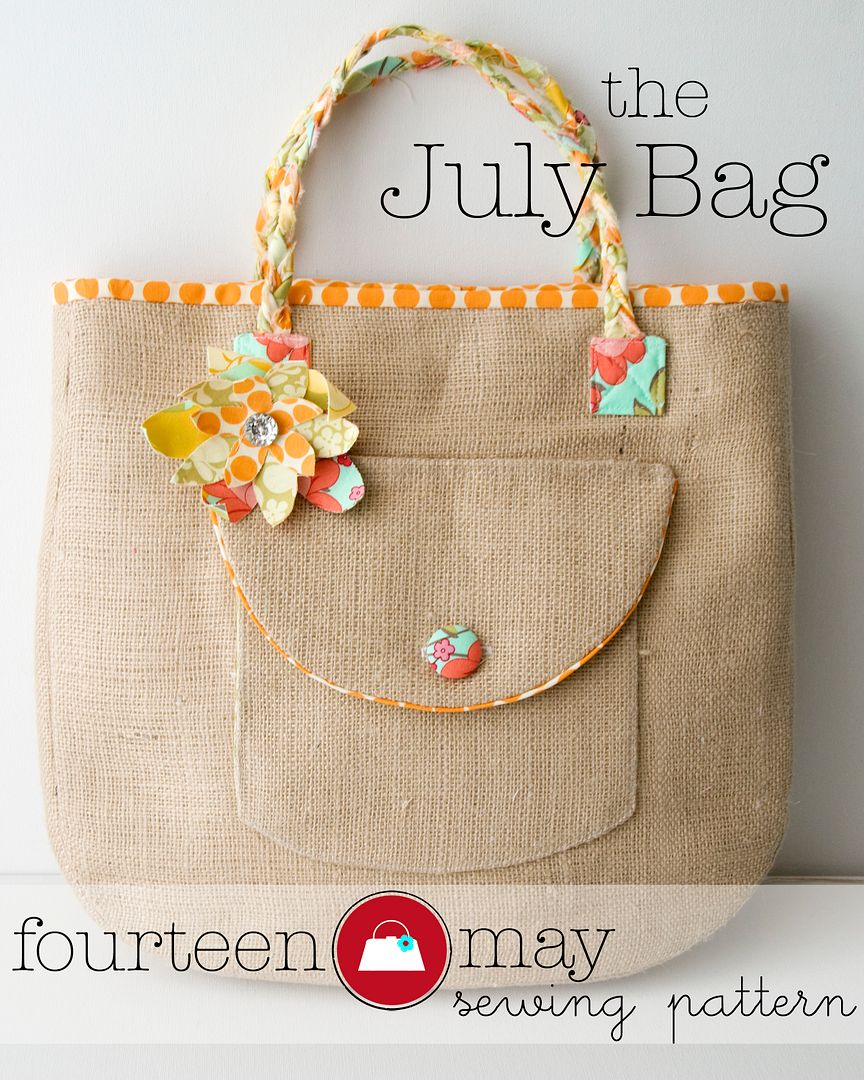
I’m so excited because I really LOVE this bag!! I’m KEEPING this one for me!!
It will be perfect to take on Spring Break with me next month, and is a great way to kick off the “Journey” theme this month on my blog!
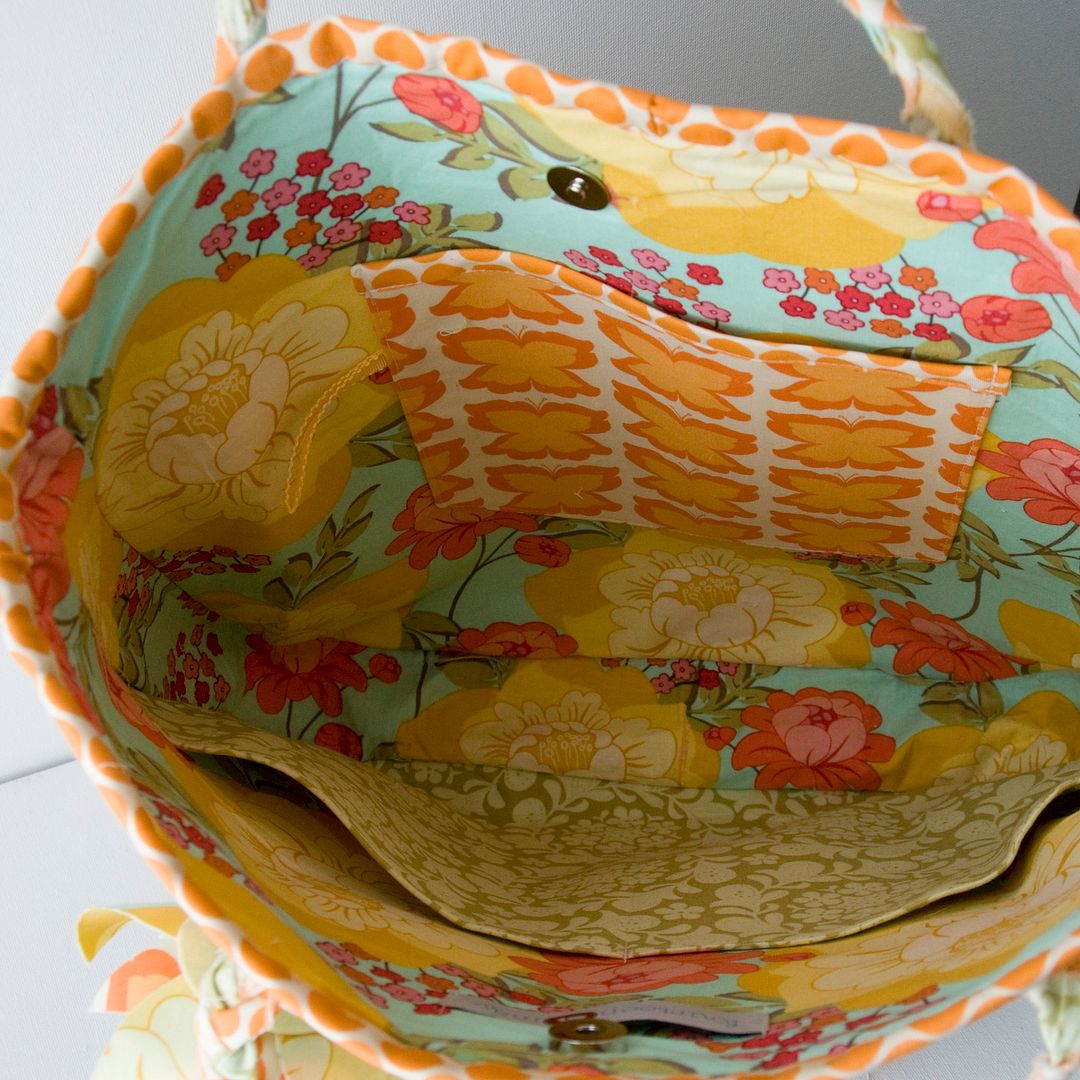
It’s constructed from reinforced burlap and is lined with fabric to add a fun bright touch.
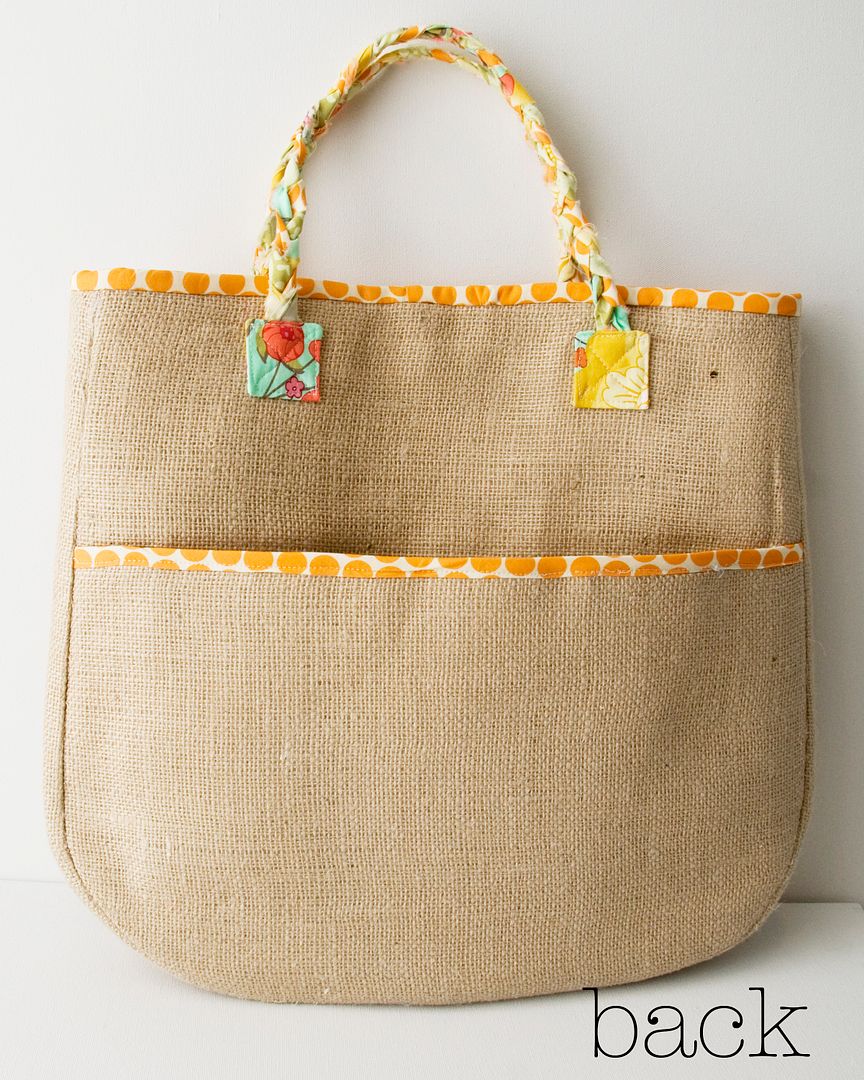
There are lots of pockets both inside and out…
and features a braided handle to add little something “different”(Plus it’s softer to carry on your arm when loaded up with stuff!).
The pattern is in Adobe Acrobat (PDF) format and is 18 pages. It features FULL color photos and step by step instructions. I tried to make it as easy to follow as possible.
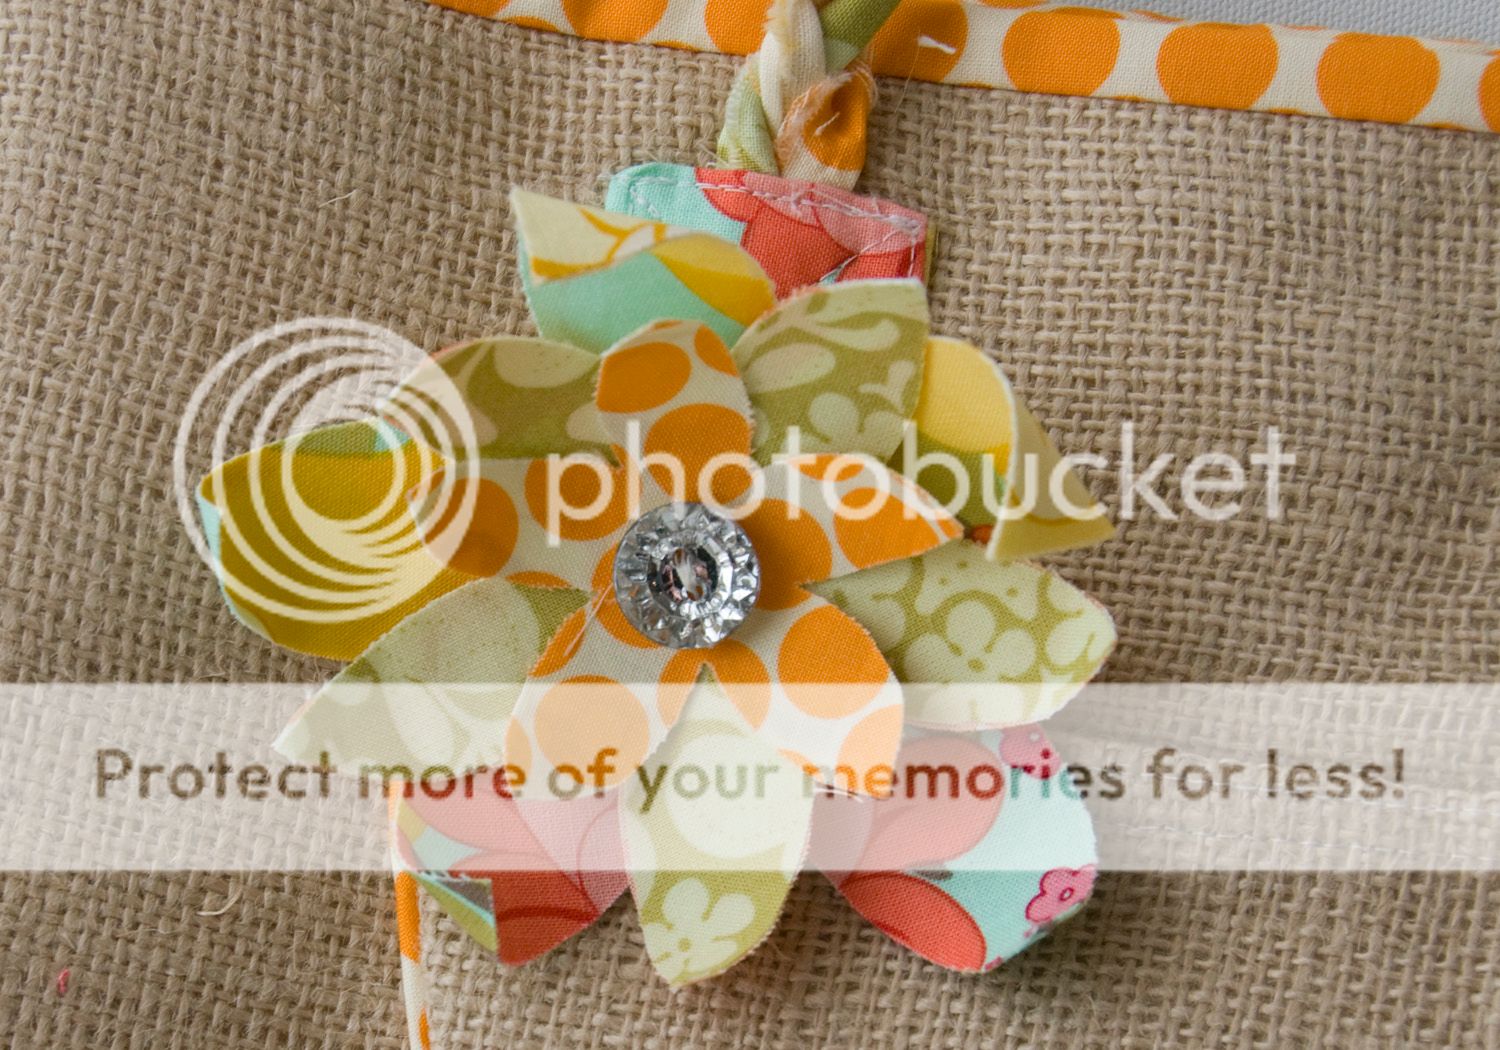
Also included are instructions to make the fabric flower pin on the outside of the bag.
And
Since I love you guys so much… I decided to put a little “freebie” on my blog and include the PDF pattern and instructions for the fabric flower for you!
Please respect the copyright on this free pattern, as I drew it myself and it took me many, many hours in Illustrator to get the shape just right…
To make Fabric Flower:
Download the PDF of the flower pattern.
Fabric Flower Pattern
Trace each of the 3 flowers on to the slick side of Heat N Bond Lite. Cut roughly around the edges and apply to WRONG side of a piece of fabric.
Cut out flower. Remove heat n bond backing.
Press onto WRONG side of 2nd piece of fabric. Cut out around flower.
Repeat for all 3 flowers.
To add dimension to each flower piece, curl up edges and pin. Steam with your iron.
Using your fingers adjust “curling” of flowers until you get something you like. Use the steam setting on your iron to hold in place.
Layer all 3 flowers on top of each other. Stitch together at centers. Stitch button to center of flower.
Hot glue a 2” circle of felt to the back of the flower. Hot glue pin back in place.
Linking Up: