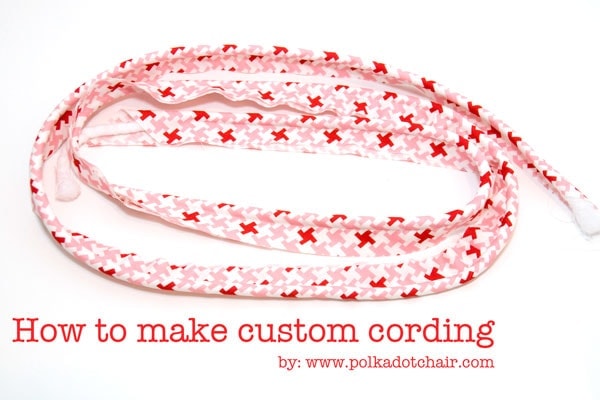
How to make custom cording
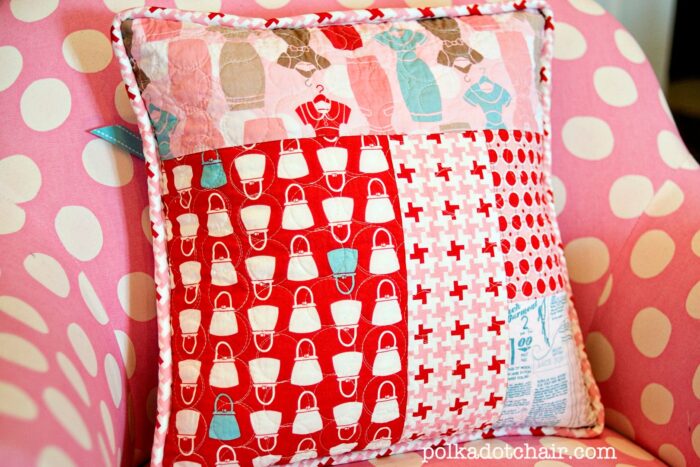
Learn how to make custom cording that you can use for home decor projects, like throw pillows with our free how-to make cording tutorial.
What is the Difference Between Cording and Piping
Generally speaking, cording is used for larger home decor projects. You will see it in the seams of throw pillows, couch cushions, and some dining chairs. It is made using a thicker cord.
Piping is made with a smaller diameter cord or string. It is mostly used in clothing and bag construction.
Custom Cording Supplies
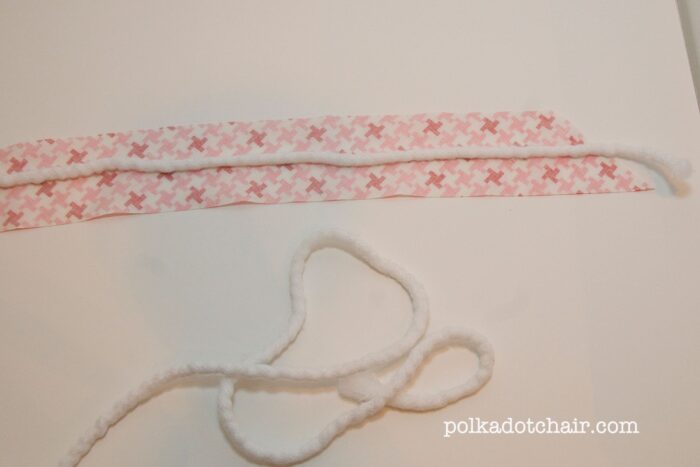
- Cording- it looks like a really fat shoelace. You can buy it in the upholstery section of most fabric stores, it is usually sold by the yard.
- Zipper foot or cording foot- I prefer the cording foot, but I used my zipper foot for this tutorial and had great results.
- Quilt ruler that marks a 45-degree angle.
Step One: Cut your Fabric
I prefer to make my cording with fabric cut on the bias. It gives a nice finished edge going around curves and corners and I like the look of fabric cut on the bias.
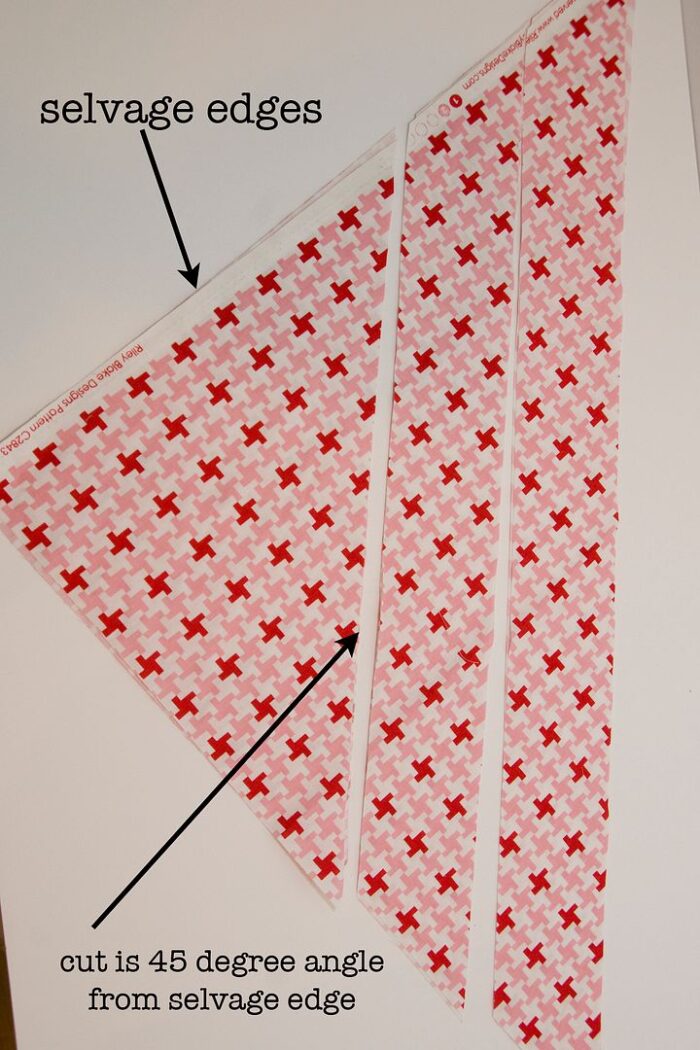
The first thing you need to do is cut your bias strips. For upholstery cording, I prefer 3″ wide strips of bias. I trim them down after they are sewn.
Take your piece of fabric (you will need at least 1/2 yd) and cut a triangle shape off of the top at a 45-degree angle to the bias. (it will be a triangle shape because you are cutting at a 45-degree angle, not because you are trying to make a triangle).
From your first cut measure 3″ and cut a strip. Then measure an additional 3″ and cut another strip. This is should be enough fabric for most applications.
Next, sew your strips together to have one long 3″ wide strip of bias. Cut the seams down to 1/8″ and press.
Step Two: Sew Fabric Onto Cording
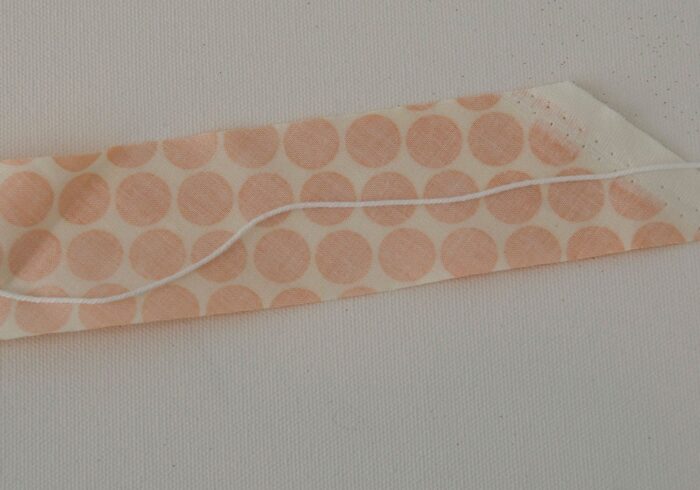
I think it is easiest to fold the fabric over the cording as I sew and not pre-pin. You are going to center your cording in your bias strip and fold the bias over so that the edges meet.
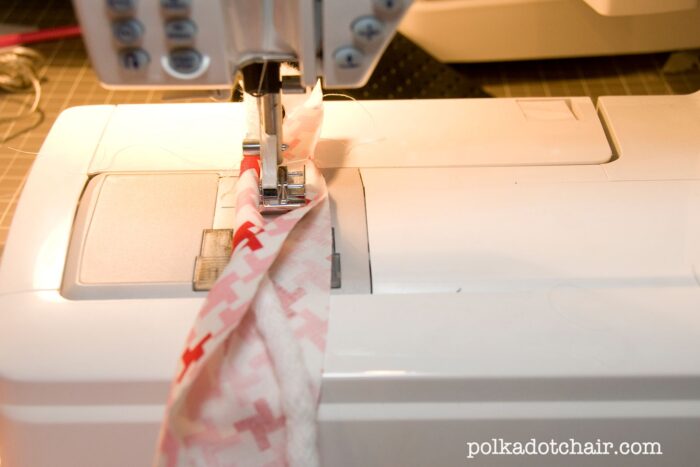
With your zipper foot on your machine, stitch as close as possible to the cording. You will need to adjust your needle to the left in order to do this. Just adjust the needle until it is very close to the cording but not sewing into the cording.
Slowly feed the cording/fabric through your machine until you reach the end of your cording.
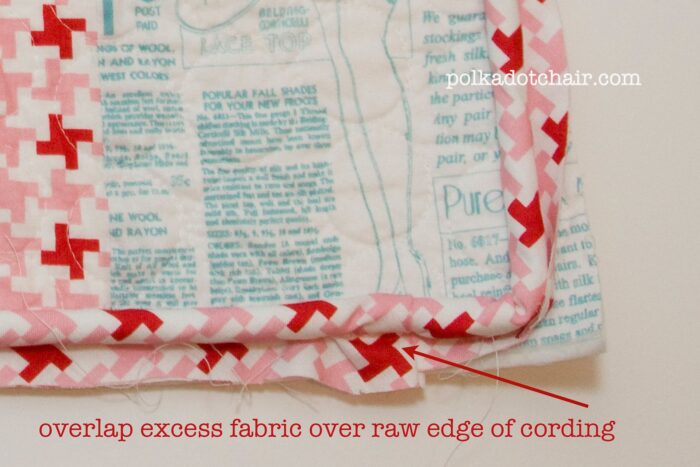
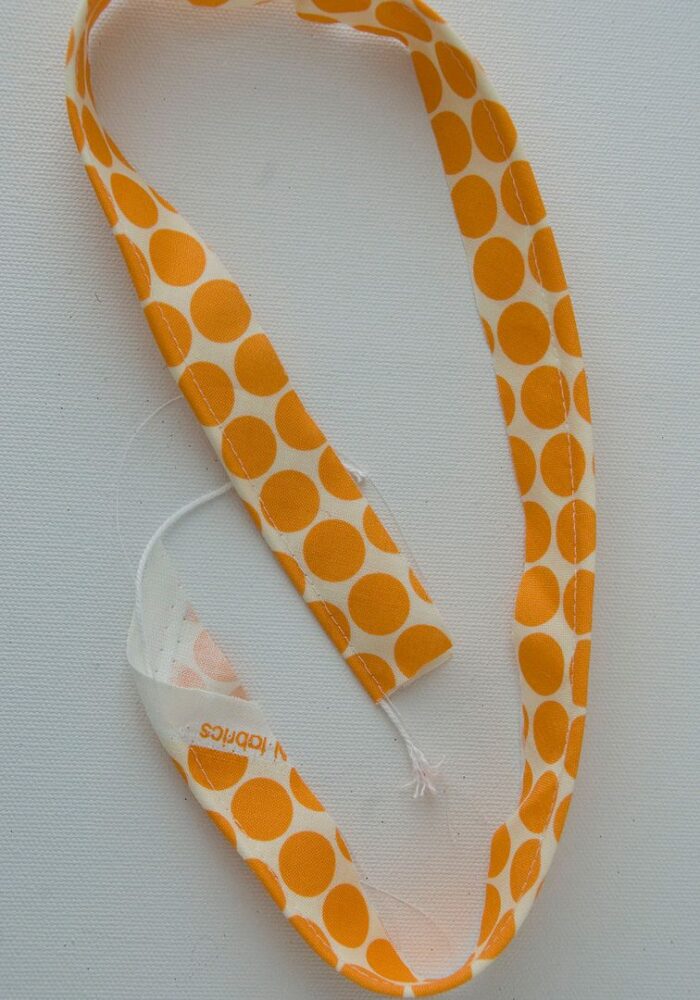
How to Join Cording Ends
Next, trim down the fabric on your cording to 1/2″, otherwise you’ll have a giant seam allowance on your pillow.
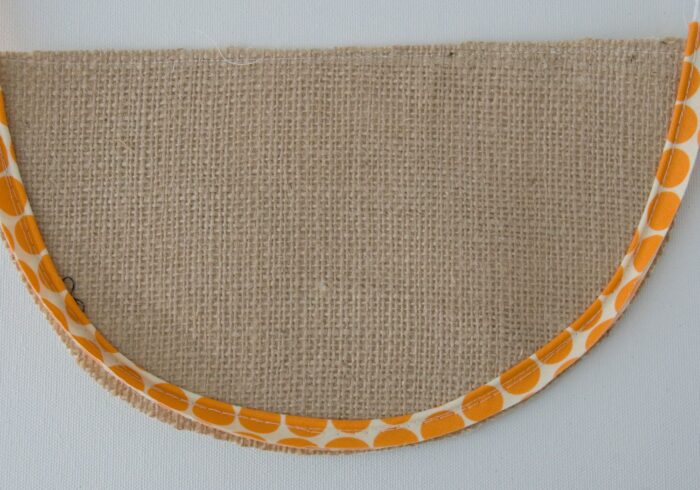
To attach the cording to your pillow you will want to line up the edge of the fabric side of the cording with the raw edge of the pillow. Still using your zipper foot sew the cording to your pillow. When you get to where you started, unpick the fabric from around the cording and cut the cording ONLY leaving the fabric hanging over the edge of the cording.
Then fold the edge of the fabric under and overlap the fabric flap with the beginning of the cording. This will give you a nice finished edge (You will have to also unpick the cording from the pillow at the start point so that you can fold the flap over the top).
When you stitch another fabric on top of the cording (as in a pillow back) just make sure you sew along the SAME stitching line you made to attach the cording to the pillow front. Then you know that the cording will be placed perfectly on your finished project.
How to Make Piping
You can use the same technique to make piping (a smaller scale cording used mostly for clothing construction).
You will need piping string instead of cording and you will cut your bias to 1 1/2″.
You can see the piping I made here for the July Bag.