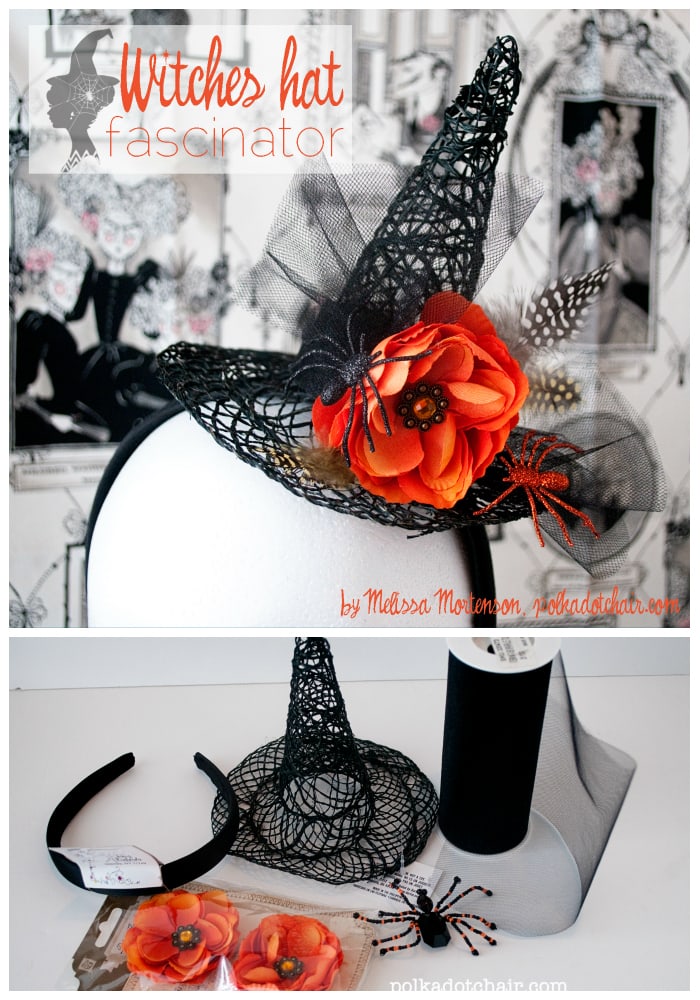
Make your own Witch’s Hat Fascinator
Last week I shared this tutorial for the Witch’s Hat Fascinator that I wore to Mickey’s Not So Scary Halloween Party over at eighteen25 for their Spooktacluar September series… here’s my post in case you missed it!
Hello eighteen25 readers. My name is Melissa Mortenson and I blog over at The Polka Dot Chair. This is the 3rd year that I’ve had the privilege of contributing to Spooktacular September! I think I can consider it an annual tradition now!

Today I wanted to share with you this tutorial for making your own Witches Hat Fascinator.

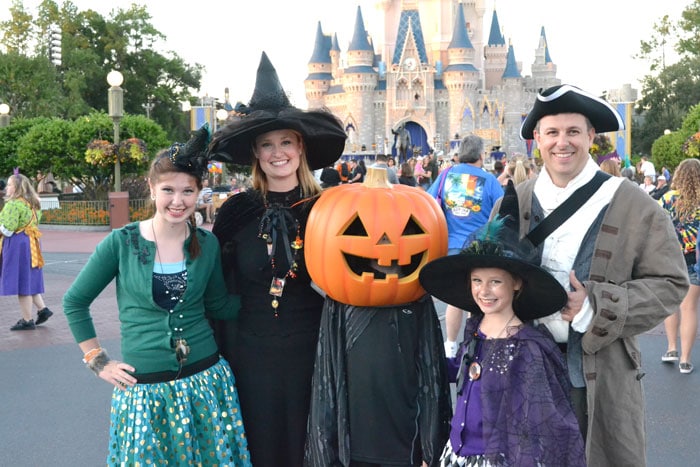
Last year our family went to Disneyworld and went to the Not So Scary Halloween party. My girls and I all wanted to dress up like witches, but my oldest (16 at the time) decided she was too “cool” for a normal witches hat.

So we made her a fascinator instead. Actually she made it herself….. I just supervised with the hot glue.
Today I’m going to share with you how to make one of your own. They are really fun to make and there are a million possibilities to embellish them with all of the wonderful Halloween crafts you can buy.
Here’s how to make one:
You’ll need:
- Black Headband
- Small Witches Hat (I got mine at a local craft store)
- Some flowers (you can make your own if you like, but I didn’t want to)
- Tulle
- Hot Glue
- Needle & Thread
- various embellishments

First thing you need to attach the headband to your hat. To do this I think it’s easiest to first SEW the hat on, then hot glue over the stitching.
I’ve made quite a few hats in the past (as I live in Louisville, Kentucky…. you know the hometown of the Kentucky Derby…) and I always try to avoid the sewing part, but trust me it’s easiest just to sew it on, THEN glue it.
After you’ve got the hat secure, you can now embellish as you like!

I just tied some tulle around the hat, then hot glued on a flower, some polka dot feathers and spiders. Super easy!!!

digi image used courtesy of rhonnadesigns.com