Simple Chevron Quilted Throw
![]()
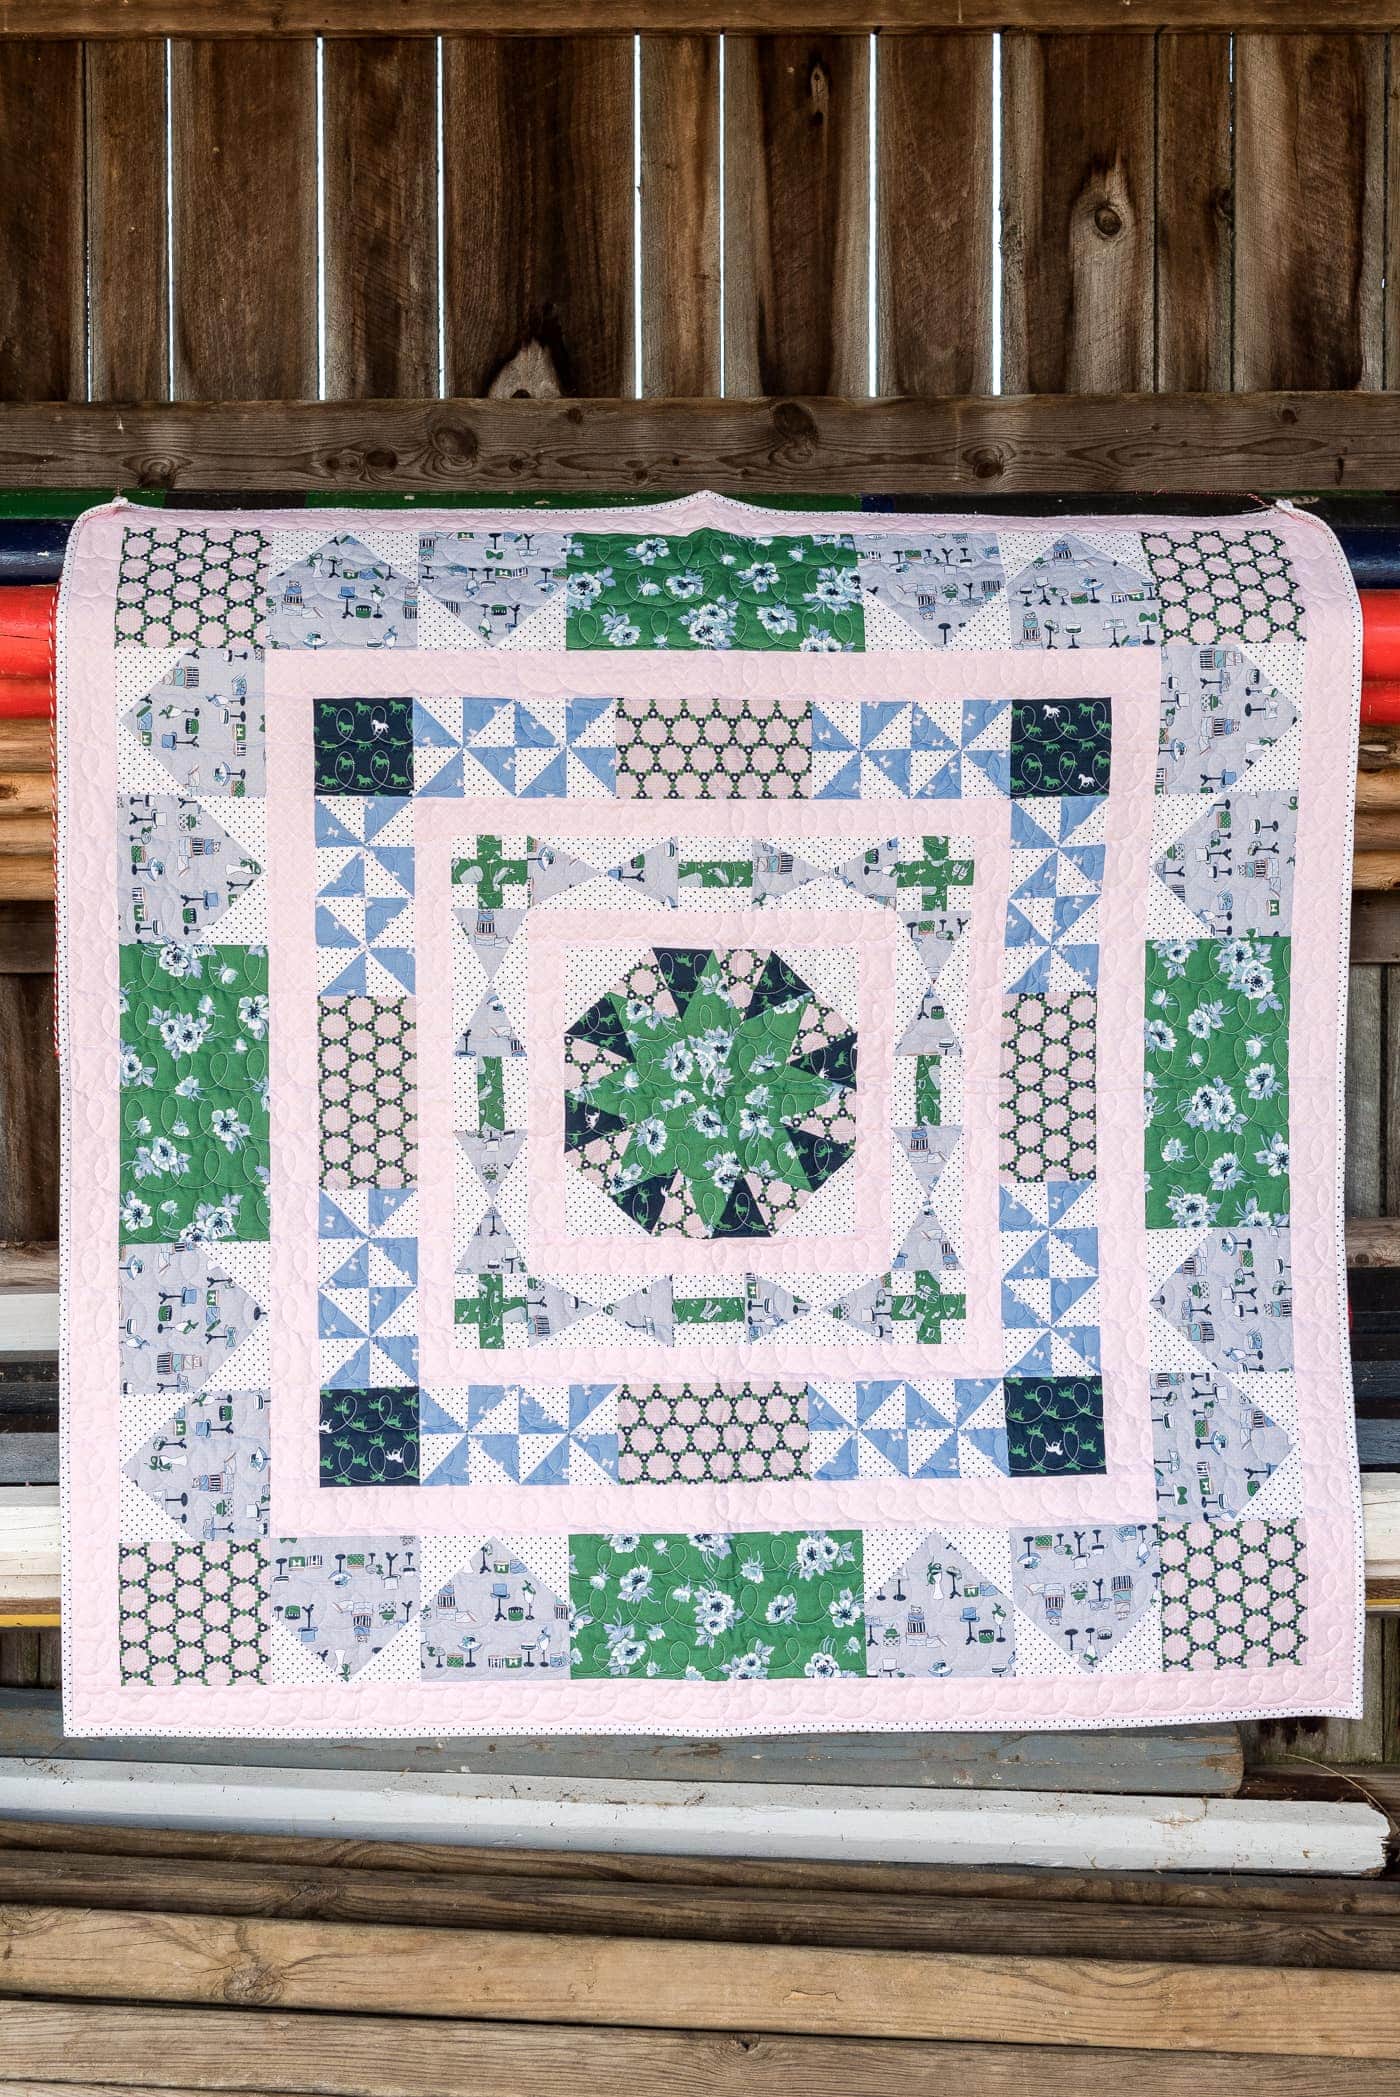
One of the most frequent comments I get is “I’d like to make a quilt but I don’t know where to start”. With this in mind I designed this simple chevron quilt project. It would be a great place to start if you’ve never made a quilt before. If you are an experienced quilter, it would be a fun way to show off some of your favorite fabrics.
![]()
I designed this throw to go on the couch in my living room. With all of the chilly nights we have been having lately, I wanted a warm quilt to cuddle up with. Hopefully it will also keep my kids from dragging their blankets into my living room from all over the house (they can just use this one)!
This quilt is made from 12, 18″ squares of fabric. When you are selecting prints I would suggest using prints that have a large scale, meaning they have BIG elements. Ones that are either very graphic (like the quatrefoil print above) or have large over-scaled elements (like the peacock fabric).
Fabric Requirements:
1 yard each of 4 different prints. Mine are from the Serenata Line by Riley Blake (make sure you get a full yard, if you are short it will mess up the measurements, buy 1 1/4 yards if you want to be sure) You could also buy 12 Fat Quarters assuming they are cut to at least 18″ wide.
3 1/2 yards fabric for the back
1 yard fabric for the binding
100% cotton batting (I like warm and white)
The finished quilt is approx 54″x72″
Walking foot for sewing machine
Begin by cutting 18″ squares from your 4 fabrics. To do this with selvage edges together, measure over 18″ and cut. Then cut that piece again, going the other way (still folded over) so that you have 2, 18″ squares of fabric. Repeat. You will have a total of 4, 18″ squares of fabric. (you only need 3 squares of each print for this project, you can make pillows with the other squares).
You should now have 12, 18″ squares of fabric to make your quilt. (3 each of 4 different prints)
![]()
Arrange the squares into rows of 3. Just in random order, but without any 2 squares of the same print touching each other.
Sew the 3 squares together in each row. Use a 1/4″ seam allowance.
Press the seams to one side.
Now sew the 4 rows of 3 squares together.
You have a completed quilt top.
![]()
Next you will want to cut your backing fabric. Cut it into 2 equal pieces – each 1 3/4 yards (63″) wide. Now sew the two pieces together along the selvage edges. Press this seam open. You will have a piece of fabric that is 63″ x 84″.
Lay this fabric (the backing) right side down, on the floor or a large table. Use painters tape to secure it to the surface.
Spray the entire surface with spray basting.
Next lay out your cotton batting, cut it an inch or so smaller that your backing fabric.
Lay the batting on top of your backing.
Spray the batting with basting spray.
Now lay your quilt top (right side up) on top. Smooth out all of the wrinkles.
When you’ve got it like you want it, remove the painters tape and roll up the quilt.
To quilt this, I would recommend a walking foot and a standard sewing machine (or you can free motion quilt it like I did, if you are comfortable with that).
Quilt it along the chevron lines in the back (use them as your guide, I quilted every other chevron).
![]()
When you are done quilting, using a quilting ruler and a rotary cutter trim all of your quilt layers even.
![]()
![]()
To make the rounded corners, use an embroidery hoop or a plate and trace the curve. Cut off the excess fabric at the corner. Repeat for all 4 corners.
Next you will need to bind your quilt. Since you have curved corners you need to cut your binding on the bias. There is a great tutorial here on how to do that.
This post first appeared on the Riley Blake Designs Blog.
Thank you for the instructions on this quilt. I had pinned this quilt when it first posted on Riley Blake. I loved the color combinations and the simplicity of the quilt. Looking forward, to making one (or more) now that i know the measurements. Thank you!
Love this quilt. I wish I had a walking foot for my bernina! Thanks for the directions. Great fabrics used here too.
I love my walking foot (Bernina). They are expensive, but very worth it.
Love this quilt and all of the muted colors… one of these days I’ll be brave enough to try quilting!
It’s not as hard as it looks… promise!
Love this quilt! What size chevron did you end up using – the small, medium or large?
Thanks 🙂
It’s the largest chevron
I have a dumb question. As far as piecing the backing… How do I place and stitch the two pieces together so the rows of chevron are equally spaced apart from each other? I hope that makes sense.
Would it cause issues if you cut a row of squares out to make this smaller? I am looking to make my very first blankets for my now 2 year old and the baby I am expecting. This one seems a bit larger than I need, but I like the look of it.
No problems.
You can just size it as you like.
Can you tell me what size binding you used?
2 1/2″ wide
I want to make a quilt like this for my class project. If I wanted it smaller, say 60″ by 54″, how much fabric and such would you suggest I use? It will be my first quilt 🙂
I really LOVE your quilt, it’s exactly what I have been looking for, and this fabric but for the life of me I can’t find a store or on line store that sells it. PLEASE help!
Well, I googled quilting patterns and this showed up, I have never quilted before but here I go!! I’m gonna try this and hope it looks as awesome as this one.
I’m ready to quilt along the chevron lines (first quilt), but do I stitch from the back so I can see the lines? If not, how do I do this? Thanks so much for your help. It’s looking good so far.