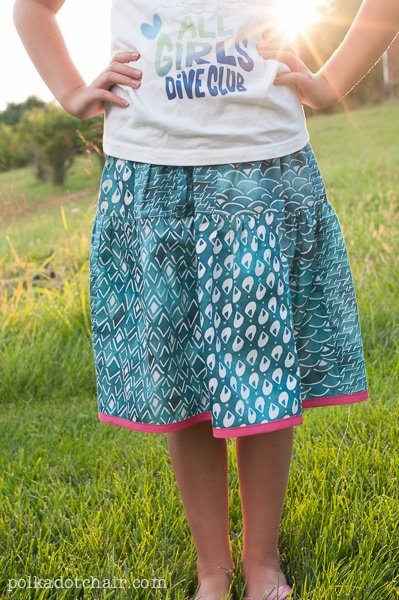
Patchwork Twirl Skirt Tutorial

Summer is winding down here and we are enjoying absolutely beautiful weather this August, which is almost unheard of in Kentucky. I figured there was still time for a few fun summer sewing projects before fall. I created this quick and easy Patchwork Twirl Skirt for my daughter and thought I’d share the tutorial with you.

She’s getting older so this skirt is less full than a few of the skirt patterns that I’ve shared here in the past. I’m always trying to adapt to sewing for ever growing kids.
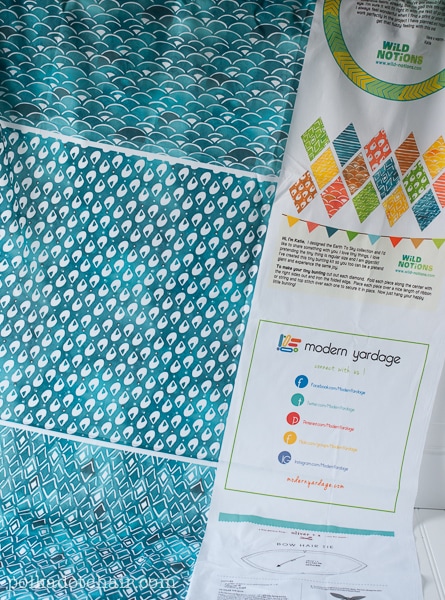
For the fabric of the skirt I used some of the new Wild Notions prints from Modern Yardage. They sent me the fabric for this project. The fabric colors are vibrant and the weight of the cotton is very nice. It was a breeze to work with. When it arrived it was a bit of a pleasant surprise to open the package. You see, they print all of their fabric on wide panels then give you fun little extras on the large selvage space.
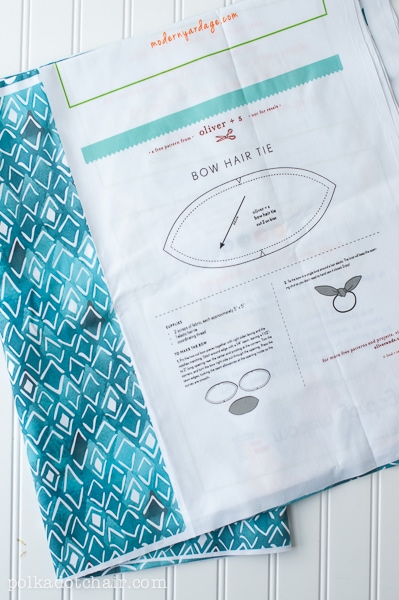
My fabric came with this free pattern from Oliver +S which I’m going to use to make a matching headband to my daughters skirt.
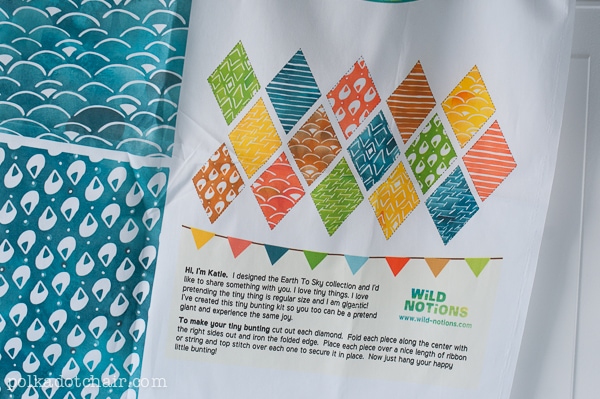
It also came with this fun precut pennant banner. Which I’ve already cut up and strung across one of the bulletin boards in my sewing room.
Now onto the pattern this will fit a girls size 10-12
To make this you’ll need
- 1/2 yard each of 4 different prints of fabric
- 1 1/2” wide elastic, I use underwear or knit elastic because it’s softer.
- 1 package 1/2” wide double fold bias tape
- Matching thread to the bias tape
To begin, cut 4 12” x 10” pieces from each print of fabric. (this will give you 16 rectangles, but you will only use 13 of them, I cut 16 to make sure I had a wide variety of prints, and that no two of the same print were next to each other, if your not worried about this just cut 13).
Sew 5 of the pieces together along the 12” sides. Sew the 2 remaining sides together so that your fabric forms a circle.
Repeat for the 2nd row of the skirt but this time use 8 pieces of fabric.

Sew 2 rows of gathering stitches to the top of the 2nd row of fabric pieces.
Pull on the gathering stitches and pin the top of row 2 onto the bottom of row one, right sides together. Ensure that your gathers are even throughout the skirt.
Sew using a 1/2” seam allowance.
Pull out the extra gathering stitches.
Zig zag the top of the 1st row of the skirt.
Turn under the top of the skirt, 2” to make a skirt casing. Stitch down leaving a 1” opening to feed your elastic through.
Cut your elastic to 25” and feed through the skirt casing. If you have your model handy, you can measure her waist to make sure the elastic is the right size.
Sew the 2 ends of the elastic together with a zig zag stitch. Slip into the skirt casing and stitch the casing closed.
Apply bias tape to the bottom of the skirt hem. To do this use my “how to finish seams” tutorial for applying bias tape.