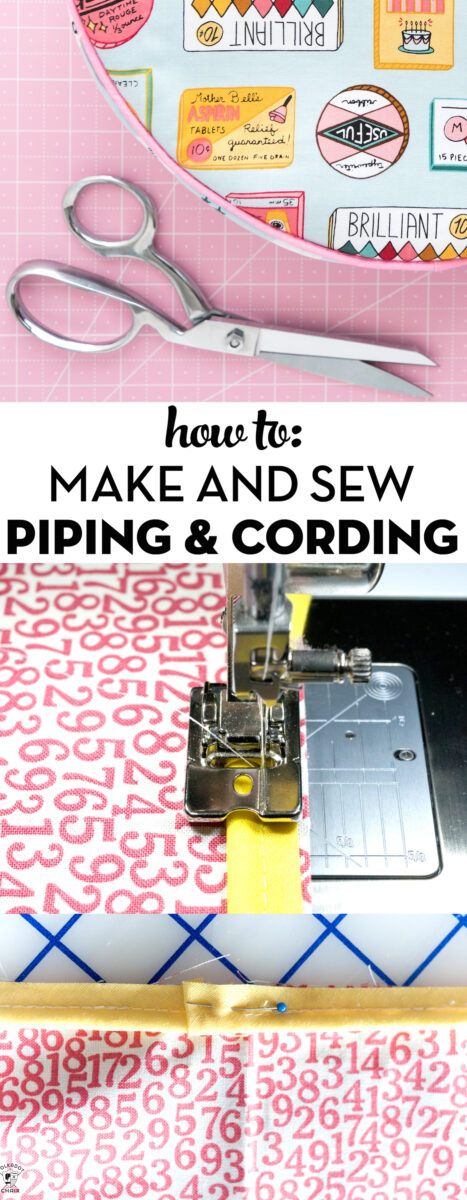
Sewing Lesson: How to Make and Sew Piping
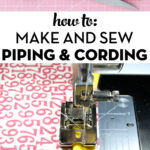
Give your sewing projects a professional finish by adding piping! Learn how to make and sew piping with today’s tutorial.
Welcome to our Sewing Lesson! How to Make and Sew Piping! Recently I’ve shared quite a few projects which feature piping or cording. Inevitably when I share projects with piping, I get asked a lot of questions regarding sewing with piping.
Many people feel intimidated by piping and cording. But I promise it’s so easy! You need to know a few tricks. Today I’m going to share my best tips and tricks for sewing (and making) piping with you.
Why Use Piping?
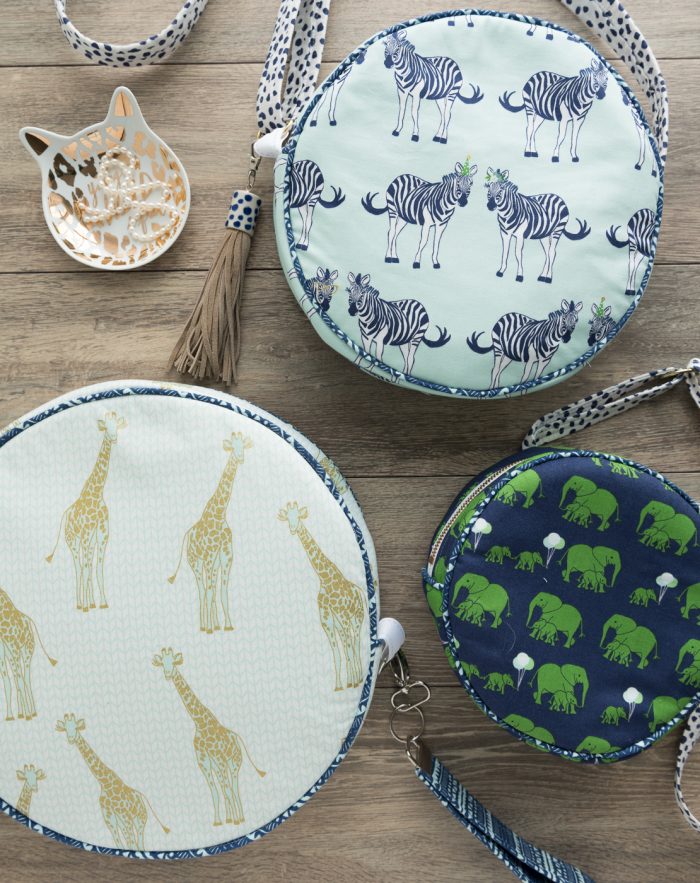
I adore piping! I put it in everything. It gives what you are sewing a nice finished look and can elevate your whole project. I love to use it in clothing, home decor, and accessories sewing.

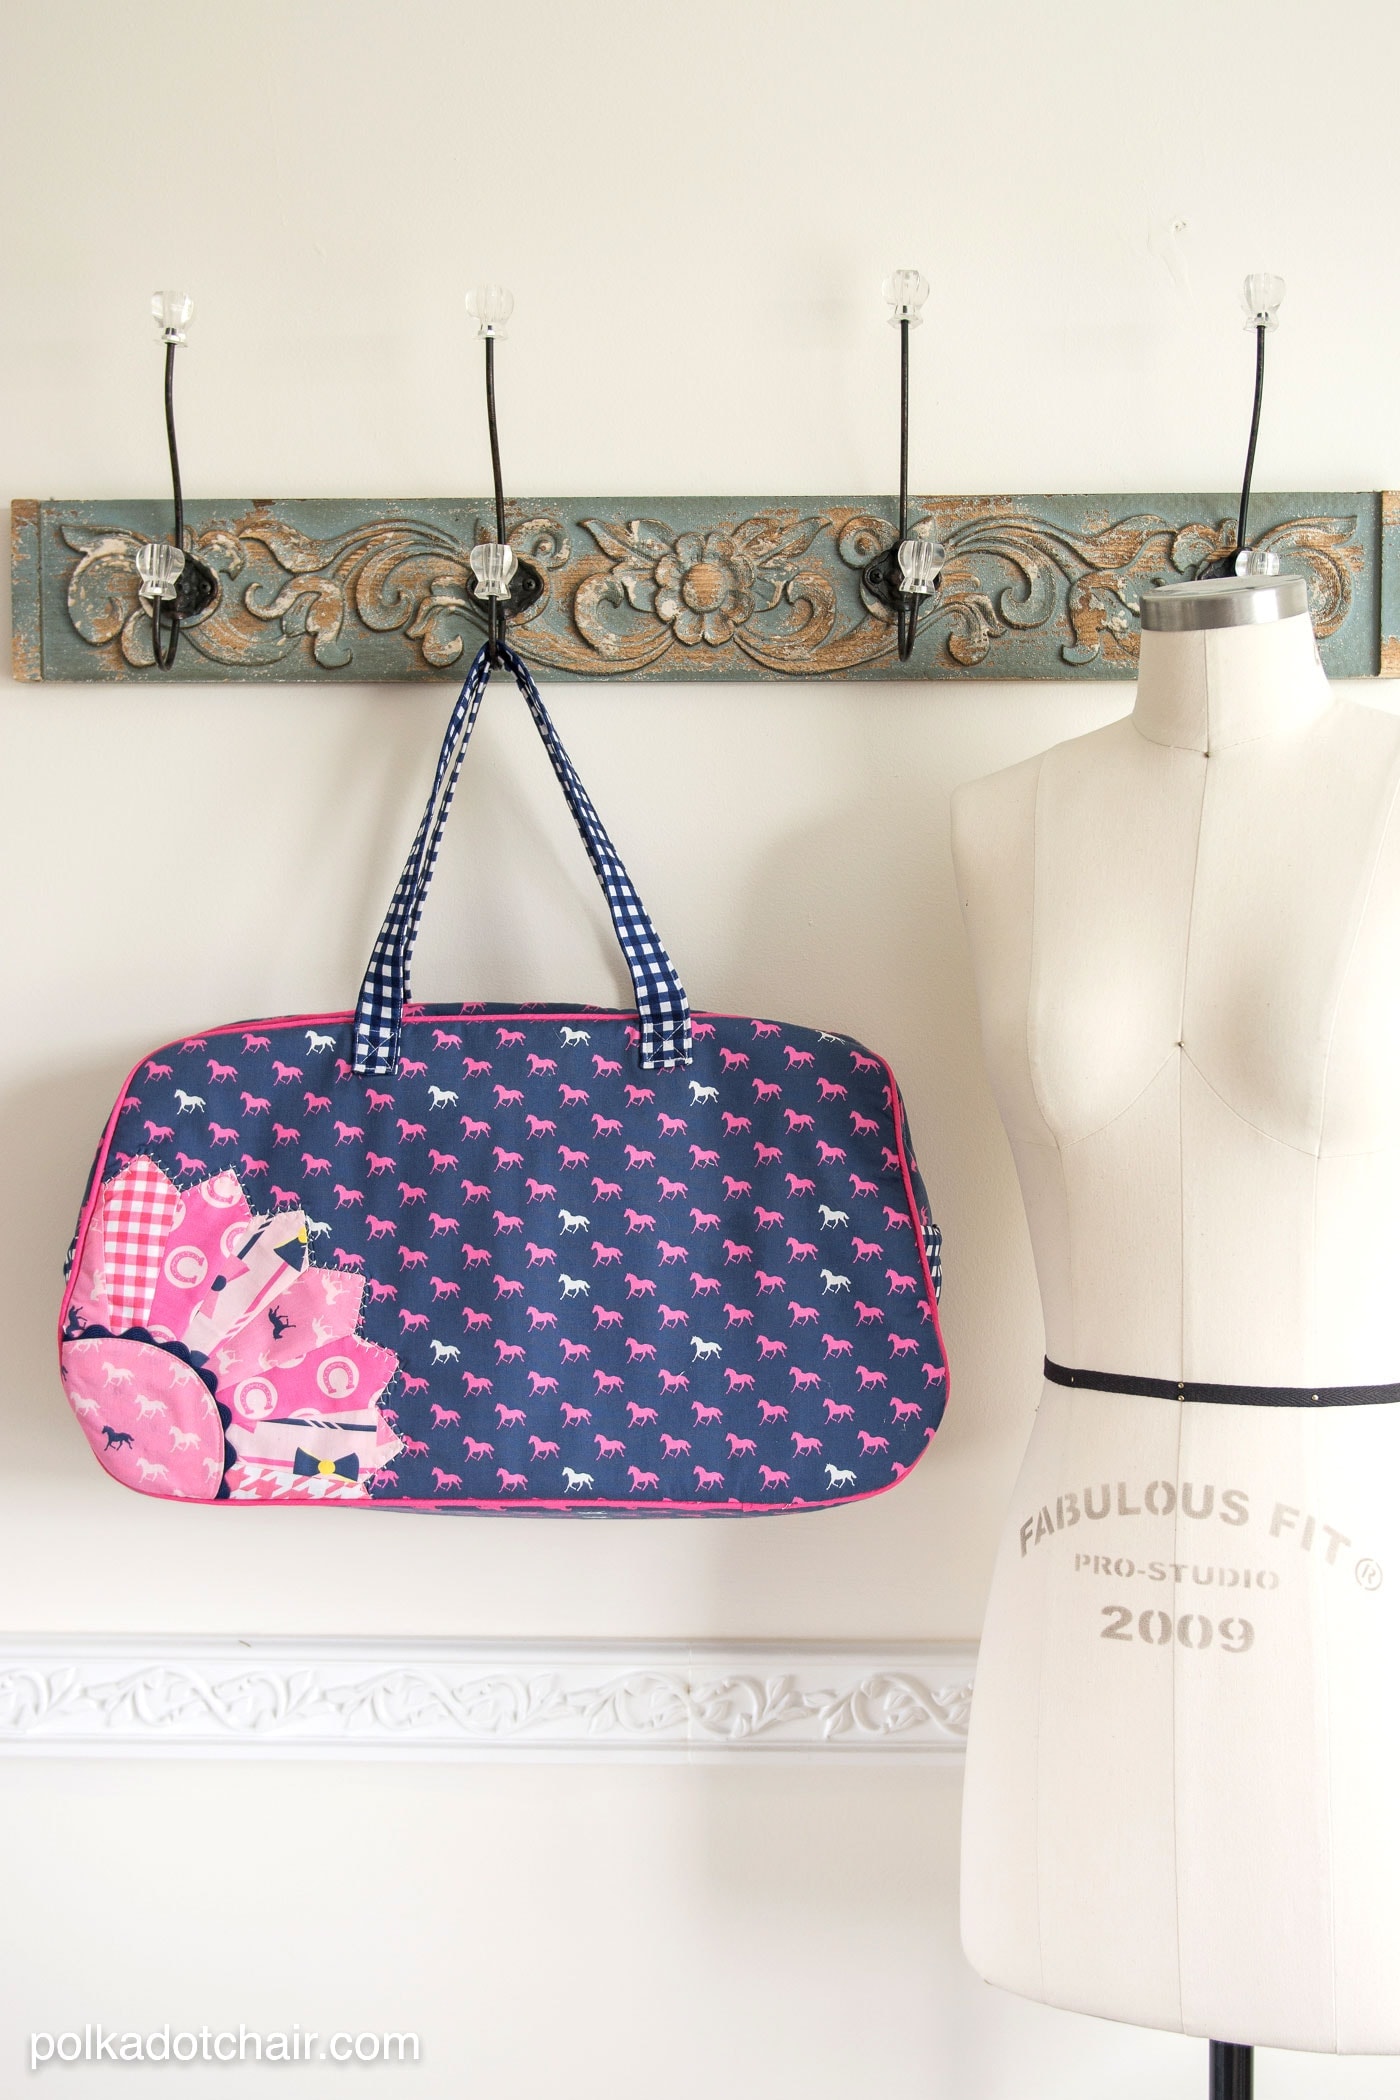
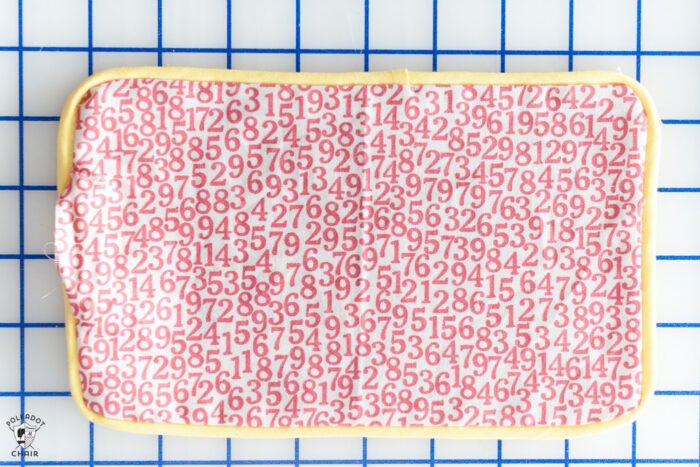
(piping on the outside of my Retro Travel Bag)
(The Alice Bag sewn with custom contrast piping)

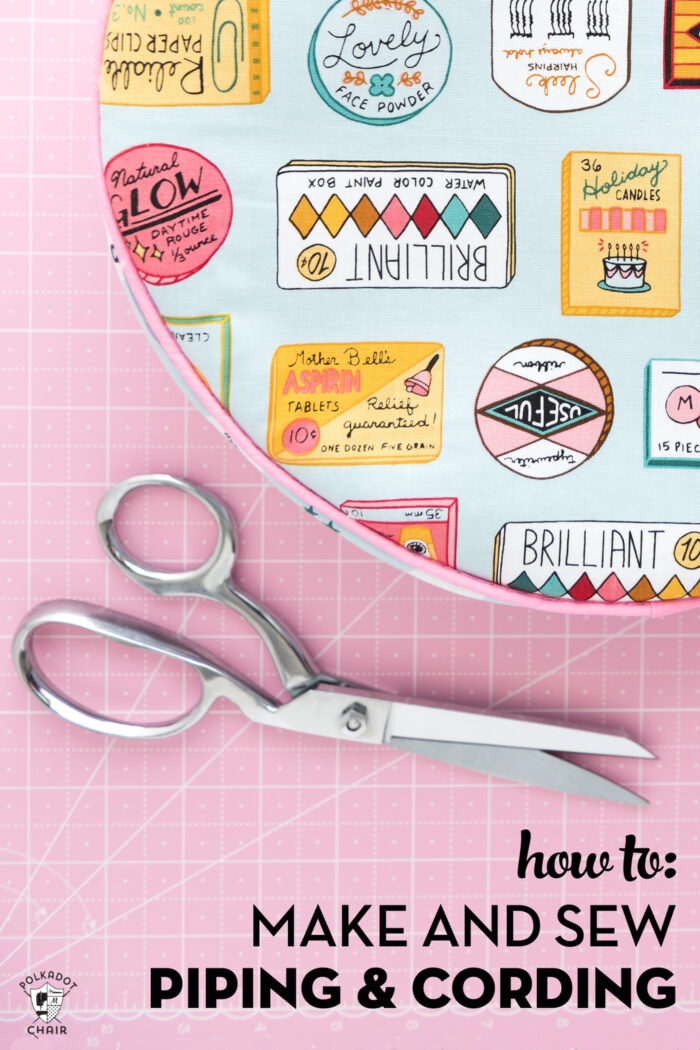
(piping on my Reading Pillow Pattern)
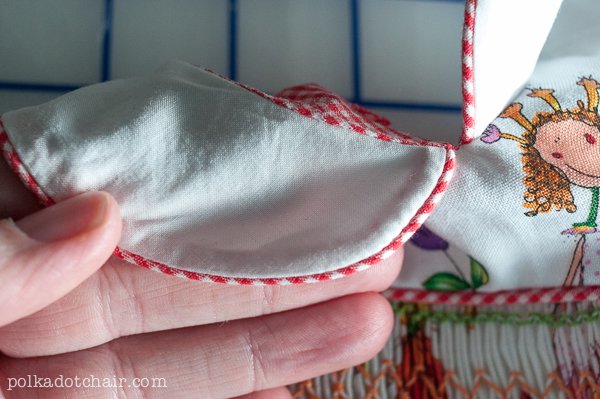
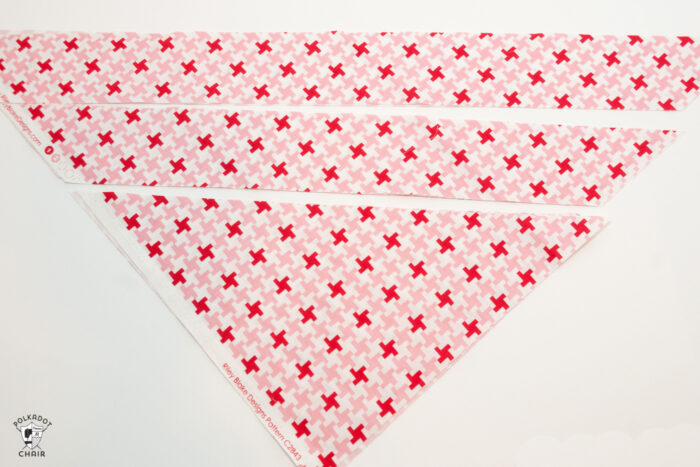
Before we start, I think we need to clarify what I mean when I’m talking about piping. There are many different widths of piping.
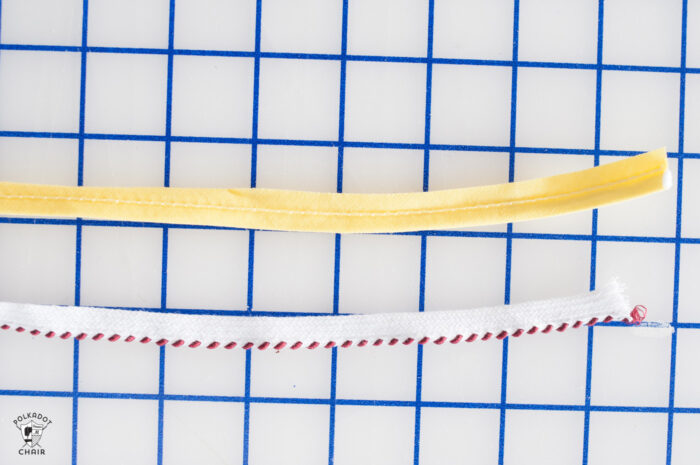
Today we are talking about the piping you can get in the package at the fabric store. The yellow one above. Many of the techniques today will also work for the 2nd piping in the photo, which is smaller and usually used in heirloom sewing.
Sometimes piping is also referred to as cording. Generally cording refers to fabric wrapped around a cord, and is commonly used in home decor sewing.
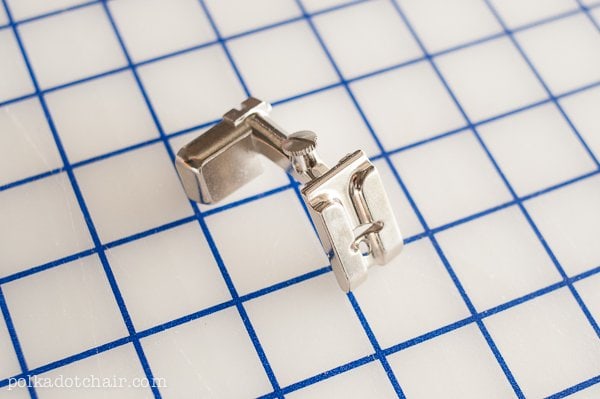
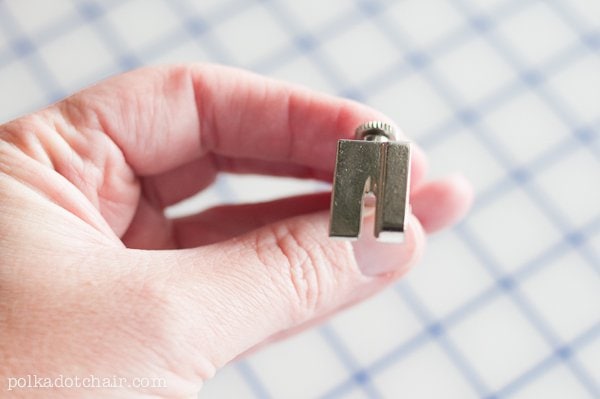
Piping Sewing Machine Feet
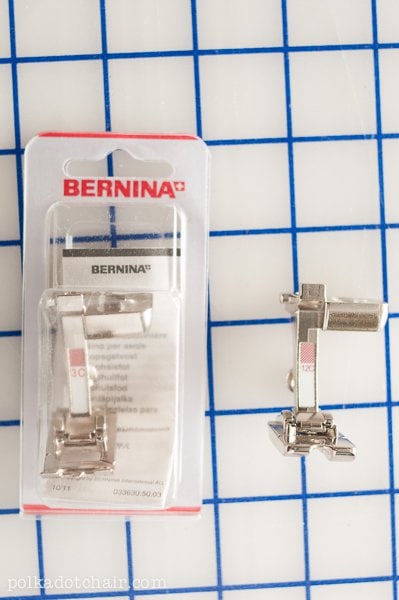
To sew with piping you need a piping foot. I’ve tried lots of other ways, and trust me, it is so much easier with the right foot for your sewing machine. My favorite for sewing foot for piping is the Bernina 12C foot.
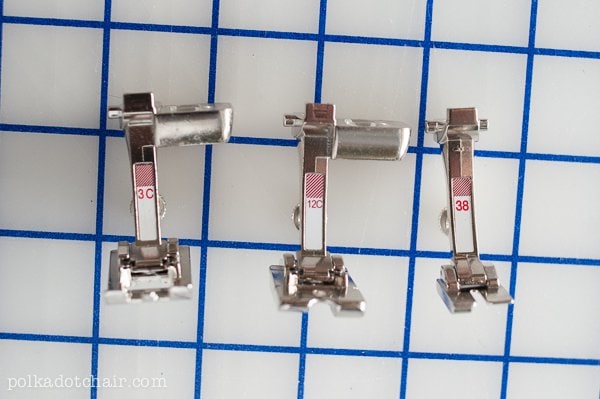
You can also use the 3C foot (buttonhole foot) or the 38 foot, however, those are best for putting in tiny piping. Like in the photo below.
You can also use a zipper foot. This is the zipper foot that came with my Viking Sewing Machine. I have it right up next to the edge of the cording. Zipper feet are different for every sewing machine manufacturer. If you’re not sure if yours will work, test it out on some scrap fabrics.
Today we are working with the 12C foot. As you can see from the photo a piping foot has a groove underneath that allows the piping to slide under easily. It keeps it in place as you sew.
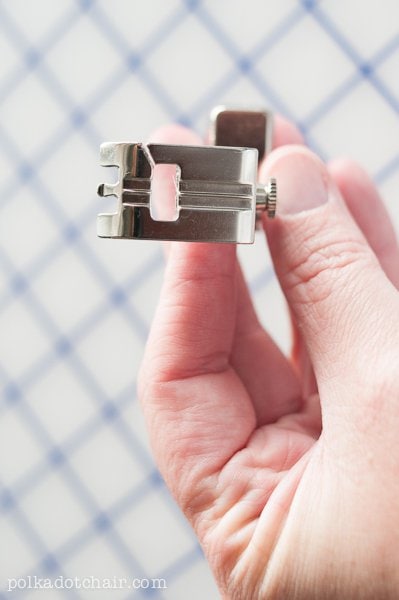
The other two feet also have grooves in the bottom, but as you can see they are much smaller. Making them ideal to use with tiny piping. But like I said today we are sewing with standard piping.
Video Instructions
I was invited to film a set of videos with the Fat Quarter Shop. One of the videos I filmed with them walked you though the steps of inserting piping into a seam.
How to Sew with Piping
Note: these techniques also work when sewing cording.
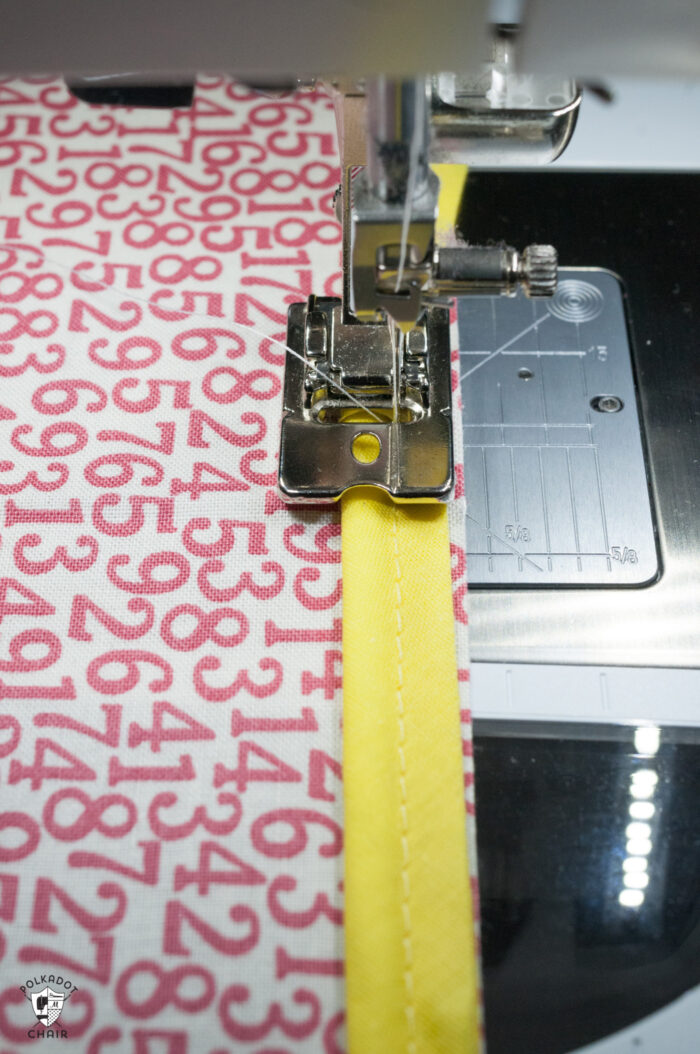
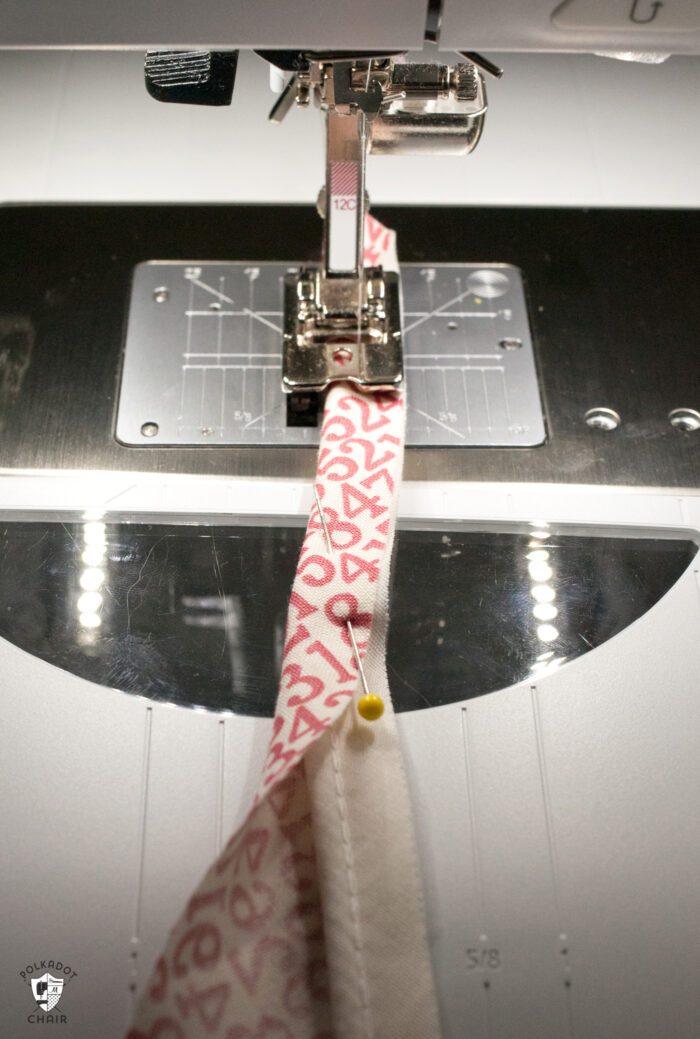
Step One:
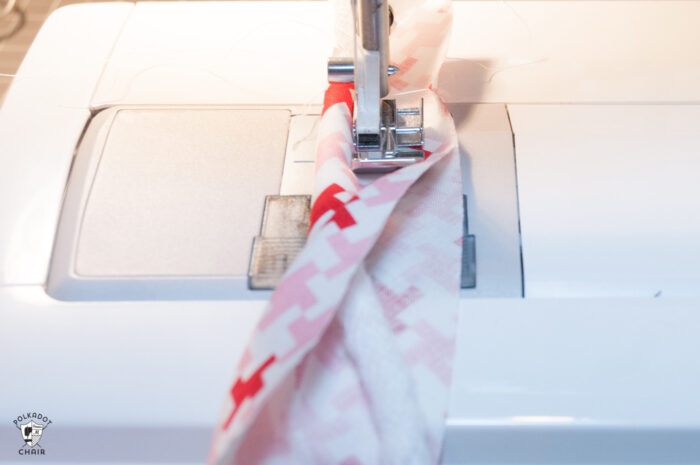
Put the piping foot on your sewing machine. You’ll have the raw edge of the piping flush with the raw edge of the fabric.
Pin the piping in place. The piping under the groove of the foot. Next, adjust your needle left/right so that it is lined up with the existing stitching line in the piping. Start sewing 2” in from the tail end of the piping.
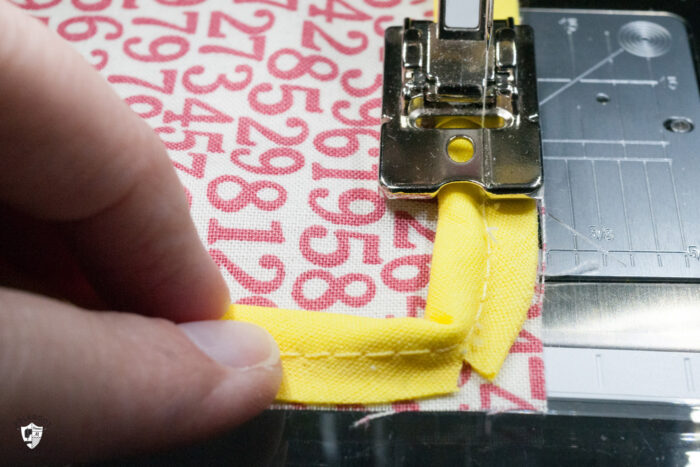
Sew. When you get to a corner, clip the piping so that it will go around the corner. Sew to the end, then put your needle down, your presser foot up and pivot. Keep sewing around the other side. Stop sewing 2” from where you started.
How to Join Piping Ends
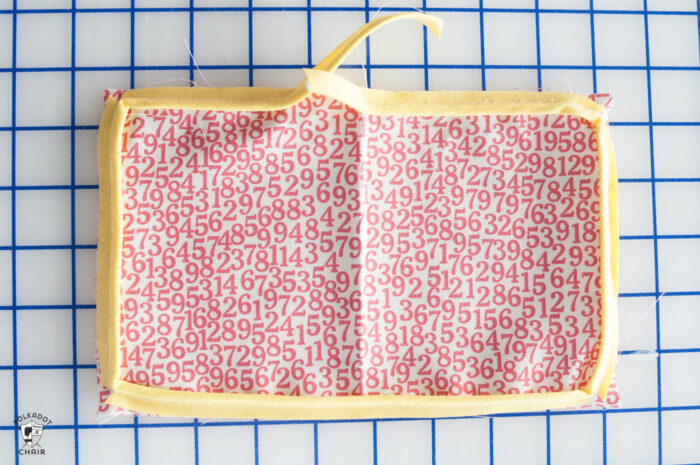
When you are done it will look like this, but you still need to join the ends of the piping. There are many ways to do this, I’m going to share with you my favorite way.
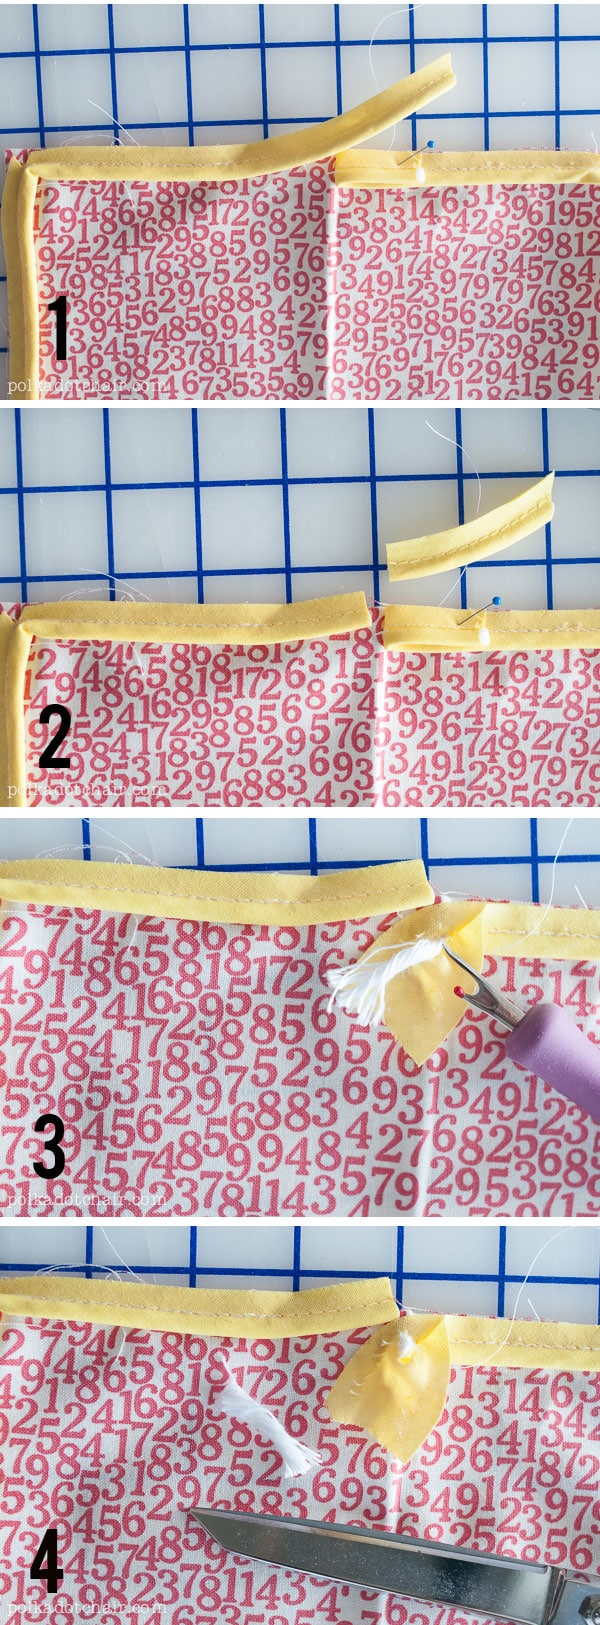
1- Fold back the piping where you started.
2. Clip the tail end of the piping flush with this point.
3. Unpick the bias tape from around the piping until you get to where the piping is sewn to the fabric.
4. Clip out the cord inside the bias tape.
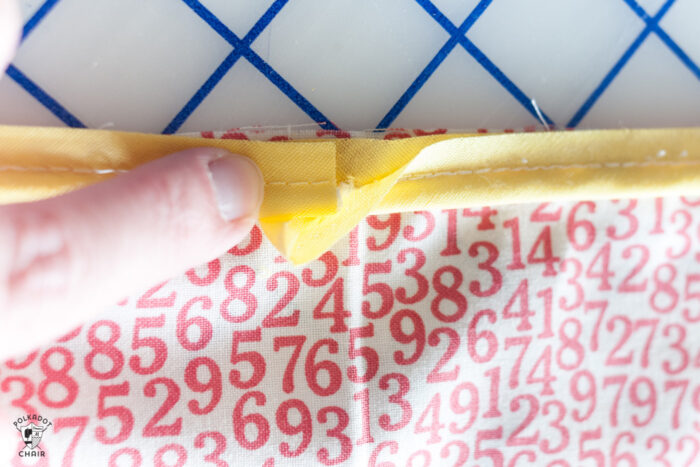
Fold under the raw edges of the bias, insert the end of the piping.
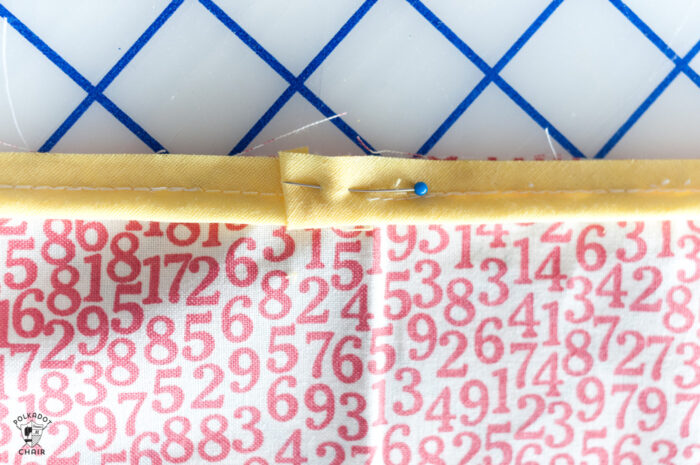
Pin and sew as you did before.
My Trick for Perfect Piping
Now let’s pretend we are making a pillow. Here’s the trick to getting your piping to look great after it’s sewn.
Pin your 2nd fabric piece to the piece that has the piping sewn on, right sides together. Now flip it over.
See the stitching line that was used to sew on the piping the first time? Just sew right on top of that SAME seam.
That way you know it will look great and be in the proper position. You can use this trick for anything with piping, not just pillows.
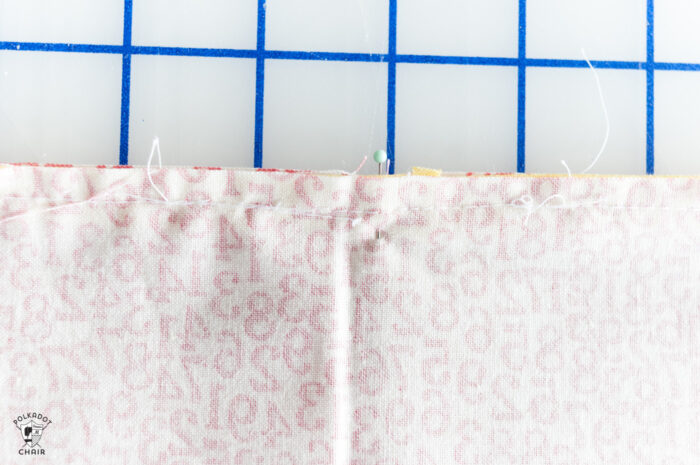
See easy peasy, you just need to now hand stitch the opening (remember were making a pretend pillow *wink*).
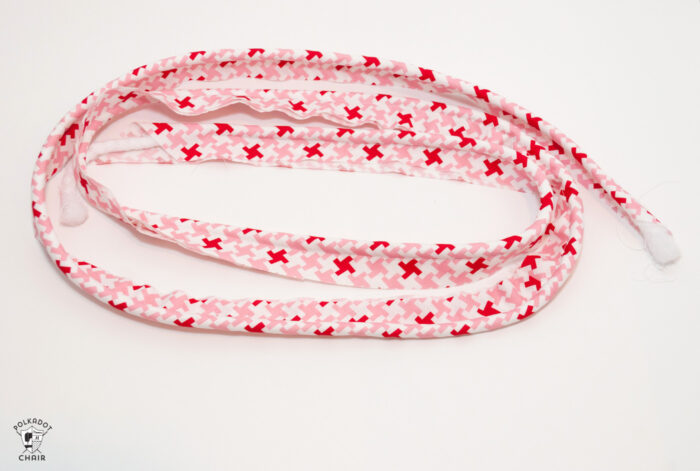
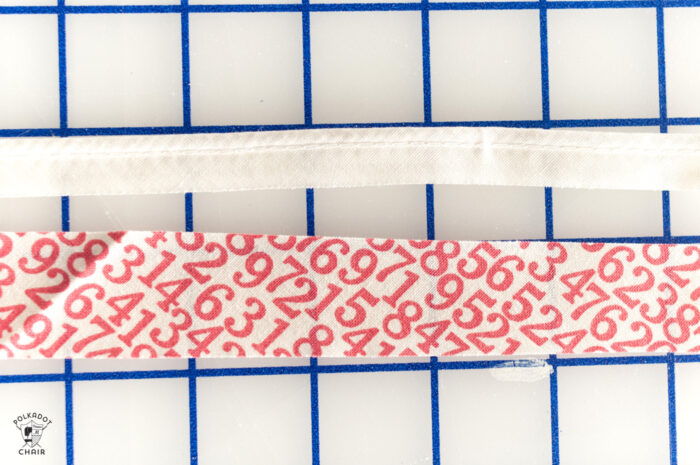
How to Make Your Own Piping
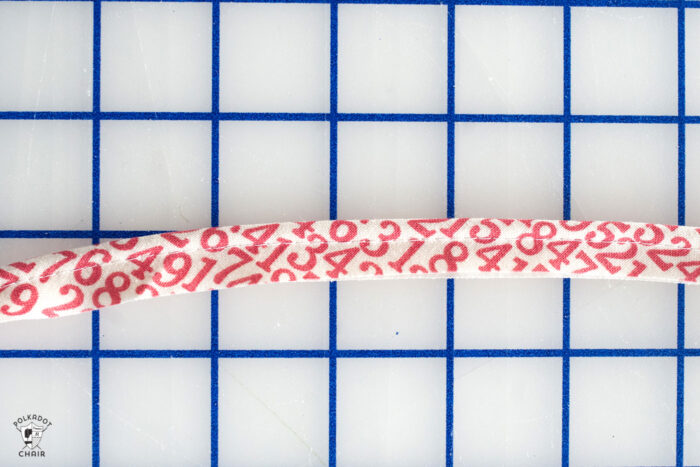
If you’d like to make your own piping, here’s my trick. Start with white (or a color close to your fabric) store-bought piping. Then cut a bias strip of fabric 1” wide.
You need to cut your fabric on the bias. Which means it’s cut at a 45 degree angle from the selvage edge. Use your quilt ruler to cut these strips, as almost all quilt rulers have a 45 degree marking.
Insert the piping into the bias strip. The raw edges even. Fold over the fabric.
(If you are sewing with a cord, instead of pre-made piping, the steps are the same, just make sure that the cord is in the center of your bias strip).
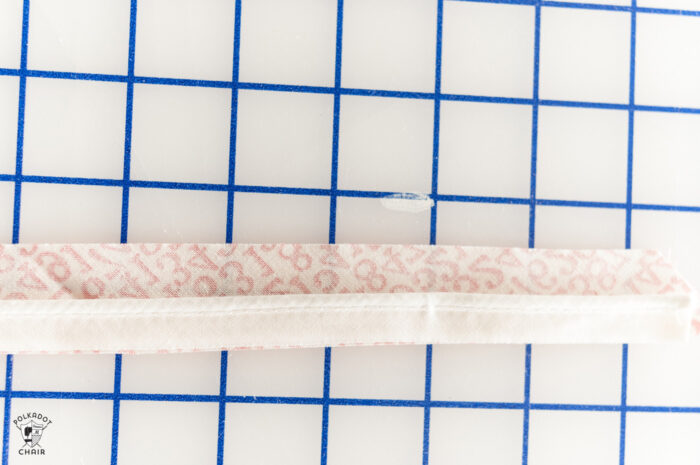
Using your same 12C piping foot, stitch fabric to piping.
Voila! Custom piping. You can also do this with string, but I never have that on hand, I usually just sew over existing piping.
You May Also Like:
Tips for Sewing Curves and Corners
How to Finish Seams if you don’t have a Serger
This post has been updated from a previous version, originally published 09/13.