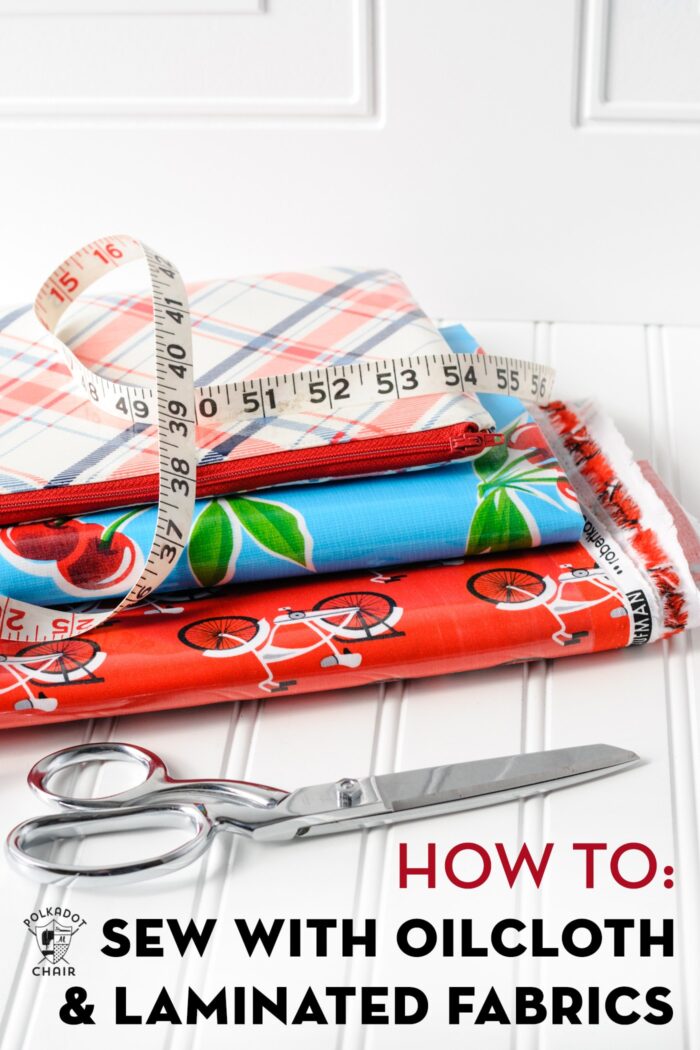
How to Sew with Laminated Fabric & Oilcloth
Learn how to Sew with Laminated Fabric and Oilcloth using these simple tips, tricks, and techniques!
I love to sew with laminated fabrics. The lamination gives the fabric a nice sheen and has the added benefit being easier to keep clean. Whenever I post a project using a laminate fabric, I get a lot of questions about how to sew with it.
Most people seem a bit intimidated. I’m here to tell you that it’s easy to sew with if you know a few sewing tips, tricks, and rules.
What is Laminated Fabric?
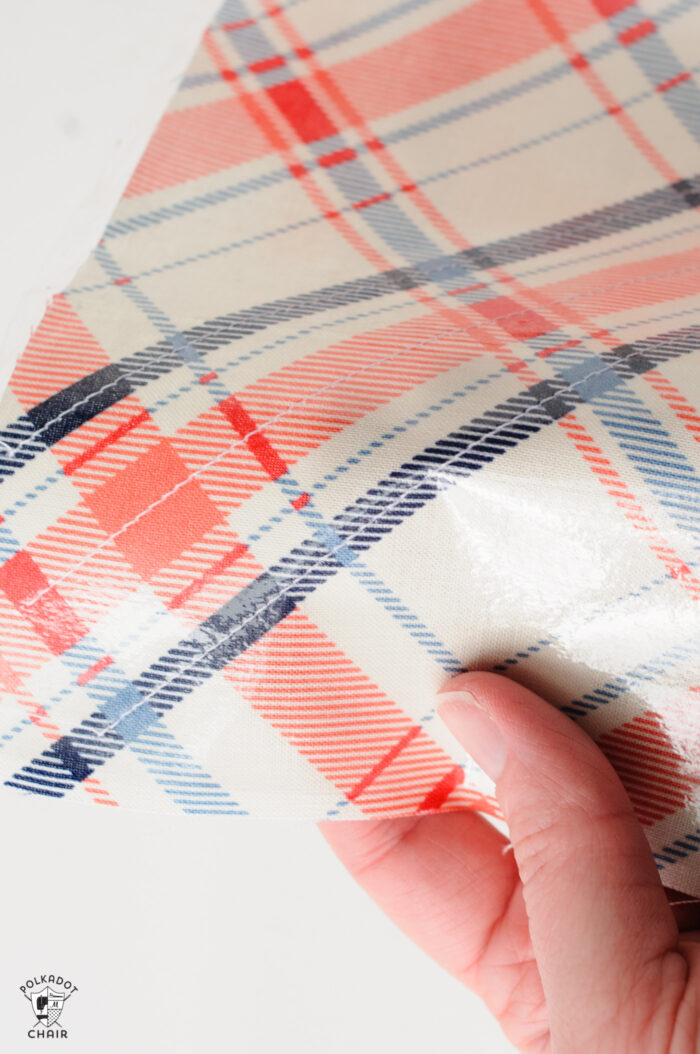
Laminated fabric (including oilcloth and chalk cloth) has a plastic coating on the front. Most of the time it’s added after the fabric is printed by the factory. (You can also add it yourself later, but it’s not as sturdy as the pre-laminated version).
For simplicities sake, we’ll just call all laminate, oilcloth or coated fabrics – laminated from this point forward.
The plastic coating on the fabric makes the fabric water-resistant and easy to clean up. This makes the fabric great for bags and children’s items.
This also makes it hard to sew with because the plastic coating has a tendency to get stuck under your presser foot.
This becomes an even bigger problem if your laminate fabric is facing the feed dogs of your sewing machine, as the feed dogs can damage the fabric.
Luckily most of the time when I sew with a laminate fabric, I don’t need to sew with laminate both under my presser foot and facing my feed dogs at the same time. Most of the time I’m just topstitching or attaching a zipper.
However, I will teach you a few tricks and things to try if your project features laminate fabric on both sides of your project.
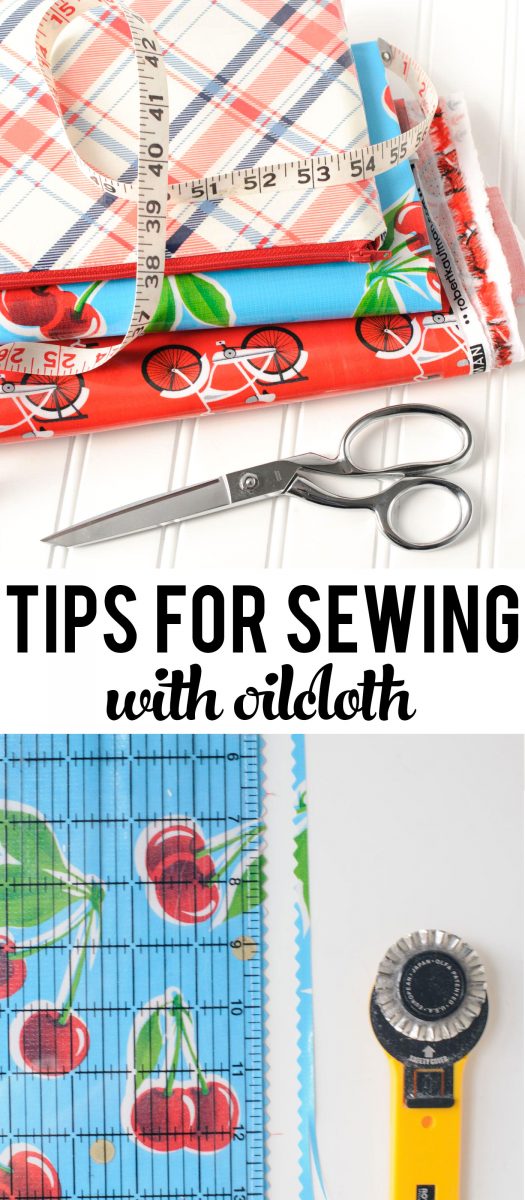
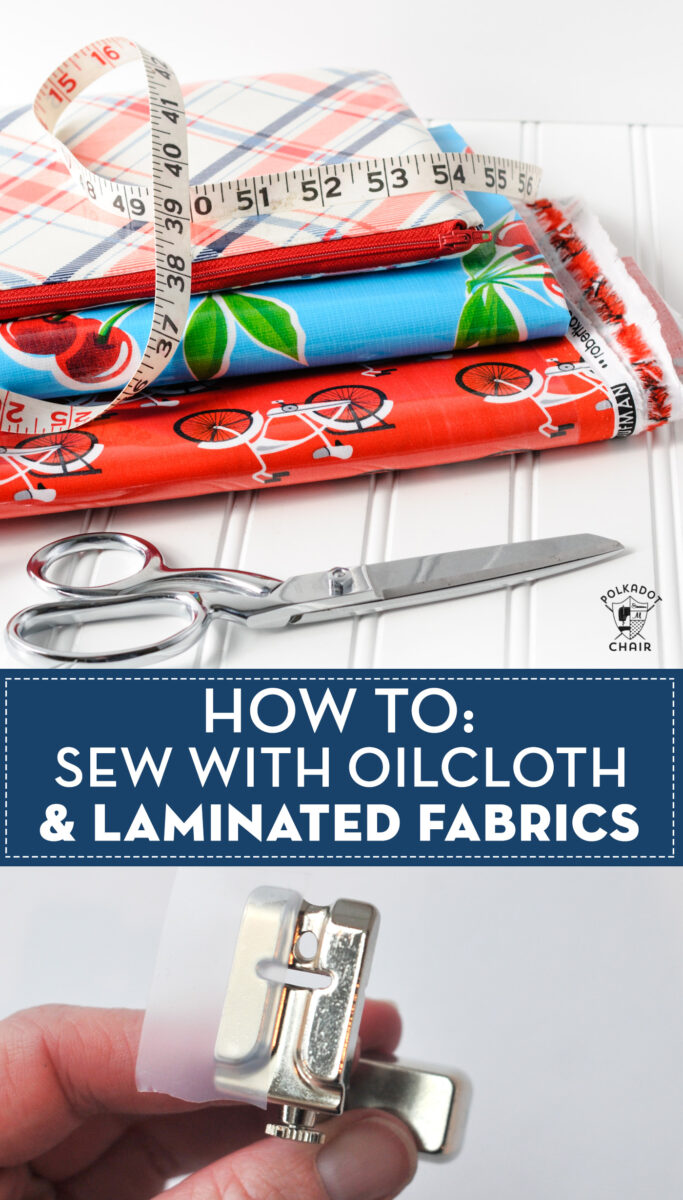
Supplies Needed when Working with Laminated Fabric or Oilcloth
When I work with laminate fabrics there are a few things I like to have on hand.
- Teflon Pressing Sheet (or paper leftover paper backing from a package of Iron-on Vinyl)
- Teflon Sewing Machine Foot – you can also use Scotch Tape
- Sewer’s Aid – This comes in a small bottle and is available in the sewing notions section. It is an oil that you apply to the top of your fabric to allow your presser foot to glide over the material.
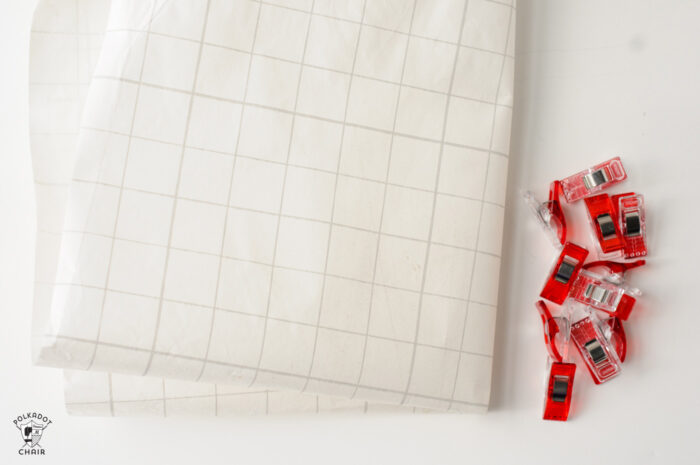
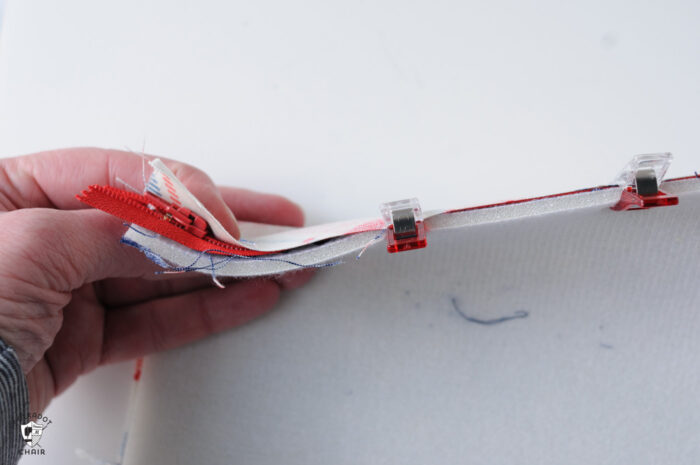
- Binding Clips – Pins and laminate usually don’t get along, so I find that using binding clips makes sewing much easier.
Where to Buy Laminated Fabrics
First, check your local quilt and sewing shops. Sometimes it can be a bit hard to find laminate fabric in stock. I like to buy mine from this Etsy shop. They carry many laminated fabrics including many from my fabric lines.
How to Laminate Fabric Yourself
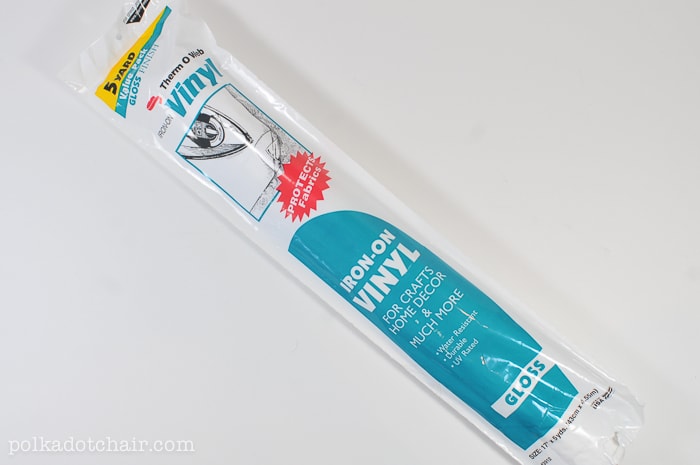
Many times I will want to sew with laminate fabric but I either can’t find it, or the manufacturer didn’t laminate the print that I want. In this case, I will laminate it myself using Iron-on Vinyl. It’s made by Thermoweb and you can find it online.
Iron-On Vinyl is very easy and straight forward to work with.
To apply it to fabric, cut your vinyl the same size as your fabric piece (note it’s only 17” wide so plan accordingly).
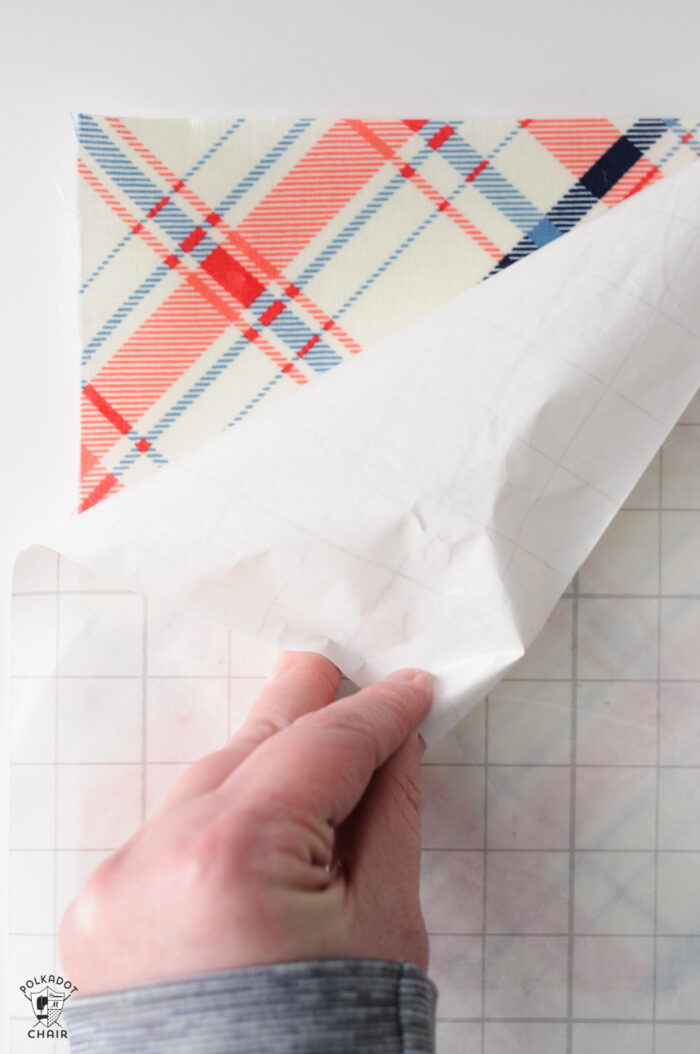
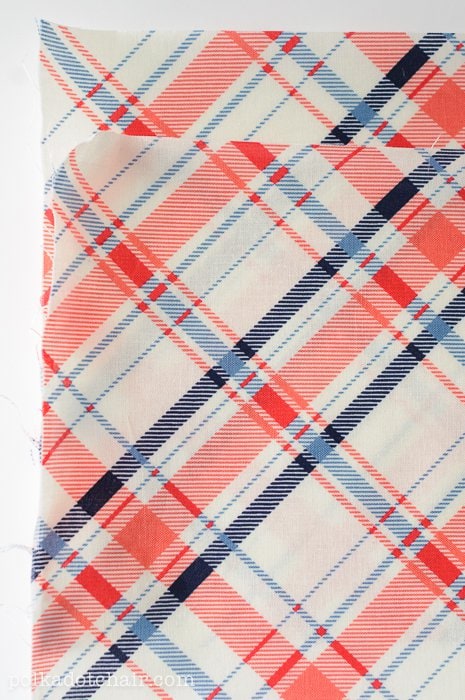
Peel off the paper backing and place the sticky side onto the right side of your fabric. Then using the paper backing, iron the vinyl onto the fabric. There are more detailed directions on the package if you need them.
Things to Note:
- You HAVE to use the paper backing. Otherwise, the vinyl will just MELT right onto your iron. The bigger the piece of backing the better.
- I prefer to make sure that the paper backing is larger than the piece I’m ironing. Otherwise, you run the risk of melting the vinyl with just the corner of your iron.
- The shiny side of the backing faces the vinyl and the paper side (with the grid) faces your iron.
How to Sewing Directly on Laminated Fabrics
When I’m sewing any project using a coated fabric, I know that ANY time my machine foot touches the coating that I need to have a buffer between my foot and my fabric.
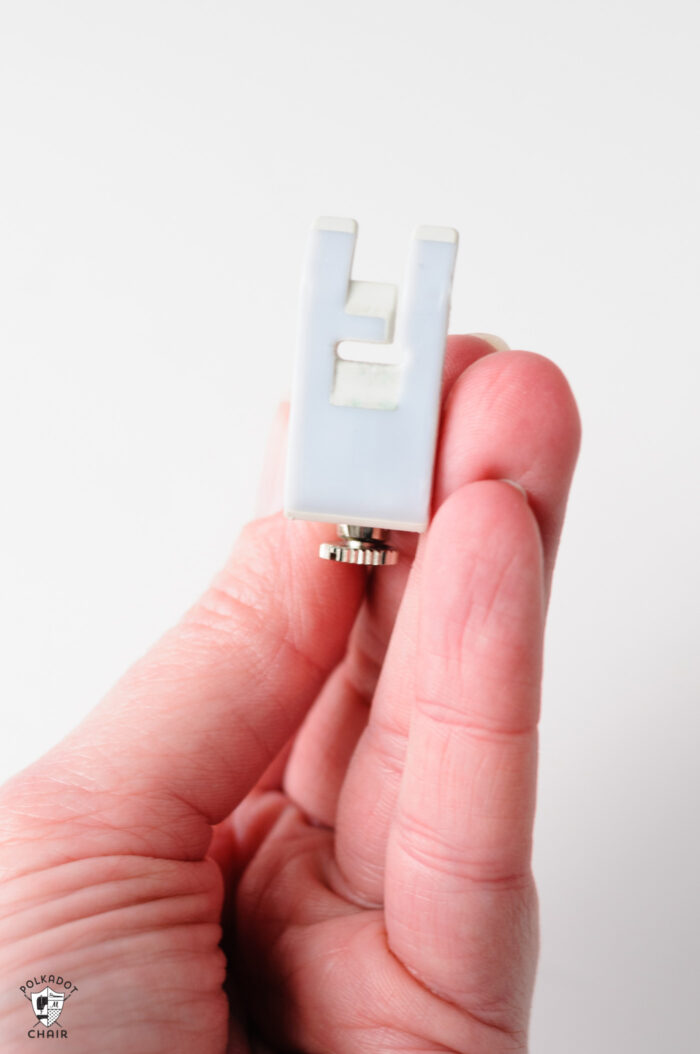
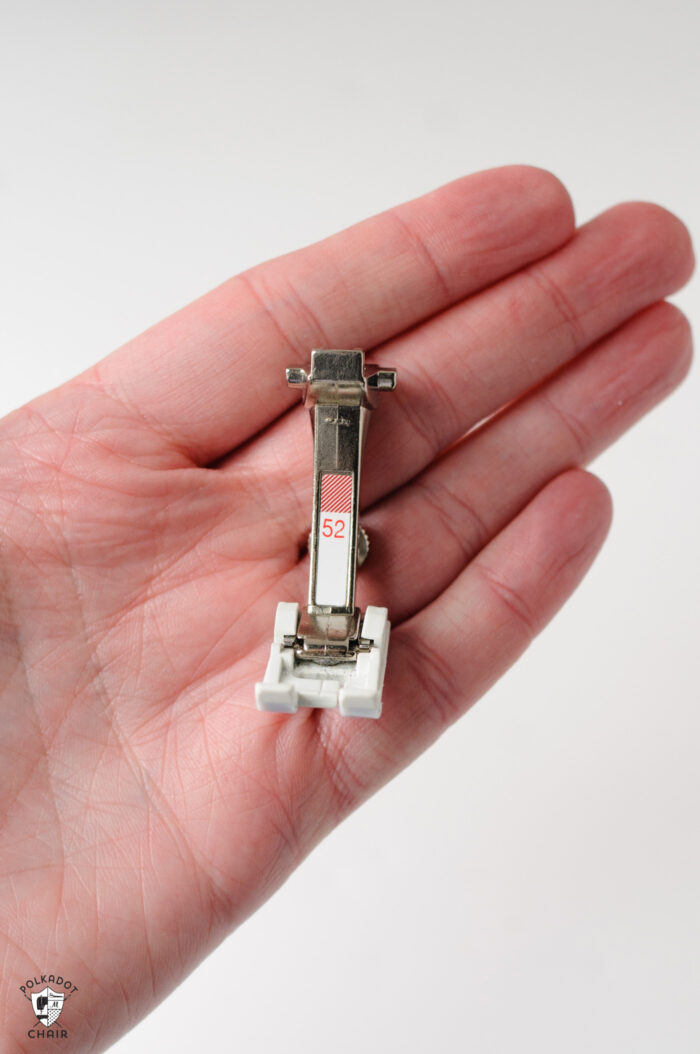
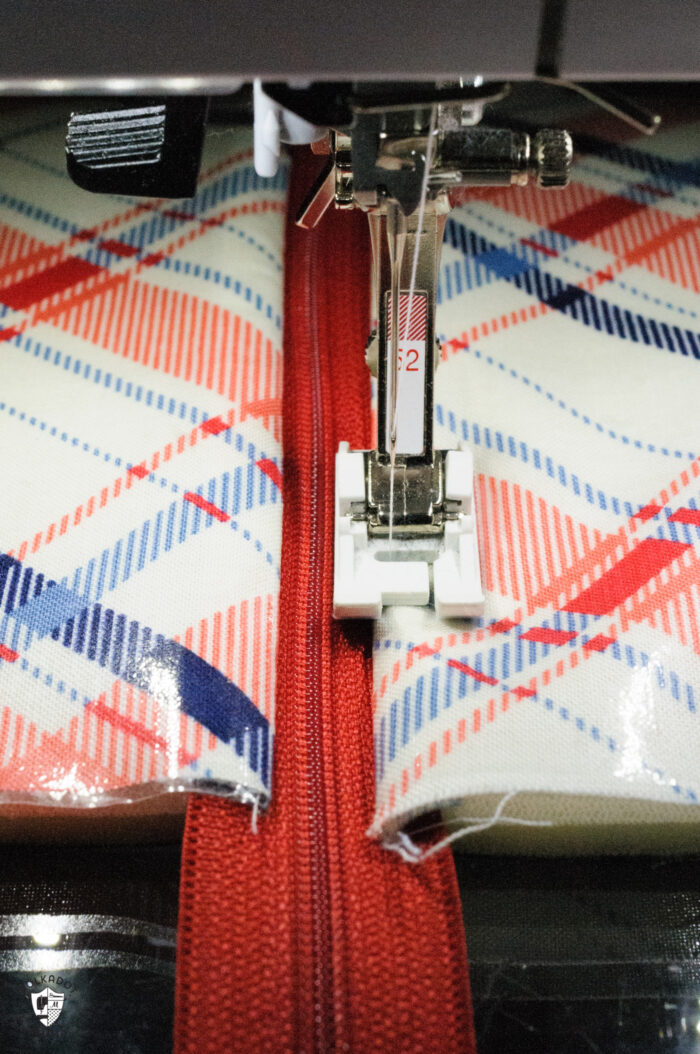
Option 1: Use a Teflon Foot
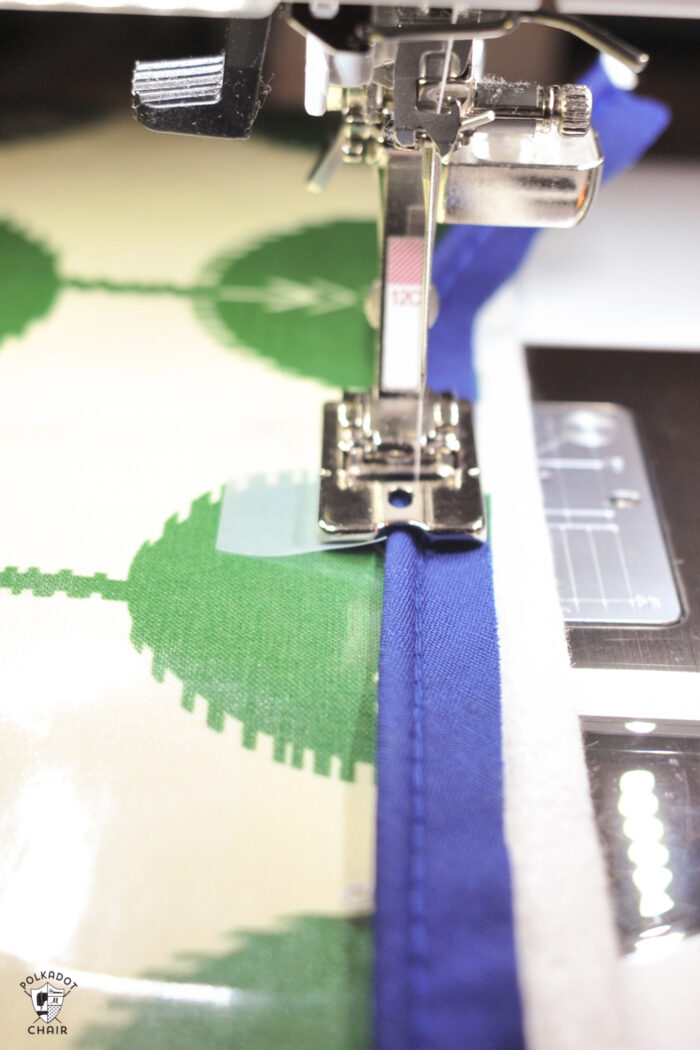
My favorite way to do this is to use a Teflon foot. BERNINA actually makes several Teflon coated feet. The one I use is #52. It’s narrow enough to topstitch near a zipper and it has a wide enough opening to move my needle to the position that I need it.
At times you may run into a situation where you need to use a special foot (i.e. a piping foot) on a laminated fabric.
For example, if I’m stitching piping down to the edge of my fabric but half of the foot is touching the coated fabric. If I left it alone, the fabric would pull under my foot, and my piping would not be stitched down completely. To remedy this, I place a strip of scotch tape on the half of my foot that is touching my coated fabric.
Option 2: Use Scotch Tape on your Presser Foot
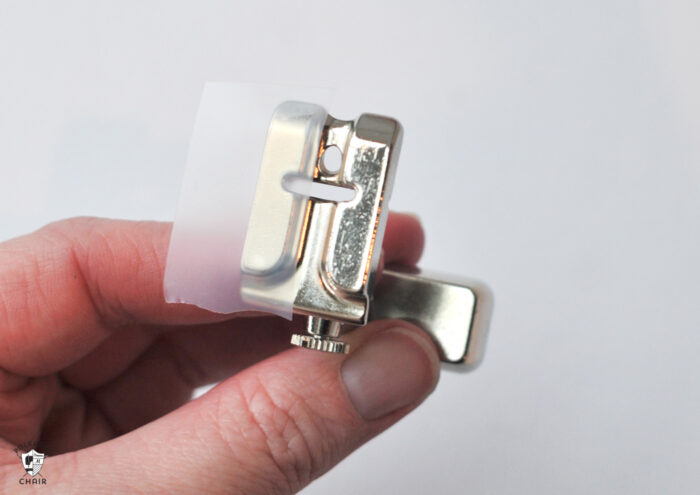
Now, you can, of course, use this trick with ANY machine foot instead of buying a Teflon foot.
However, I notice that this trick works best only for a little bit, the tape is not super sturdy. If I’m sewing a large project I’ll have to keep reapplying the tape, so for that reason, I like to just have a Teflon foot.
Things to Remember when Sewing with Coated Fabrics
1- DO NOT iron directly on the coated fabric.
2- Use a buffer between your machine and the fabric. Either a Teflon coated foot, tissue paper or scotch tape.
3- Your sewing needle will leave holes in the coating, however, you CAN unpick. After you’re done unpicking run your iron over your fabric (using your paper backing) to seal up the holes left by the sewing needle. I recommend using binding clips when sewing with laminated fabric for this reason.
4- The fabric is not super foolproof. If you unpick a few too many times, or twist and turn the fabric too much, it’s going to damage it and look bad. You probably just need to start over at that point. DO NOT turn it right side out more than 1 or two times.
5- You can iron coated fabrics, just either iron the wrong side of the fabric or use a backing sheet between your iron and your fabric. To be safe, especially when working with oilcloth, test a piece first. You may need to use a lower heat setting on your iron.
6- Be aware if you ever want to use a coated fabric as a lining, you will need to ensure that your coated fabrics don’t touch each other while pressing at any step in your construction. This is especially important during the final pressings.
Once I made a pouch with a laminated fabric lining and when I pressed it for the final time the linings touched and melted together!! Ruined my entire project. For this reason, I don’t usually use coated fabrics as linings.
Tips for Sewing with Laminated Fabrics
Tip One: Use Sewer’s Aid
This is an oil-based product for sale at most fabric stores. Place a small bead of Sewer’s Aid on the fabric you want to sew. Spread it out with your finger then sew.
Tip Two: Finishing Seams is Easy
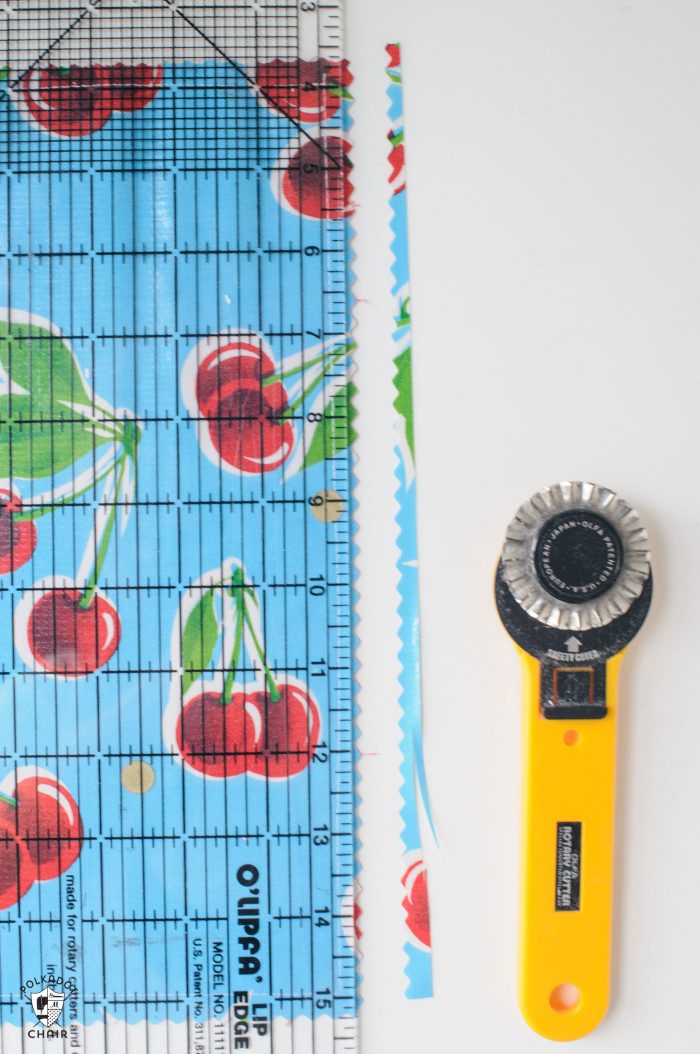
Coated fabrics do not fray (due to the plastic coating) so there is no need to finish off the seams. You can use this feature to your advantage and have your seams exposed on the right side of your sewing project. Use a pinking blade on your rotary cutter to add a nice finish to the edge if your seams are showing.
Tip Three: Use Scraps of Tissue Paper or Interfacing Paper
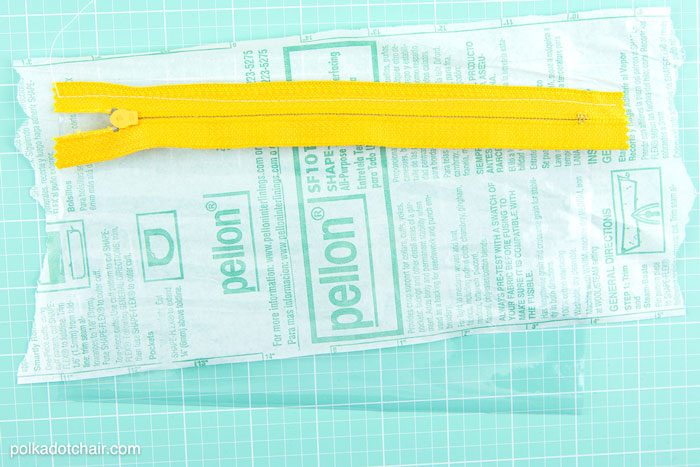
Okay now, what do you do if your coated fabric is facing your feed dogs? Use tissue paper. I cut a piece of tissue paper about 1” wide by the length of the portion to be stitched. I then place it between my coated fabric and the feed dogs on my machine. Stitch as normal then pull off the tissue paper when you are done sewing.
Tip Four: Be Careful When Ironing
DO NOT ever touch your iron to the front of your coated fabric. It will melt the fabric onto your iron and leave a permanent mark. Instead, use a warm iron on the WRONG side of the fabric when pressing is necessary.
If you do need to press the right side of the fabric, use a pressing cloth or a silicone pressing sheet to keep the iron from sticking to the fabric.
Project Ideas for Laminated Fabrics
1. DIY Disney Bags made with Vinyl Fabric
4. Wet Pouch made from a Shower Curtain
7. Makeup Bag with a Vinyl Lining – Tutorial
12. Oilcloth Pencil Pouch Tutorial
13. How to Make Oilcloth Placemats
This post was originally published earlier and has been revised with improved and updated content.