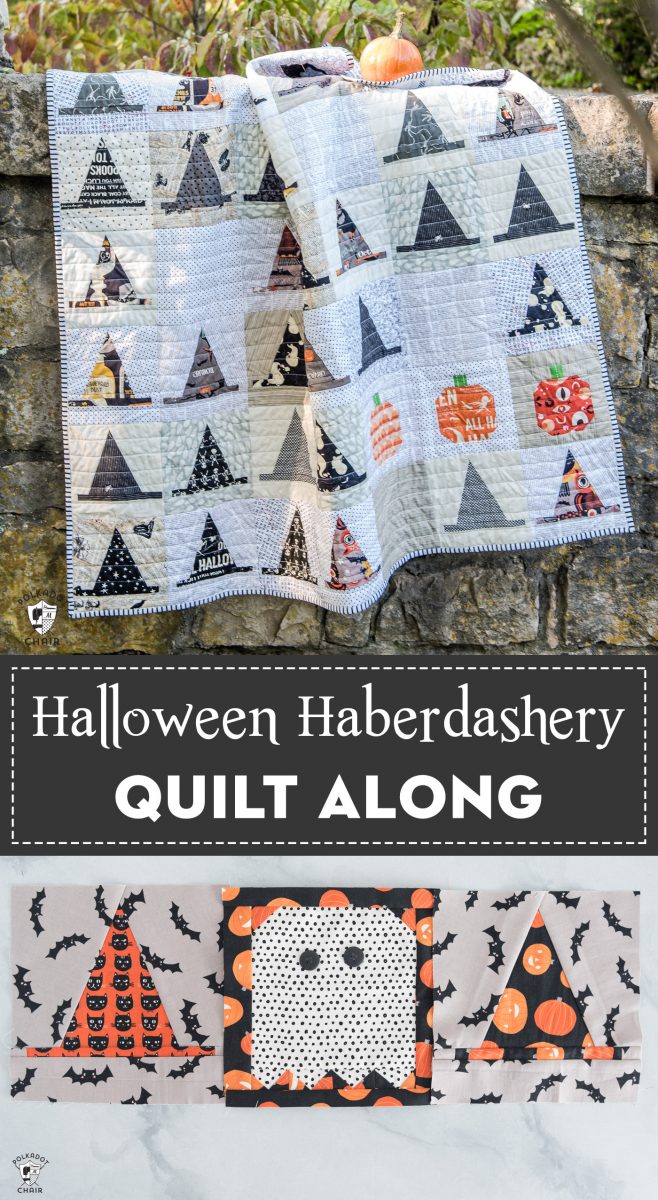
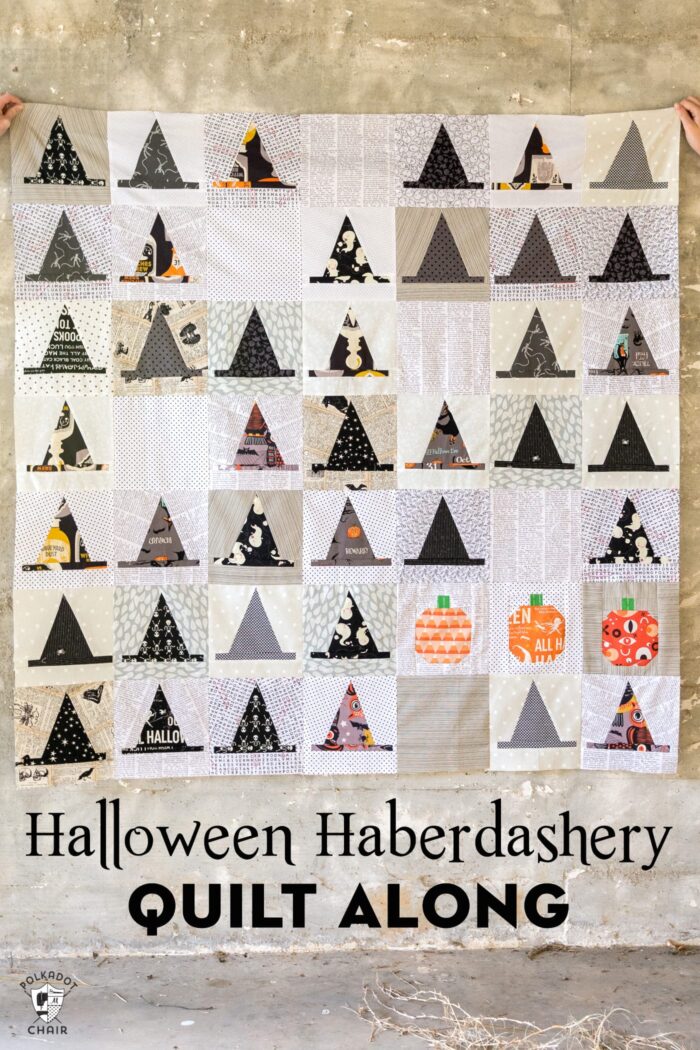
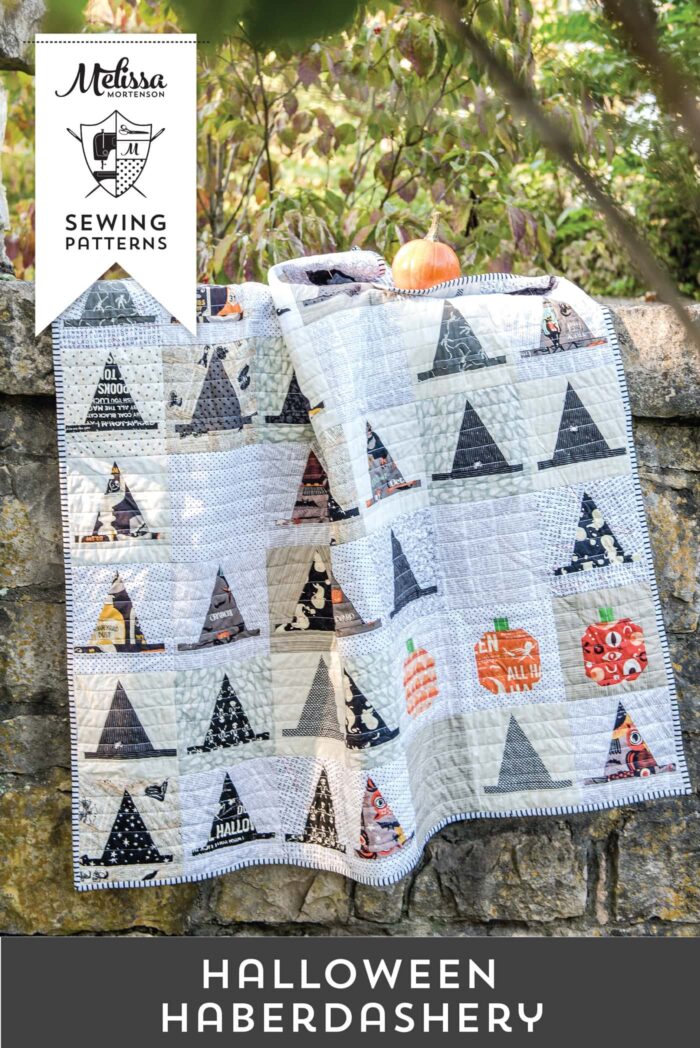
Halloween Haberdashery Quilt Along: Cutting TIps
I’m so excited to hear that so many of you are excited about participating in the quilt along. This is the 2nd post in the series. If you’re reading this later (as in after the quilt along is over), you can click through all the posts by clicking HERE.
If you’re reading it during the quilt along then make sure you note the dates below. They will let you know what steps will be posted and when.
- September 14th: Cutting Tips
- September 21st: Block Piecing Tips
- October 5th: Ghost Block Free Tutorial
- October 12th: Finishing & Other Options for using the Blocks
This week I wanted to share some tips for cutting out the fabrics for the quilt.
Before I get started I wanted to let you know that I AM working on an FPP version for the Santa hat Quilt Block. It will be its own standalone pattern. I had to change the block size significantly and it will cause too much confusion to try to include it with the Halloween hat pattern.
You can find out about the Santa Hat Quilt Pattern HERE.

Okay now on to quilting cutting tips!
Tip 1: Keep your fabrics together as you cut.
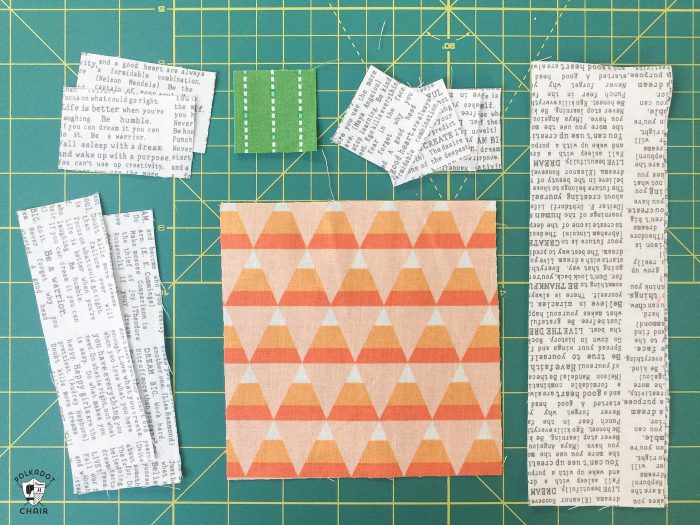
This is the biggest tip I can give you. There are 2 pieces cut for the hat and many pieces cut from the background fabric. The same thing applies to the pumpkin quilt blocks. If you are using a variety of fabrics on your quilt, then you need to make little “piles” of all of the pieces for that block with ALL the same print. Otherwise, as you start piecing it together you will end up with a “stray” piece of fabric in the wrong print on your block. Or you’ll end up misplacing your pieces.
I like to pin all the pieces for one block together. Then make piles of pinned pieces. Since there are 40 Witch Hat blocks on this quilt, you’ll end up with 40 piles of pinned pieces. In each stack are all of the pieces you need to make that block.
Then I can just sit down at my machine and stitch in bulk. We will talk more about assembly next week, so I’ll just cover it quickly this week. I like to sew all of the same “seam” at once for all the blocks. For example, I will sew all of the right fabric pieces on to the triangle piece for the witch hat blocks. Trim those then sew all the lefts. Etc.
One of the tricks to making your quilting quicker is to “batch” tasks like that. I think it’s quicker to sew like that than to make one block start to finish at a time.
Tip 2: Match up your Hat and Background Fabrics
If you are going for a really scrappy look you can figure this out after you cut out your pieces. However, I know many of you will want to plan out your blocks and your quilt a bit more. I like to make piles noting which background fabrics I like with which Witch hat fabrics. I try to make sure the two fabrics are in CONTRAST with each other. Either one is a dark and one is a light fabric or one is a large scale print and one is a small scale print.
Then I’ll make a little “chart” I’ll note “4 Witch Hats Cut from Black Bat Fabric, 2 Witch Hats Cut from Spiderweb Fabric” or “4 Backgrounds for blocks cut from Halloween Dot Fabric”… etc.
When I’m done, I’ll count to make sure I’ve got all of the blocks “planned” out then start cutting up my fabrics.
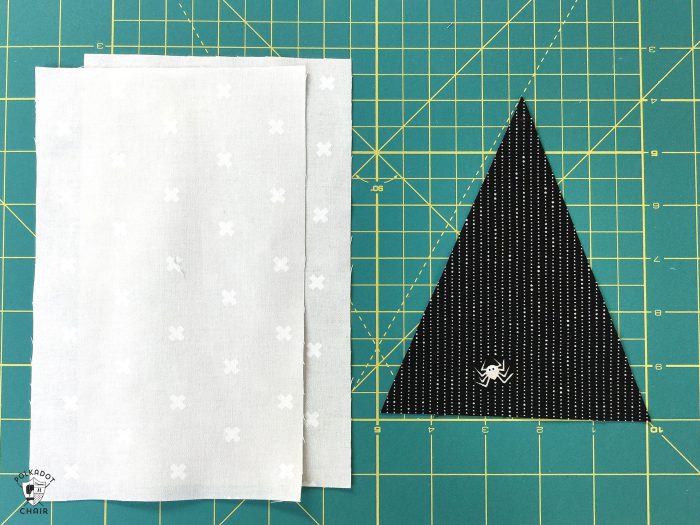
Tip 3: Tips for Cutting out the Triangles
You’ve got a couple of options when it comes to cutting out the triangles for the blocks.
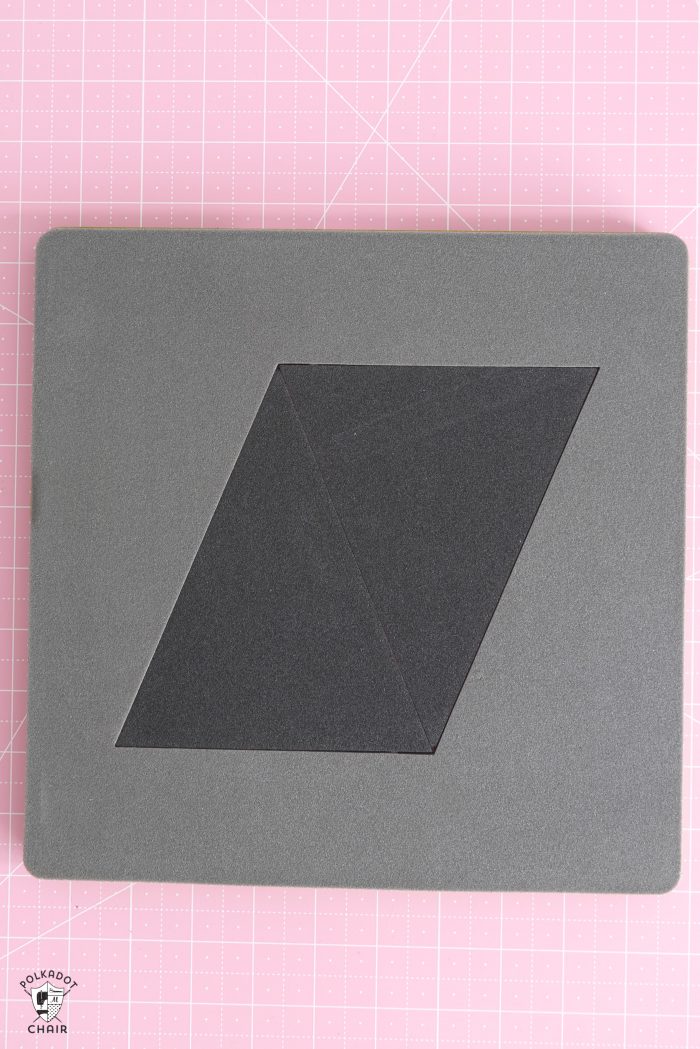
AccuQuilt makes a die that is the same size as the Isosceles triangle on the pattern.
You can get it at your local quilt shop, or online.
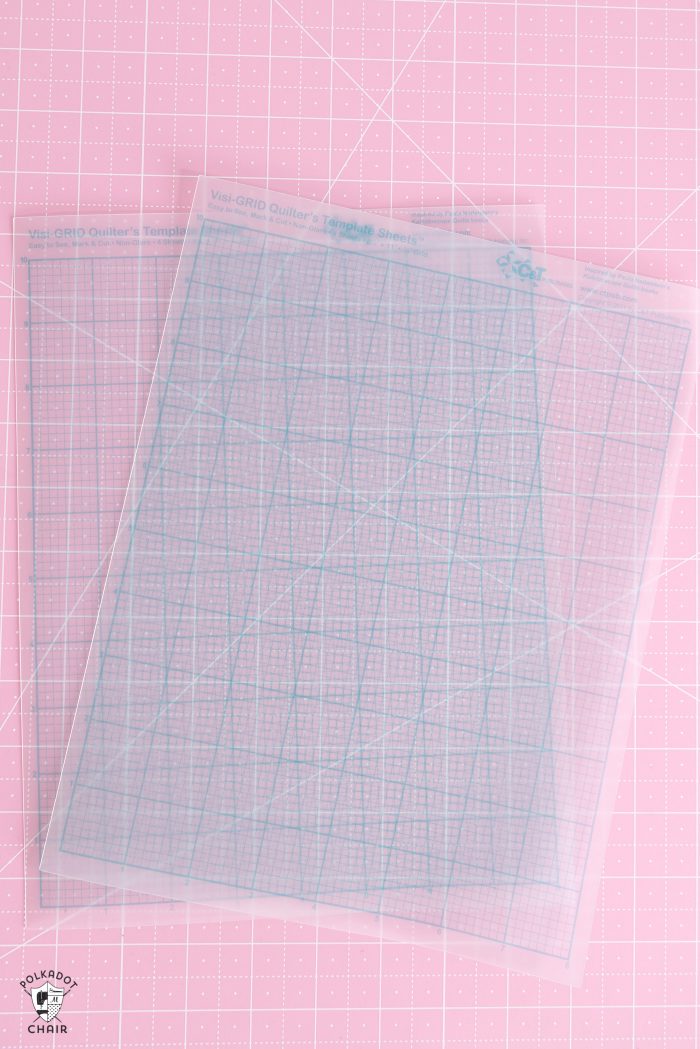
You can also trace the template in the pattern onto a piece of template plastic and cut it out. This will be much sturdier than using just a regular piece of paper.
When you cut out your pieces, if you are cutting many witch hats from one print of the fabric, make sure you rotate your triangles to “nest” into each other. That way it will not waste as much fabric. You can use the edge of one triangle as the edge of the next triangle you cut.
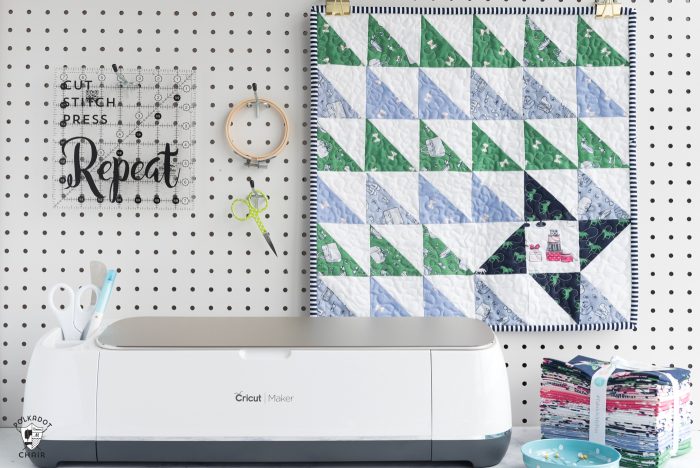
You can also cut out the triangles with your Cricut Maker if you have one. Simply open Cricut Design space and draw a triangle. Change the dimensions so it’s the same size as the pattern (width and height). Make sure it stays an Isosceles Triangle (which are triangles with two equal sizes). Then send to your Maker and cut!
Ok, I hope that helps! If you have not quilted much at all before, you can check out this post which outlines basic rotary cutting for quilting. All of there rest of the pieces for the quilt are cut from squares and rectangles and are pretty straightforward.
Next week we will start sewing! If you want to “skip” ahead and start sewing you totally should!
I did want to point out something on the pattern.
It has some extra “wiggle” room built into the pattern as far as sewing and cutting goes. If you are PERFECT with your stitching you’ll notice that the bottom brim piece is wider than the top piece. This is because about 50% of the time when I was making my blocks the brim pieces were coming up short. Because, well I’m not perfect! LOL!
I think it’s because the pieces were so small that the slightest adjustment to pressing or seam allowance was throwing it off. Since you can always cut more fabric but you can’t add fabric, I made those pieces (and the outside block pieces) a bit bigger than necessary. That way you can trim your block to size perfectly!
If you’re playing around and want to share what you’re making be sure to tag me on Instagram @polkadotchair and use the hashtag #HalloweenHaberdashery !