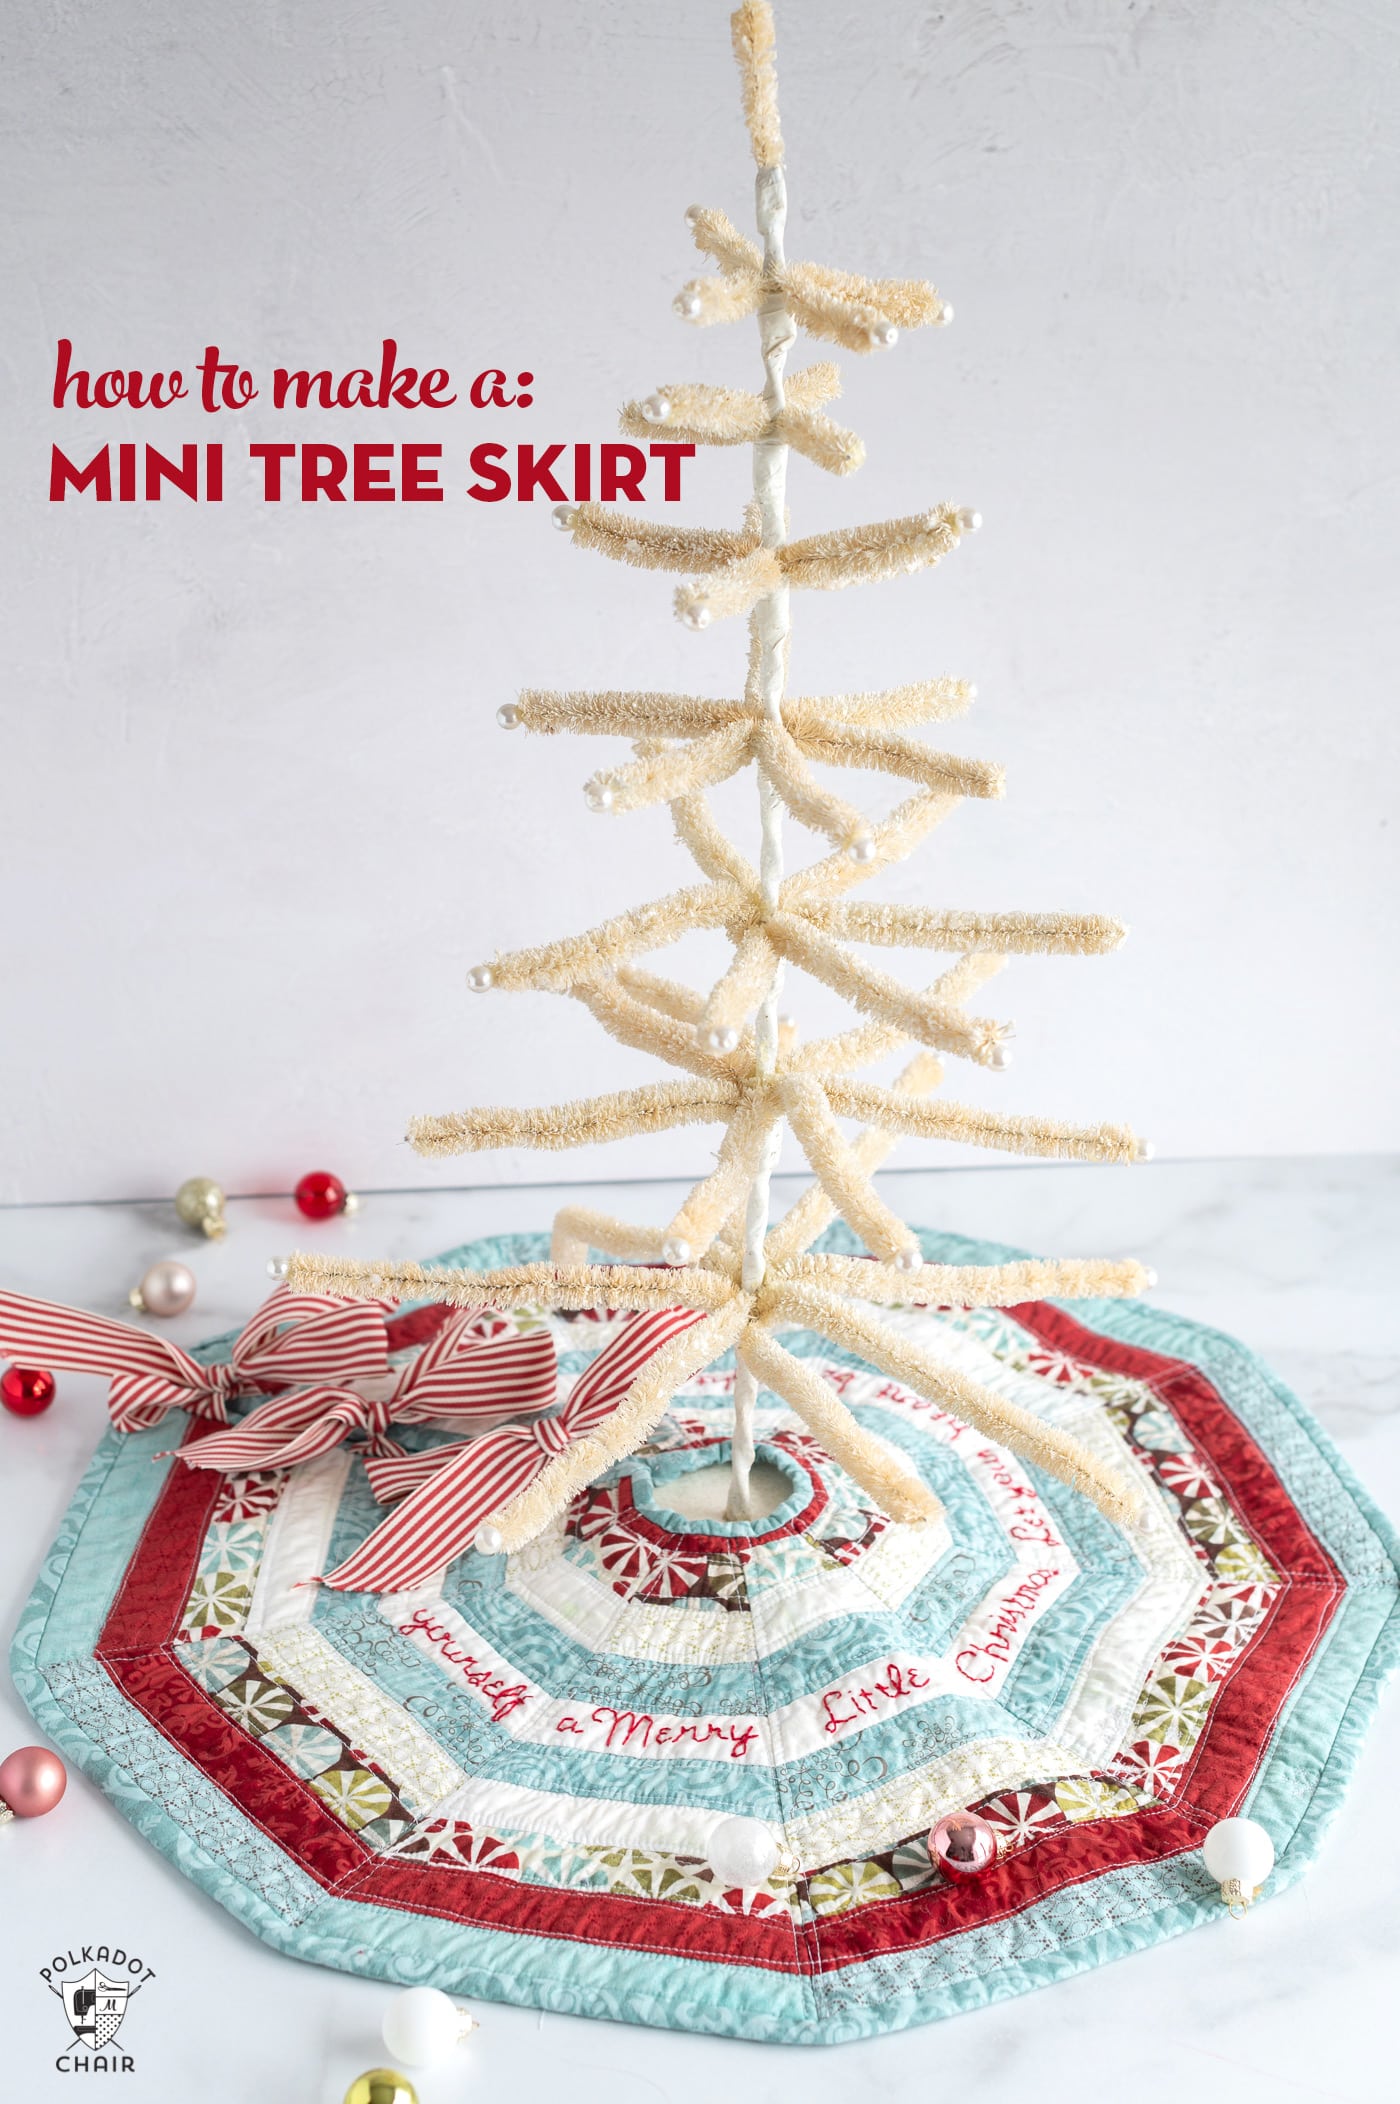
How to Make a Mini Christmas Tree Skirt
🎄✨ Embrace the festive spirit and add a touch of warmth to your holiday décor with our charming quilted mini Christmas tree skirt sewing pattern!
Today, I’m excited to be sharing an update for a free Christmas tree skirt pattern project that I shared here years ago! The mini tree skirt pattern has been tweaked and edited, and I’ve added a downloadable PDF with both the tree skirt pattern piece and the hand embroidery pattern. Some of you might remember this project when it was shared YEARS ago on the Moda Bake Shop!
Do you have a cute little tabletop Christmas tree? Are you in the mood to do a bit of Christmas sewing? Why not make a quick and easy tree skirt to add to your Christmas decorations? If you’re feeling super productive, you can even make a table runner to match!

About the Quilt Piecing Method Used
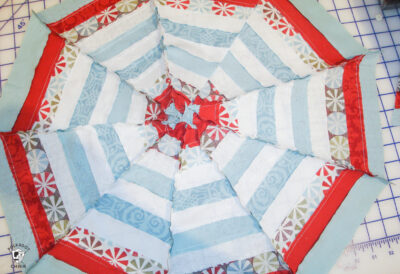
This Christmas tree skirt tutorial features a strip-piecing method to create a block that is normally referred to as a “spiderweb block. “
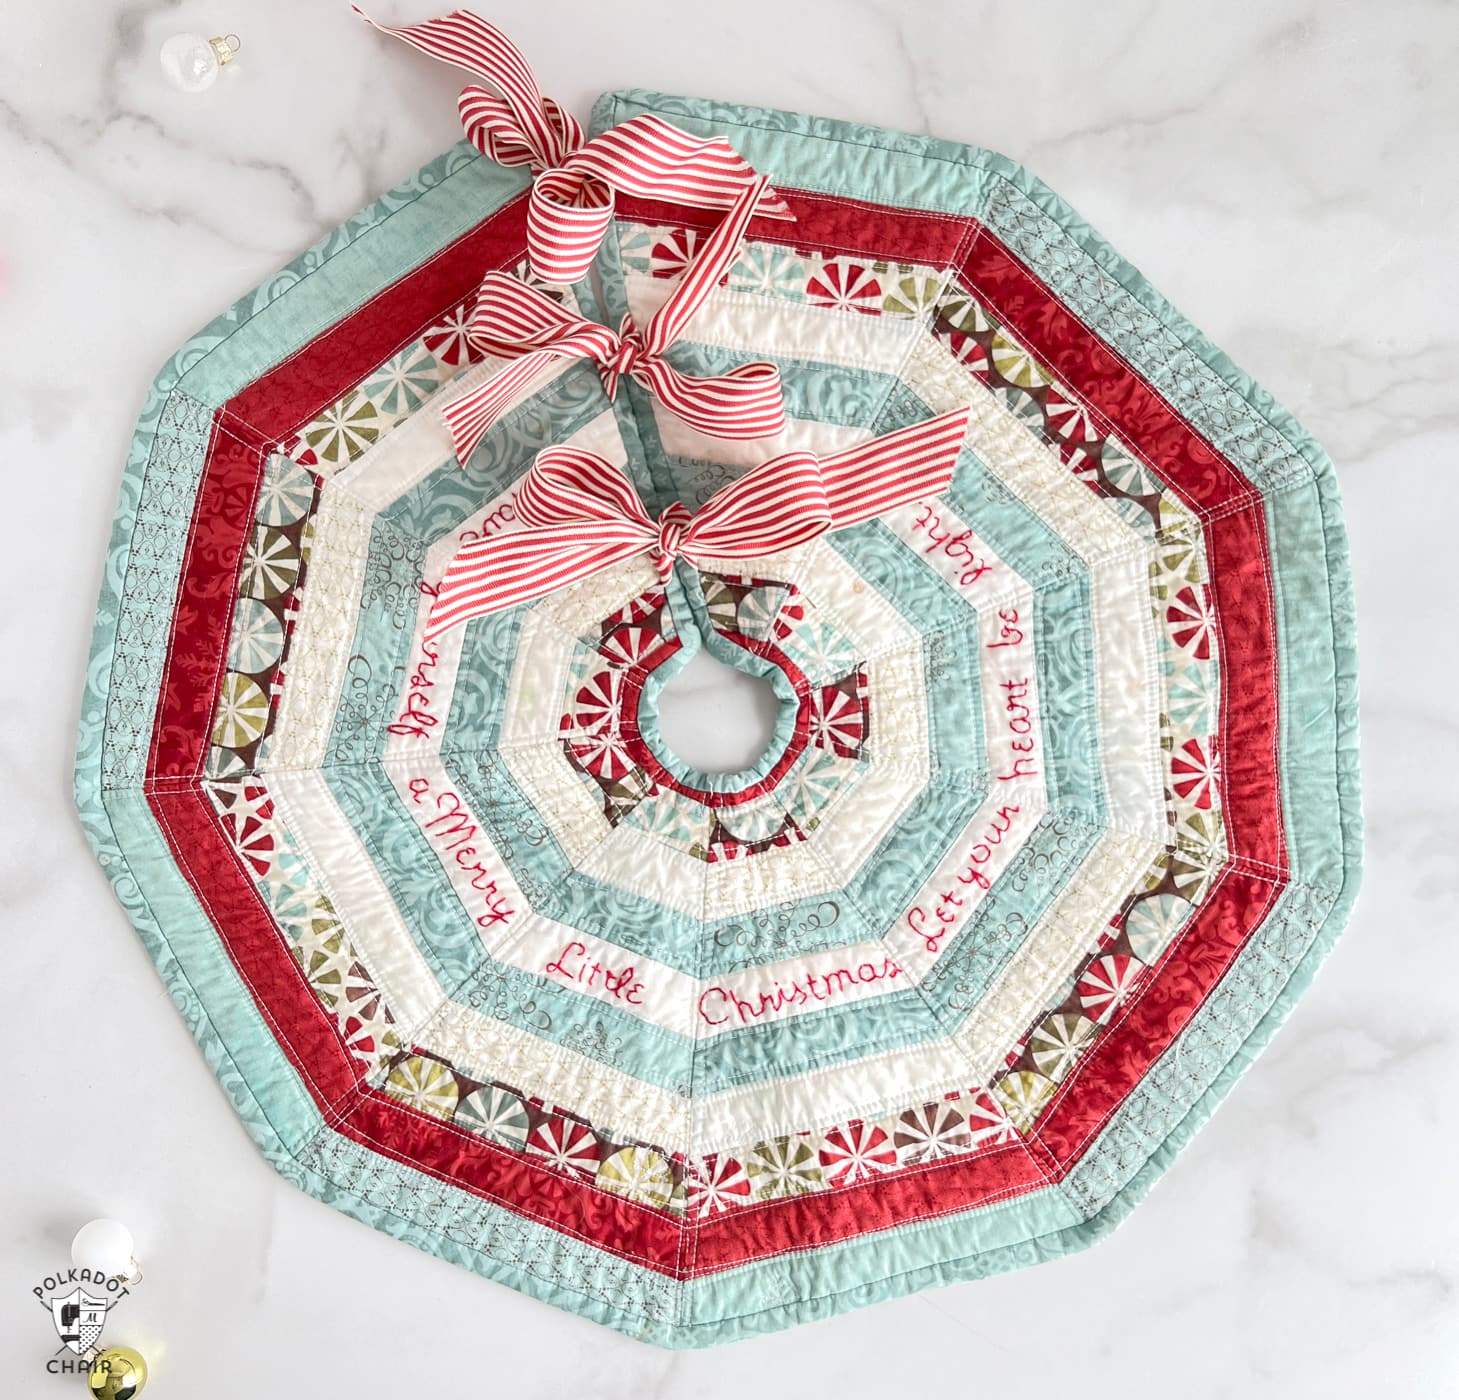
The spiderweb quilt block is a traditional quilting pattern that creates a design resembling a spiderweb. This block typically features a central square or octagon (although ours has 9 triangles instead of 8) and radiating strips of fabric that form “spokes” around the center. As the strips are added, they create the illusion of a spiderweb extending from the center of the block. The block can be made in various sizes, and the number of spokes can vary depending on the design preferences of the quilter.
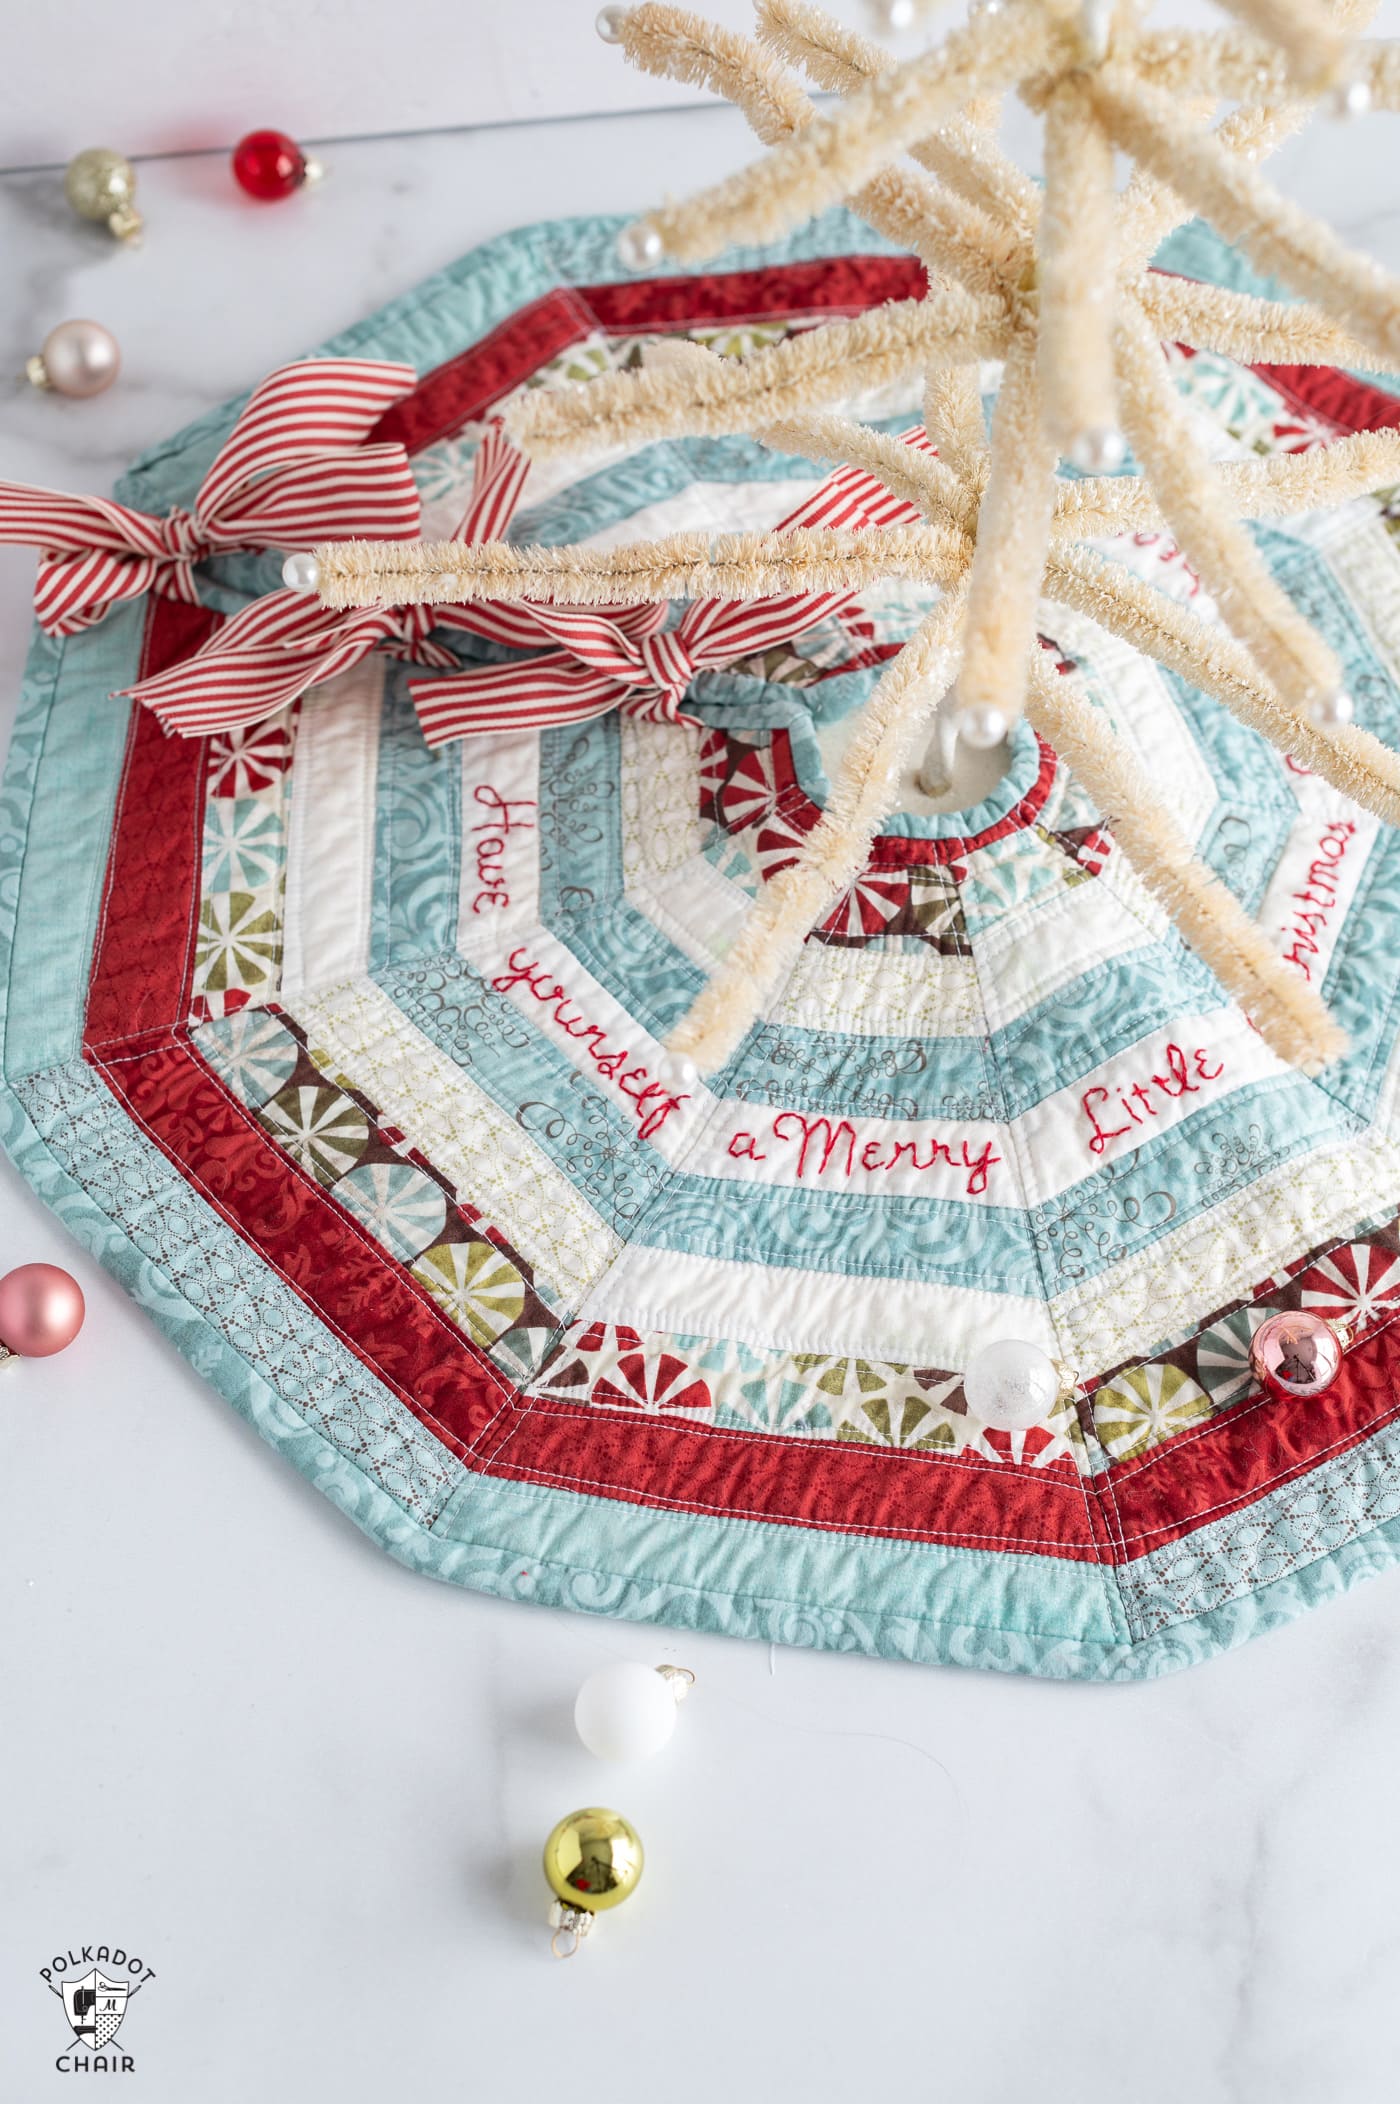
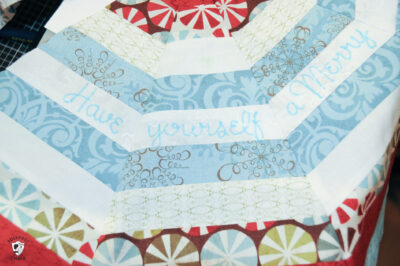
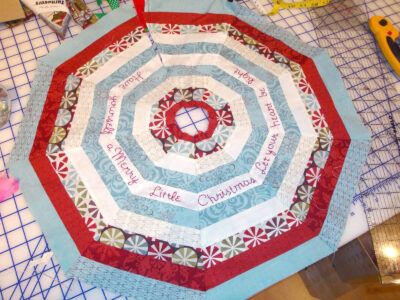
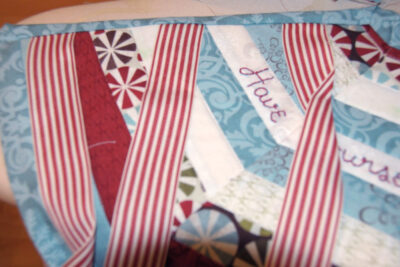
The tree skirt also features a bit of hand embroidery. Add the phrase “Have yourself a Merry Little Christmas. Let your heart be light” with a simple backstitch before your tree skirt is quilted.
My tree skirt is sewn using blue and white fabrics, but it would be equally cute with reds and greens!
How to Get the Pattern Piece
Fill out the form below and we will email you the pattern piece and hand embroidery pattern. You will still need to refer to the directions in this blog post to complete your project.
Supplies for the Mini Quilted Tree Skirt
- You will need 11 prints of fabric in 5 sets of two colors. For example, two prints of red fabric, two prints of blue fabric, etc… The “odd” fabric is white. My original tree skirt was made from a Pre Cut Bundle of 1 1/2″ Wide Strips (my fabric is Figgy Pudding by Moda). 1 1/2″ pre-cut strip rolls are not very common, so I recommend using fabric instead.
- 1 yd white fabric for the backing
- 1/4″ yd. or 1 fat quarter, blue fabric for the binding on the tree skirt
- Embroidery floss
- Ribbon
- Batting (I used quilters dream cotton)
- Sewing Machine
- Rotary Cutter
- Cutting Mat
- Quilt Ruler
Mini Christmas Tree Skirt Pattern
Mini Christmas Tree Skirt Pattern
Equipment
supplies
- 11 pieces fabric 1 1/2" wide x WOF in sets of two prints of the same color. For example, 2 red prints, two blue prints, etc. The odd print should be white.
- 1 yd white fabric for the backing
- ¼ yard Binding or one fat quarter
- 1 skein Embroidery floss
- 2 yards Ribbon
- 1 large piece Batting I used quilters dream cotton
- 1 Pattern Piece & Embroidery Pattern fill out the form on this page and we will email you the pattern pieces.
Instructions
- Assemble the Pattern Pieces:Print off the pattern pieces. Ensure your printer is set to "Actual size" not "Fit". Cut out along the outside rectangle and then tape the two pieces together. You should now have a piece that is 9" wide by 12" tall.


How to Make the Tree Skirt:
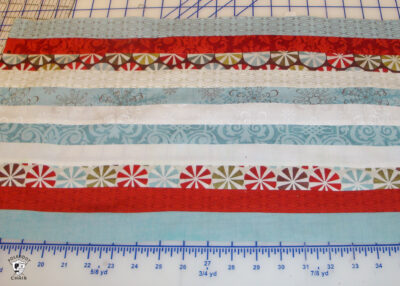
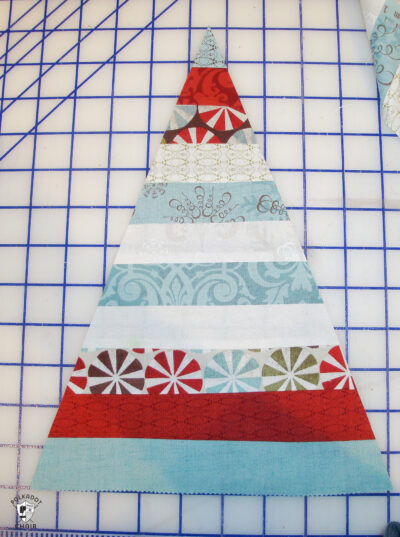
- If you have not already, cut 11 strips of 1 ½″ wide fabric. You need to arrange them in a color pattern that starts in the center and mirrors out to the edges. Make sure you match the colors in rows 1 & 11, 2 & 10, 3 & 9, 4 & 8, 5 & 7 and row 6 will be your center row.
- Note: You need them to match because you are going to cut them into triangles and flip the template after each cut. (if you are confused now, don’t worry just keep reading it will make sense with the photos).
- Sew all rows together with ¼″ seam. Press all seams to one side.

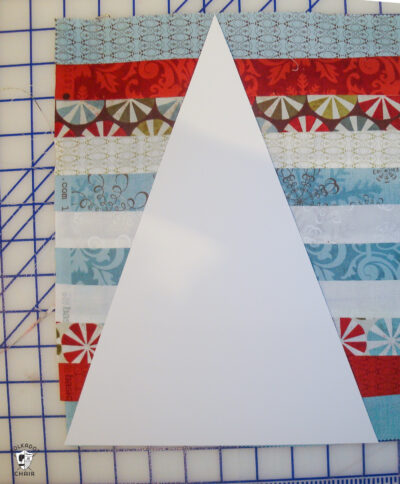
Cut Out Triangles from the Sewn Strips:
- Using your ruler & rotary tool, cut out the triangle, making sure that it is all the way over to the edge, you will need every centimeter of fabric, so double-check it.

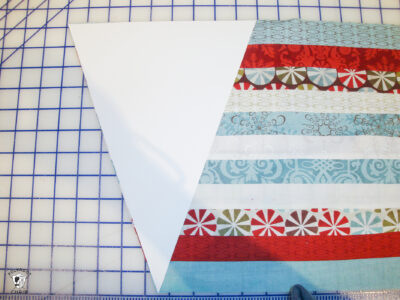
- Next, flip the template 180 degrees. Line up the edge of the template with the cut edge of the fabric strip.

- Cut out your next piece.

- Flip template again and repeat, until you get 9 triangles.
- (note your last triangle you may be a little short, don’t worry still cut it, that will be the edge piece of your tree skirt).
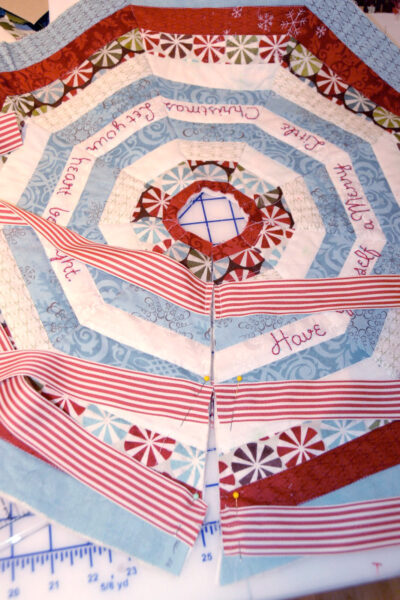
- Arrange your cut pieces into a circle, alternating patterns. (you will have 2 next to each other that are the same pattern, use this as the “seam” or opening of your tree skirt).

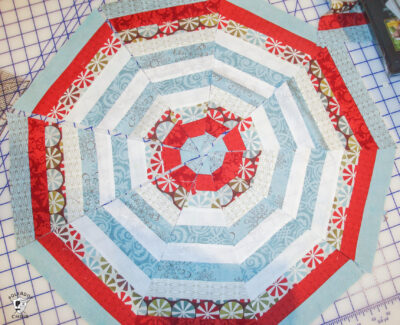
Sew the Triangles Together
- Sew pieces together with ¼″ seam. Stop sewing about 1" from the tip of the triangle. Leave one seam open, this will be the opening of your tree skirt.

- Cut out the center of the skirt, leaving 1″ of the red strip still showing. (if your tabletop tree has a wider trunk, cut a larger hole).
Add Hand Embroidery Details
- If you wish to hand embroider a phrase on your tree skirt do it now. Print off your words, then using a lightbox and a water-soluble pen, trace the letters onto the tree skirt.

- Hand embroider the words you traced, using a simple backstitch.
Finishing
- When finished with the embroidery, layer with batting and backing and quilt as desired. I just did a stitch in the ditch.
- Cut 6 pieces of ribbon about 10″ long. Pin to the opening of the tree skirt. Sew in place before you bind it.

- Sew on binding, making sure not to catch the ribbon in binding.

Notes
You May Also Like: