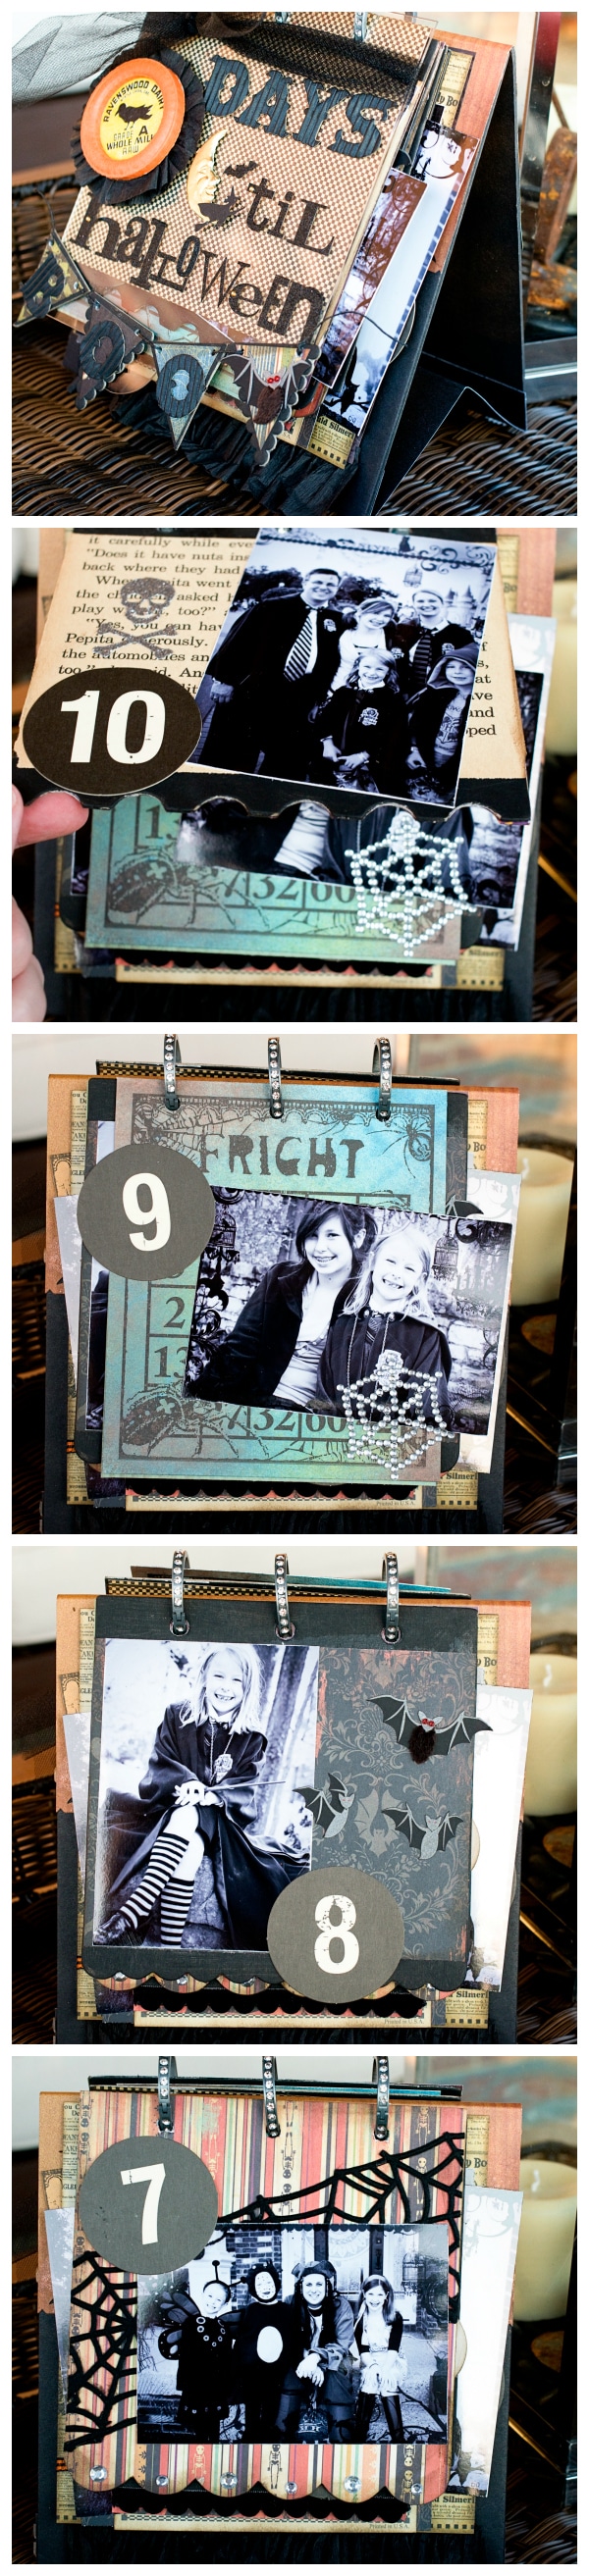
Halloween countdown calendar!
You know how you always take a million photos on Halloween day of everyone all dressed up in their adorable costumes? Well I thought that it would be fun to find a way to actually display the photos instead of just having them tucked away in scrapbooks or sitting on your computer!


This is a little Halloween desktop countdown calendar! Today I’ll show you how to build the basic structure then you can embellish it as you like! You could use the same plans to make a flip book for almost any occasion, but I think it would especially fun for Christmas!

To begin you will need:
– 2 pieces of 8″x8″ book board or VERY sturdy chipboard. I used 7gypsies black book board.
– 1 piece 8″x8″ card stock in co-ordinating color
– 1 piece 8″x8″ pattern paper
– 3, 2″ binder rings
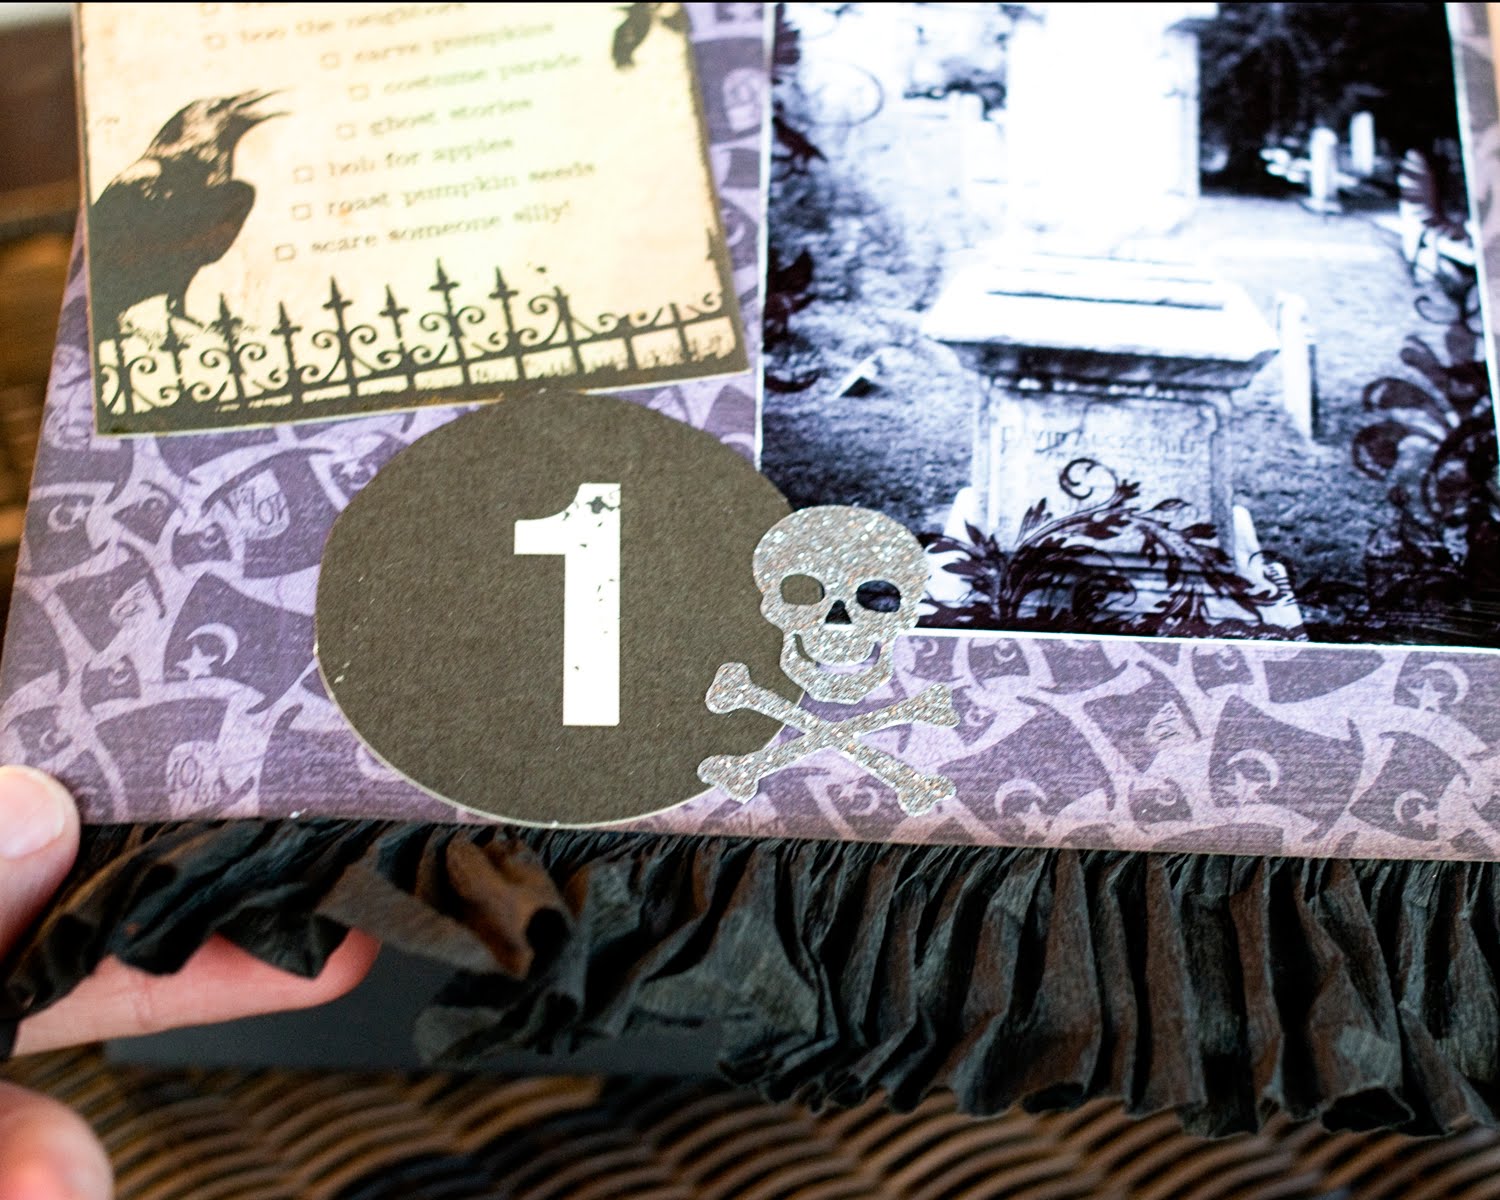
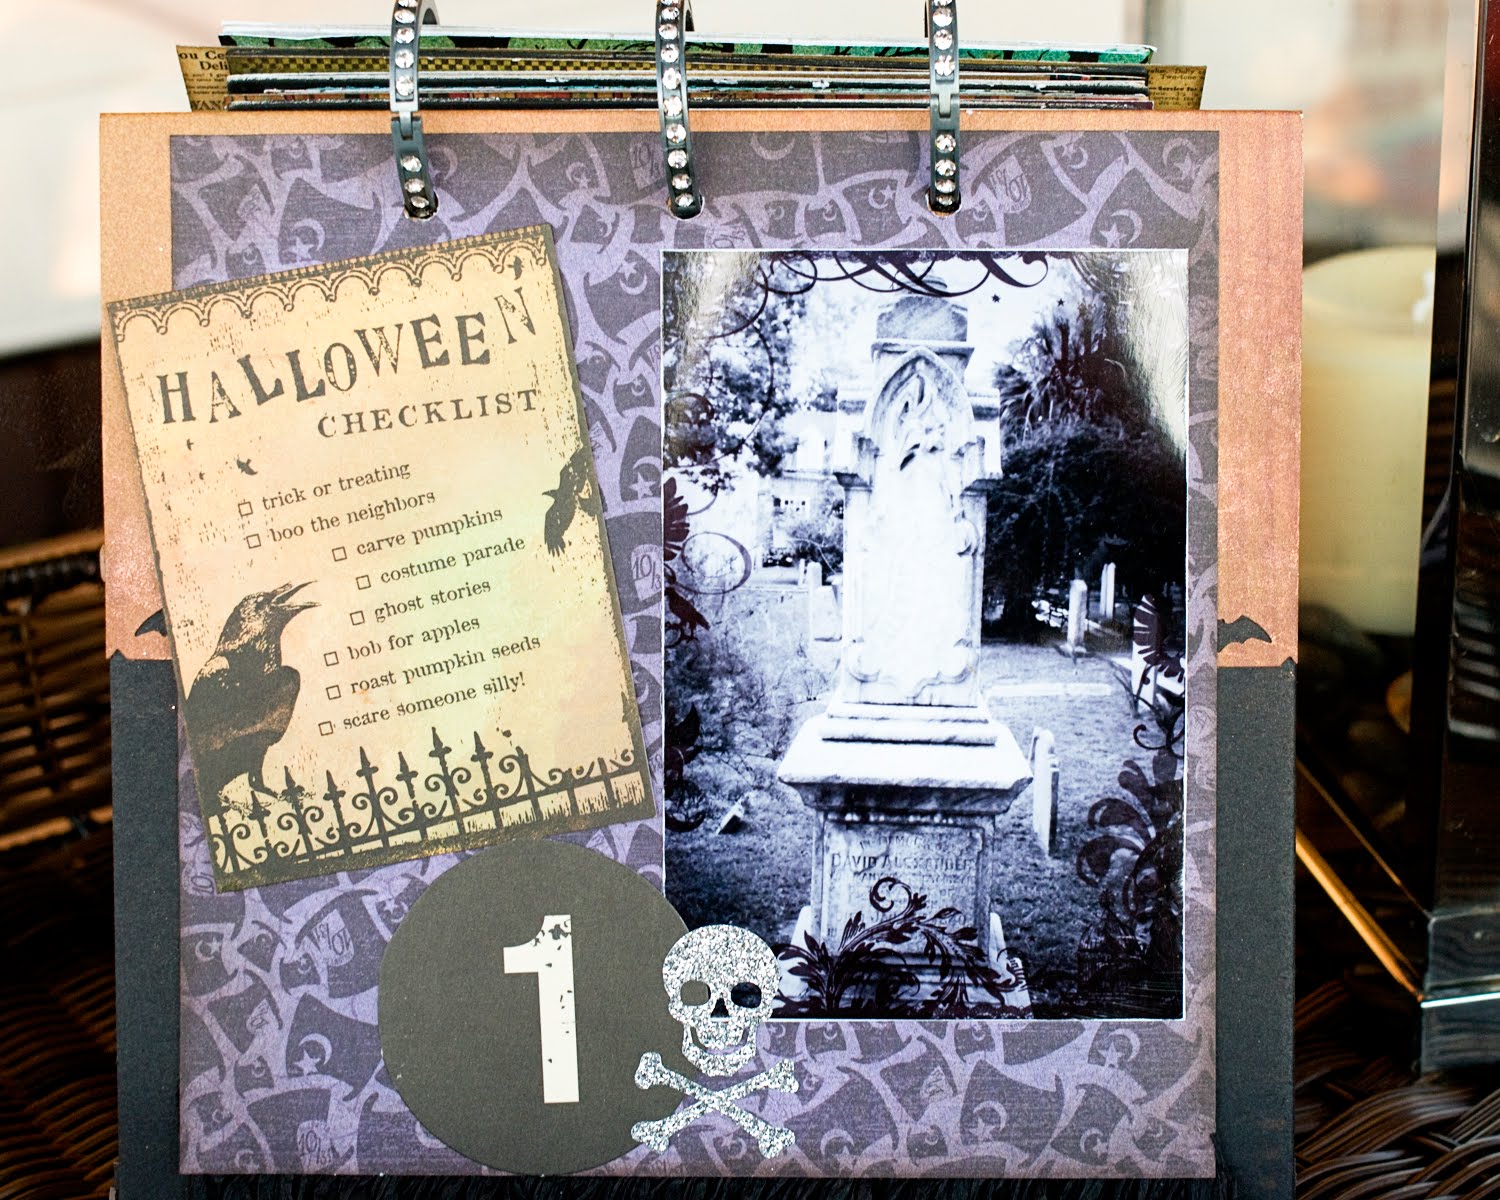
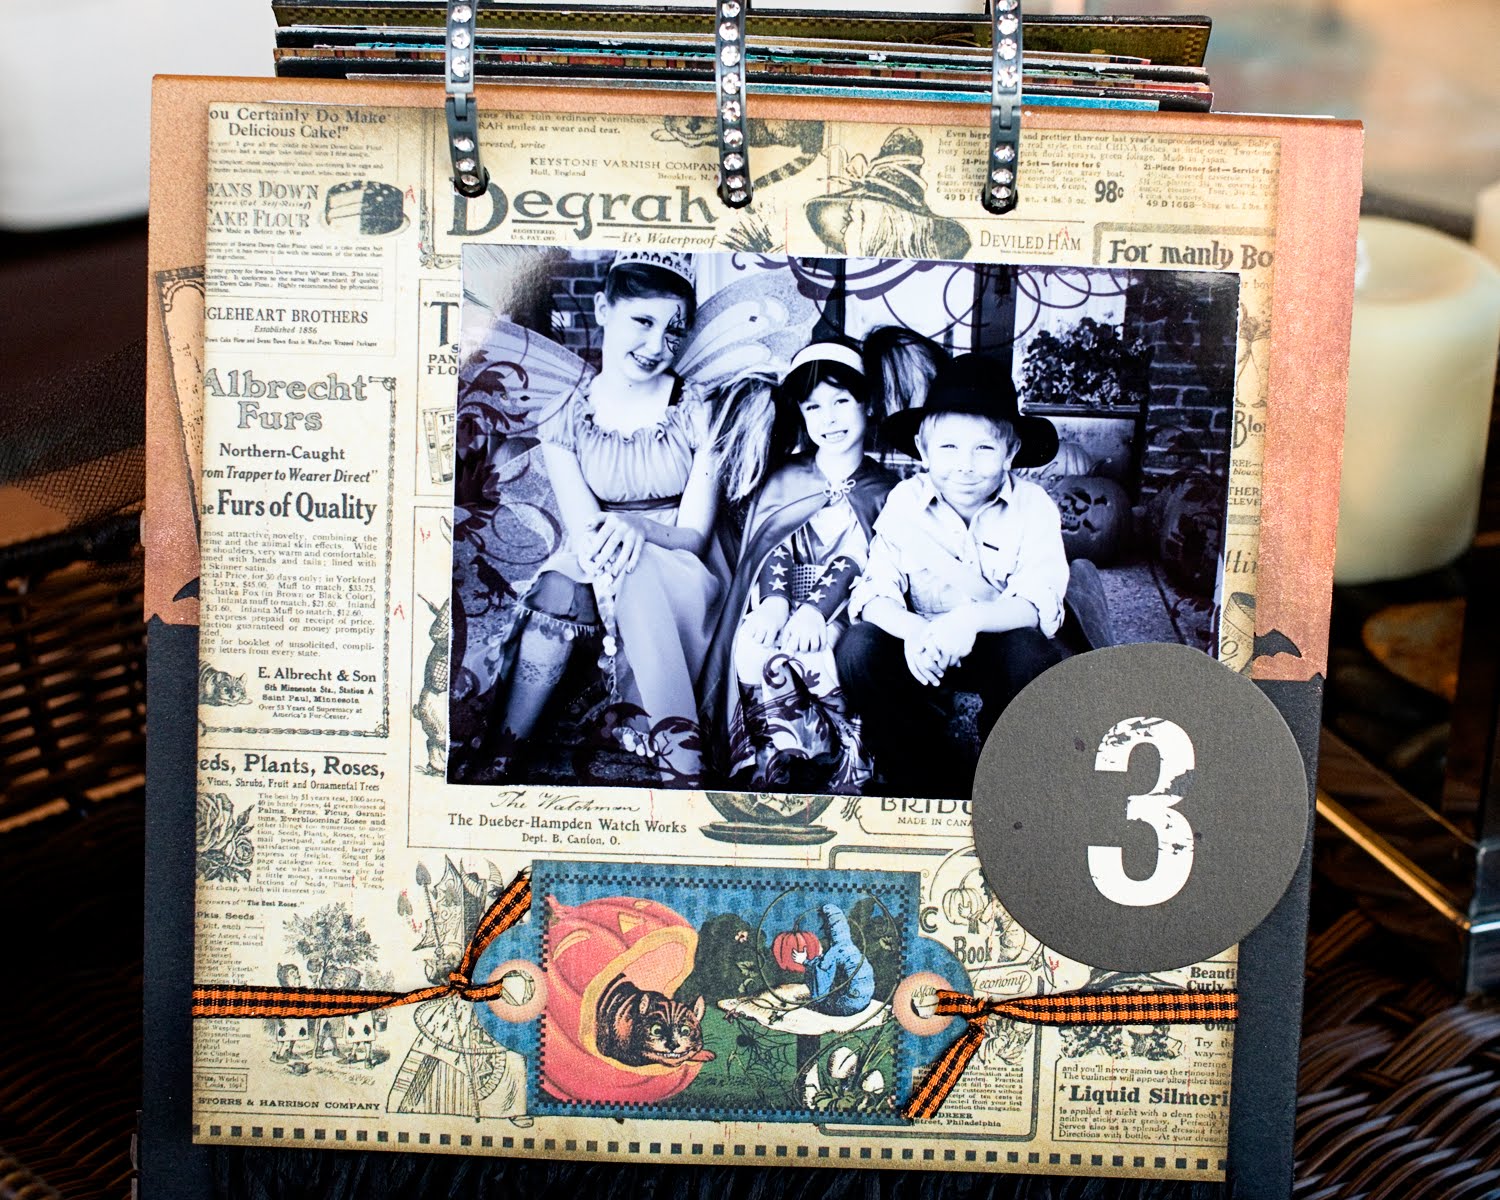
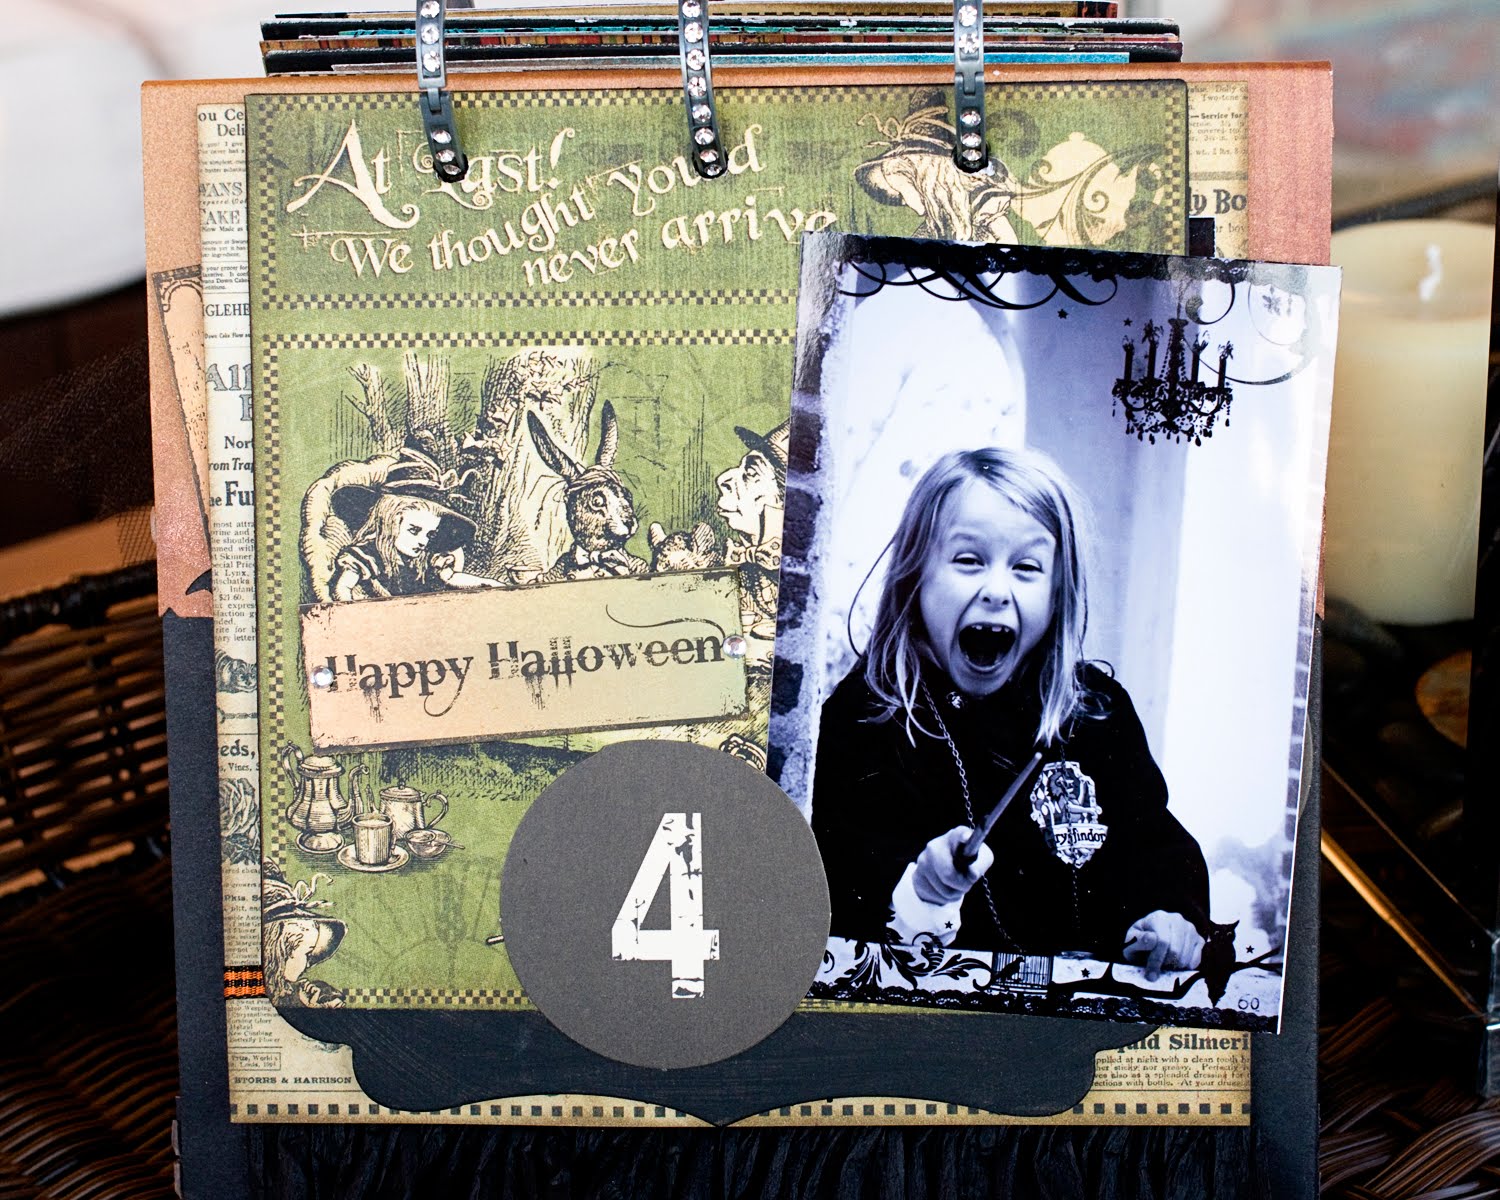
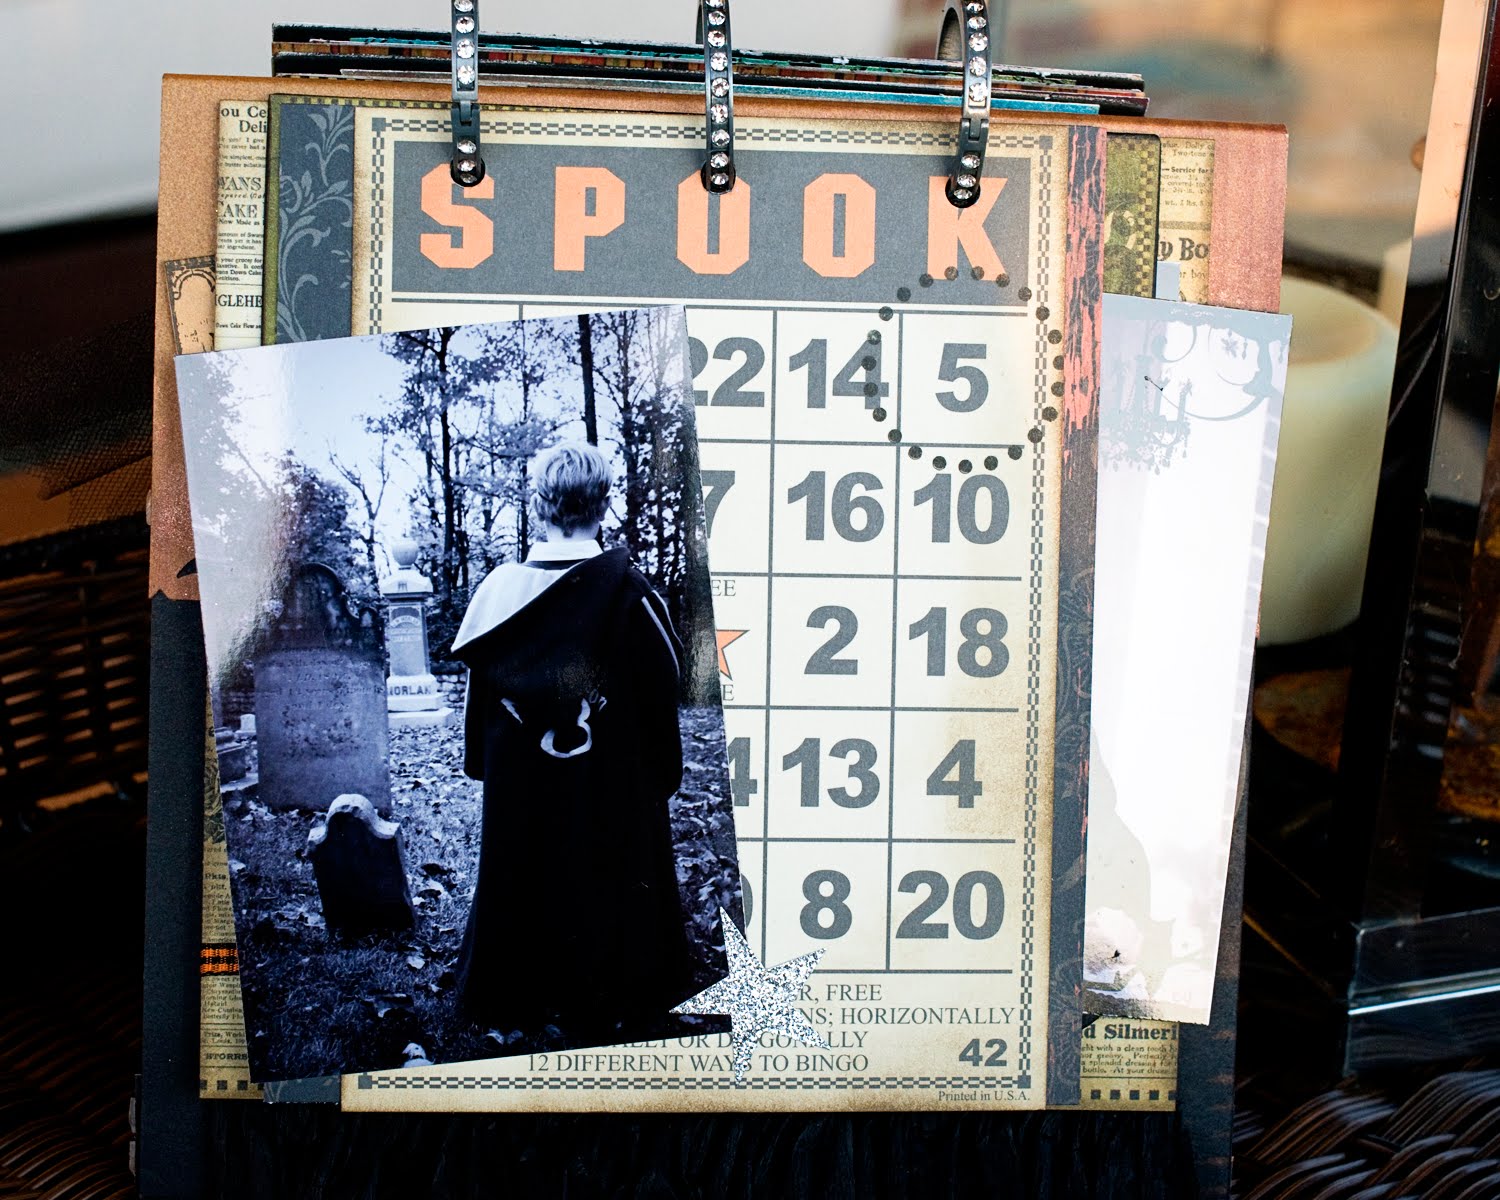
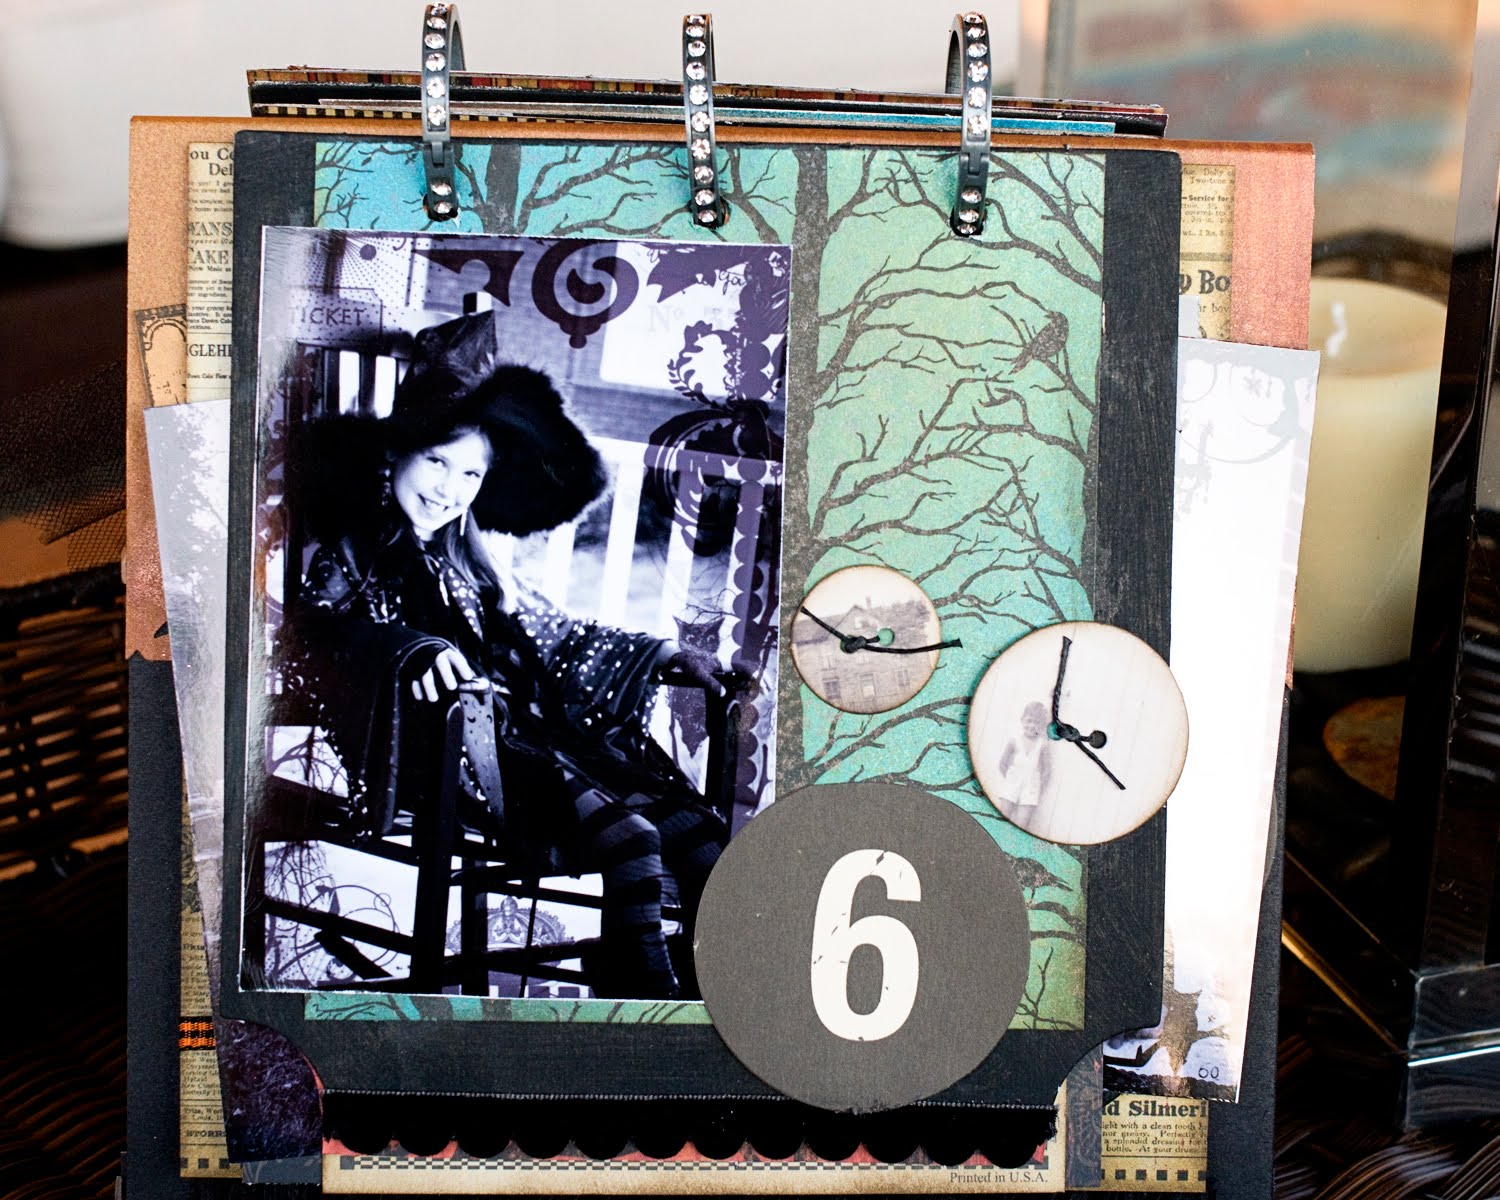
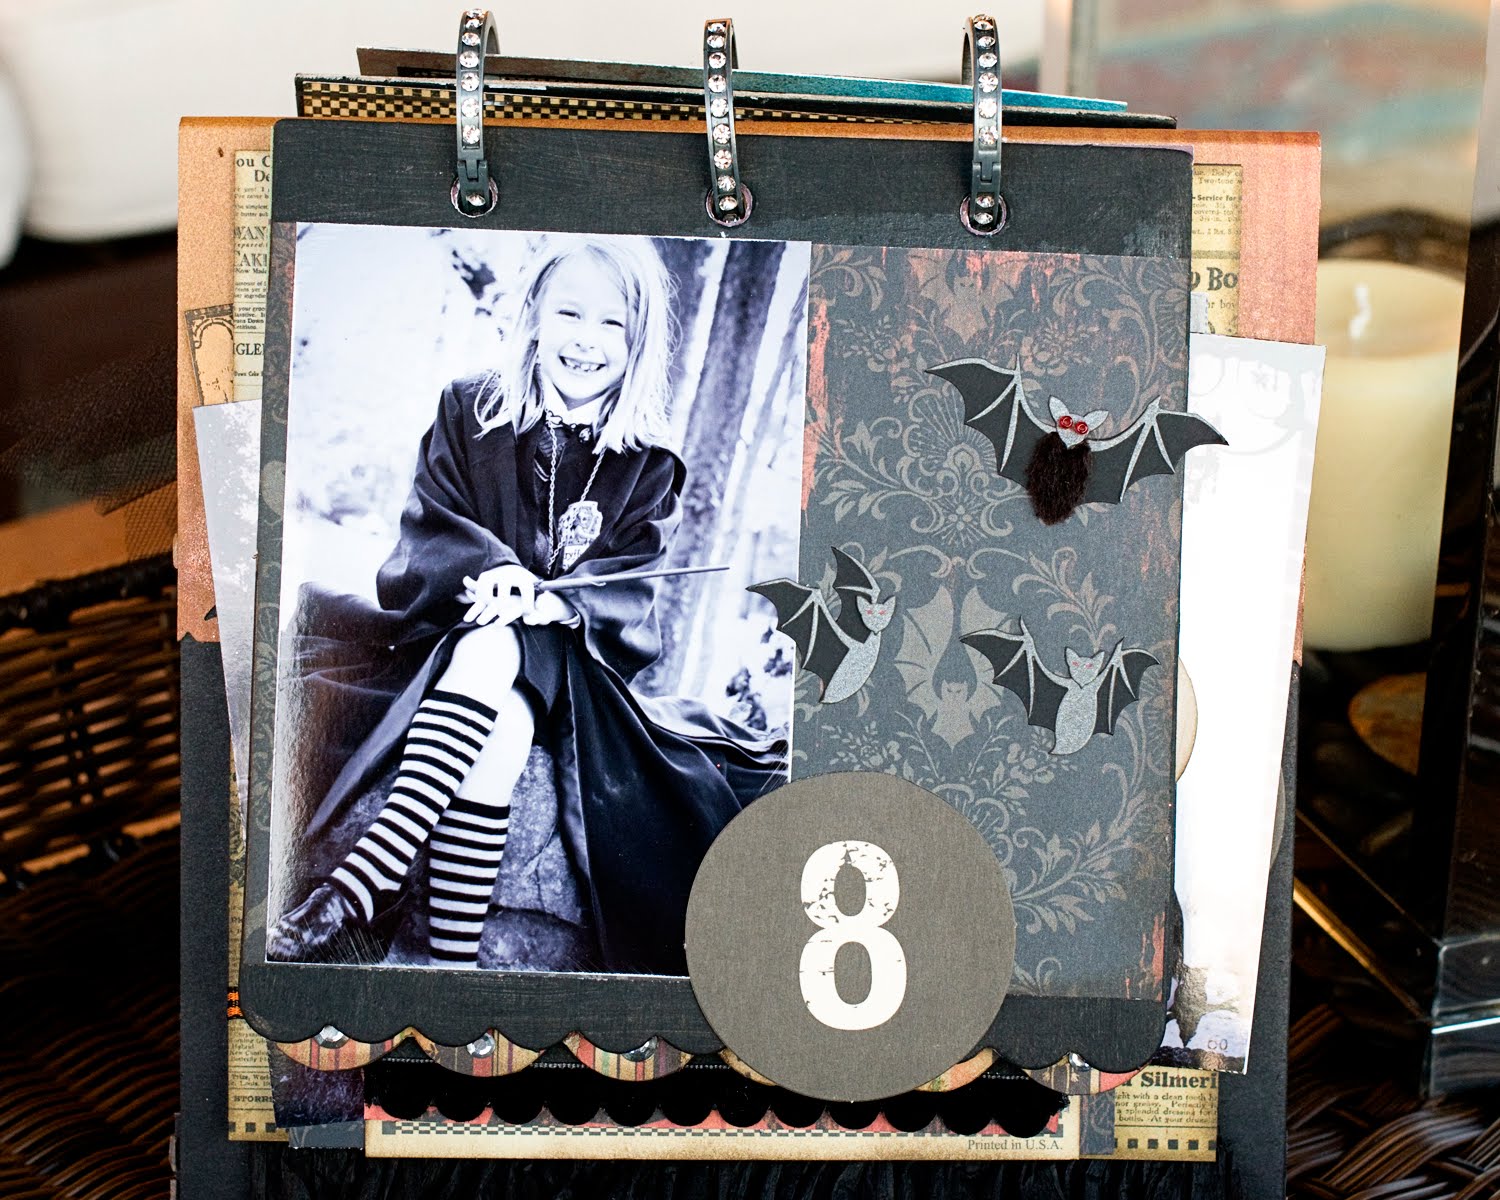
– 10 photos, I printed mine in black and white and added some swirls in photoshop to a few of them before I printed them.
I also used the Close to My Heart All Sorts Mini album for the chipboard pages in the book, and a few colors of Glimmer Mist to make all of my supplies look more “spooky”.
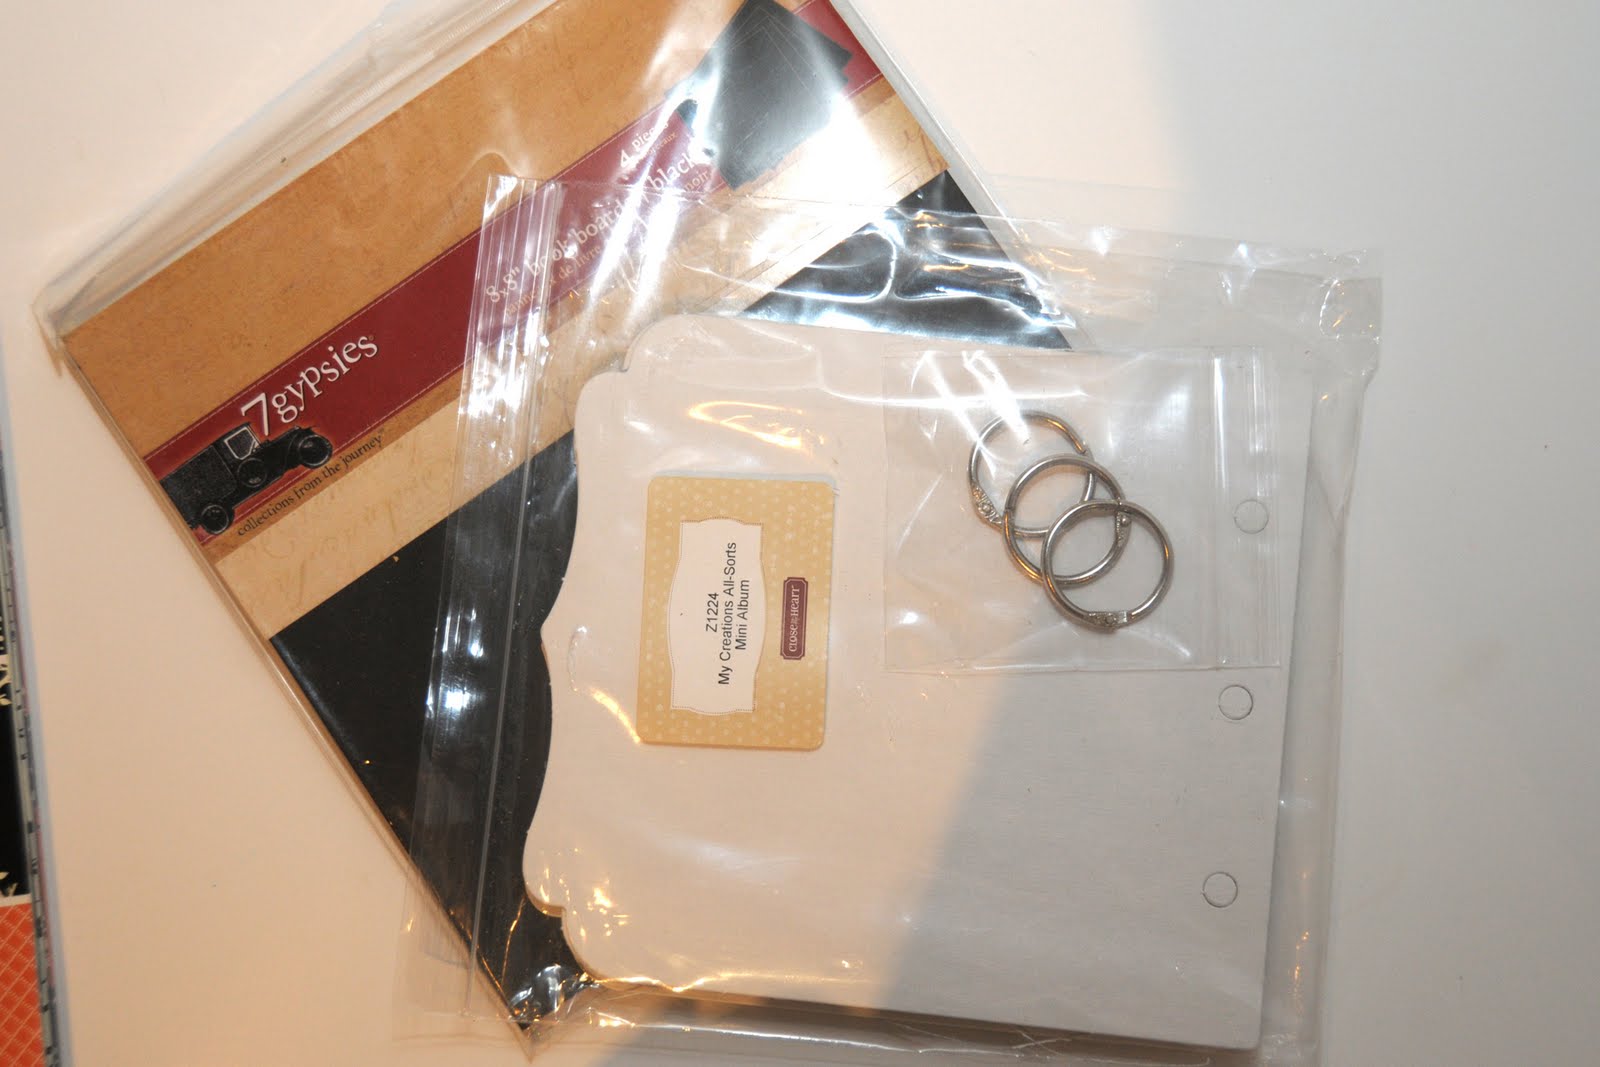
You will also need various Halloween scrapbooking supplies.

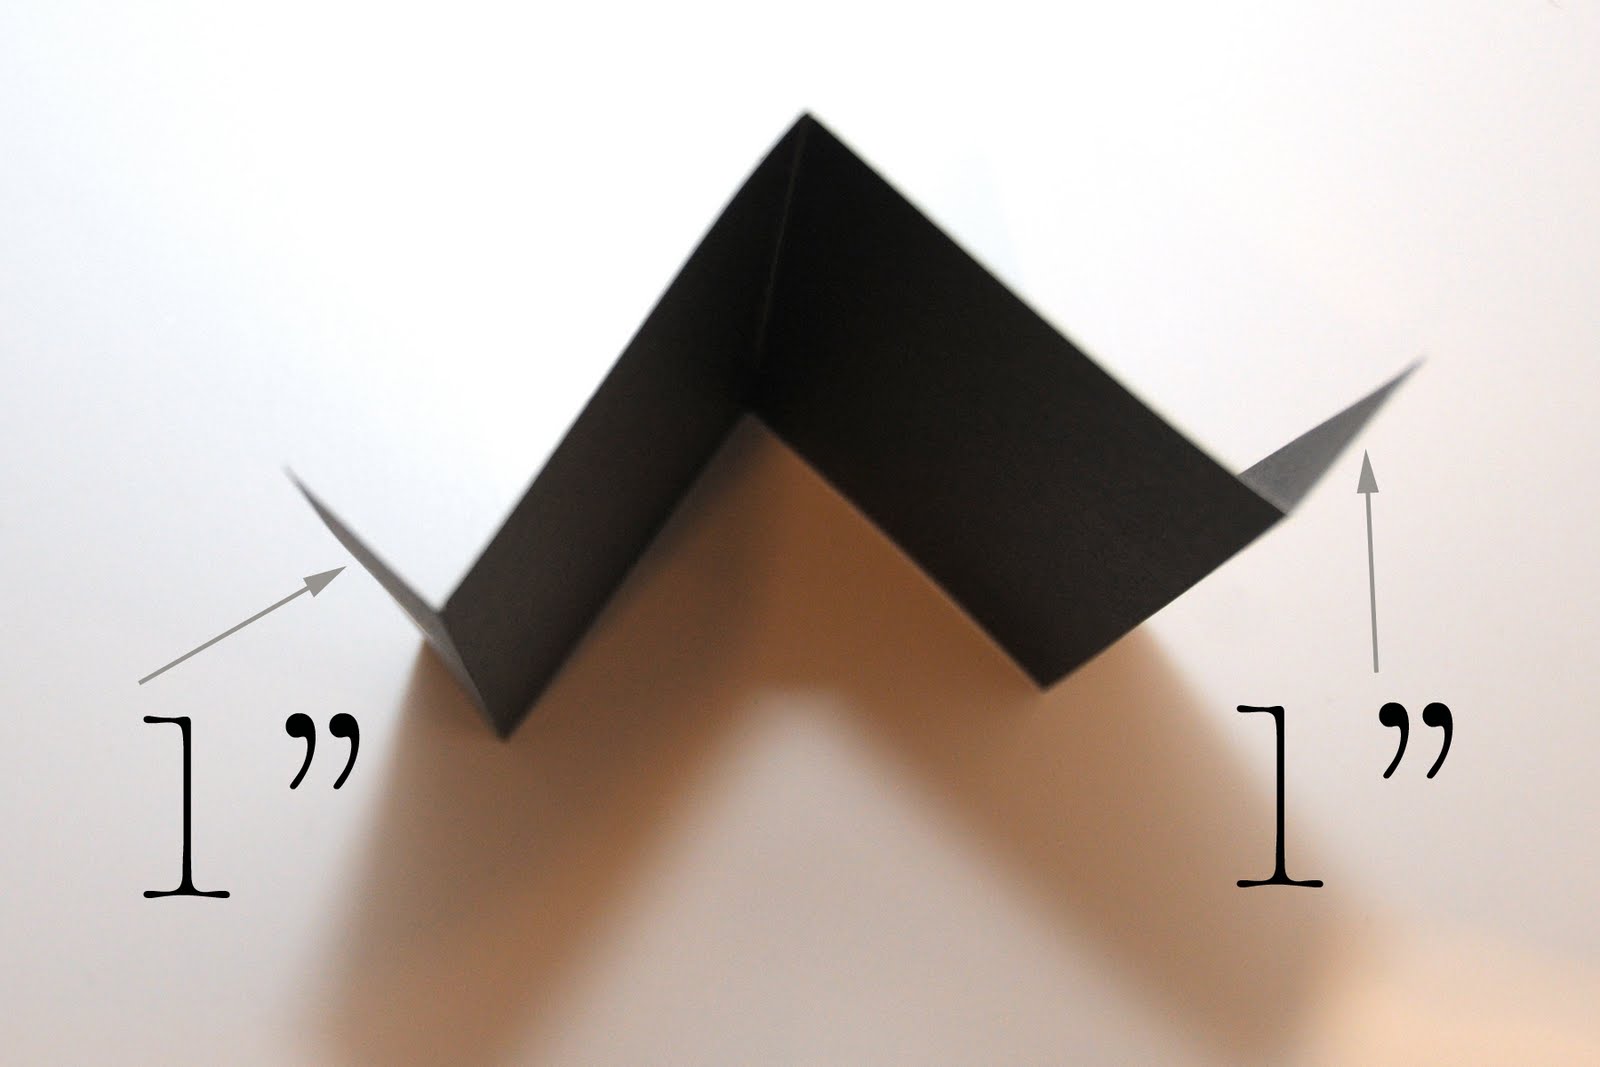
Step 1:
Take your 8″x8″ piece of cardstock and score it down the center. Then fold it in half.

Then on each end measure in 1″ and score and fold the opposite way you folded your center.
Next using some super sticky tape (I like the thin line orange tape) tape your 2 8″x8″ book board pieces to each of the 1″ flaps on the side. Secure WELL!
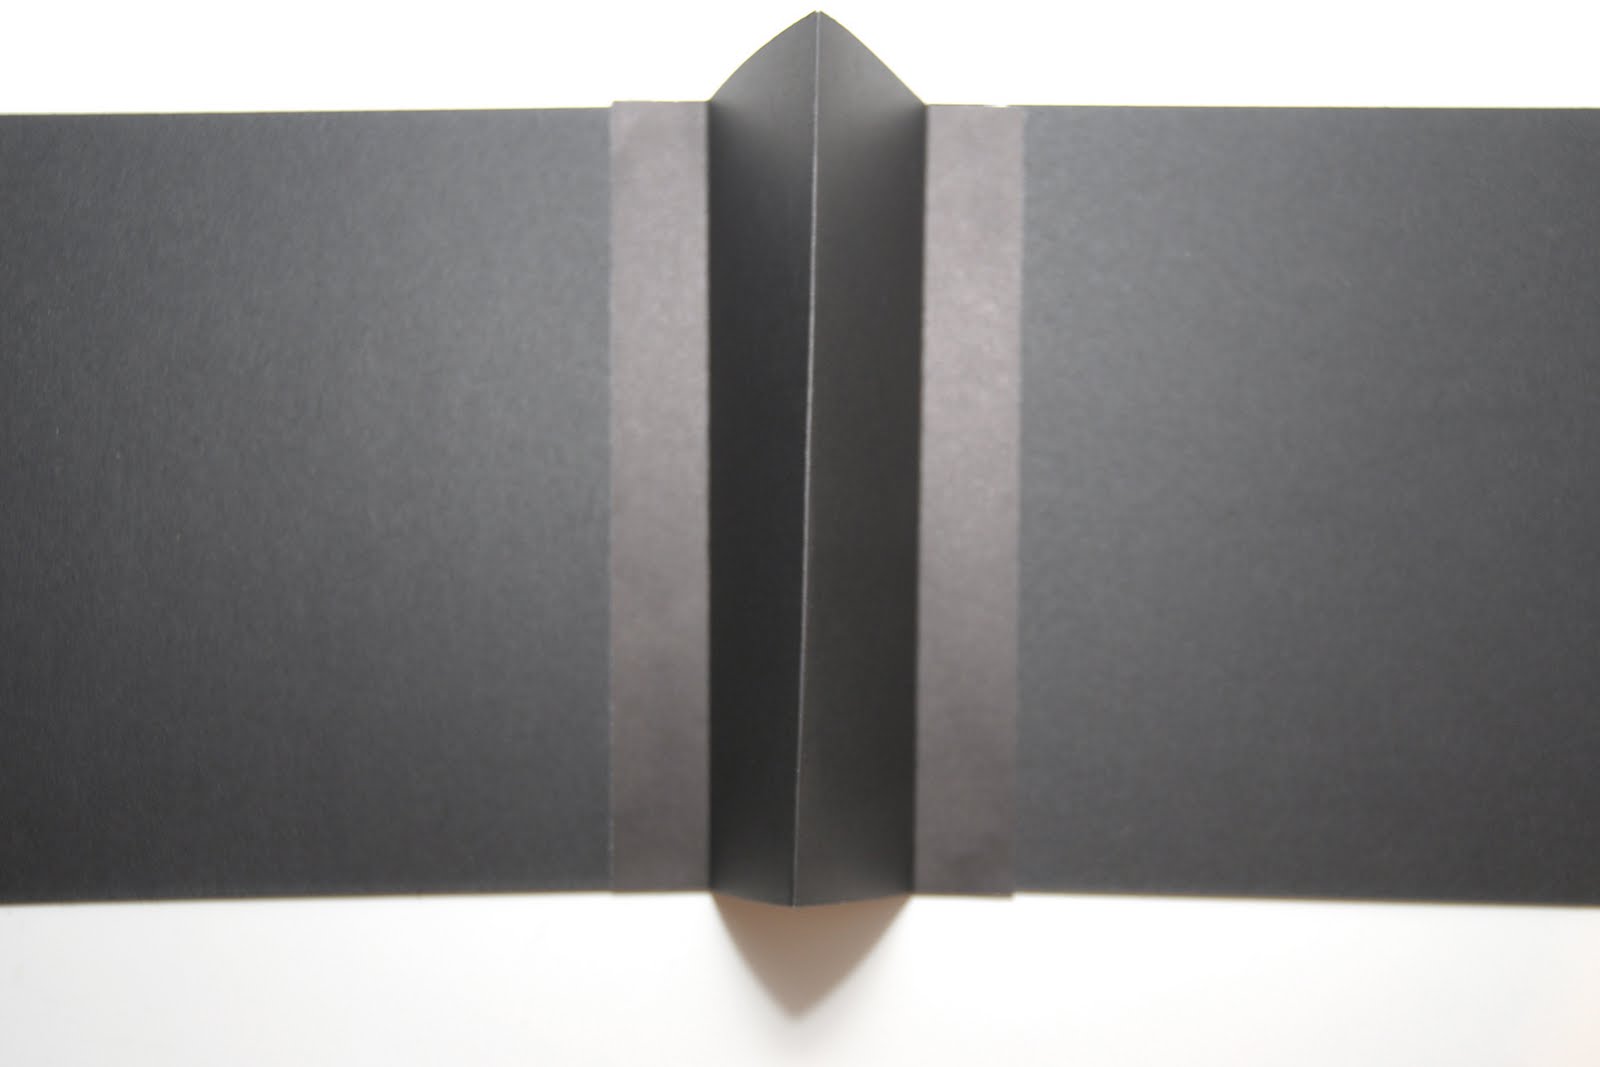
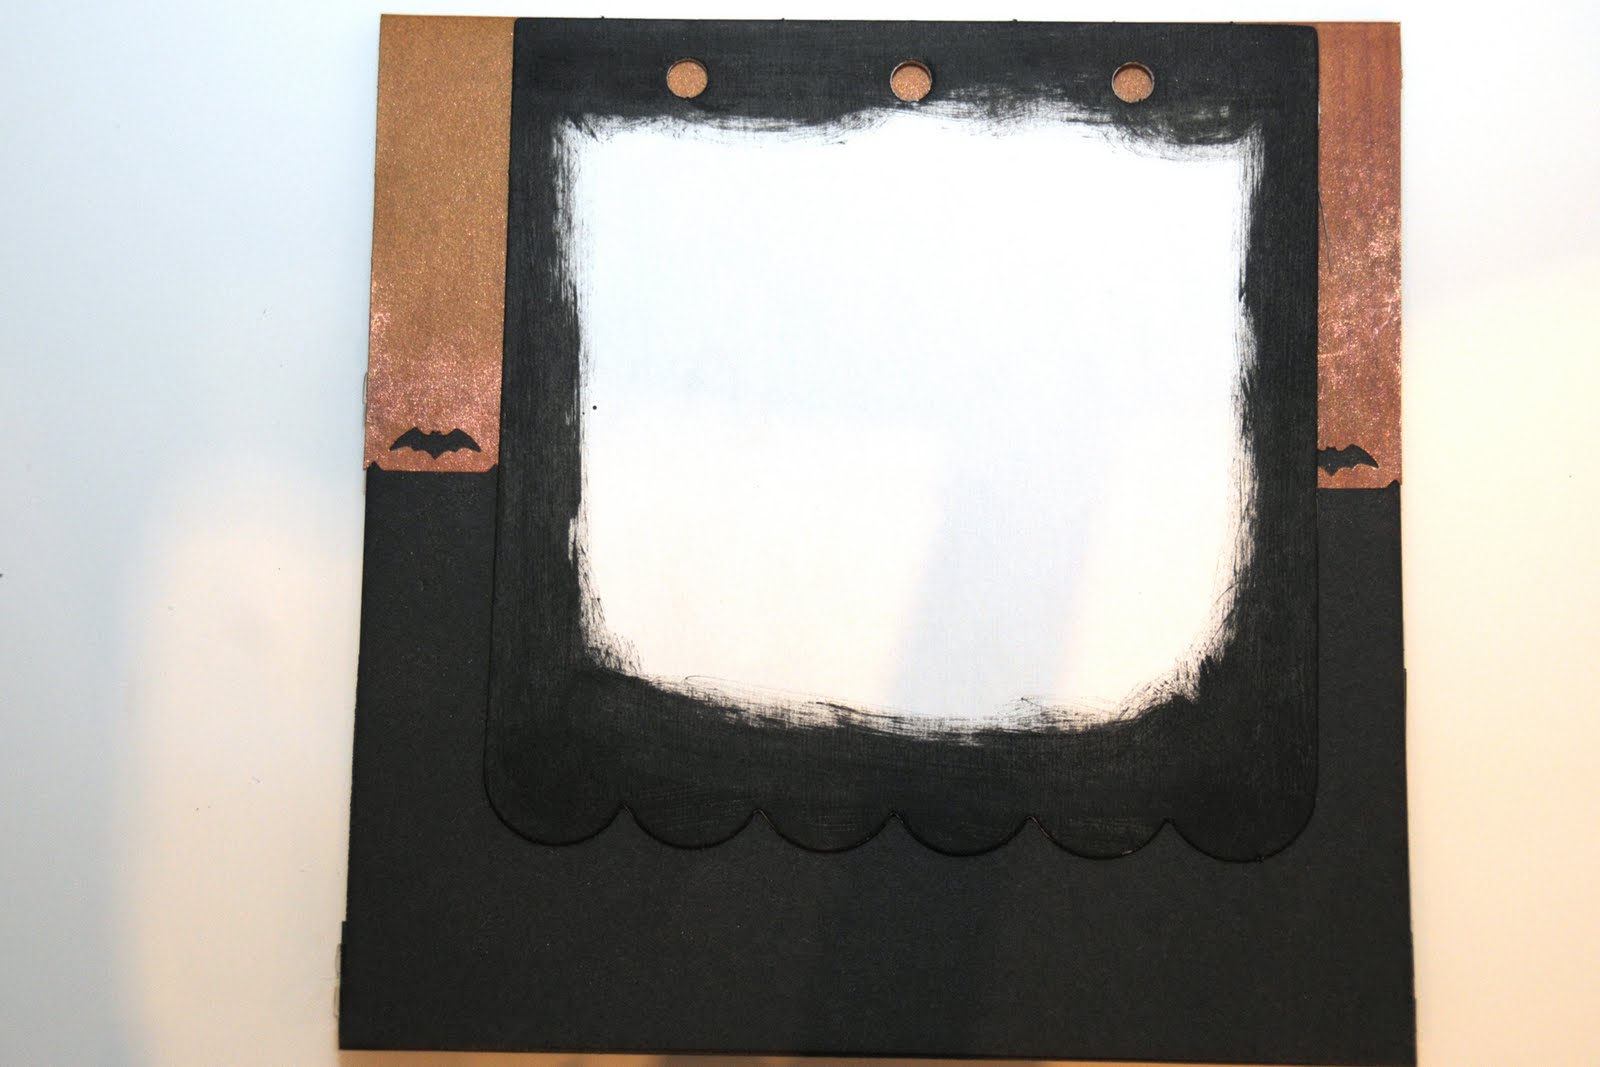
Next take your 8″x8″ piece of pattern paper and score it down the center. Fold it in half with the right side facing out. (I used a punch to decorate the edges of this piece of pattern paper).
Bring the 2 bookboard edges up so that you form a triangle. Using sticky tape tape your pattern paper piece over the top of your book board.
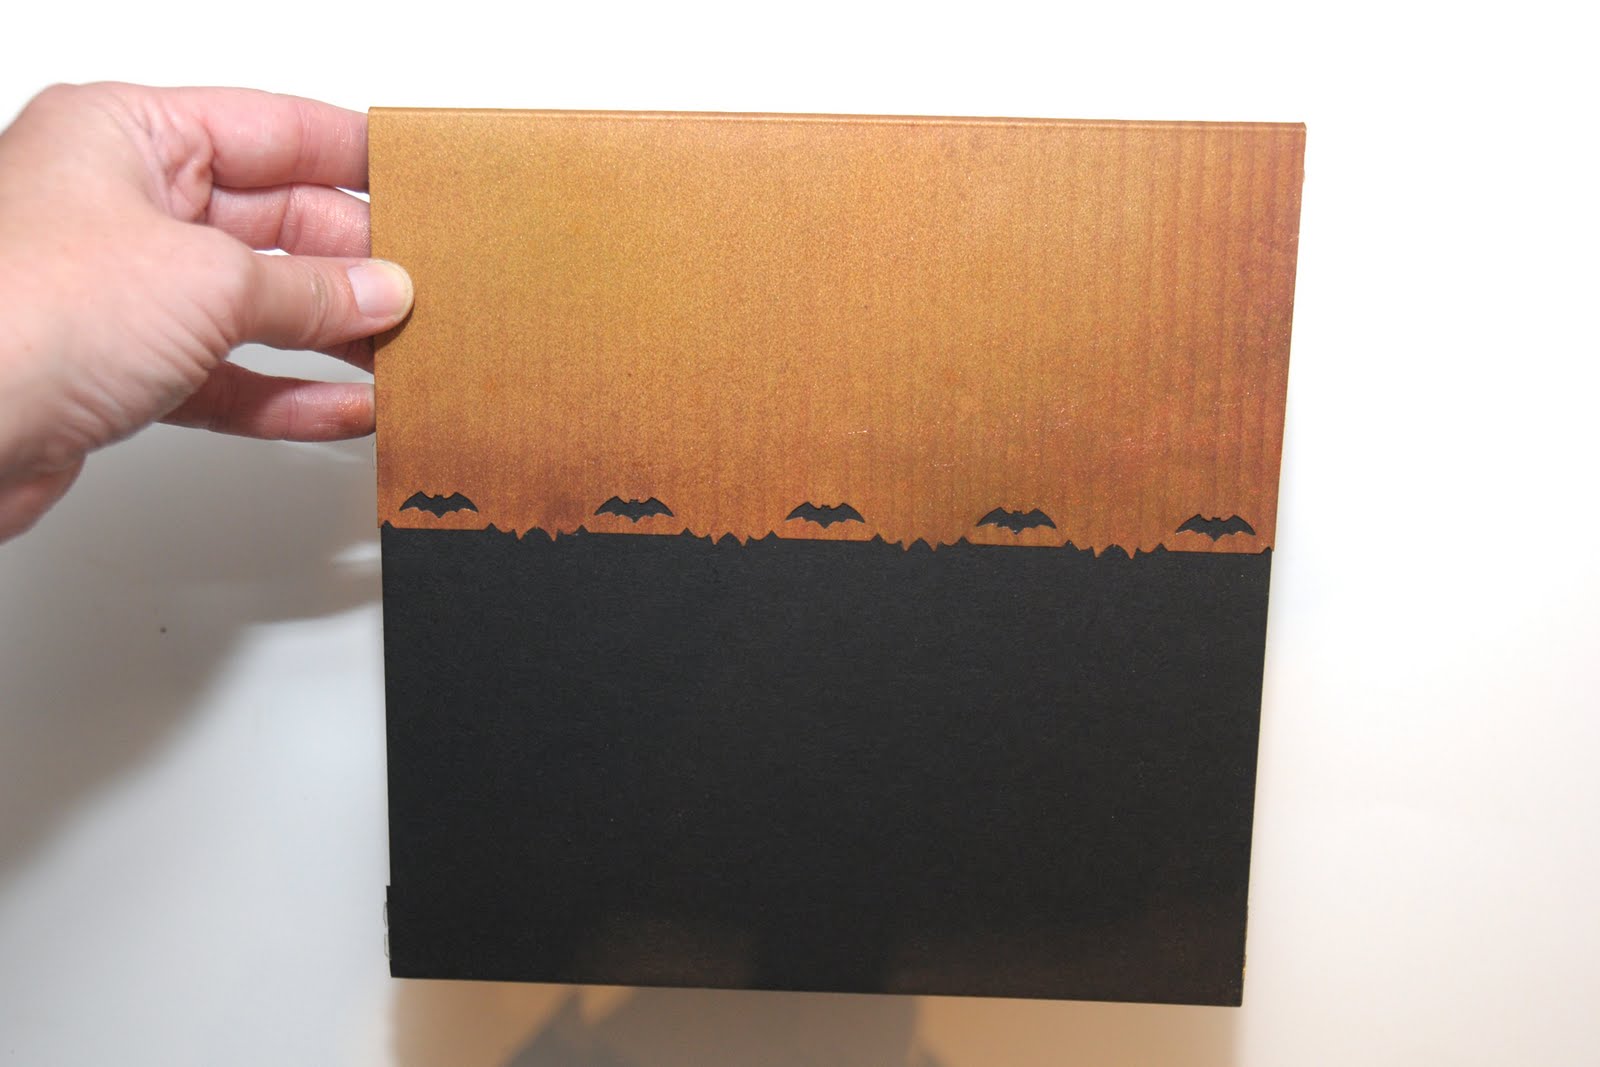
It should look like this when you are done.

 |
| I embellished the edge with a bit of black crepe paper |
 |
| This paper had a white background before I added the glimmer mist |


This comment has been removed by the author.
Love this!
carrie @ http://www.creativecarrieregan.blogspot.com
Super cute! I might be able to make one for Christmas this year!
That is such a cute idea! I love it! I need to remember this so I can make one in a couple years when I have more Halloween pics of my kids!
This is so cute! I know my kids would love looking through this 😀
i know i liked it!! thanks so much for being a part of spooktacular september… we loved having you!!