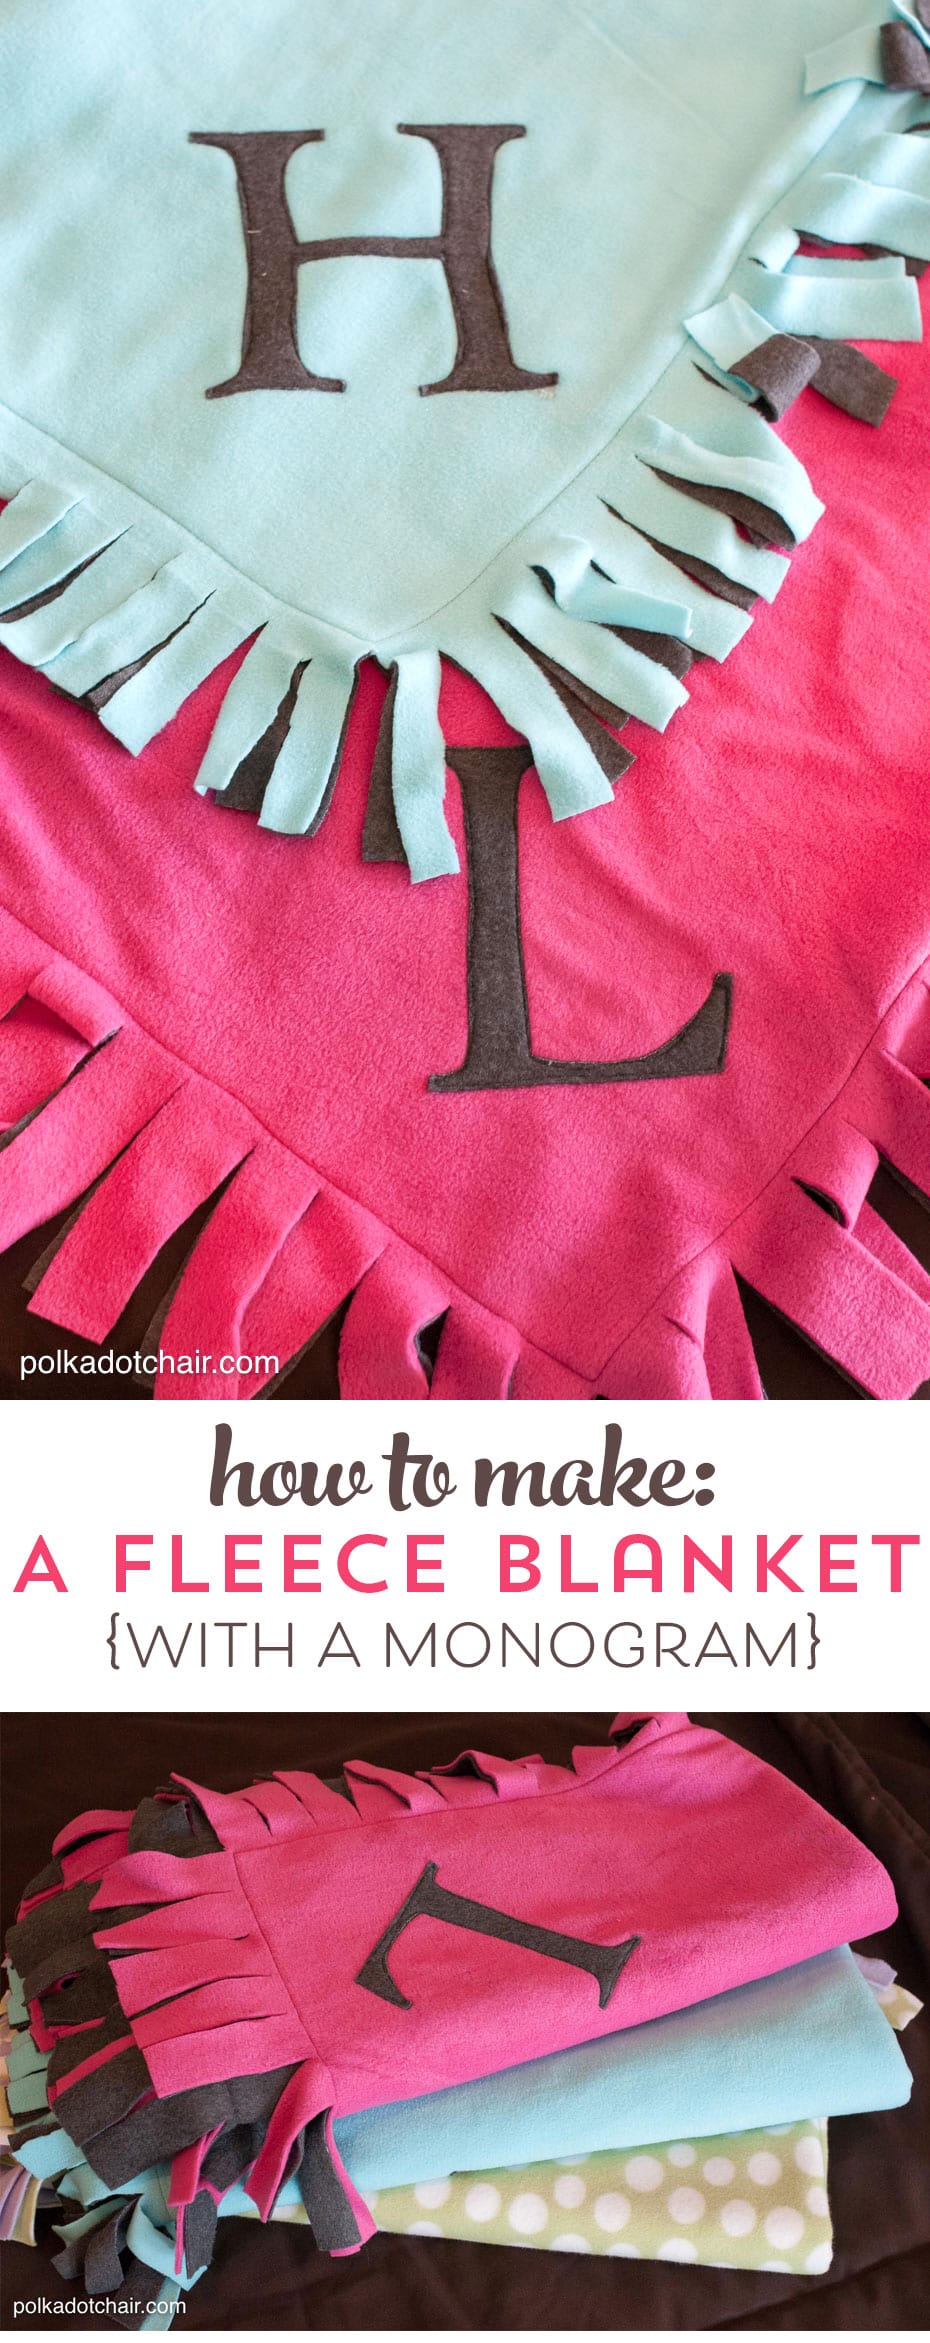
Tutorial: Easy Peasy Fleece Blanket
If you are looking for a last minute hand made gift, I’ve got an idea and tutorial for you. These no-tie polar fleece blankets are so easy you can make them in a hour! Plus they take only 3 yds of fleece (which you can find on sale this week) so they are inexpensive to make too! You’ve got time to whip out a few before Christmas! They are also great if you are looking for a project that your kids can make with you.
We whipped out 3 of these on Friday night, my 10 yr old daughter ended up helping with everything except the sewing. It was great to have an extra set of hands to clip all of the fringe.
A few years ago we made the knot fringe fleece blankets. The only problem with them was as you tied your knots, the blanket got all out of square and kinda wonky looking. I was trying to think of a way to keep this from happening and realized I could stitch a box into the center of the blanket to keep it squared up.
I made one of these last year for my husband (with University of Louisville fleece) and it’s been a great blanket. It was our “go to” stadium blanket for football season.
| The reverse side of the blanket |
This year I was making them for a few older girls. I went with solid colors and a simple dot hoping for a more “grown up” feel.
As a finishing touch, I added their initials with applique.
Here’s how you make them:
You need:
1 1/2 yards each of 2 colors of fleece.
Scrap of fleece large enough for an initial – I just bought 1 3/4 yds of one color of fleece instead of 1 1/2
Walking foot for your sewing machine
Sharp Scissors
Matching thread
spray basting (not required but helps)
5″ quilting ruler
Heat n Bond Lite or Wonderunder
To begin.
Lay out one of your 1 1/2 yd cuts of fleece on a large table or the floor. Tape down the corners. Get out all the wrinkles and puckers. (kids are really good at helping with this part)
If desired, spray a little spray basting in the center of the fleece.
Lay down the 2nd piece of fleece on top of the 1st. If you are using a fleece with a “side” you will have wrong sides together.
Use your scissors and remove the selvage edges and make sure that the 2 pieces of fleece are the exact same size.
Using your quilting ruler, measure in 5″ from each side of the blanket. Pin at 5″ in all around to give yourself a stitching line.
If you are a new sewer I would recommend marking your stitching line with chalk.
If desired, on the back of the blanket, using small scissors. Trim out the inside of the letter you just stitched. Cutting out ONLY the back fabric of your blanket, leaving the top fabric showing through.
That’s it!! See easy huh!!!

