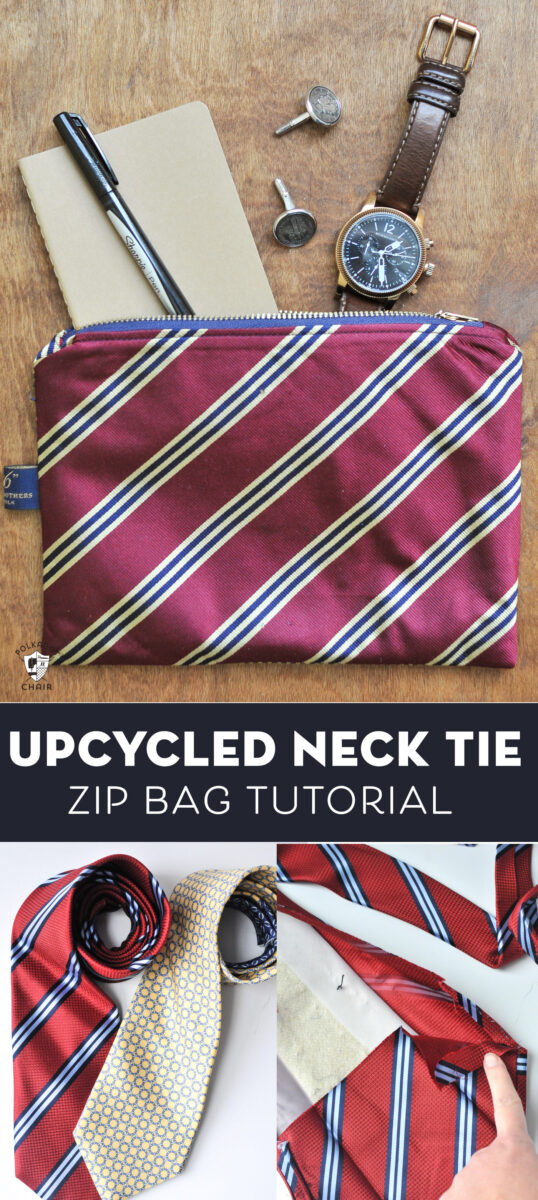
How to Make a Zip Bag from Old Ties
My husband was about to give away a bunch of stained and old neckties, sensing a creative project I snagged them before they were donated.
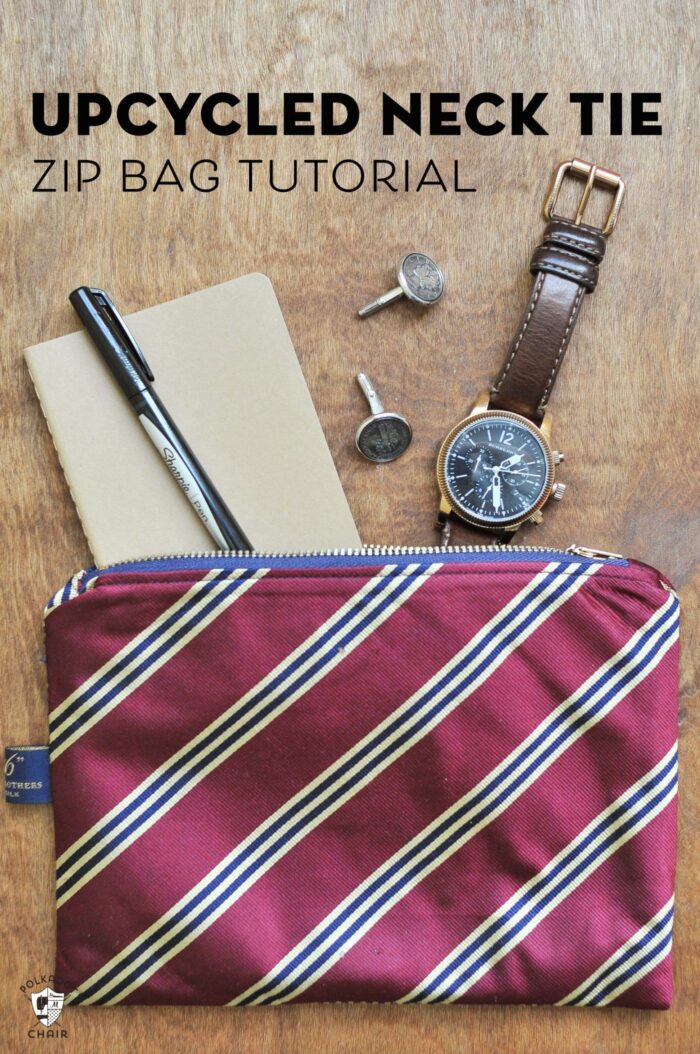
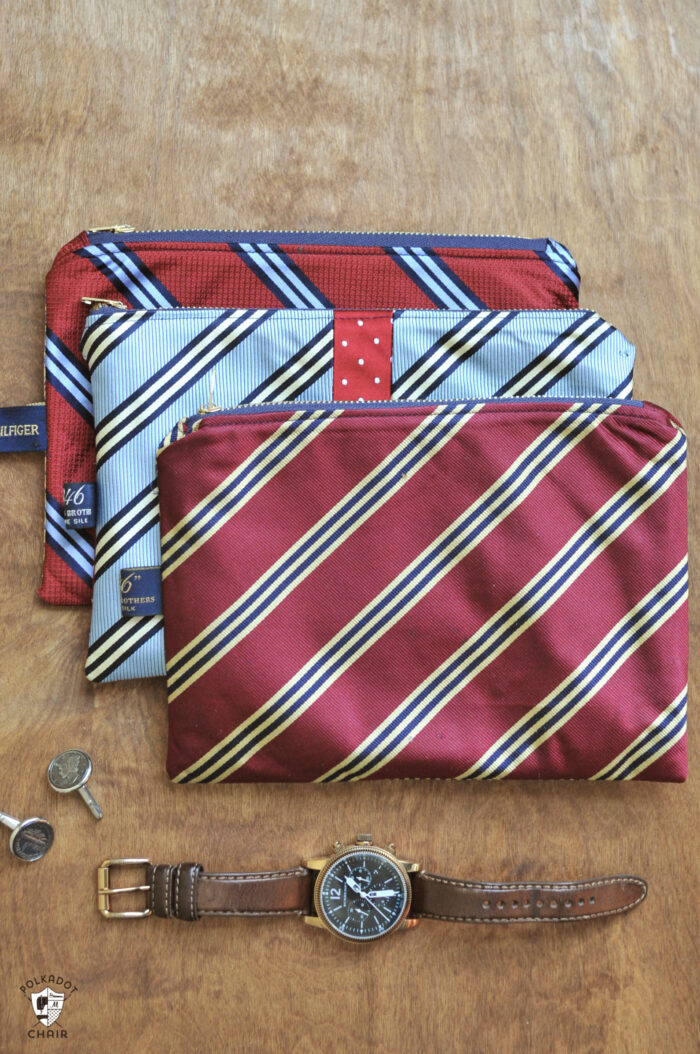
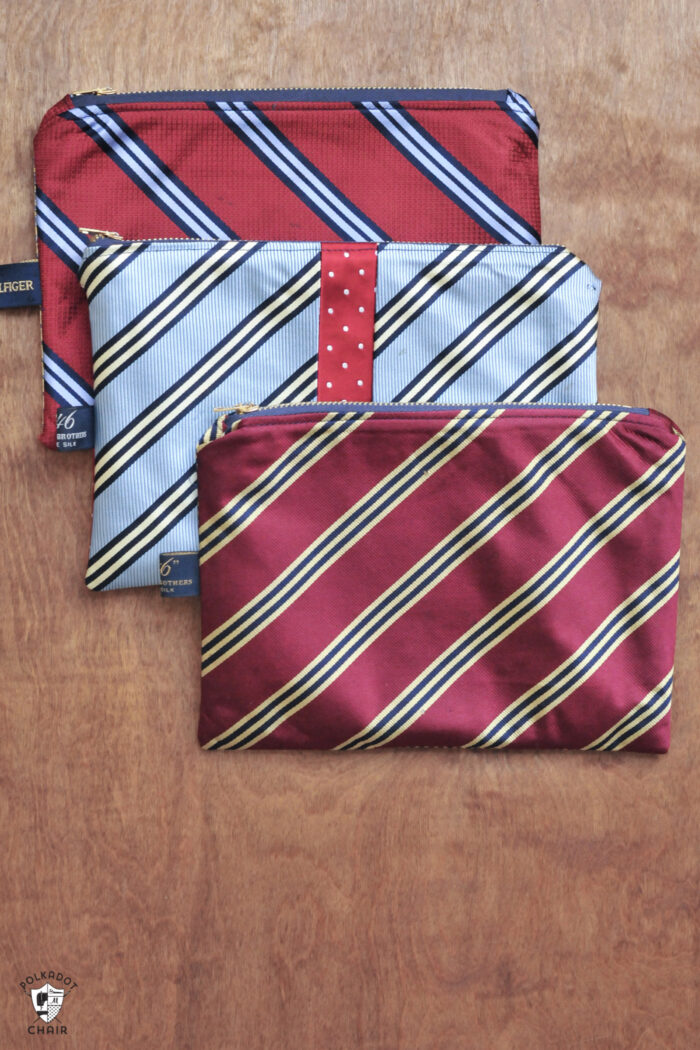
I turned the old ties into these DIY Necktie Zip Pouches. A very very simple sewing project that would make great DIY gifts for your favorite guy!
What Can I do with Old Ties?
I first posted this tutorial several years ago. Today I’m giving it a refresh and updating and clarifying the content and descriptions.
In the years since I’ve posted this Upcycled Neck Tie project, I’ve heard from many readers who were searching for something to do with old ties. Most of the time, it was because a special someone passed away, and they didn’t want to get rid of all of their precious items.
A friend of mine had a father-in-law pass away who had 12 grandchildren. They made one of these necktie zip pouches for each of the grandchildren (boys and girls). I thought it was such a touching way to remember their loved ones.
Important Details for the Neck Tie Zip Bag Tutorial
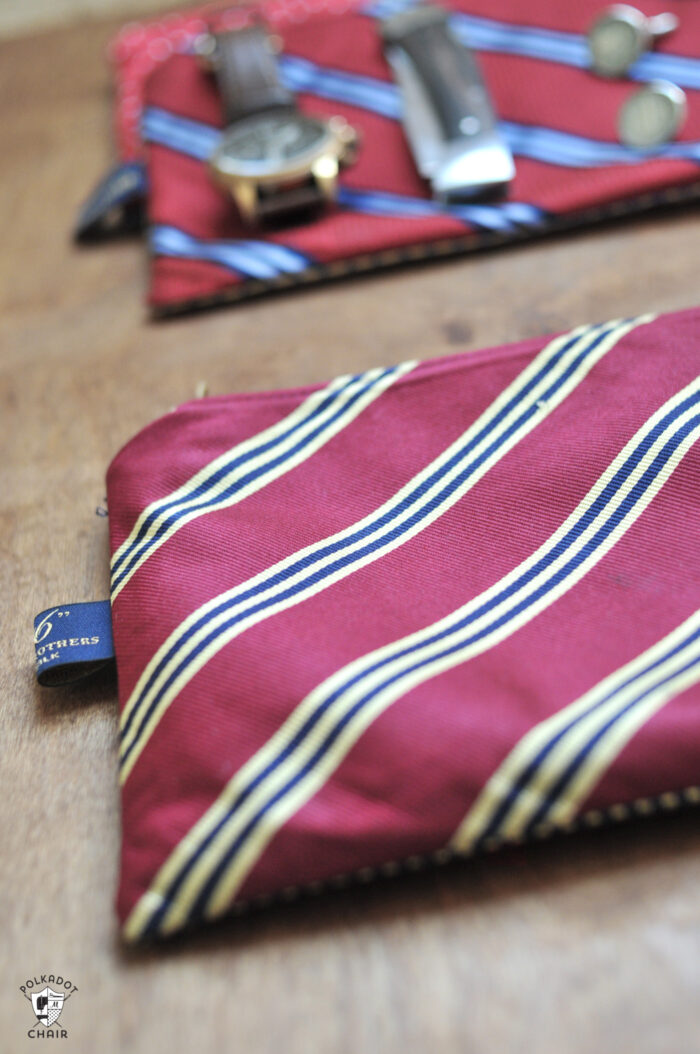
Each pouch is made from 2 ties, one for the front of the pouch and one for the back.
You will also need other supplies like interfacing and zippers. Those supplies will be listed below.
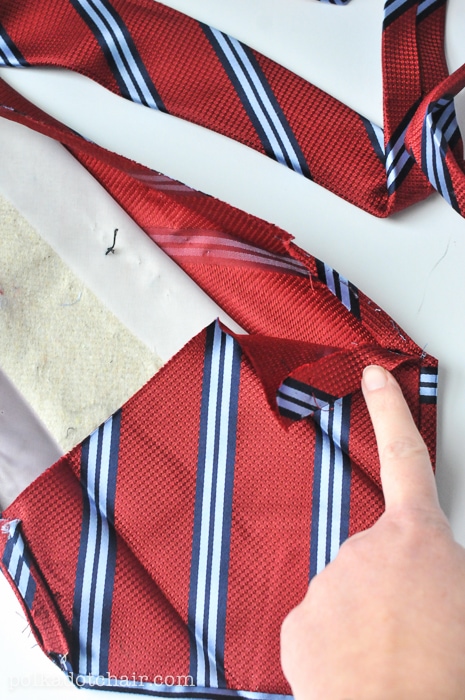
Are you surprised you can get so much fabric from a tie? So was I!
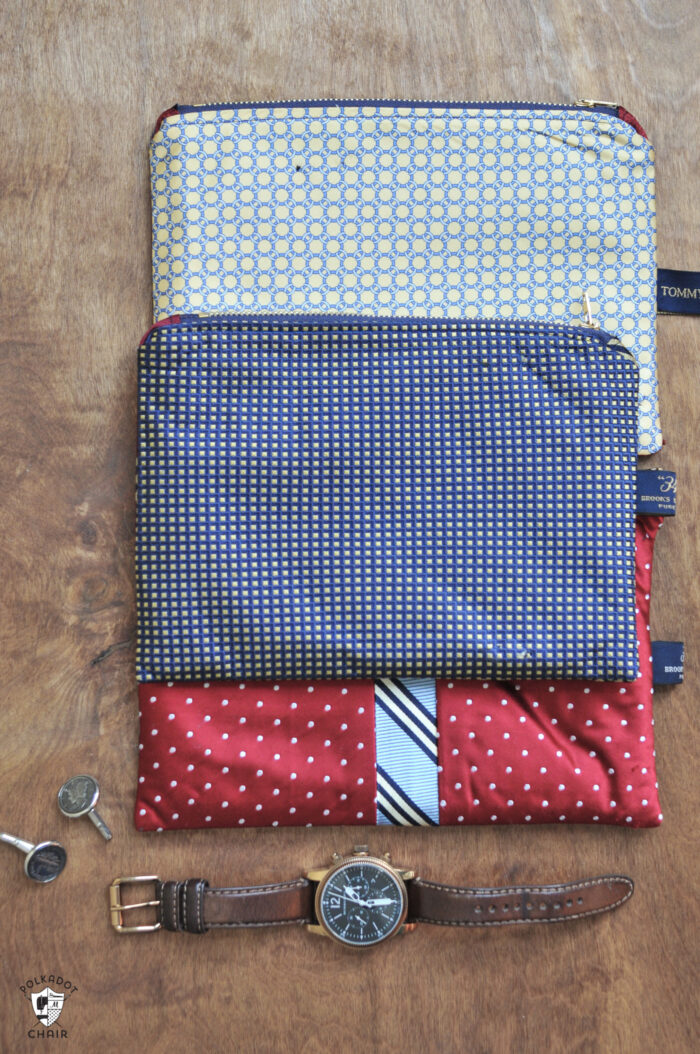
I had so much fun making these that I just kept going and made more. I think that this would be a great handmade gift for a man for Christmas but would work equally for a girl.
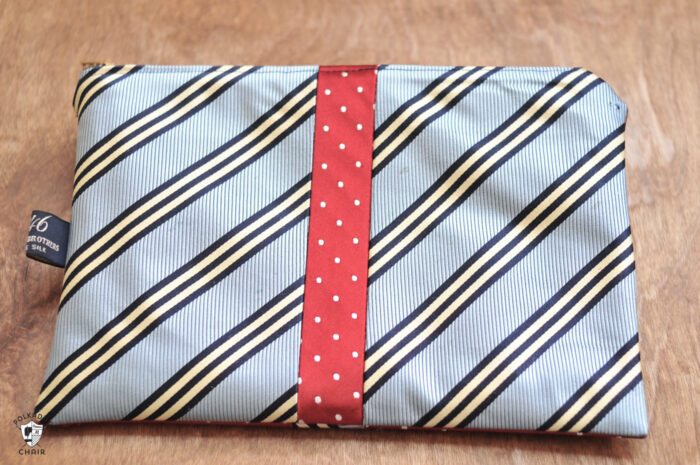
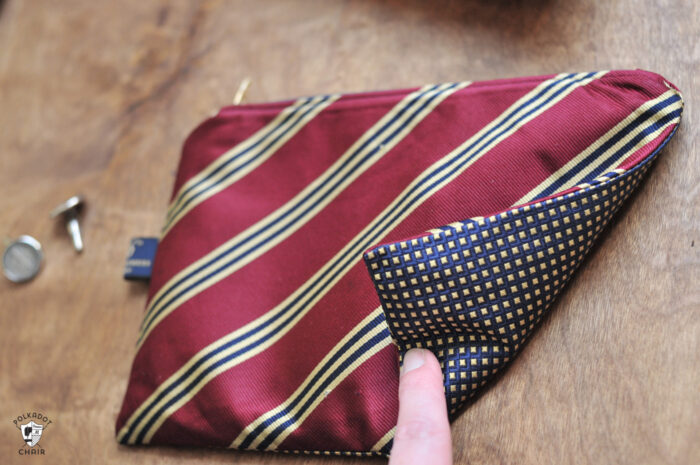
For one of the pouches I added a contrast stripe to the center (the fabric that’s on the back of the pouch). You could have a lot of fun mixing and matching the patterns of the ties.
I even reused the tag from the back of the tie, a fun little touch especially if the ties are sentimental.
Want to make one? Here’s how!
DIY Necktie Zip Pouch Sewing Tutorial

Supplies
- 2 neckties
- 7” metal zipper
- Shape-Flex Fusible Interfacing
- Fusible Fleece
- 1 fat quarter for lining
- Zipper foot for sewing machine
Construction Steps
Step One: Pick the Tie Apart
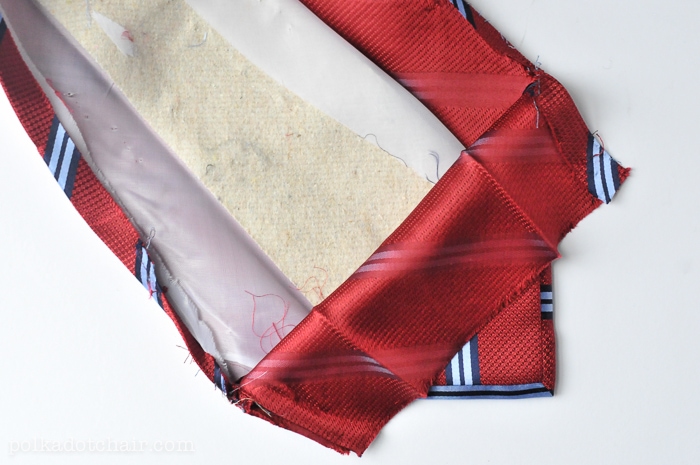
Begin by carefully pulling the stitches out of the back of the necktie. Most ties are basted together and the stitches should come out easily. Open up and continue unpicking the tie down to the point.
Next remove all of the interfacing and press the fabric from the front of the tie well. You’ll need some steam to get it to lay flat again.
Step Two: Cut your pieces and apply the interfacing
Cutting Directions:
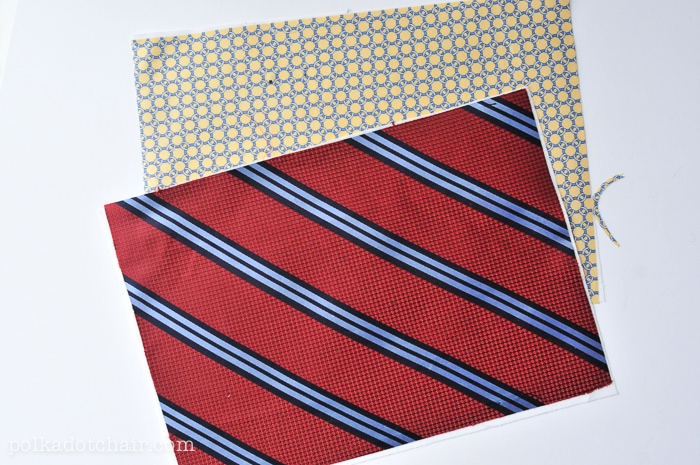
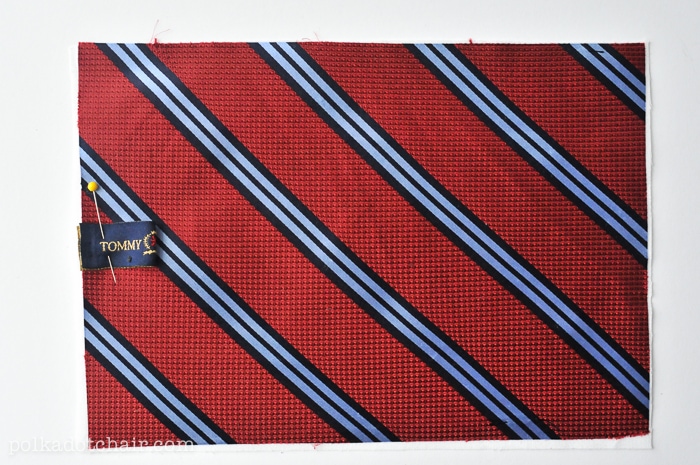
From the tie, cut a piece that is 10” wide and 7” tall. Start measuring 10” from the widest part of the fabric. You can adjust the size if you need to based on the size of your tie, but this is pretty standard.
Cut a second tie piece from your other Tie fabric.
From Fusible Fleece Cut:
2 Pieces 7″ x 10″
From Shape Flex Interfacing Cut:
2 pieces 7″ x 10″
From Lining Fabric Cut:
2 pieces 7″ x 10″
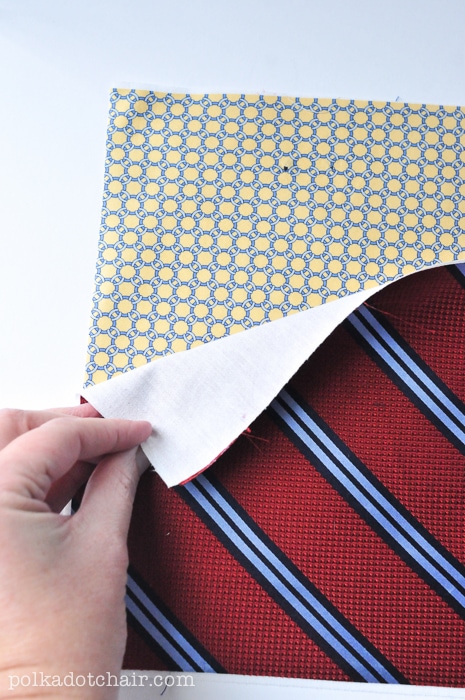
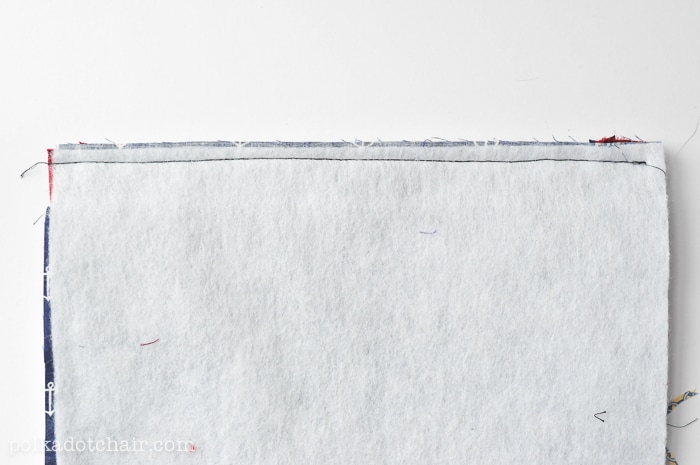
Iron the Shape-Flex interfacing onto the back of the 2 pieces cut from the tie.
Iron fusible fleece onto the back of two fabric lining pieces.
Step Three: Create Zipper Tabs
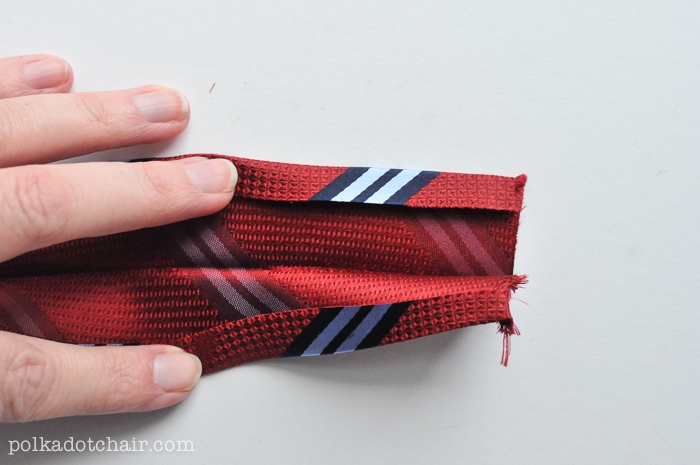
Cut from the tie another piece of fabric that is 3” x 5”. Fold the fabric in half lengthwise and press. Open up and turn under each long end 1/4” and press.
Cut this piece in half lengthwise so that you have 2 folded pieces.

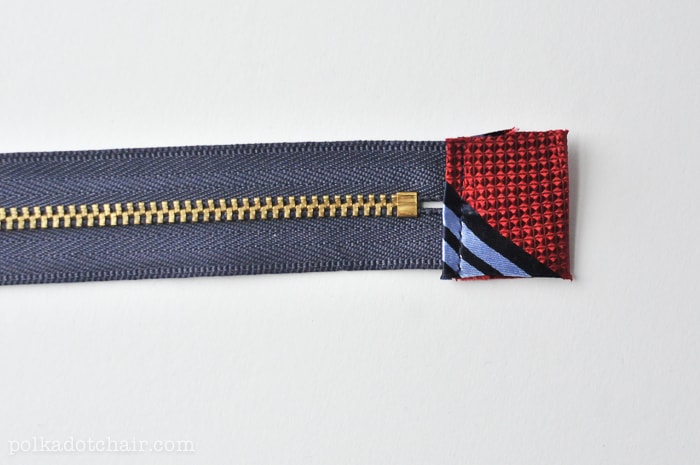
Pin one folded piece over the end of each end of the zipper so that 1/2” of the zipper is covered by the fabric. Top stitch in place. Trim fabric to width of zipper.
Step Four: Attach the Tie Tag (optional)
Fold the tag of the tie in half and stitch to the right side of one of the cut tie pieces.
Step Five: Construct the Bag
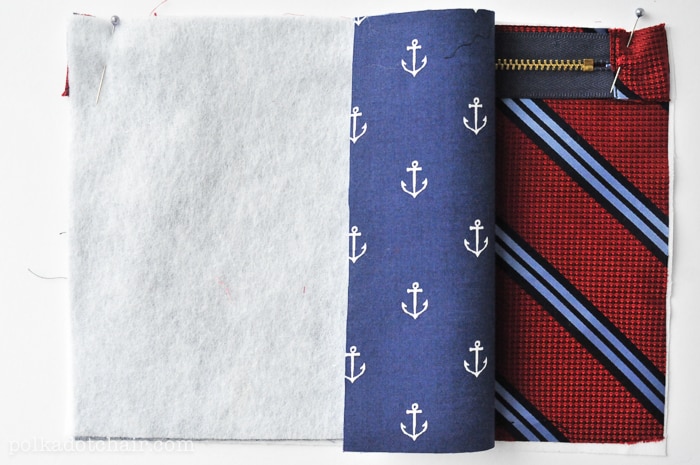
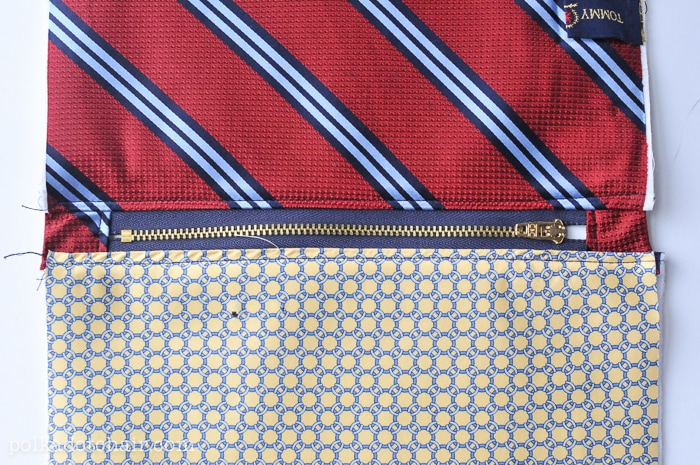
Next make a “sandwich” with the zipper in the middle.
The right side of the zipper will be facing the right side of the tie fabric, the wrong side of the zipper will be facing the right side of the lining fabric.
Using a zipper foot stitch this seam, I recommend a 1/4” – 3/8” seam allowance.
Repeat for the other side of the zipper.
Press the seams away from the zipper and top stitch along both sides of the zipper. This will help keep your lining out of your zipper and you zip and unzip the pouch.
Unzip the zipper.
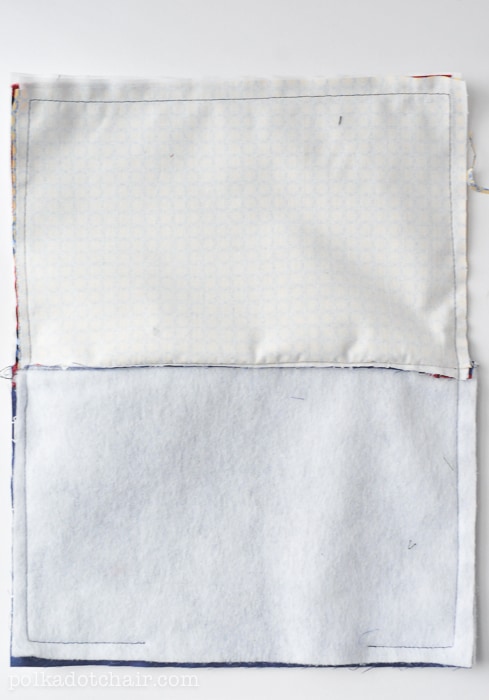
Finishing:
Pin the pouch with outside pieces matching and lining pieces matching. Pin zipper towards lining pieces. Stitch with a 1/2” seam allowance round the entire pouch leaving a 4” opening in the lining to turn the pouch right side out.
Clip the corners and trim the seam allowances on the lining down to 1/8”. Turn the pouch right side out. Slip stitch opening closed and press well!

Have fun making zip pouches!
More Sewing Projects for Men:
(or anyone for that matter! It doesn’t have to be just guys!)
How to Sew a Bow Tie (with free PDF Pattern)
Dad’s Travel Bag Sewing Pattern
Leather Trimmed Dopp Case Tutorial