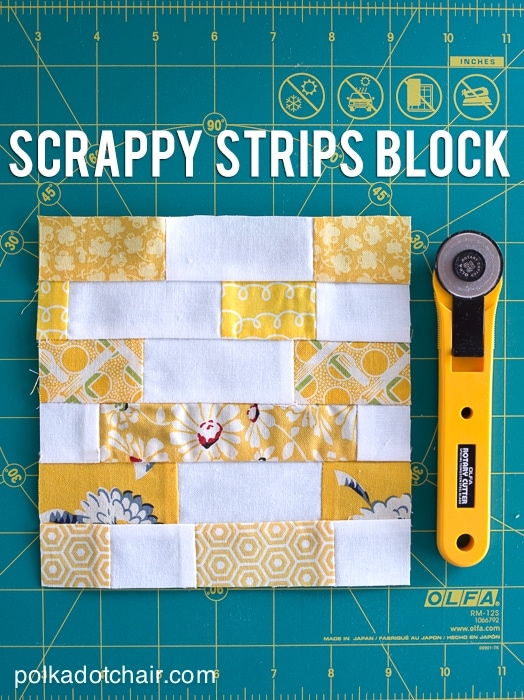
Scrappy Strips Quilt Block and OLFA Anniversary
Did you know that it’s the 35th Anniversary of the Rotary Cutter??? It’s almost as old as me! (just almost *wink*). To celebrate OLFA has planned a fantastic celebration complete with what else, a Quilt! They have asked a number of bloggers to create a unique block that will be sewn into a special quilt just for the occasion. To get more information about the celebration, hop on over to OLFA’s Facebook page.
The only two requirements they gave me were that it had to have yellow in it, and that it needed to be a 6 1/2″ block. I struggled back and forth between wanting to do something traditional or something a bit different. Over the past few weeks, I just couldn’t get the idea of this scrappy string block out of my head… ever get that way with an idea? You just can’t stop thinking about HOW to do it? I took that as a sign, and went with something a bit different. Today I’m sharing the tutorial for the quilt block with you!
You need:
Strips all 1 1/2″ wide and ranging in length in your color and in white
6 1/2″ Ruler
OLFA Cutting Mat
OLFA Rotary Cutter
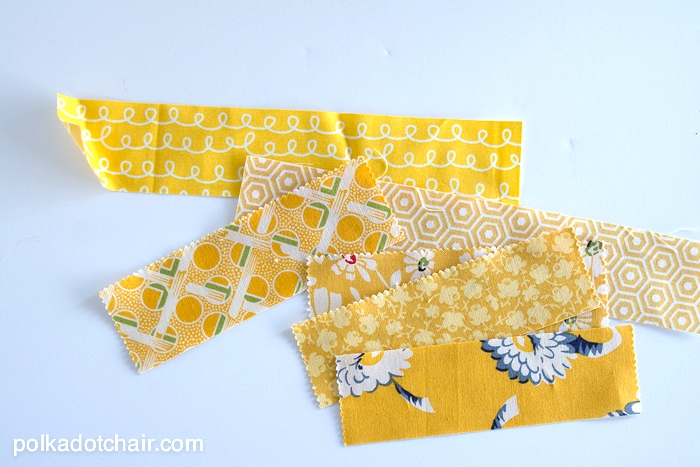
Cut your 1 1/2″ strips into pieces, of all lengths- I just randomly chopped mine up- most were at least 1″ wide and no more than 4″ long. Do the same thing for your white strips.
Sew one color to one white strip then to another colored piece then to a white piece … just RANDOM… let yourself just relax and piece –I chose to keep the same print on each strip. You want at LEAST 7″ wide when done. Press all seams to one side. Be careful not to distort your seams as you press. Piece 6 of these strips.
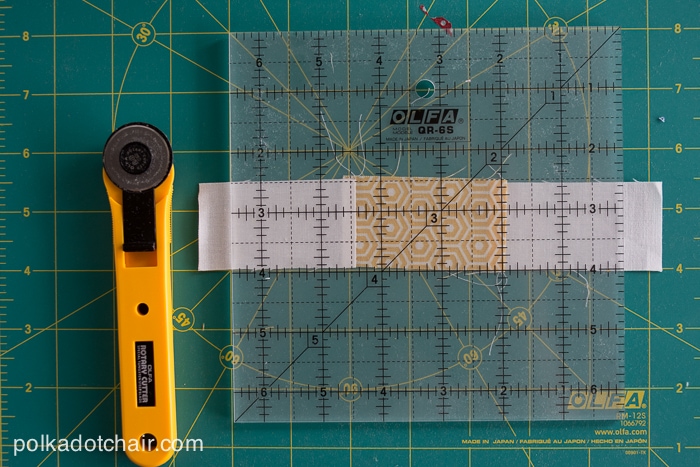
Using the 6 1/2″ ruler- trim your piece down to 6 1/2″ wide. You can choose which sides to trim off or to trim off both- you just want a random look.
Do this for all 6 strips. Then arrange the strips as you like to make the block.
Sew the strips together and press seams to one side- again being careful not to distort your seams.
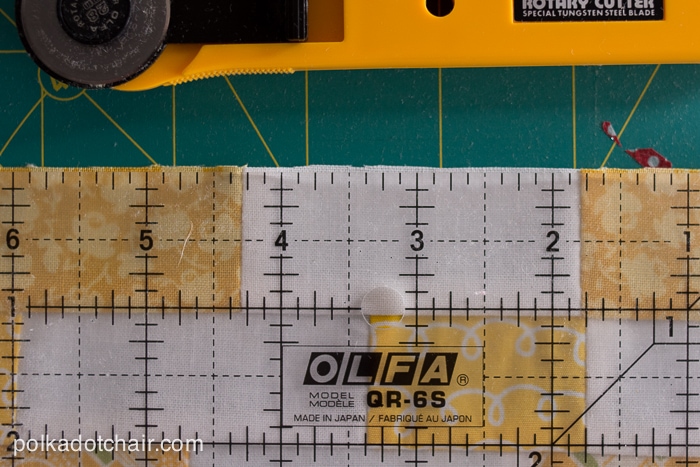
Use the 6 1/2″ ruler again to square up your block after the pieces are sewn together. If you prefer- you can skip trimming the strips to 6 1/2″ wide until this point- it’s up to you, whatever you think is easier.
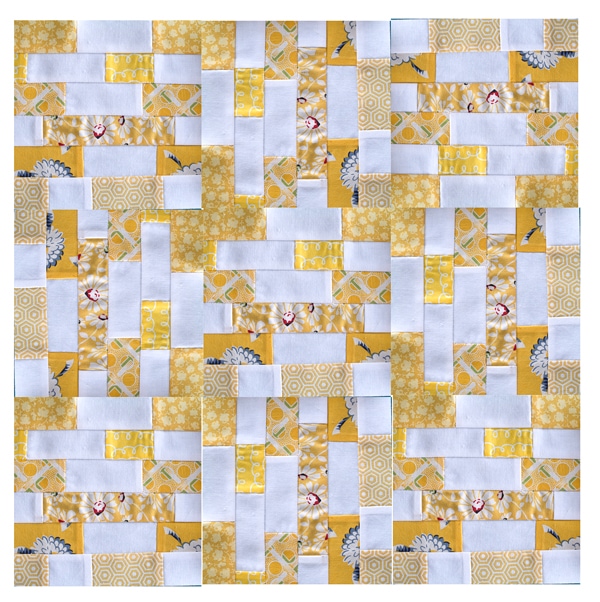
That’s it- Since I just made one block I thought I’d show you what I had in mind when I thought of this block- I mocked up two VERY ROUGH layouts in Photoshop…
The first one is with some white sashing- I actually envisioned this quilt with a different color in each block- reds, yellows, blues etc..
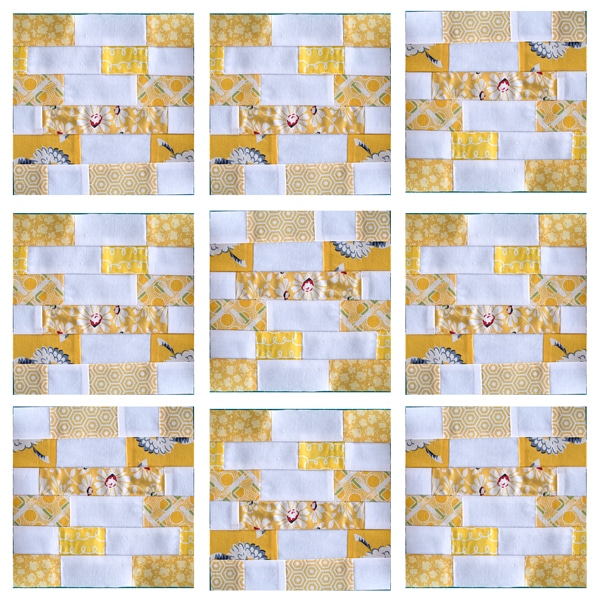
And one layout with out sashing and all the same color- The blocks are rotated 90 degrees on every other block to give it a “pebbly” appearance.
That one’s my favorite.
Connect with me:
![]()
![]()