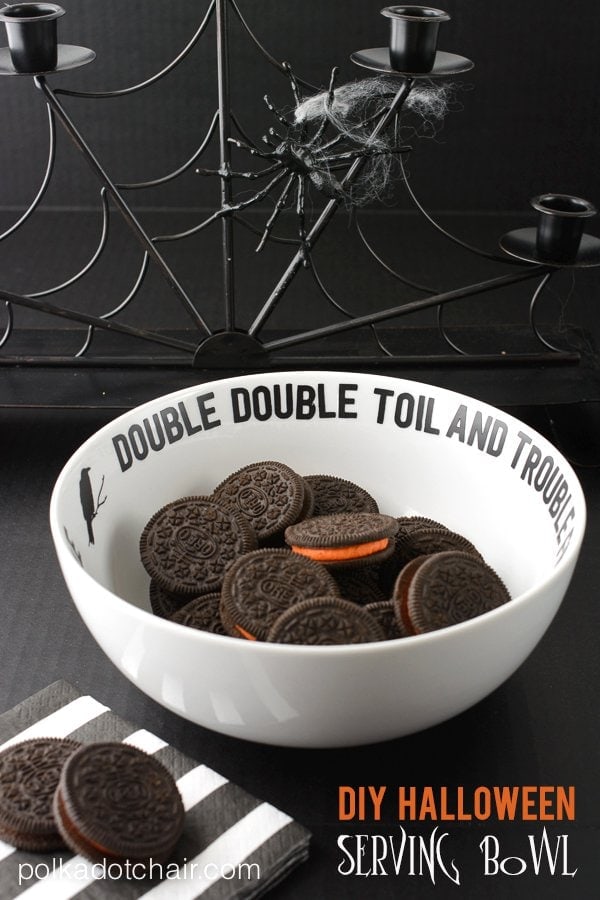
DIY Halloween Candy Bowl

I love to create crafts for Halloween! I feel like you can never have too many Halloween decorations! This year I decided to make a fun DIY Halloween Candy bowl inspired by a favorite Halloween saying. A big thanks to Cricut for sponsoring this post by providing me with the machine to make this project!
Halloween is hands down my favorite holiday of the year. I know that many say Christmas is theirs, but honestly, Christmas really stresses me out, too many expectations.
Halloween to me gives you all of the fun of spending time with your family along with the opportunity for a healthy dose of creativity to be injected into your daily life. I love making Halloween crafts, sewing Halloween costumes, and throwing Halloween parties.
Over the years with my kids getting older we have had to change how we celebrate Halloween. We now celebrate with a big family Halloween themed dinner either on Halloween or a day or two before. It’s great fun for the kids and for me to put together too. This year for our Halloween dinner I decided to make a Halloween Candy bowl. We can use it at our “spooky” dinner and later as a candy bowl for trick or treaters.
Cricut Halloween Projects:
As a part of the Cricut Design Space Star competition, the next challenge was for Celebrations, and our team picked Halloween celebrations. My team will be sharing Halloween themed celebration ideas all this week and I actually have two to share with you. This one and this post for some fun Halloween party hats.
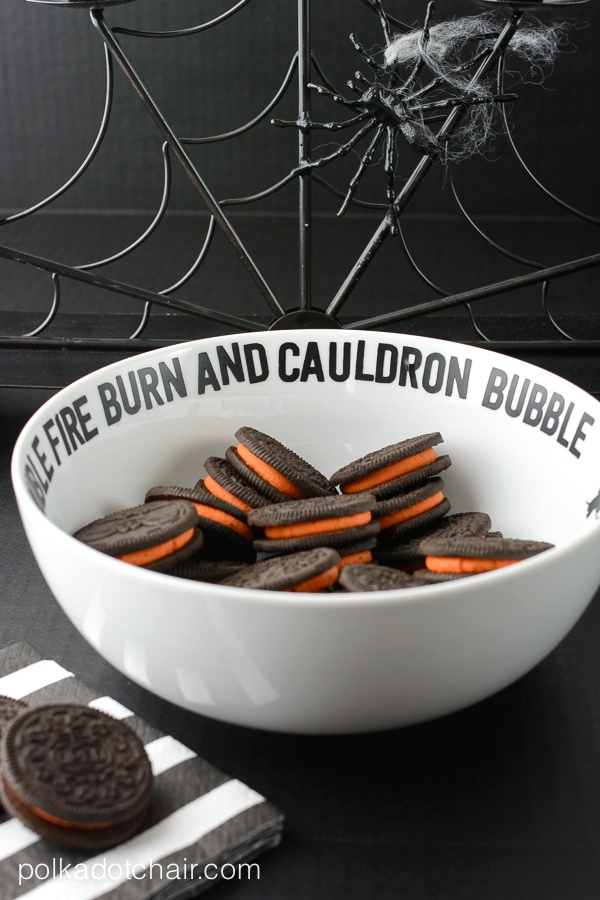
Random Fact about me, I used to have the entire Witches scene from Macbeth memorized, crazy huh. I find myself reciting that scene in my head every Halloween and I thought it would be fun to use it as a starting off point for our Halloween celebrations this year.
DIY Halloween Candy Bowl Tutorial
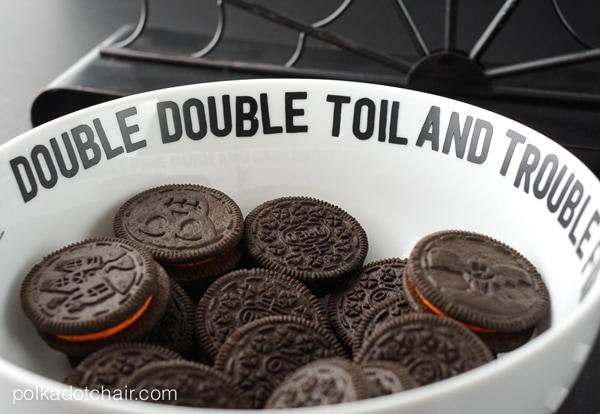
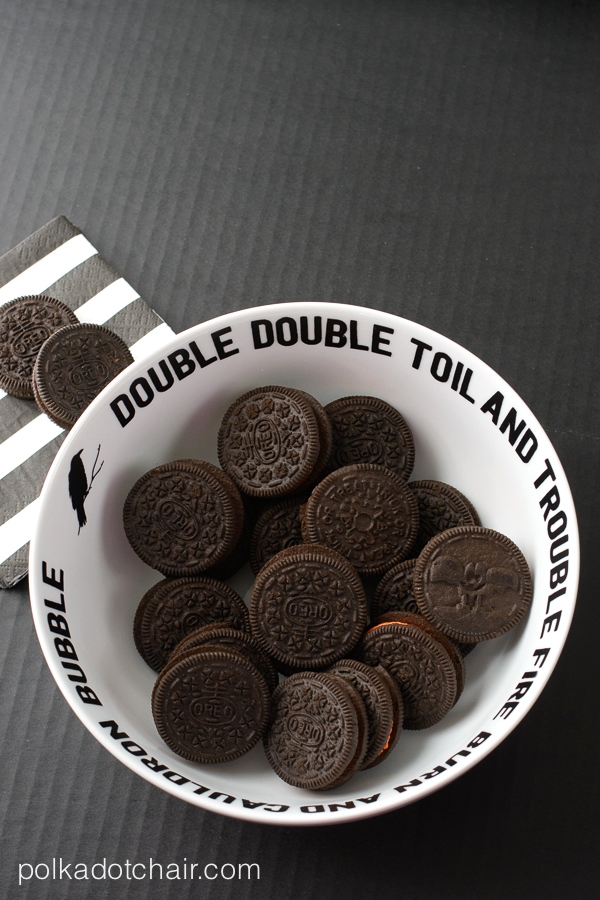
I decided to make a fun Halloween Candy bowl with some of the lines written across the interior of the bowl, it was easy to make here’s how.
Supplies You’ll need
A Bowl
Cricut Black Vinyl & Transfer Tape
A Cricut Machine
A block font like Bebas or Festivo (I used festivo)
Crow from Teresa Collins Chic and Spooky Halloween Collection for Cricut
Tip: It’s helpful to measure the circumference of the bowl with a measuring tape before you start to get an idea of how large to make your letters to fit.
Instructions
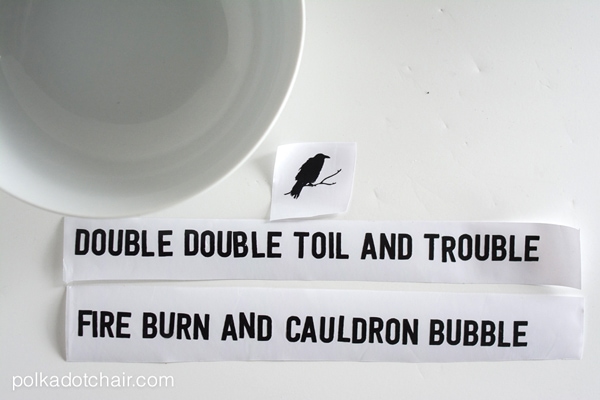
Step One:
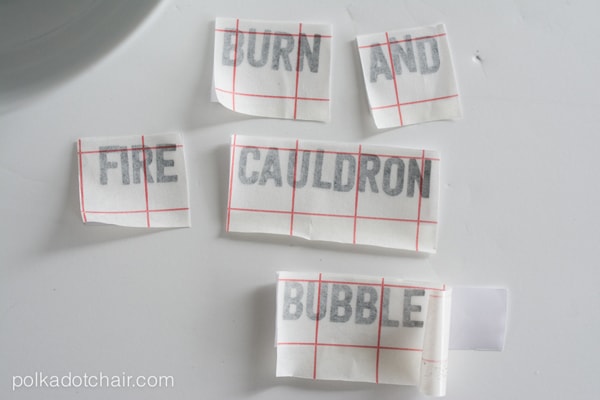
First up, type out your words in the Cricut design space then cut them out on black vinyl. Trim the backing of the letters to 1/4″ above each letter (this will help with placement). Next, apply the transfer tape to the letters and cut out around each word. Since the bowl is curved it’s easier to apply the words one at a time.
Apply the letters to the inside of the bowl one word at a time. Line the top of the backing up with the top of the bowl to ensure an even placement of letters. Rub the letters until they stick then remove the transfer tape.
Step Two:
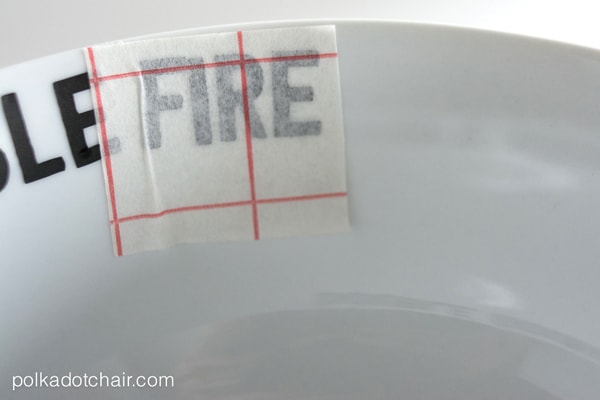
Keep going all the way around the bowl.

Finishing:
Now just fill the Halloween Candy Bowl with your favorite treat. Just a note, you need to hand wash the bowl don’t run it through the dishwasher.


Over the Big Moon | Vintage Renewal | This Heart of Mine

The Polka Dot Chair | Dolen Diaries | Crazy Little Projects