EASY Log Cabin Block Quilted Pillow Tutorial
Today I’m going to show you how to make a quilted pillow for Christmas or any other holiday! This pillow uses a simple log cabin block, stitches up quickly, and makes a beautiful gift!
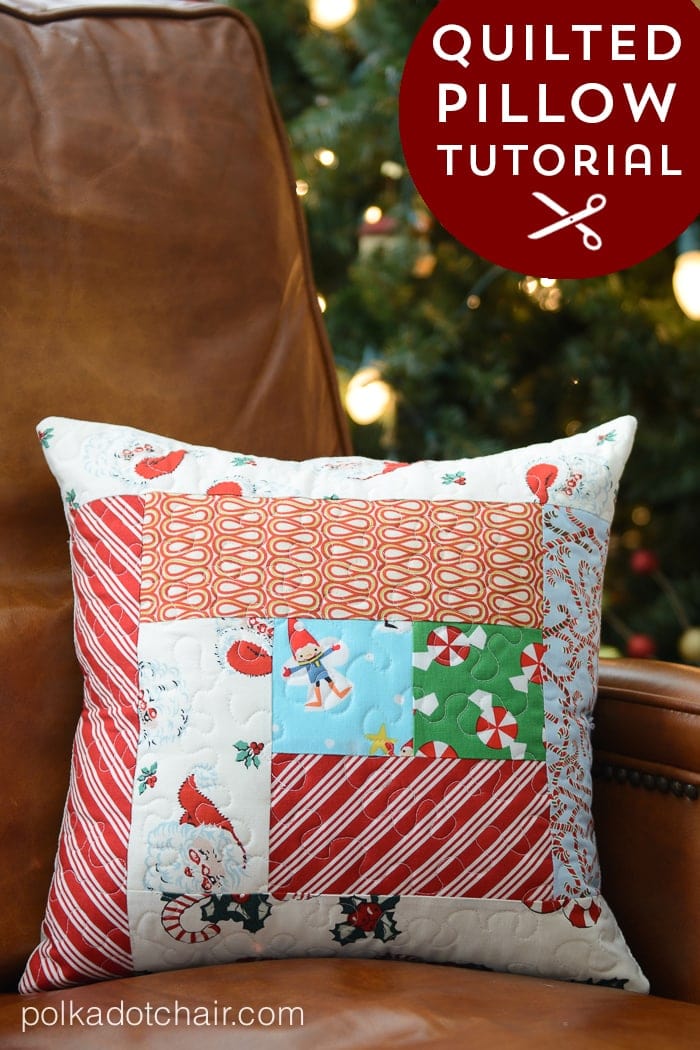
Wait, is Christmas over?? Well, yes, it is… the silly thing about Christmas is that if you make gifts for someone then blog about it, it ruins the surprise. That’s why today I’m going to share with you a tutorial for these little quilted throw pillows that I made for friends and family this year.
The pattern is straightforward so that I could make about ten quilted pillow covers in a short amount of time. You can also switch out the fabrics and use these for other holidays. So you can pretend they are Valentine’s Day pillows if you like.
About Log Cabin Quilt Blocks
The pillows are a basic log cabin block. Usually, when making a log cabin block, you need to pay attention to where the light and dark fabrics are placed in relation to each other. Often, all of the light fabrics are on the right-hand side of the block, and the darks are on the left-hand side of the block.
Similar to these blocks from Cora Quilts:
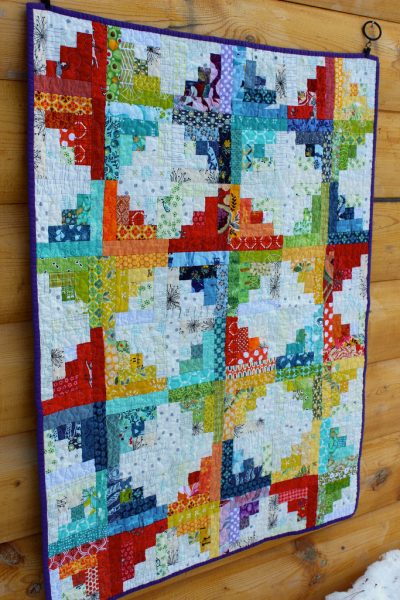
Another layout features the lights in the center, with the darks on the outside. When you sew the blocks together to make a quilt, these principles become very important and can change the entire look of your quilt.
You can also make the blocks scrappy; then you don’t need to worry about where the light and dark fabrics are. The scrappy improv quilt is an example of that.
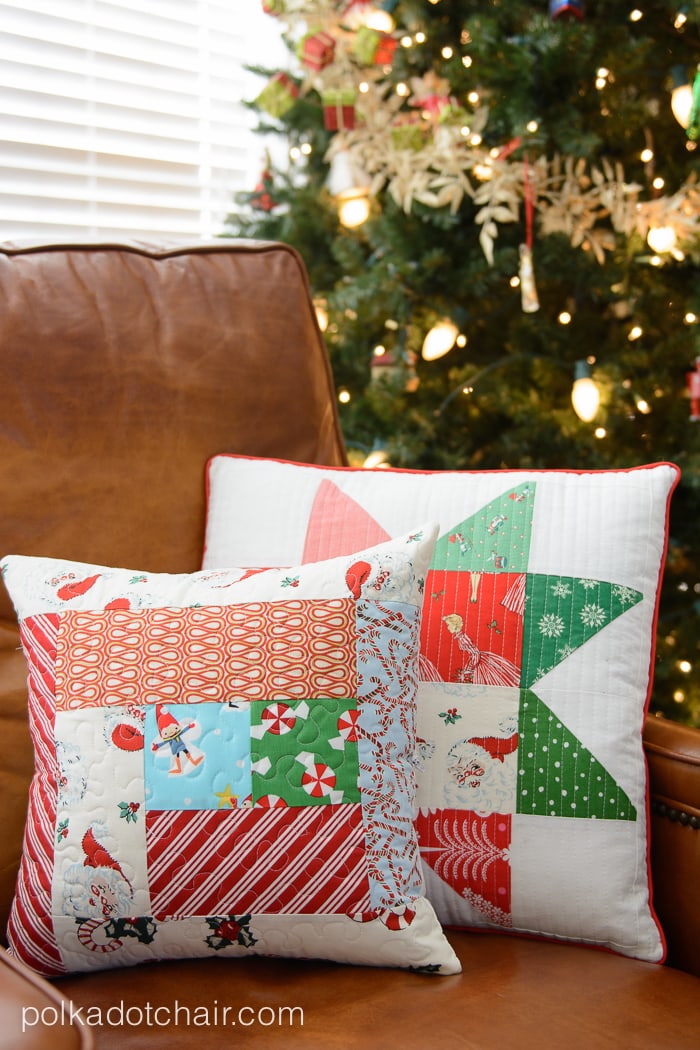
But, today, we are not making a big quilt, just pillows. Some of the pillows I made have all of the light strips around the center; others have them randomly placed.
After I finished making them, I decided that I liked them with the light strips in the center, so I kept the random one for myself as a mish-mash. Whatever you do, take a second to see how you want them to the layout before starting.
When finished, these pillows are about 15 1/2″ square. You can put them in a 16″ pillow and have them super stuffed, or use a 14″ pillow form and have looser stuffing.
Supplies
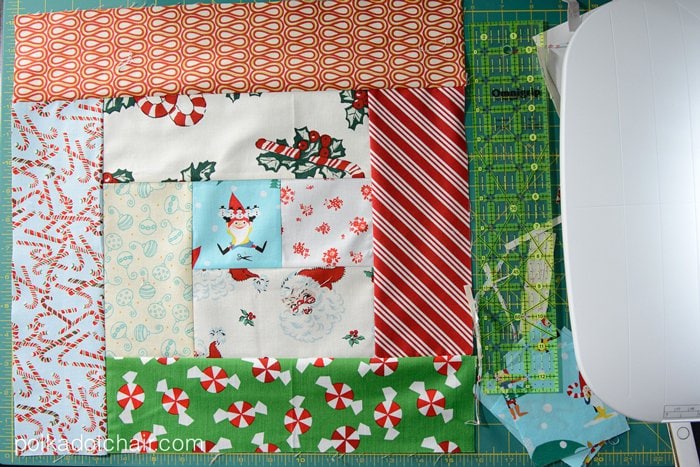
- 4″x4″ square for the center of the pillow
- 4″ wide strips of fabric in various prints
- Rotary Cutter, Mat, and Ruler
Log Cabin Pillow Instructions
All seam allowances are 1/4″
Start by sewing one of the 4″ strips to the right side of the 4″x4″ square. Trim the piece to fit the square. Press. Pin another 4″ wide strip of fabric to the sewn fabric squares. Stitch. Trim and Press.
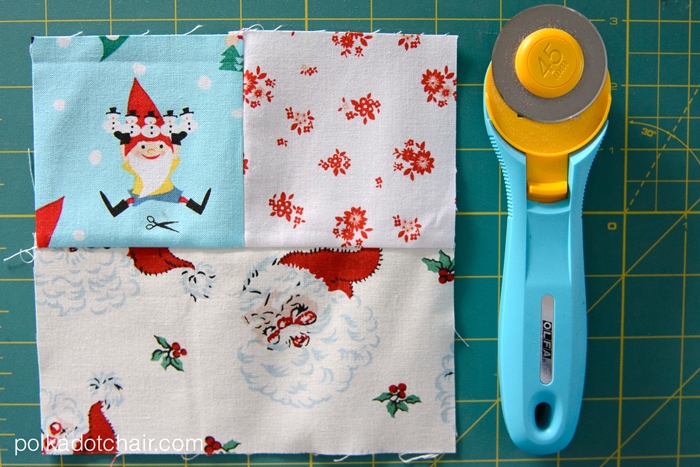
Work in a clockwise fashion, trimming and pressing each strip as you go.
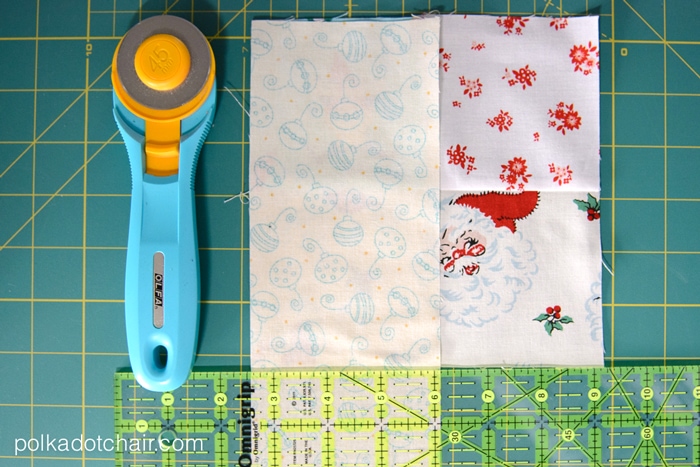

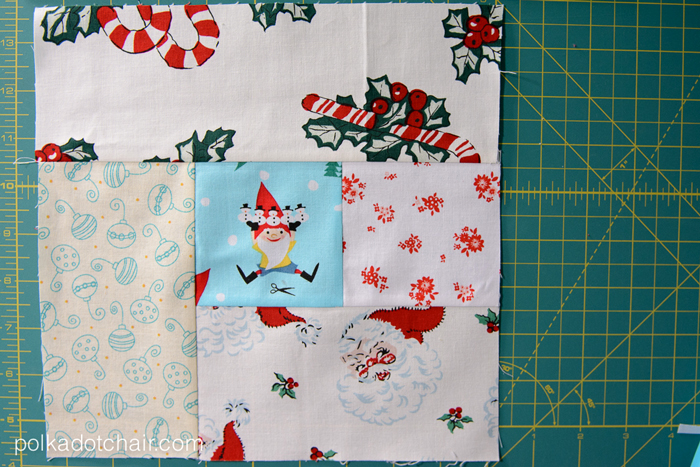
Keep working and adding strips until you’ve sewn a total of 8 strips to the 4″x4″ square.
That’s it. Pretty simple, huh! Since I wanted my pillows to have a “scrappy” feel, I just used random Christmas prints.
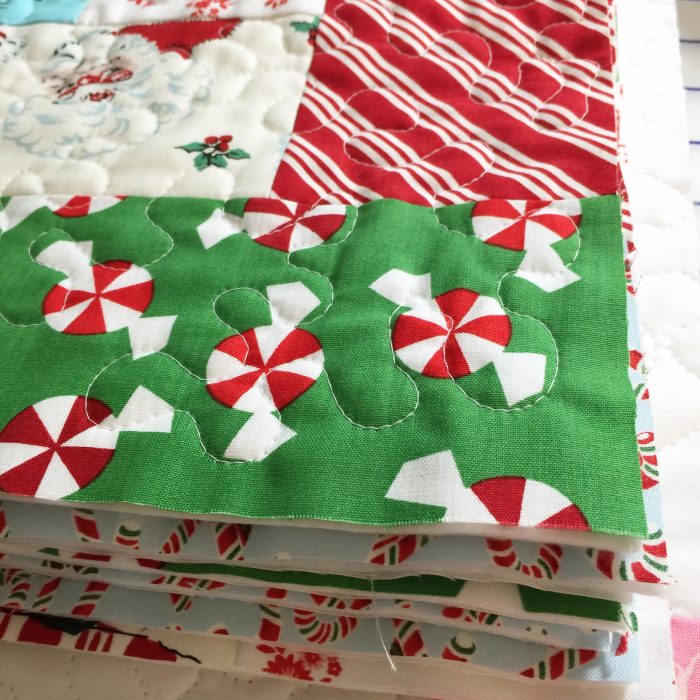
When you’re done creating the log cabin block, quilt the pillow.
How to Quilt the Pillow
Since these pillows are small, they are easy to quilt on your home sewing machine. For instructions to quilt the pillow, you can use our machine quilting tutorial.
How to Finish the pillow
There are a few different ways that you can do this. You can just cut a fabric the same size as the pillow front and sew them together. Sew a back on the pillow. Making sure to leave a hole to turn the pillow right side out. Then inserting the pillow form and hand sewing the opening closed.
However, I would recommend using my Zippered Back Pillow Tutorial instead. That way, you can easily remove the pillow form and swap it out for the seasons. Use whatever method you like best to close up a pillow.
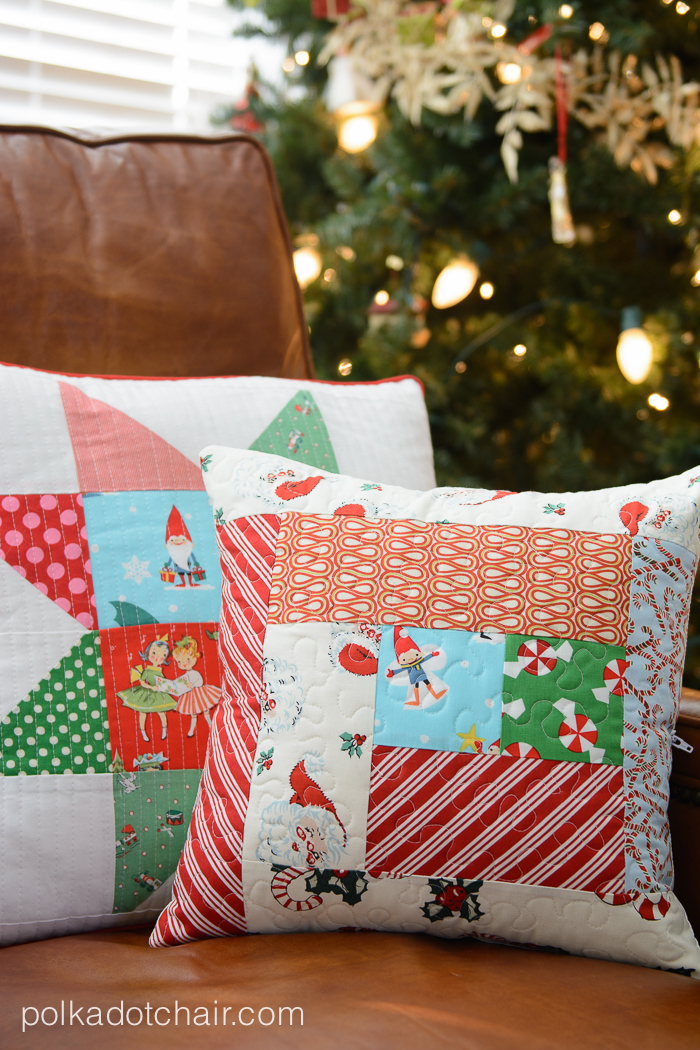
Here they are shown with my Quilted Christmas Pillow from last year. Can you sense a theme here?? I think next year; I’ll make a tiny pillow to round out the bunch.