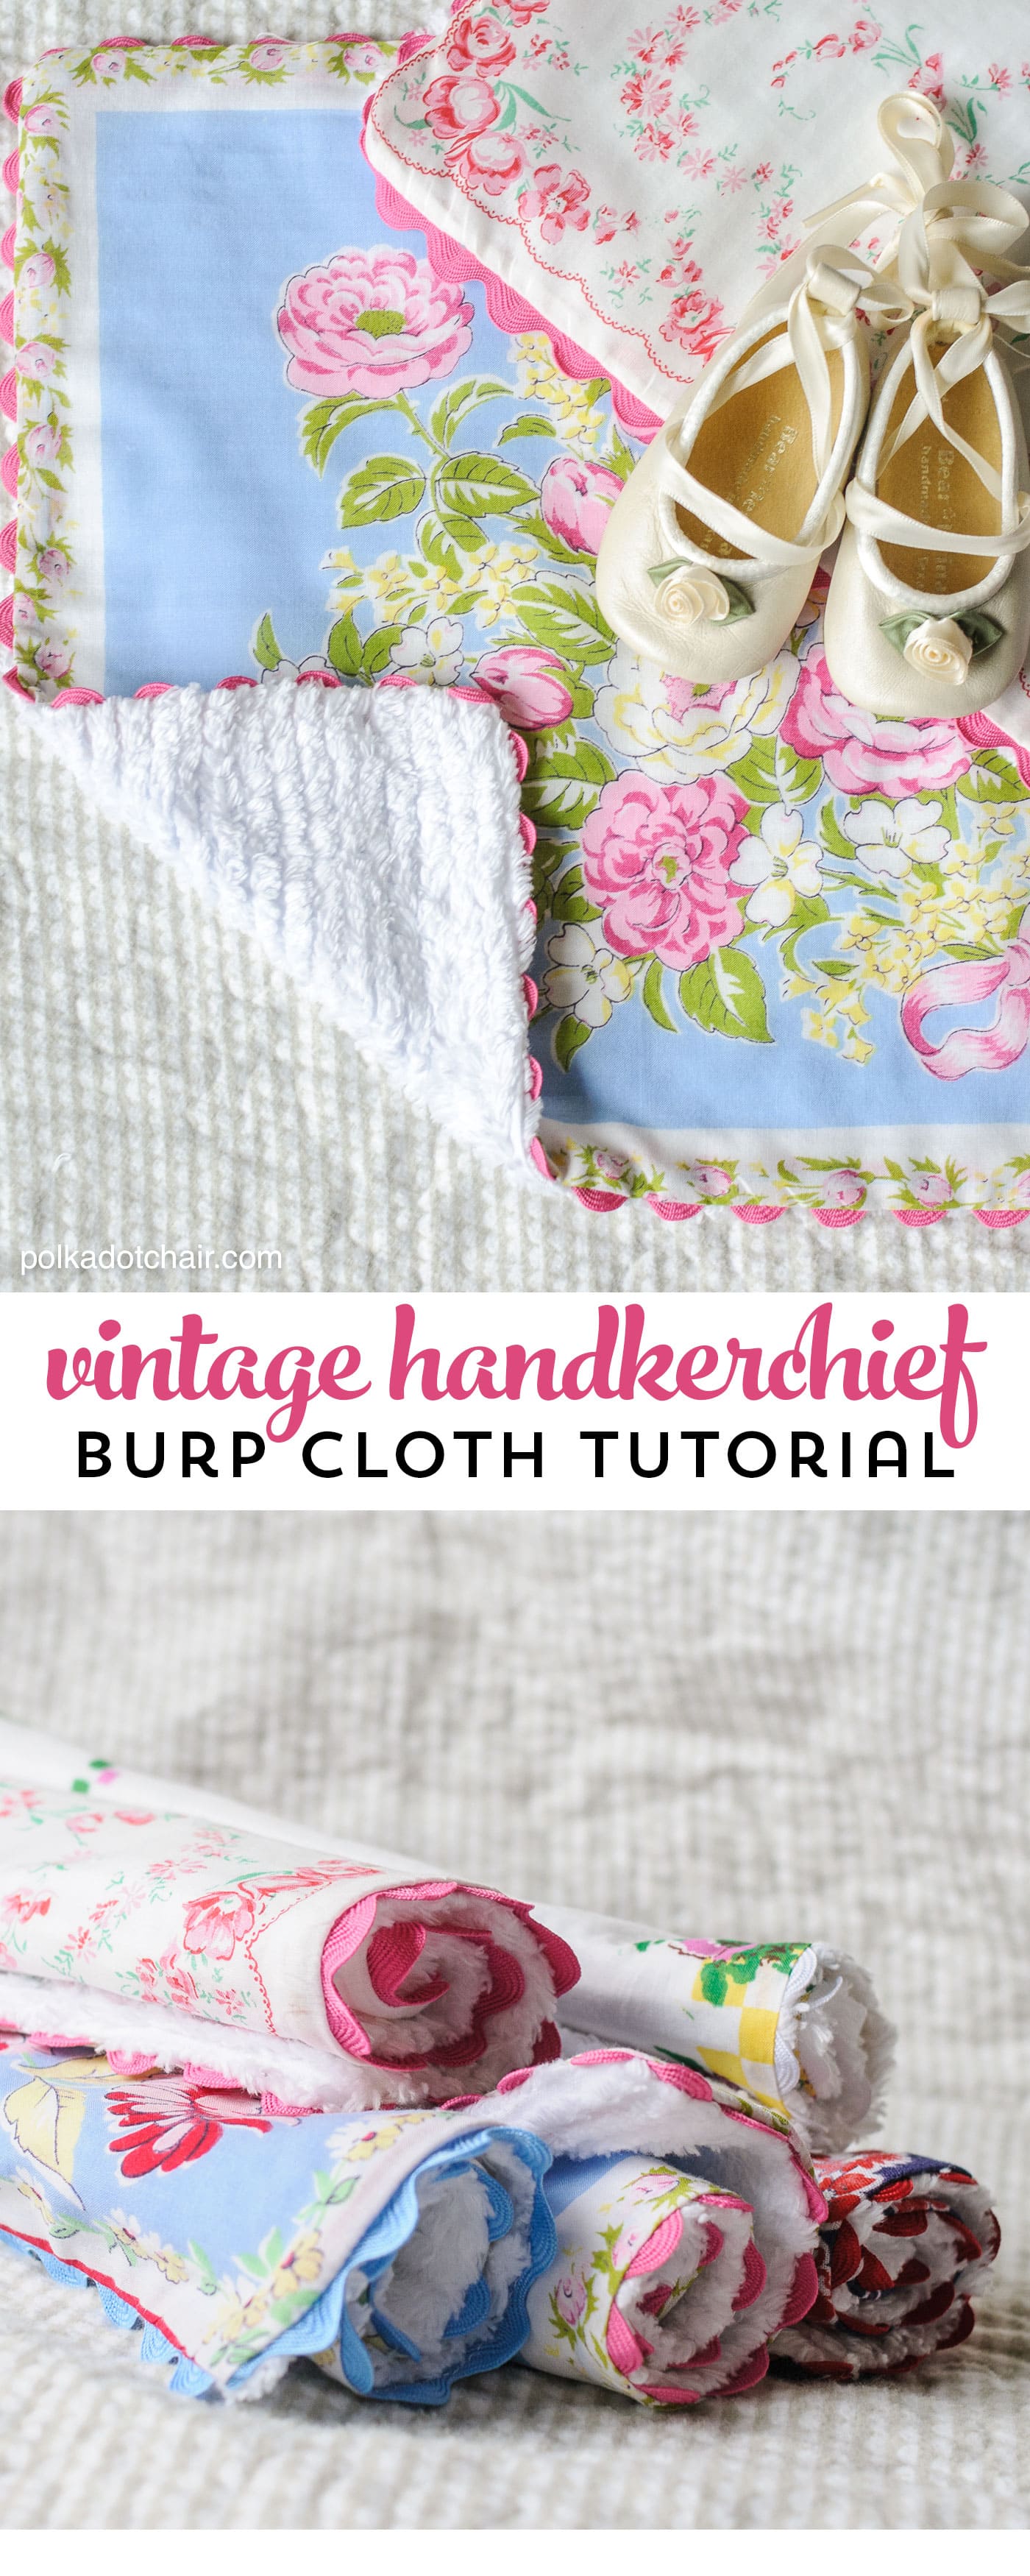
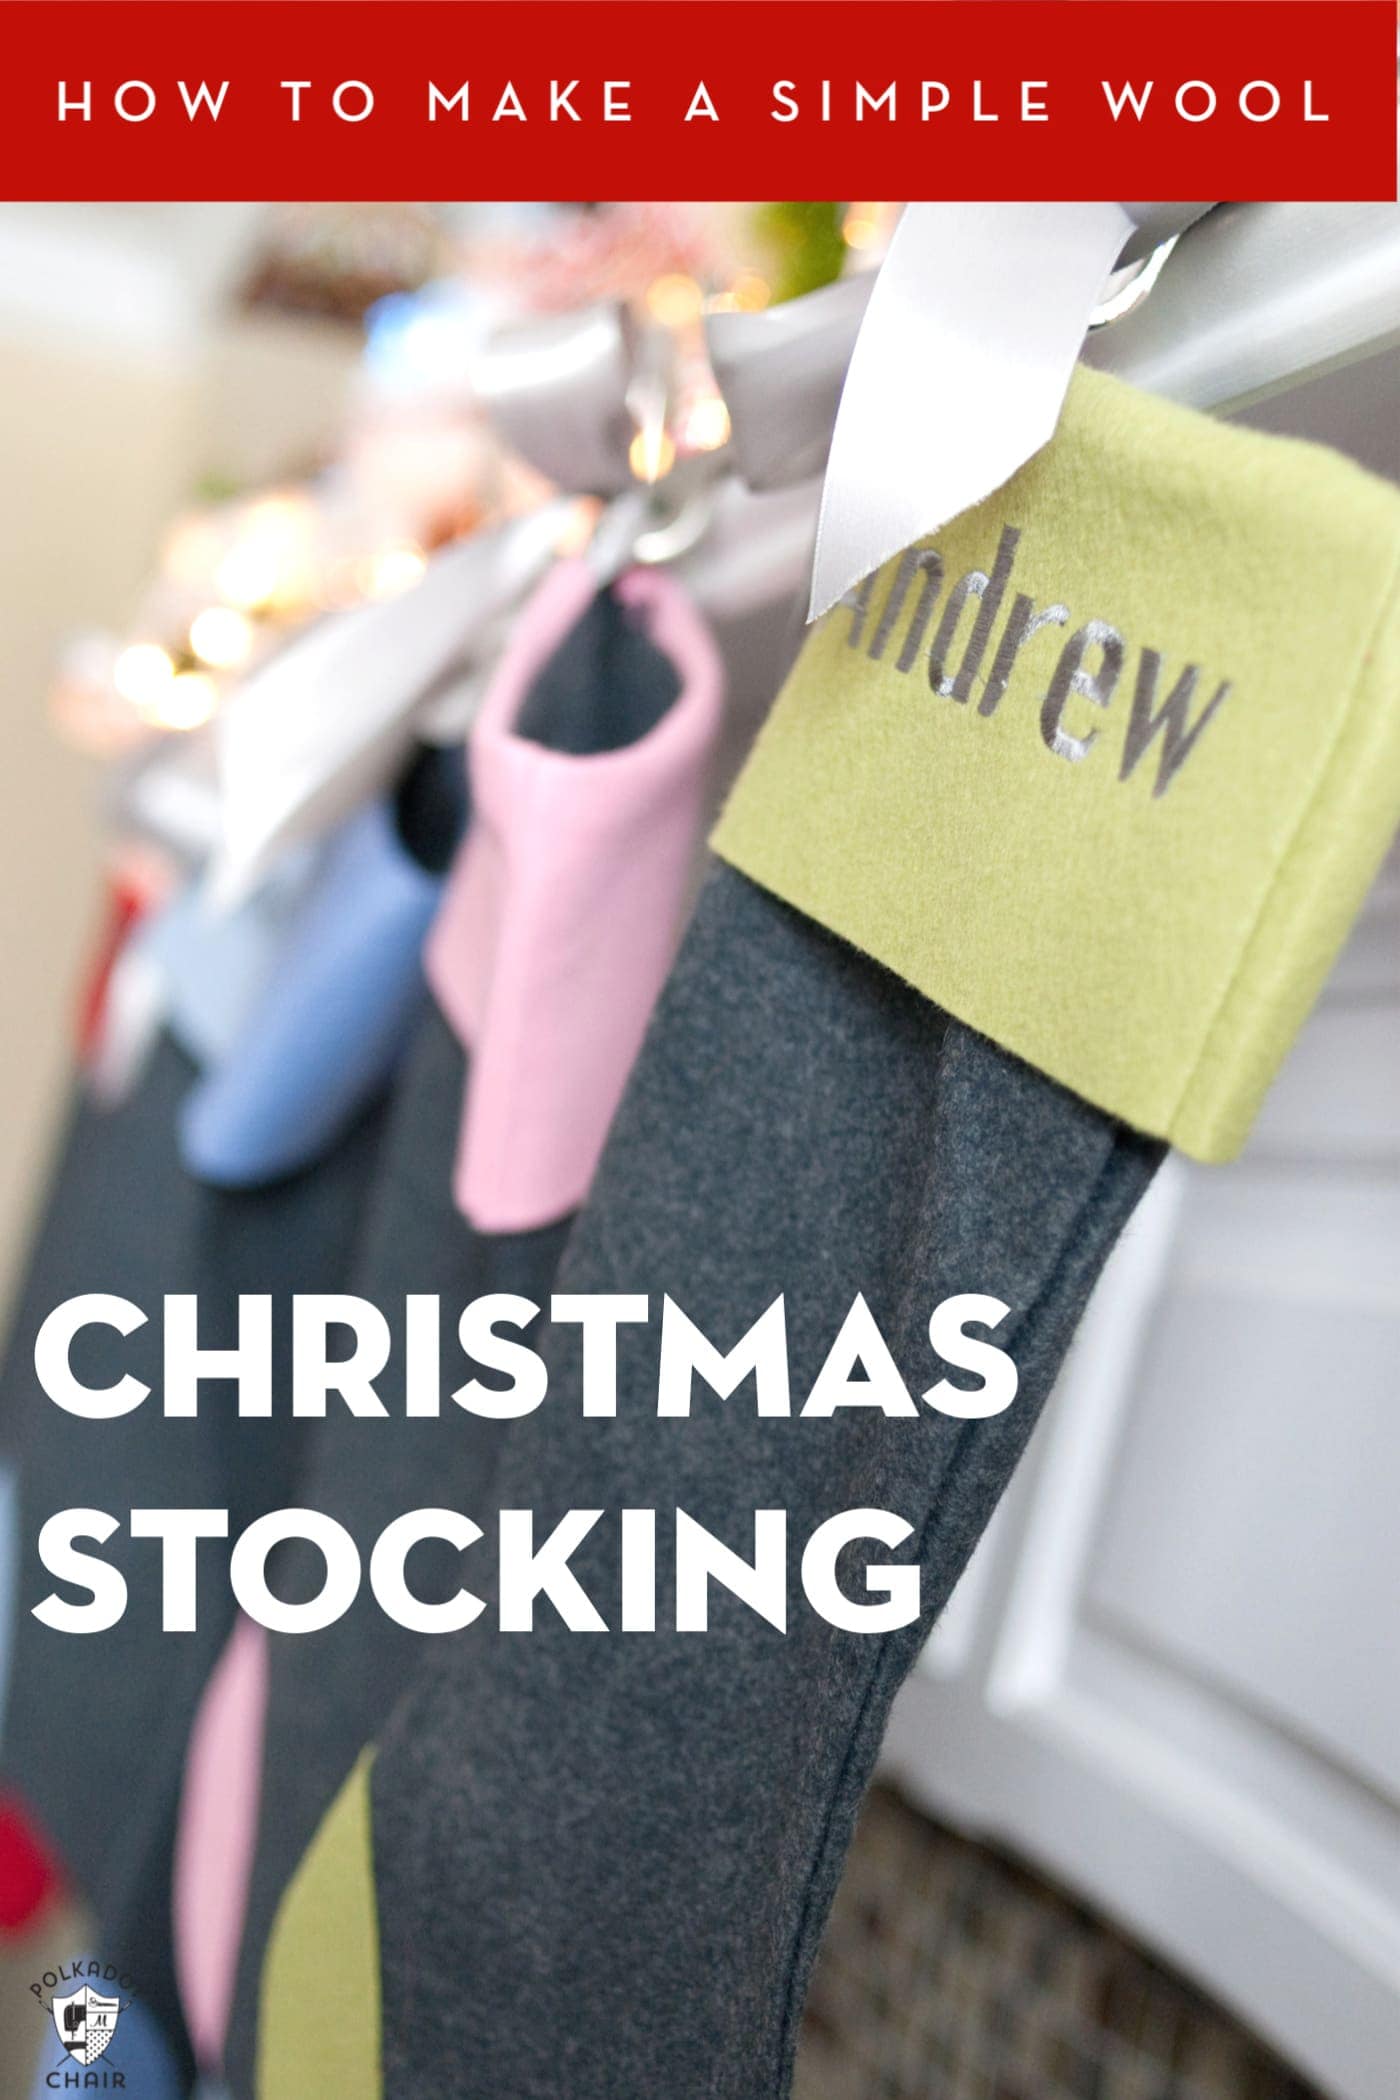
How to Make Baby Burp Cloths from Vintage Handkerchiefs
This sewing tutorial showing you how to make baby burp cloths from vintage handkerchiefs first appeared on this blog a few years ago, long before many of you were readers. I’m reposting it today because it’s one of my favorites and I hope that you enjoy it too! If you like this project you may also like this Vintage Handkerchief Baby Quilt tutorial.
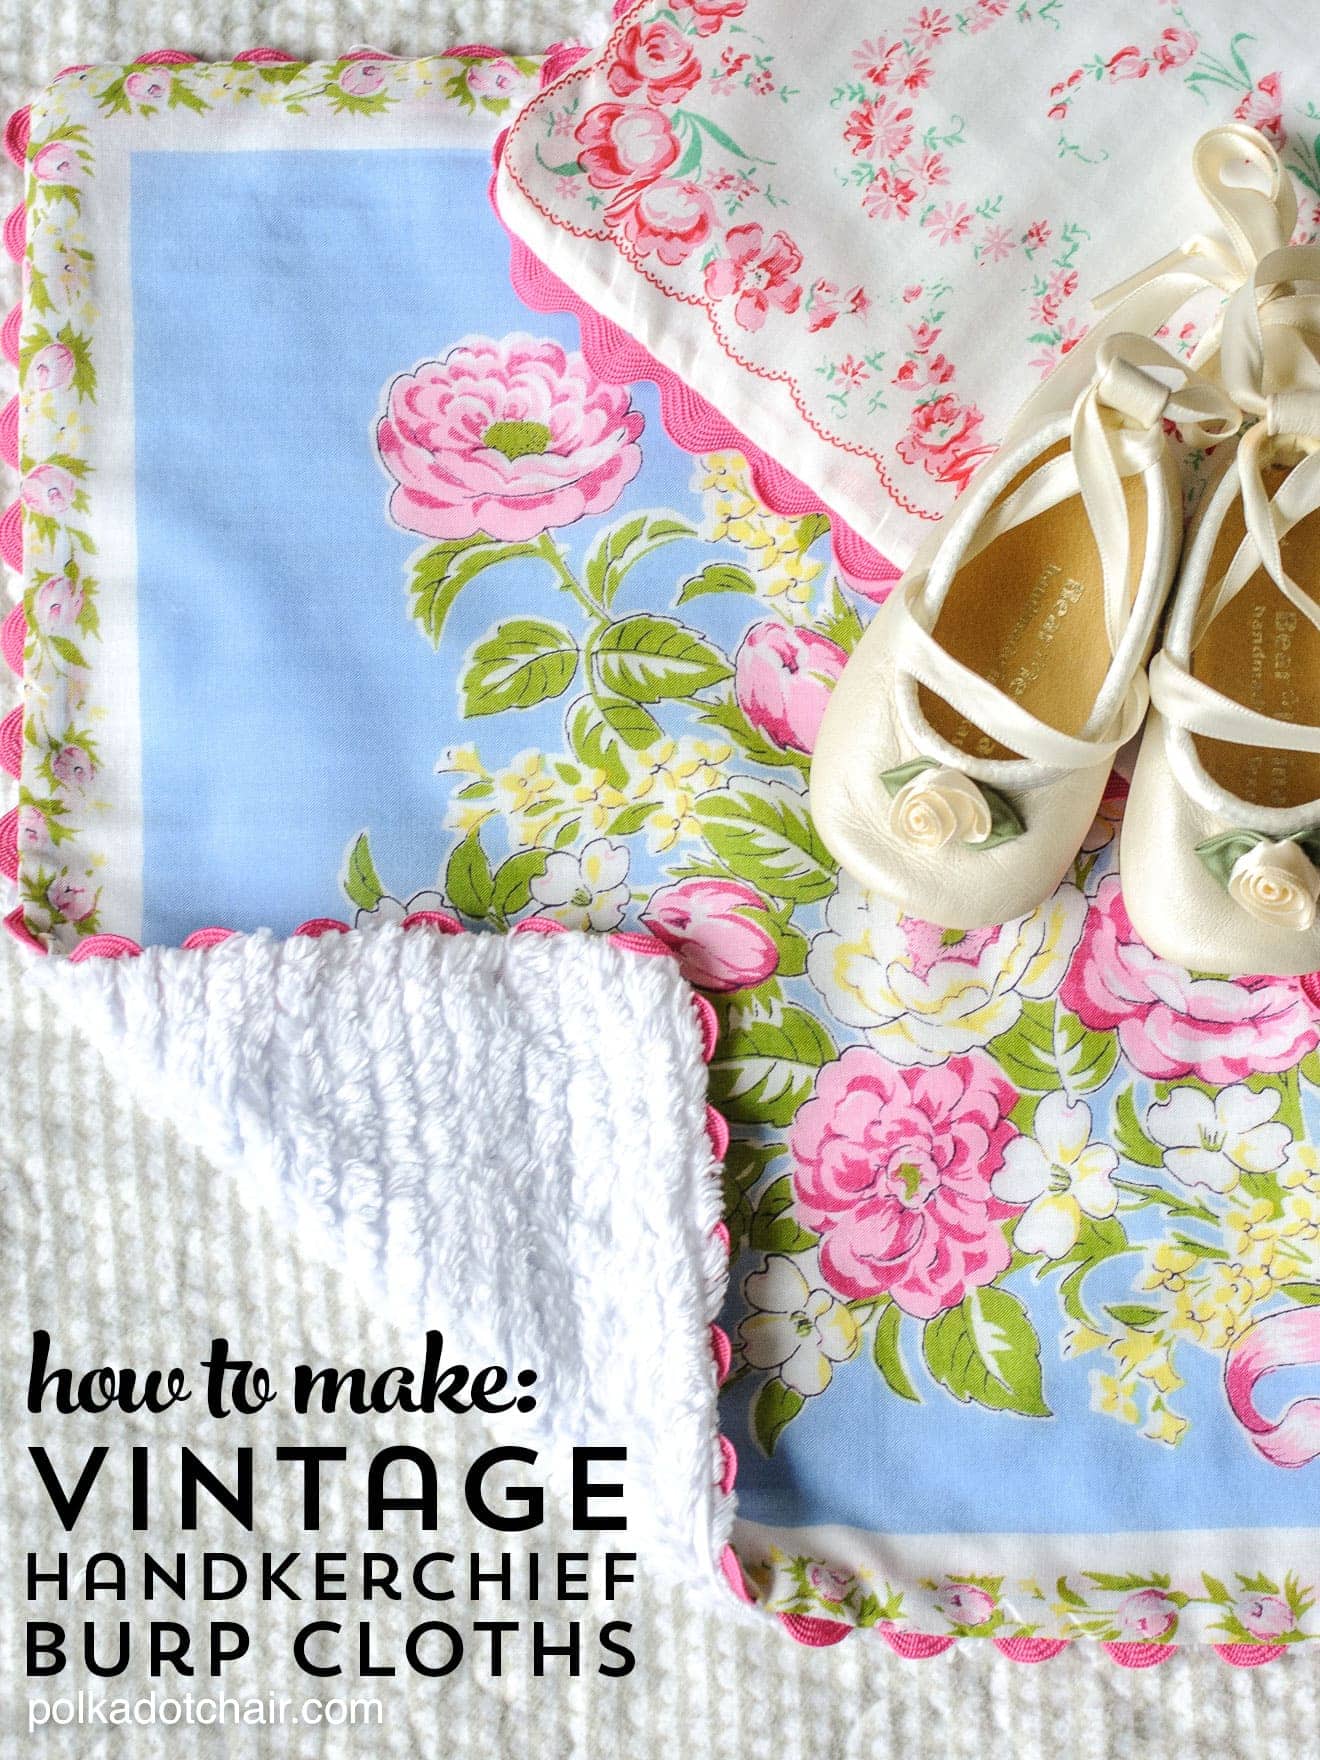
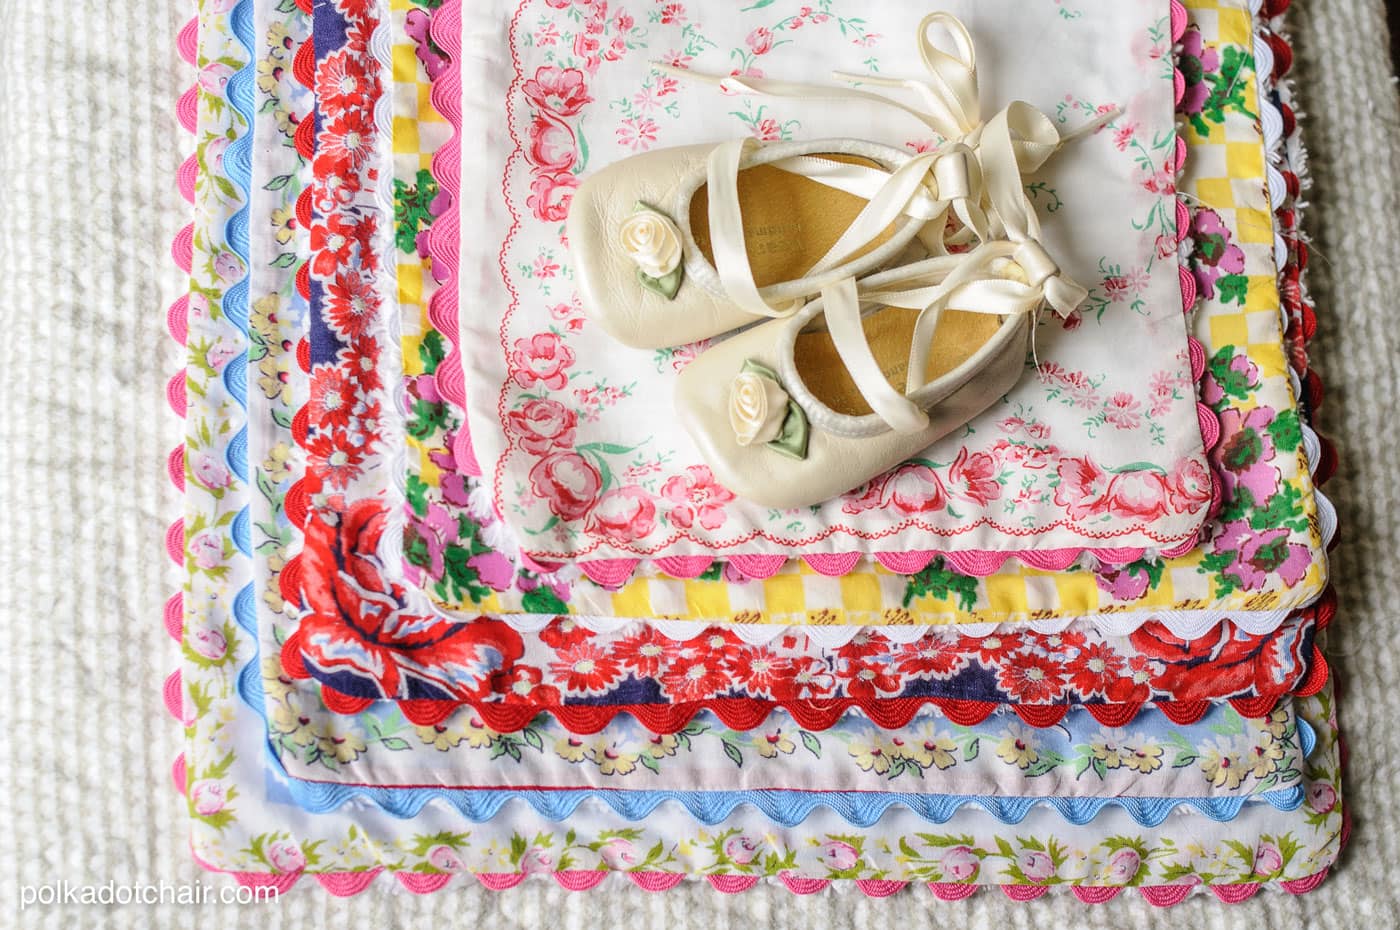
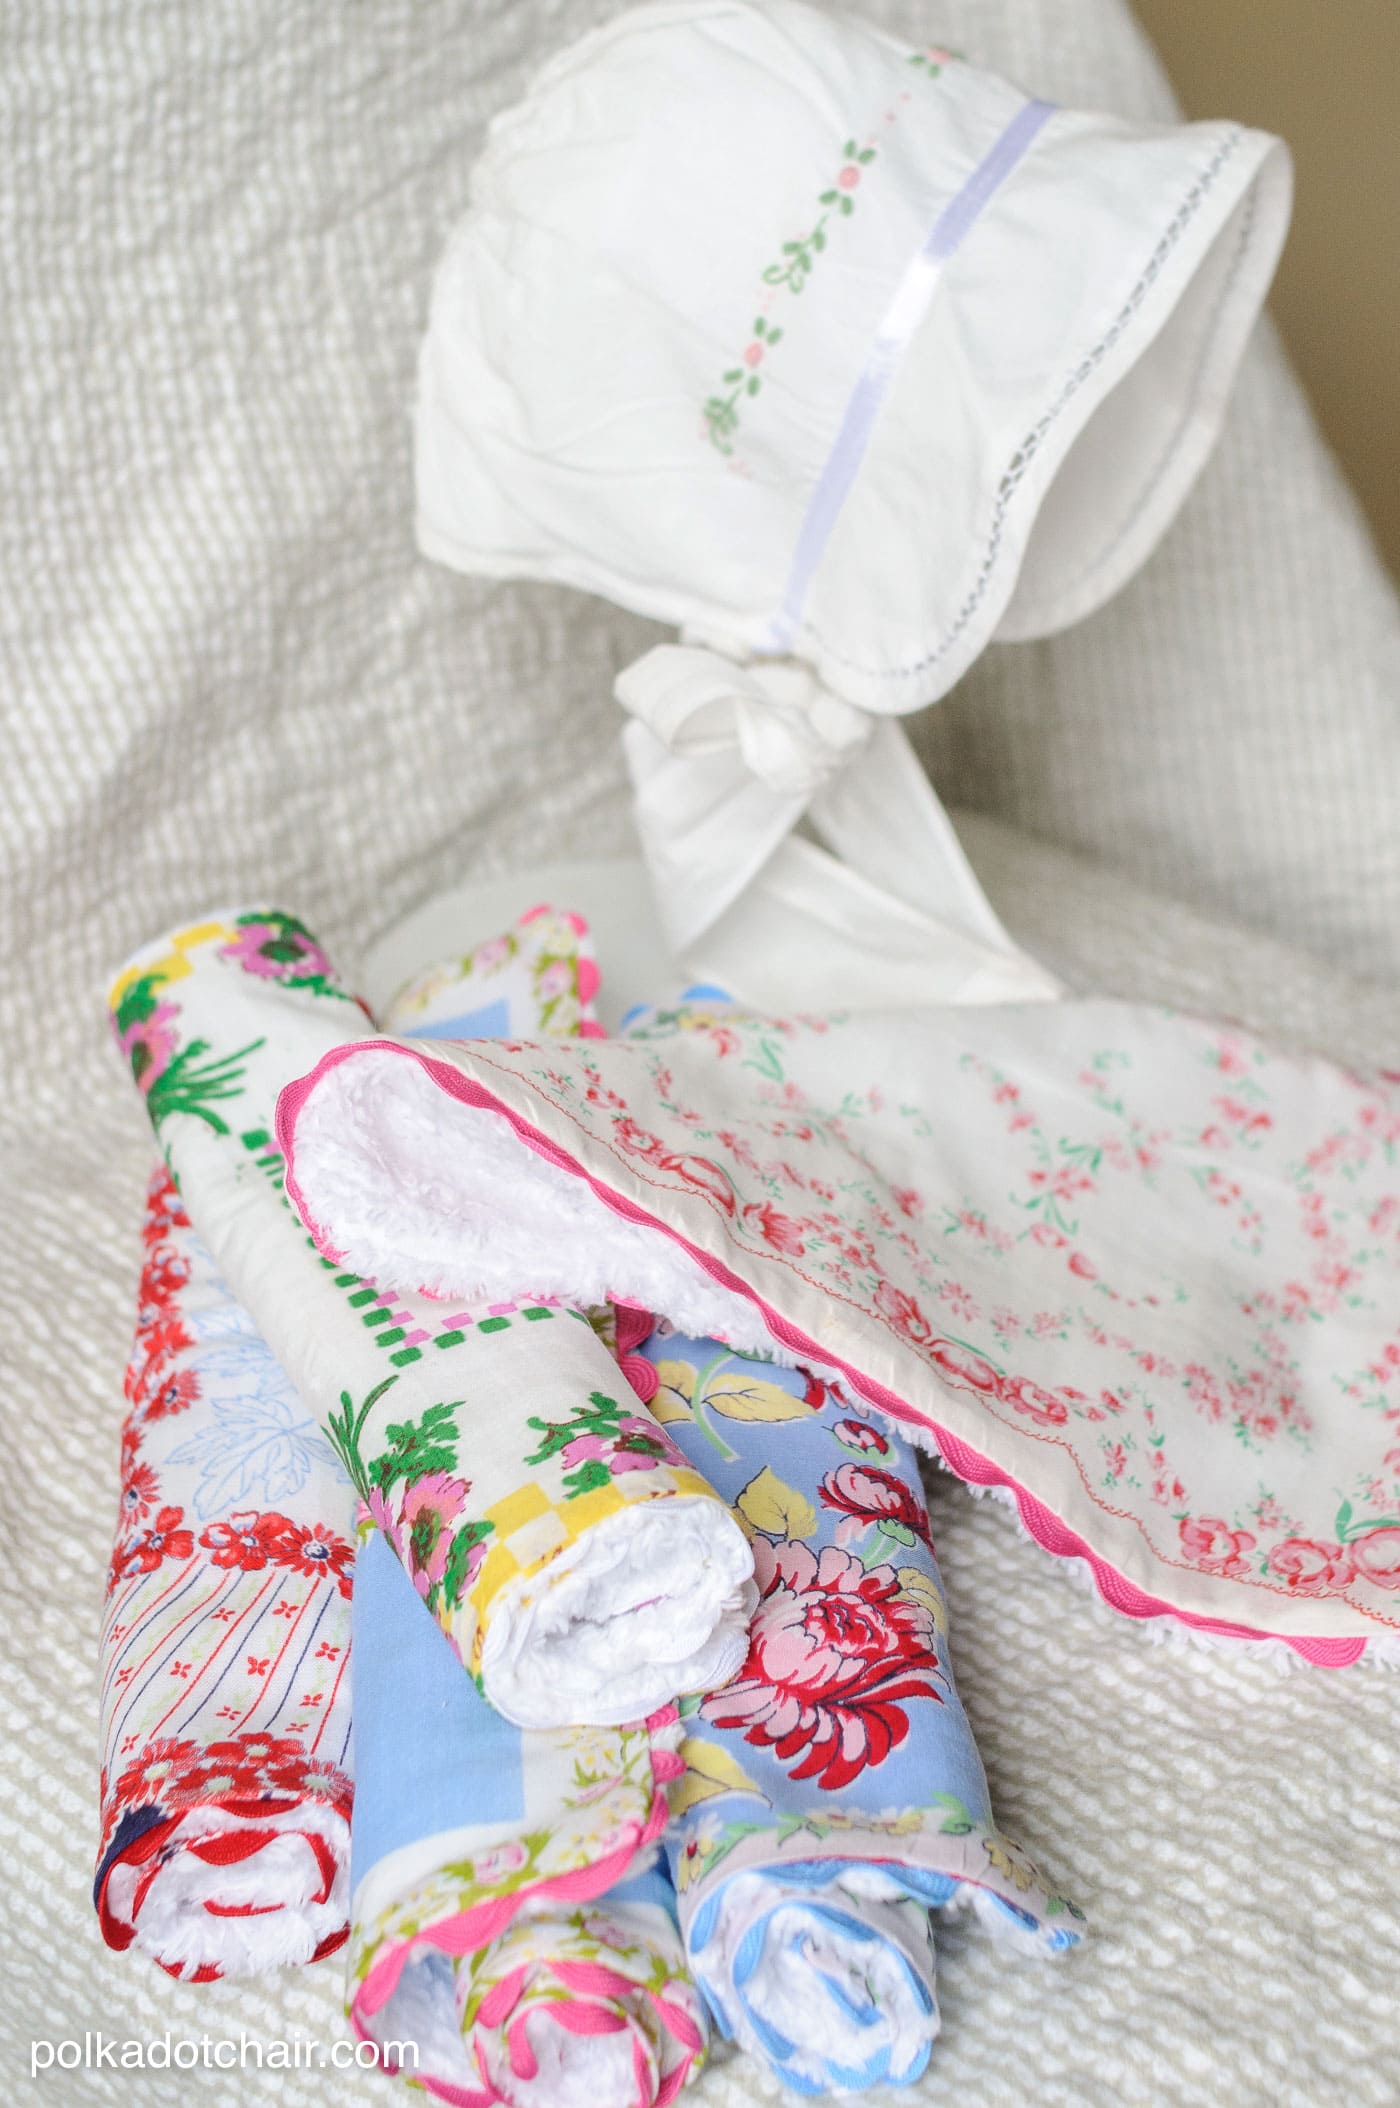
Oh, how I love vintage hankies!!! I like to throw them into projects when I get the chance… One day while I was thinking about what else I could make with a vintage hankie… it dawned on me… “a burp cloth”… I mean, they are designed for cleaning up messy faces, right???
When I first posted this project, I got a few “how dare you” emails because I was cutting up and repurposing vintage handkerchiefs… Let’s say I’m afraid I have to disagree with those emails.
These hankies were in a box in my closet, sitting there doing nothing. They were not hand-me-downs from a relative and had NO sentimental value to me. In my opinion, these burp cloths for a sweet new baby are a much better use of the hankies than sitting in a box in my closet.
About the Baby Burp Cloths
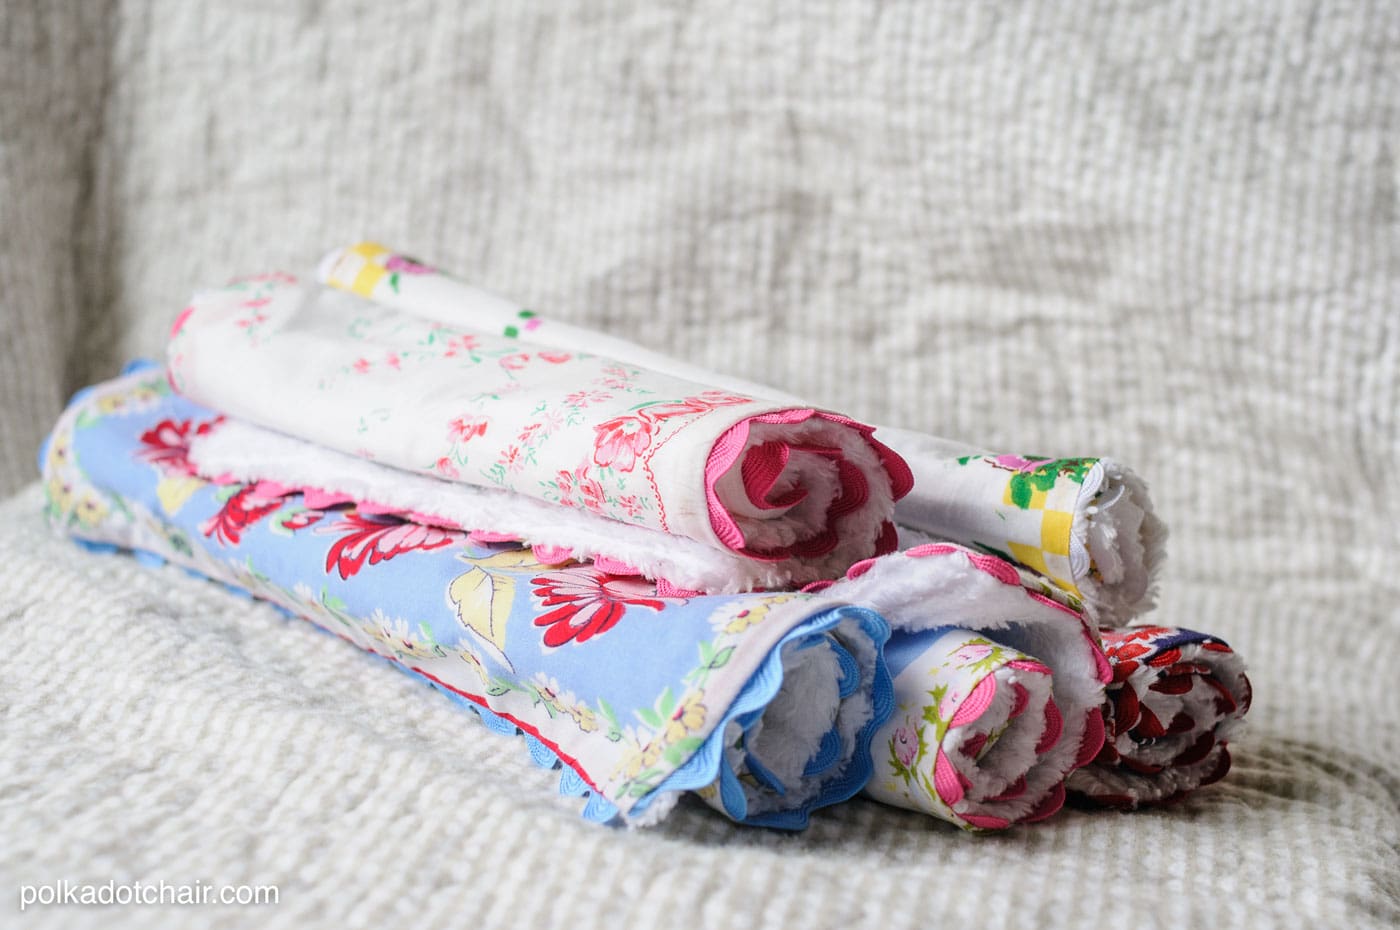
To make the burp cloths a bit more absorbent I backed them with chenille. It only takes small squares of chenille so it was a great use of some scraps I had.

Here’s what you need to make them!! They are SOOO easy, this is a good project for a beginning sewer.
Supplies
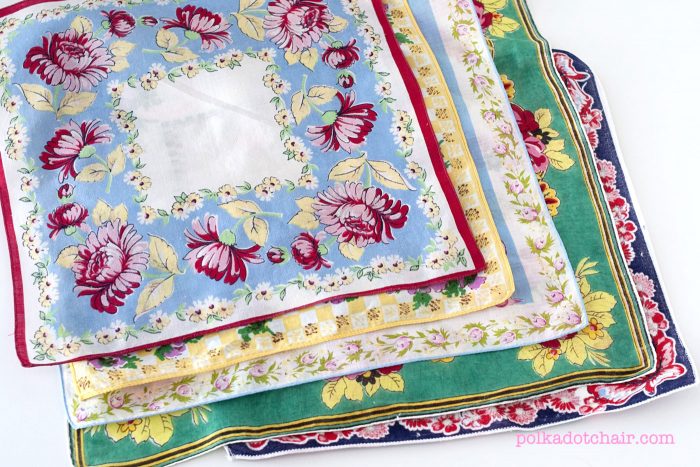
- Vintage Handkerchiefs- to find some in your area, try antique stores, junk stores and thrift shops. Many stains can be removed after a good soaking, but many can’t- judge accordingly.
- Chenille – you’ll need to prewash it
- Ric Rac
Preparation
Okay, I’m lazy and normally don’t pre wash ANYTHING… This project is an exception… besides the obvious germ issue with a used hankie, you need to pre wash and dry (in the dryer) the chenille. TRUST ME. If you don’t you’ll have a hot mess on your hands.
Sewing Instructions
After you’ve pre-washed your hankies and chenille, you need to cut your chenille to the size of the hankie you are working with.
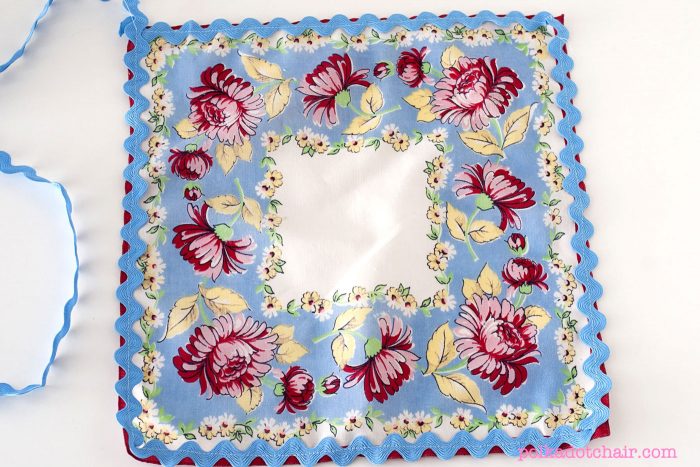
Next, stitch your ric rac to the edge of the right side of the hankie. Pin as you go. Stitch right down the middle of the ric rac.
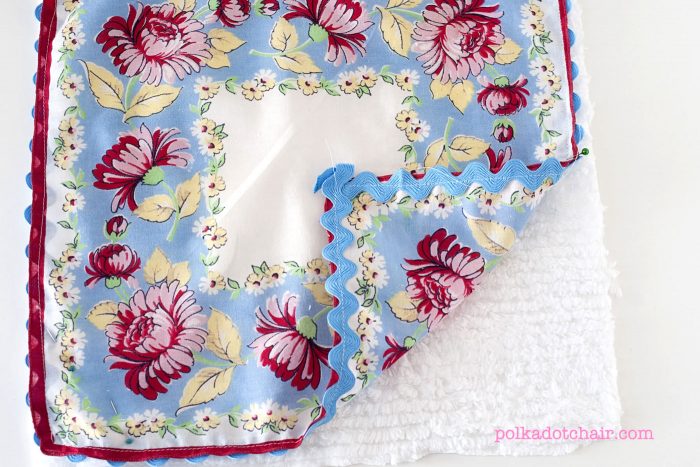
Lay your hankie on top of your cut piece of chenille, right sides together. Stitch together along the stitching line you just made to attach the ric rac. Leave a 2″ opening on one side to turn the hankie right side out.
Clip corners and turn right side out.

Press well and pin opening closed. Hand stitch or use seam tape to close the opening.