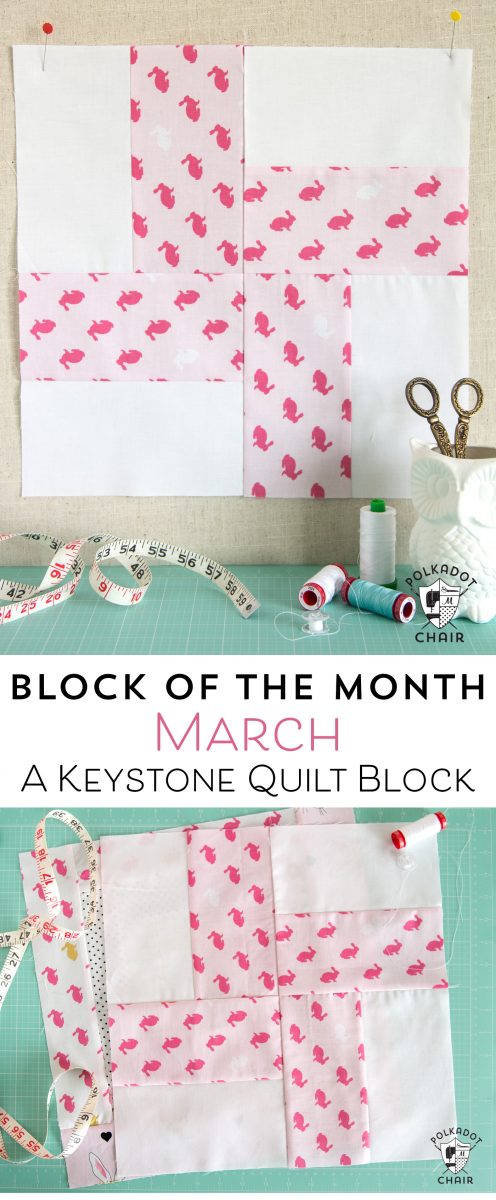
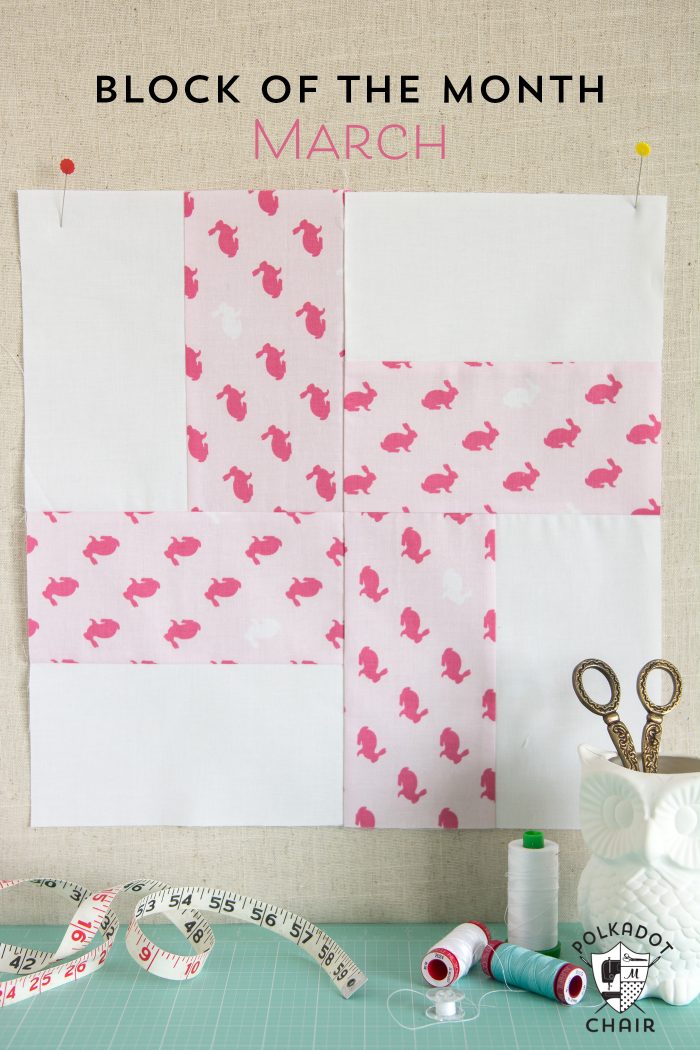
How to Make a Keystone Quilt Block – the March Block of the Month
Today I’m very excited to be sharing with you the March Quilt Block of the Month. This month I will teach you how to make a Keystone Quilt Block.
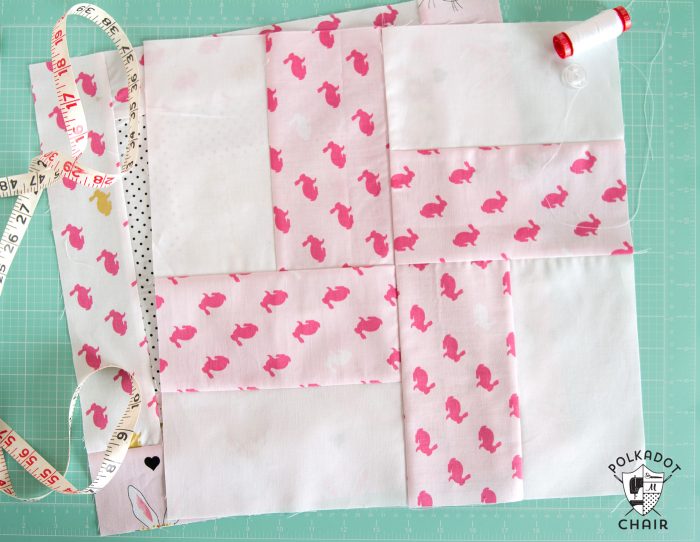
This is block #7 of 12. This block is super simple to make, I managed to stitch up 3 of them in less than an hour. I chose to make my block out of all the same fabric, but you could use 4 different ones if you like.
If you missed it be sure to check out this post on Quilt Block Construction Tips. You can find an index to all the posts in this quilt block series to date by clicking here.
UPDATE: You can now purchase a PDF with ALL of the block instructions for each month in one place!! Click here to PURCHASE
This block is a fun one to make, mostly because it’s pretty forgiving. In the next few months, I’m going to start introducing some more intricate quilt block designs, now that you’ve had a chance to build your piecing skills.
While designing the entire quilt I tried to keep a balance of blocks that are all one color of fabric and blocks that can be made with multiple colors of fabric. This block, as with the January block, work well only using one color of the fabric.
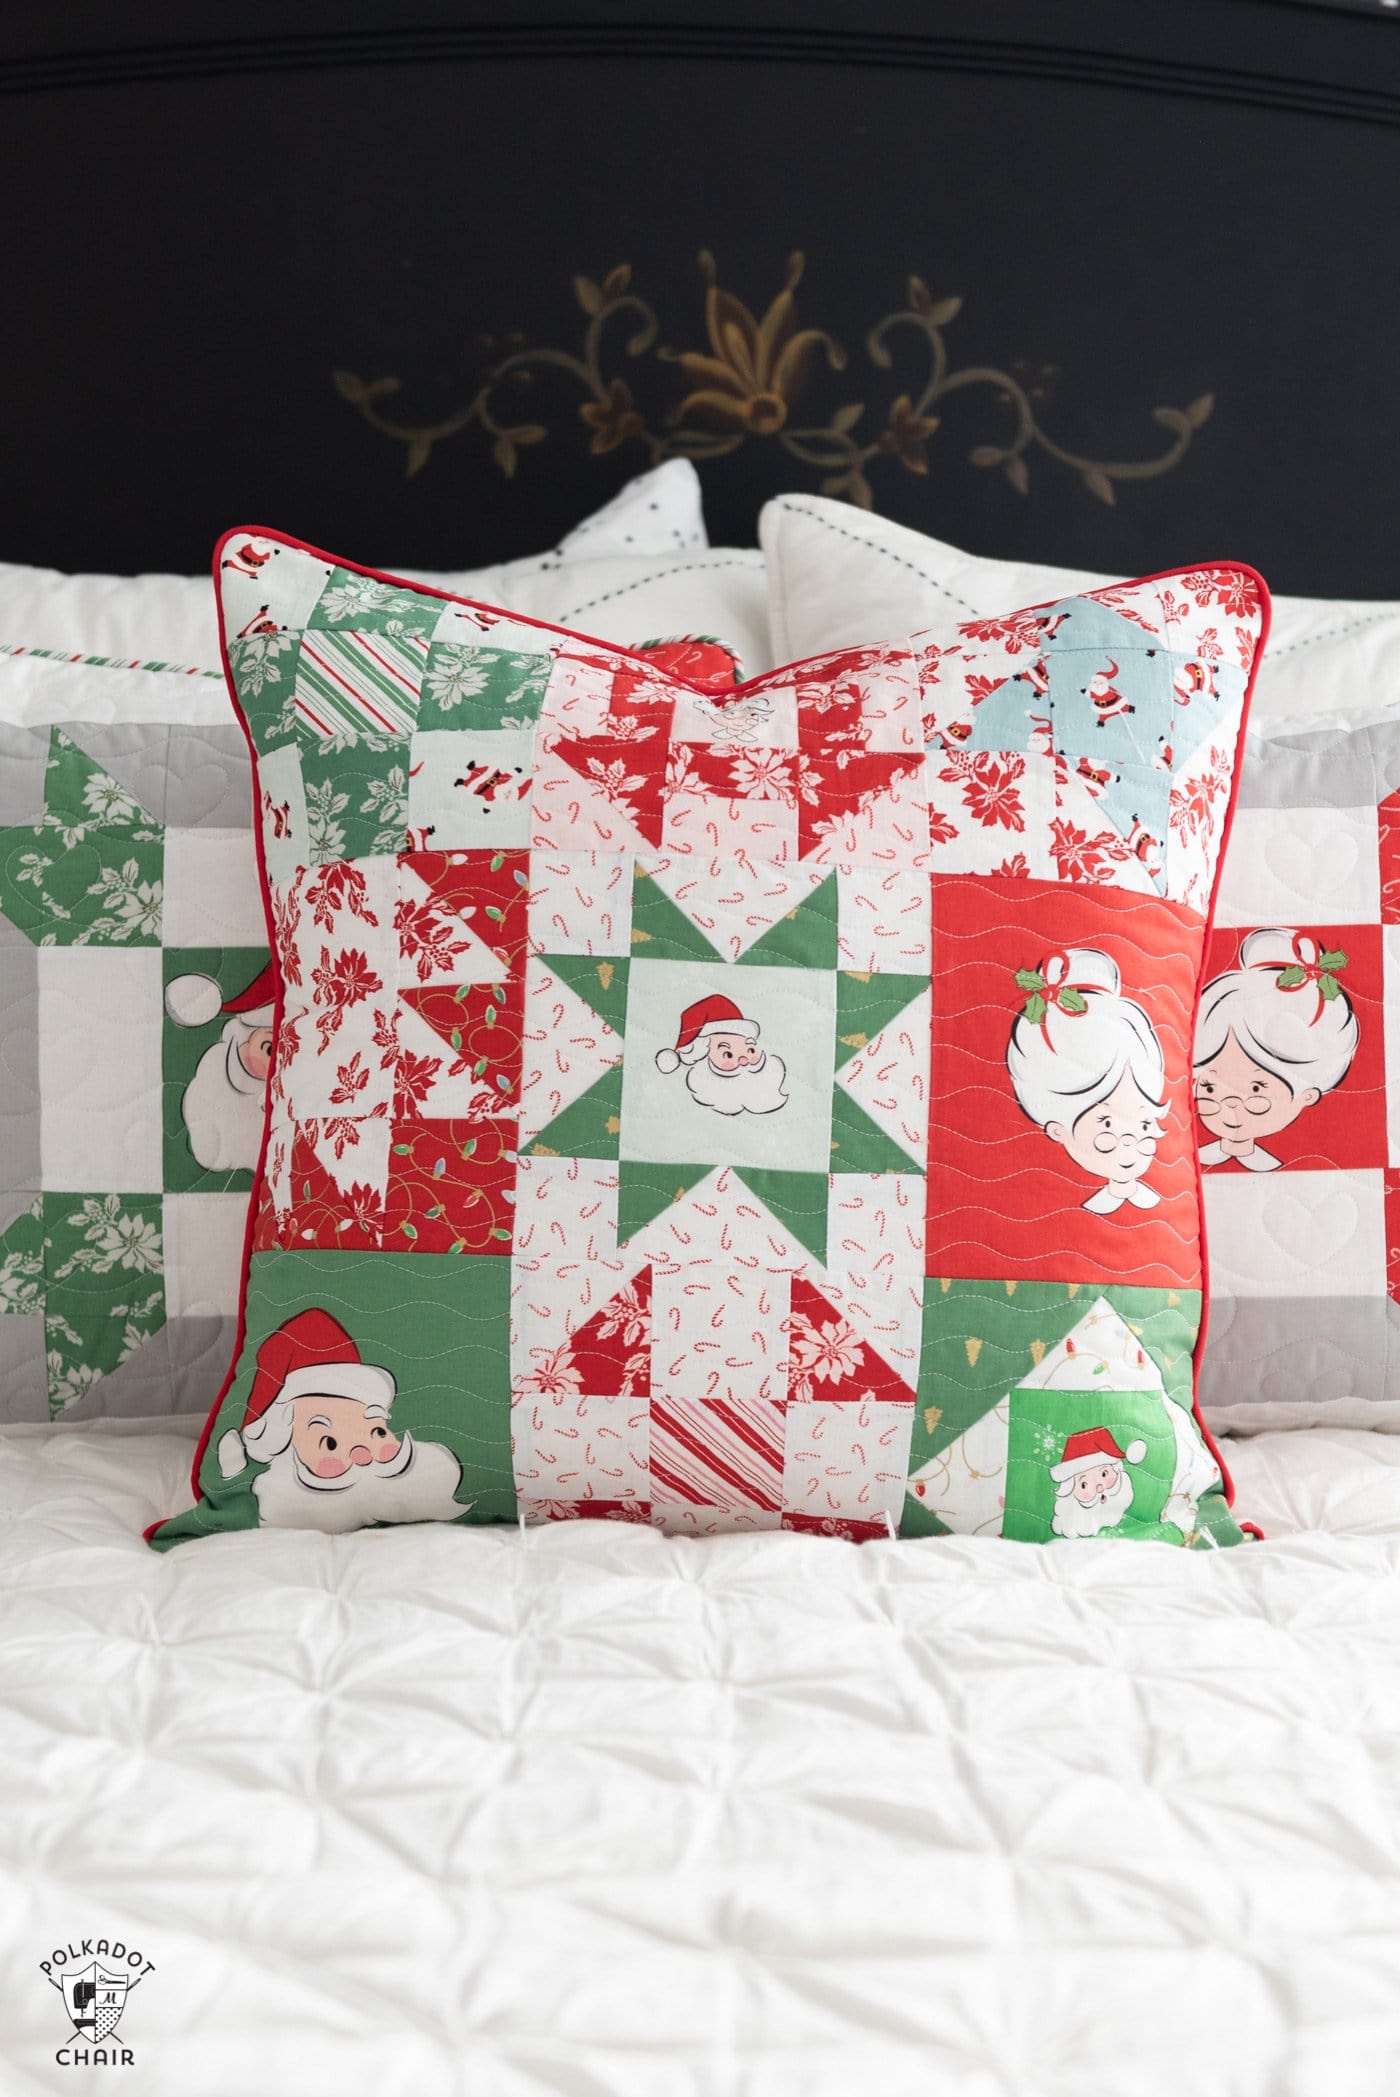
As I mentioned above, you can switch and use 4 different prints of the same color fabric if you like. I think that is what I’m going to do when I make the block for my Christmas quilt.
Quilt Progress Update:
Before I share the tutorial for the block, I thought I’d catch you up a bit with the progress I’ve made on a few of my quilts. To review, I’m making 4 quilts with the block of month blocks (because apparently I’m crazy *wink*).
I’m working on a quilt for my teenage son, a Christmas quilt, the pink quilt you see in the photos, and a “low volume” quilt that I plan to use on the bed in our RV.
I put all of the blocks that I have finished up on my design wall today and snapped some photos. I do not have any natural light in my sewing room, so I apologize if the photos seem a bit off. Still, I thought you’d still enjoy seeing how the blocks are laid out.
What is a Design Wall for Quilting?
I have a design wall in my sewing room (this one from Amazon – affiliate link). It has a flannel surface that allows the blocks to “stick” to it. It is very helpful when designing large projects, I find that by laying out my projects as I go I often catch mistakes that I would not have noticed until after the entire quilt was sewn together.
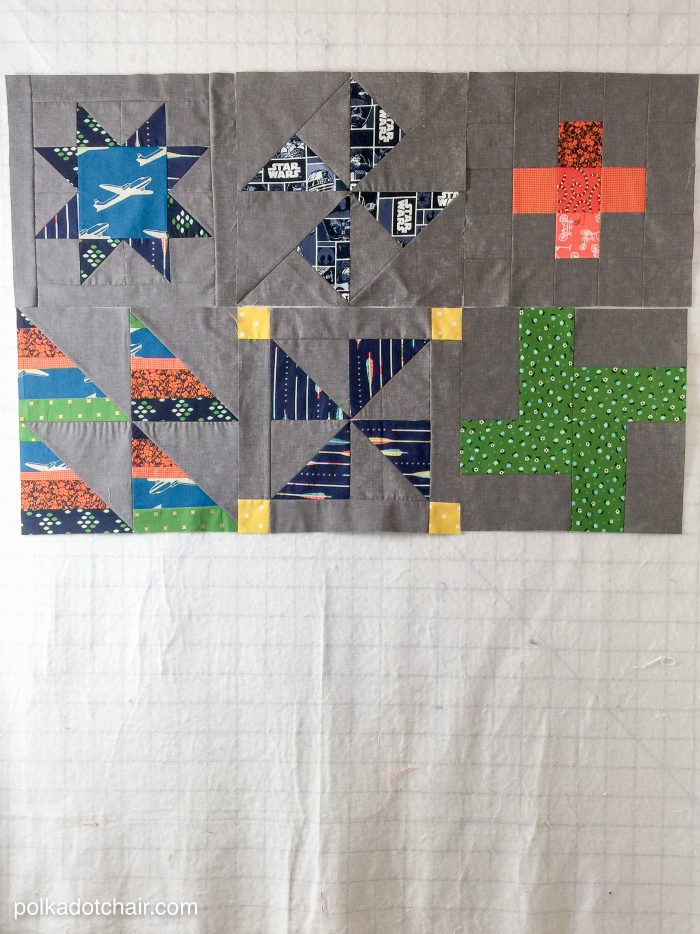
This is the gray quilt for my son. I decided to throw in a bit of Star Wars fabric for him, I’ll incorporate a bit more into a few of the blocks in the coming months. This quilt only has 6 blocks completed, I’m missing the February block, but I’ll catch up and make that one this month.
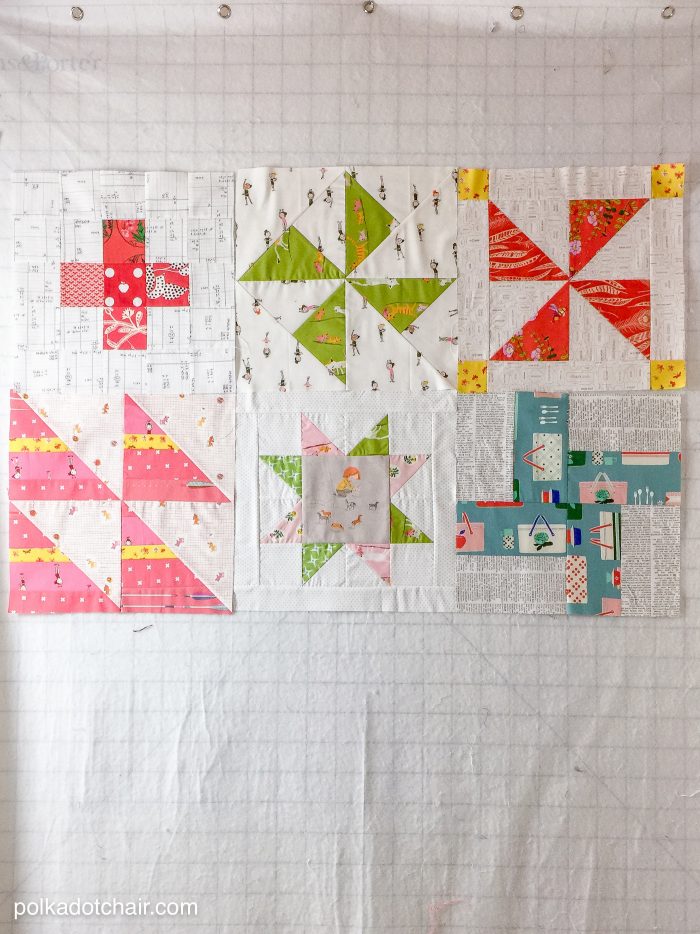
This is the quilt I’m working on for our RV. The RV has two twin beds in the back, and I want to make a quilt for each bed that coordinates but doesn’t match. I’m going for a retro “pacific northwest” theme for the quilts.
I like how this one is turning out but may end up switching out some of the blocks when I’m done (it might have too much pink in it now), we will see, I’m holding off judgment until all the blocks are sewn. This one is also missing the February block.
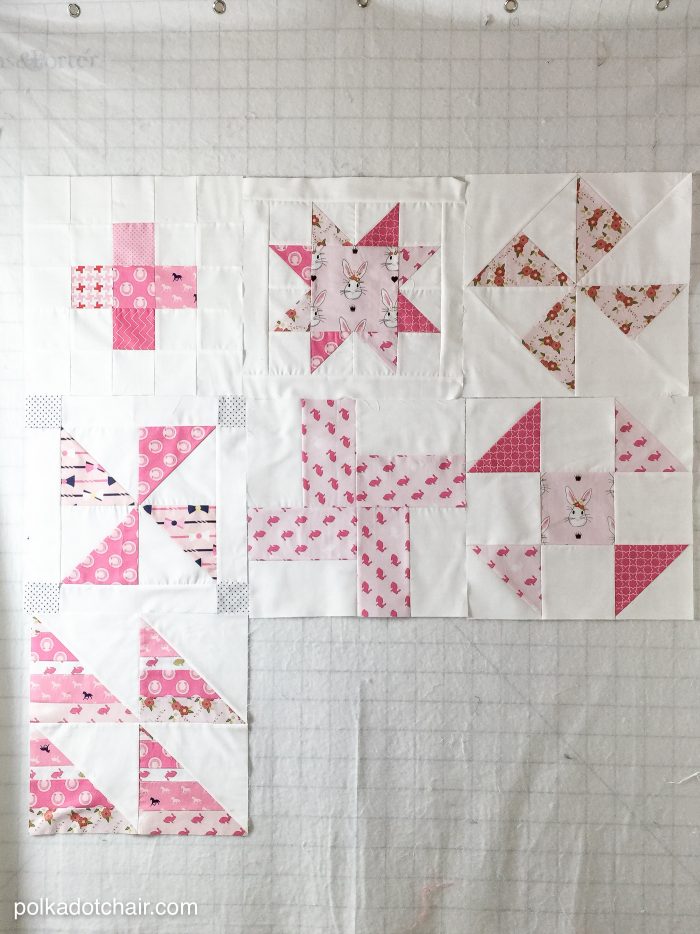
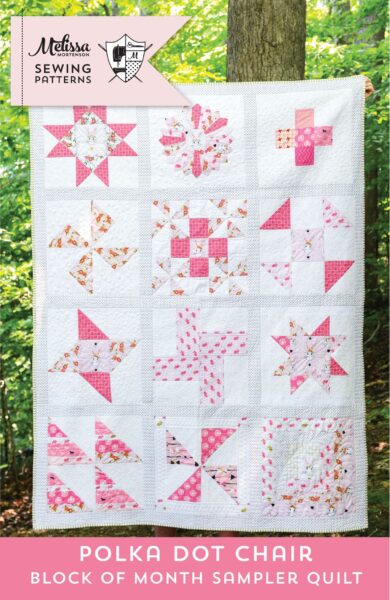
Here is my pink quilt, made mostly of Wonderland Fabric. My goal is to finish this one up (all 12 blocks) and have it ready for Quilt Market in May for my booth.
Keystone Quilt Block Tutorial:
To make the Keystone Quilt Block you need:
4 pieces print fabric each 4 1/4″ x 8″
4 pieces of background fabric each 4 1/4″ x 8″
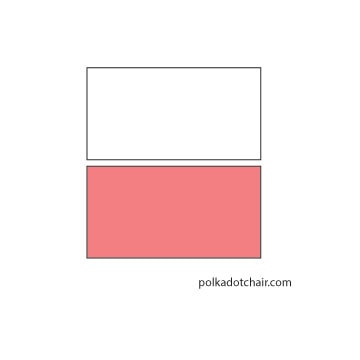
Step One:
Begin by stitching one print to one background piece along the 8″ sides. Repeat for all 8 pieces of fabric. You will have 4 sewn blocks.
Press the seam towards the darker fabric.
Trim each pieced block to 7 3/4″ x 7 3/4″ – make sure you trim an even amount off all 4 sides so that the seam remains in the center of the block.
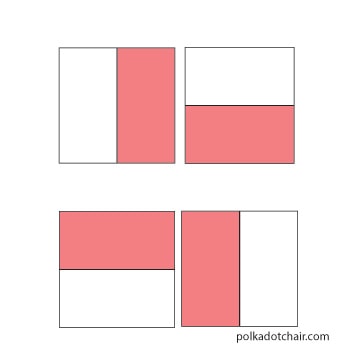
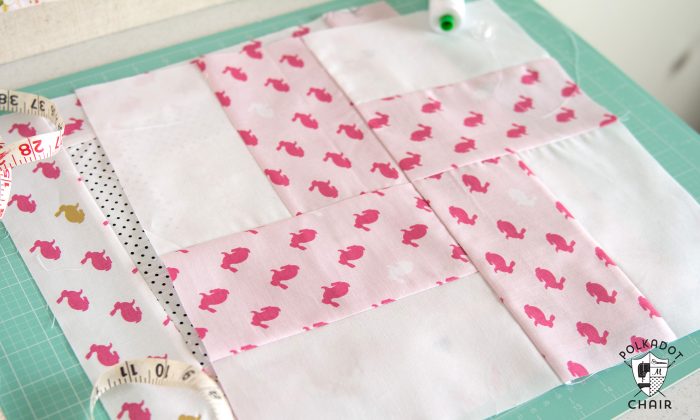
Step Two:
Using the layout above as a guide, stitch two of the sewn block to each other as shown in row 1. Stitch the other two blocks to each other as shown in row 2.
Press seams towards the darker fabric.
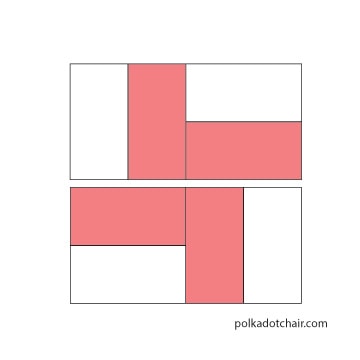
Step Three:
Stitch row 1 to row 2.
That’s it!! Easy peasy!! Since you trimmed the blocks to 7 3/4″ squares before you stitched them together you should not have to trim them at the end. The block should measure 15″ x 15″