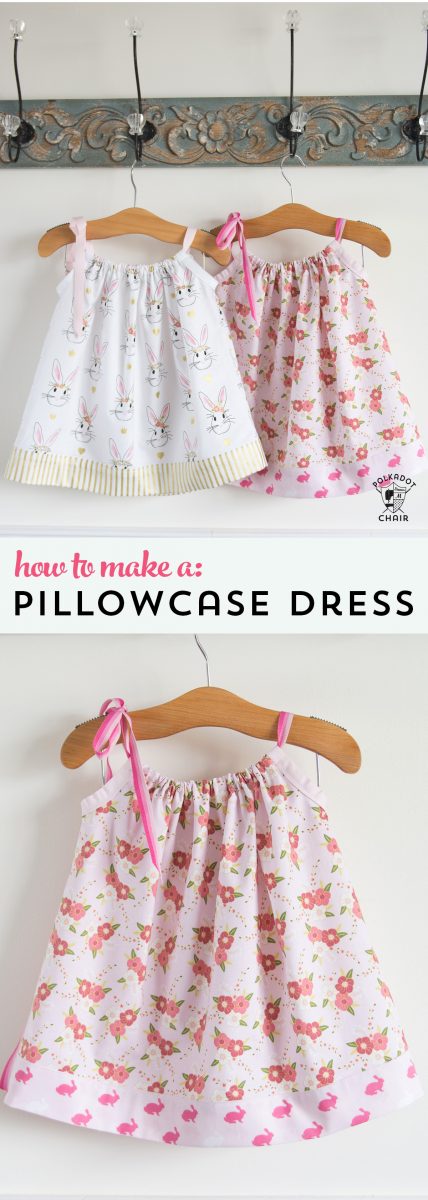
Free Pillowcase Dress Pattern & Size Chart
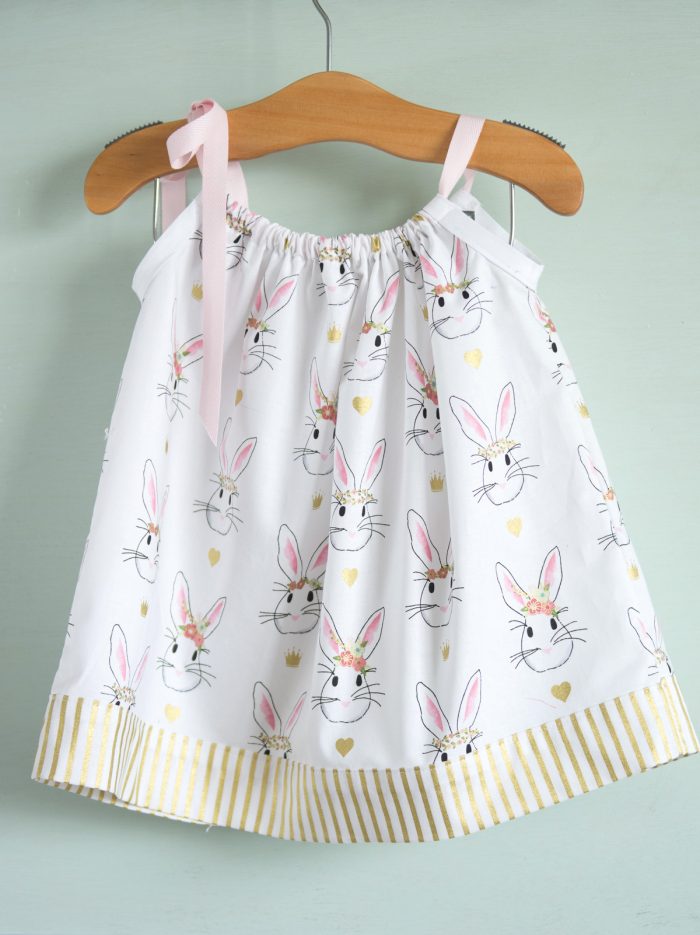
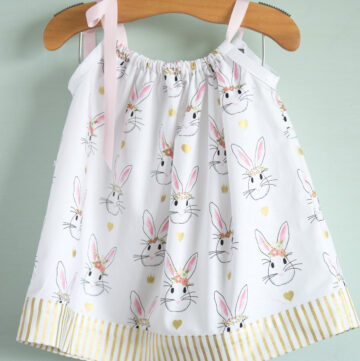
Today I’m excited to share a Pillowcase Dress Pattern that I created for BERNINA’s WeAllSew blog. This little dress would be PERFECT as an Easter dress, as it is quick to sew (I’m always leaving Easter sewing until the last minute) and can be easily customized.
If you’ve been a follower of this blog for a while, you may remember that a few years ago, I was on a pillowcase dress “kick.” I was stitching them up left and right because they were so easy to sew.
(You can find a bunch of them in the archives, just type “pillowcase” into the search box on the right). It was my “go to” baby gift back in the day when my friends and I were having babies (that’s how you can tell you are getting older, no more baby shower invites *wink*).
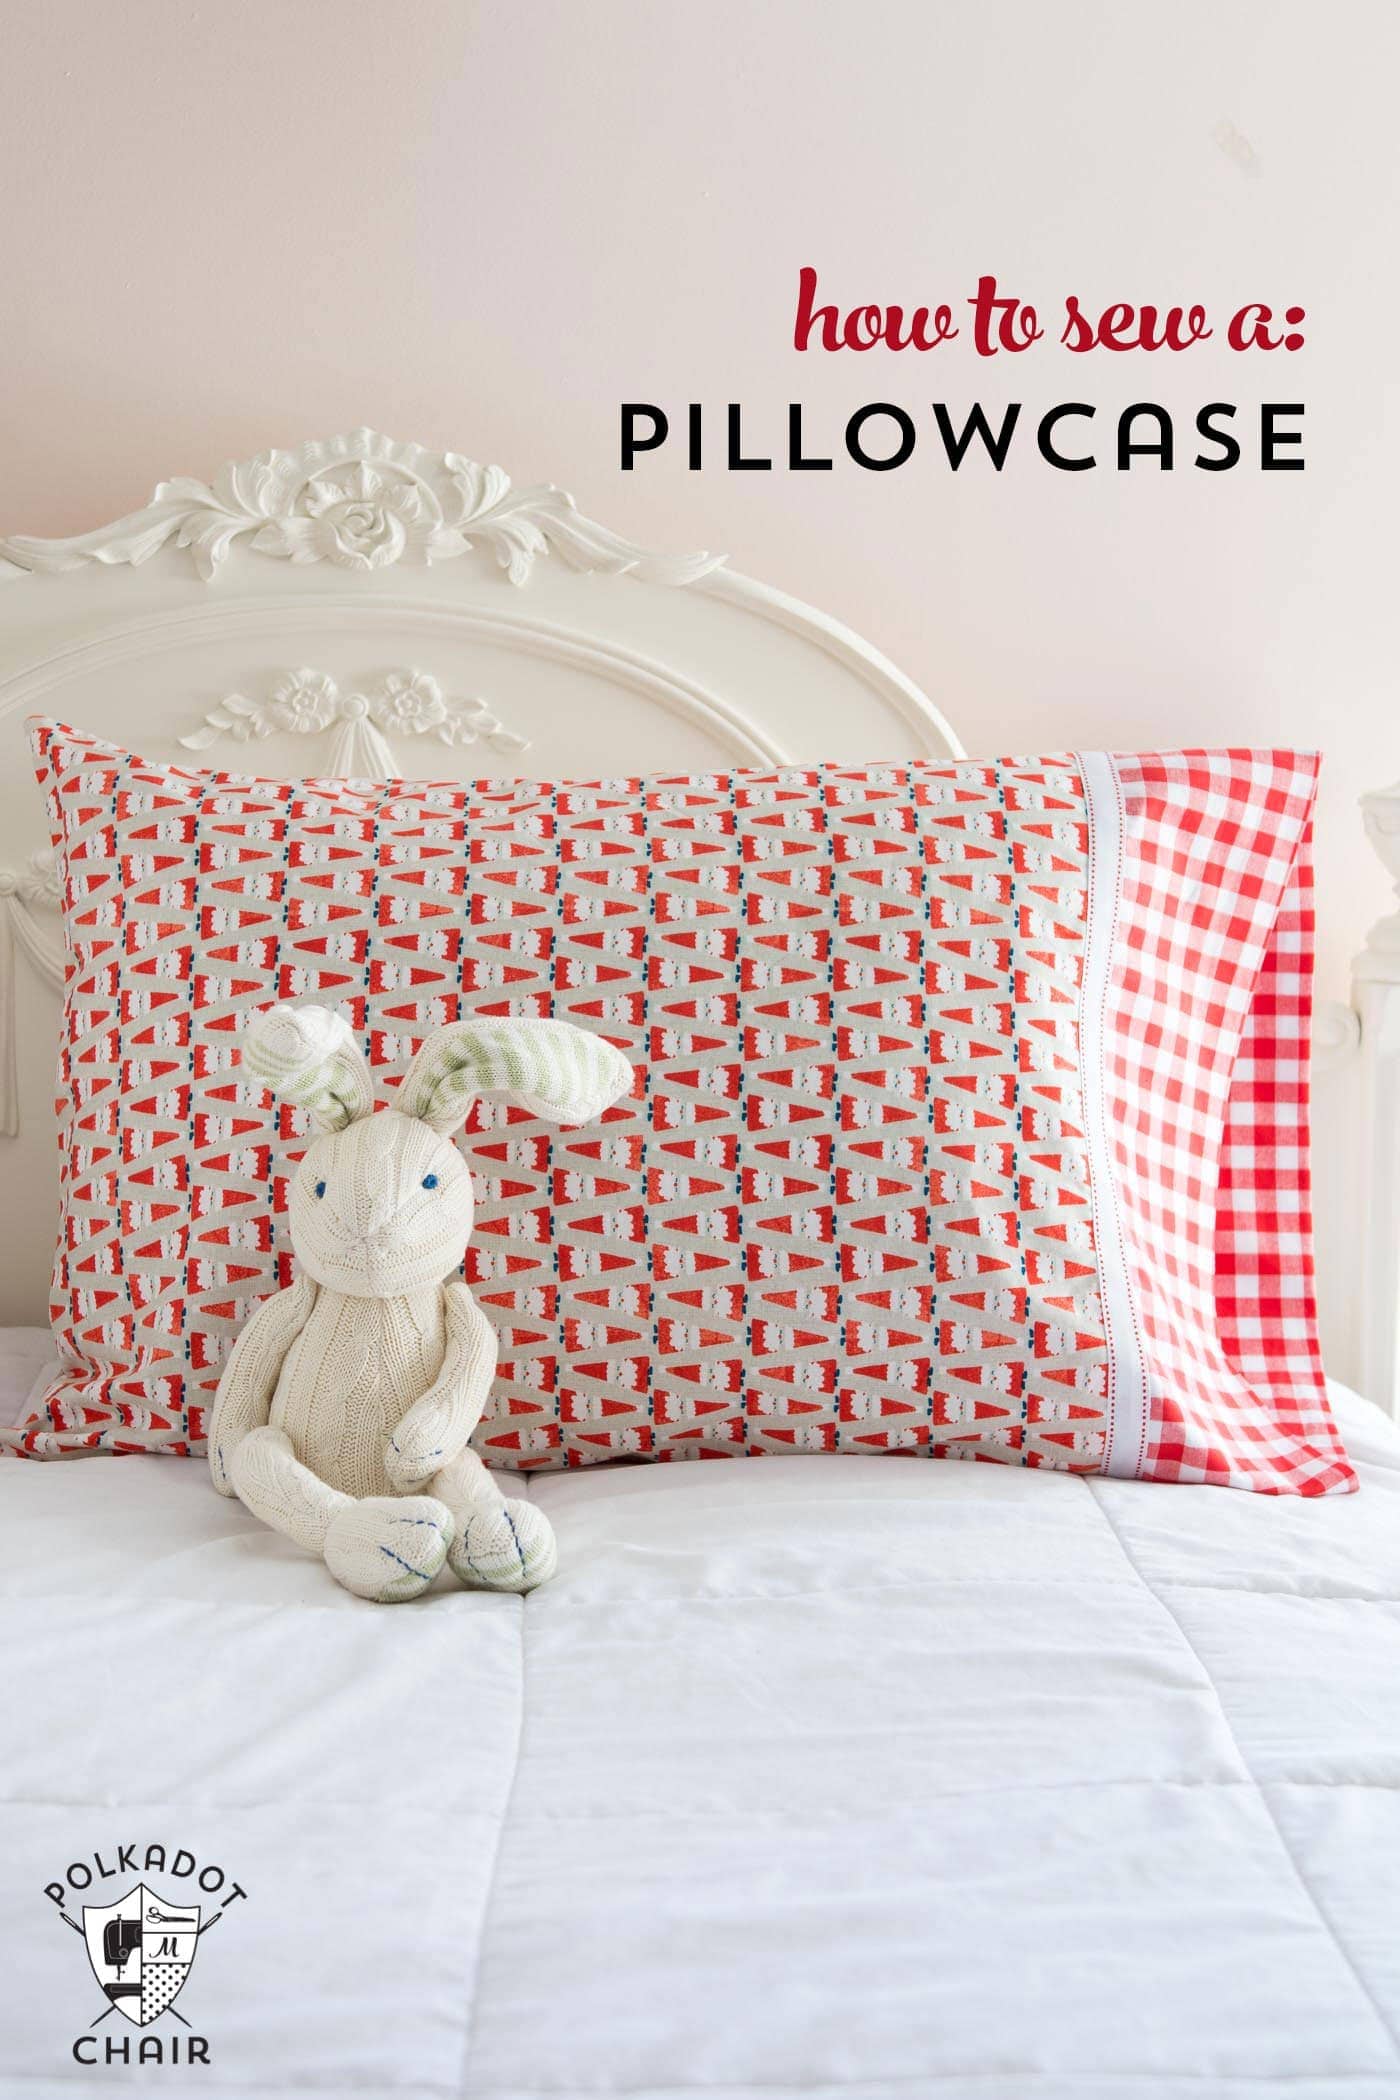
What is a Pillowcase Dress?
Pillowcase dresses originally were dresses sewn from pillowcases (hence the name!). To make one, you would cut off the two top corners of the pillowcase, create a casing at the neckline for a ribbon, and that’s it—an easy summer dress. Pillowcase dresses are designed to be a “one size fits all dress” since you can easily adjust the sizing by tightening or loosening the ribbon at the neckline.
You can absolutely make a pillowcase dress from an old pillowcase. I have seen some beautiful ones made from vintage lace pillowcases. However, I find it easiest to make them from purchased fabric.
Pillowcase Dress Tutorial

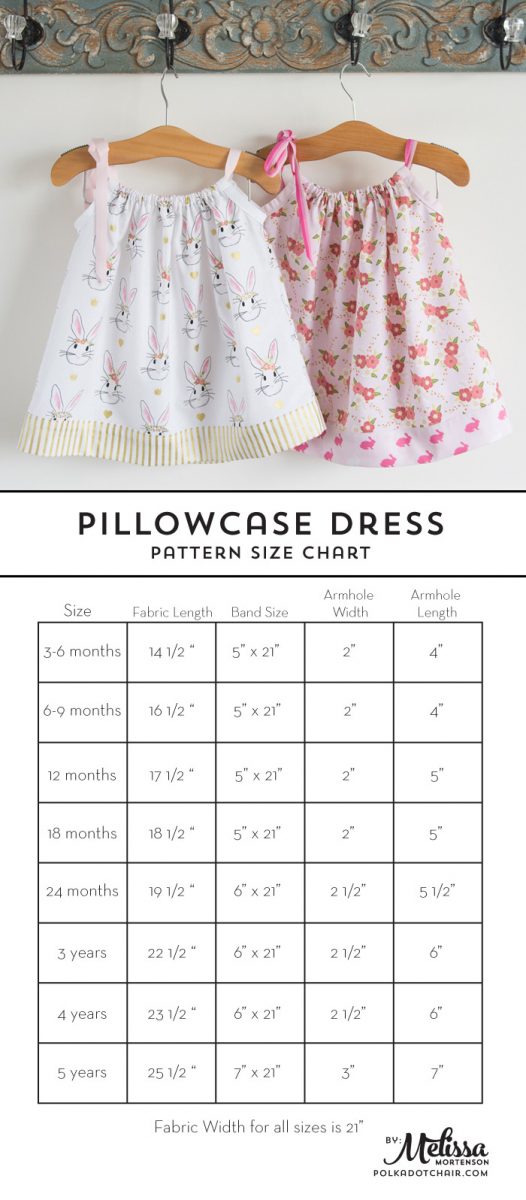
When I first began making these dresses, I did the “math” for each pillowcase dress as I made them, depending on who I was making it for and how old they were. After making quite a few dresses, it occurred to me that a size chart for making pillowcase dresses would be beneficial!
I did the math and created this size chart to use when you sew a pillowcase dress. Also, did you know they are called pillowcase dresses because they are often made from actual pillowcases?? That’s why the width of the fabric is the same for each size of the dress. It’s pretty common for people to make them from embroidered or vintage pillowcases.
Pillowcase Dress Sewing Tips
If you’re going to make a pillowcase dress, I have a few tips for you. I’ve made quite a few over the years and have learned a thing or two.
1- Make sure you secure the ribbon.
Since pillowcase dresses are meant for smaller children, you need to secure the ribbon, as it can pose a choking hazard. To do this, after you add the ribbon to the casing, stitch through the casing and the ribbon at the center of the necklines. Also, don’t ever forget that there are ribbons in these dresses.
2- Use Bias Tape to finish the armholes.
My favorite way to finish off the raw edges of the armholes is to use pre-packaged double-fold bias tape. It’s easy to sew with and will save you loads of time while sewing your dresses.
3- Finish the inside seams with a serger or zig-zag stitch.
Make sure you take the time to finish off the side seams of the dress. You can do this with a serger or a zig-zag stitch. You can also sew the side seams with a french seam.
Dress Pattern Size Chart
I’m proud to be going on my 3rd year as a brand ambassador for BERNINA (I sew on a 770QE). As a part of my job as ambassador, I write articles for their website several times a year. Below I share where to find my pillowcase dress pattern on the BERNINA website.
Girls Pillowcase Dress Pattern
Equipment
supplies
- 1/2 to 1 yard of fabric for dress yardage required depends on the size
- 1/4 yard fabric for dress band
- 2 yards of 1/2″ wide ribbon
- 1 package of double-fold bias tape I used extra wide since it is what I had on hand, you can use narrower bias if you want.
Helpful sewing accessories
- Dual Feed or Walking foot for a sewing machine I sew on a BERNINA 770 QE
- Safety Pin to feed the ribbon through the casing
- Fray check for ends of the ribbon
- Seam Gauge
- All seam allowances are 1/2″ unless otherwise noted.
Instructions
Step one
- Cut out your pieces using the size chart above. The length is the length of the dress from shoulder down plus the 2-3″ band at the bottom of the dress. If you’re not sure what size to make, measure your “model” and go by the length you want the dress to be.
- Most fabric is 44″ wide, that is why all of the pieces are 21″ wide, this will allow you to cut 2 pieces of fabric at the same time with minimal waste. Since the dress is gathered up in the front the smaller sizes will be more gathered and the larger sizes less. You can make the dress wider if you like, but you’ll need more fabric.
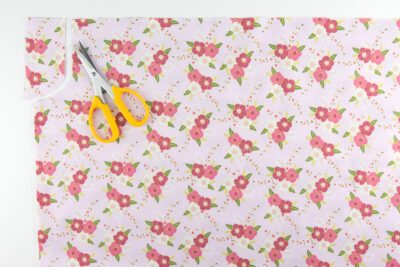
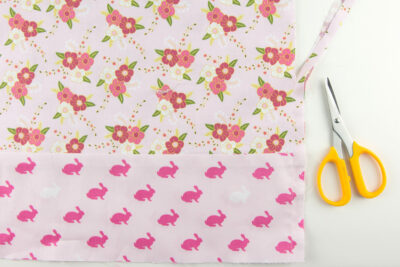
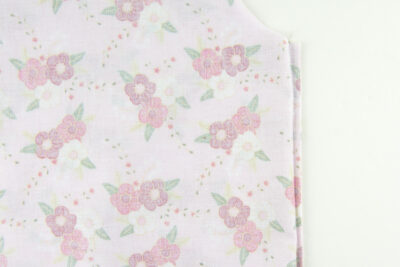
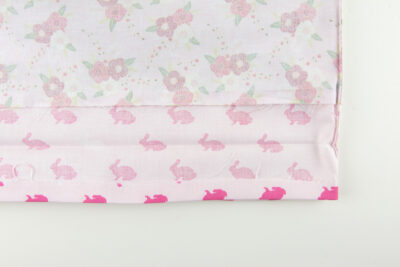
- Begin by cutting two pieces of fabric 21″ by the desired length using the chart above. These are your dress front and back pieces. Cut two pieces of fabric for the band at the bottom also using the chart above as a guide.
Step 2
- Next, you need to cut your armholes. Since I made a size 3-6 months I measured in 2″ from the sides of my dress front and back pieces (along the 21″ side) and 4″ down (again refer to the chart). I then drew a line and rounded the corner with a CD (you want to cut out a J shaped hole) I cut out the arm hole then folded the pieces in half and cut the same hole out of the opposite side of the fabric.

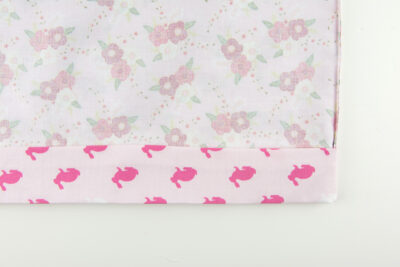
- Sew the dress band to the dress front and back pieces, right sides facing. Press the seam towards the band.
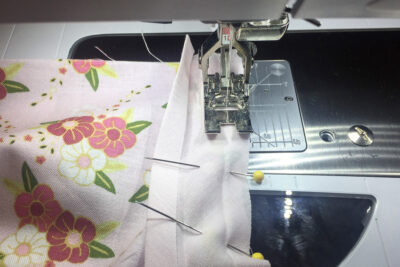
- Sew the dress front and back pieces together using a french seam. To do this sew the dress front and back pieces together wrong sides facing.
- You will then use your scissors to trim the seam allowance down to a scant 1/8″. You want to cut as close to the seam as you can without actually cutting the seam.
- Press seam.
Step 3
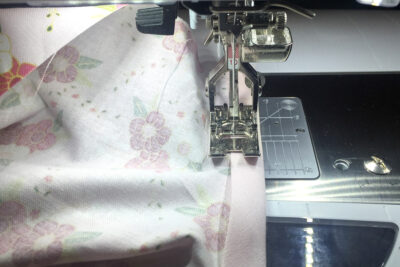
- Turn the dress wrong side out and stitch down the side seam with a 1/4″ seam allowance. This will catch the raw edge of the seam and leave you with a nice finish on the inside of the dress.
Step 4
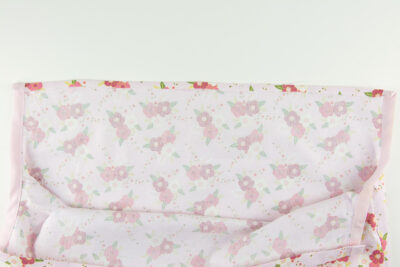
- Press the raw edge of the dress band 1/2″ towards the wrong side of the fabric.
- Fold so that the folded edge is even with the seam between the dress and the dress band.
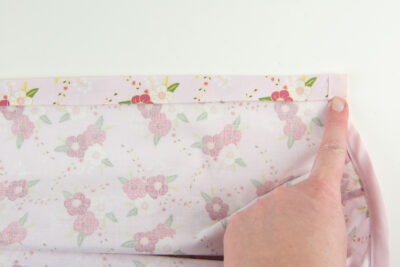
- Pin in place.
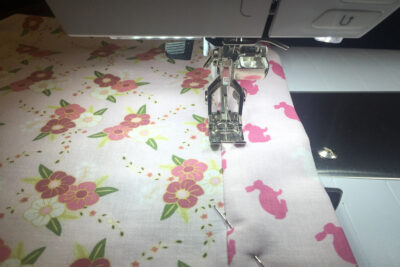
- Stitch band in place on the right side of the dress just inside the seam between the dress and dress band. Engage your Dual Feed foot to help the fabric feed evenly as you stitch.
- Press.
Step 6
- Next you will finish off the arm holes. Take your double fold bias tape and unfold it. Pin the bias tape to the arm hole so the raw edge of the bias tape is even with the raw edge of the arm hole.
- Stitch in place close to the 1st fold in the bias tape.
- After you’re done stitching, refold the bias tape and stitch along the fold, catching all of the layers as you sew.
- Press.
Step 7
- To make the casing at the top of the dress. Press under the top edge of the dress 1/4″.
- Fold the fabric down 3/4″ and press again.
- Stitch in place close to the folded edge.
- Feed your ribbon through the casing on the top of the dress starting at one side and going around the other side ending where you started. Pull on the ribbon to “gather” the top of the dress.
Step 8
- Place a stitch through the center of the back of the dress to secure the ribbon in place (it’s always a good idea when making something for a small child to stitch ribbon in place so they can’t pull it out of the casing creating a hazard).
- Trim the ends of the ribbon and you’re done!
Where to find Pillowcase Dress Sewing Patterns
Free Pattern for a Pillowcase Dress with 3 Tiers
Pillowcase Dress Tutorial (the one featured in the photos on this post) at BERNINA’s WeAllSew Blog,
How to add a Waistband to a Pillowcase Dress
How to Make a Pillowcase Blouse/Top