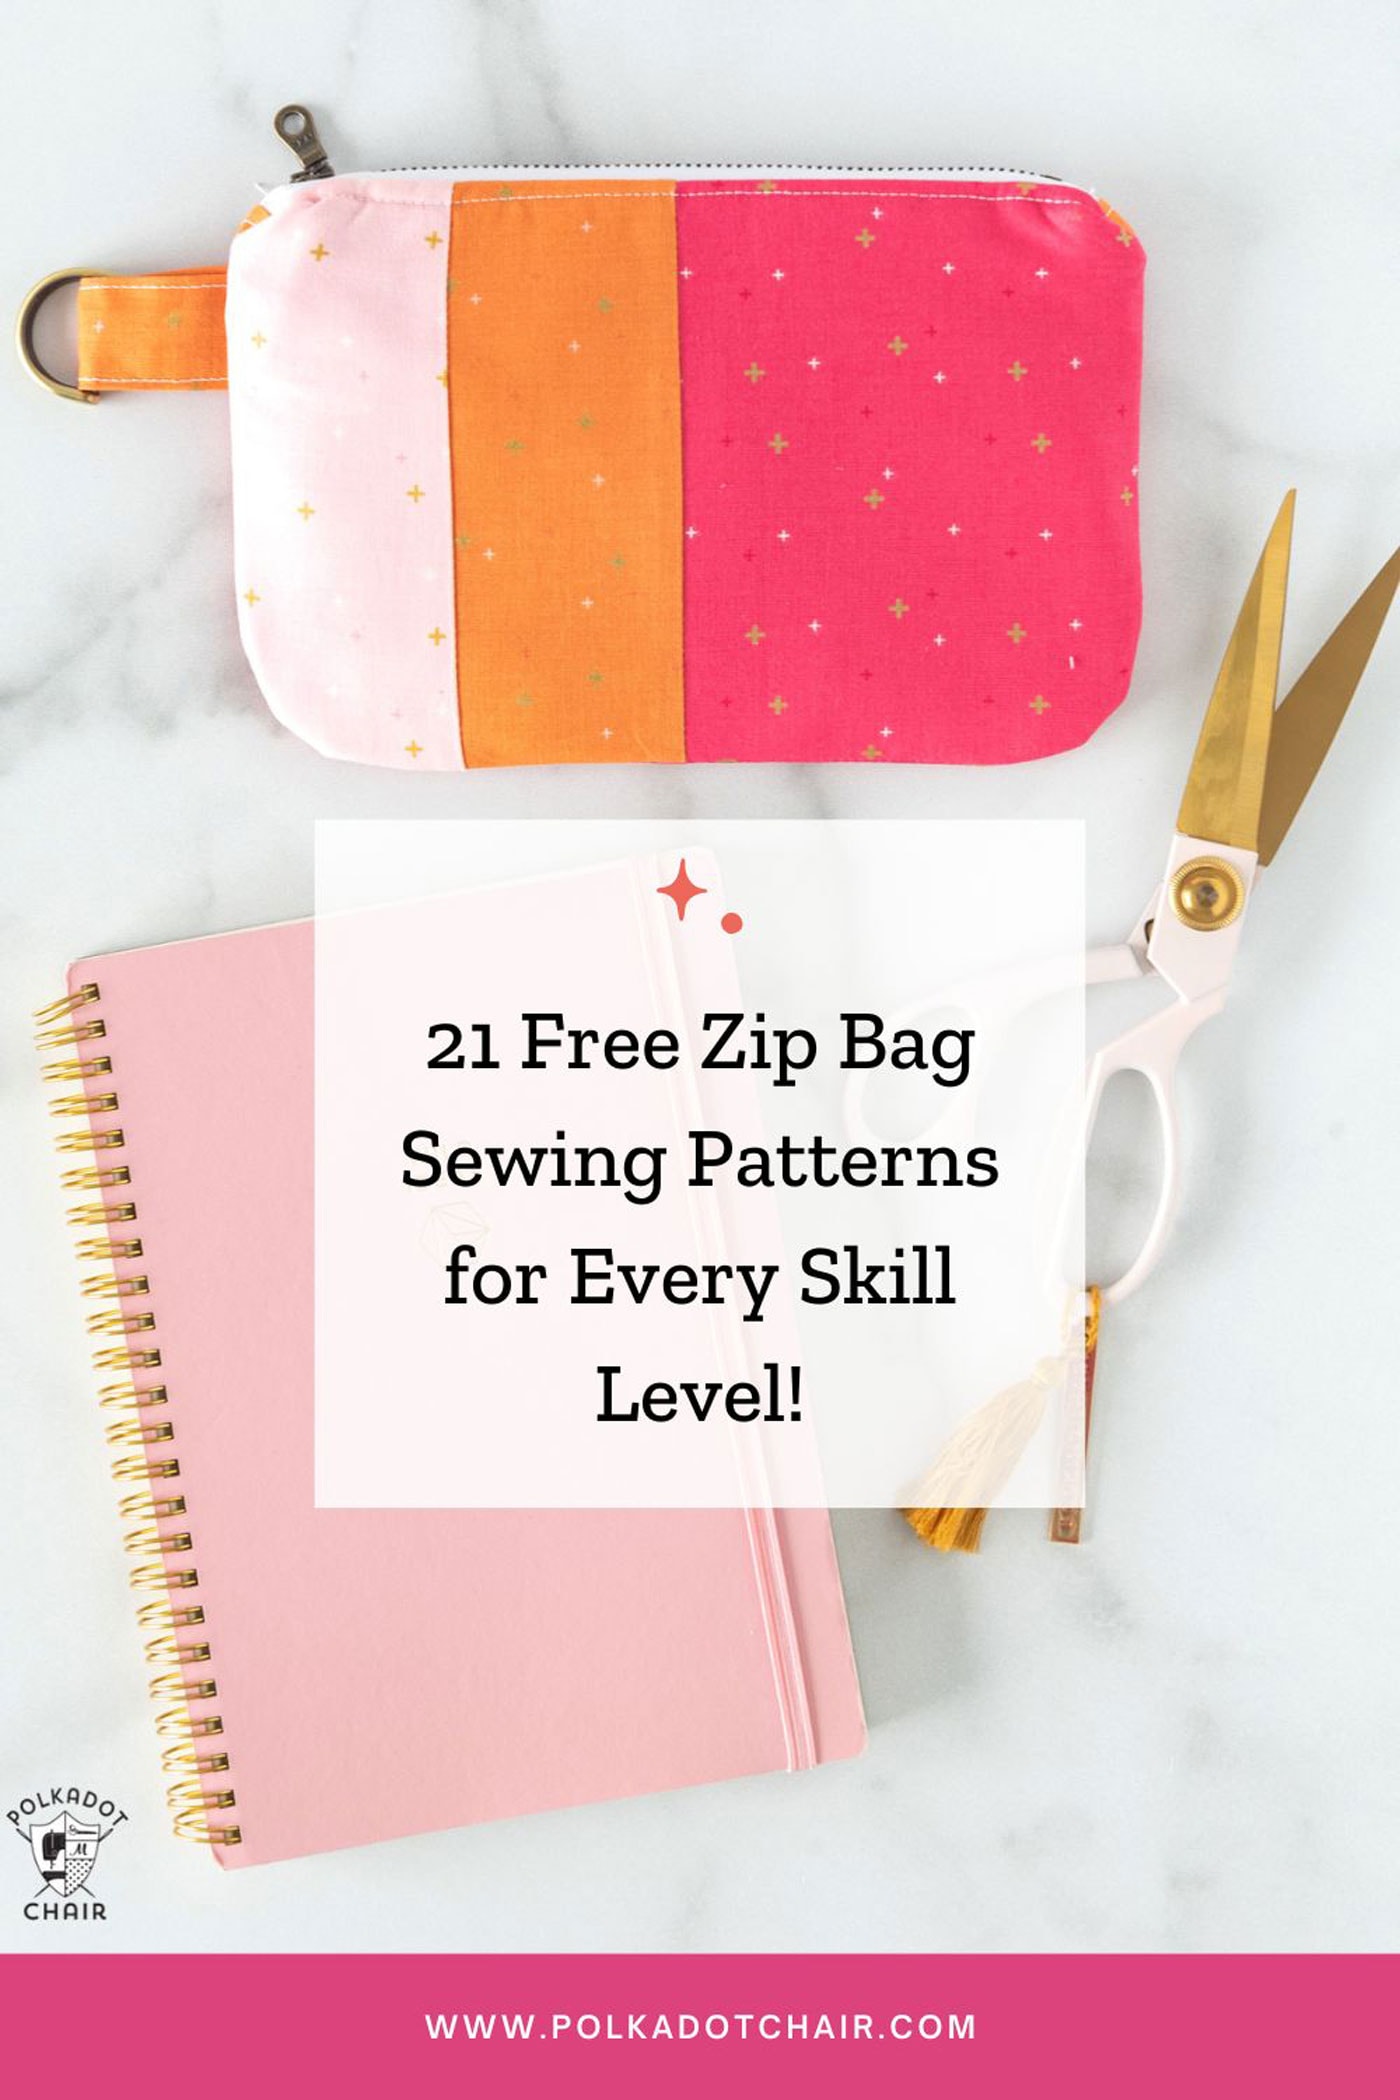
40 Sewing Tips & Techniques and Craftsy Giveaway
This post is part of a series of posts sponsored by Craftsy. Watch for fun information and deals pop up here over the next few months about some online sewing classes-don’t worry, all opinions are, and will always be, 100% mine.
Okay, how many times have you sat down to sew and just not been “in the mood” to take the time to do something right the first time? Either you didn’t feel like interfacing a neckline or taking the time to hand stitch a binding, or something else entirely, then gone back later and decided that you hate your project because it just doesn’t look “right”.
Or have you ever finished a project and thought it looked to home-made? I don’t mean handmade, I mean home-made? Then been frustrated because you don’t know what you did wrong? Yep, been there done that.
Sewing can be extremely rewarding but also extremely frustrating at times (yes I’ve had those moments where I want to throw my machine out the window). A lot of the frustration comes from not knowing which techniques to use and when to use them. One of the best pieces of advice I ever received about sewing, was from my high school sewing teacher. She told me “If you’re not pressing as much as you’re sewing, you’re doing something wrong.” And you know what? she was totally right… I can always tell afterward when I didn’t press a project enough.
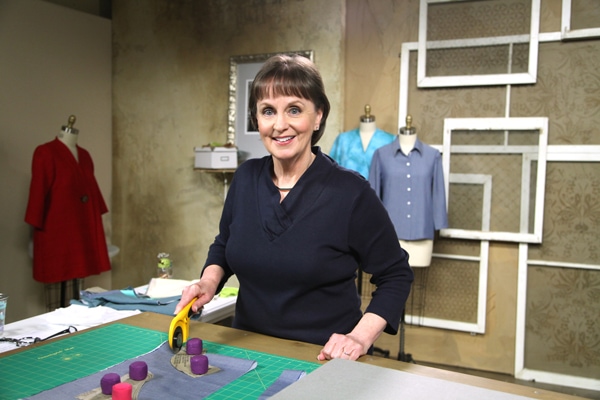
I just completed my second online sewing class with Craftsy and thought I’d pop in here and share with you a bit about what I learned, because I think you, like me, might benefit from learning a few of the things in the class.
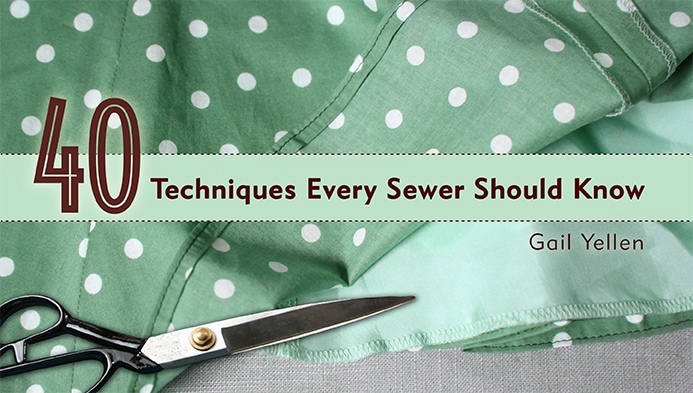
The “40 Techniques Every Sewer Should Know” class is taught by Gail Yellen and is divided into 7 lessons. They include Pressing, Perfect Stitching, Curves and Corners, Interfacing, Bindings, Sleeves, and Closures.
I noticed that while I was watching the classes that I started taking notes on some of the tips and techniques in the class. Gail had lots of helpful hints to offer… Here are a few of my favorites:
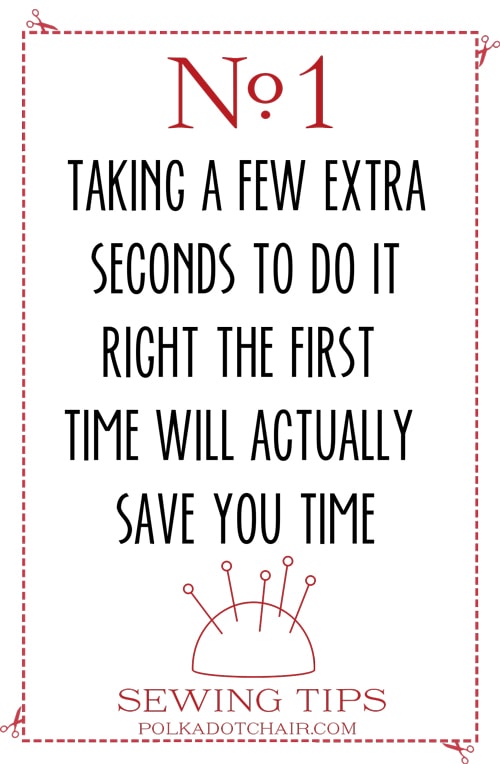
Okay, seriously.. how true is that?!? Gail pointed this tip out a few times during the course of the class. By cutting corners you’re not really saving yourself time, you adding to your time because you’re going to have to go back and fix it later!
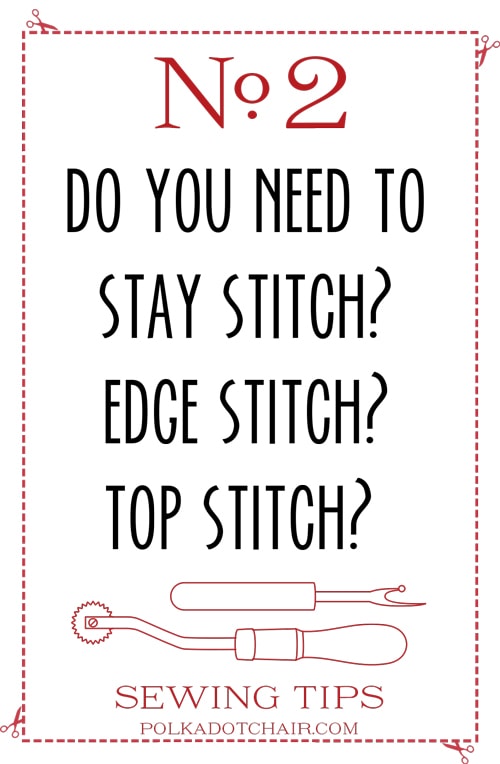
If you’ve ever read a sewing pattern you know that the terms stay stitch, edge stitch and top stitch are used frequently. But what do they mean? Knowing which technique to use and when will save you loads of frustration later. I admit that many times I skip stay stitching… but after watching the class I’m going to stop doing that… If you’ve ever had two pieces of fabric not match up when you’re sewing them together it’s probably because one of the pieces was stretched from being handled during construction. Stay stitching helps to prevent that from happening.
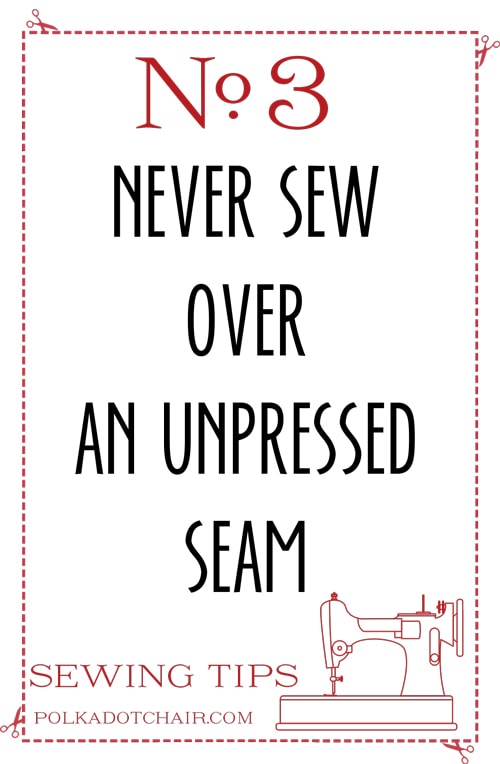
I mentioned before that my sewing teacher in high school told us to press as much as we sew, but I also love what Gail said about pressing… Don’t sew over an unpressed seam. It’s a good rule of thumb to keep in mind. Speaking of pressing make sure that you are pressing not ironing. Pressing involves moving the iron up and down and pressing it to the fabric. When ironing you move the iron back and forth, This can distort fabric and seams, make sure you’re pressing not ironing.
That’s just 3 of the things I learned in the class to get the other 37 you’re going to have to click on over to Craftsy to take the class. Personally, I have to say that the interfacing and binding sections were the most useful to me. The class did cover several techniques that I already knew about but many were presented in a different way than I was familiar with, so I learned quite a bit during the class.
I also have access to the class for as long as I want it. So if I ever find myself stuck as to how to sew a princess seam or set in a sleeve, I can go back to the class anytime and just watch the section that I need help with.