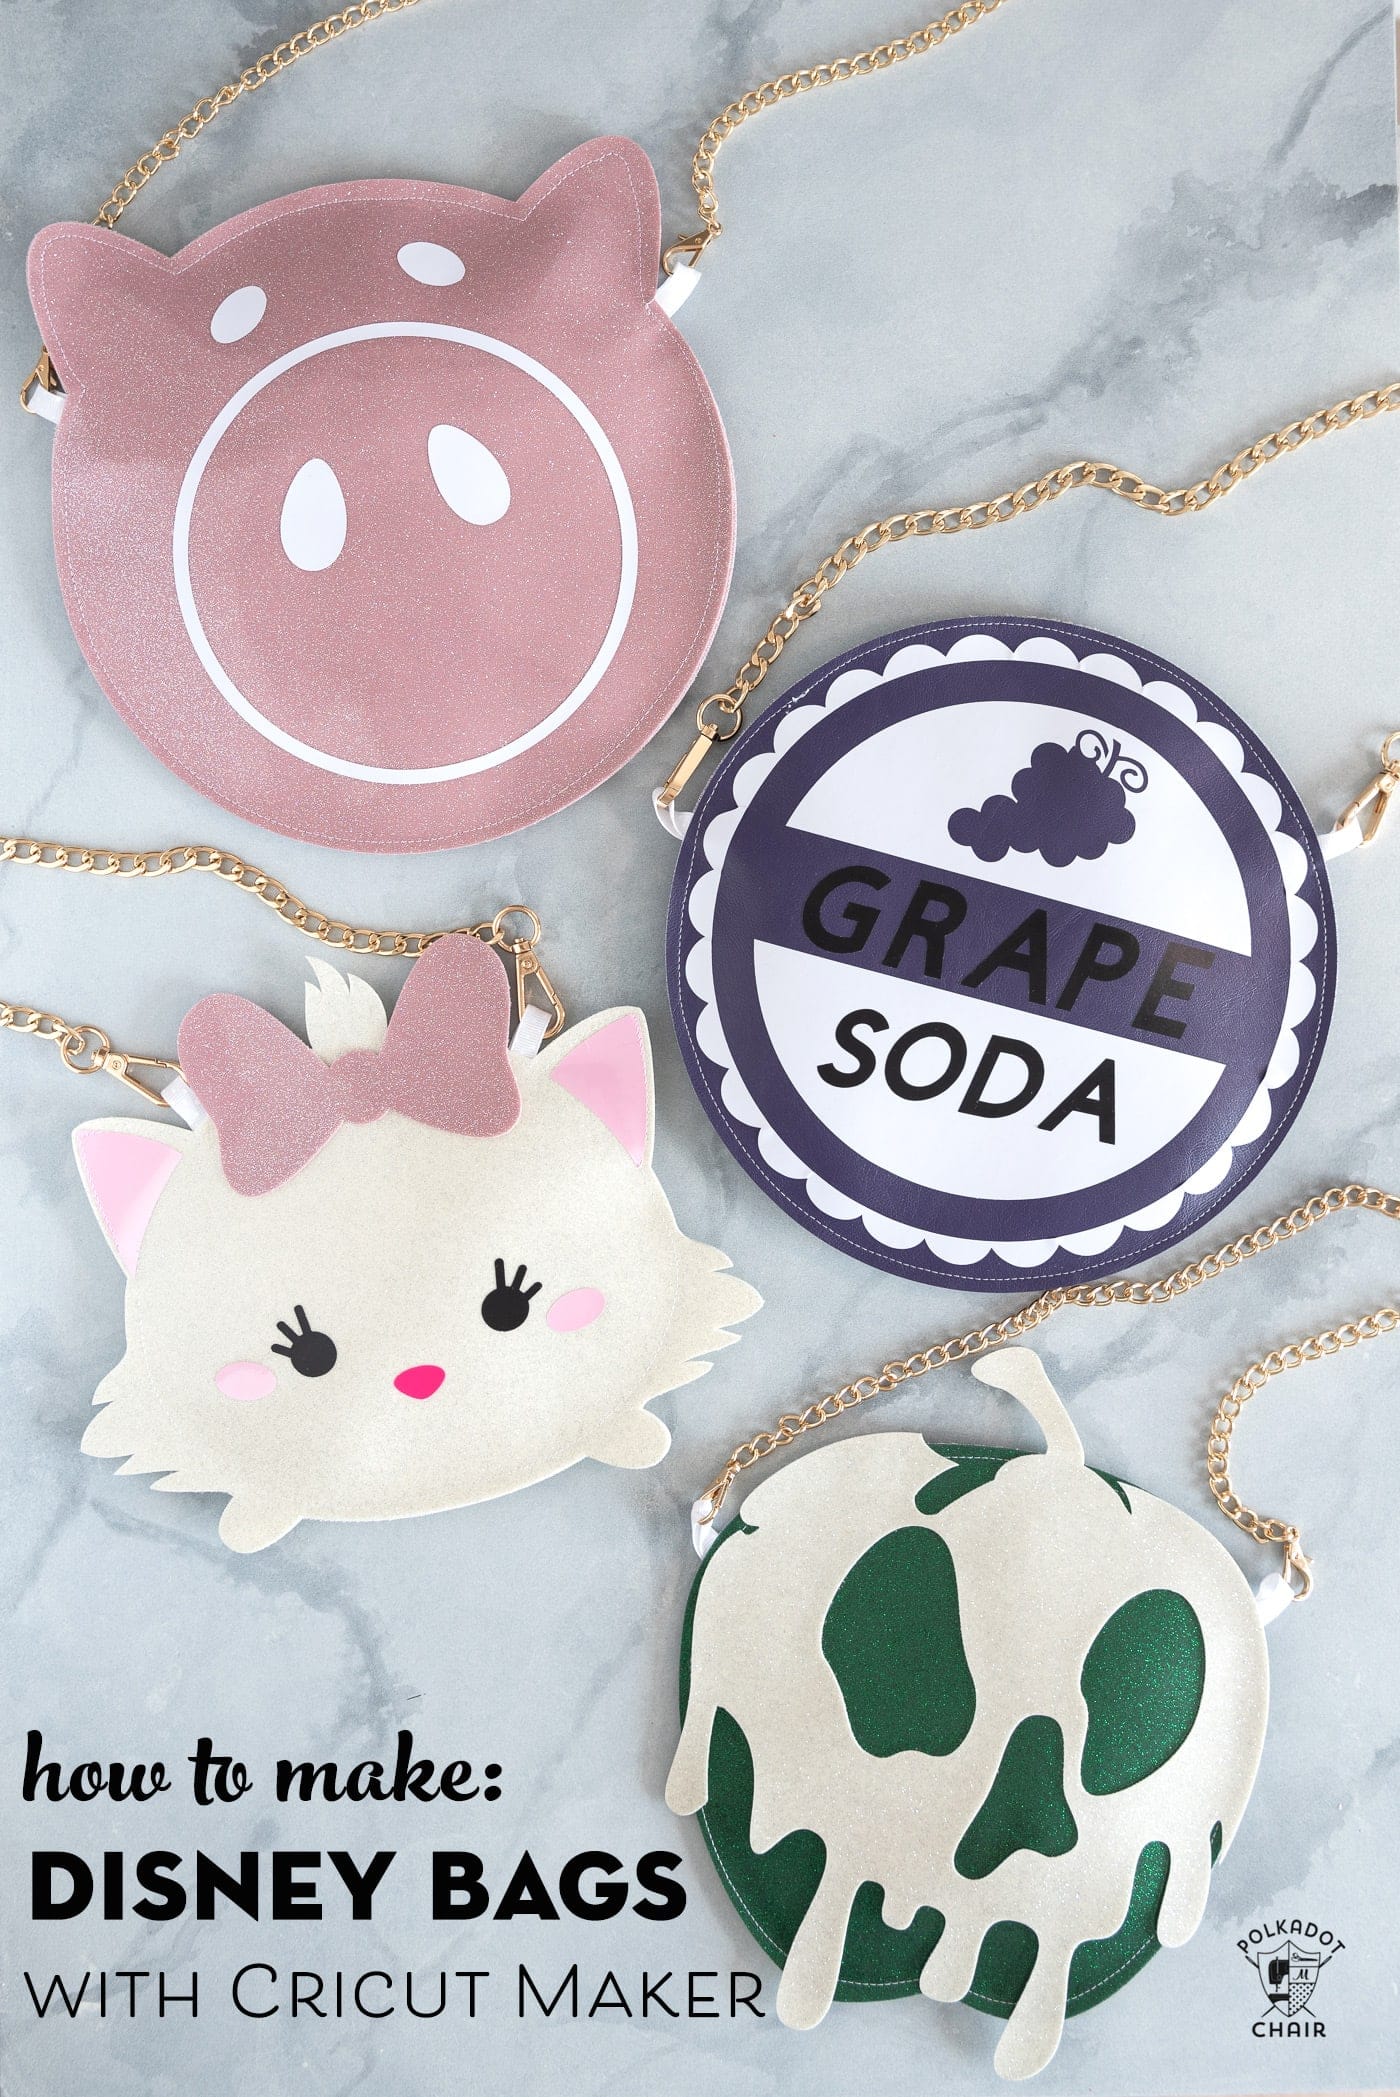
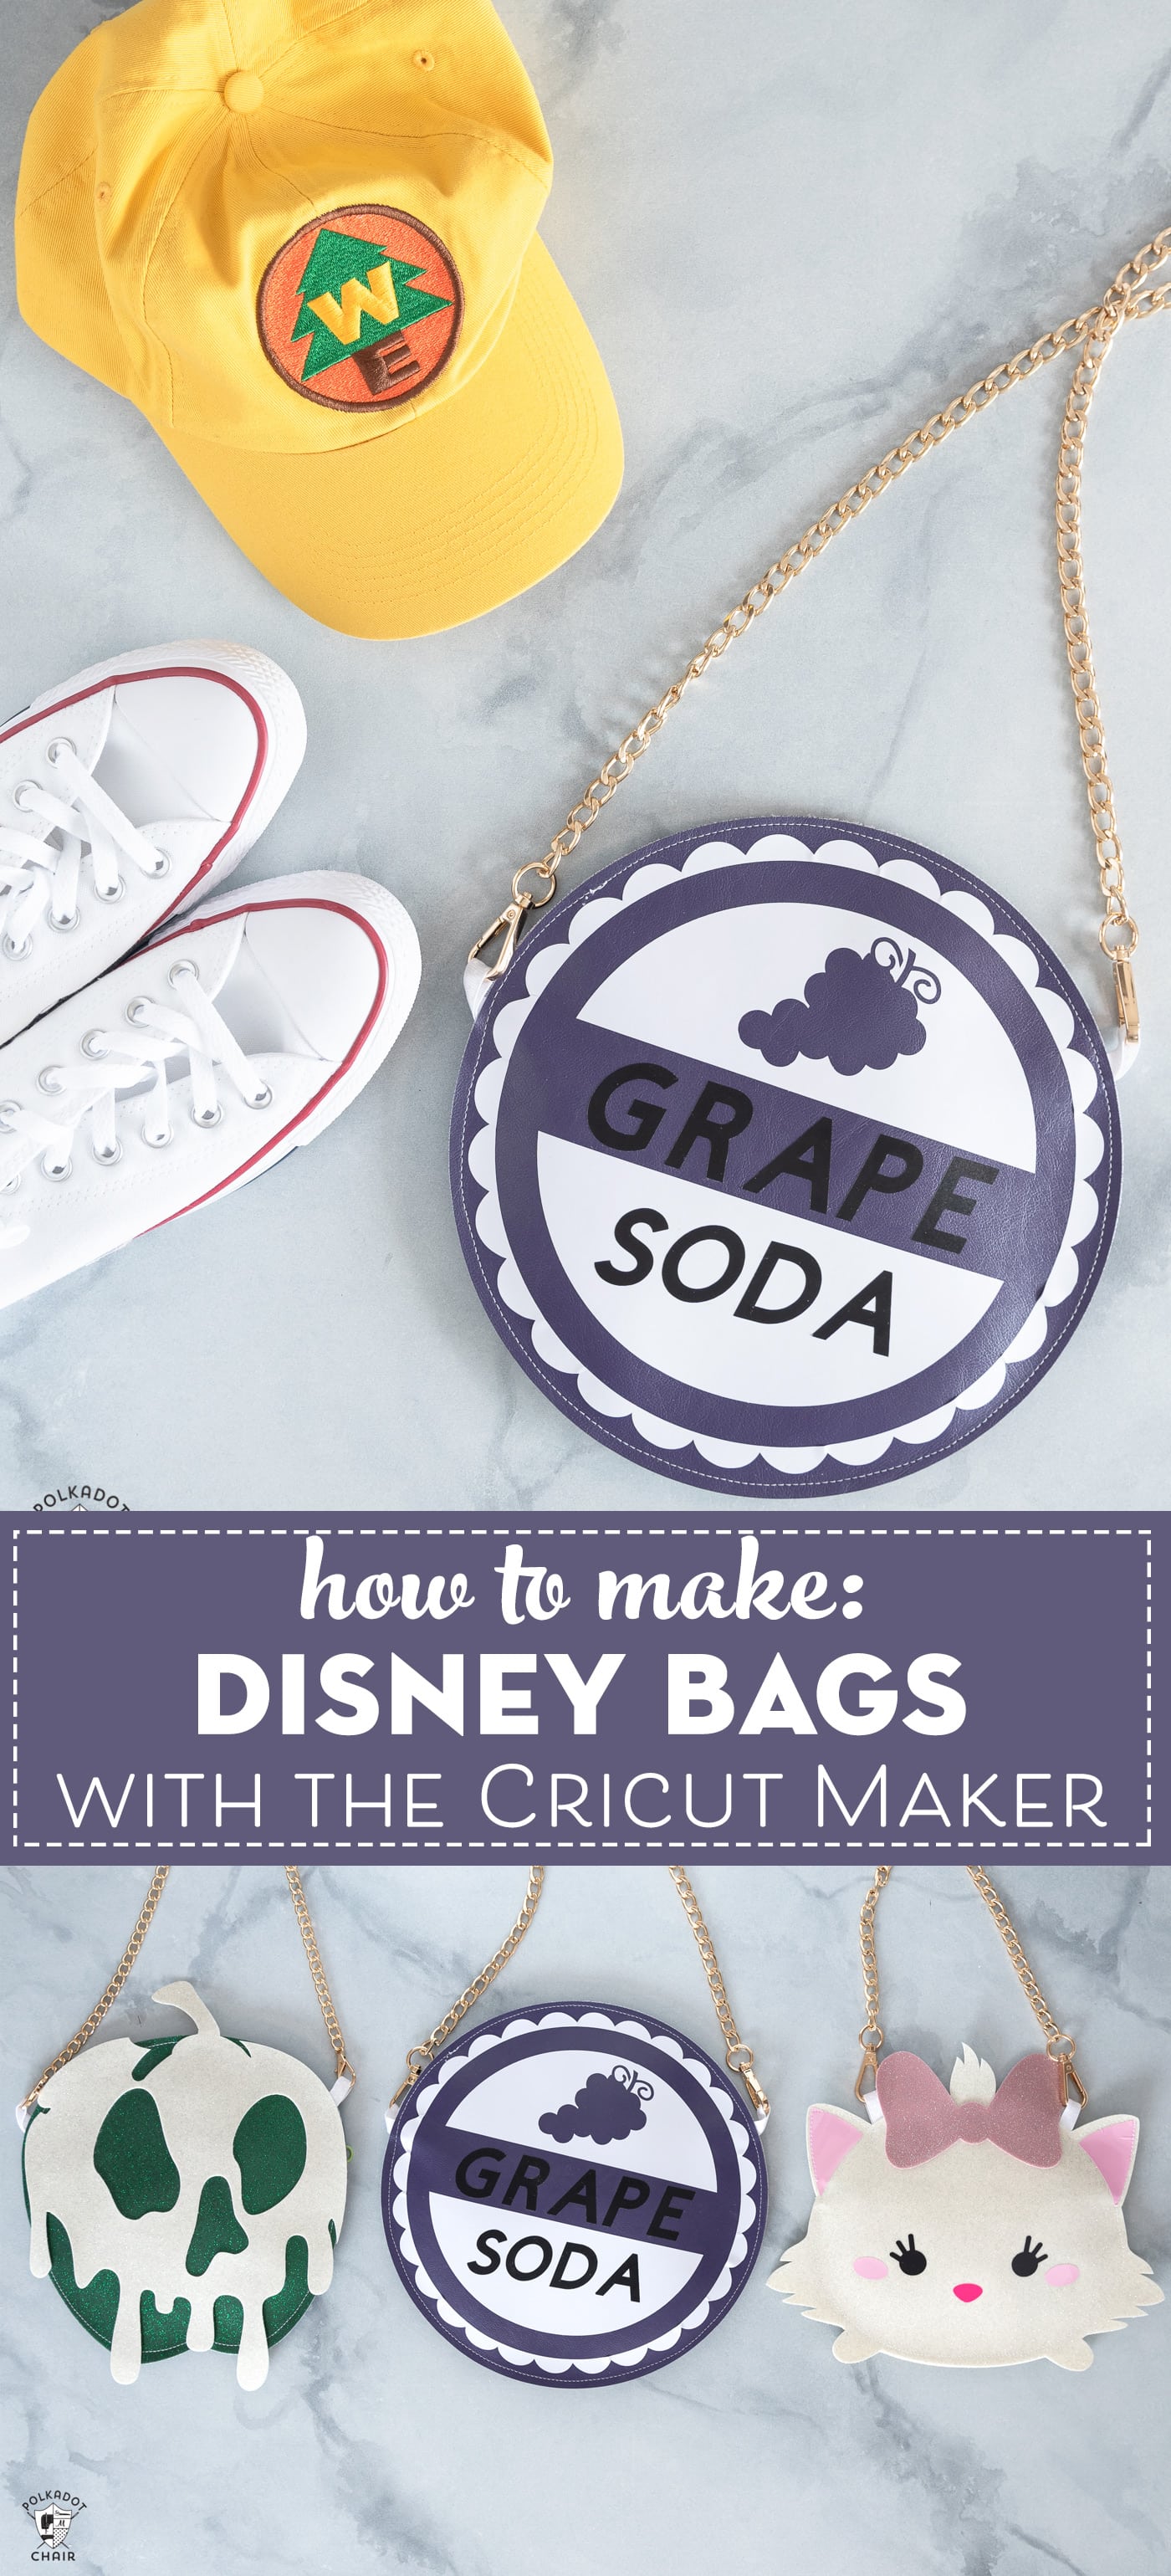
How to Make Disney Purses Using the Cricut Maker
For our recent trip to Disney World, I thought it would be fun to make some cute cross-body bags using some of the Disney-licensed images in Cricut Design Space. If you’ve followed me for a while, then you know I love a good DIY Disney project.
I had so much fun making them and am excited to show you today how to make Disney Purses! They are just the right size to hold your essentials while in the park (or at home!). I work as a Brand Ambassador for Cricut; this is sponsored content.
I love trying to find new ways to use existing craft products and supplies. For years I’ve been using my Cricut machine to create iron-ons and for paper crafting. This year I’ve been experimenting with cutting out the same Cricut images that I would normally use for paper with fabric.
Since the new Cricut Maker has an available with a knife blade it opens up a whole new world of “things to make” with the Maker.
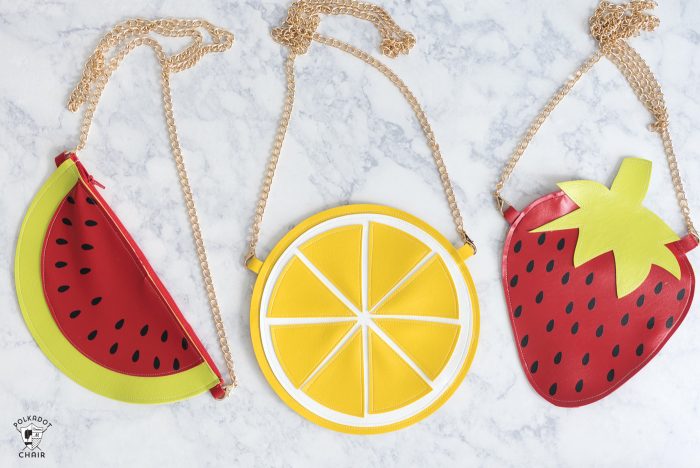
Last summer I created a set of “fruity” cross body bags with my Maker (you can see the bags HERE). They were so much fun to make that I thought I’d try to make another set of bags.
Can I Make My Own Disney Purses?
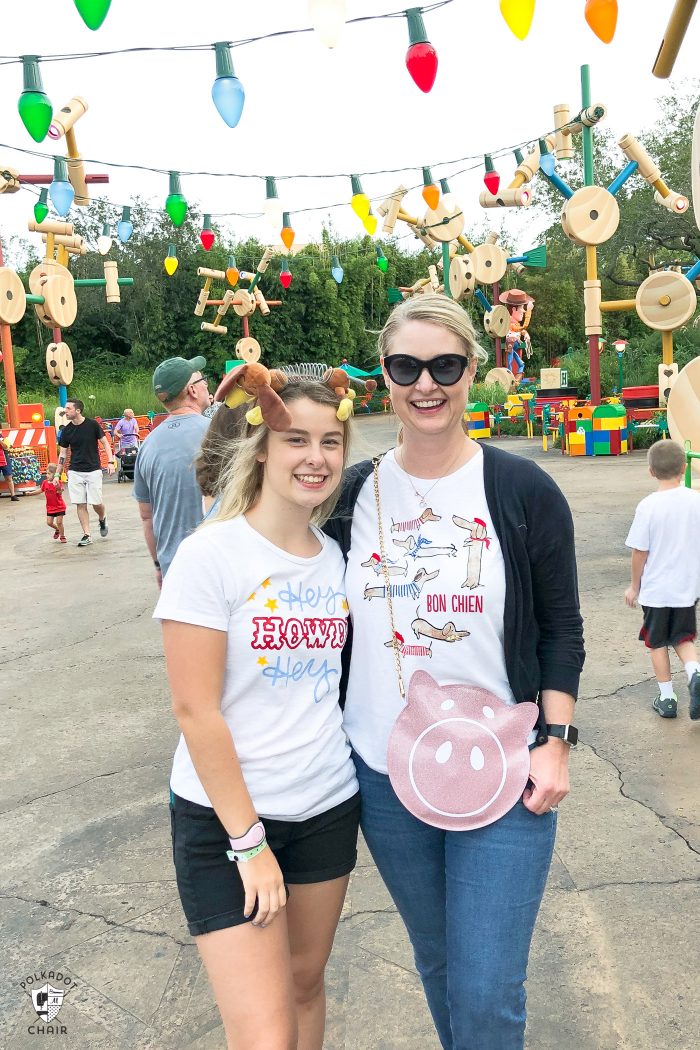
Our family had a trip to Disney World coming up and thought it would be fun to create a set of bags to take on the trip with us. My kids are older now, so we don’t need to carry lots of bags around the parks with us. I miss a lot of things about them being little when we are at Disney, but there are some benefits to visiting with teenagers too!
There is a “new” trend going around Disney, which is called DisneyBounding. I’m not an expert at it by any means, but pretty much you “dress up” to match a character or park when you visit. Think yellow pants, a blue shirt and red headband to be “Snow White”. I thought these bags would be fun for Disney Bounding as well!
Since my kids are teenagers, and really don’t want to wear matching Disney family shirts (I could totally get away with it when they were kids, but not anymore), making the bags seemed like a fun way to incorporate a bit of DIY into our Disney Vacation. Since Cricut has a license for many Disney images, I had lots of fun things to pick from while creating the bags.
I decided that I’d make a bag for each park at Disney World. Before you think “oh my gosh, she’s crazy that’s so much work”. I must tell you that I made all of the bags in ONE afternoon (the day before we left, but who’s paying attention to that LOL!).
(t-shirt Cricut SVG files designs are coming next week!)
A Cricut Maker Project: How To Make Disney Bags & Disney Purses
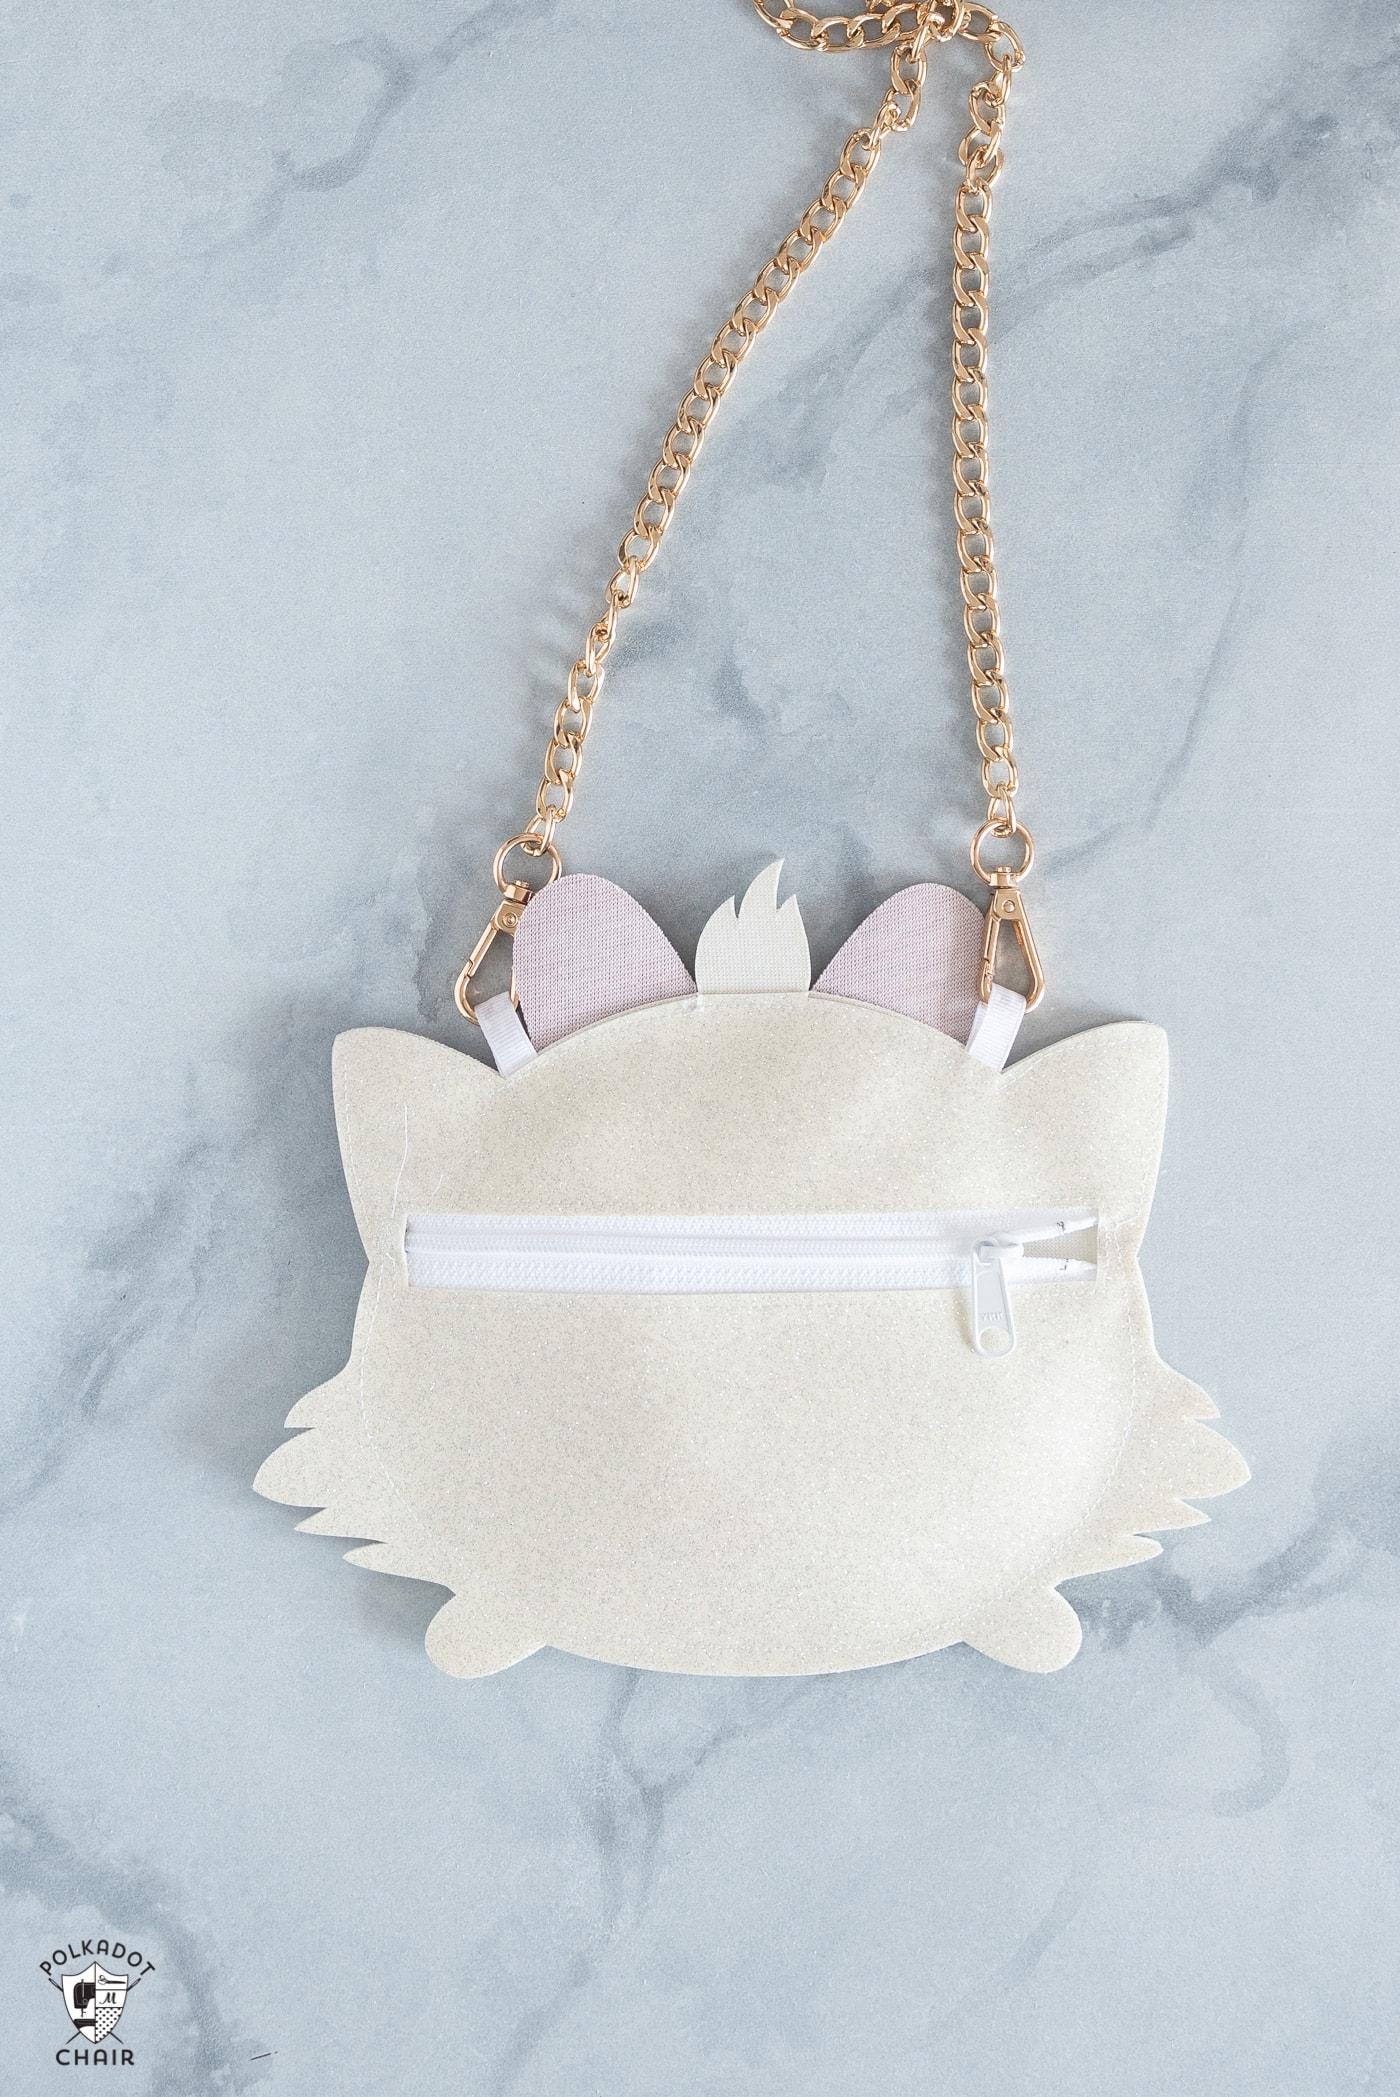
The bags were all made using Vinyl (as in fabric vinyl, not the vinyl you buy on a roll – you could also use leather if you’d like), Cricut Permanent Vinyl, zippers and a bit of glue. On the back of each bag is a zipper so that you can reach your stuff easily! Also, if you didn’t want to make a cross-body bag you could totally turn these into pencil pouches!
There is sewing involved but it’s all just straight lines, so if you are new to sewing you can totally do this!
For each bag, I have linked you to MY file in Cricut Design Space. So if you’d like to make your own bags, you can use my files. Since there are all licensed images from Cricut and Disney I do not have any downloads for you on this post. You’ll need to hop on over to Design Space to grab the files.
I’m going to show you how to make one bag from start to finish. Then I will go in and break down a bit more of the detail of each bag.
Supplies to Make the Purses
- Cricut Maker Machine
- Cricut Maker Knife Blade
- Vinyl or Glitter Vinyl (not peel-off vinyl, fabric vinyl. You can buy it at the fabric store, it’s usually in the back and sold by the yard)
- Cricut Permanent Vinyl
- Heavy Duty Glue – I use Gutterman Glue; you could also try E6000
- Bit of Ribbon
- Purchased Purse Chain (this is the one I used)
- 12″ or longer Polyester Zipper
- Cricut Strong Grip Mat
- Cricut Standard Mat
- Sewers Aid (comes in a bottle)
- Binding Clips
- Fray Check
- Sewing Machine that will sew a straight stitch.
Instructions
Step One: Cut Out the Bags
Hop on over to Design space and open my shared file (the link to the shared file is below listed with the corresponding bag).
You’ll notice in the file there are several pieces.

There are pieces to cut from fabric vinyl, and pieces to cut from Cricut Vinyl.
It should be easy to tell which are the bag outside pieces and which are the “accents” for the front of the bag.
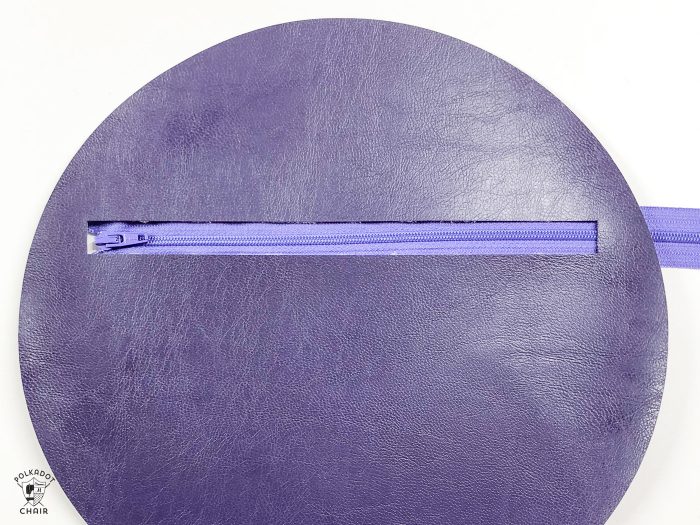
On one of the bags outside pieces, you’ll notice there is a rectangle in the center. This is the spot for the bag zipper.
How to Cut Vinyl Fabric with Cricut Maker
In design space, hide all of the images EXCEPT the bag outside pieces. Click MAKE IT.
On the next screen nudge the images so they are in the center of the mat.
Cut two pieces of vinyl to 11×11.
Place one of the vinyl pieces (right side up) on your Strong Grip Mat. Place it in the center of the mat. You’ll have a small border around the edge where there is no vinyl.
Move the rollers of the machine over to the edges. Install the knife blade in your machine.
Back in Design Space, click through to the next screen and choose “2-3 oz Garment Leather” as your materials choice. Make sure the knife blade is selected.
Then load the mat into the machine, and click the icon to cut.
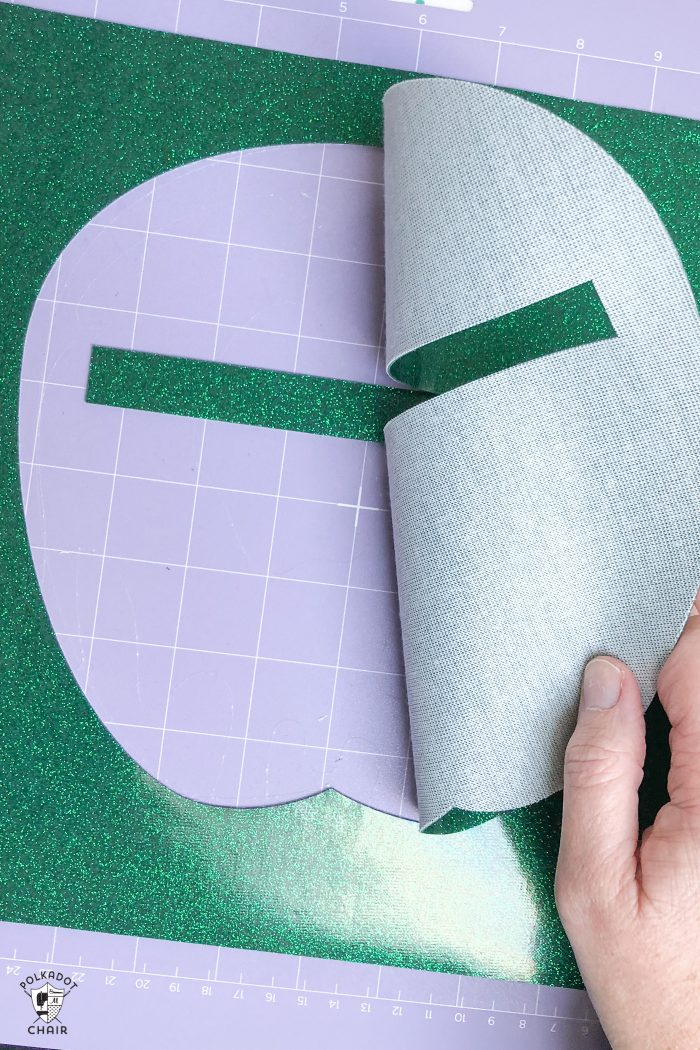
Let the machine cut out the image. When it’s done, peel it off and attach the second piece of vinyl. Load it into the machine and repeat the process.
Next, let’s cut out the “details” for the bag from Cricut Vinyl.
Back in design space, hide the bag outside images that you just cut out.
Depending on the bag you’re making, you may need to cut one or more colors of vinyl.
Click MAKE IT.
Load your Permanent Vinyl onto the Green Cutting Mat. Replace the knife blade with the fine point blade.
On the Cricut, screen choose “Cricut Vinyl” from the materials.
Load the mat and cut out your image.
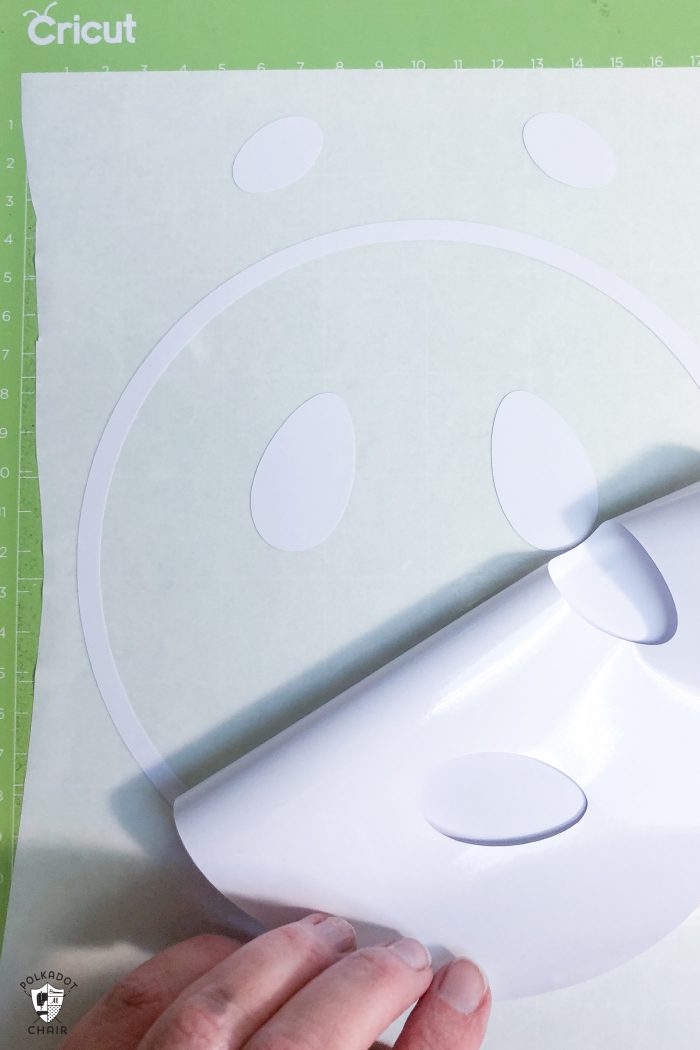
Peel away the excess vinyl. Cut a piece of transfer tape to the size of your image, and peel off the backing.
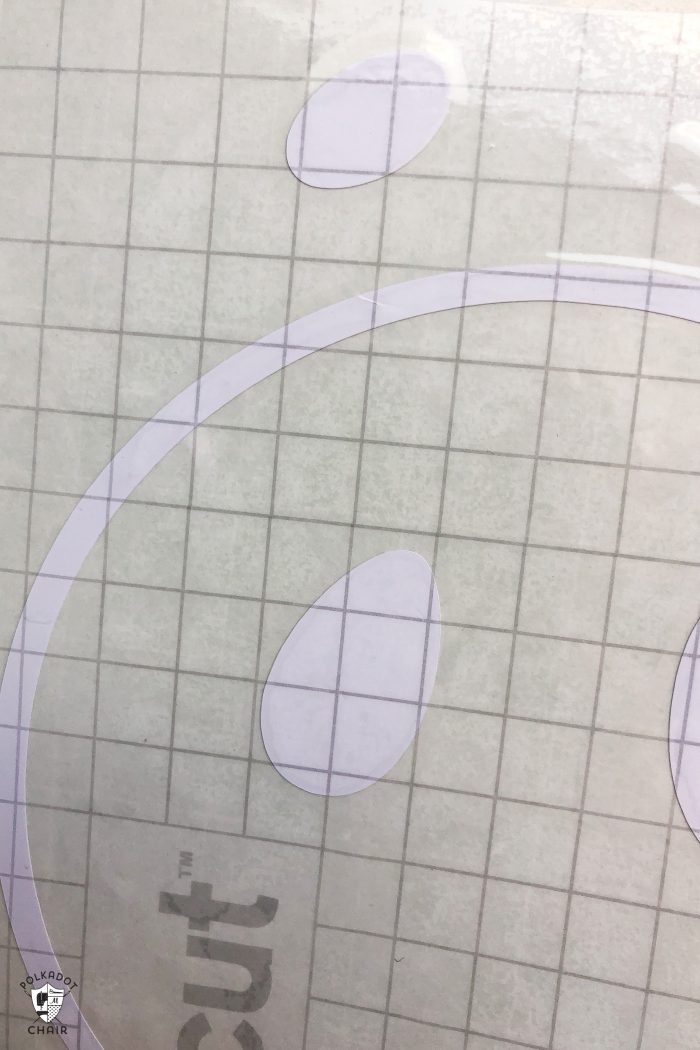
Place the transfer tape on the TOP of your cut-out vinyl.
Next, peel the transfer tape away from the backing making sure that your vinyl image comes with it.
Place it onto of your bag front piece in the correct location.
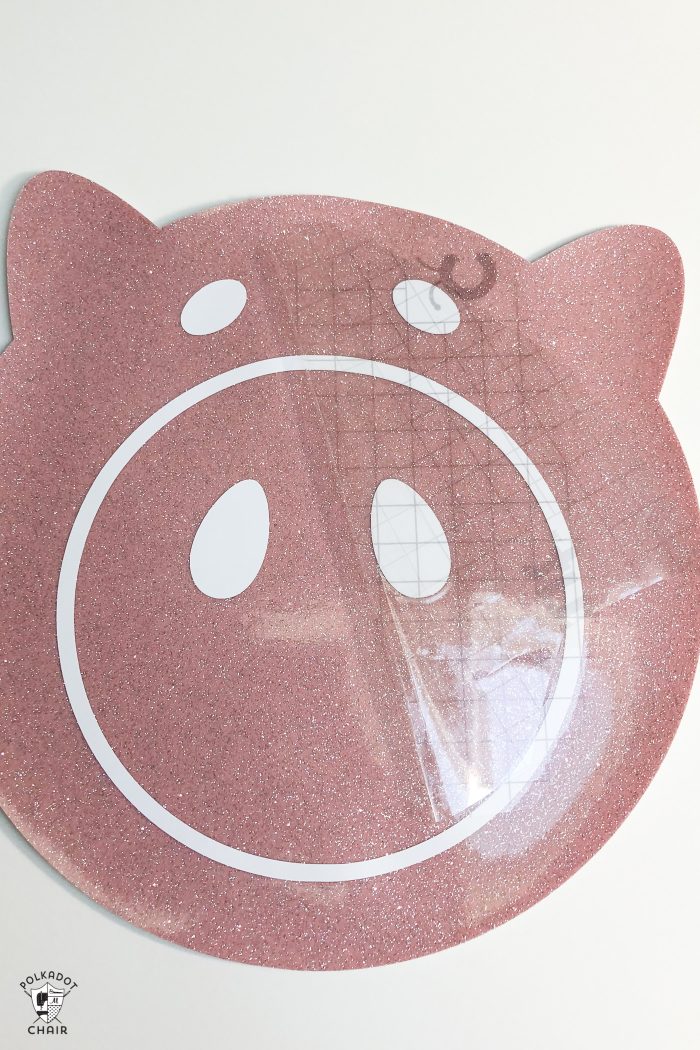
Rub the image onto the bag front using an old credit card or the vinyl application tool. When it’s secured, peel away the vinyl.
Repeat with other colors of vinyl as necessary.
How to Assemble the Bag
First, Insert the zipper
Place the zipper behind the cut-out rectangle. The end of the zipper will be flush with one end of the rectangle, and the other end will be off the edge.
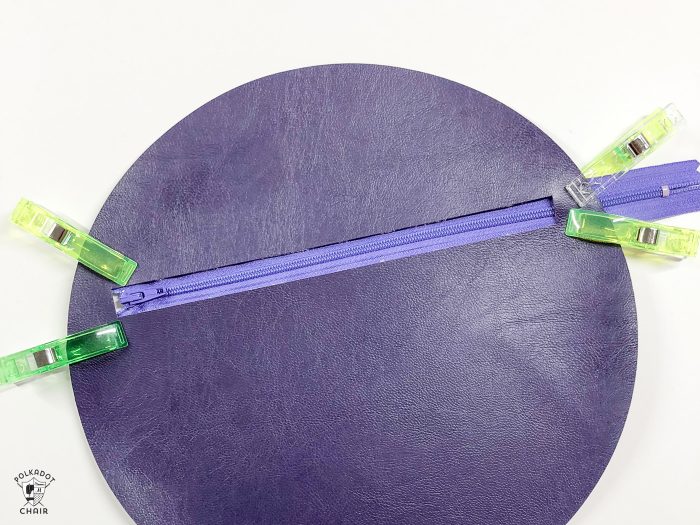
Use binding clips to secure the zipper in place.
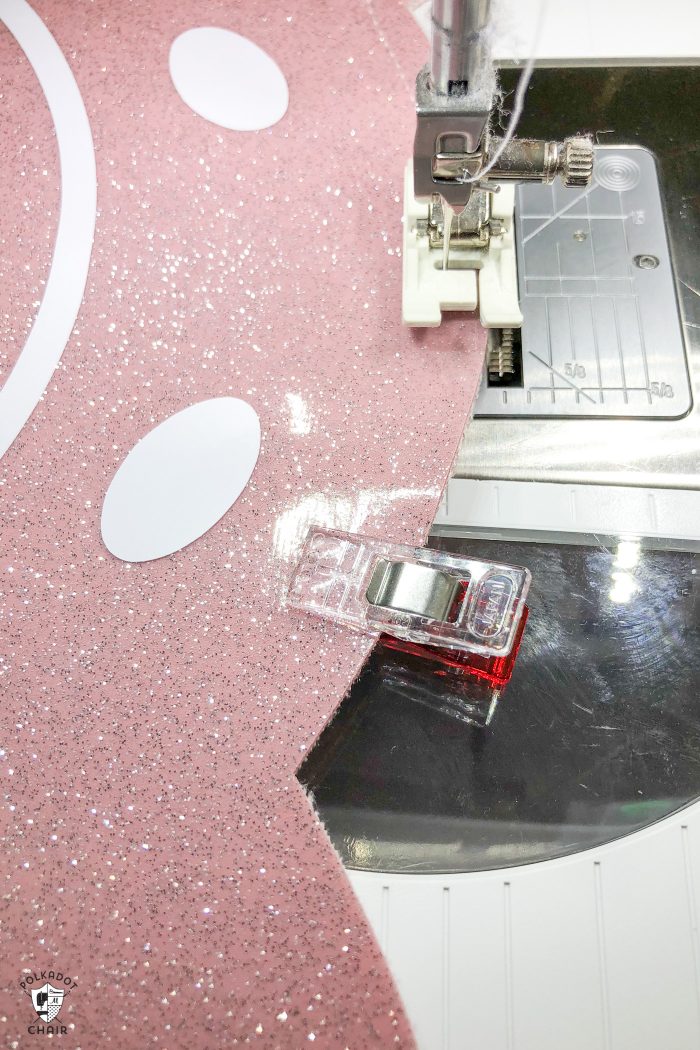
Apply Sewers Aid to the vinyl around the edge of the zipper opening. DO NOT SKIP this step. The sewers aid is a lubricant that will allow you to sew on the vinyl without your machine sticking to the vinyl.
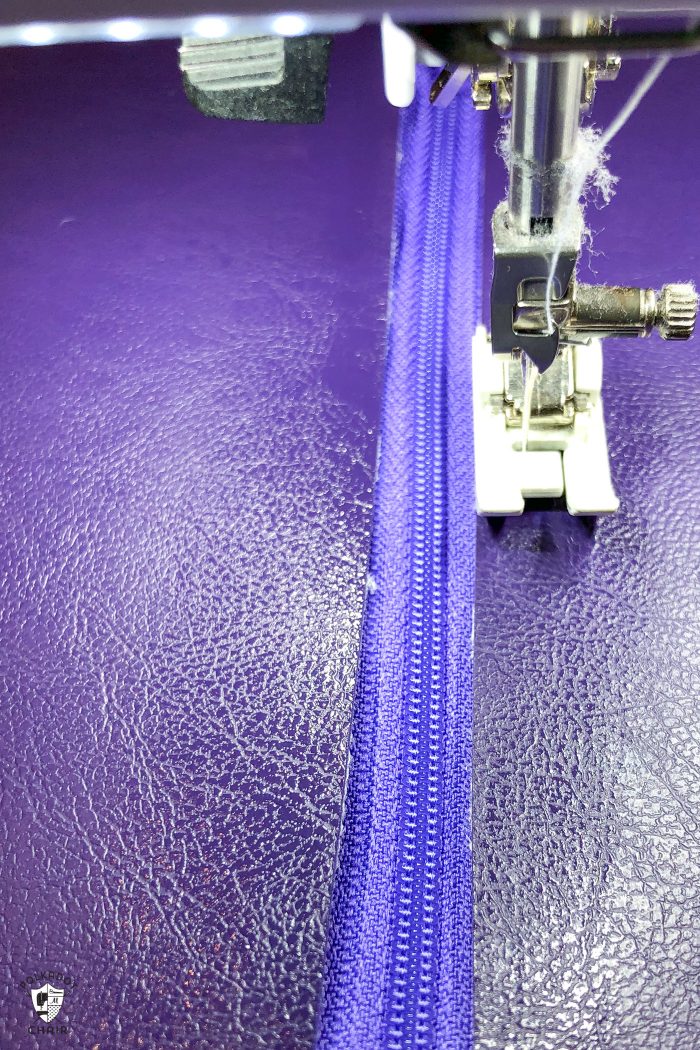
Stitch around the opening of the zipper. Make sure you “catch” the zipper as you sew.
Using your scissors, cut off the excess zipper.
Cut four pieces of ribbon to 2” each. Using a match or fray check, seal the ends of the ribbon.
Apply a thin layer of Sewers Aid to the perimeter of the bag back and bag front pieces. Again, don’t skip this step.
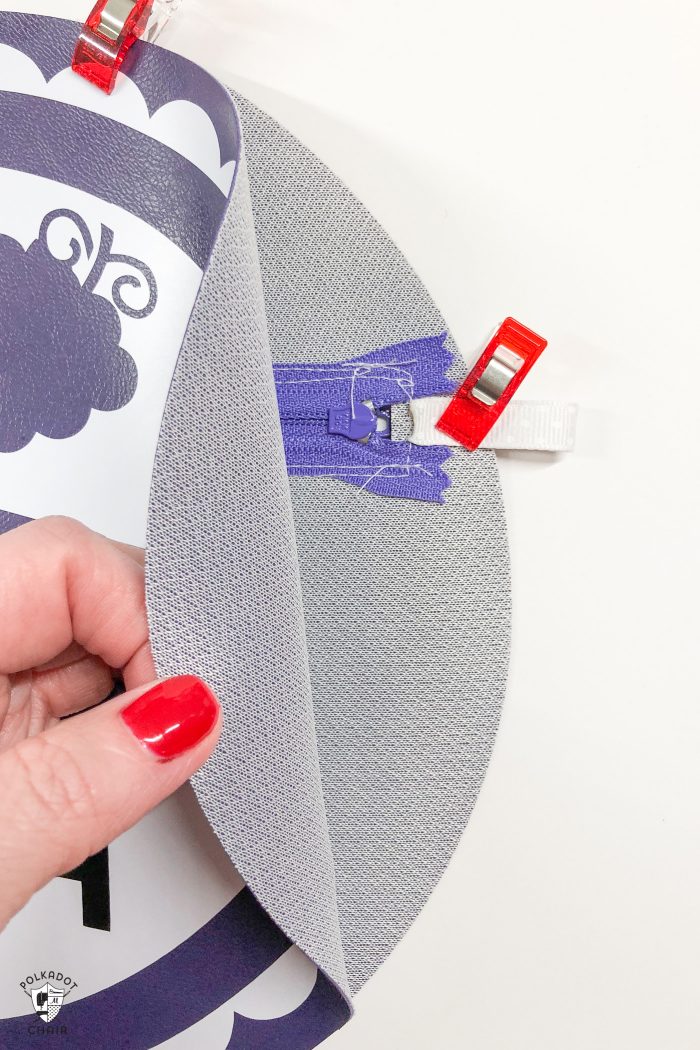
Fold the ribbon in half and clip to the bag back piece at the location of the zipper.
Place the bag front piece onto of the bag back piece, the wrong sides facing. Using binding clips, secure in place.
Stitch around the perimeter of the bag close to the edge. Make sure you lock your stitch at the beginning and end.
That’s it! Now, you must attach your purse chain to the loops.
Here is more detail of my bags:
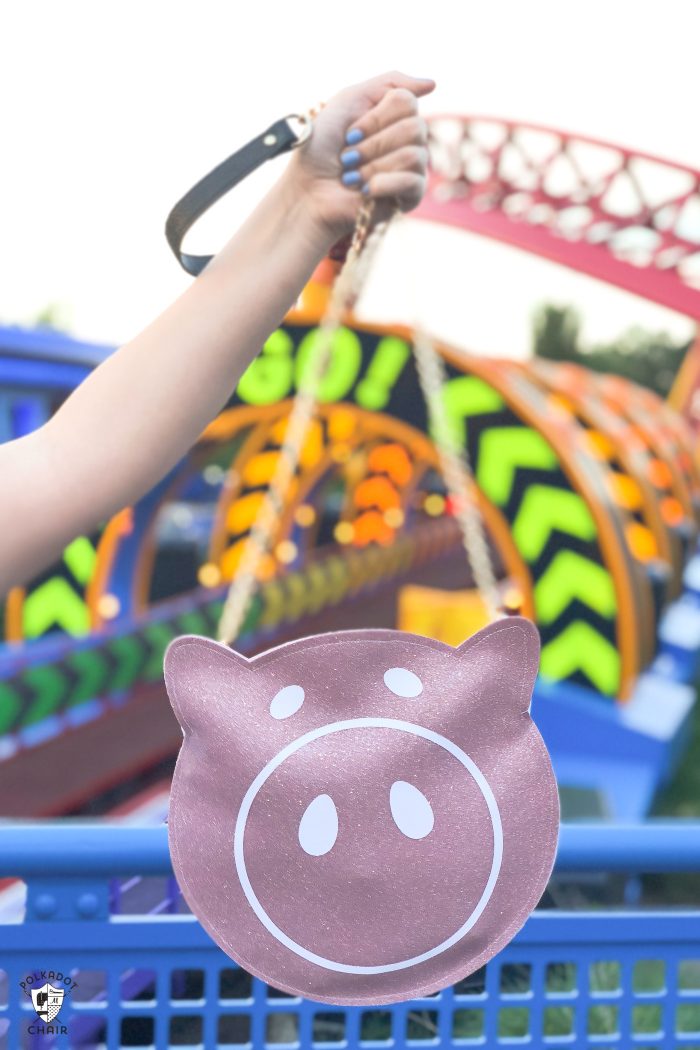
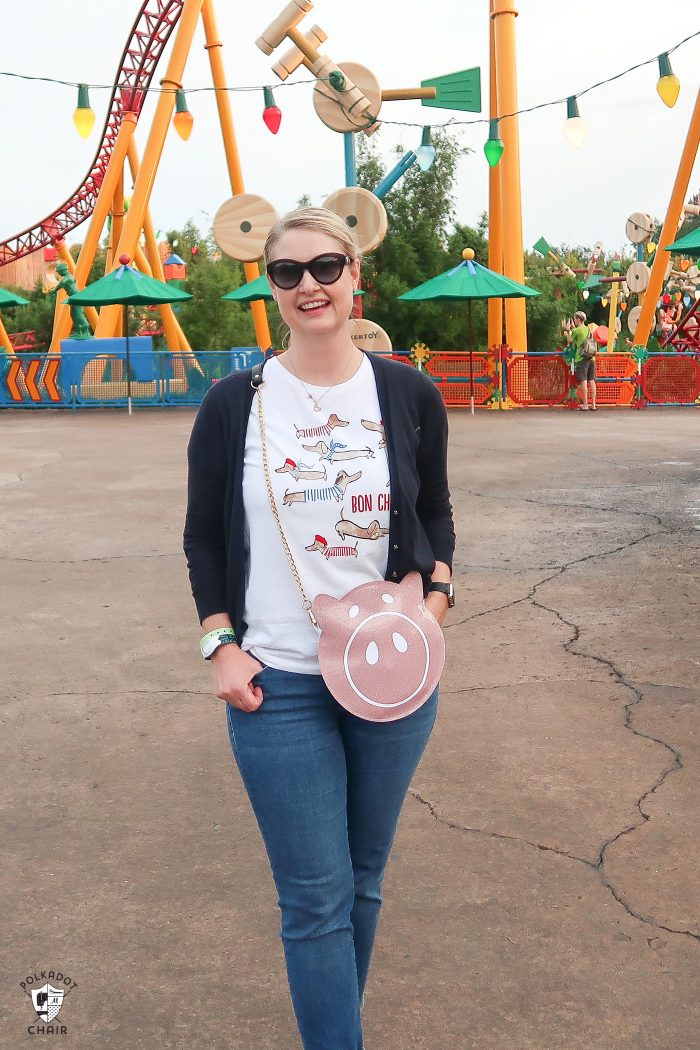
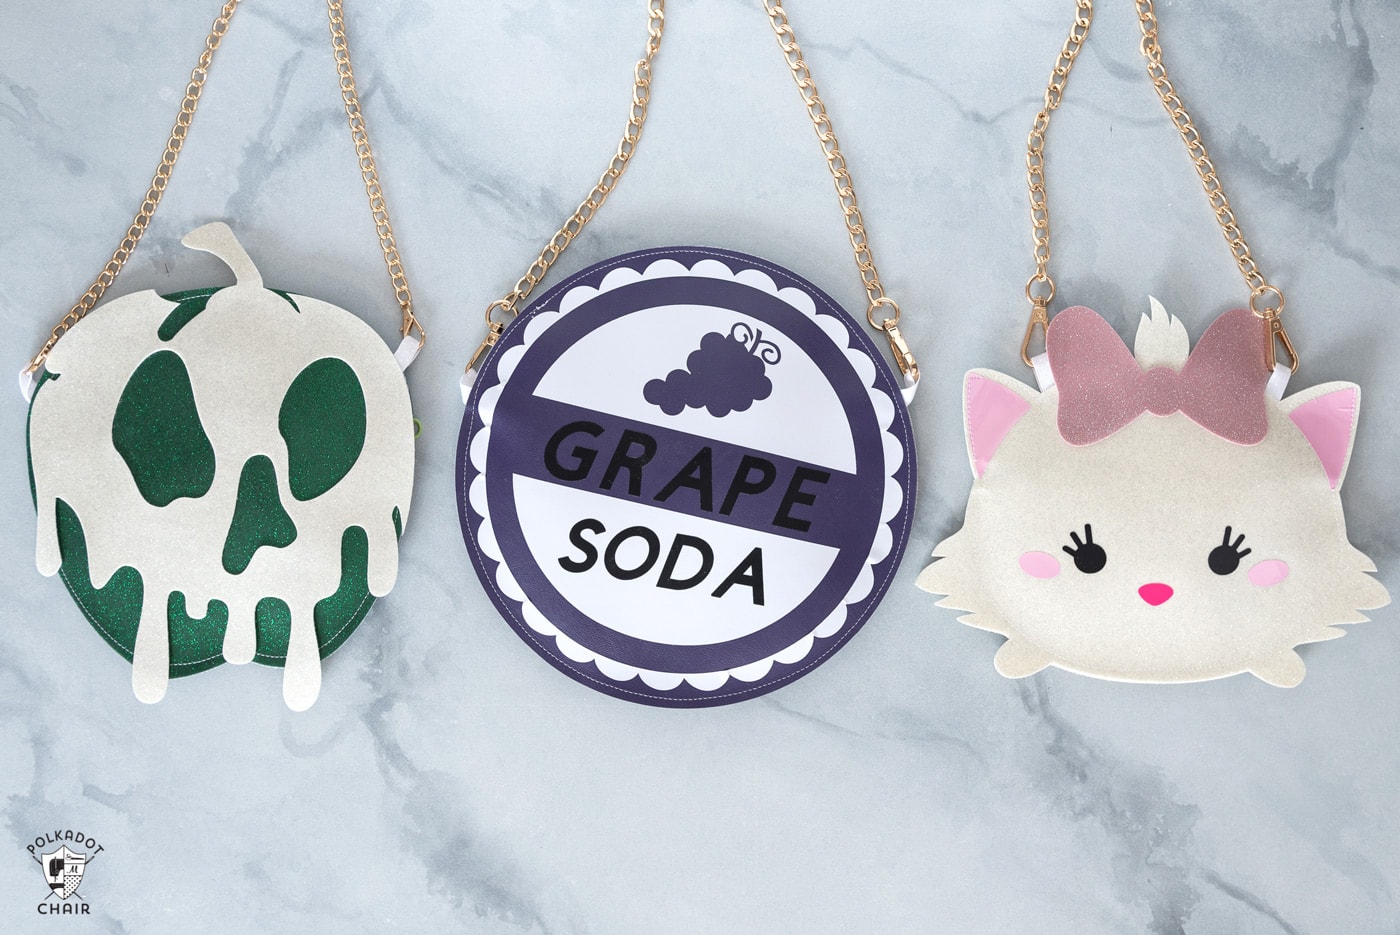
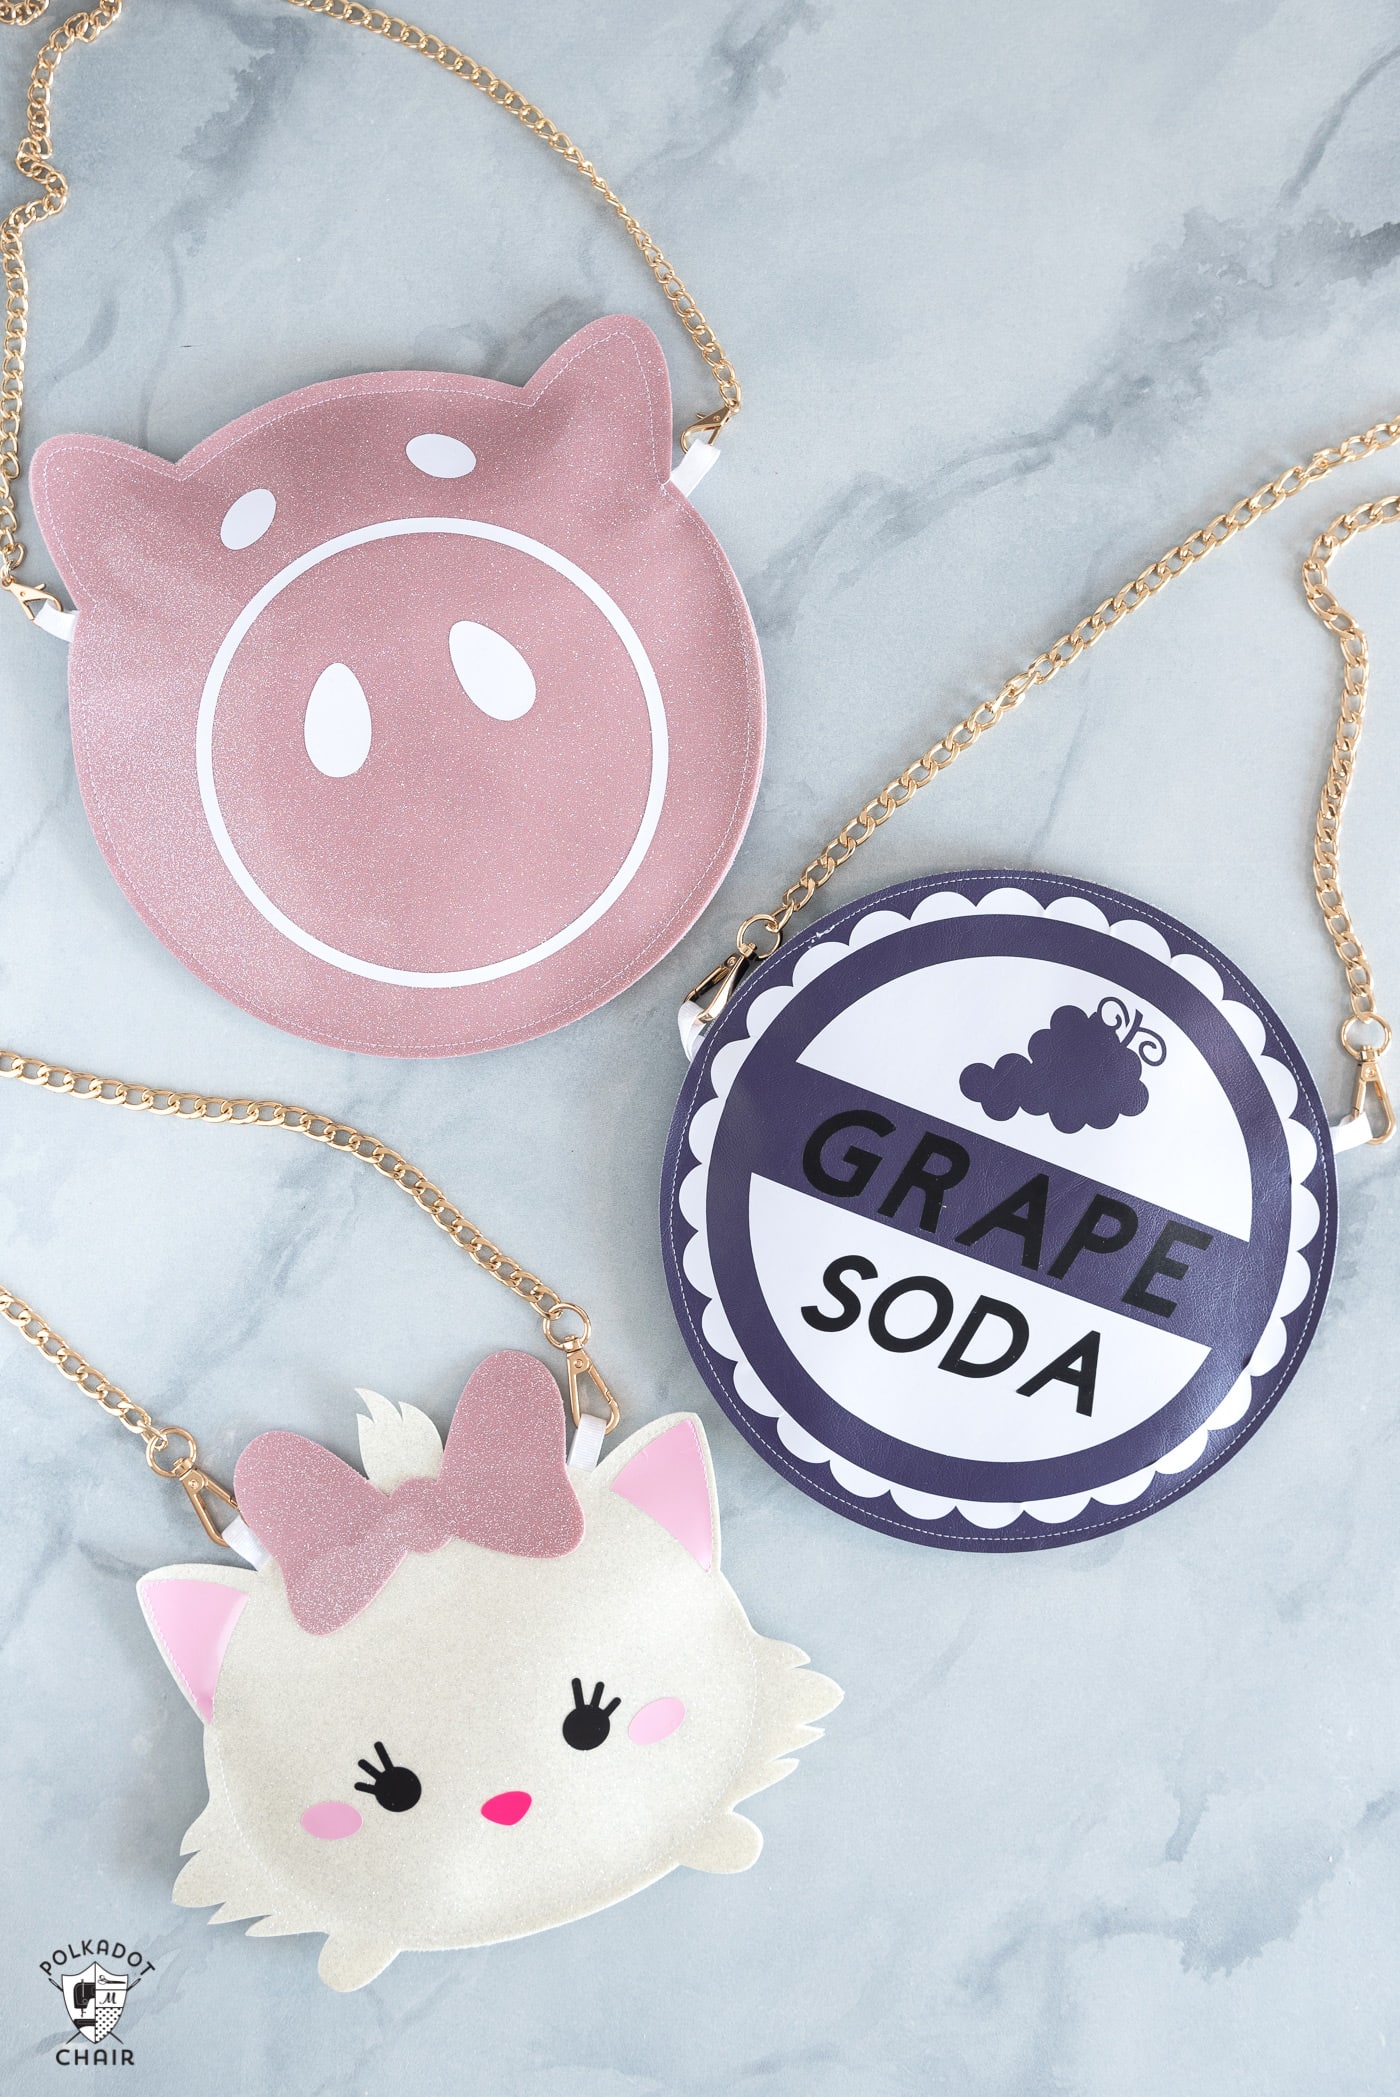
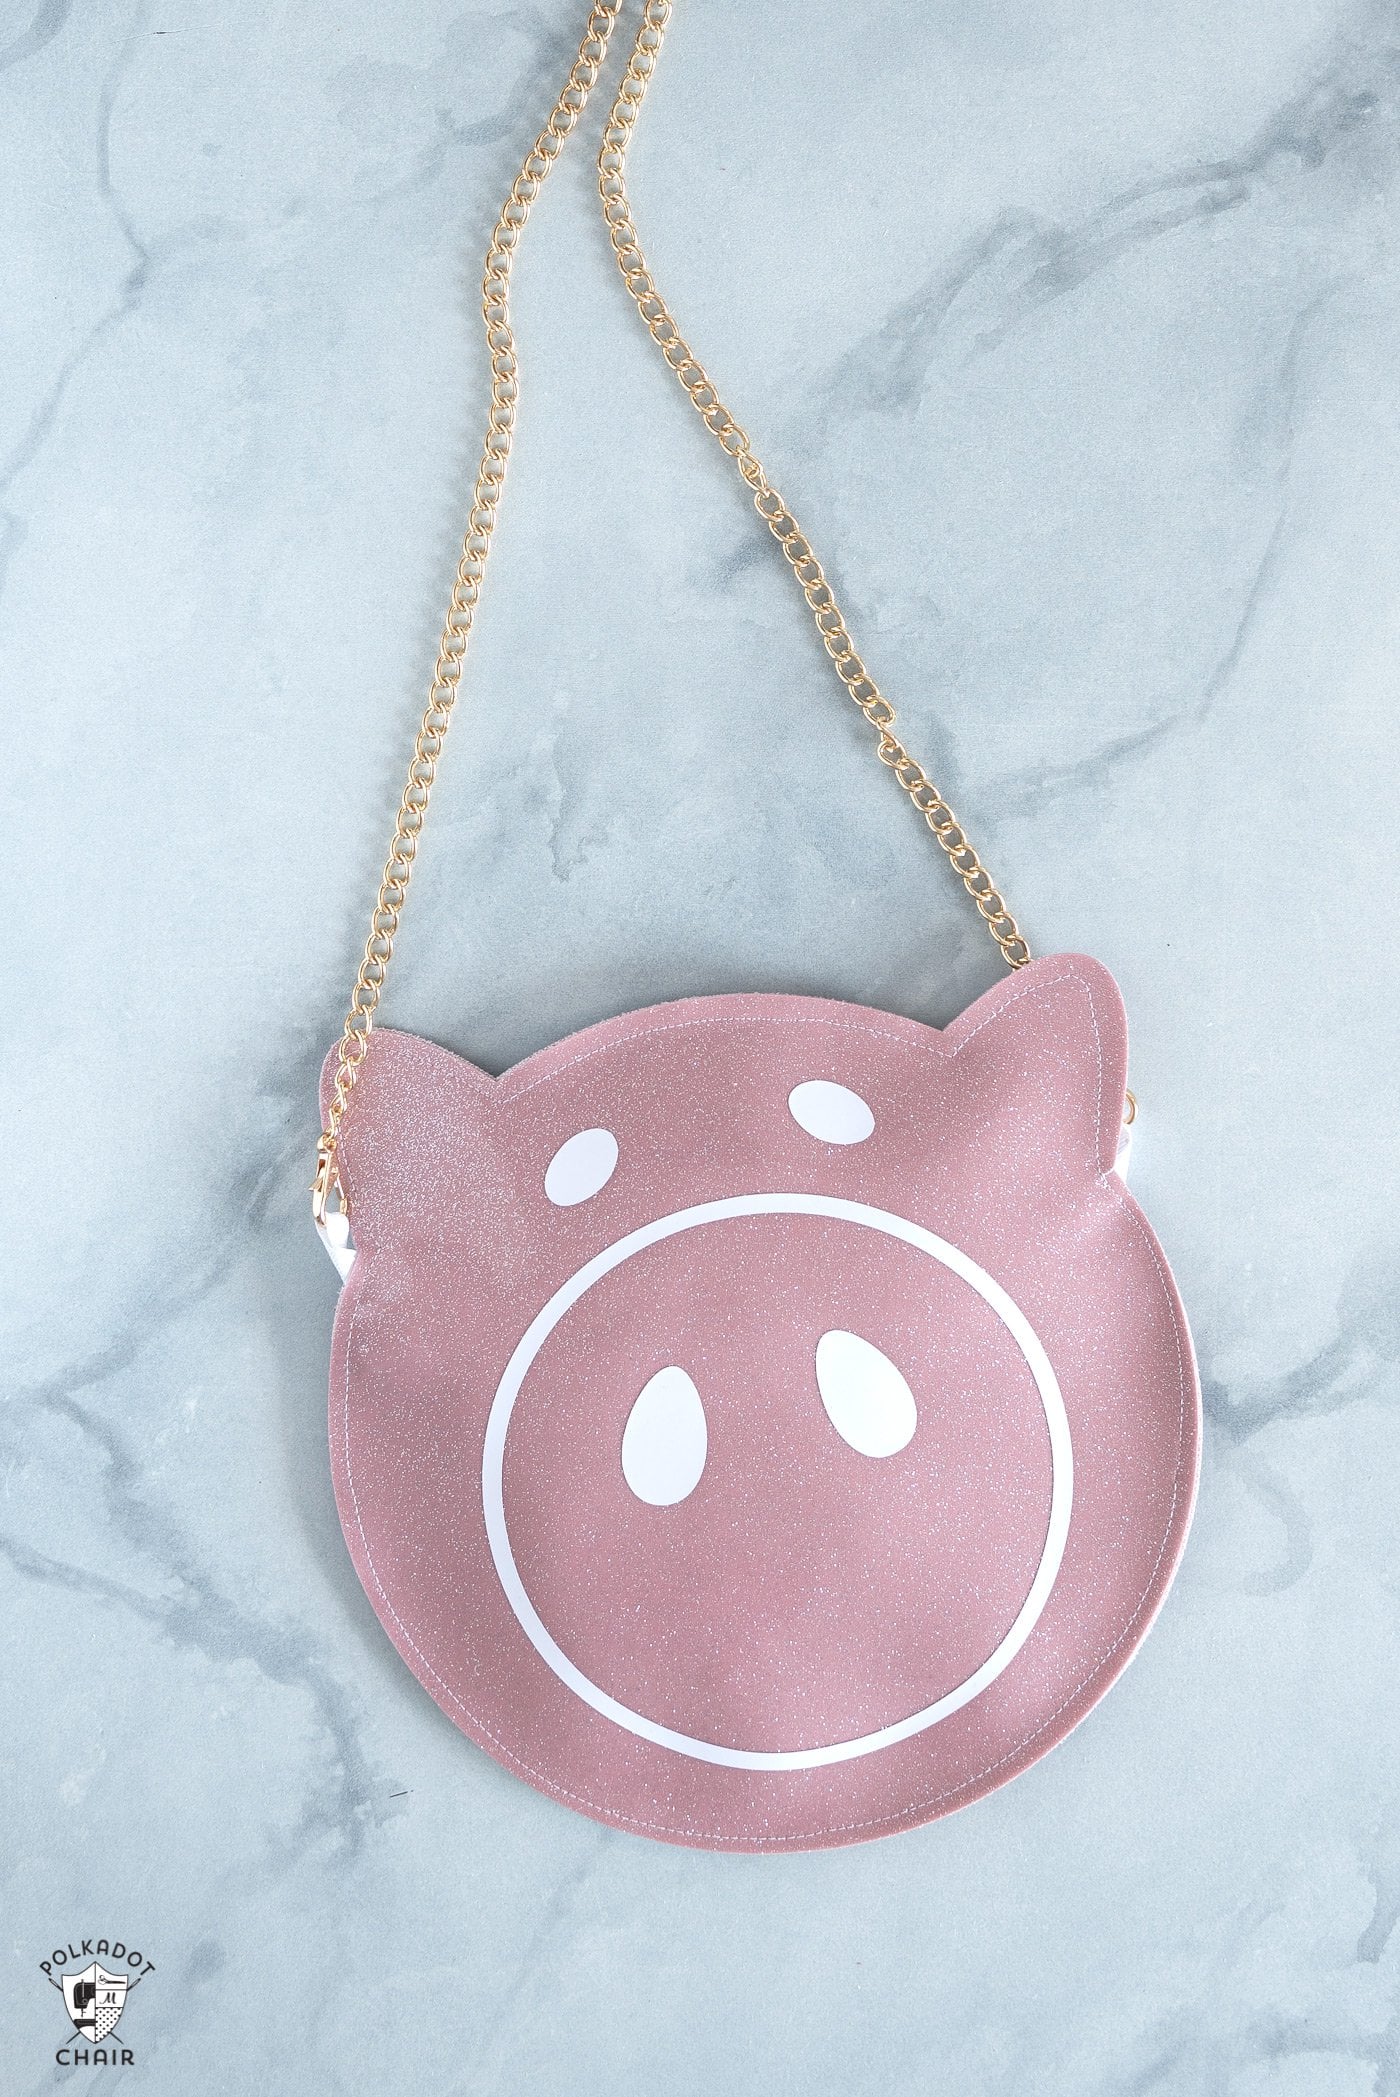
To Create the Hamm Toy Story Purse
Materials: Pink Glitter Vinyl
Cricut Permanent Vinyl; White
Link to Bag File in Cricut Design Space
IMPORTANT UPDATE: Since this project was first designed, Cricut has removed this exact file from Design Space. However, a new image set called “Disney® – Pixar Character Squares” with a Hamm character would also work. There is also a Hamm image in the Disney Toy Story 4 cartridge set that would work as well.
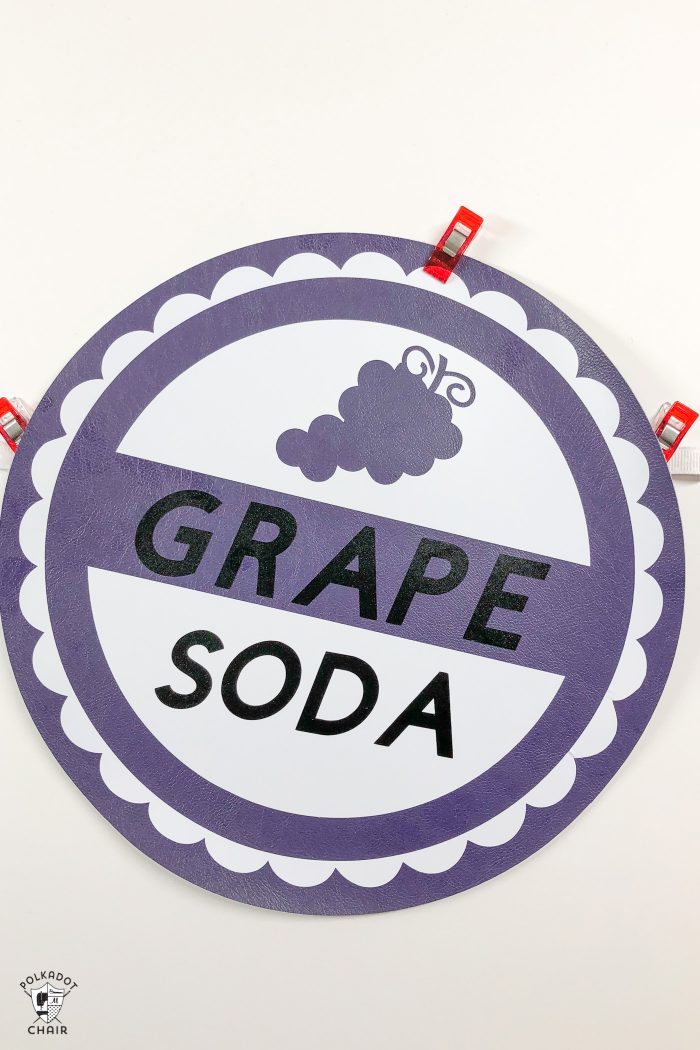
To Make a Grape Soda Purse
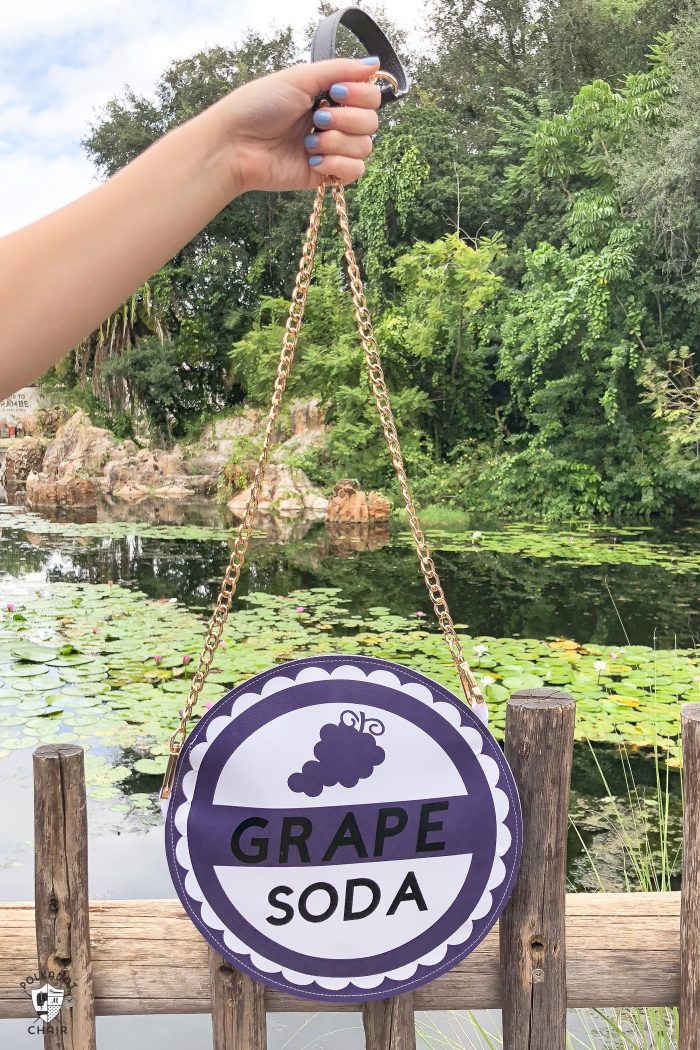
Materials: Purple Marine Vinyl
Cricut Permanent Vinyl; Black and White
Link to Bag File in Cricut Design Space

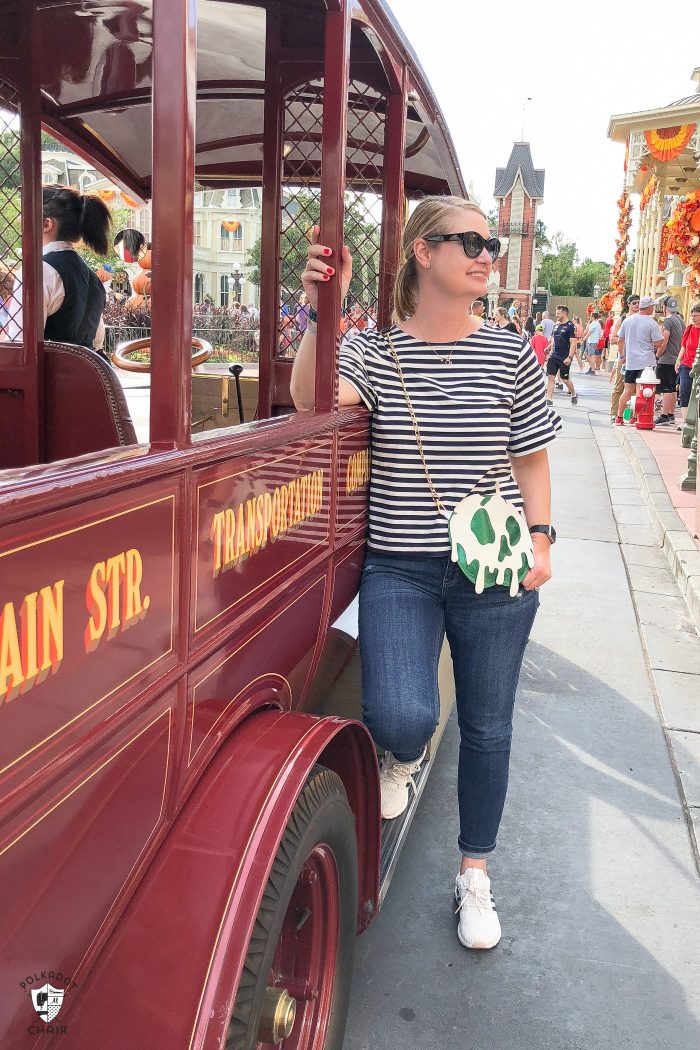
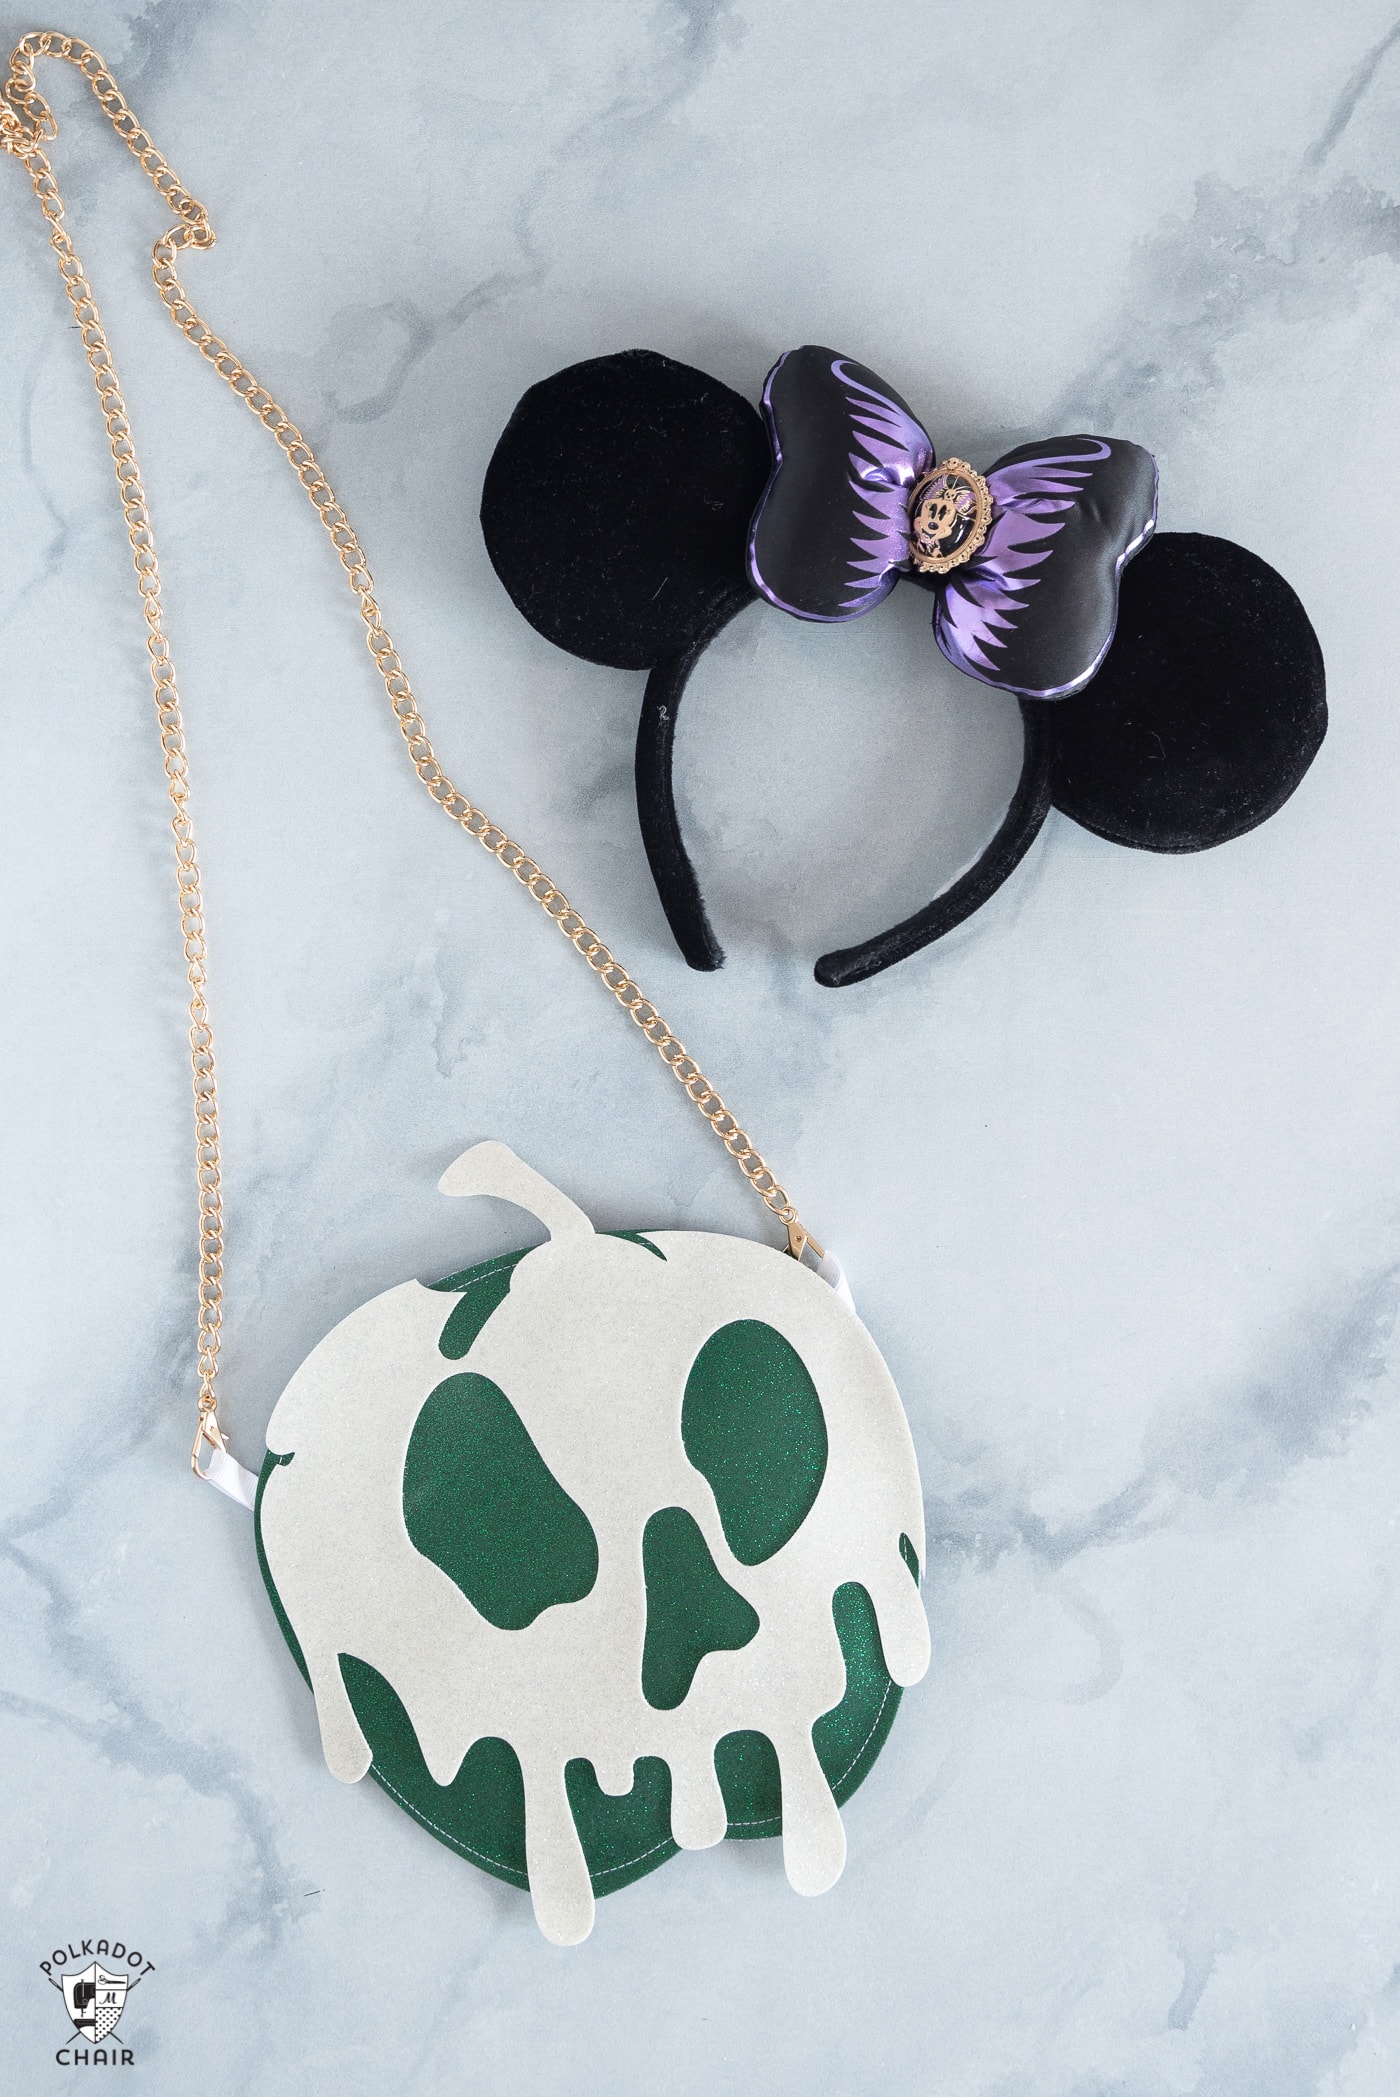
To Make a Poison Apple Purse
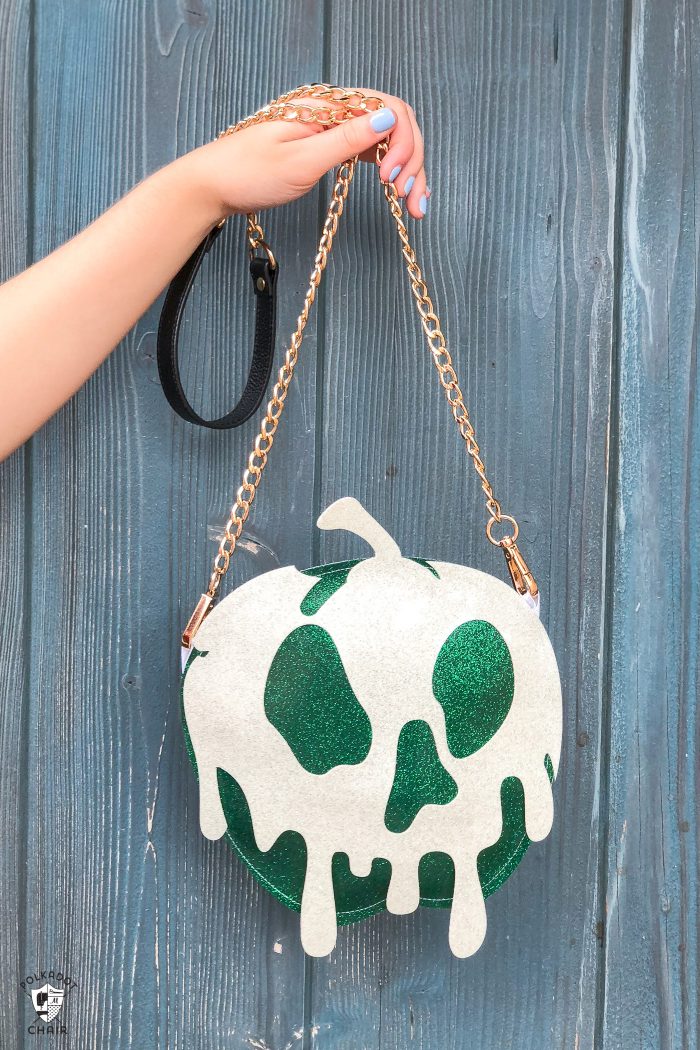
Materials: Green and White Glitter Vinyl
Cut out the white piece and two green apple pieces and sew the bag together. Don’t attach the white piece yet.
Note: After the bag is sewn together, use the Gutterman glue to glue the white portion to the front of the bag.
Link to Bag file in Cricut Design Space
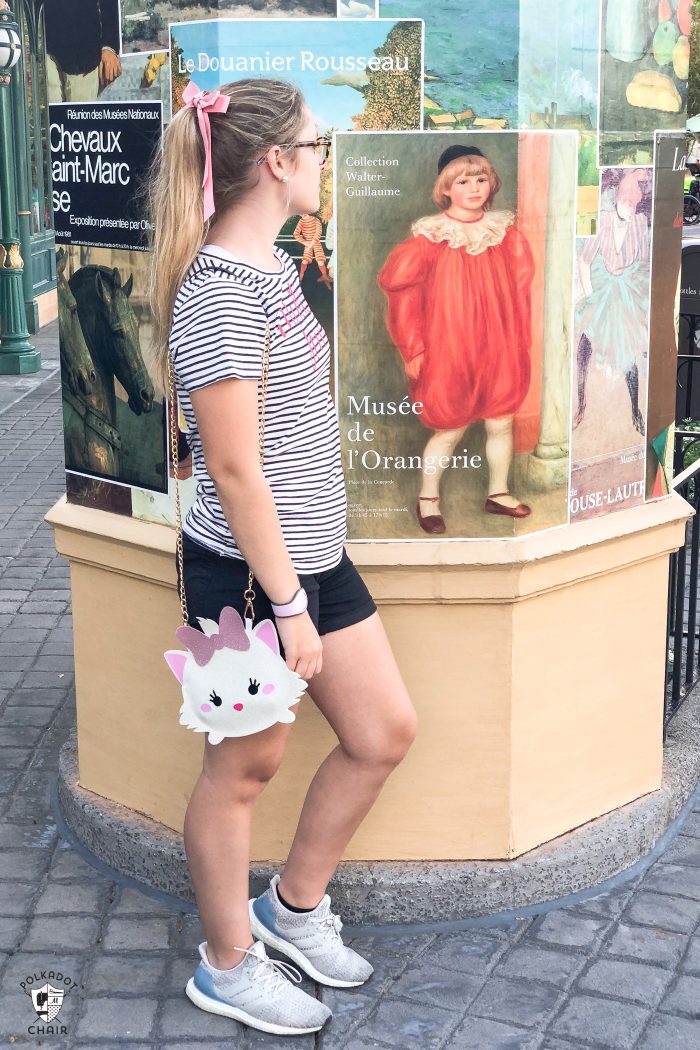
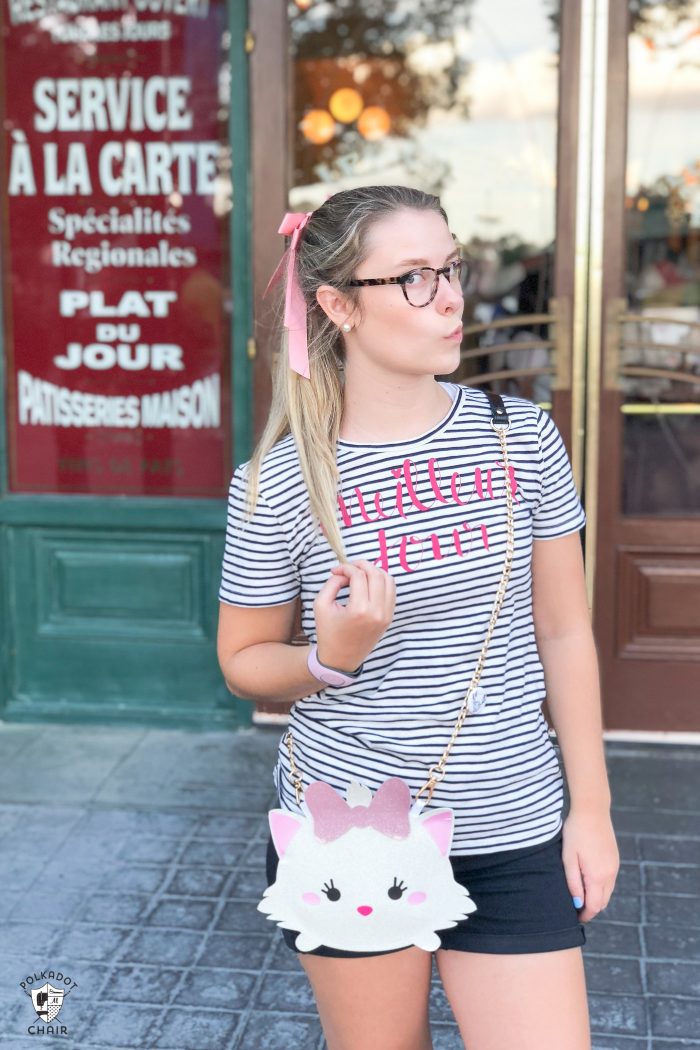
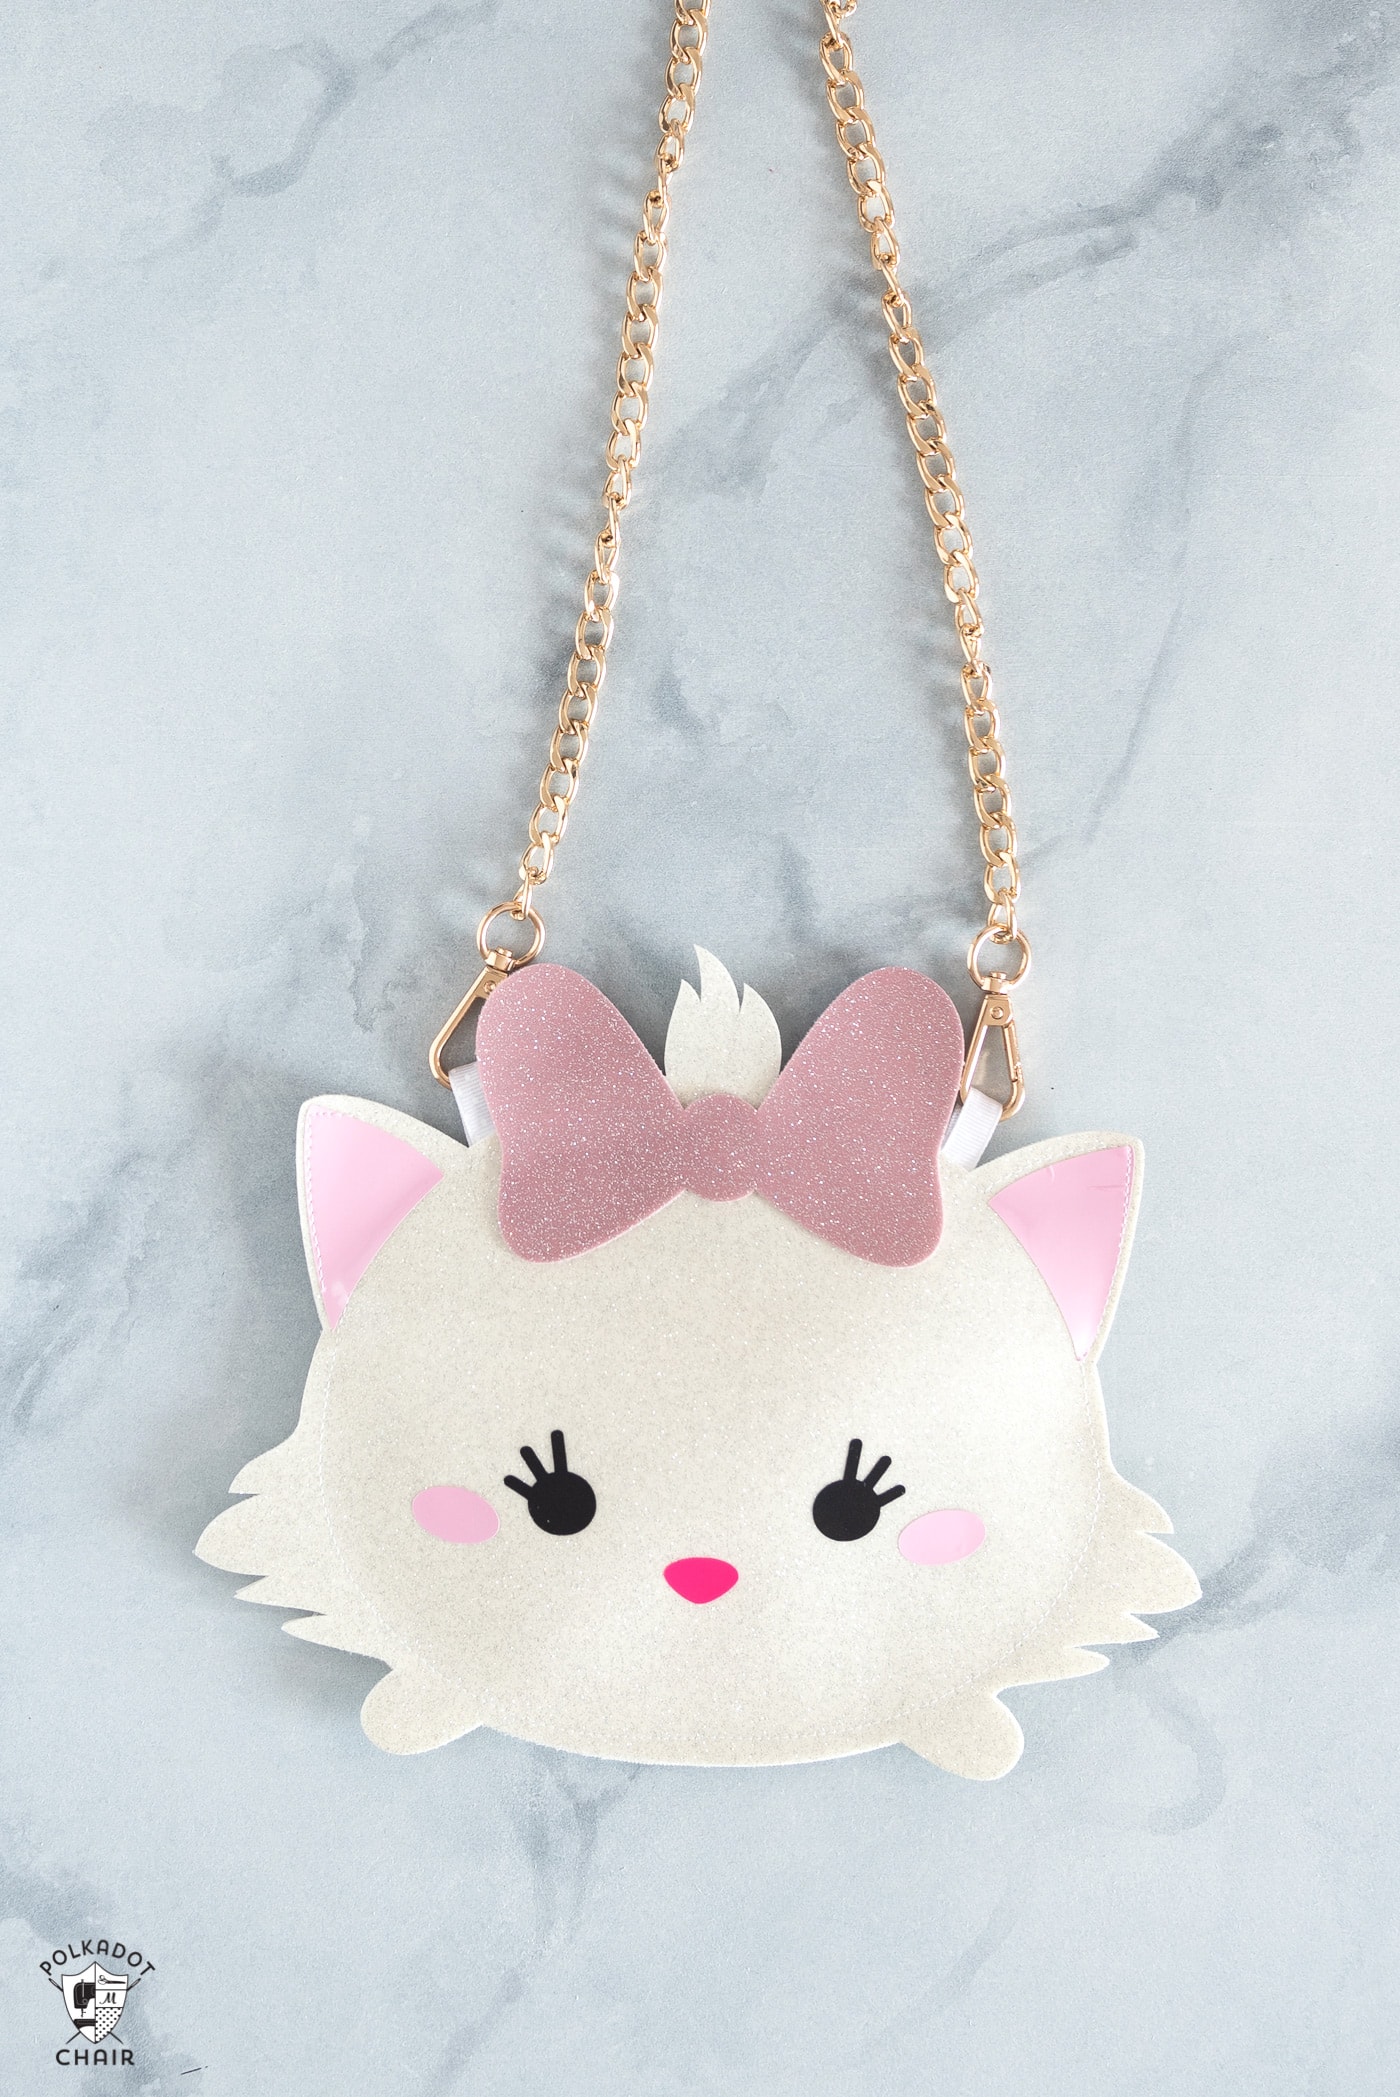
To Make an Aristocats Marie Bag

Materials: White Glitter Vinyl & Pink Glitter Vinyl, Cricut Vinyl in Black, Light Pink and Hot Pink (you can use light pink twice if you want).
Notes:
In the file, you’ll see a black cat head and a pink cat head. You’re going to cut out the entire black cat head but ONLY use the vinyl for the eyes; you can discard the rest. The same is true for the pink vinyl. Since you are cutting out the entire head, you can use the entire piece to help you place the eyes and ears on the bag in the correct spot.
To create the bow, cut it out of Pink Glitter Vinyl (Fabric). After the bag is sewn together, glue the bow to the front of the bag using Gutterman glue.
Link to Bag file in Cricut Design Space.
That’s it!!
More Fun How-to Projects for the Cricut Maker:
Tips for Using the Cricut Maker for Quilting
Lined Drawstring Bag Pattern for the Cricut Maker
This is a sponsored conversation written by me on behalf of Cricut. The opinions and text are all mine.