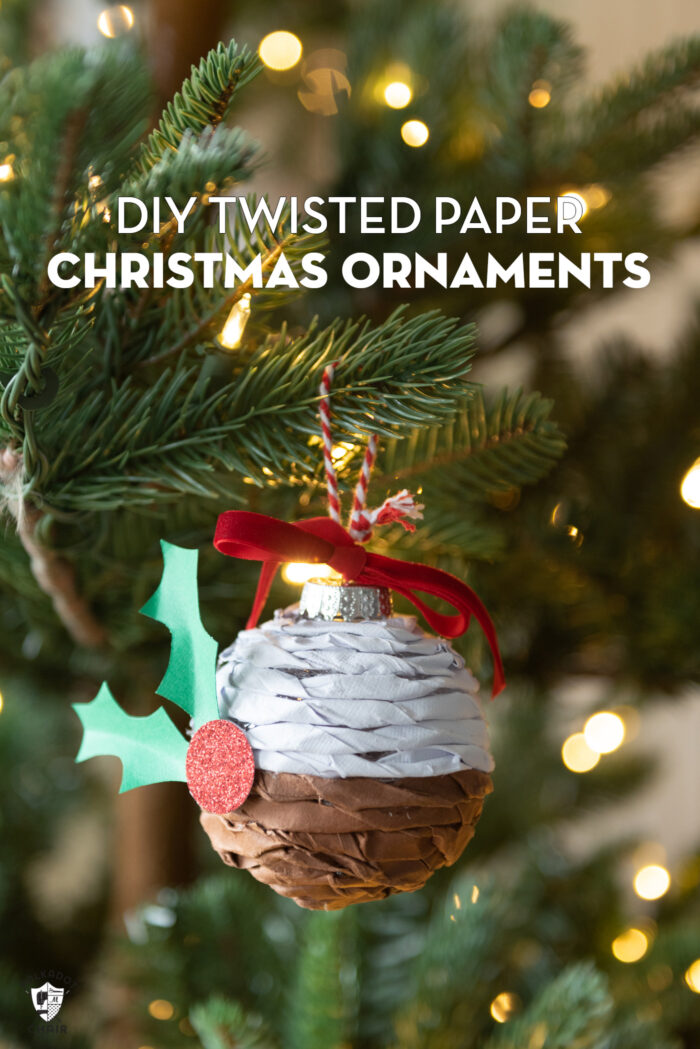
DIY Twisted Paper Christmas Ornaments
This blog post is sponsored by BabbleBoxx on behalf of JoAnn. Take an afternoon off from your holiday to-do list to create some fun DIY Christmas ornaments. These twisted paper ornaments are simple to construct and make a great project for a family crafternoon!
When my kids were younger they used to love to help me decorate the house for Christmas. During those years I was always looking for projects that they could help with, some years it was easier than others.
As my kids got older we still kept the “DIY Christmas crafting” going strong. We’ve created Ugly Christmas sweaters, gingerbread houses, and snowglobes.
This year I sat down with my oldest daughter (home for a short break) to create some fun twisted paper ornaments. My daughter is in her 20’s but this project would also be great for younger teens and older kids to tackle too! JoAnn kindly gifted us with a box of craft supplies to create our ornaments.
If you’re looking for even more Christmas craft ideas to tackle this month be sure to check out JoAnn’s website. It’s full of fun craft ideas!
It doesn’t require any special tools, in fact, you might have a lot of what you need around the house to make it already.
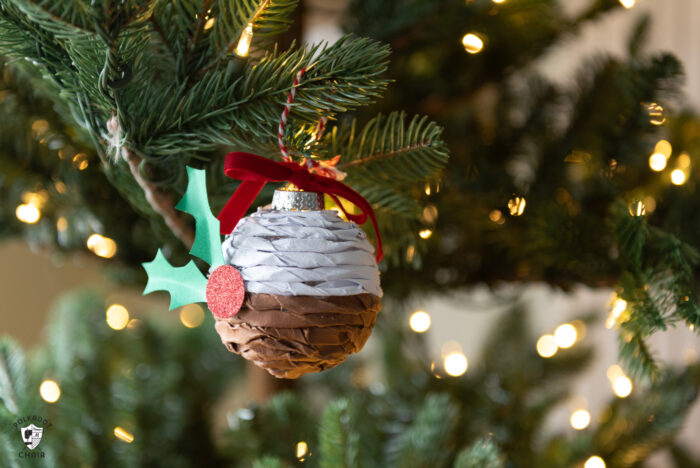
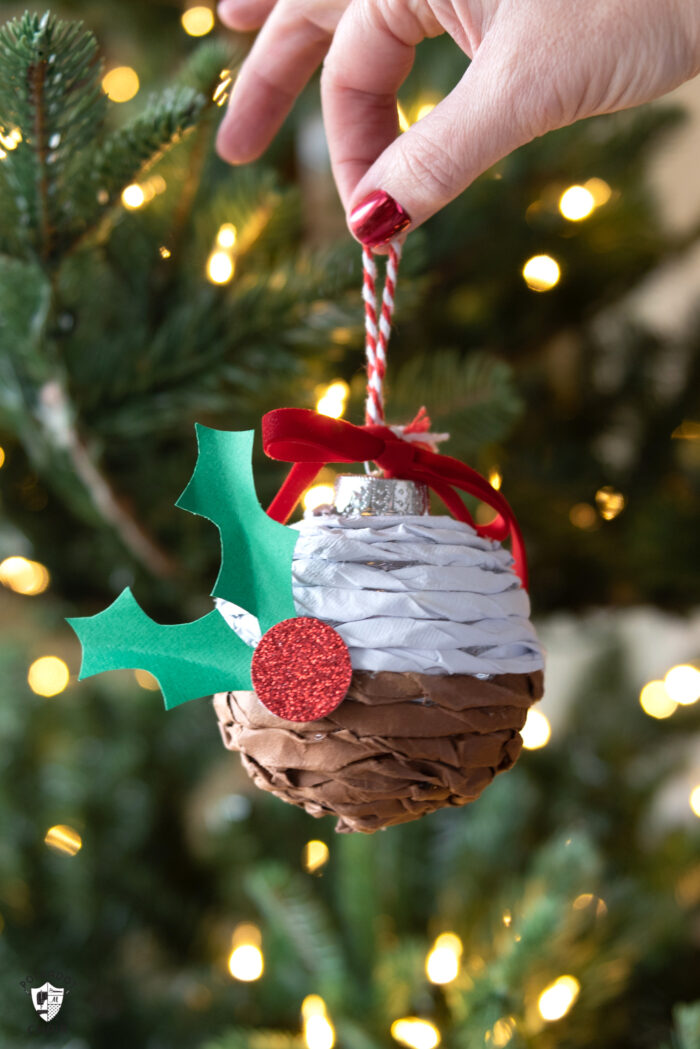
Since I’ve been watching way too many Christmas baking competition tv shows I decided to make my ornaments look a bit like a Christmas figgy pudding bun or frosted gingersnap.
DIY Twisted Paper Christmas Ornaments
Equipment
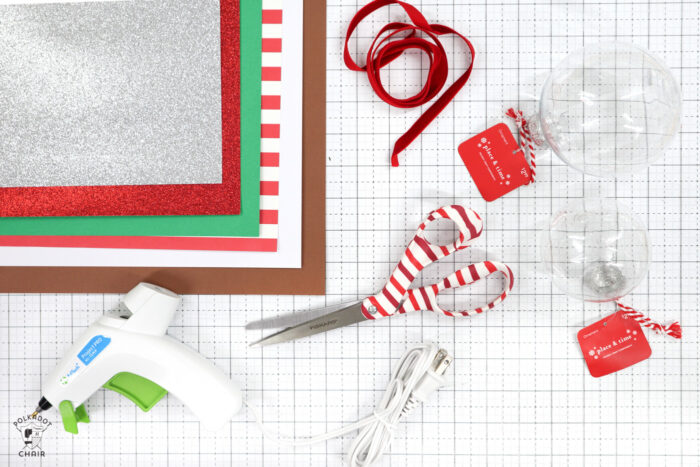
- Paper Trimmer
- Pair of Scissors
supplies
- Assorted Cardstock I used brown, white, red & green
- Plastic Ornaments these will get covered with paper so you can use any color ornaments
- Plastic Spray Bottle
Instructions
Step One:
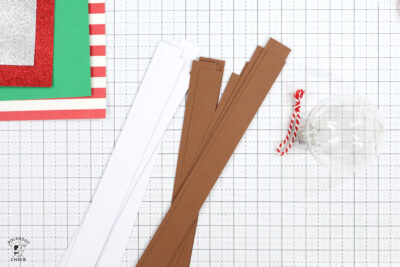
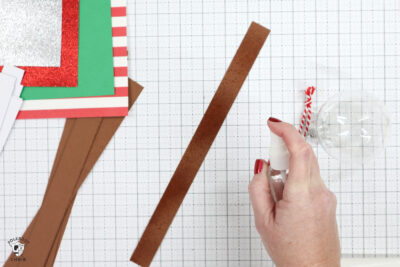
- Trim your paper into 1” wide strips using the paper trimmer.

- Lightly spray one strip with water. Spray it enough to be pliable but not so much that the paper tears. I found it best to work on 1 strip of paper at a time.
- Twist the strip. It’s best to do this with the paper on a table, pinching the paper as you go.
Step Two:
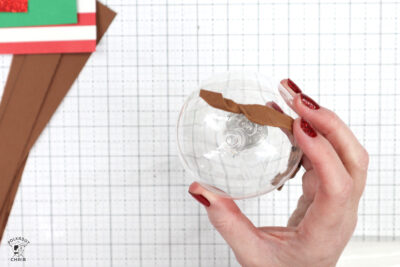
- Place a dab of hot glue on the bottom of your ornament.
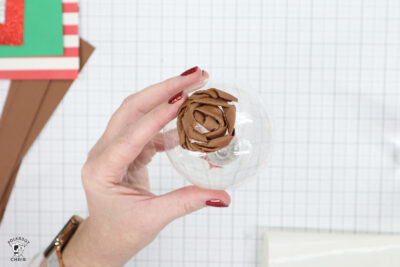
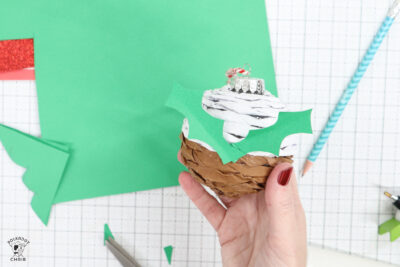
- Secure the end of the twisted paper to the glue. Let it sit for a second. Then begin wrapping the paper around the ornament making sure to glue it down as you go.
- When you get to the end of the paper, spray another strip and repeat the process.
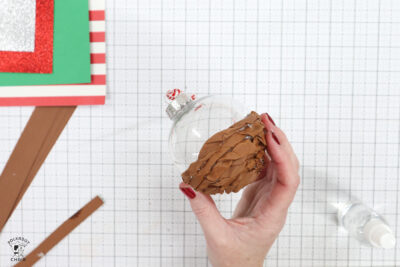
- Keep spraying and wrapping until you cover your entire ornament. If desired when you get ½ way up switch from brown to the white paper.
Optional Steps:
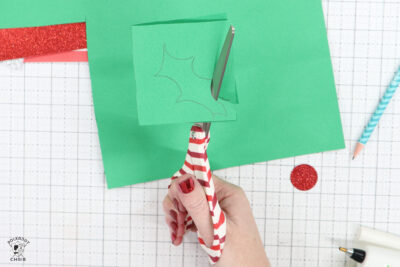
- Draw 2 holly leaves on a piece of green cardstock. Cut out and glue to the ornament.
- Cut out a red circle to cover the leaves.
Notes
Work on one strip at a time. If the water sits too long the paper won’t twist properly. Try not to use too much hot glue since it can seep out between the rows of strips. While the paper is still damp you can use your fingers to “smoosh” the paper so that it better covers the ornaments. If you’re doing this with kids, be sure to supervise them with scissors and hot glue.