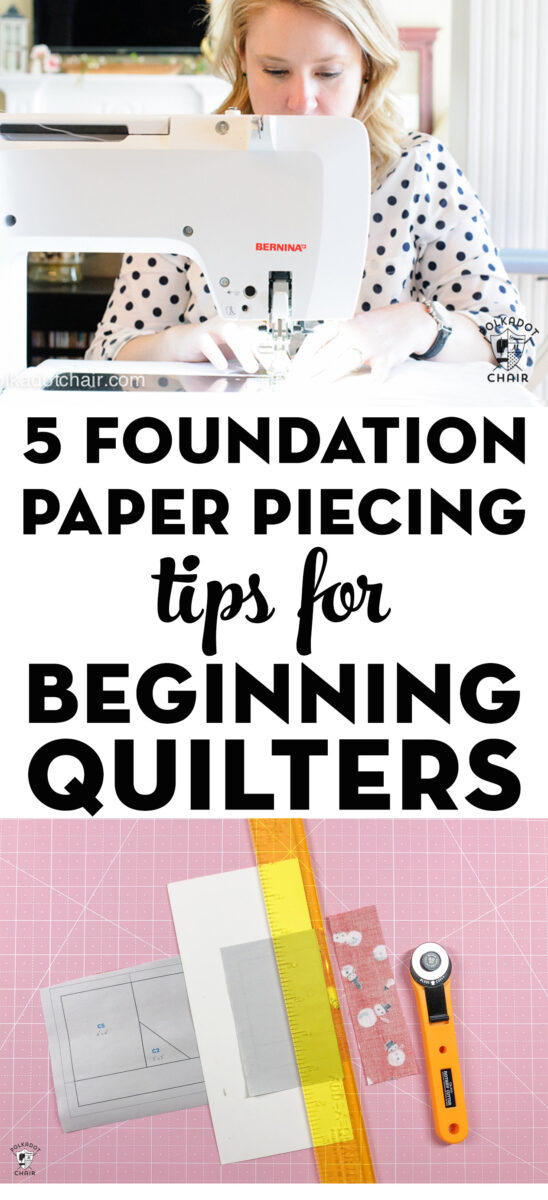
5 Foundation Paper Piecing Tips Perfect for Beginning Quilters
Are you intimidated by the thought of learning how to Foundation Paper Piece? Maybe you’ve tried it before and given up. Today, I’m sharing 5 Foundation Paper Piecing Tips designed for beginning quilters (or anyone else new to FPP).

Okay, so let’s talk Foundation Paper Piecing (FPP)! I like to challenge myself to try new things and learn new skills.
I designed the Let’s Stay Home Quilt pattern with house blocks that are created using FPP to give you guys the opportunity to try something new! This is also a lot of why I run this blog and put so much time into it.
I want to give you guys fun, new things to try. Life can get boring and stressful, and trying new things has always been one way I cope with life’s stresses.
What is Foundation Paper Piecing (FPP)?
Foundation Paper Piecing (FPP) is a quilting technique where fabric pieces are sewn onto a paper pattern, following numbered sections to create precise and intricate designs. The paper serves as a guide and is removed after sewing.
Why Use this Quilting Method?
Foundation Paper Piecing offers quilters precise, sharp points and complex designs that are difficult to achieve with traditional piecing. It allows for greater accuracy, especially in intricate patterns, and helps keep fabric from shifting while sewing. This technique is ideal for using small scraps and ensures consistent results, even for beginners.
The technique is not for everyone, so it’s not a big deal if you try it and you don’t like it. But IF you want to try it, I will share some Foundation Paper Piecing Tips for beginners with you today.
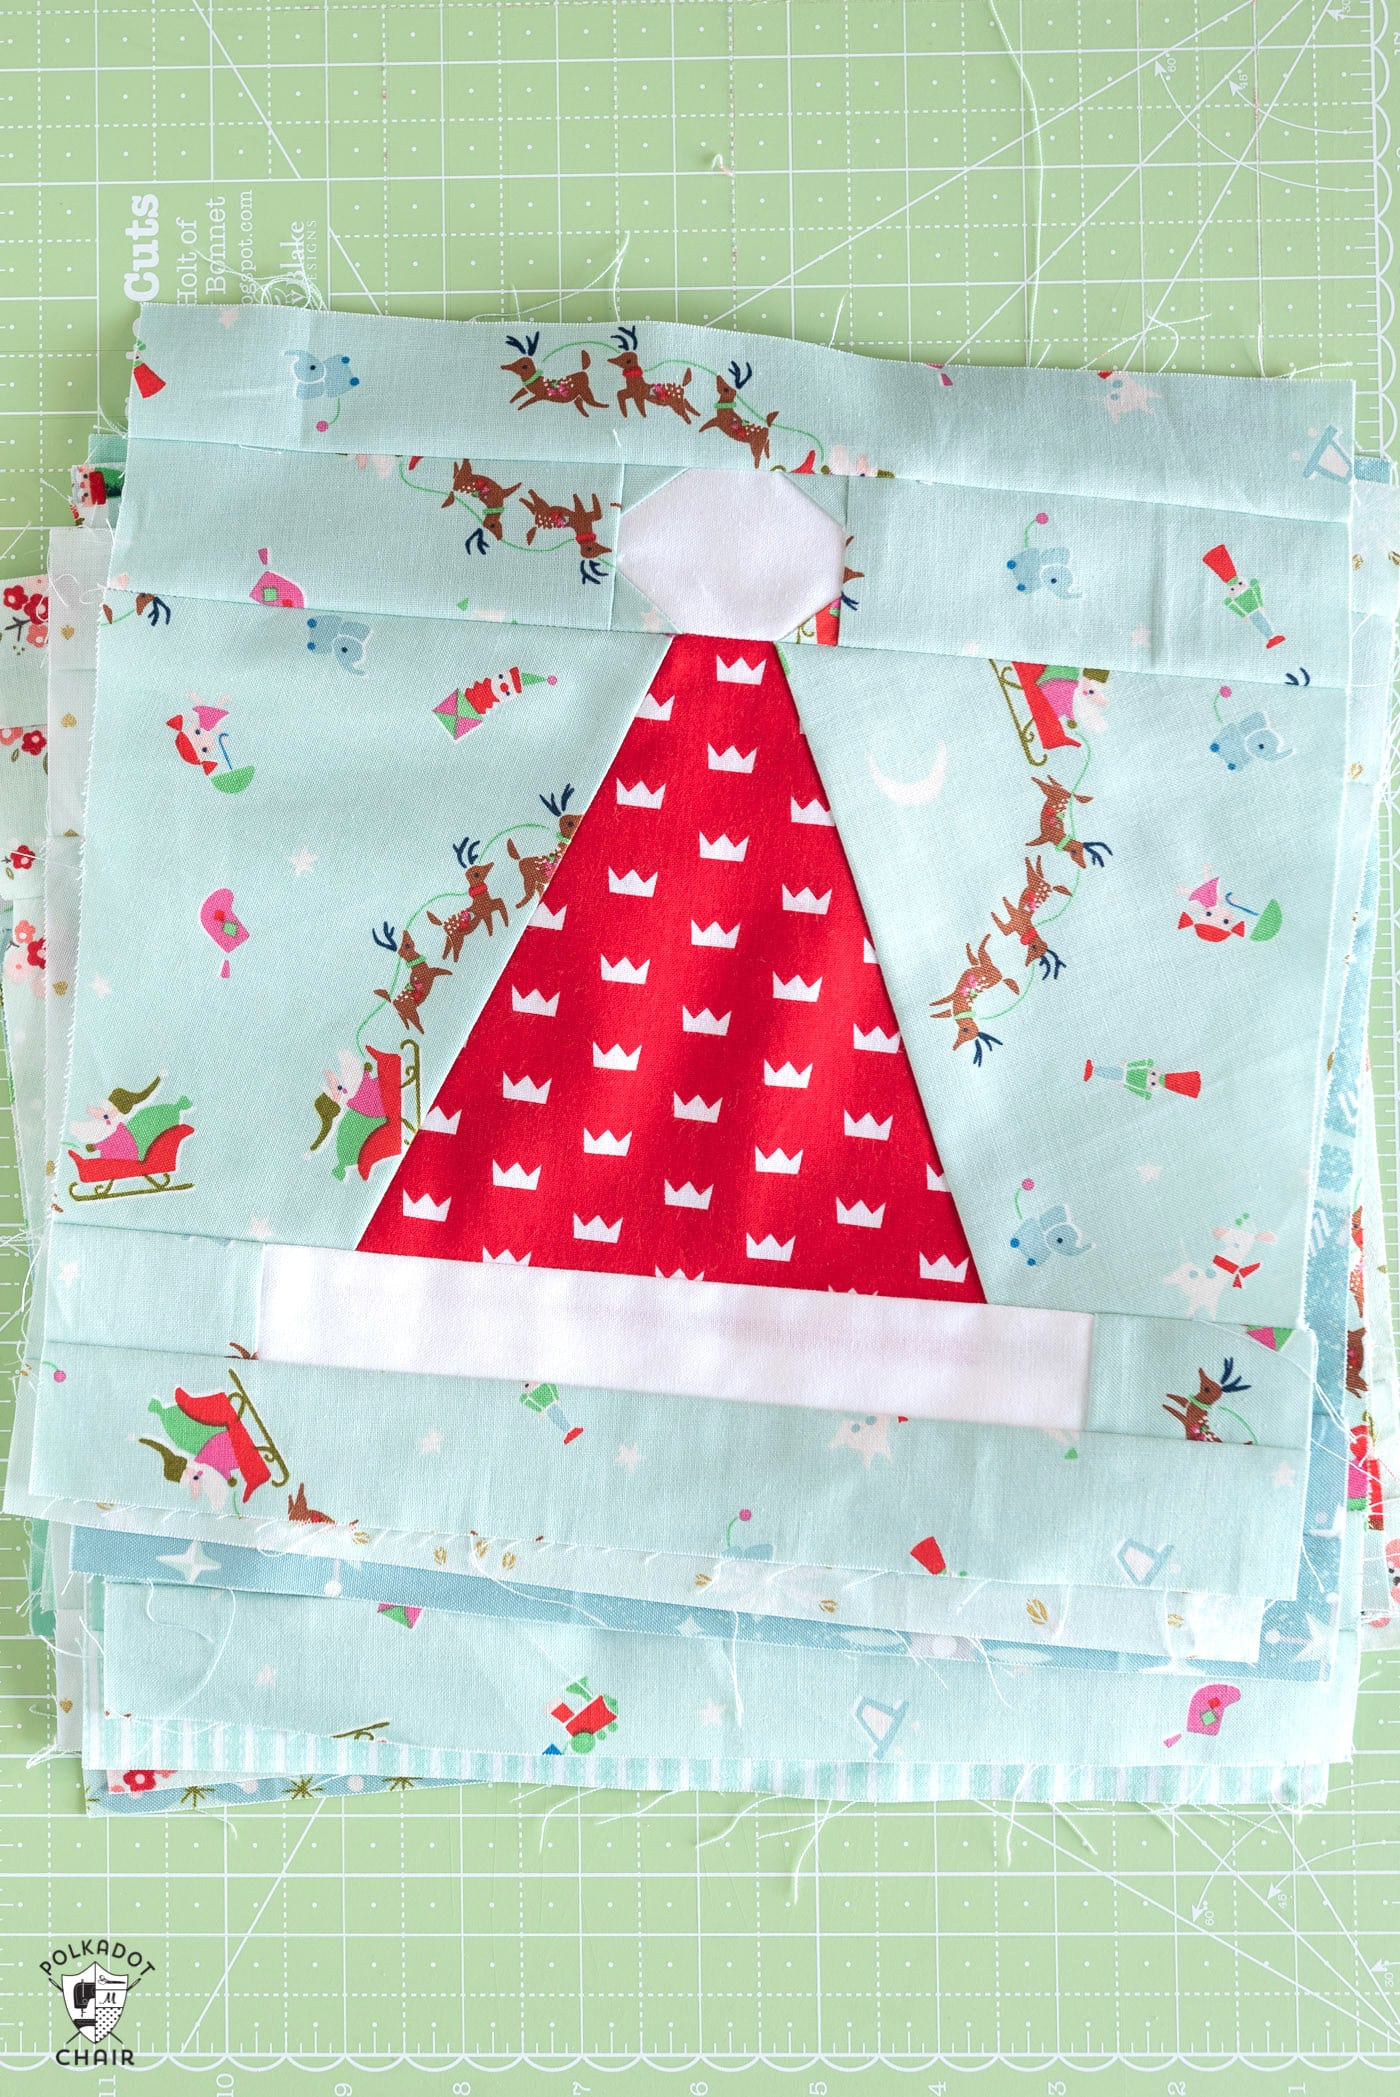
Block from Santa’s Hat Shop Quilt pattern (it can also be traditionally pieced)
So why FPP? I find that you are more able to accurately piece your blocks when they are Foundation Paper Pieced.
Since the source of frustration in quilting occurs when your project doesn’t turn out like you thought it would, FPP can help eliminate the source of some frustrations.
Recommended Supplies for Foundation Paper Piecing
Foundation Paper Piecing is a unique quilting method that involves sewing fabric onto a printed paper pattern.
Because this technique differs from traditional piecing, it requires a few additional supplies to help with accuracy and ease. Below is a list of recommended tools and materials to get you started with FPP.
5 FPP Tips for Beginners
I’m a beginner at Foundation Paper Piecing myself, and these tips are shared from personal experience. Mostly because I made a lot of mistakes when I was learning, mistakes prove that you’re trying, so I try not to let them discourage me.
Note: I’ll frequently refer to Foundation Paper Piecing as FPP during this post.
Tip One: Measure your Templates before you Start
FPP Blocks are made by sewing fabric to paper. The pattern is printed on the paper, and you follow what’s on the paper. Since the paper IS your design, it’s important that it’s the correct size.
Did you know that most printers will print an image the size it “thinks” fits best on the paper? Many copy machines do this, too. They are just machines so we can’t blame them, they’re trying to help us get the most from our piece of paper LOL!
Before you start, measure your printed patterns and ensure they are the size called for in the pattern.
If you’re having trouble, it’s probably due to a setting in Adobe Acrobat. Go to File—Print, then look for either “page scaling” or a percentage box. Make sure it’s set to 100% or Actual size. If it’s still not printing the correct size, double-check that no margins are being added to your document. This setting is usually found in the Page Settings or Advanced boxes in the Print Dialog.
Tip Two: Color Code the Sections of your Design
Sarah Ashford shared a Kite FPP tutorial with us a few months ago. In her tutorial, she recommends color-coding your blocks before you sew. That way, when you pick up pieces of fabric to add to the paper, you can make sure that you’re picking up the right fabric.
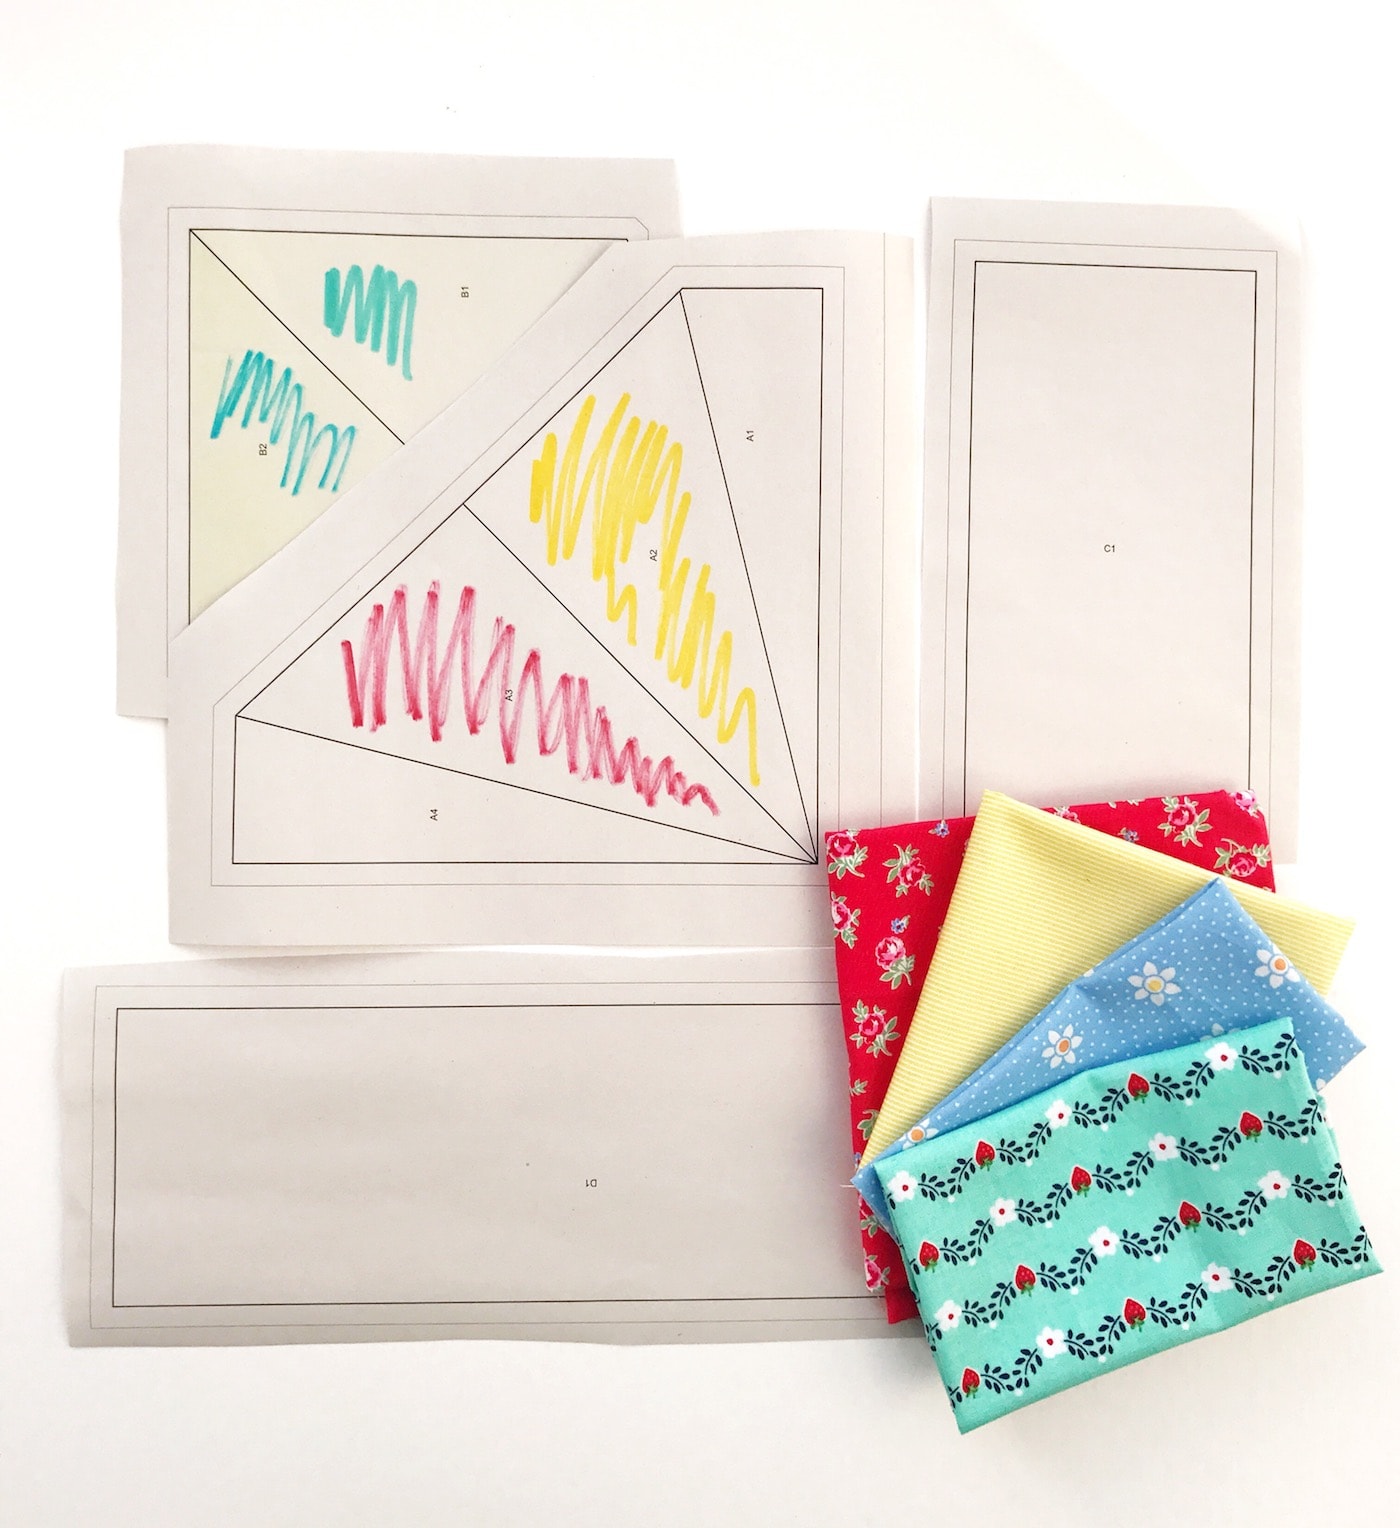
The FPP patterns included in my Santa’s Hat Shop pattern are already color-coded for you. If you have a color printer, the measurements for each section are in colored ink, corresponding to the color of the fabric for that section.
Tip Three: Be Careful with Trimming & Fabric Placement
Every mistake I’ve made while working with FPP patterns has been due to overzealous trimming or misaligned fabric. I get in the “zone” while I’m sewing, and I stop paying attention to what I’m doing and make a mistake.
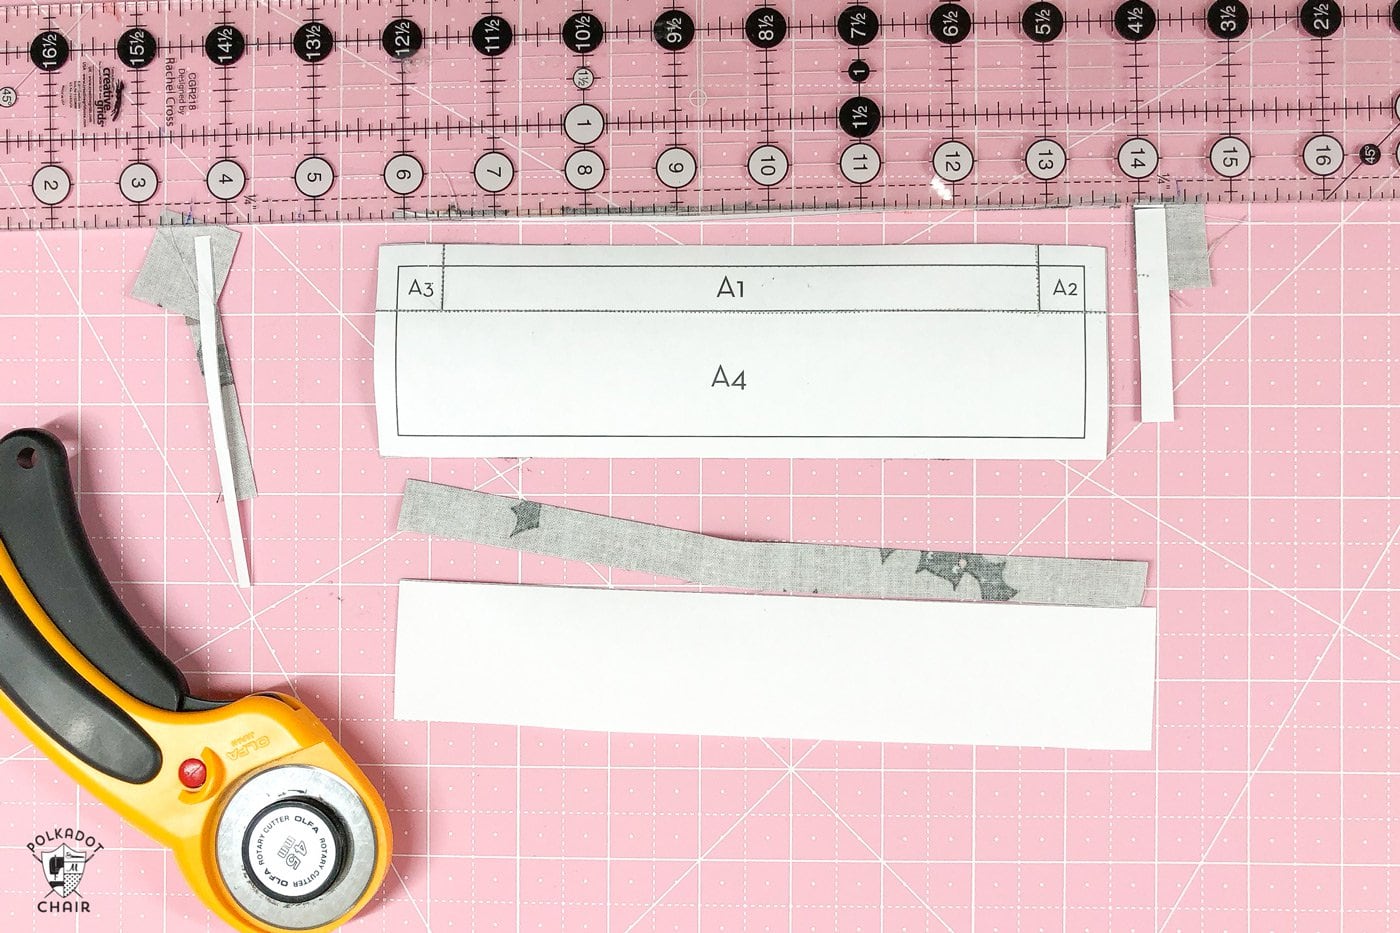
Most FPP patterns have two outer lines. The inside line is the actual design, and the outside line is the seam allowance.
You want to make sure you trim your pieces on the outside line. If you trim on the inside line, you will have no seam allowance. Also, double-check before you trim to see if the FPP includes a seam allowance.
If you’re worried about misaligned fabric pieces Lee Heinrich of Freshly Pieced Quilts shares a tip for placing your pieces for FPP.
Often, with FPP, it’s hard to visualize where the fabric will end up after you sew it, especially when you’re dealing with weird angles. I have often thought I had enough fabric to cover a section of my pattern but noticed after I sewed the seam that I was short. This tip from Lee is brilliant.
Tip Four: Use Paper Specifically for Foundation Paper Piecing
Let me preface this by saying that you do not NEED to have a special paper for FPP. You can use regular printer paper. It will work just fine. However, if you want to try it, I find that Foundation Paper Piecing Paper is easier to work with.
I’ve noticed that it’s easier to fold accurately and easier to remove from the block after you’re done sewing.
I like to use the Carol Doak FPP paper.
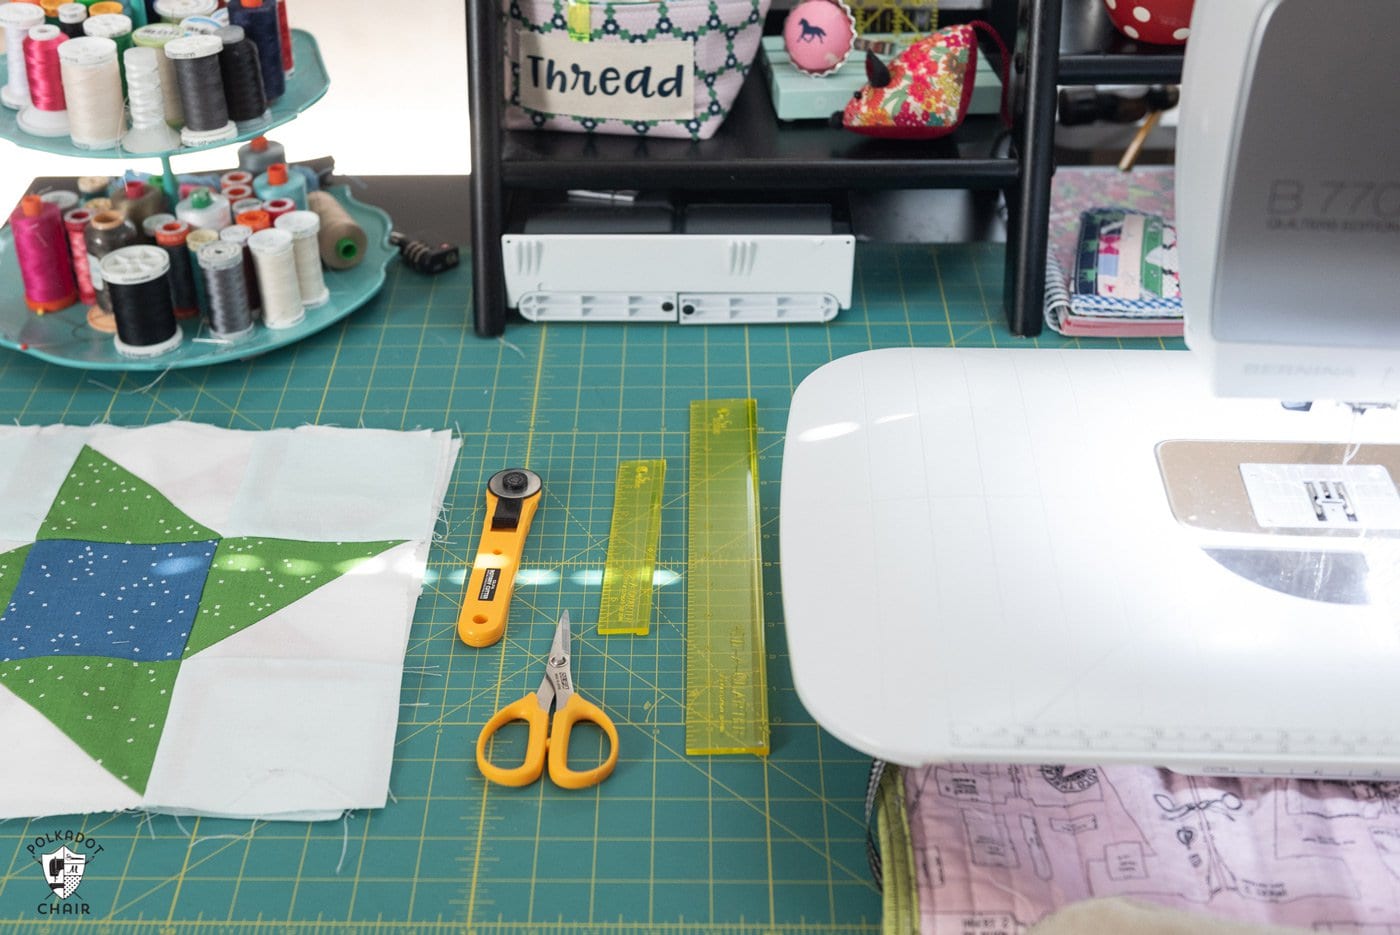
Tip Five: How to Set up Your Space
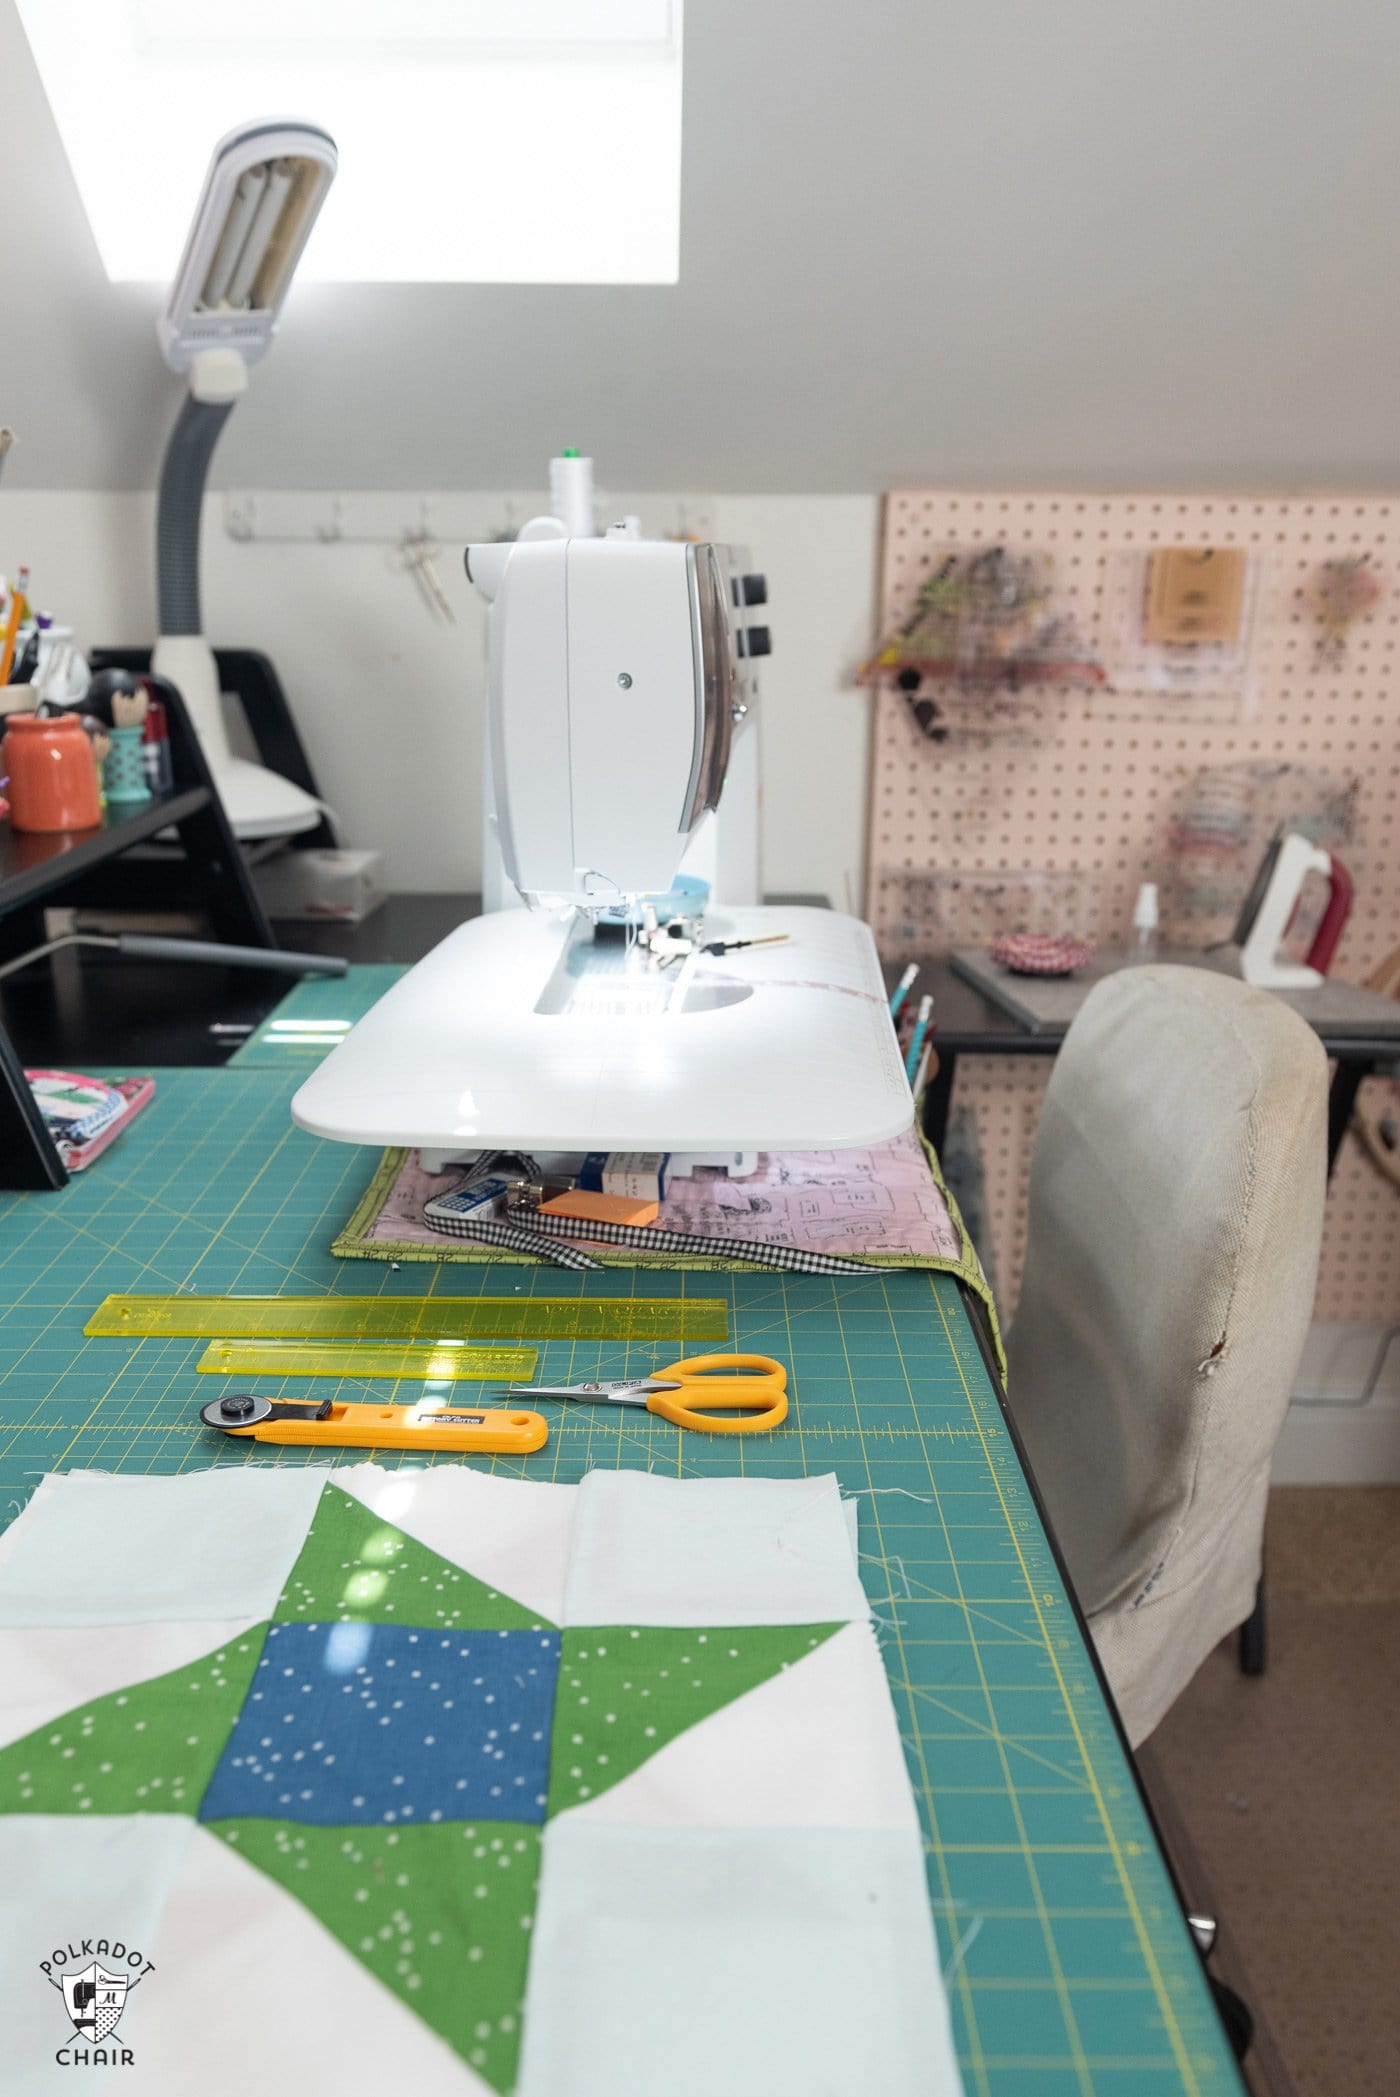
FPP involves a lot of pressing and trimming. If you constantly stand up to trim your fabric and then move to your ironing board to iron, you’ll get worn out very quickly.
This is a shot of how I have my space set up. I have my machine on a cutting mat. So I can cut while I’m sitting down. I also have a small tray table close by with a wool pressing mat and a small iron.
- Mini Iron
- This is the pressing mat I use.
- Link to how I made my Peg Board
- The pattern for my Sewing Machine Mat
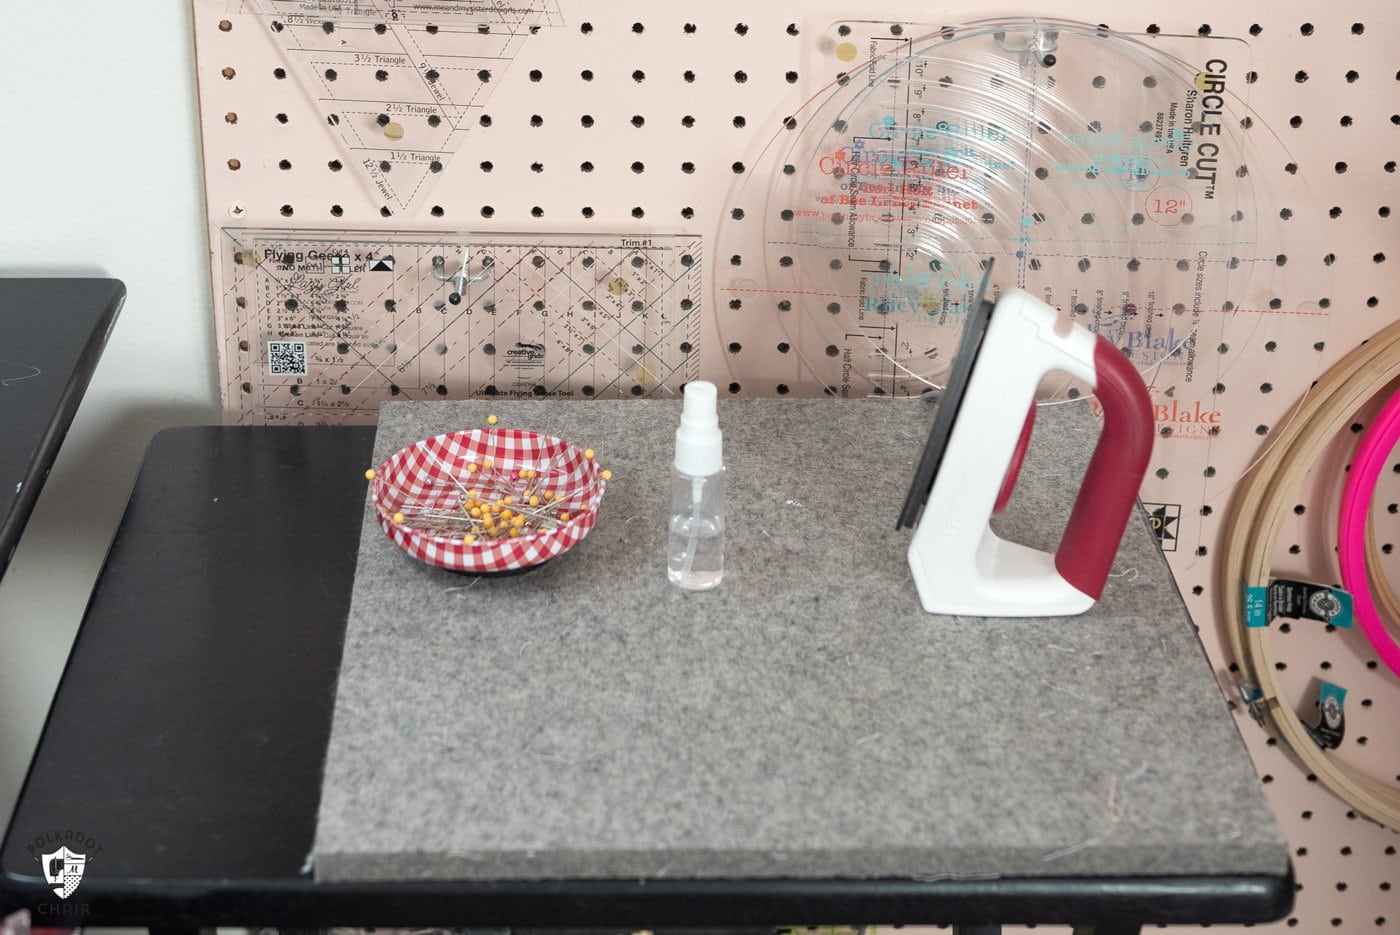
This way, as I’m working, I don’t have to stand up and sit down repeatedly, which makes the process much more pleasant. (You can see more photos of my studio space HERE.)
So do those tips help? If you have any questions leave them in the comments and I’ll try my best to answer them for you.
Other Quilting Tips that I think you will like
How to Pick Fabric for a Quilt