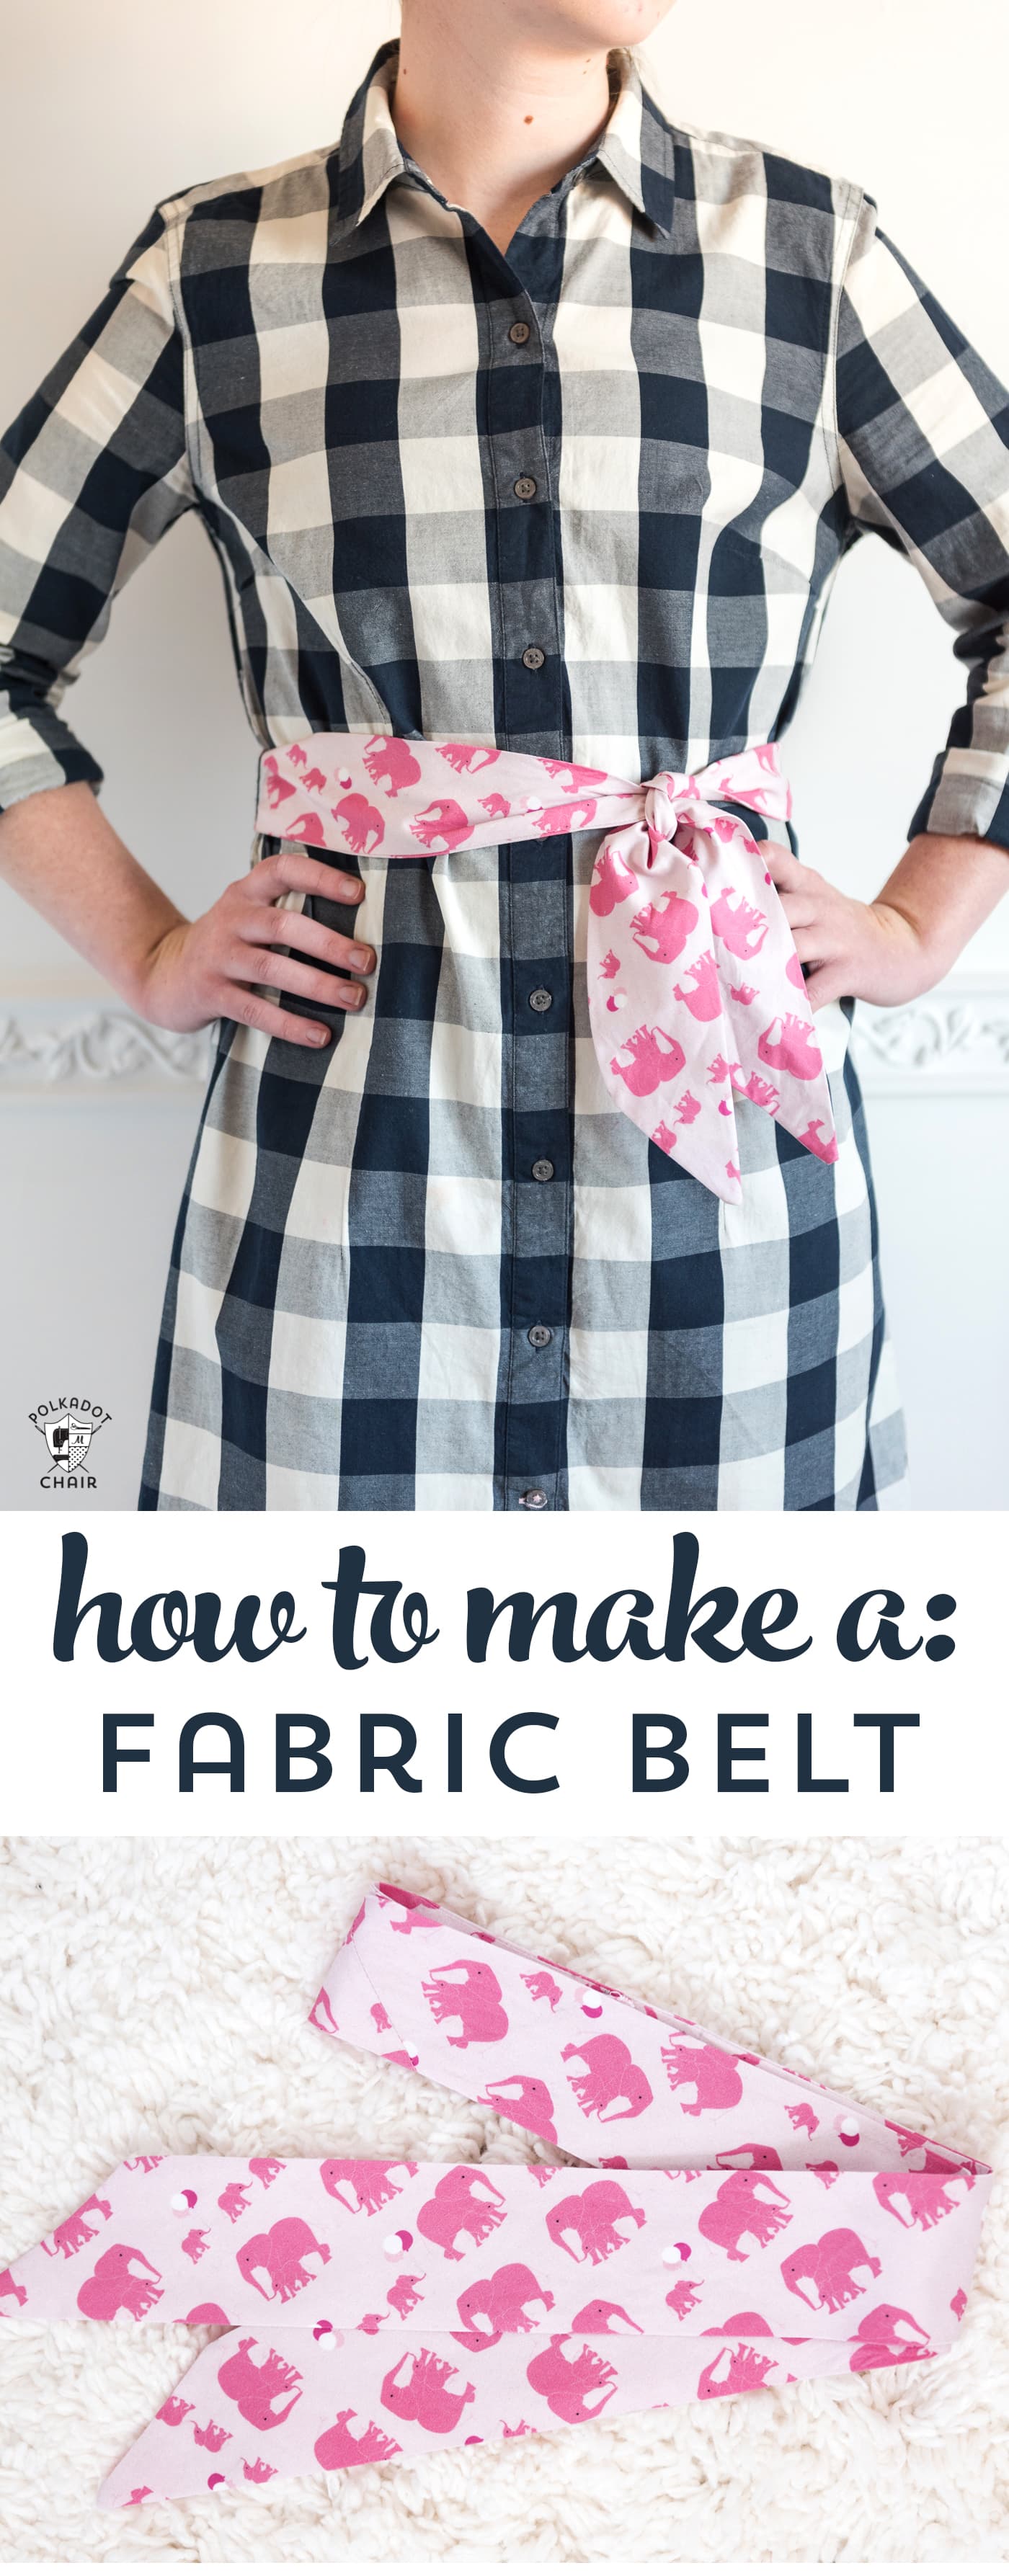
How to Make a Fabric Belt or Sash

Today I’m going to show you how to make a fabric belt. It’s a quick and easy sewing tutorial, all you have to do is sew 2 seams! If you like this project then you may also like this Infinity Travel Scarf Tutorial.
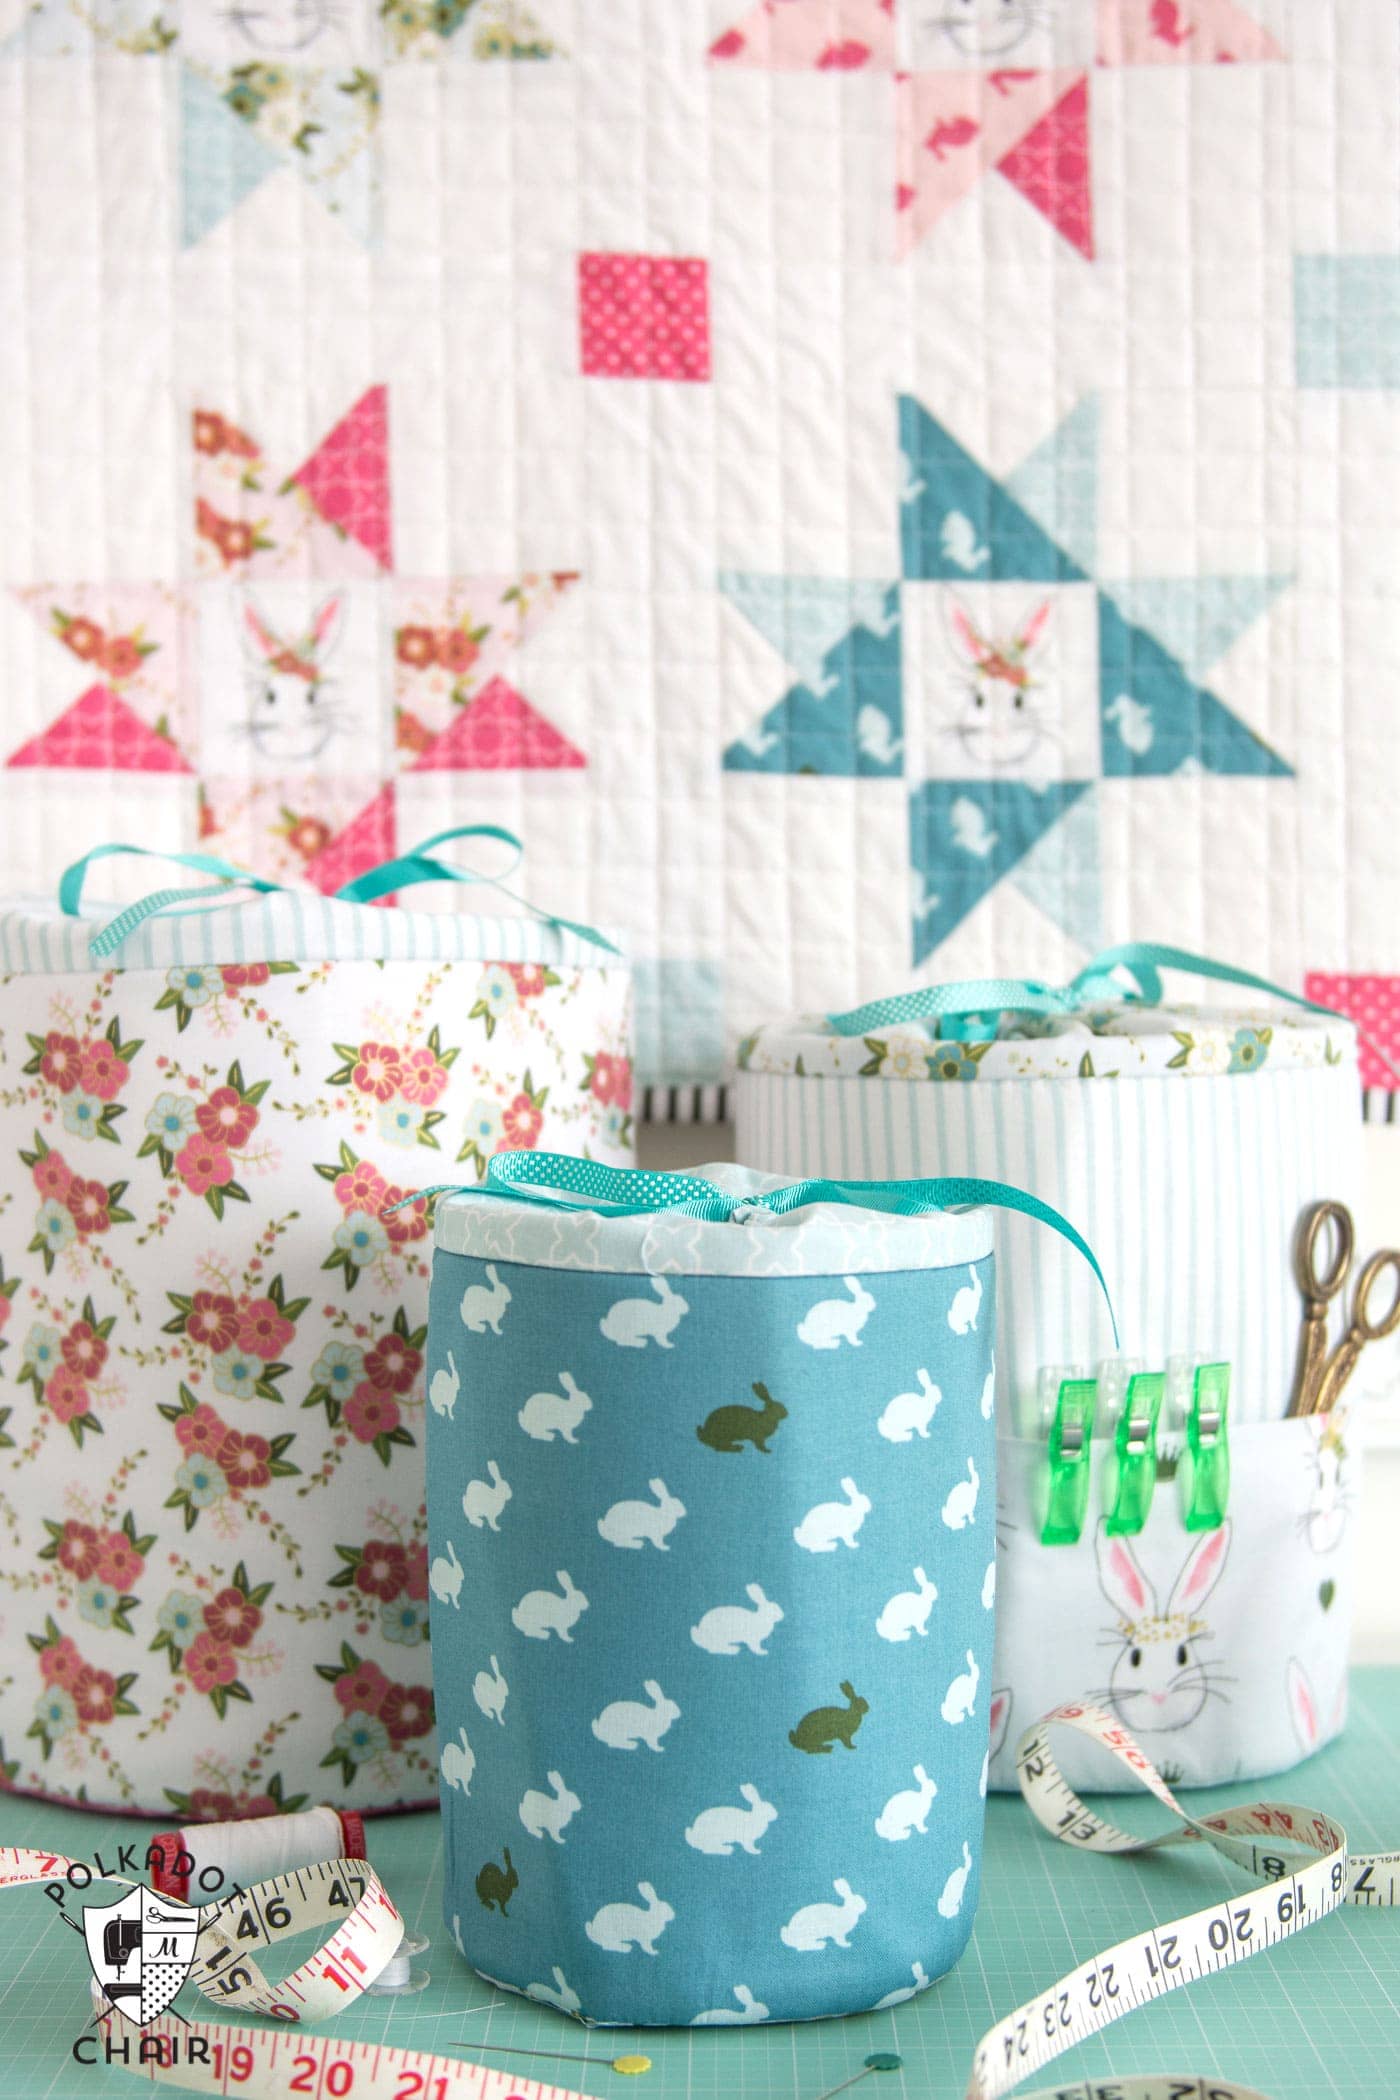
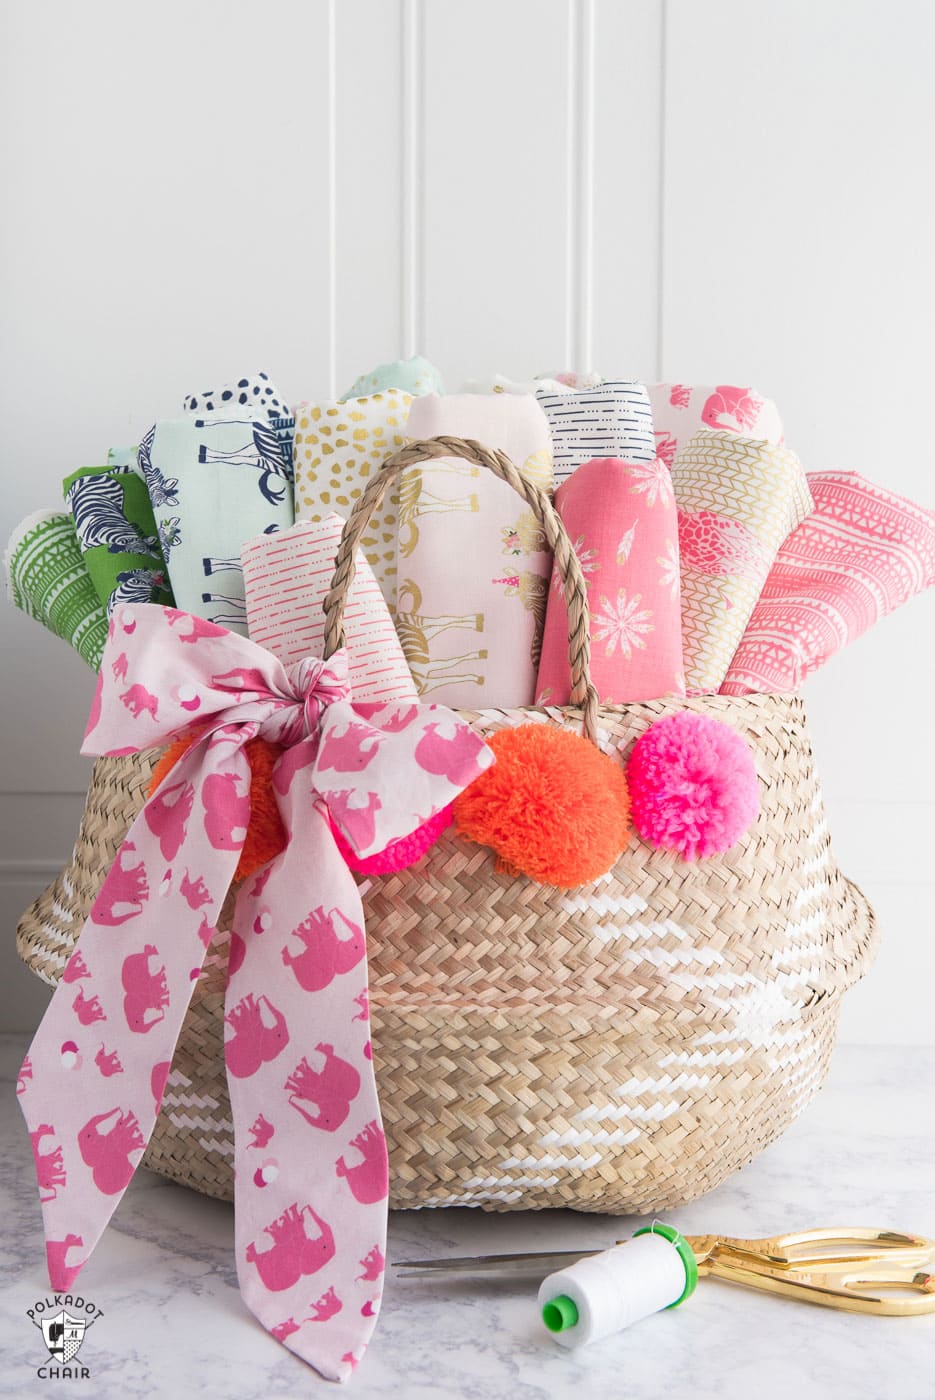
A few months ago I made a fabric sash for a basket that I was taking to Quilt Market with me. It was so fast to make, I think I timed it to less than 30 minutes. Do you ever get those last-minute brainstorms for projects? Well, that’s kinda how this one started. I needed one more project for my booth and quickly sketched up and stitched this sash.
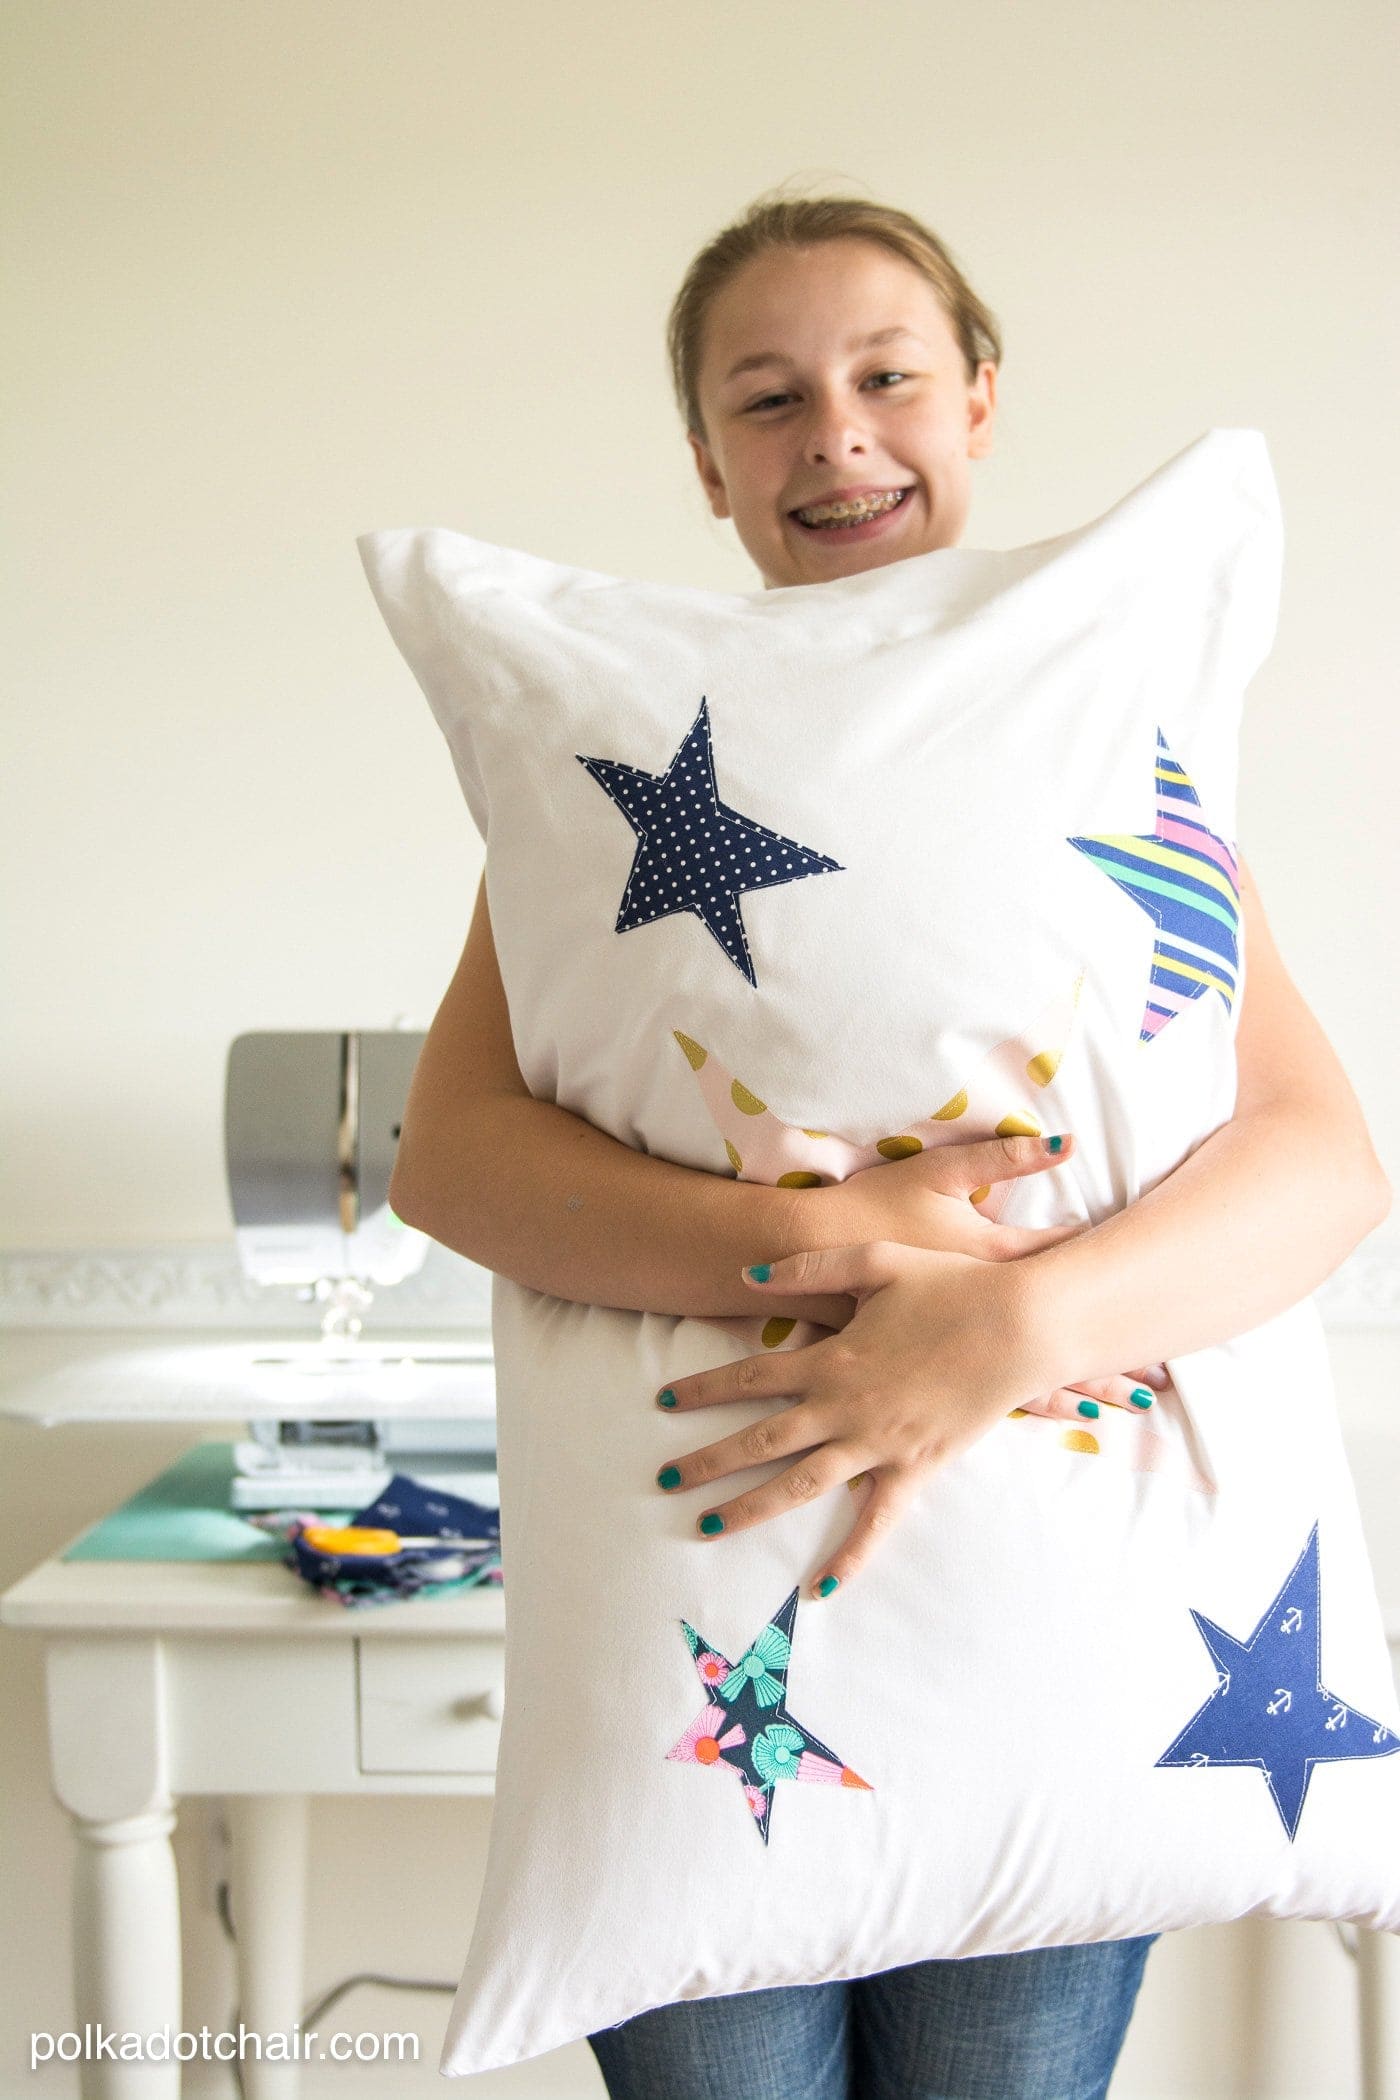
I brought it home with me and it was quickly confiscated by my daughter and turned into a belt. The fabric was just the right weight to add to some of the simple summer dresses she was wearing.
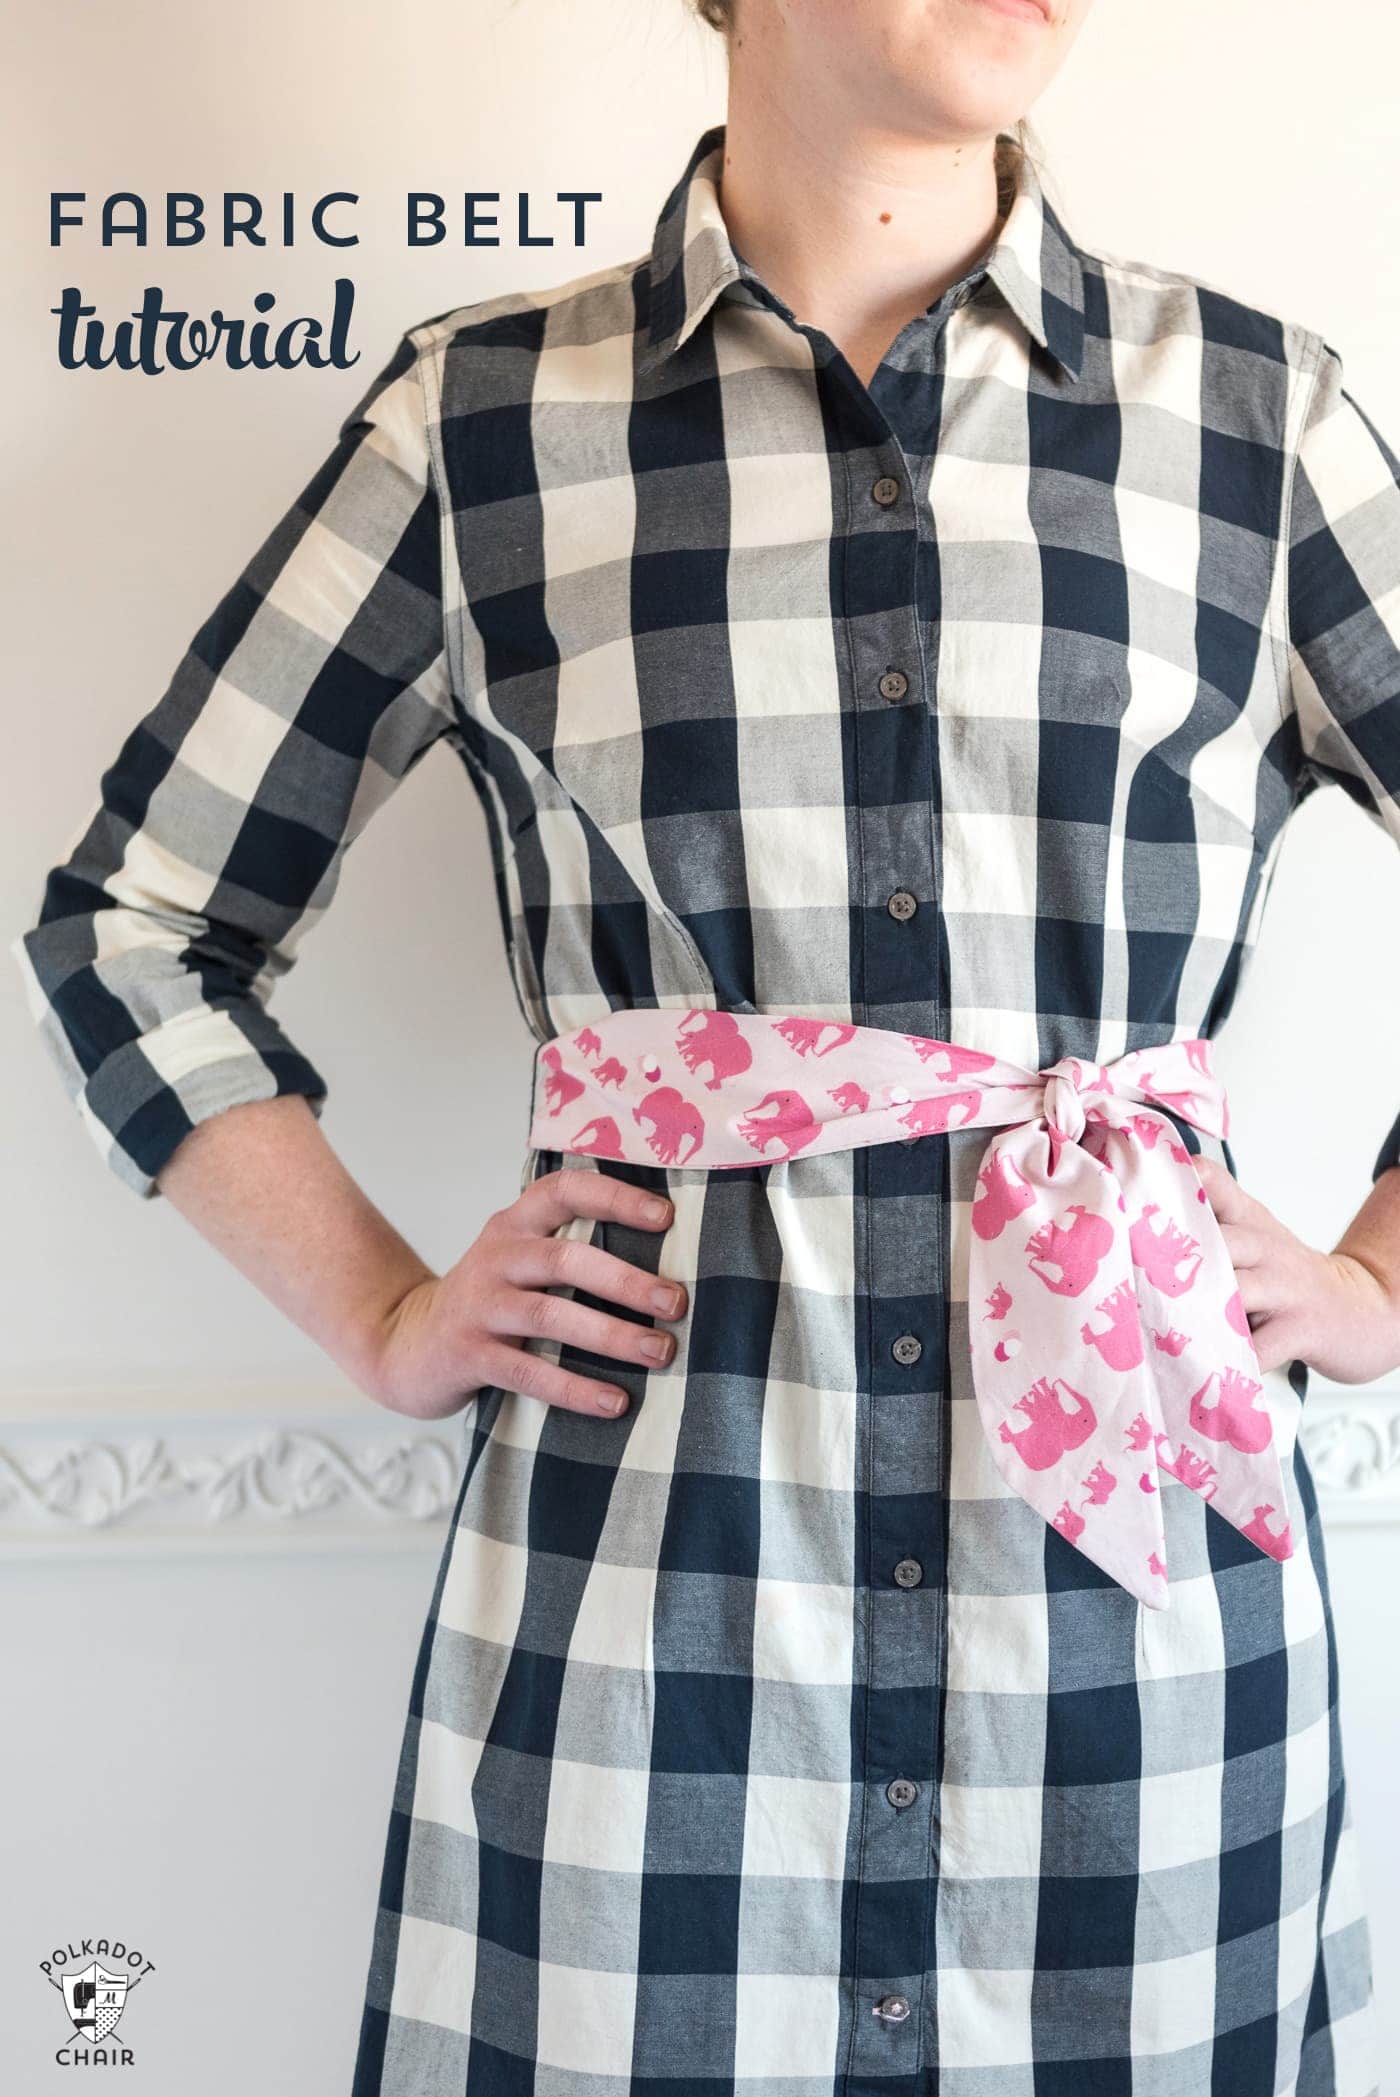
More than a few of you emailed me asking how to make the bow that was on the basket (the one in the photo above). Today I thought I’d share with you a tutorial to make the fabric belt/sash. The belt I made measures about 52″ long and 2 1/2″ wide which is long enough to fit the waist of a size 6. If you want to make it longer (heaven knows, I’d need a longer one for myself ) then you can just add more pieces to the belt (I’ll show you how in the tutorial).
Okay, are you ready to start?
How to Make a Fabric Belt or Sash
Supplies:
(contains affiliate links)
1 yard of fabric. This will be enough to make at least one belt that is 52″ long. You can make more belts with the yardage as well, but you may have to stitch a few cut pieces together to make longer pieces. The fabric I used is from my Safari Party Line.
Quilt Ruler with a 45-degree marking.
Cutting Instructions:
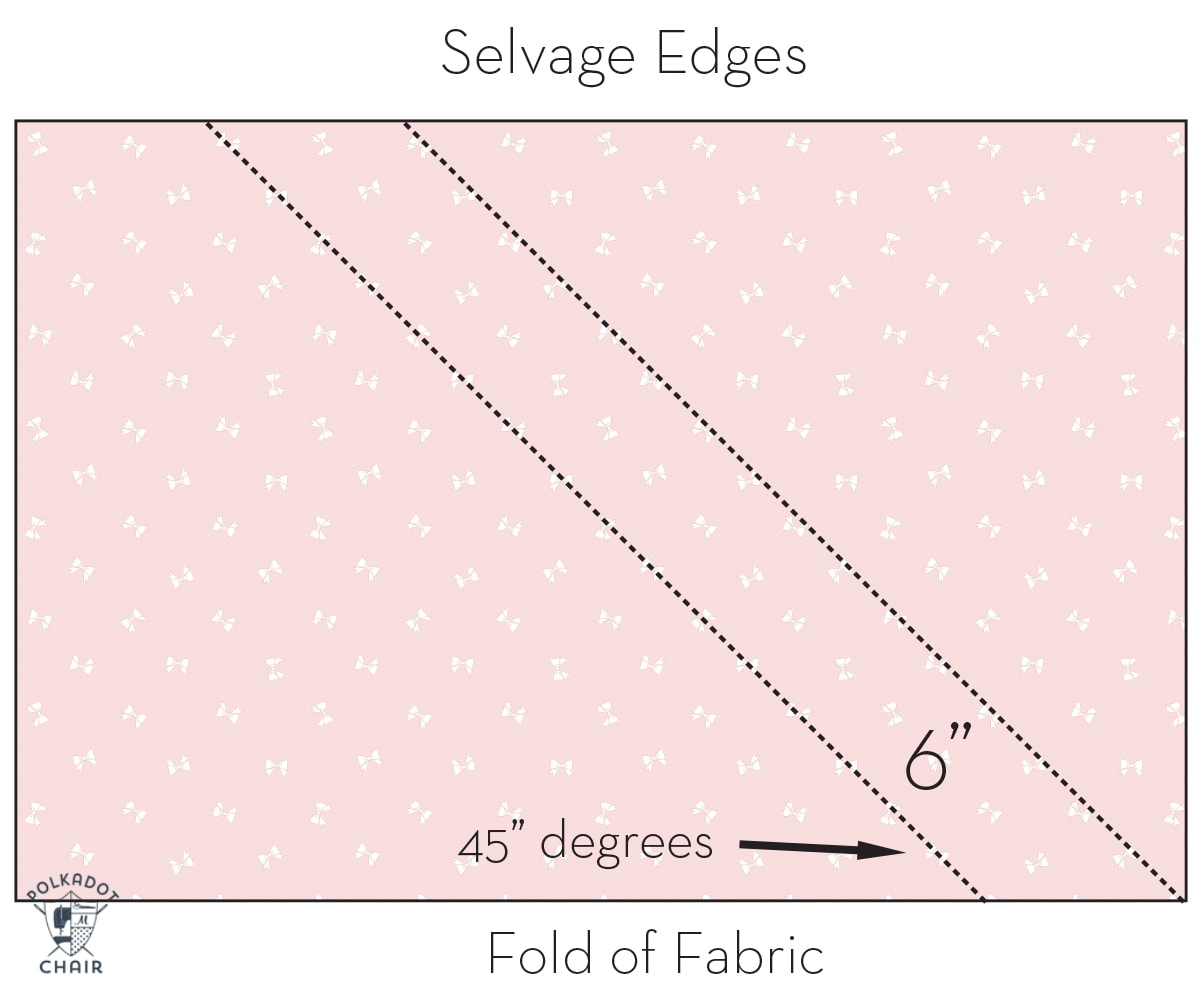
To make a belt that is 52″ long you will need to cut 2 pieces of fabric each 6″ wide on the bias. To do this I just leave my fabric folded the way that it came on the bolt. Since it is doubled over you can cut both pieces at the same time.
If you want your belt longer, then cut another piece the same width either to the right or the left of this first cut you make.
To make the cut, line up the 45-degree angle mark on your ruler with the folded edge of the fabric. Cut it from the fold of the fabric to the edge of the fabric.
Measure over 6″ and cut it again, at the same 45-degree angle.
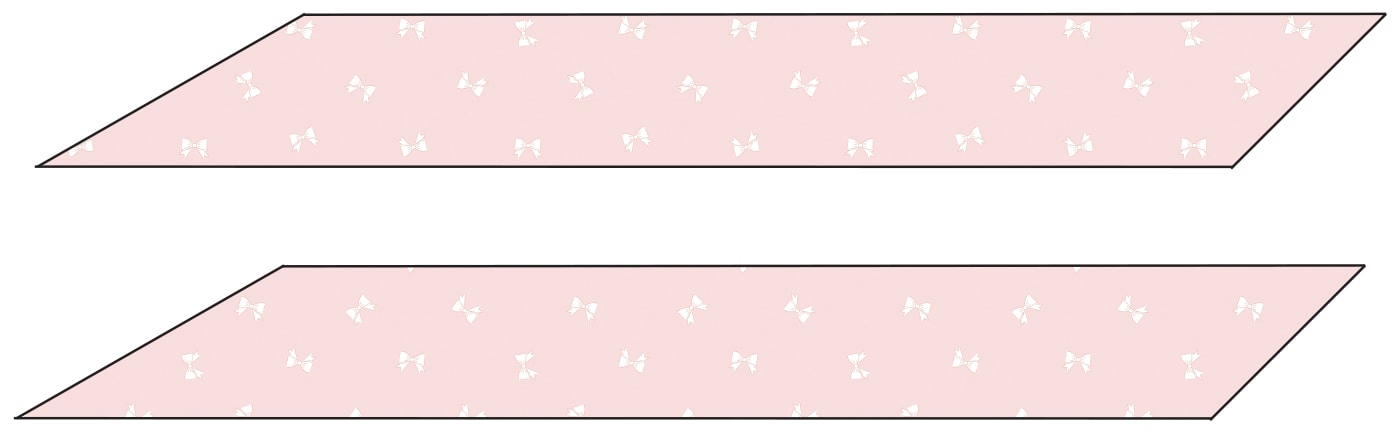
Unfold your fabric, it will look like a V. Cut it apart along the fold.
You will end up with 2 pieces that look like the ones below.
Next, stitch the two pieces together along one end. To do this you’ll need to rotate the fabric, you want one long piece of fabric that is straight. If you’re worried about lining up the angled ends, just blunt off one end of each of the pieces and stitch them together this way. Also if you are matching a fabric, you’ll need to do it that way as well, as rotating the fabric will change the direction of the pattern. Trim your seam allowance down to 1/8″ – 1/4″.
If you want your belt longer, just stitch another piece to the long strip. Make sure it is also cut on the bias.
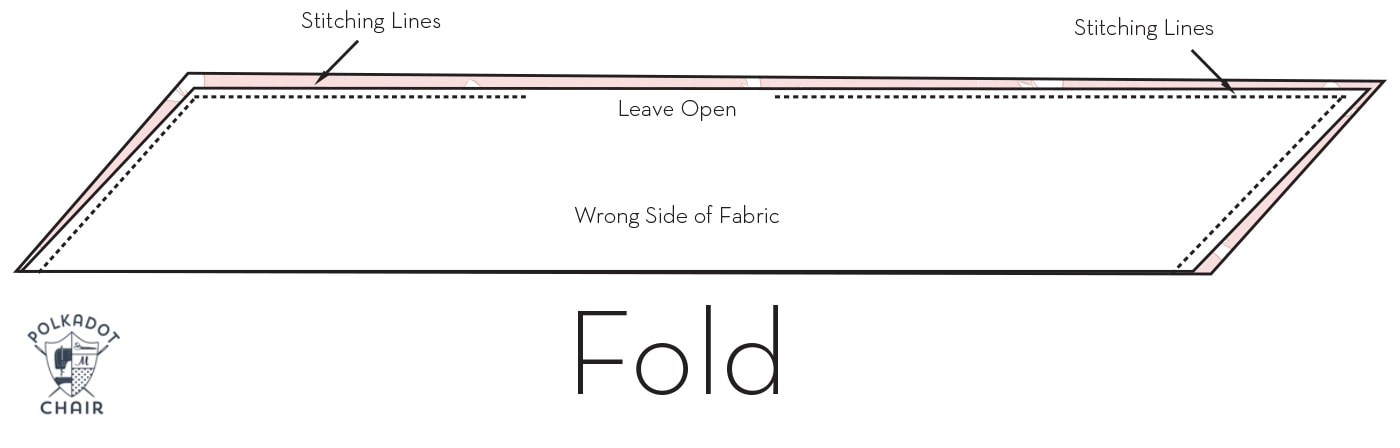
Once you have your long piece of fabric (52″ x 6″) fold it in half lengthwise with the right sides facing. Pin it in place.
Stitch around the perimeter of the piece, with a 1/4″ seam allowance, leaving an opening in the center of the sash.
Clip the corners, then turn the piece right side out.
Press it well, making sure to “catch” the opening as you press. Using a needle and thread, whip stitch the opening closed.
That’s it!
So easy right?
Also for those of you that have asked, the dress my daughter is wearing in the photo is no longer for sale.
I did, however, find quite a few cute Gingham Shirtdresses currently for sale, if you’re looking for something similar.