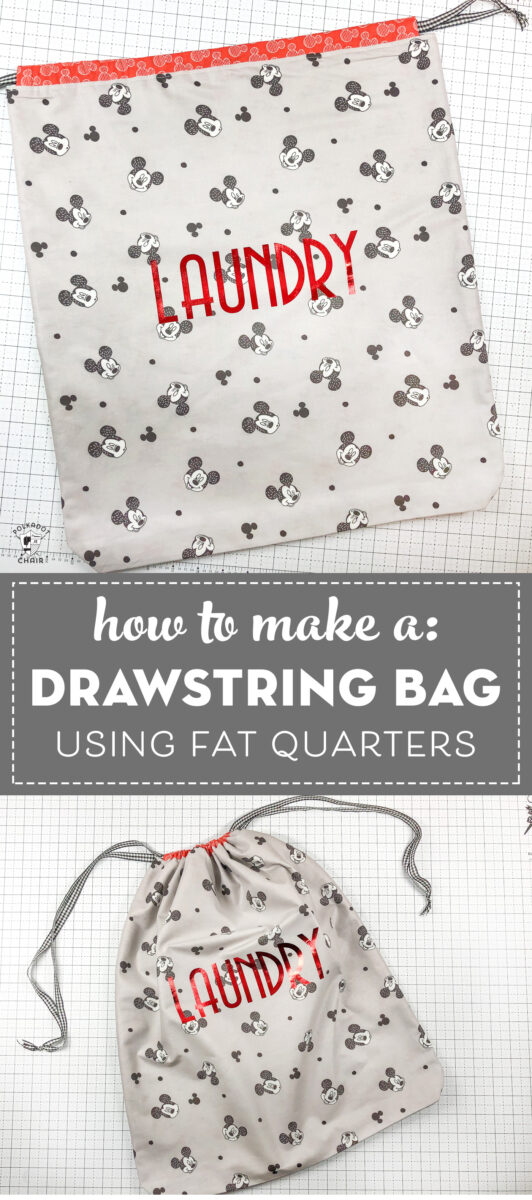
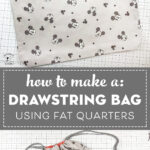
How to Make a Drawstring Laundry Bag; a Fat Quarter Project
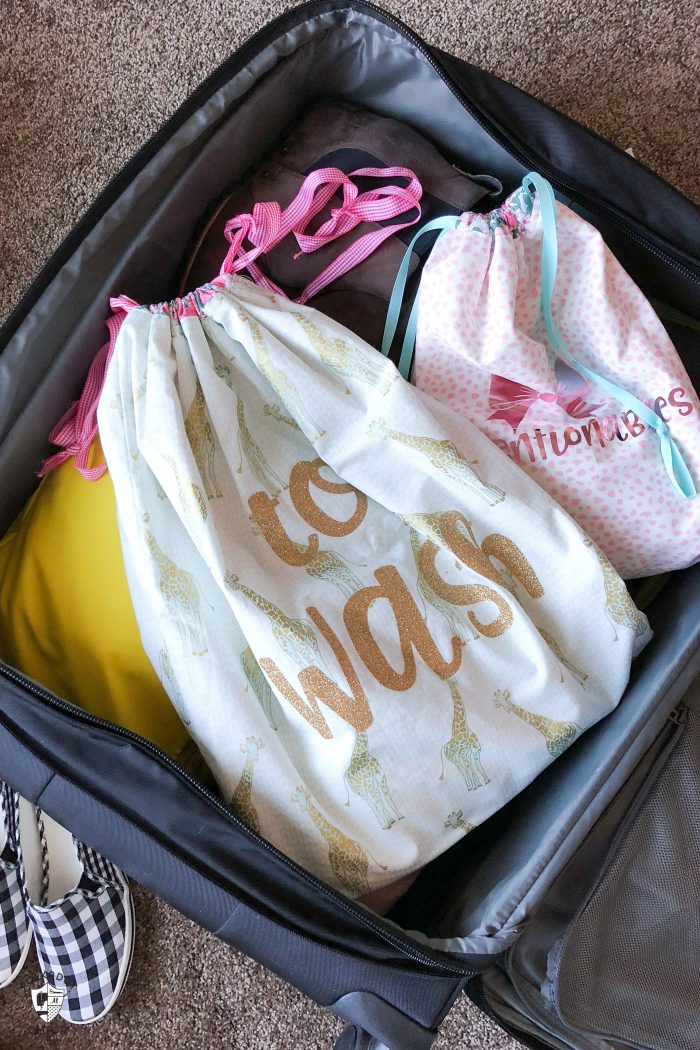
Years ago I made myself a travel laundry bag and it’s now one of my favorite travel necessities. My original tutorial included 5 different bag sizes but did not include fat quarter-friendly directions.
Today, I thought I’d share with you how to make a laundry bag using only fat quarters of fabric!
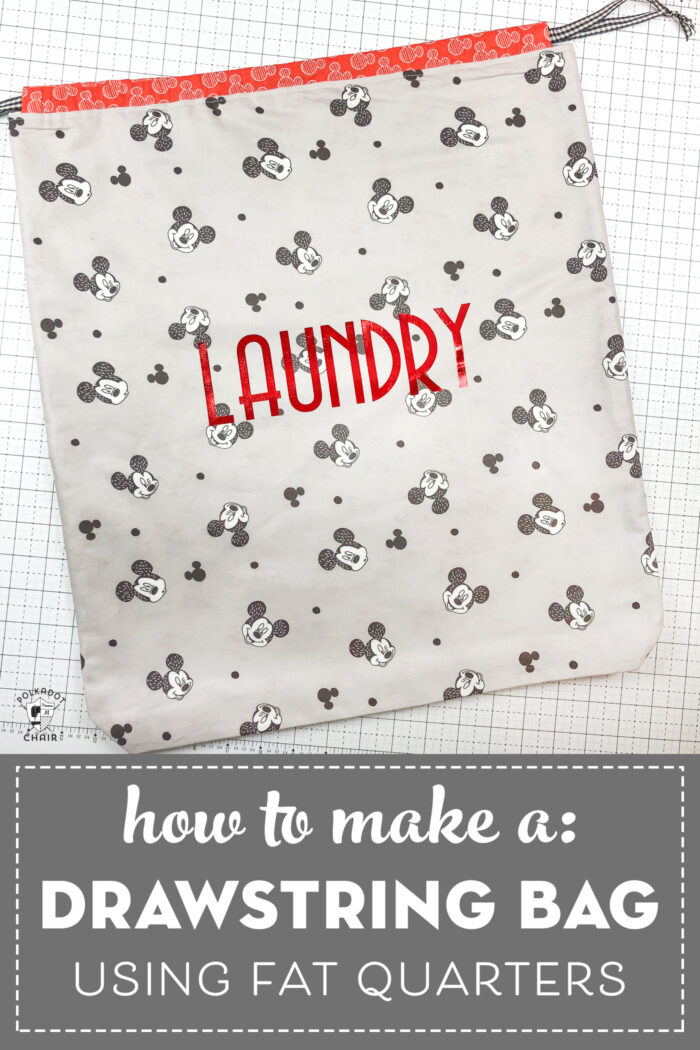
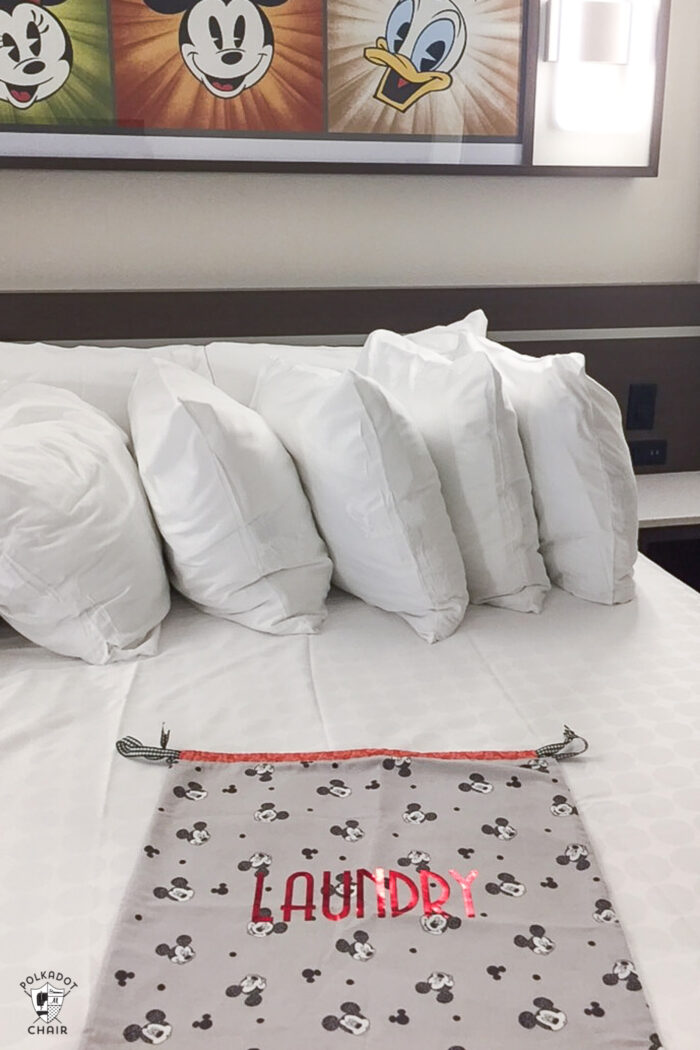
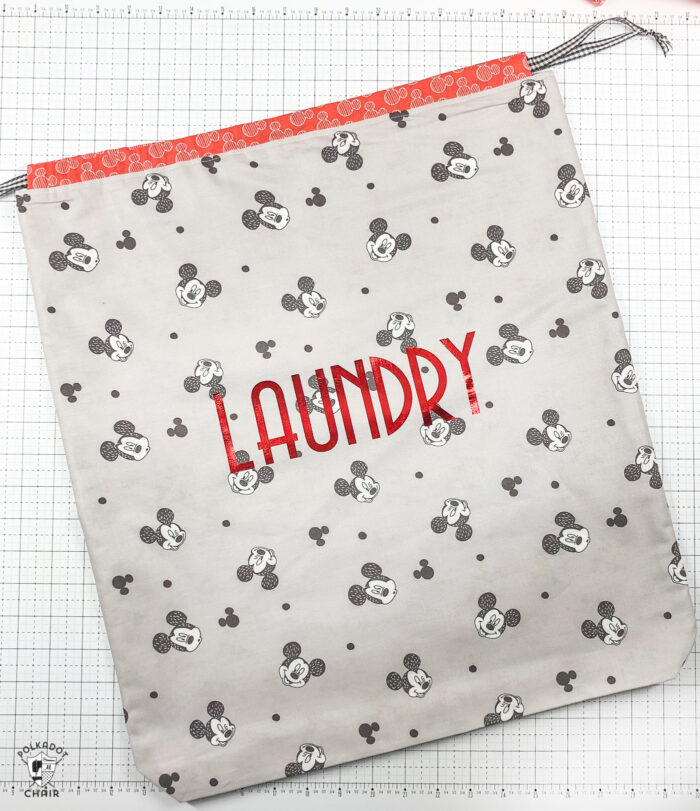
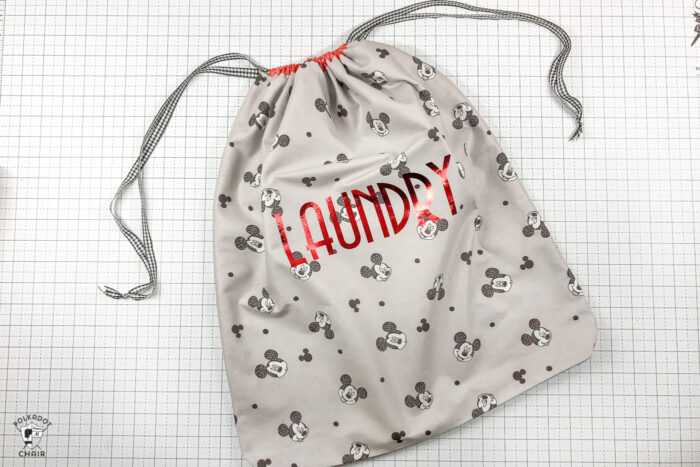
I have a friend who’s a huge Disney fan. She visits several times a year and in particular loves the runDisney races. I was brainstorming a gift to make her for her birthday last year and thought that a Disney laundry bag might be kinda fun.
Last January she was able to run another Disney race and texted me photos of the bag in her hotel room, ready to fill up with laundry!
About the Pattern
I mentioned before, that I have a similar bag that I love to use for laundry when I travel. I shared a tutorial for that bag HERE.
When I went to make the one for my friend, I only had Fat Quarters of Disney fabric.
I went back to my original tutorial (which included measurements for several sizes of drawstring bags) and realized that I didn’t have a measurement that was suited for Fat Quarters.
A fat quarter of fabric is a quarter yard of fabric that is cut to yield an 18″ x 22″ piece of fabric rather than a 9″ x 44″ piece of fabric from a traditional cut. It is common to see pre-cut fat quarter packs of fabric for sale. Many designers write quilt patterns designed specifically for Fat Quarters.
This tutorial will show you how to make a lined, reversible, drawstring bag using ONLY fat quarters of fabric (and some ribbon for a drawstring).
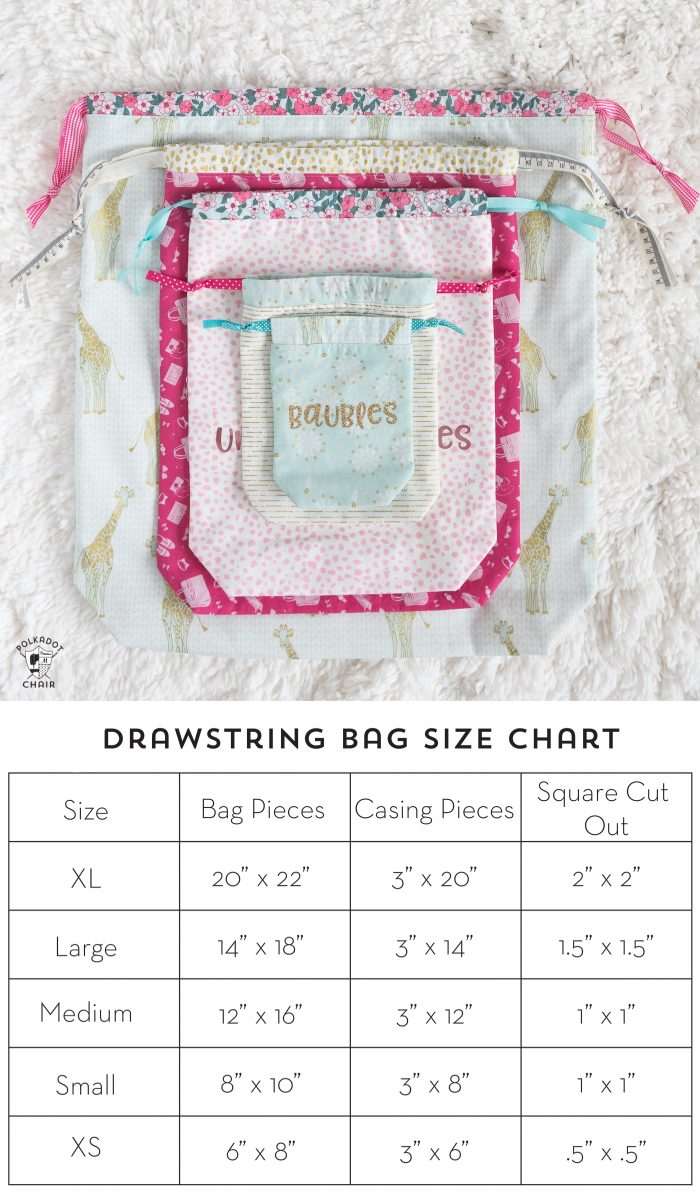
Before I share the tutorial, here’s the chart again, if you’d like to make a laundry bag in a different size. Note: the fat quarter bag measurement is not included in the chart.
Drawstring Bag Measurement Chart
The word “LAUNDRY” was added to the bag using an iron on that I created using my Cricut Machine. To make the iron on I just chose a font in Cricut Design space that I liked, and cut it out from Red Iron ON Vinyl. I then used my EasyPress to adhere the word to the bag. If you want more detailed directions to do this, you can see a full tutorial on to make iron one with your Cricut on our site, just use the search box at the top.
A few notes about the Laundry Bag:
- It measures approx 16″ x 20″ x 1″ when finished.
- It is fully lined and reversible.
- If you are going to wash the bag frequently, then I recommend pre-washing your fabric before you make your bag.
- This project contains drawstring ribbons which can be hazardous to small children. It’s intended for adult use only.
Please Note:
This project is directional. Meaning that it has an up and a down. If your fabric also has an up and a down, you need to make sure that it’s oriented correctly on your finished project.
Here are some examples of directional fabric. If this fabric were cut into fat quarters and used to make the bag with the current measurements the mermaids/seahorses/scallops would be sideways in the finished project.
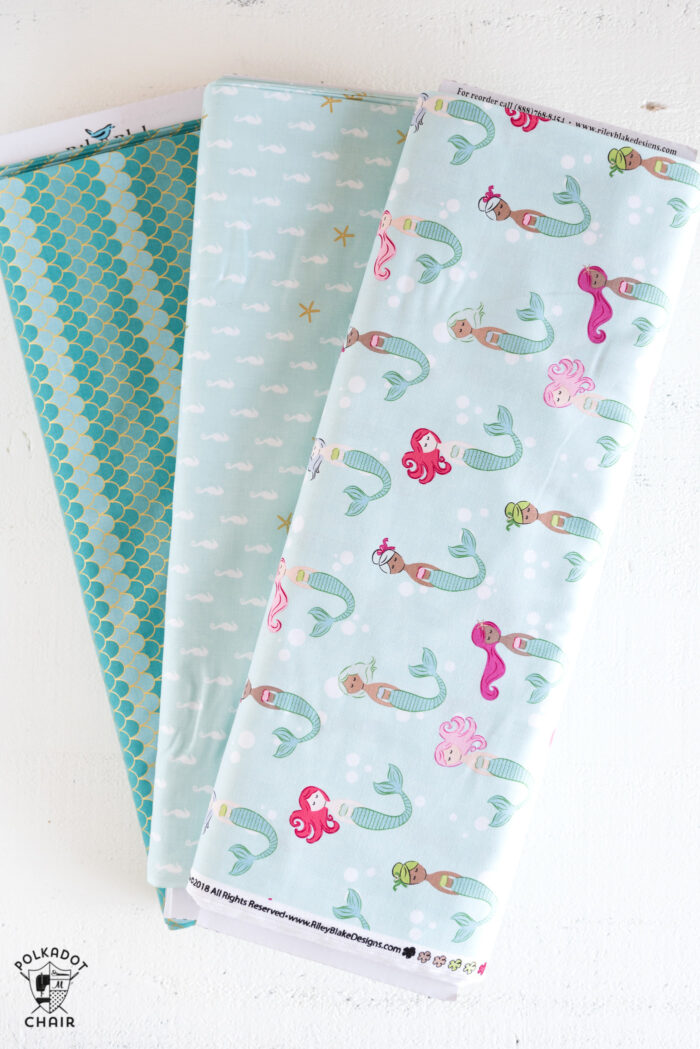
If your fat quarters are directional, and you want to make sure the fabric is oriented correctly on your bag.
If your chosen fat quarter will result in a sideways image on your finished bag, you can cut your fabric piece below to 17″ x 17″ instead of 17″ x 20″. All other measurements are the same. The bag will just be slightly shorter but will still work great!
How to Make a Laundry Bag using Fat Quarters
If you prefer a printable version instead, you can purchase a printable version of this pattern in our shop.
Laundry Bag Supplies
The fabric on my bag is from a Fat Quarter of Disney Fabric that I purchased from Fat Quarter Shop.
2 Fat Quarters of Fabric For Outside of Bag
2 Fat Quarters of Fabric For Bag Lining
1 Fat Quarter of Fabric For Casing
2 yards 1/4″ Ribbon for Drawstring
Cutting Instructions
Cut the 2 fat quarters of fabric for the outside of the bag and the 2 fat quarters for the bag lining to 17″ x 20″. 17″ is the width of the bag and 20″ is the height of the bag.
Cut from the casing fabric, 2 pieces each 3″ x 17″
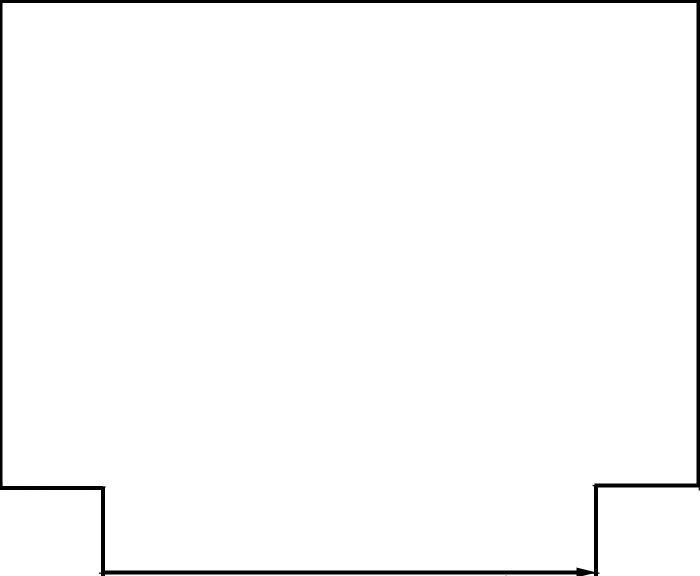
On the bottom of each of the Bag Outside and Bag Lining pieces, cut a 1.5″ x 1.5″ square from the two bottom corners.
Sewing Instructions
All seam allowances are 1/2″
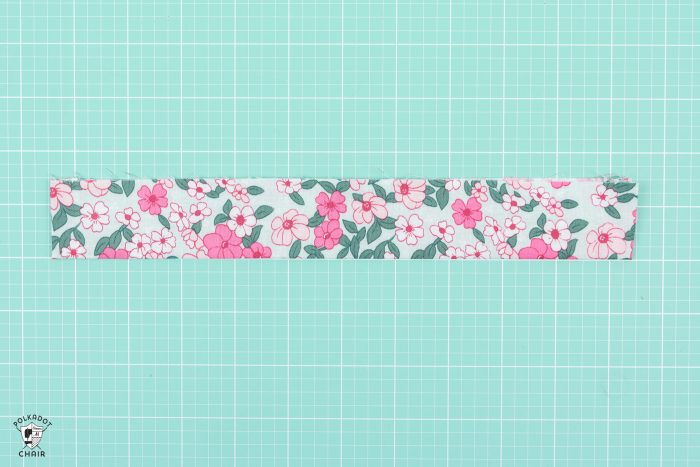
Step One: Prepare the Bag Casing
Begin by pressing the short ends of one of your bag casing pieces in 1/2″ on each edge. I recommend using a seam gauge for this step.
Next, fold the piece in half lengthwise and press. Repeat for other bag casing pieces.
Step Two: Sew the Casing to the Bag Outside Pieces
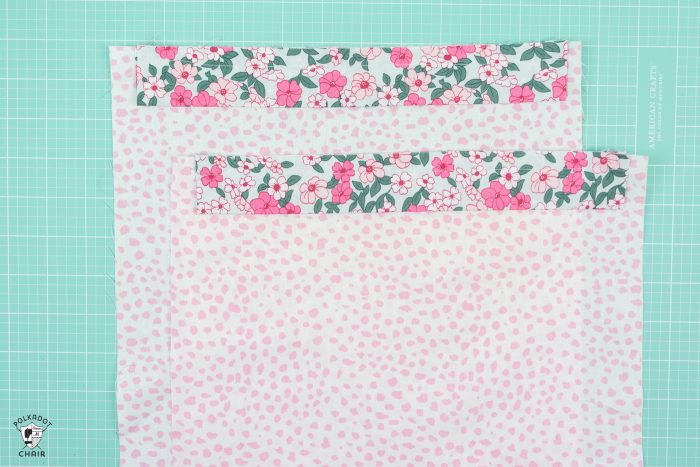
Pin the bag casing to the bag outside piece along the top edge. The raw edges of the bag front and the raw edges of the folded casing piece will be flush and the casing should be centered in the bag outside piece. Baste in place.
Step Three: Assemble the Bag Outside
Place the 2 bag outside pieces together, right sides facing. Stitch along the two sides and the bottom of the bag.
Do not stitch inside the square you cut out on the bottom of the bag.
Press seams open. As you stitch the side seams take care that you do not catch the casing pieces in the side seams.
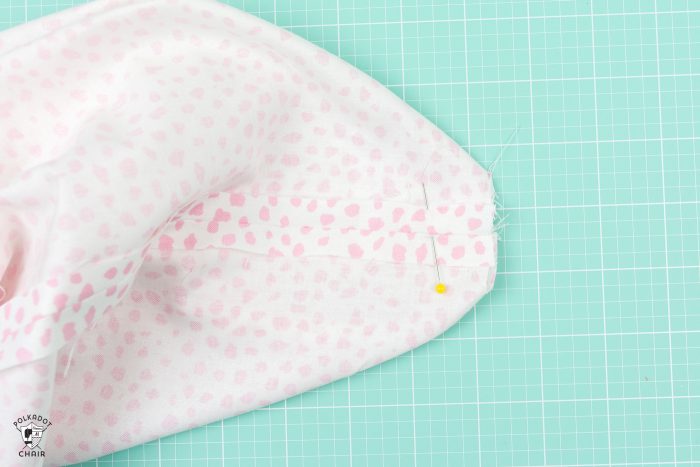
Pinch the bottom corner of the bag so that the side and bottom seams are on top of each other and the raw edges of the cut out square are even. Stitch in place. Repeat for other bag corner.
Step Four: Sew the Bag Lining
Repeat for the bag lining pieces (you do not attach a casing to those pieces).
Step Five: Sew the Bag Lining and Bag Outside piece to each other
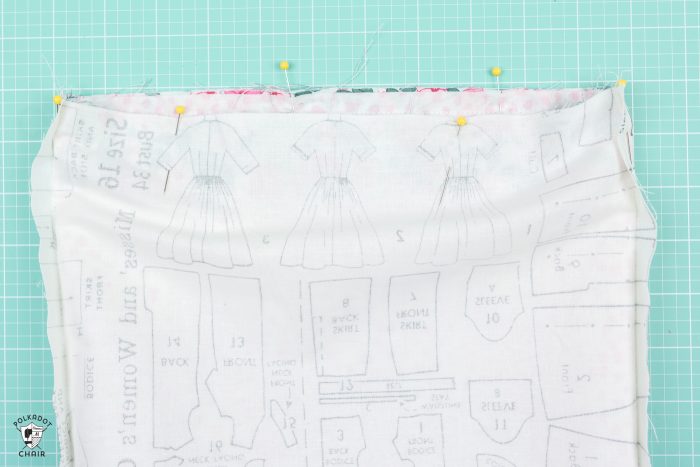
Turn the bag outside piece right side out. Slip it into the bag lining piece (which is wrong side out) the right sides of the fabrics should be facing. Match side seams and centers.
Stitch around the perimeter of the bag, leaving a 4″ opening. I like to sew 2″ from the center on one side of the bag around the bag and stop 2″ from the center of the bag on the other side.
Turn the bag right side out through the opening.
Finishing:
Press well. Topstitch around the top of the bag (on the bag, not the casing) making sure to catch the opening in the bag as you sew.
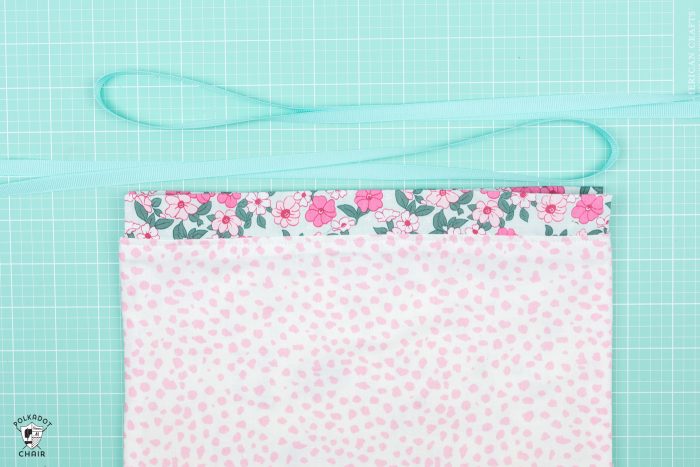
Cut two pieces of ribbon 42″ long each.
Feed one piece through the casing of the bag and knot on the other side. Feed the other ribbon through the bag starting on the opposite side of the bag. Knot the ends.
Pull up on the drawstrings and you’re ready to use your laundry bag!
If you’re new to sewing be sure to check out our post with 50 Sewing Projects perfect for Beginners!
More Free Bag Sewing Patterns:
How to make a Simple Tote with a Canvas Bottom
How to Make a Drawstring Backpack
Kids Library Bag Sewing Pattern