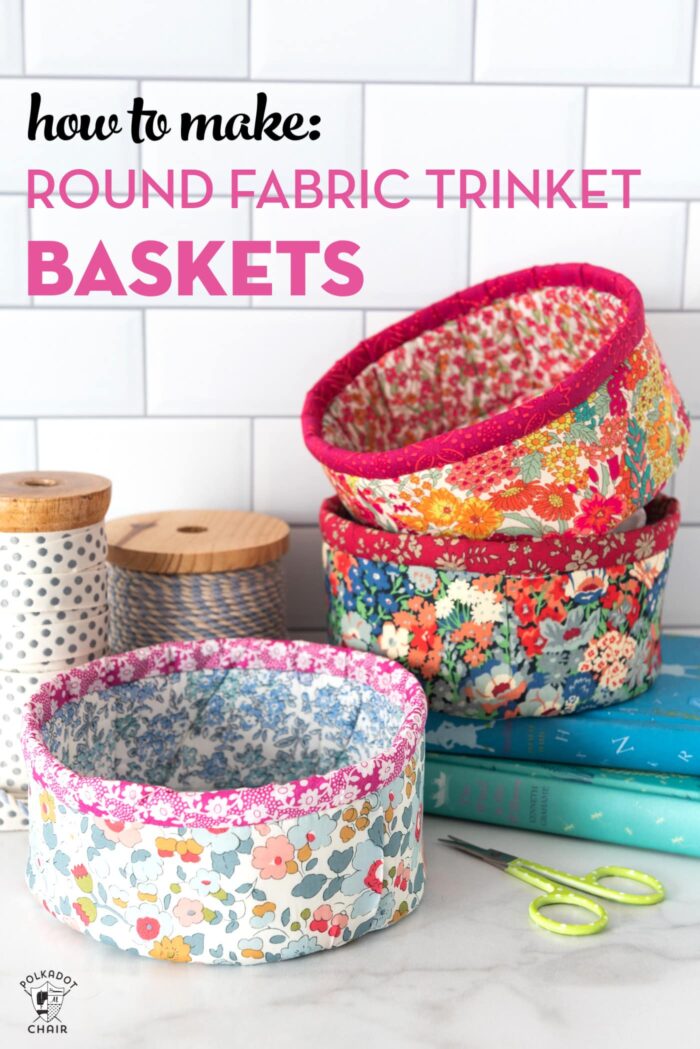
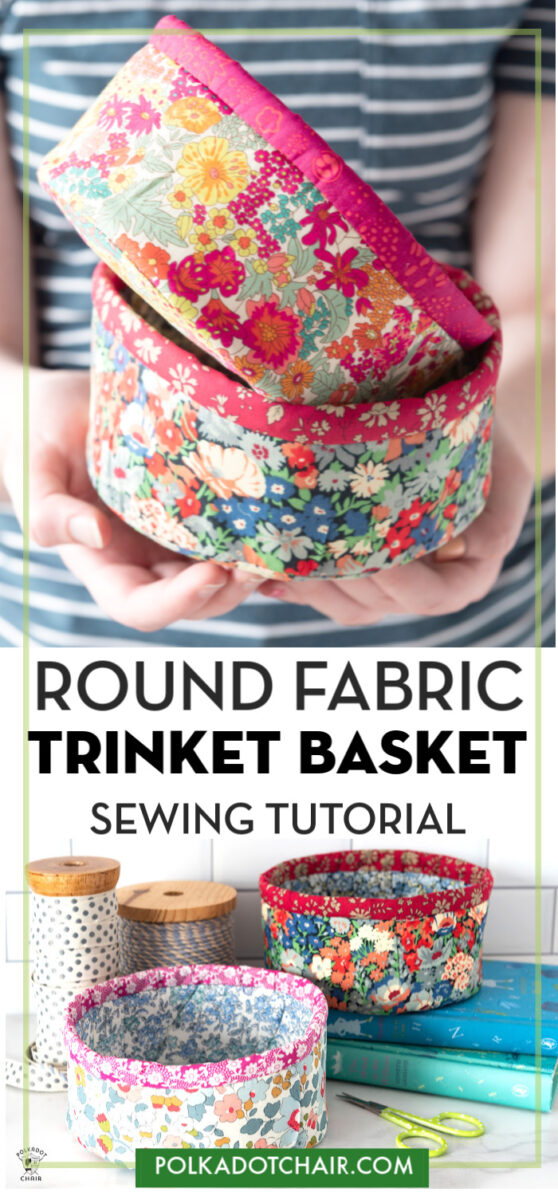
How to Make Round Fabric Trinket Baskets

These cute little round trinket baskets are easy to make and are perfect for stashing all of your treasures. Using our free sewing pattern and tutorial you can learn how to make these round fabric baskets.
Recently I found myself with kids home for Easter that I was not expecting to be home for Easter. I had not prepared anything for them as gifts. To be honest, they are old enough that I don’t need to give them gifts, but since so many things about Easter were different this year, I wanted to make an effort.
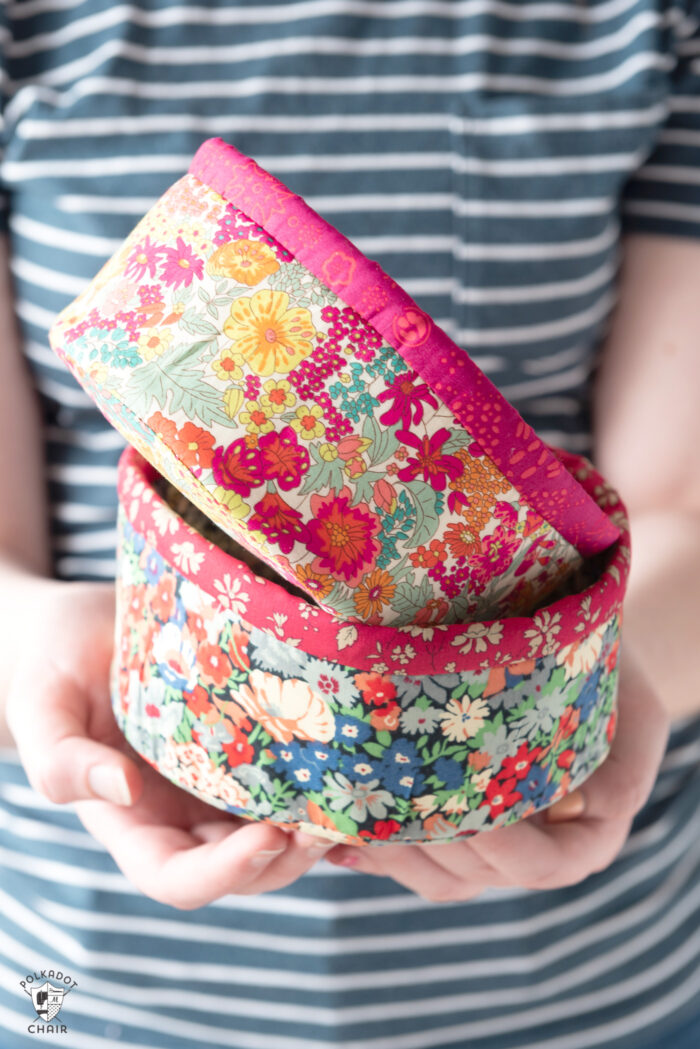
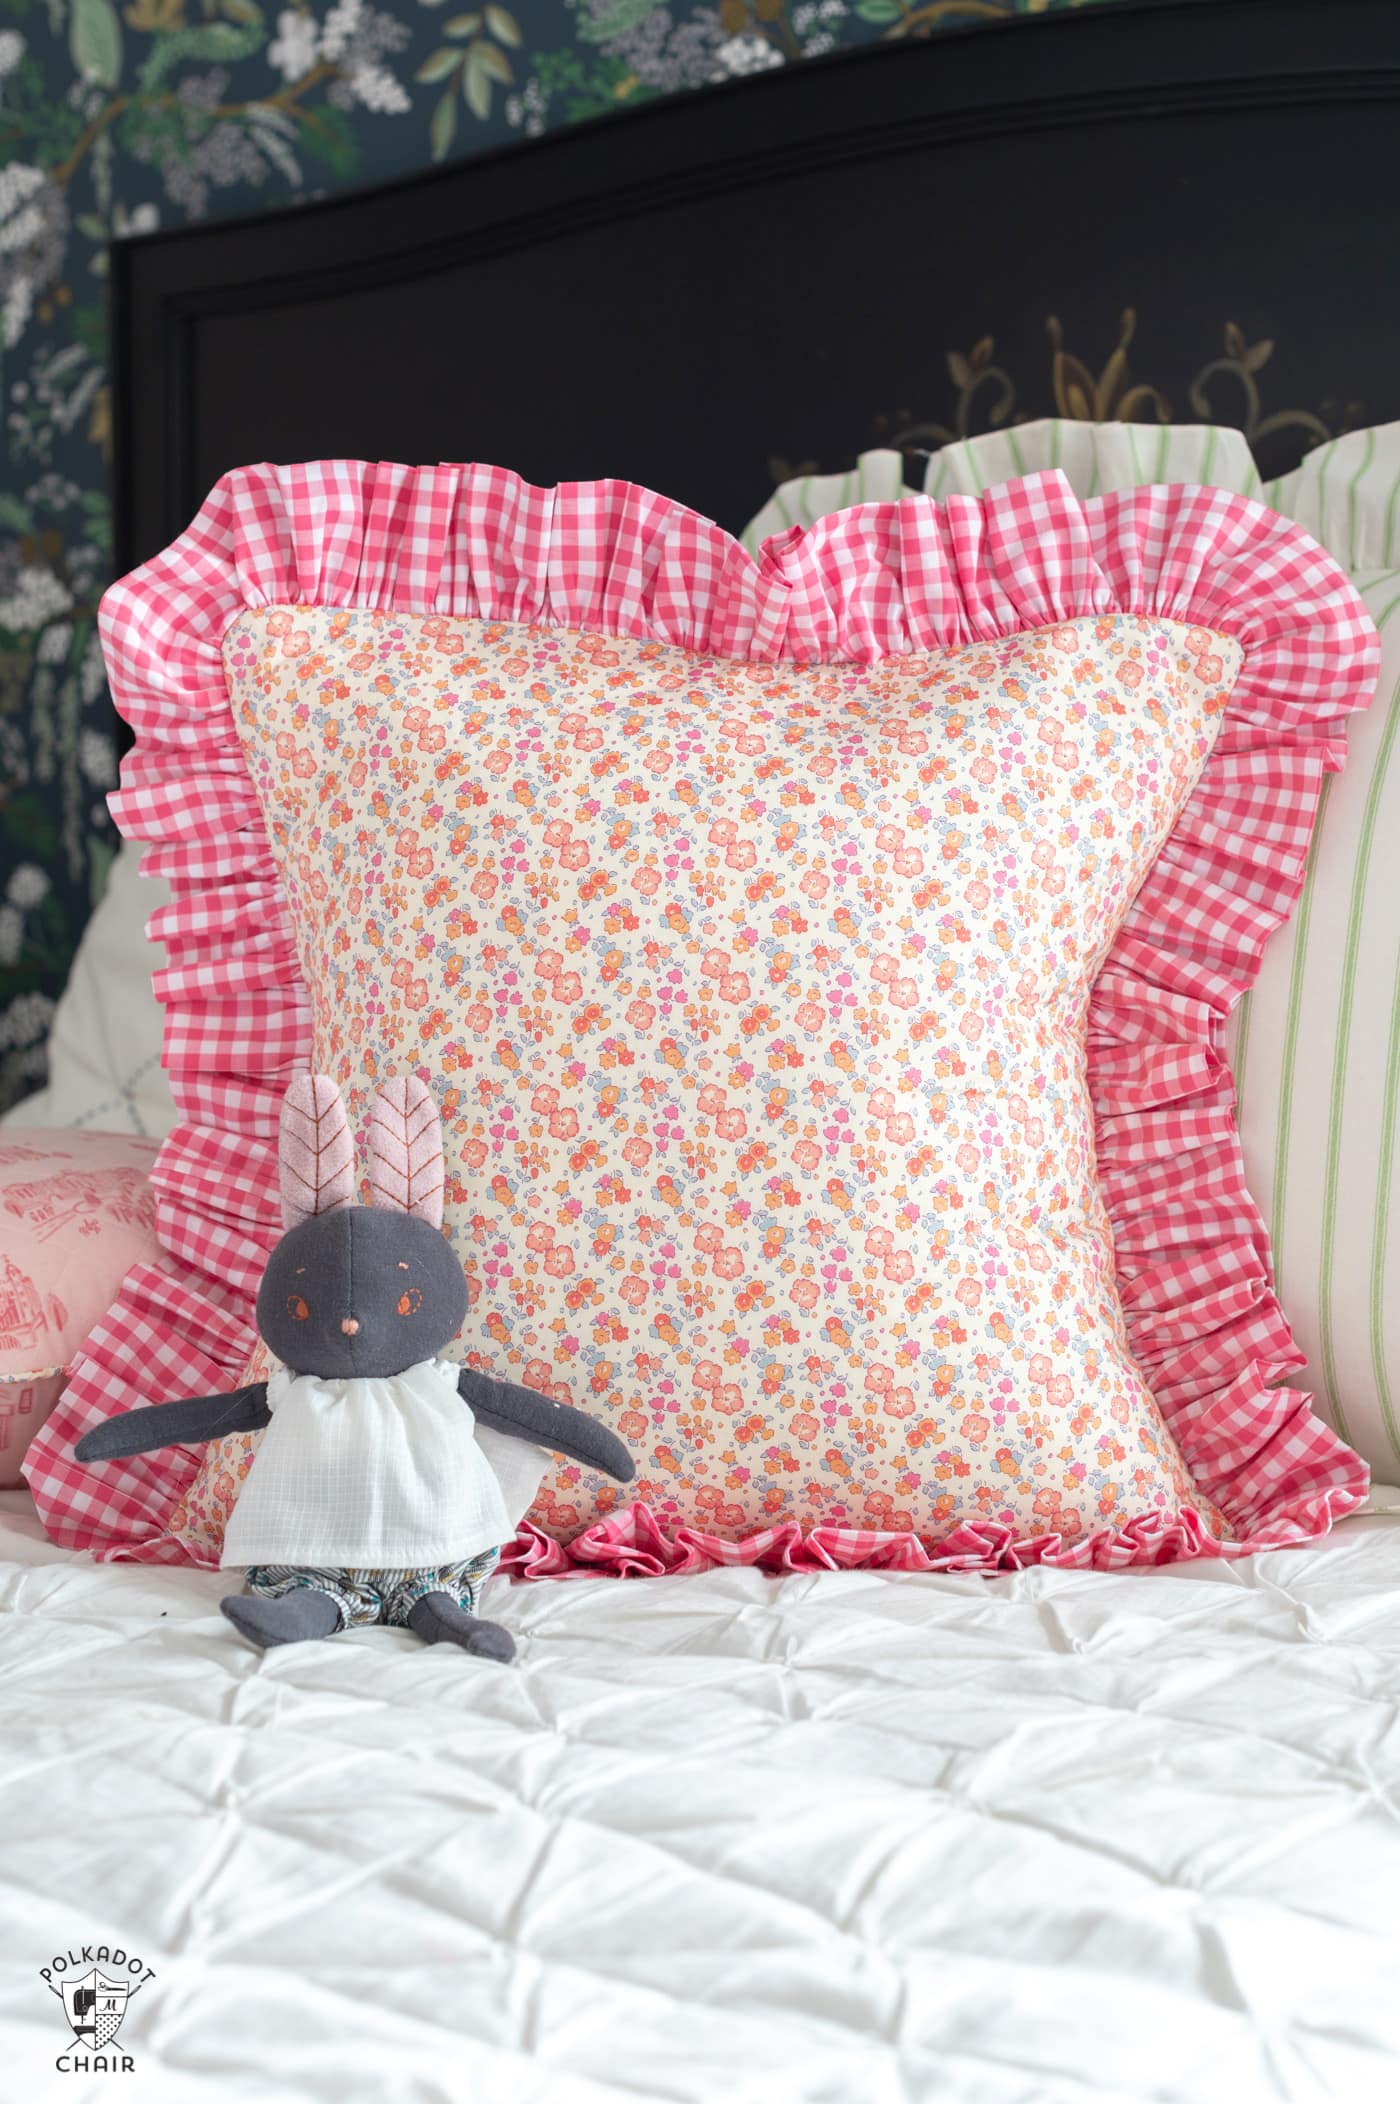
My girls LOVE Liberty of London Fabrics. They seem to have inherited that from me. I indoctrinated them at a young age LOL!
They are both living in their own apartments, and I thought it would be fun to make them some cute round baskets to keep on their desk or nightstand to hold their “treasures”.
About the Round Fabric Baskets
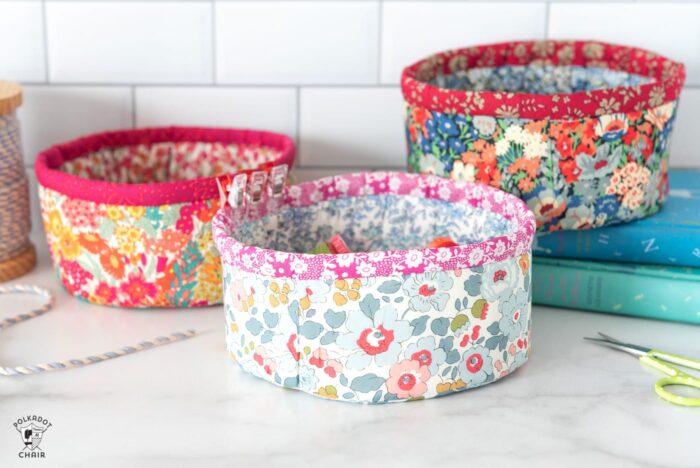
These little round fabric baskets are about 6″ wide x 2 1/2″ tall. They are just the right side to hold cords, chargers, jewelry, chapstick, or even sewing supplies.
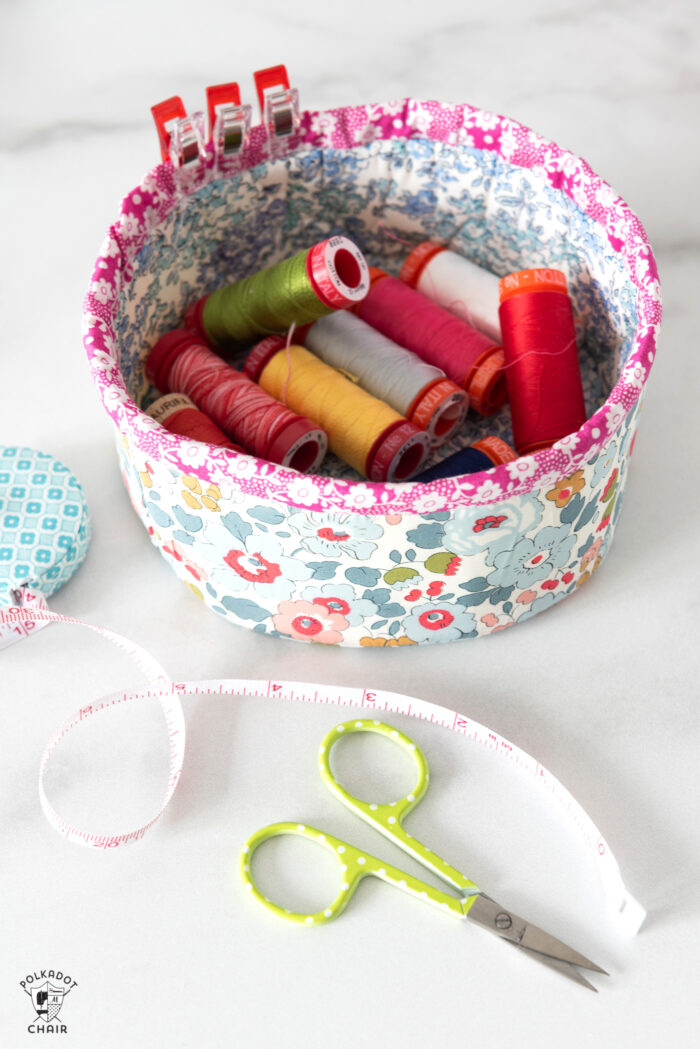
If you’d like to make the baskets yourself, I’ve taken the time to write a tutorial for them. For Easter, I filled them with some cute earrings, chocolate, and nail polish.
How to Get the Pattern
Option 1: Get the Pattern in our Shop
We are very excited to let you know that you can now purchase a copy of this pattern in our shop. This pattern comes with instructions to make the baskets in 3 sizes and includes directions to add handles to the sides of the basket.
It includes loads of step by step PHOTOS, tips and more!
Use the button below to purchase or view the pattern in our shop!
Option 2:
Get the small basket template piece and follow the directions on our website.
How to Get the Printable Template Piece
Round Fabric Basket Sewing Pattern
Tools
Materials
- Printable Round Basket Pattern Piece get the pattern piece using the instructions in the gray "how to get the printable pattern pieces" box above.
Fabric Requirements – I used Liberty of London Fabrics for my Baskets
- 1 piece fabric for outside 3" x 19 1/2"
- 1 piece fabric for outside bottom 7" x 7" or larger (this will be cut into a circle, it does not need to be a precise cut)
- 1 piece fabric for lining 3" x 20 1/2" (note: this piece is intentionally cut longer)
- 1 piece fabric for lining bottom 7" x 7" or larger (this will be cut into a circle, it does not need to be a precise cut)
- 1 piece Fabric for binding 3" x 20"
Interfacing Requirements
- 1 piece 1 Sided Fusible 1/4" foam 3" x 19 1/2" – I like Pellon Flex Foam Brand
- 1 piece 1 Sided Fusible 1/4" foam 7" x 7" or larger (this will be cut into a circle, it does not need to be a precise cut)
- If you can not find Pellon Flex-Foam You can also use 1/4" foam, sometimes called "auto liner foam". You can also use Soft and Stable or any 1/4 foam. It can be any color as long as it does not show through your fabric. If you buy auto liner foam you will need to also buy paper-backed fusible webbing so you can fuse the fabric to the foam. As the auto liner foam is not fusible.
Instructions
- All seam allowances are 1/4" unless otherwise noted.
Cut out Circles from Fabric & Interfacing
- Using the circle template from the PDF, cut 1 circle from basket outside & lining fabric and 1 circle from flex-foam
- Apply the flex-foam interfacing to the 3" x 20 1/2" fabric LINING piece and the LINING fabric circle. When you apply the interfacing to the lining piece leave the extra 1" of fabric hanging off of the edge of the lining.
Construct the Basket Lining
- Fold the extra fabric lining over the edge of the flex foam. Overlap the ends of the fabric/interfacing piece by 1/2".

- Secure in place with a binding clip or pins.

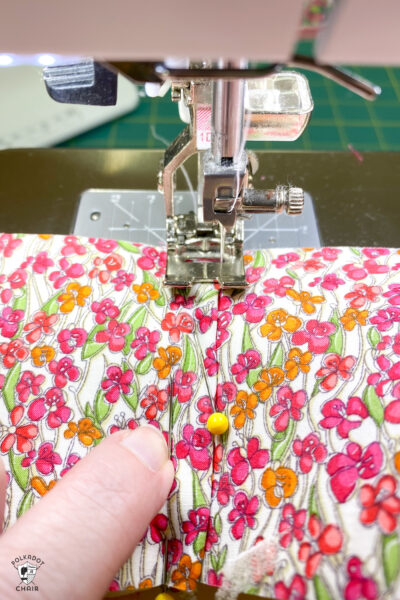
- Using a wide zig zag stitch on your sewing machine zig zag over the seam so that it catches both ends of the flex foam lining and the folded edge remains folded over.
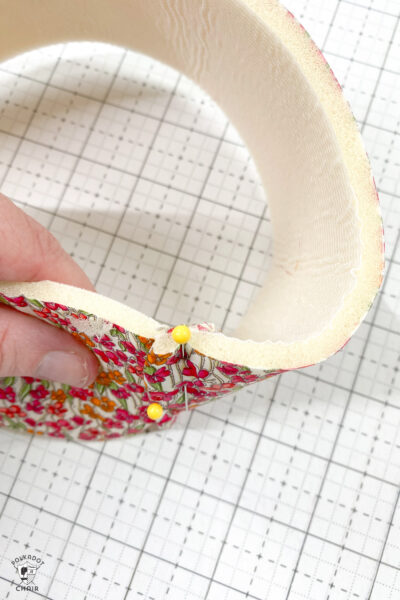
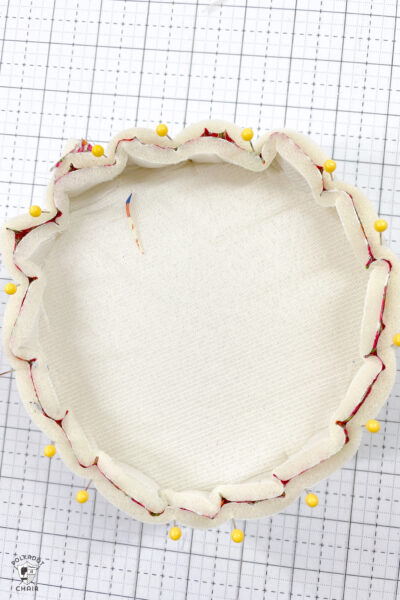
- Pin the sewn lining piece to the round interfaced lining piece. You will need to go slowly and use a lot of pins. It should be a very close fit. If not, you may need to adjust the width of your side seam (the zig zagged seam) of the basket lining.
- Sew around the circle. Remove the pins as you go and be sure to go slowly.
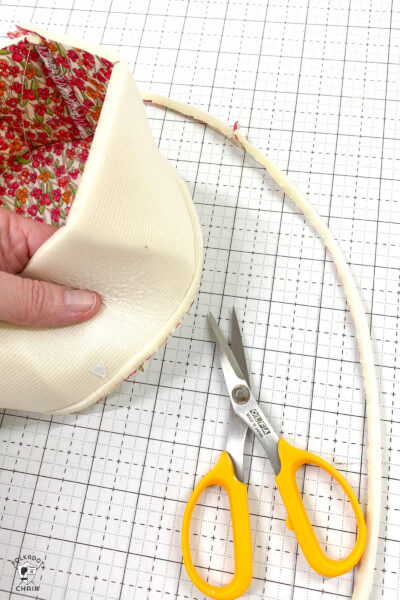
- Using sharp scissors, trim the excess interfacing from the seam. Cut it as close as you can to the seam without clipping the seam.
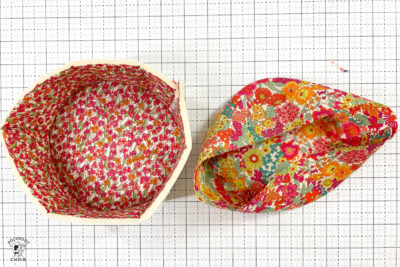
Construct Basket Outside Piece
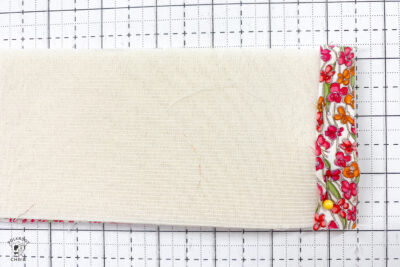
- Sew the short ends of the 3" x 19 1/2" basket outside piece, right sides facing. Press seam open.
- Repeat the steps above to sew the basket outside piece to the round basket bottom piece. Sew the circle seam with a 3/8" seam allowance. Note: there is no interfacing applied to the basket outside pieces.
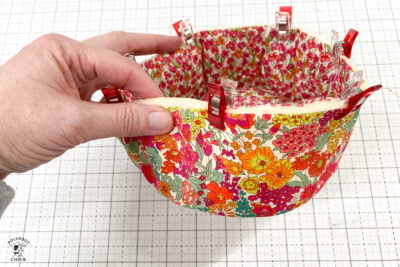
Assemble Basket
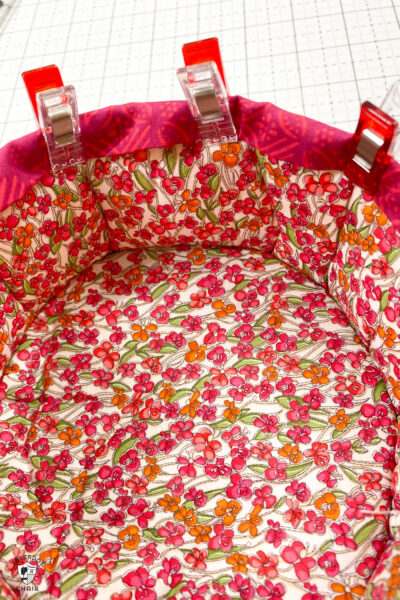
- Turn the basket outside piece right side out. Slip the basket lining into the basket piece, wrong sides facing. Make sure the pieces fit together well. Secure in place with binding clips.
- Using a basting stitch, stitch around the top edge of the basket.
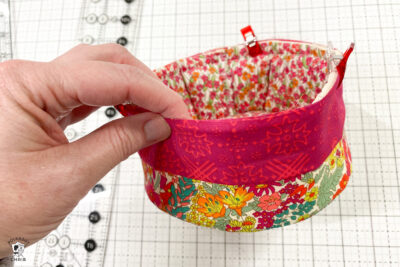
Bind the Edge
- Take the 3" x 20" binding piece and "fit" it to the top edge of the basket. You want it to fit the basket edge exactly after you have sewn the ends together.
- Fold the binding in half lengthwise with wrong sides facing and press.
- Pin or clip the binding to the right side of the top edge of the basket so that the raw edge of the binding and the raw edge of the basket are flush.
- Sew the binding to the basket along the top edge.
- Fold the binding to the inside of the basket and secure with clips. Hand stitch the binding in place to finish the basket.
Copyright Notice
This is Copyrighted Content. You may NOT Copy it, Distribute it, Sell it or Package it with a Kit. You may NOT teach a class using it. If you do, it is not only dishonest, but also a violation of the terms of use of this website. We will pursue damages from violators. All items are for personal use only. No commercial use is allowed.
More Cute Fabric Basket Patterns
If you like this pattern then you might also like my Padded Storage Bins Sewing Pattern. The construction is similar and the bins pattern comes in 3 sizes with options to decorate them for the Holidays! You can find it in my shop! Just go here (or the photo below) to go to the shop.
Sewing Projects that Make Great Gifts
50+ DIY Mother’s Day Gift Ideas
Quilted Potholder Sewing Pattern
Free Women’s Apron Sewing Tutorial
Do you use fusible foam for the baskets? If so single sided or both side fusible form. Thanks
Sorry, I should have added that. It’s single-sided fusible. I forget that now they have other options as well.
Beautiful, that’s a project that I will definitely do. I like the option of having a theme fabric to choose from.Thanks for sharing….
I used double-sided Bosal In-R-Firm Plus because it was all I had. I just didn’t fuse the other side. I added a couple of inches to the side and added a loop to make it into a yarn bowl for my daughter. It’s so cute in the Liberty Flower Show fabrics I chose. Thank you for a great design and clear directions.
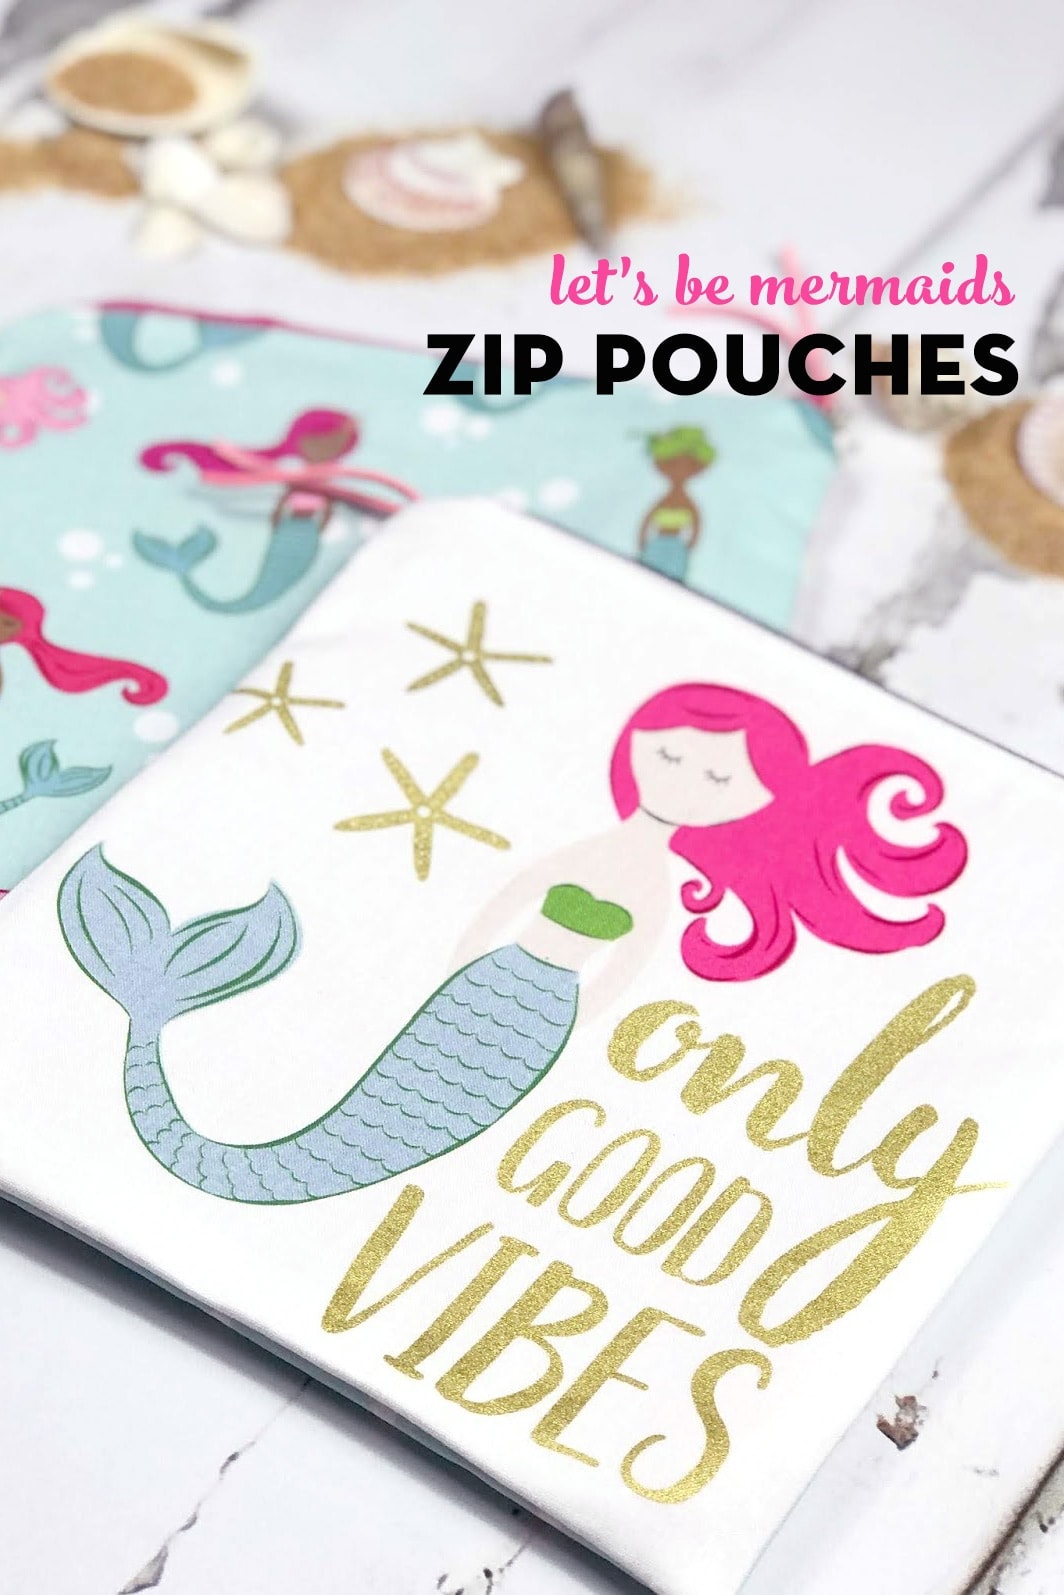
I love this trinket basket. I plan to make some to with the Let’s be Mermaids fabric I‘m going to use for a quilt!
So cute. Love the fabric combos you used!
So cute! Although I’m surprised you let your liberty fabrics go so easily. That’s hard to part with!
Hi I started this and then tried to refer back to the video tutorial but it seems to have disappeared and I’m now a bit stuck?
Hi,
There’s not a video tutorial for this one- did you get it mixed up with another project?
Hi bought your cute pattern so easy to have on hand while making these cute baskets and have made 5 of them. When I make the outside of the bowl do I leave the 3/8 seam or trim it down. I was trimming it down but would like to know it I should or shouldn’t be doing this
I trim mine down. So you’re good!
I made this basket according to instructions. But my base seems to be too big. I cut it the fusible foam close to the inside bottom seam and changed the outside bottom seam to just 1/4 inch instead of 3/8. I love the pics you have but mine just doesnt seem to sit just right.
Circles are very tricky to sew. Things can change based on everything from the thickness of interfacing to the length of your pins. Sound like you got it worked out. I always almost have to make minor adjustments like that when I sew things that are dimensional like this basket.