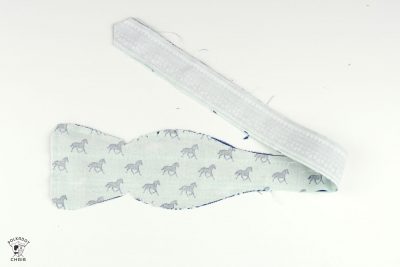
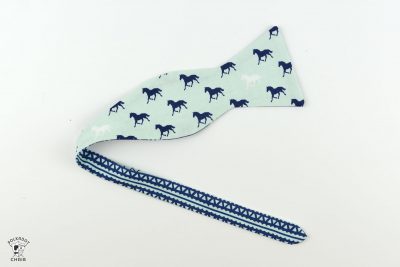
How to Make a Bow Tie That Ties!
My husband loves to wear bow ties and has been bugging me for years to make some for him. I’m happy to say that I have figured it out, and am excited to share this free sewing pattern that teaches you how to make a bow tie. I’ve even included a free pattern piece for you as well! Keep reading for more info!
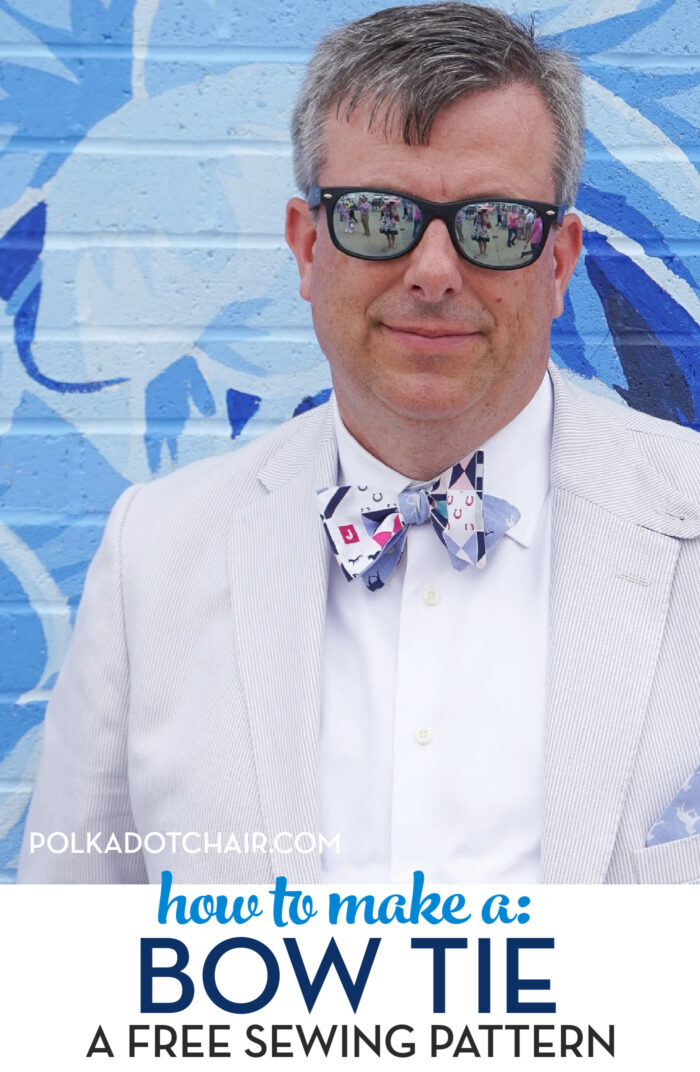
A few years ago my husband decided he was only going to wear bow ties. The decision was based partially on the fact that we live in the South, and partially on the fact that bow ties are easier to keep clean.
He’s managed to amass quite the collection of ties over the years and has asked me to make him a bow tie more than a few times. Usually when he could not find one that he liked at the store (for example, he needed a specific color for a Derby outfit).


I wanted to get this tutorial written before Derby so that you guys could stitch up your own ties for the big event! You can also use this to make a great DIY gift for a Dad for Father’s Day.
How to Sew a Bow Tie; About our Pattern
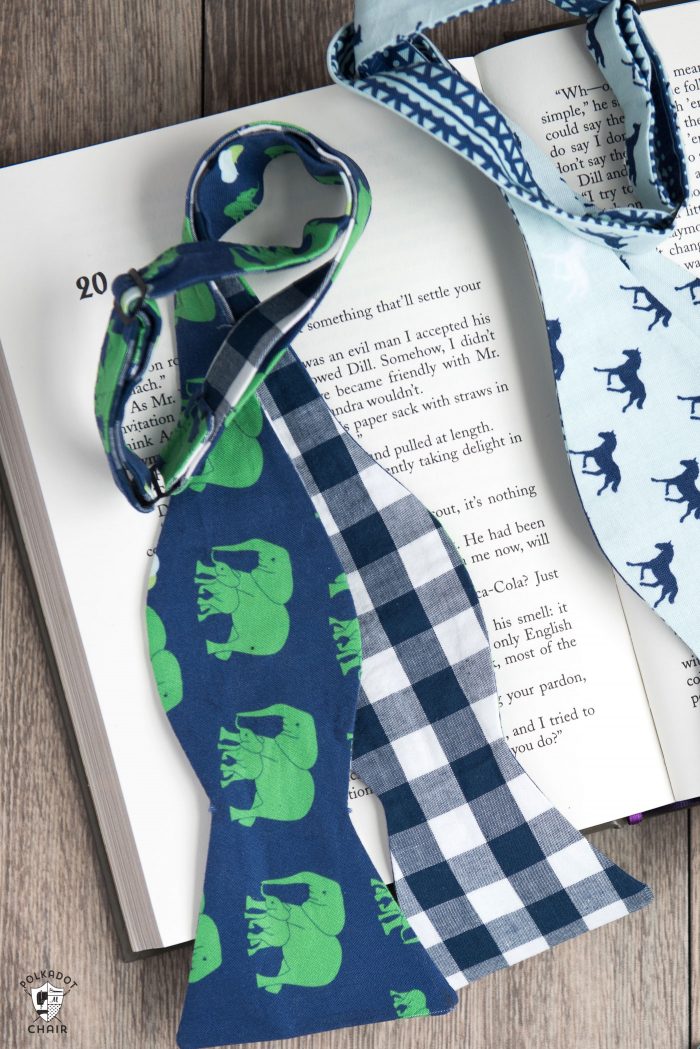
This bow tie pattern is for a double-sided bow tie that ties traditionally and features an adjustable length so it can be resized for many neck sizes. The bow tie should fit teens up to a men’s XL shirt size.
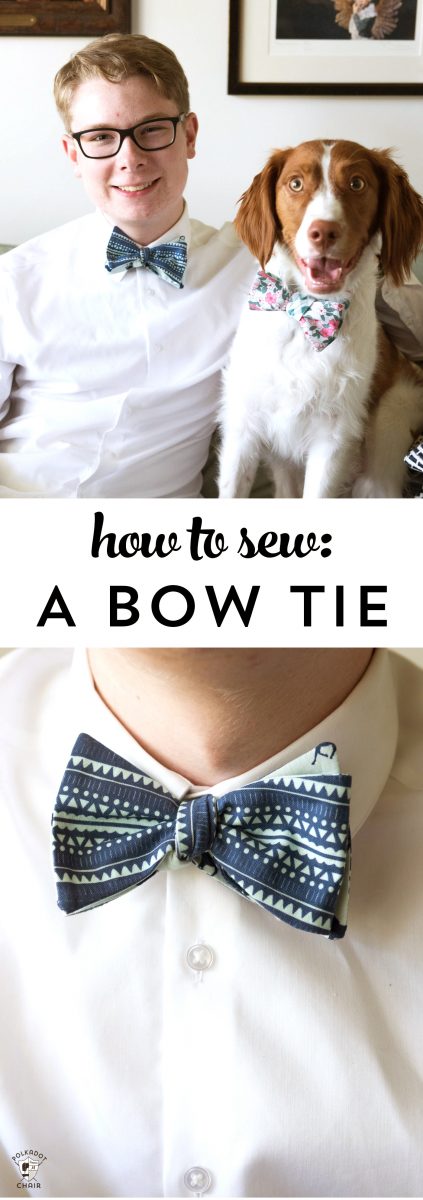
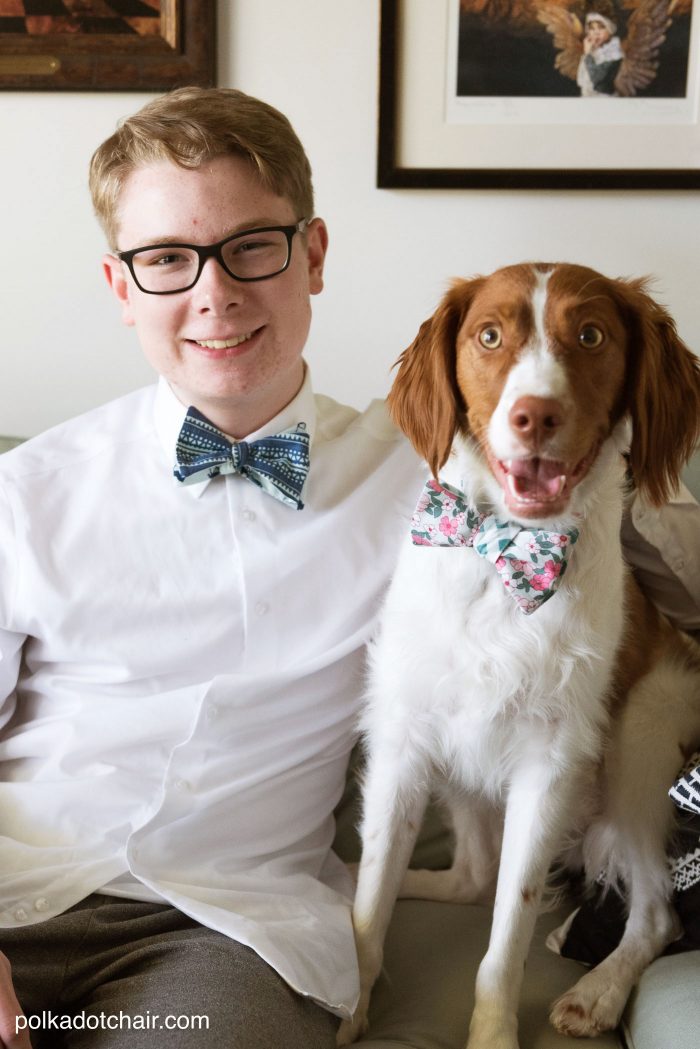
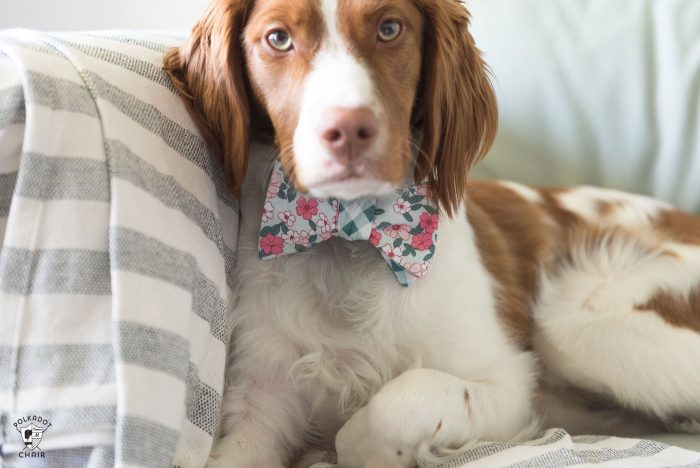
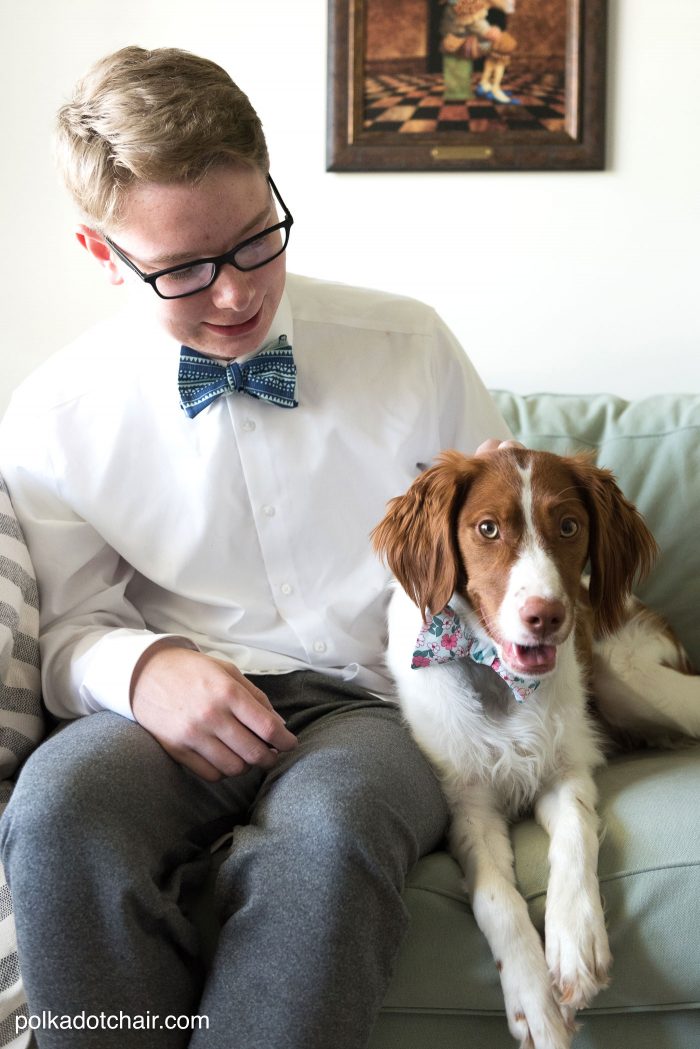
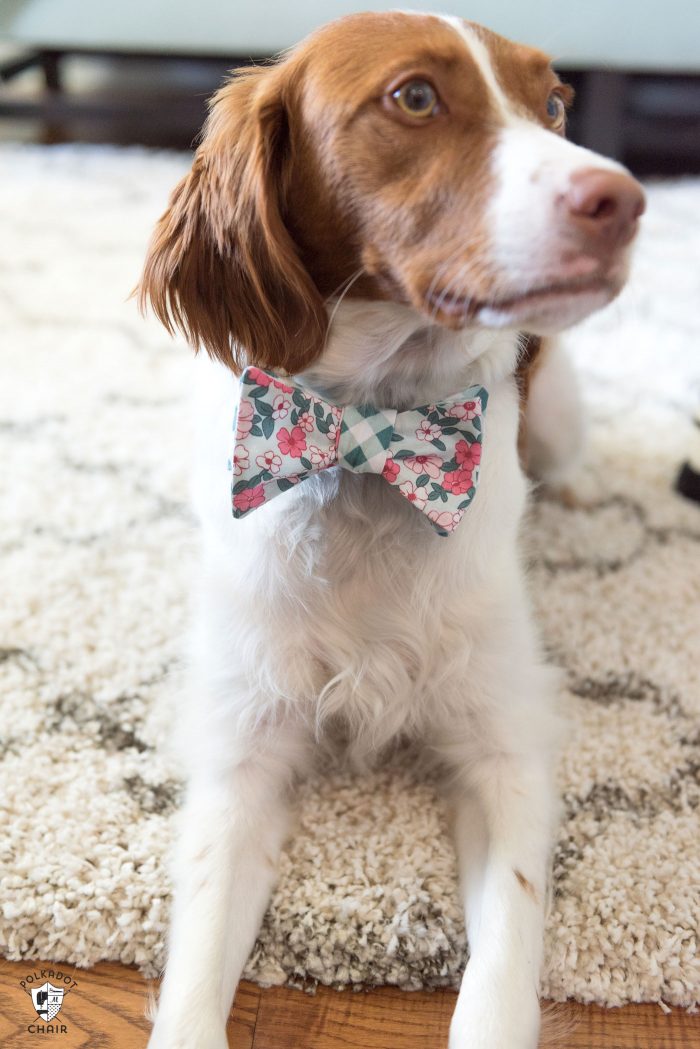
This particular bow tie is one that ties. It’s not a “fake” bow tie (my husband’s term not mine). It’s also adjustable. The same bow tie fits my husband, my son, and as you can see our dog *wink*.
It should also fit a guy that is larger than my husband since when he had the tie on there was still room to adjust it to be larger. I know that you can make bow ties in specific lengths, but I prefer to make ones that adjust. Especially if you’re giving it as a gift.
I based the pattern for the tie on my husband’s favorite bow tie shapes. I tested the pattern by making a bunch of ties to make sure the finished product had his “blessing”. I’m happy to say that the pattern passed the test *wink*.

While I was taking photos of the finished bow ties, my teenage son was getting tired of me taking his photo and asked if someone else could “pose” for him. I asked him WHO he thought was going to wear the bow tie instead of him (we are down to two kids on our house and don’t really have any neighbors close by). He suggested the dog, and well, things got pretty silly after that!
How Much Fabric is Needed to Make a Bow Tie?
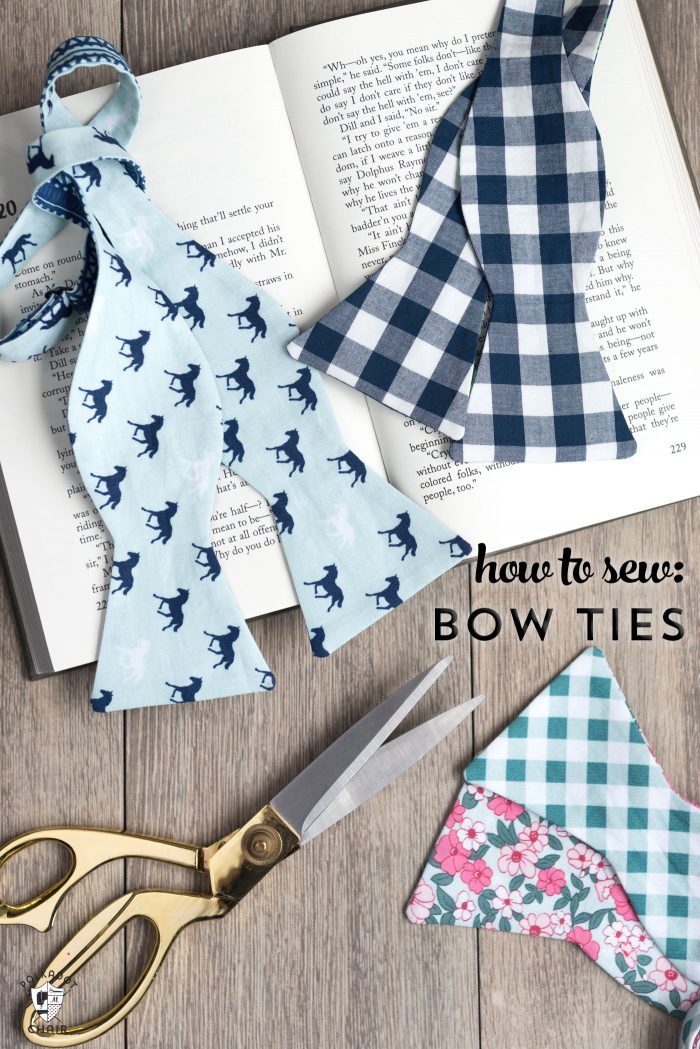
You will need 1/4 yard of two kinds of fabric. One fabric for the front and one for the back. You can also use a Fat Quarter of fabric, which is a precut fabric that is readily available.
What Fabric Should I Use to Make a Bow Tie?
I made my bow tie out of quilting weight cotton. Which is readily available and comes in a multitude of colors and prints. Other fabrics that would make nice bow ties include:
- Seersucker
- Men’s Shirting Material
- Yarn-Dyed Woven Fabrics
How do you make a bow tie out of fabric?
Bow Tie Supplies
To make the bow tie you’ll need:
- 1 Fat Quarter of Fabric for Front of Bow Tie – fabrics used are from my Wonderland Two Fabric line, my Derby Style line, and Safari Party line.
- 1 Fat Quarter of Fabric for Back of Bow Tie
- 1/2 yard of 20″ wide Shape Flex Interfacing (purchase from Amazon here)
- 2 Tri-Glides (purchase from Amazon here)
- 1 package of 1/2″ wide Stitch Witchery (purchase from Amazon here)
- Paper to trace pattern pieces
How to Get the Pattern Piece
Fill out this form and we will send you a printable copy of the bow tie pattern piece.
Sewing Instructions for Bow Tie Pattern
How to Make a Bow Tie
supplies
- 1 piece Fabric for Bow Tie Front Either 1/4 yard of fabric or 1 Fat Quarter of Fabric.
- 1 piece Fabric for Bow Tie Back Either 1/4 yard of fabric or 1 Fat Quarter of Fabric.
- 1/2 Yard Shape Flex Interfacing
- 1 package 1/2 wide Stitch Witchery
- 2 Tri-Glides
Instructions
Step one
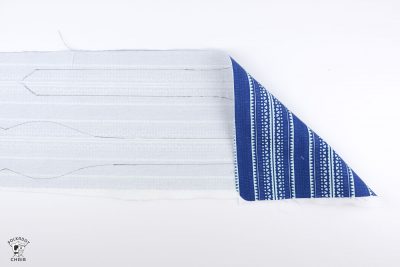
- Cut a piece of Shape Flex interfacing to 10" x 20". Iron it onto the wrong side of your bowtie fabric outside piece. It won't fit the whole fat quarter (a fat quarter is 22" long), don't worry we will fix that later. Just butt the edge of the shape flex up to the edge of the fat quarter on one side.
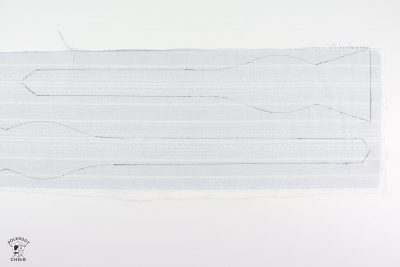
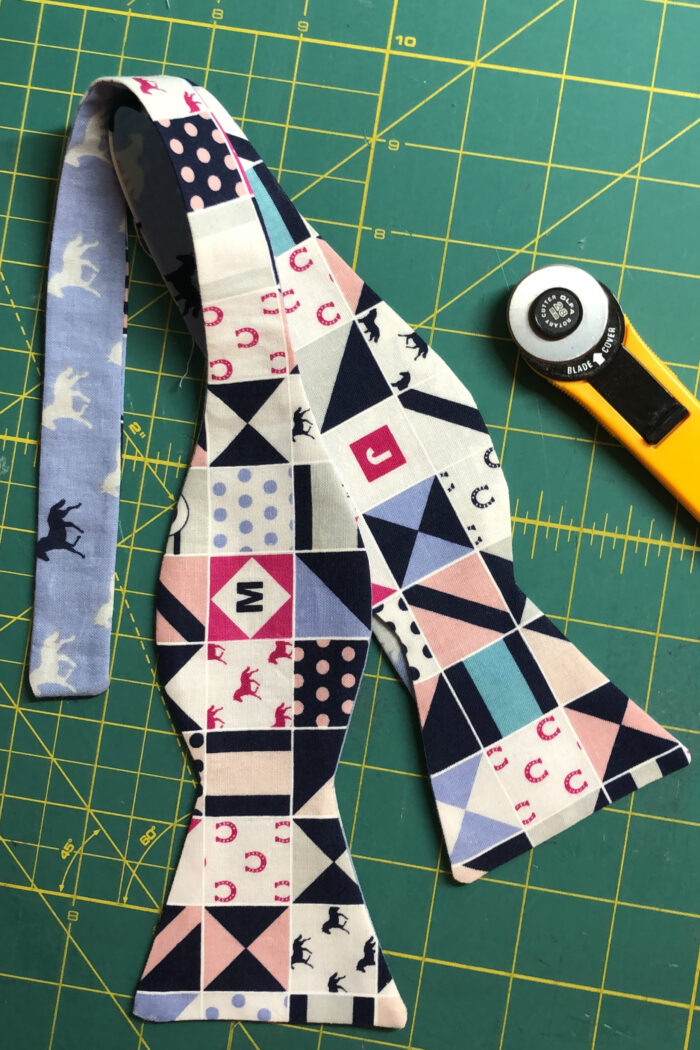
- A few things to note. If your fabric is directional (i.e. it has an up and a down), make sure you cut out a right bow tie pattern piece and a left bow tie pattern piece. Otherwise half of your bow tie will be upside down. This means that you'll have to flip the pattern piece when you cut out the 2nd piece. Just look at the photo if you get confused.
- Also, the longer of the two tie pieces is exactly 22" long. If your fat quarter is slightly smaller than that it's okay. I included a generous amount of extra length to allow the bow tie to be fully adjustable.
- Trace your two tie pattern pieces onto the fused fabric. (Important: Fuse First, then CUT).
- Cut out. I found it helpful to use a small rotary cutter when I cut out my pieces, do whatever is easier for you. Just make sure you have smooth cuts.
- For the bit of the longer bowtie piece that is not covered by interfacing, cut a scrap of interfacing and fuse it to the bowtie after you cut it out so that the entire piece is fused.
- Cut out the two tie pieces from your tie back fabric (this fabric does not need interfacing).
Step Two
- Place two of your shorter tie pieces together, right sides facing. Pin well.
- Stitch together using a 1/4" seam allowance. Be careful to stitch precisely around the curves and pivot at the corners. On one side of the bowtie leave a 3" opening in the straight part of the bow tie piece right past where the curve meets the straight section of the tie. Don't leave your opening in the curved section of the tie. You also only need one opening, so stitch around the entire perimeter of the piece EXCEPT for that section. (The start of the opening is noted on the pattern piece)
- Carefully clip the curves and corners of the sewn tie piece. Be sure not to cut through your stitching lines. Using a dowel or unsharpened pencil turn the bow tie piece right side out work with the piece until it resumes its shape.
- Press well, making sure to fold the opening flush with the rest of the bowtie as you press.
- Place a piece of stitch witchery in the opening of the tie piece and press to close the opening. Repeat all steps for other tie pieces.
Assembly
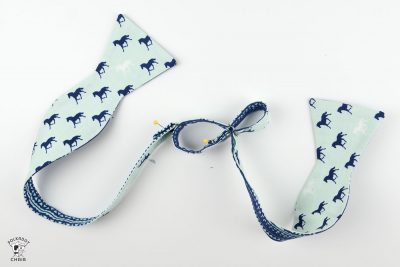
- Feed the shorter tie piece through one side the tri-glide one time. Pin in place
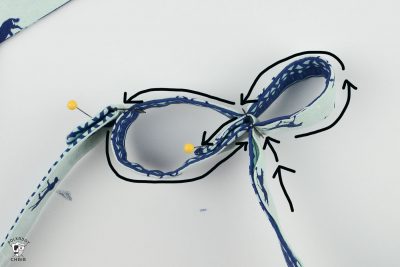
- Feed the other tie piece through one side of a second tri-glide, then back through the other side of the same tri-glide. Next, feed the end of the bow tie piece through the 1st tri-glide (on the side not occupied by the 1st bow tie piece). Then feed the end of the 2nd bow tie piece back through the center tri-glide that coming in from underneath. I made the diagram above to help you figure that part out. Just follow the arrows. Pin in place.
- To finish the tie, just hand stitch the ends of the tie in place. Many people like to use contrasting thread or decorative stitches for this part, but just do it as you like!
Bow Tie Construction Tips
One:
Take the time to press your project during each step. Also, make sure that you clip your seams and use a Hera tool or other object (a dull bamboo skewer works well too) to push the corners out. This will give you a nice crisp finish.
Two:
Pay attention to the fabric you use. If it is too thick you will have a hard time getting it through the tri-glide. You can use a thinner fabric for the back of the tie if you want a thicker one on the front.
Three:
Check the sizing. My son and husband fit this bow tie well. My husband wears a 16 1/2 shirt. If you need to make it bigger, it’s really easy. Just lengthen the tie section of the pattern. Just use a ruler and draw a straight line. Lengthen 1″ at a time per increase in shirt collar size.
That’s it! Now go make a bunch of bow ties!
You May Also Like:
