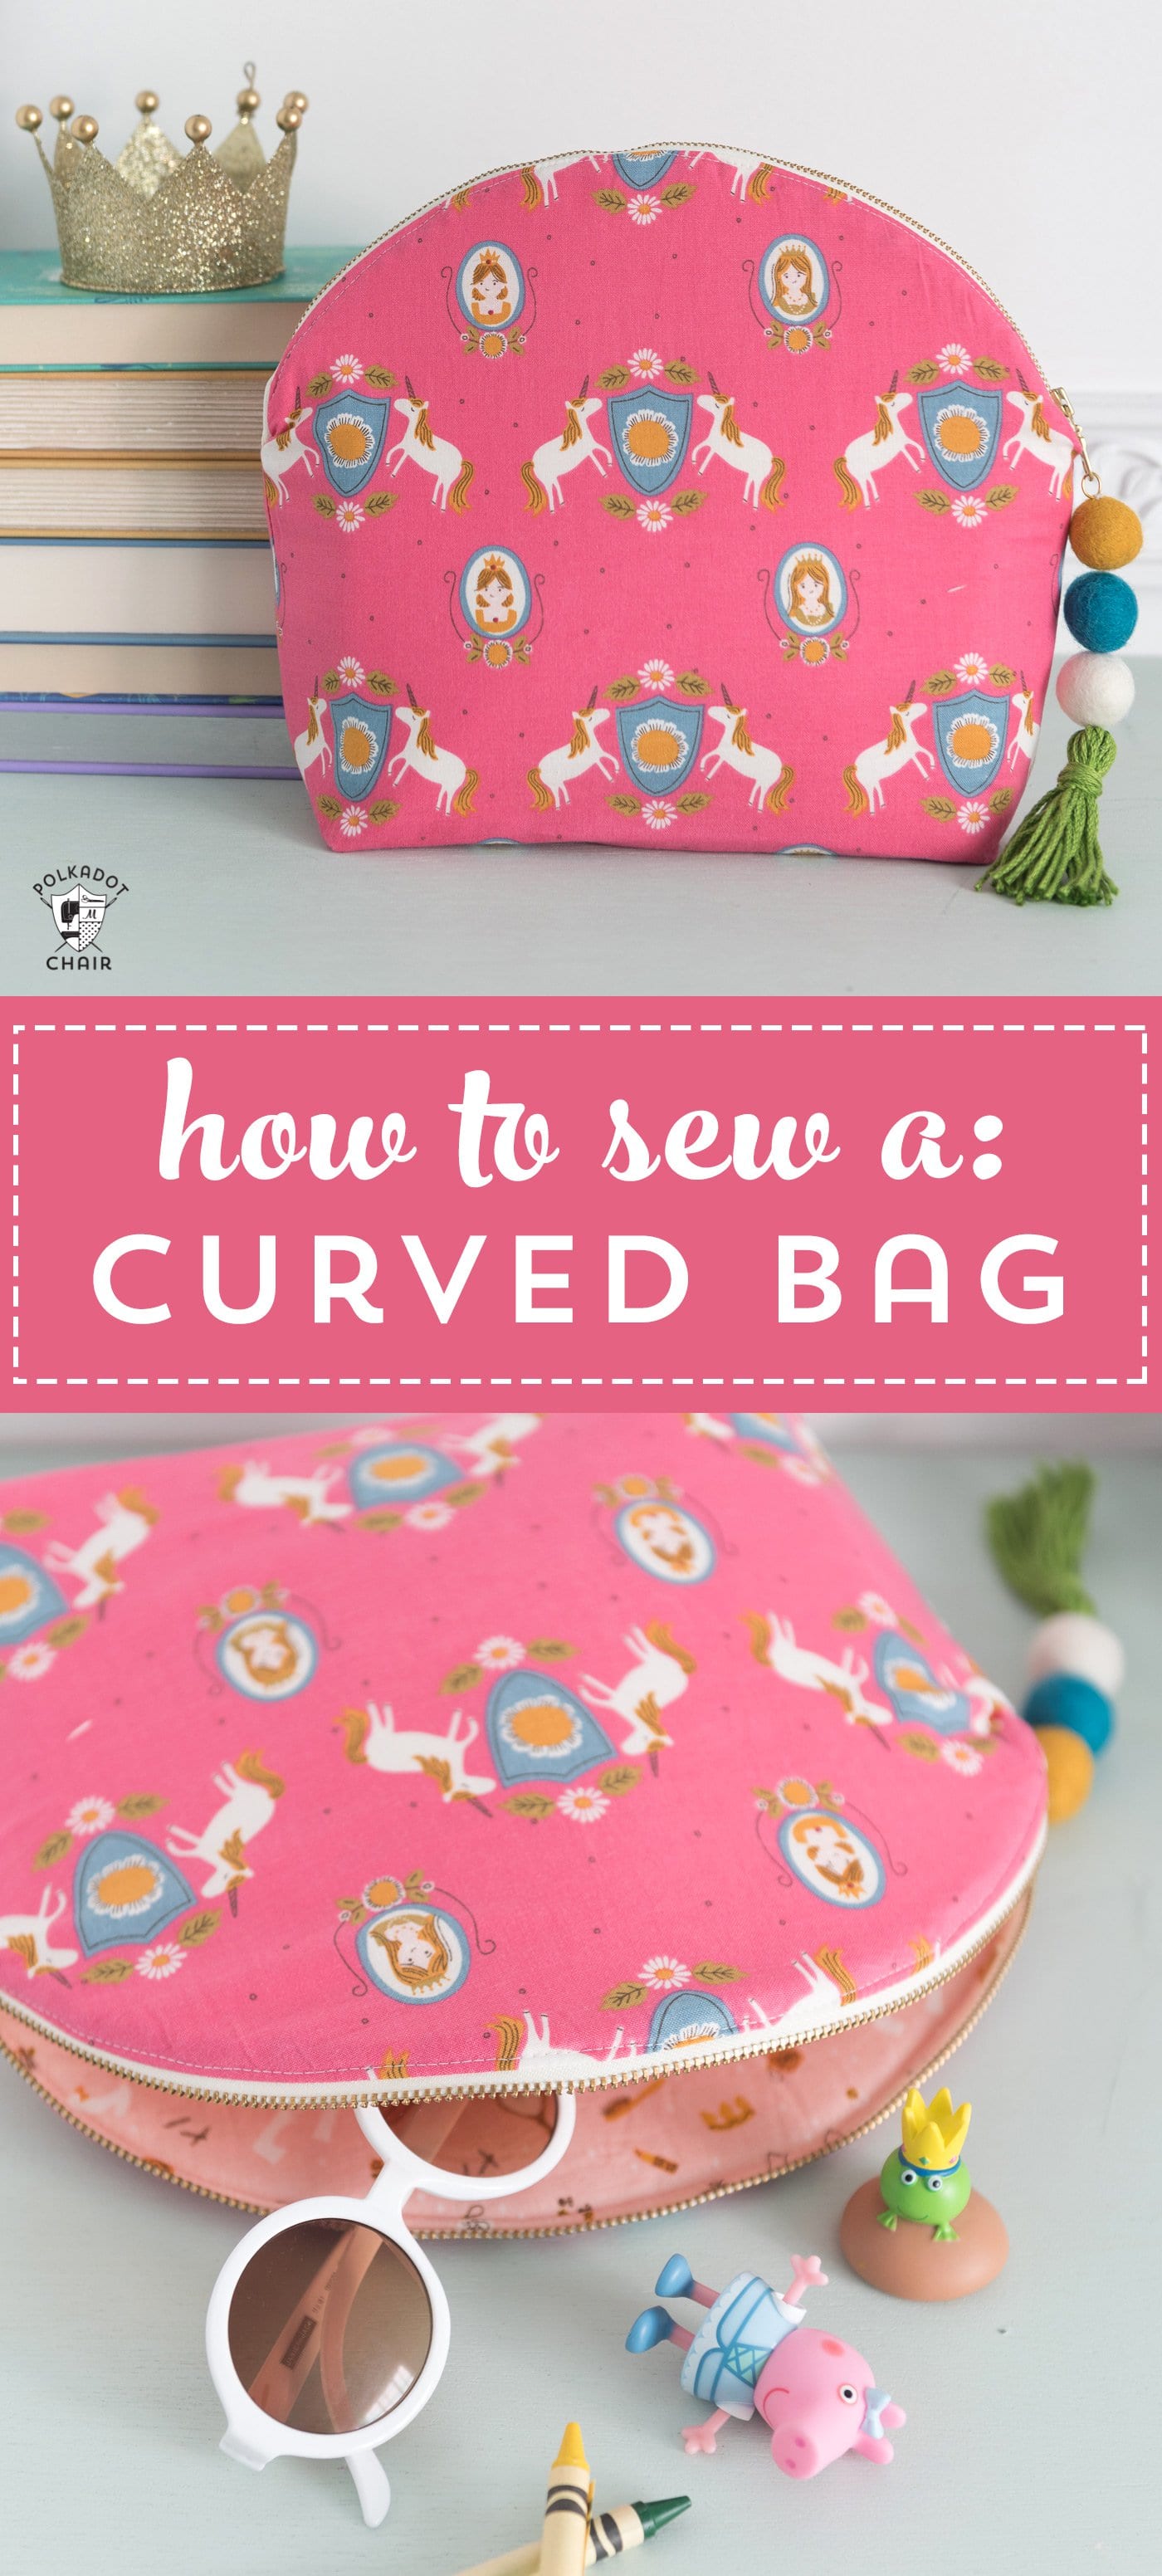
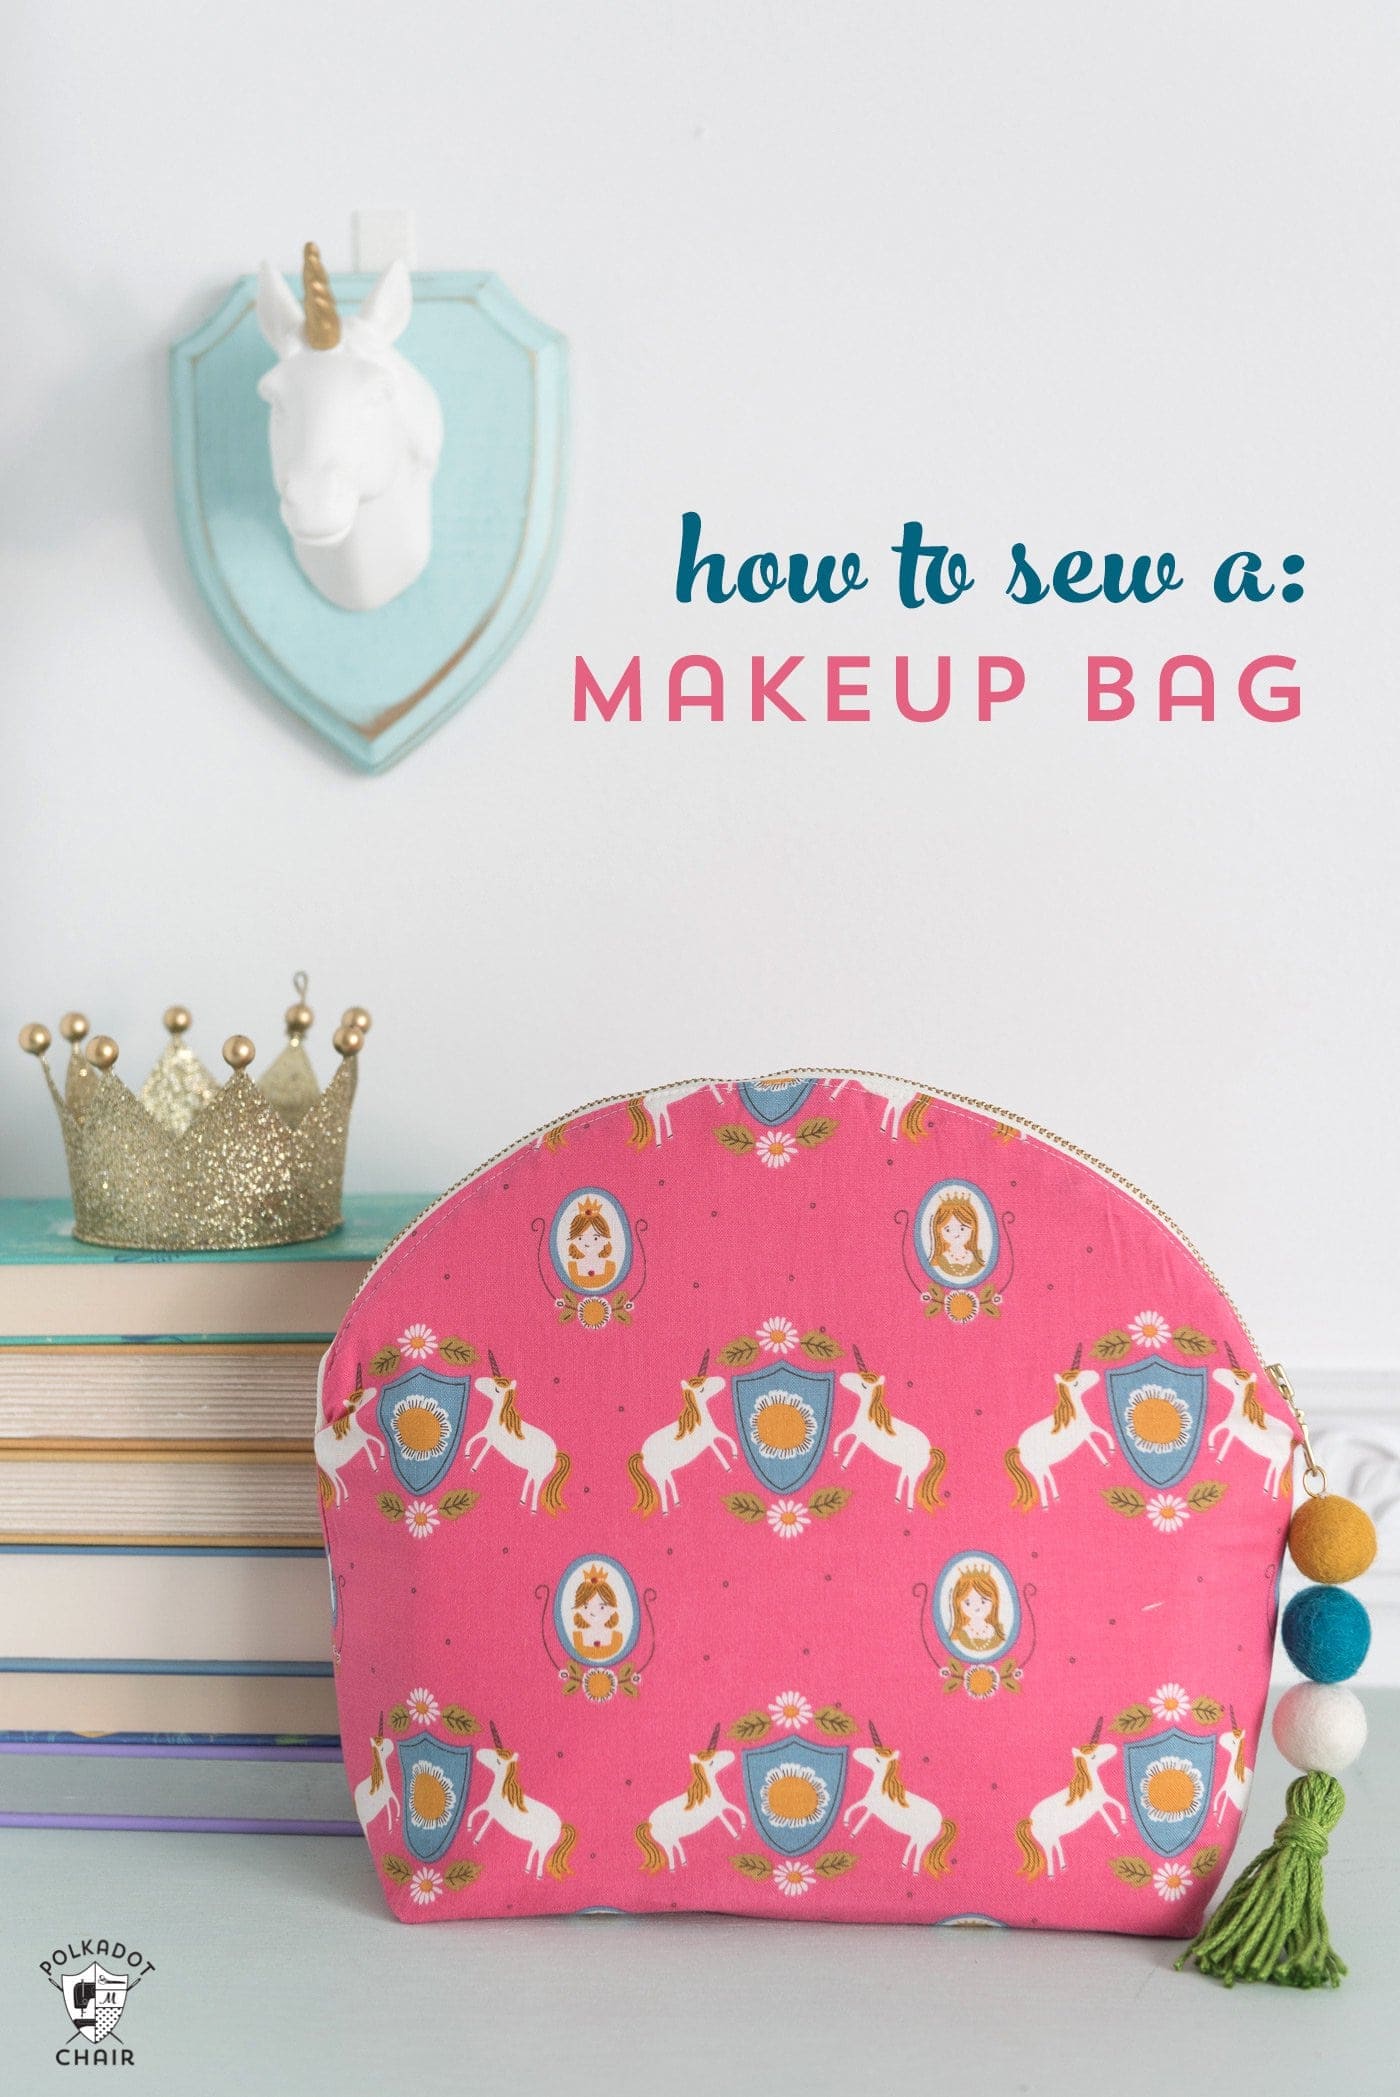
How to Sew a Makeup Bag
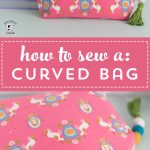
In my opinion, you can never have too many bags! Today I’m going to teach you how to sew a makeup bag. The larger size of this makeup bag makes it perfect for travel since it’s big enough to stash all of your stuff! Keep reading to find out how to get the free sewing pattern.
I seem to be on a bit of a bag making kick this month. Maybe it’s because it’s summer and I’m thinking about traveling. When I travel I hate it when small items float around the bottom of my bag. It makes it impossible to find what you need when you need it. I prefer to put smaller bags into my bigger bag instead. I’ve got a bag for chargers, one for personal items, one for toiletries etc. When my kids were smaller I always did the same thing. We had bags for legos, bags for crayons, you name it, we had a bag for it.
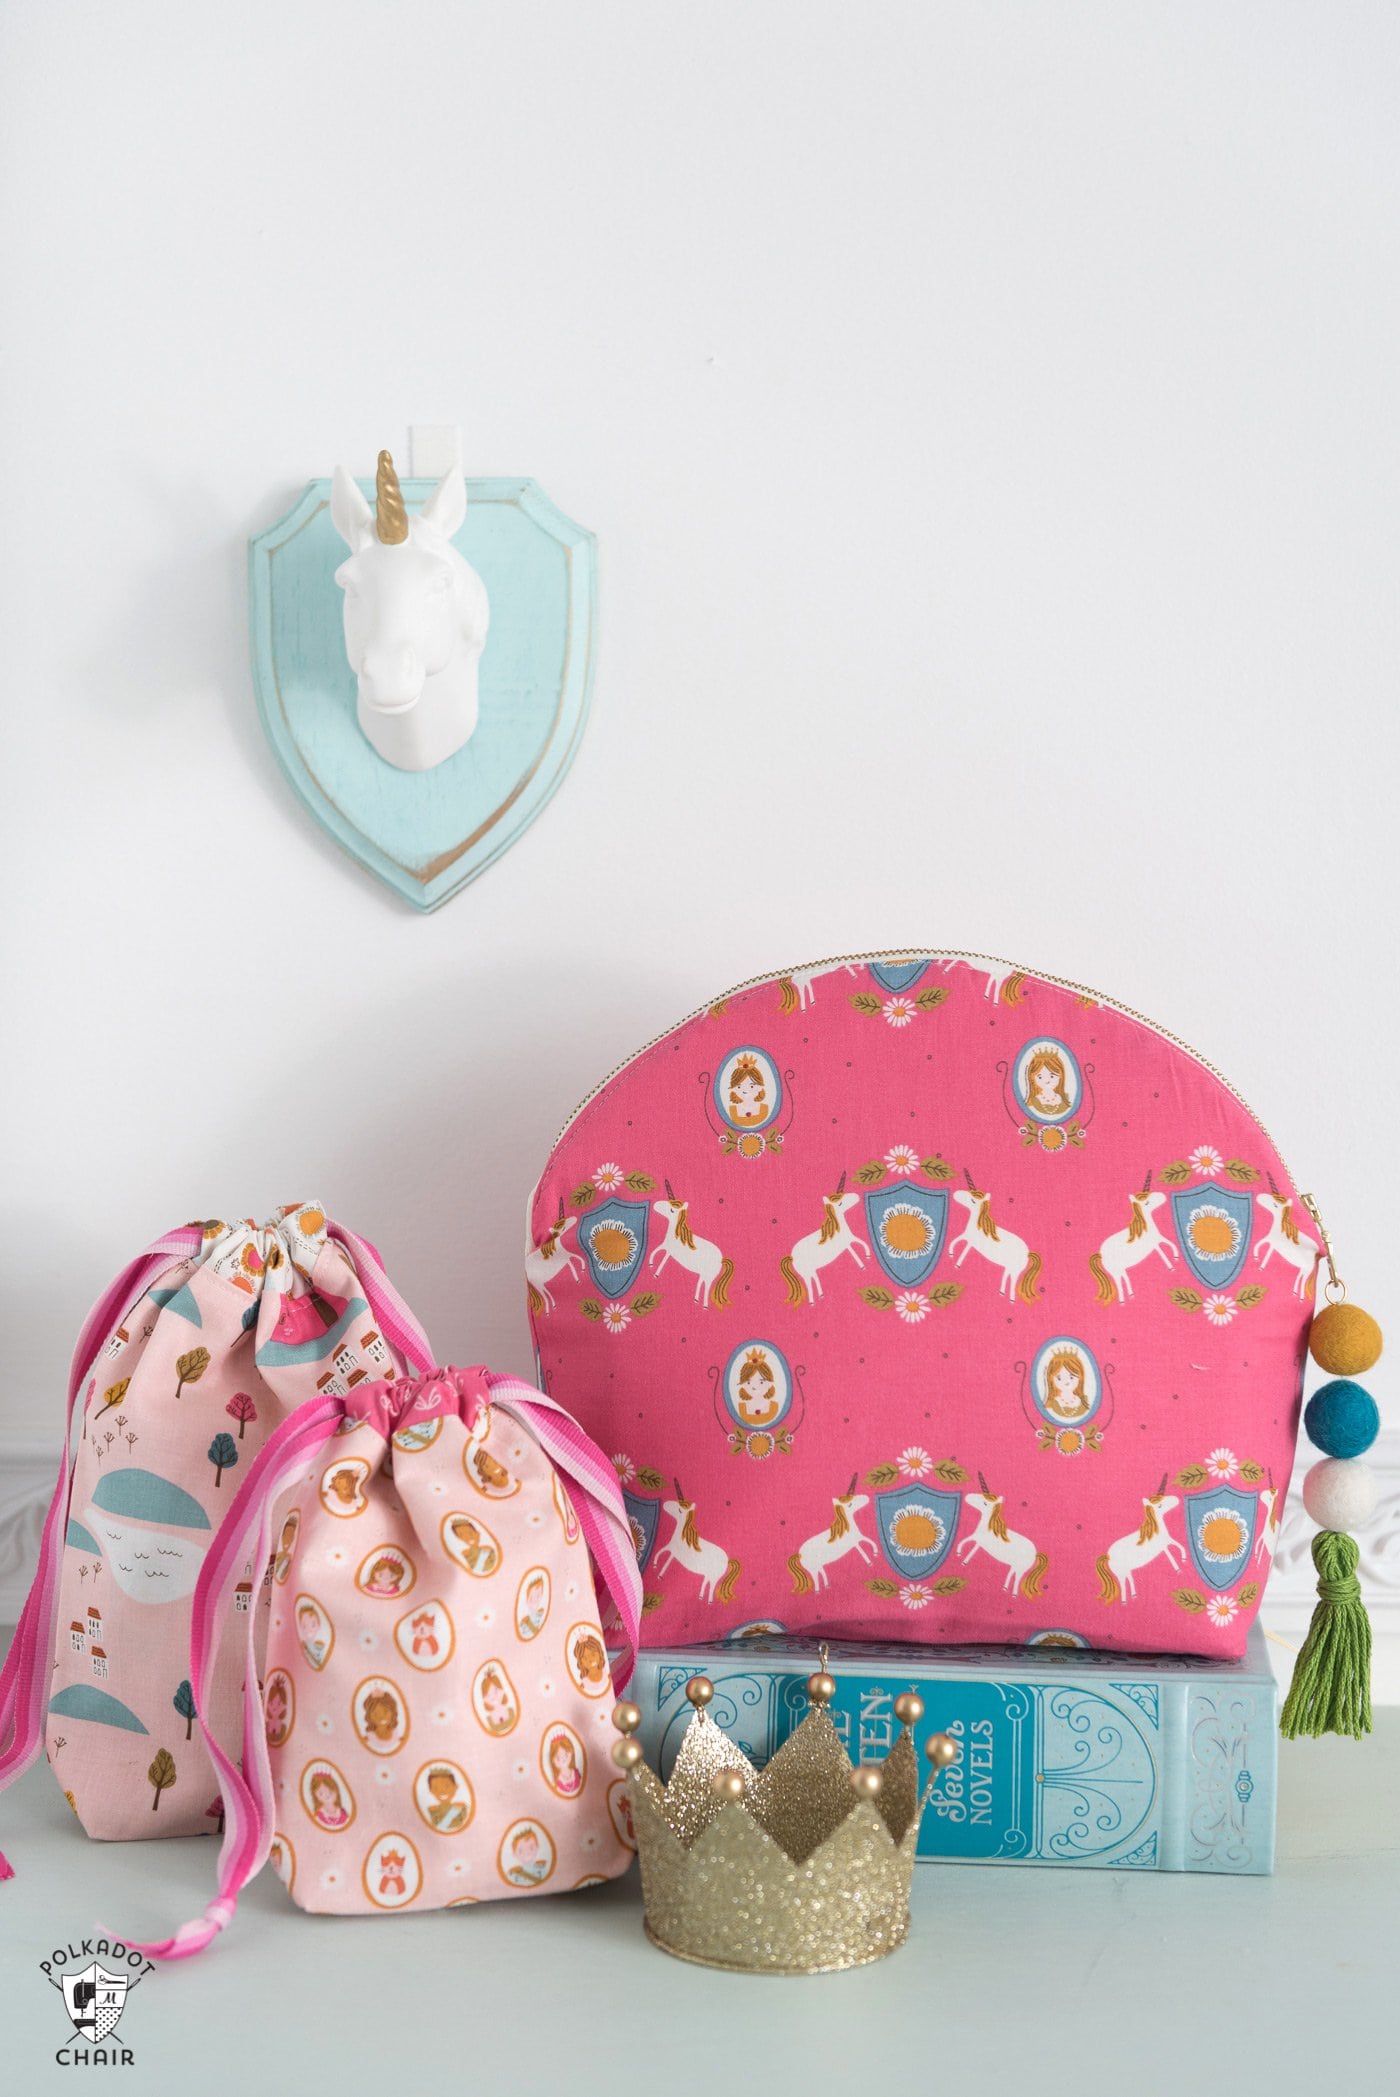
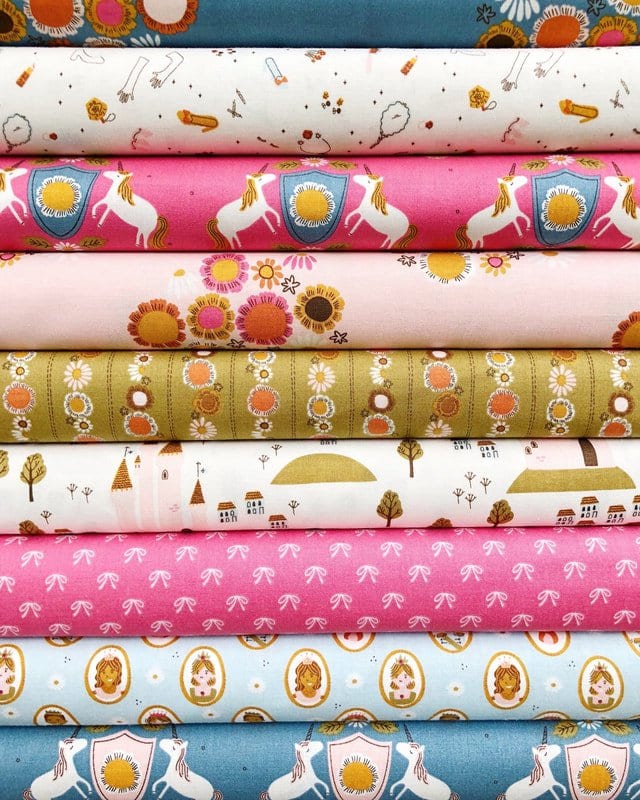
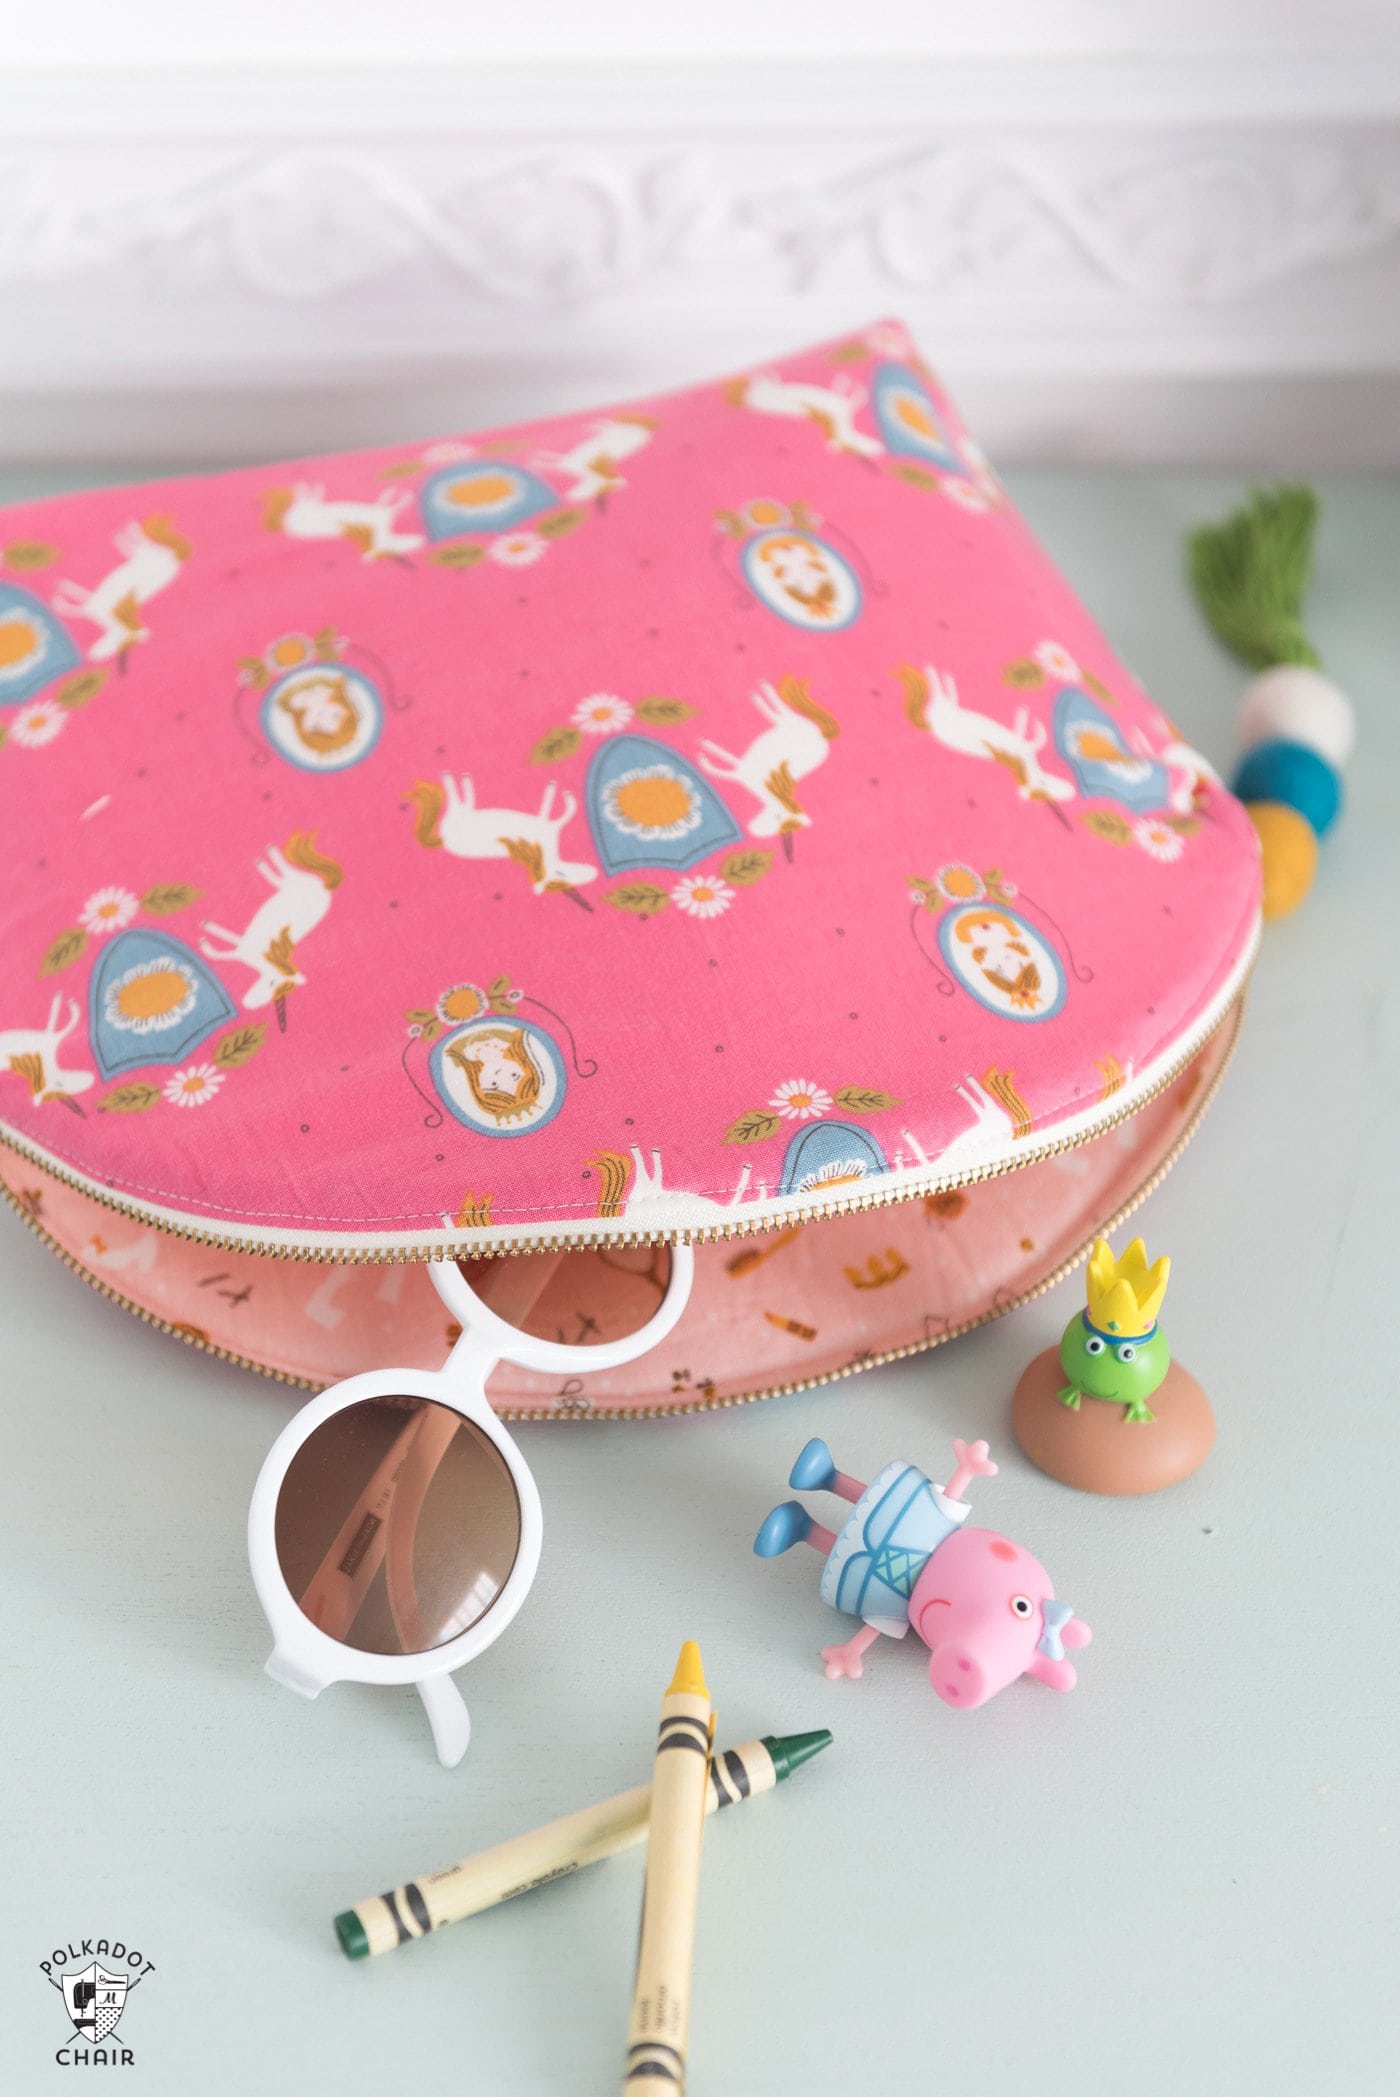
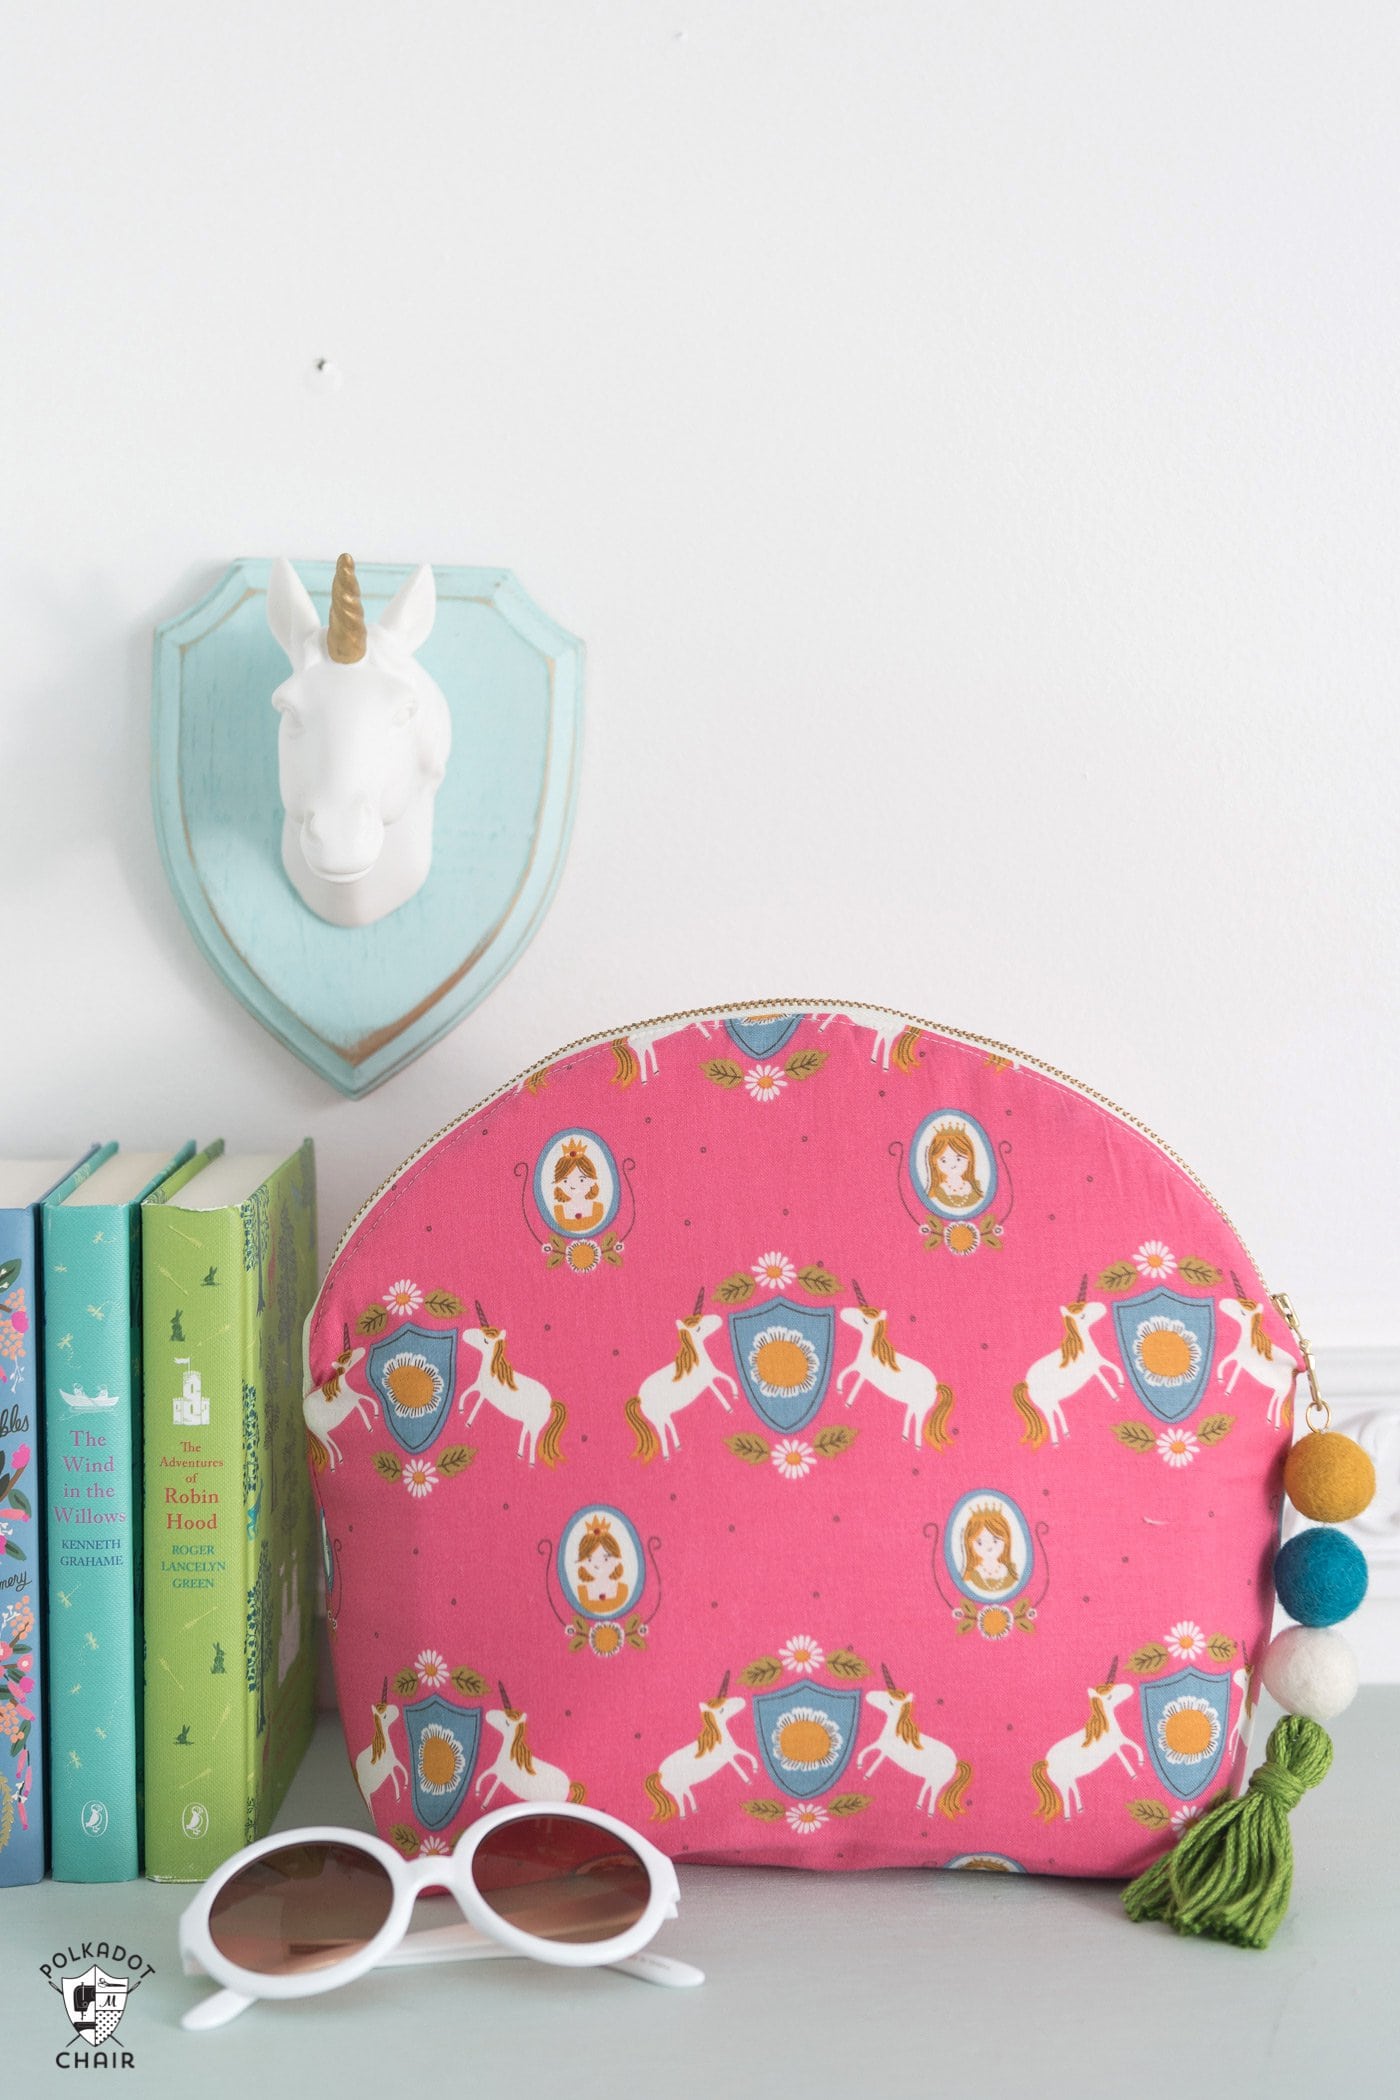
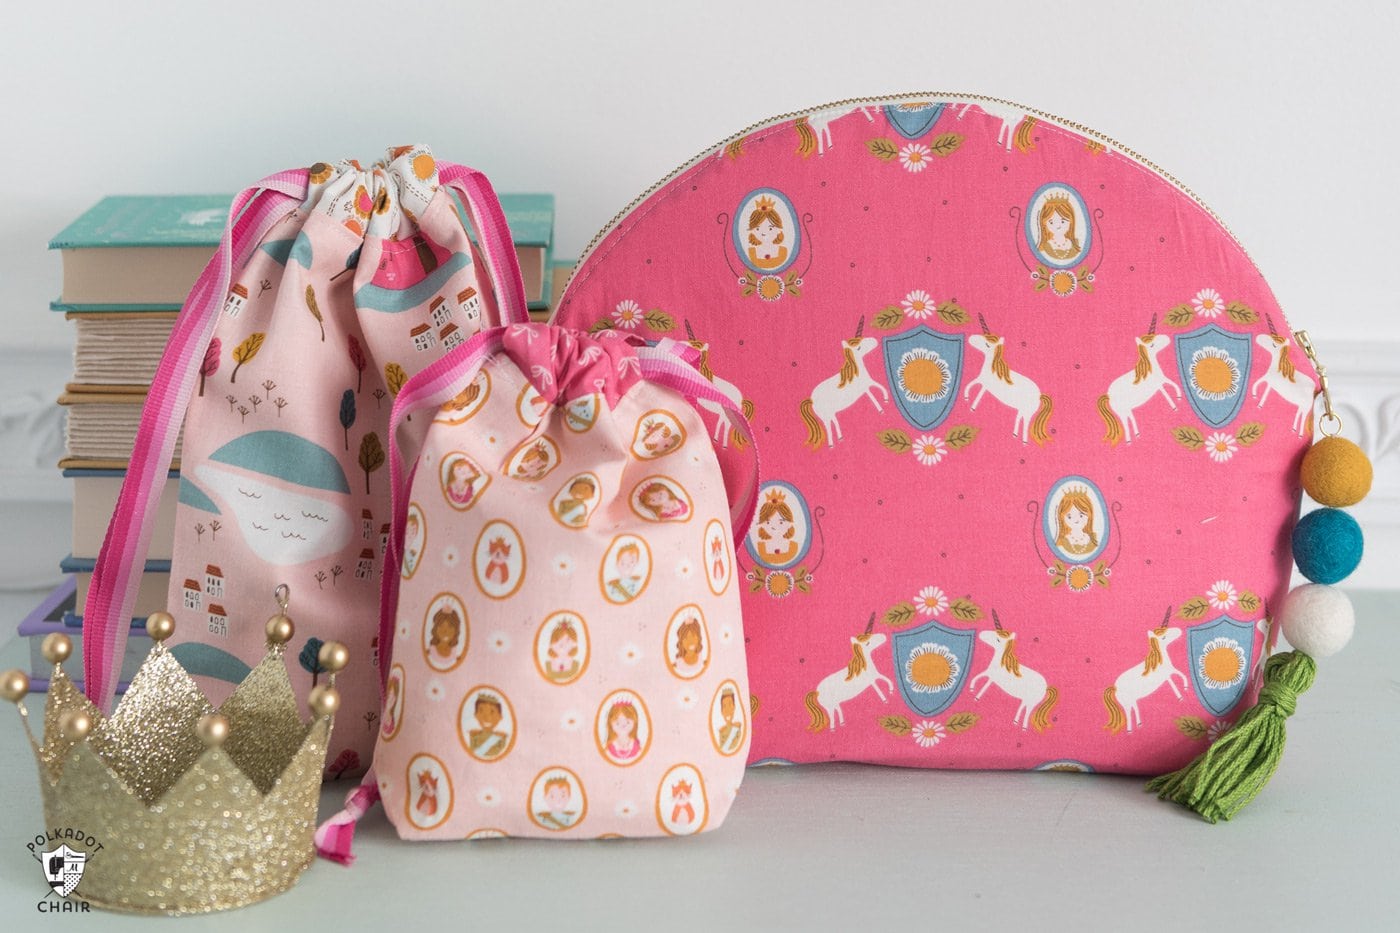
When I saw the ADORABLE new Guenivere fabric line by Citrus and Mint for Riley Blake Designs I instantly fell in love! It reminded me so much of my girls when they were little. They LOVED princesses and dress ups, and pink! Feeling inspired by girls, I decided to stitch up a set of bags using the fabric line.
I created a couple of simple drawstring bags (using THIS tutorial, it’s the XS and S bag sizes). Also, I decided to sew a makeup bag. I know that little girls don’t wear makeup, but I think most people are used to calling those large curve top zip bags “makeup bags” so it seemed easiest just to name it that!
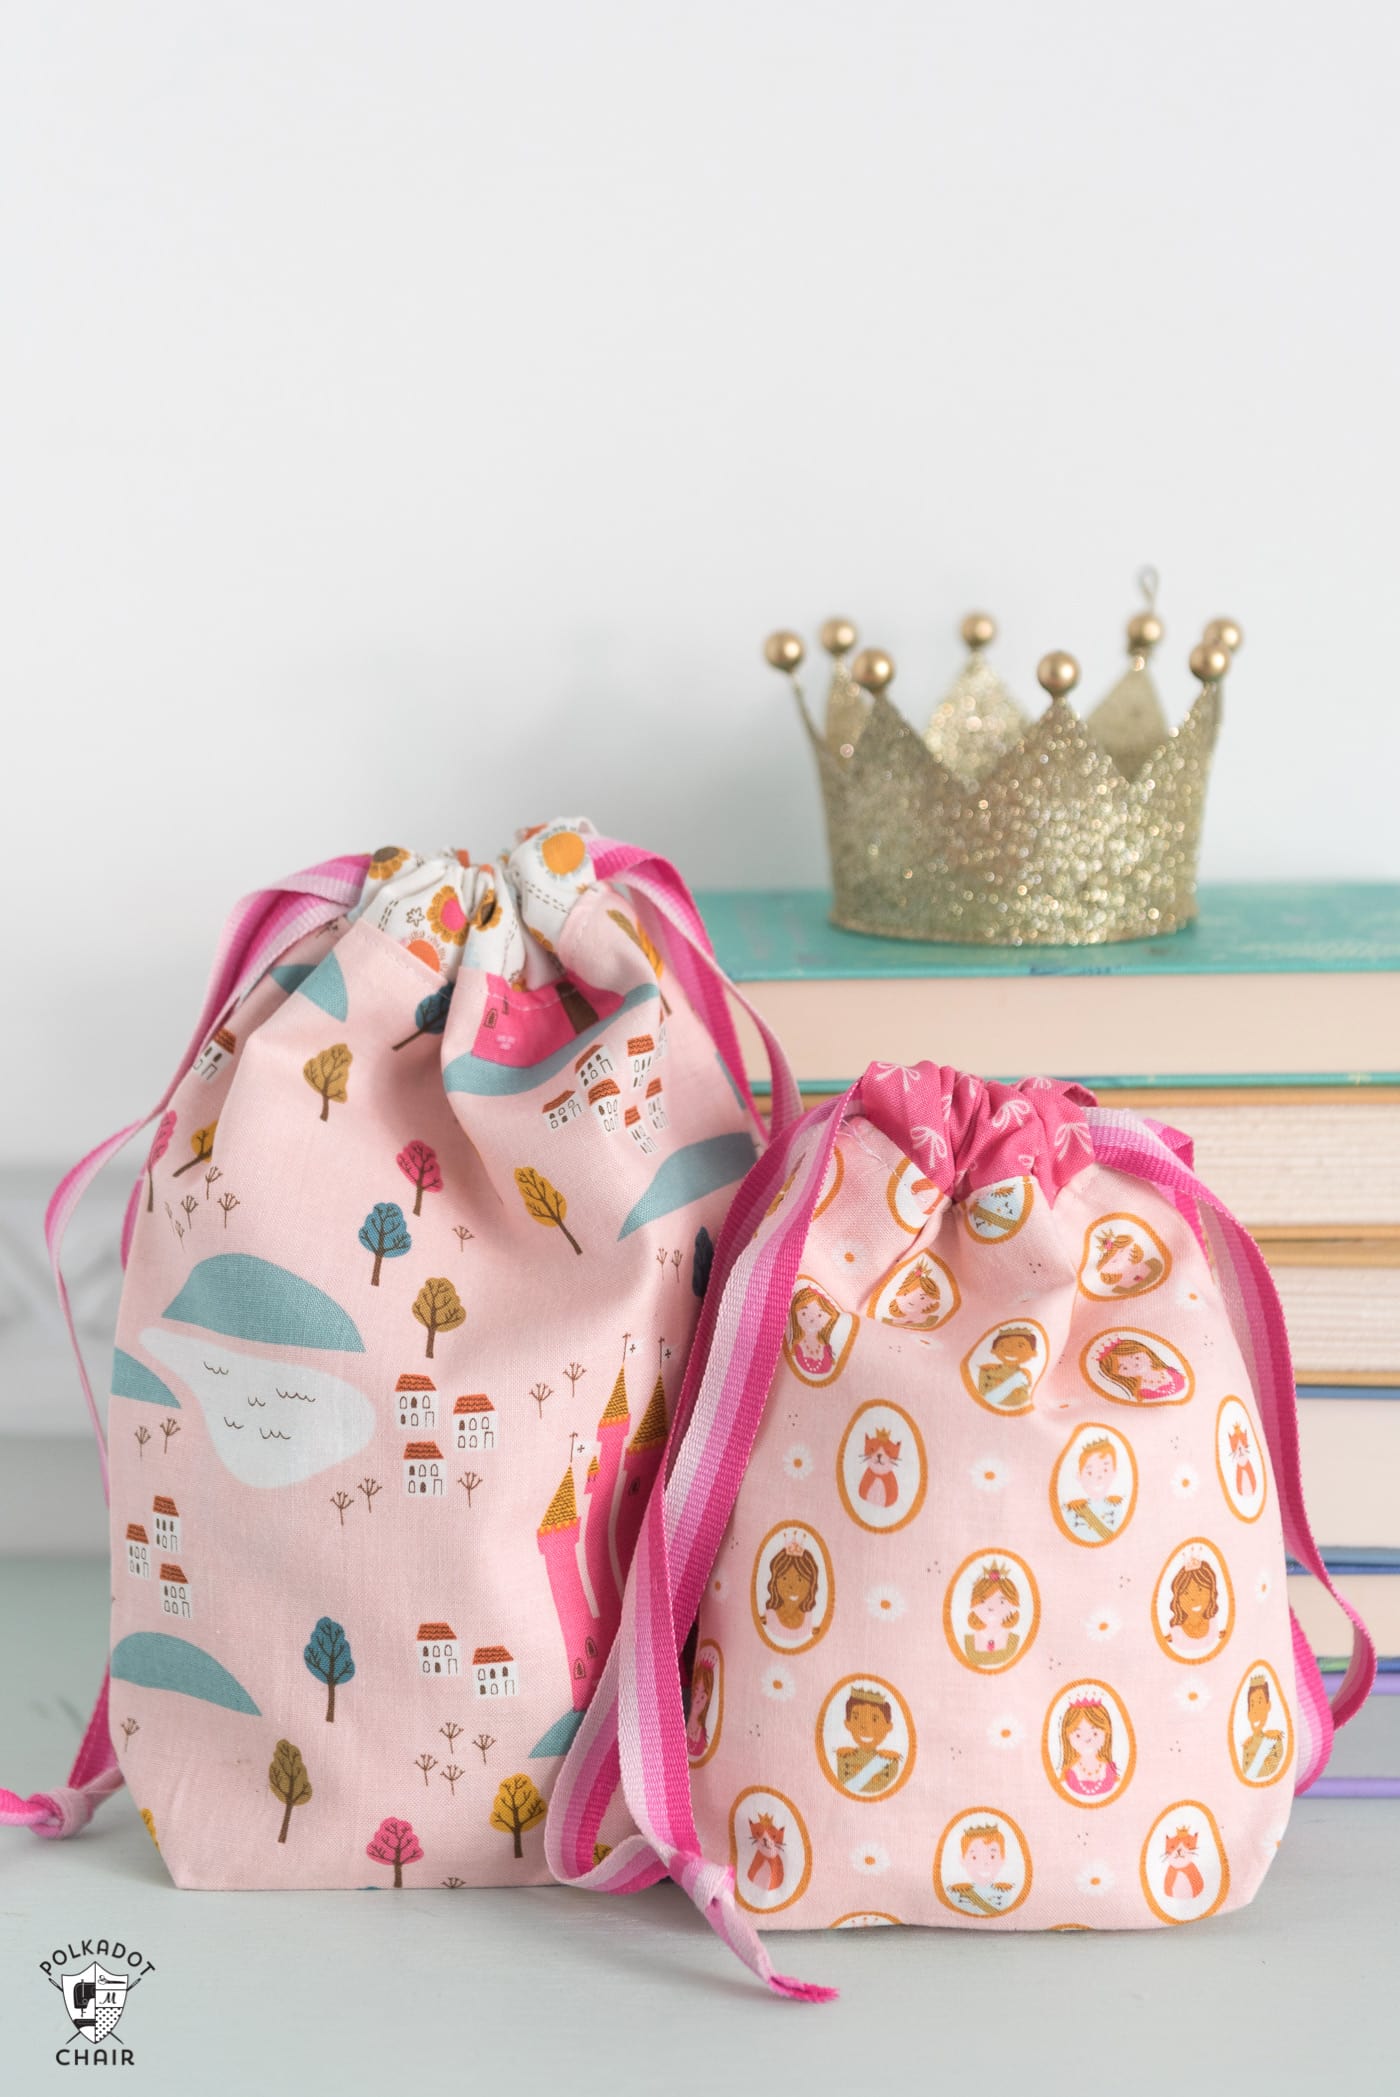
(tutorial for the drawstring bags can be found HERE)
How to Make a Makeup Bag:
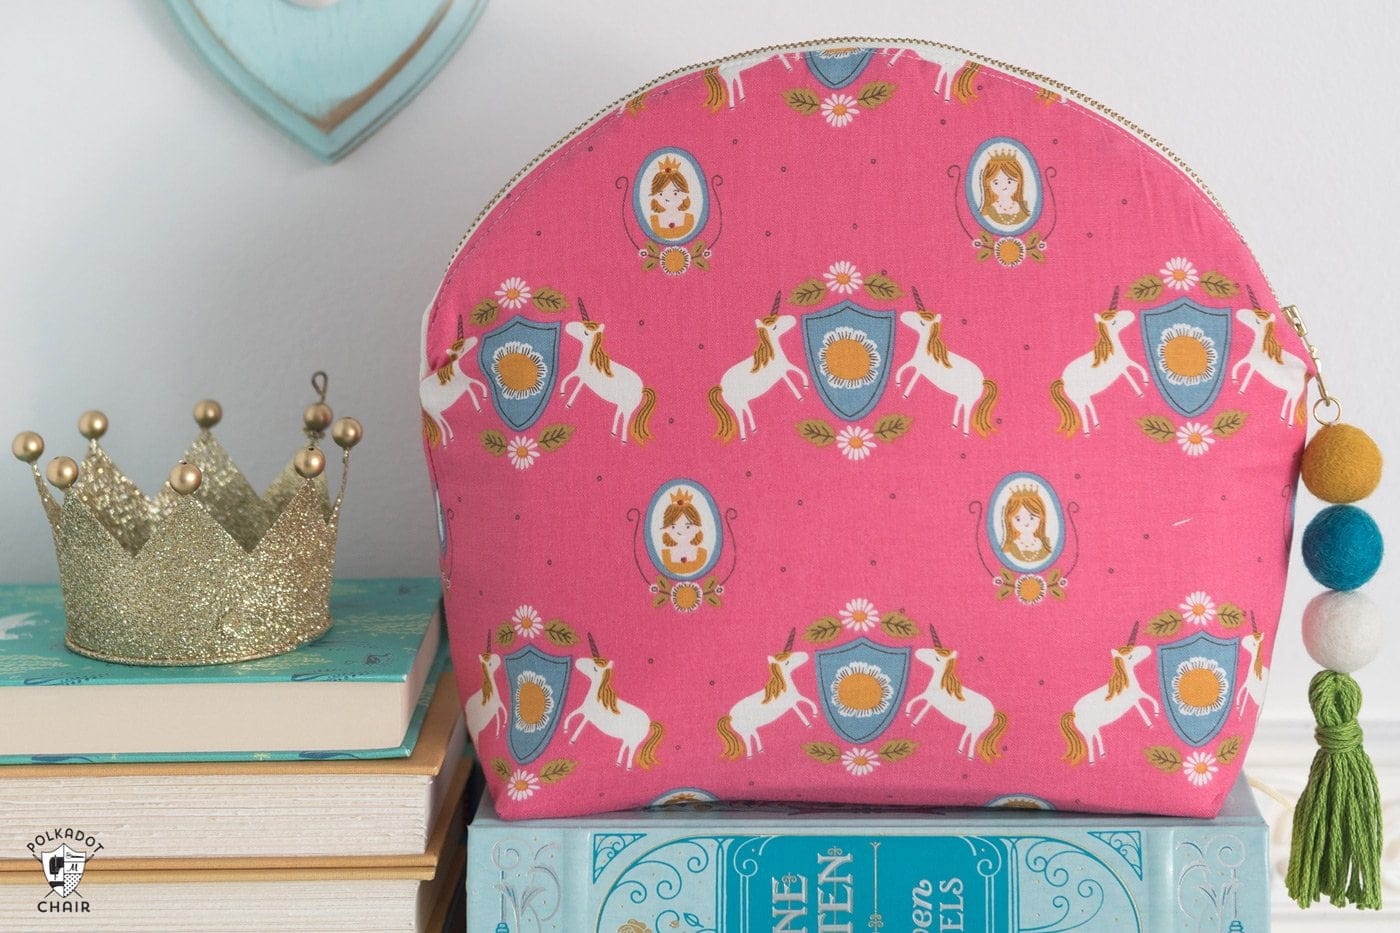
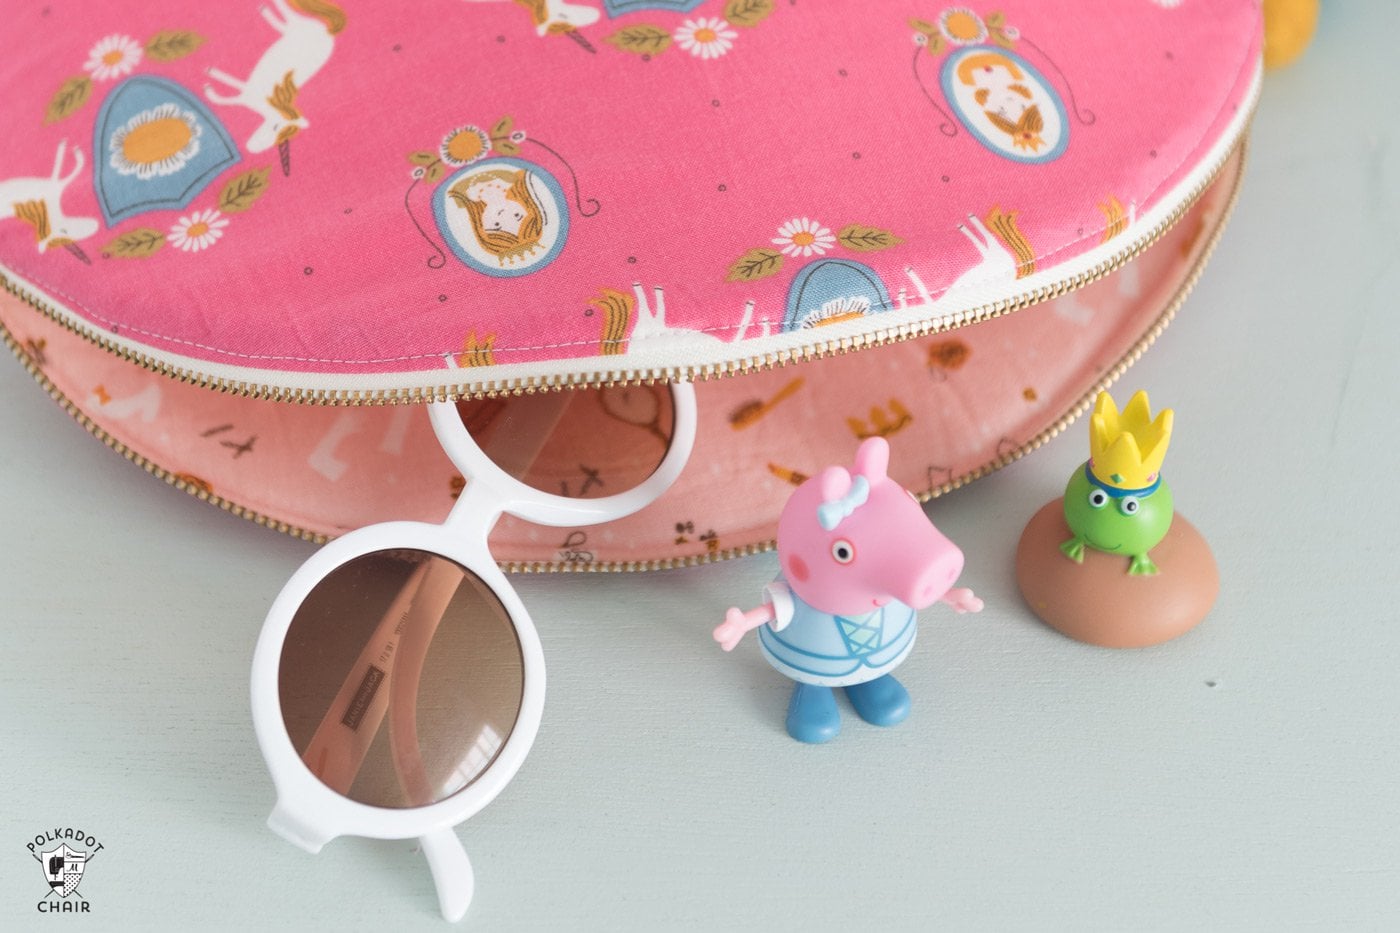
The pattern is based on an older pattern of mine, but this one is MUCH larger. It measures approx 11″ x 11″ x 1 1/2 deep. The larger size makeup bag is a great size for stashing toys! You could even make it out of laminate fabric to make it extra sturdy (if you decide to do that make sure you check out my “How to sew with laminate fabrics” post before you start).
Makeup Bag Pattern:
(contains affiliate links)
Supplies:
(click links for sources)
The fabric is Guenivere by Riley Blake Designs – purchase it at your local shop, or online at several retailers including Etsy just CLICK HERE.
Large Makeup Bag Pattern Piece – download it for free on the subscriber sewing templates page.
1 Fat Quarter of Fabric for Bag Outside
1 Fat Quarter of Fabric for Bag Lining
Pellon Flex Foam One Sided Fusible Interfacing
14″ Zipper – I used a metal zipper, you can also use a polyester zipper
Large Makeup Bag Pattern Piece – download on the Sewing Templates Page
Assemble the Makeup Bag Pattern Piece:
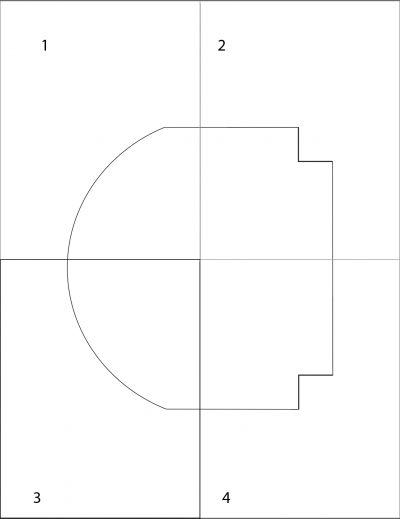
Download and print out the Large Makeup Bag Pattern Piece. You will have 4 pages. When you print make sure your printer is set to ACTUAL SIZE or 100%. Make sure page scaling is NOT on.
Lay out the 4 pieces of paper like this in order with 1 and 2 on top and 3 and 4 on the bottom.
Using scotch tape, tape together the paper. They should NOT overlap.
After the piece is well taped, cut it out.
Cutting Directions:
Using the Pattern Piece Cut:
2 pieces EACH from the
-Bag Outside Fabric
-Bag Lining Fabric
-Shape-Flex Interfacing
-Flex Foam Interfacing
Iron the Shape-Flex interfacing onto the wrong side of the bag outside pieces. Iron the Flex Foam interfacing onto the wrong side of the bag lining pieces.
Sew a Makeup Bag:
I mentioned earlier that this bag pattern is adapted from an earlier pattern that I shared on this site. To keep from duplicating too many instructions, and since they are EXACTLY the same, I’m now going to link you over to the smaller cosmetic bag pattern to finish the steps of the bag.
Click here for construction steps.
As you sew a makeup bag keep in mind:
- The larger bag featured in this post uses a 14″ zipper. That is the exact size you need, the smaller bag instructions tell you to trim a zipper, you don’t need to do that here.
- I used a metal zipper. As you sew make sure that you DO NOT sew over the metal part of the zipper.
- Be careful as you press your bag, metal zippers get very HOT!
- Make sure to trim the excess flex foam interfacing away from the seams to reduce bulk.
- I did not include the leather bottom on the bag I made in this post.
- Seam Allowances are 1/2″ unless otherwise noted.
That’s it! I hope you enjoy making this bag! If you do, make sure you tag me on social media I’m @polkadotchair !