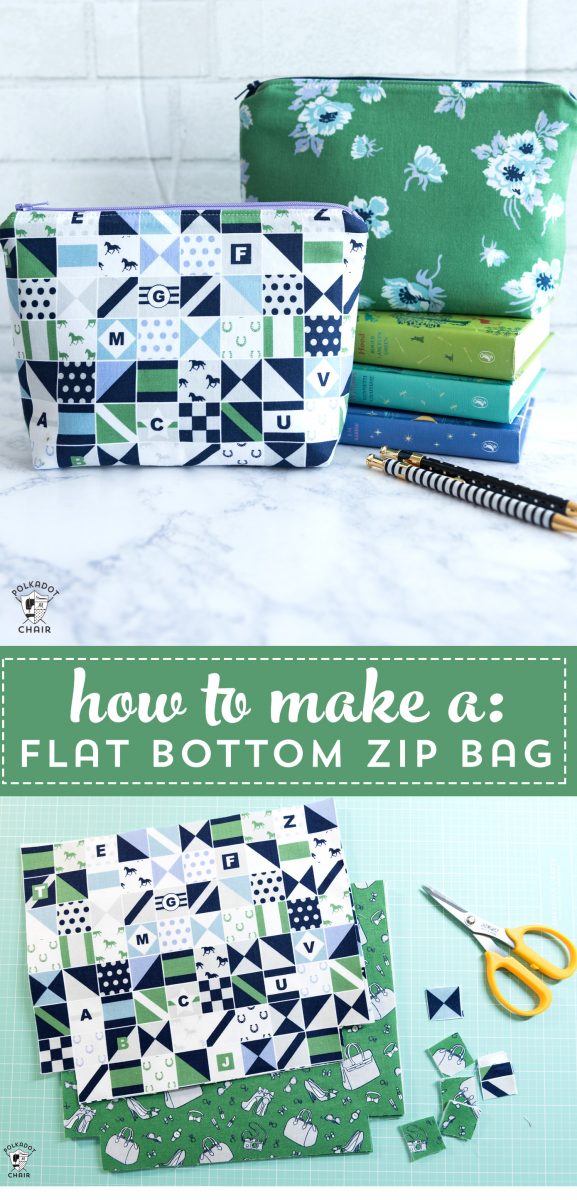
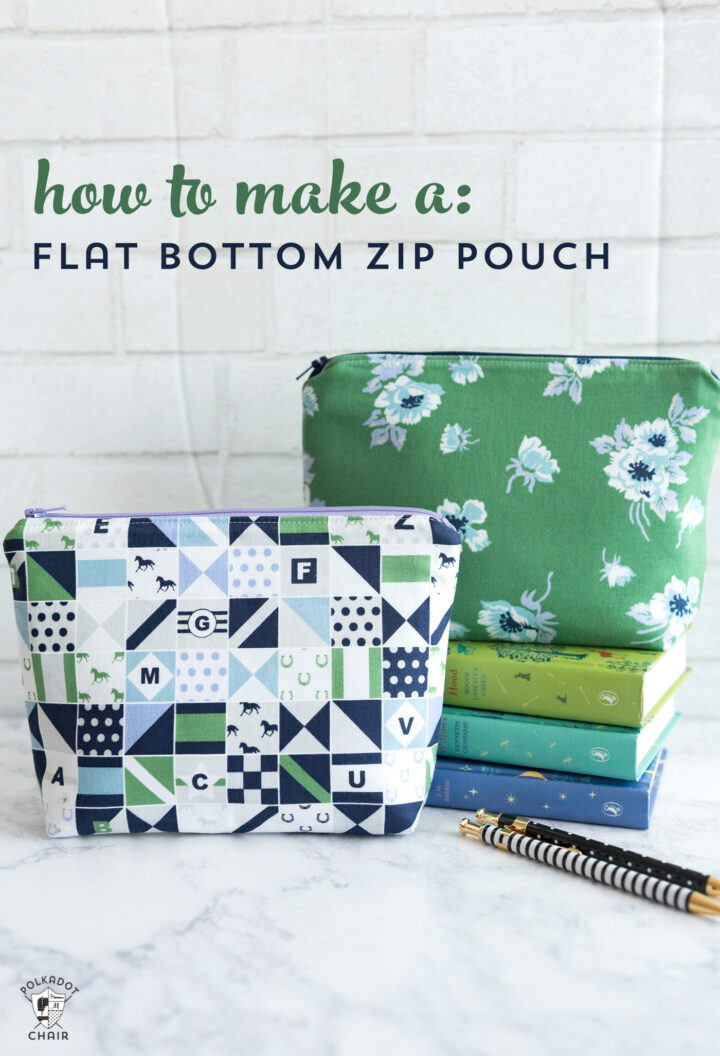
Learn How to Sew a Zipper Pouch with a Flat Bottom
This free zipper pouch pattern with a flat bottom (sometimes referred to as a gusset), is a part of my “learn to sew series.” A series of simple sewing projects aimed at helping you learn how to sew or improve your sewing skills! These zippered pouches are my “go-to” handmade gift and were one of the very first bags I learned how to sew. They stitch up quickly and are a great way to use up fabric scraps!
I’ve made A LOT of zippered bags over the years. I love that the pattern is pretty simple and can easily be modified or customized depending on what you want to use the bag for!
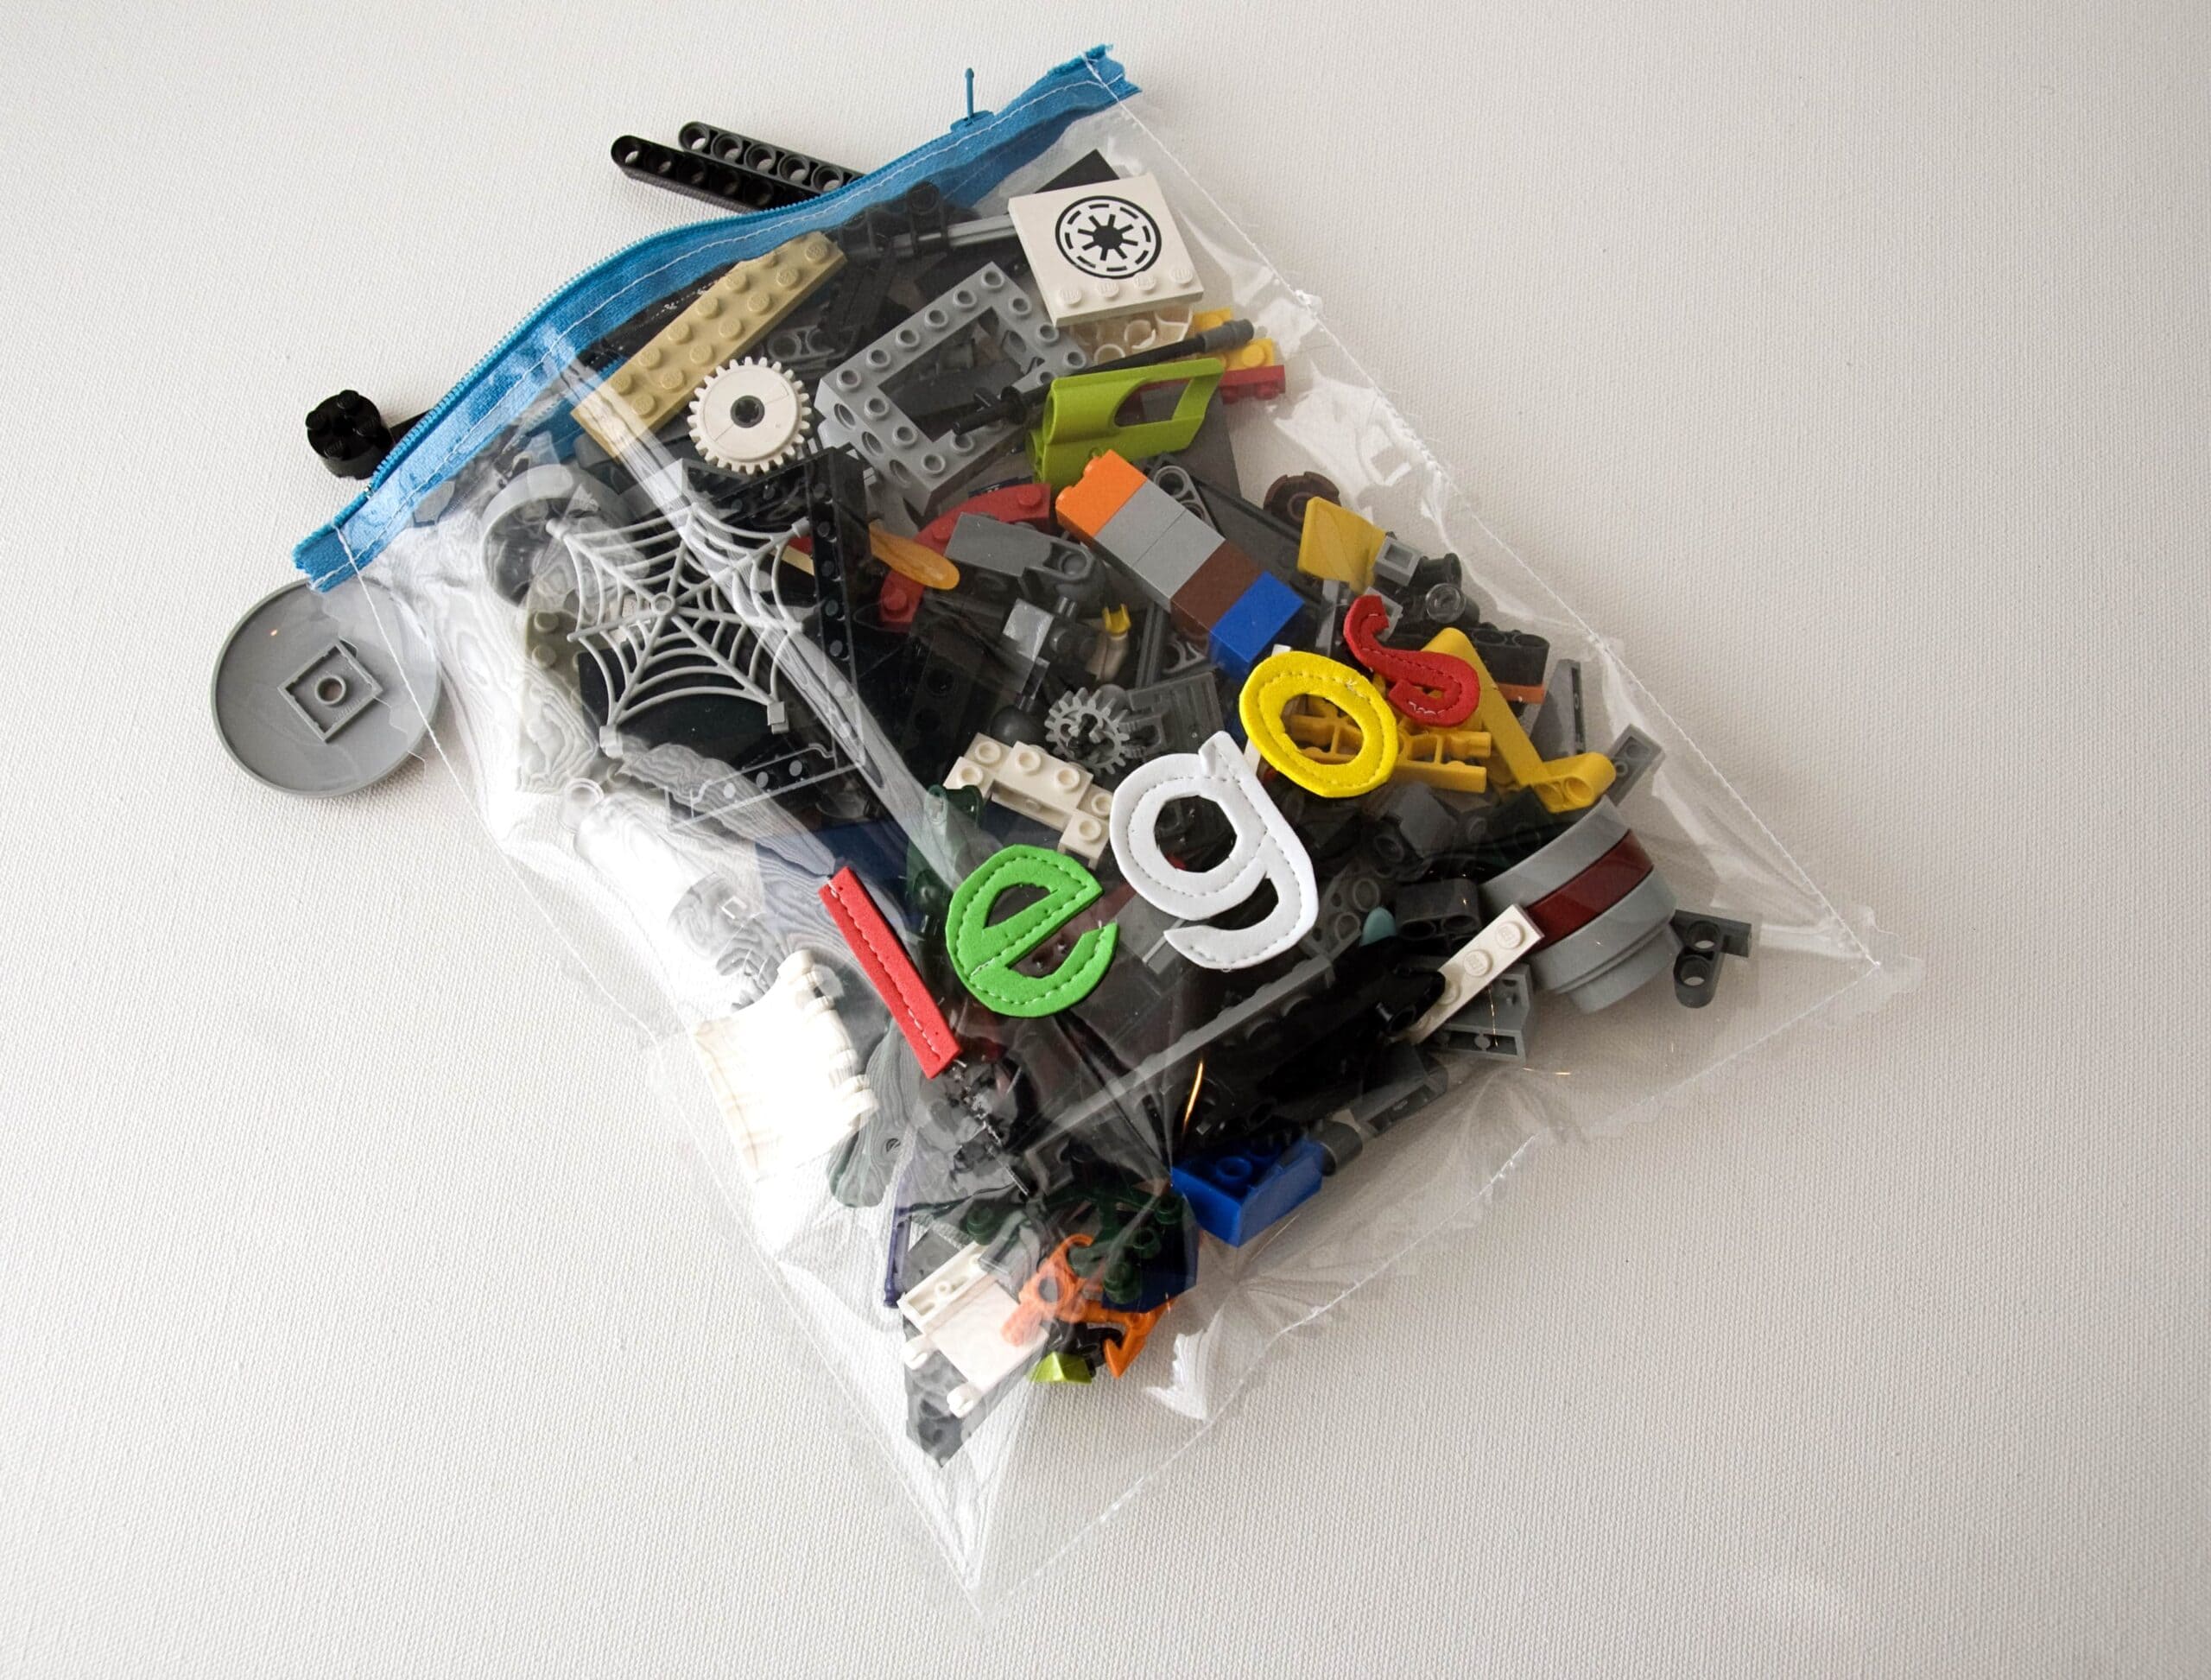
You can stitch it out of laminate fabrics to make a cosmetic bag, make it small enough to hold chapstick, or large enough to hold a hairbrush! It’s up to you.
Before you begin, here are a few sewing tips
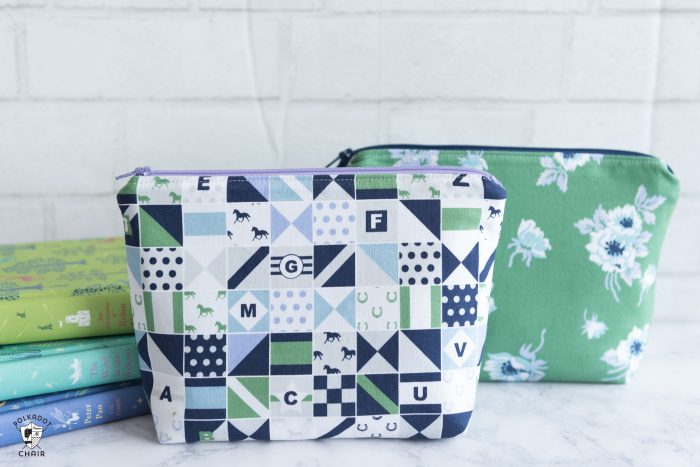
- You can make this bag in ANY size that you want. Just make sure that your zipper is longer than the width of your fabric. Customize and resize away! This bag is about 9″ x 1 1/2″ x 6 1/2″
- You need to use a polyester zipper for this technique. Do not use a metal zipper (that’s another tutorial)
- You can use a zipper that is longer than you need; you will just cut it to size during construction.
- Take the time to make sure your interfacing is the same size as your fabric pieces; extra bits of interfacing hanging over the edge of the fabric may throw you off as you’re sewing.
- All seam allowances are 1/2″, except the zipper seam allowance, it’s 1/4″
(this post has been updated from an earlier version)
New! Video Tutorial
I filmed a video teaching you how to make this pouch. You can find it saved on my Instagram Stories highlight bubble. Just look for the one that says “Bag Sew Along.”
You can also find the video on my YouTube channel.
Printable Version
If you prefer a printable version of this sewing pattern. You can purchase one in our shop.
The printable version shows you how to make the zip bag with a flat bottom shown in this article, and a simpler zip pouch that lies flat.
Gusseted Zip Pouch Sewing Supplies Required
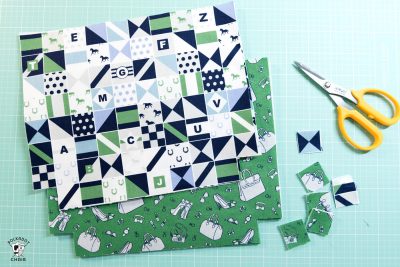
The fabric shown is from the Derby Day Line by Riley Blake Designs
- 1 Fat Quarter of Fabric for Bag Outside
- 1 Fat Quarter of Fabric for Bag Lining
- 1/2 yard Pellon Shape Flex Interfacing
- 1/2 yard Pellon Fusible Fleece Interfacing
- 10″ or longer polyester zipper
- Basic Sewing Supplies
Cutting Directions
- From Pouch Outside Fabric Cut:
- 2 pieces, each 8″ x 10″
- From Pouch Lining Fabric Cut:
- 2 pieces, each 8″ x 10″
- From Shape Flex Cut:
- 2 pieces, each 8″ x 10″
- From Fusible Fleece Cut:
- 2 pieces, each 8″ x 10″
Construction Steps
Gusseted Zip Pouch Sewing Pattern
Equipment
supplies
- 1 Fat Quarter Fabric For Pouch Outisde
- 1 Fat Quarter Fabric For Pouch Lining
- 1 package Fusible Fleece
- 1 package Shape Flex Interfacing
- 1 polyester Zipper 10" or longer
Instructions
Cutting Steps
- From Pouch Outside Fabric Cut: 2 pieces each 8″ x 10″
- From Pouch Lining Fabric Cut: 2 pieces each 8″ x 10″
- From Shape Flex Cut: 2 pieces each 8″ x 10″
- From Fusible Fleece Cut: 2 pieces each 8″ x 10″
Step One: Apply Interfacing
- Iron the Shape Flex interfacing onto the wrong side of the pouch’s outside pieces.
- Iron the Fusible Fleece interfacing to the wrong side of the pouch lining pieces.
- Cut a 1″ x 1″ square out of the bottom corners of all fabric pieces.

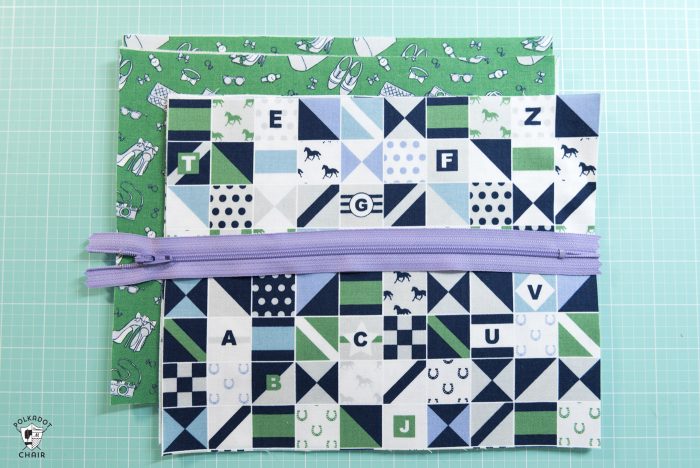
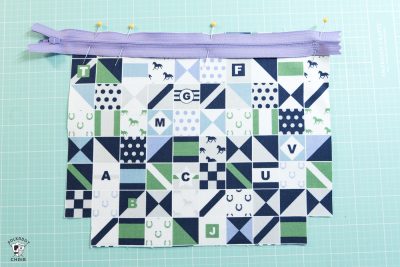
Step Two: Sew the Zipper
- Pin the right side of the pouch outside front piece to the right side of the zipper; the right side of the zipper will be facing the right side of the zipper.
- Pin the right side of one of the lining pieces to the wrong side of the zipper. Using a zipper foot, stitch.
- Repeat for the other side of the zipper.
- Press the fabric away from the zipper and top stitch along both sides of the zipper. I like to use a longer stitch length (like 3.5 when I’m topstitching).
- Next, unzip the zipper ¾ of the way.
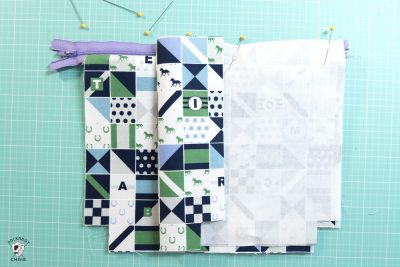


Step Three: Assemble the Pouch
- Pin the two zip pouch outside pieces right sides together and the two lining pieces right sides together. Fold the seam allowance of the zipper towards the lining pieces.
- Stitch with ½″ seam allowance, skipping the corners. Leave a 2″ opening in the center of the lining pieces so that you can turn the pouch right side out.
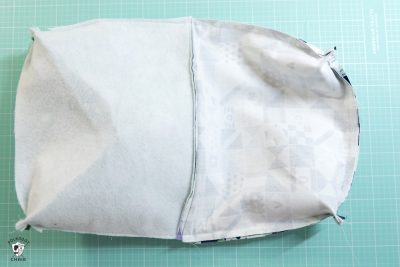
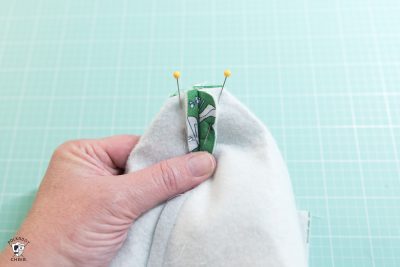
Step Four: Create the Gusset
- Next, pinch the corners (where the squares are cut out) so that the raw edges are even and the seams are lined up on top of each other. Stitch in place with ½″ seam allowance. Repeat for all four corners.
- Cut off the extra zipper (do this ONLY if you bought a polyester zipper, don’t do this for a metal zipper).
- Turn zip pouch right side out.
Finishing
- Using a hera tool or other “pointy object” (not your scissors, they may poke thru the fabric), push the corners of the bags out until they are crisp.
- Using your iron and lots of steam, press the zip pouch well, don’t skip this step, it will be one of the things that give you a nice smooth finish on your bag.
- Stitch (by hand or machine it’s up to you) the opening in the lining closed.
Video
If you’d like more ideas for Zip Pouches to Sew, then check out some of these other tutorials!
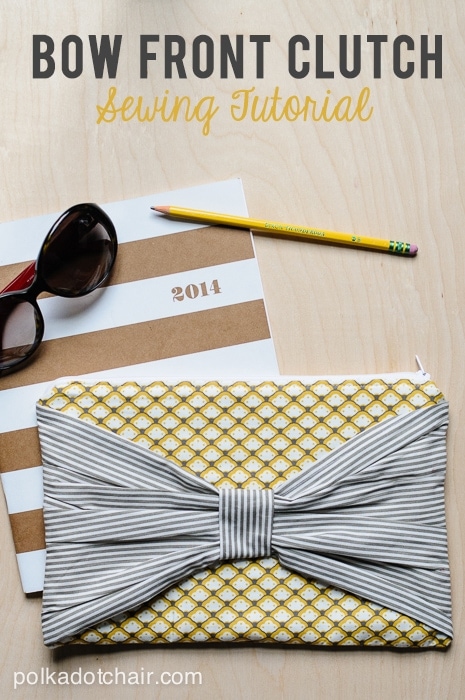
Seersucker and Leather Zippered Clutch
Embellished Zip Pouch Tutorial
40+ FREE Zip Pouch Sewing Tutorials