Sunshine & Stars Quilt Block – Just For Fun Quilt Along
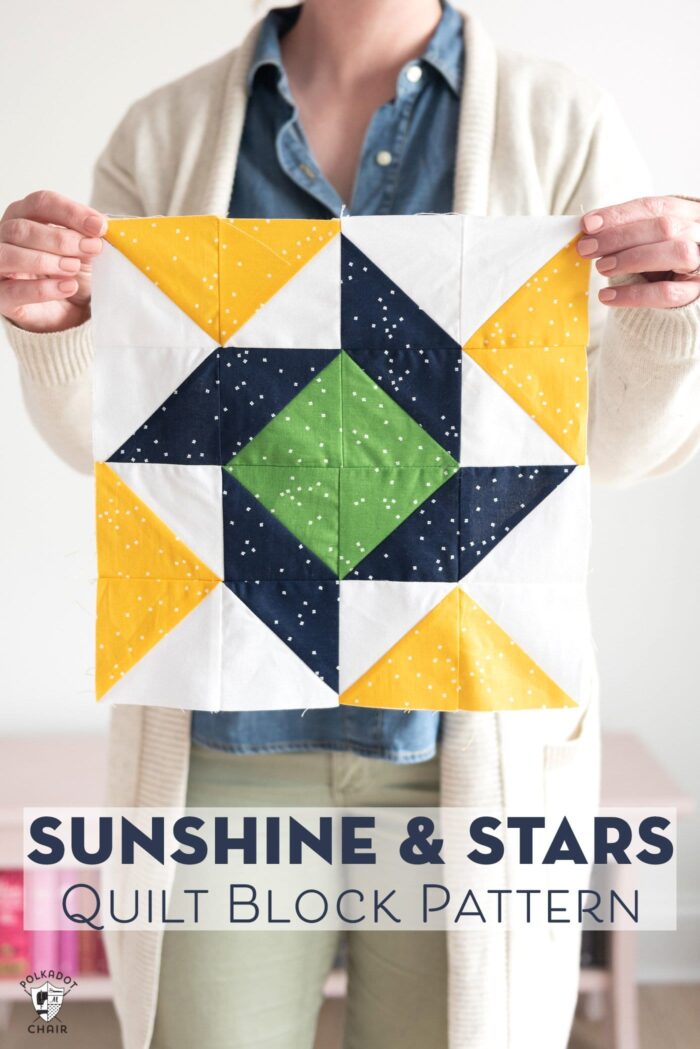
Today I’m excited to share with you the 3rd block in our Just for Fun Quilt Along. This block is called Sunshine and Stars. If you’re new here, welcome! You can jump right into the quilt along.
Happy May! Are you guys reading for the next block in our Quilt Along? If you’re new here, I’m hosting a year long free Quilt Along. You will make one block a month for 12 months and at the end of the year have a completed quilt top.
The quilt is actually broken down into 6 blocks. You need to make at least two of each block, so you can make one block a month if you want to work it that way. Or you can just make them all when they are posted every other month. Whatever works!
I don’t know why but for some reason I had the hardest time naming this months block. The inspiration behind the quilt along was things that I like that are “Just for Fun” hence the name. The first month was called Under the Stars inspired by a night sky. The second quilt block was called Lake Days inspired by my love of “lake life”. This block I had SOO many names running around my head and I couldn’t pick one.
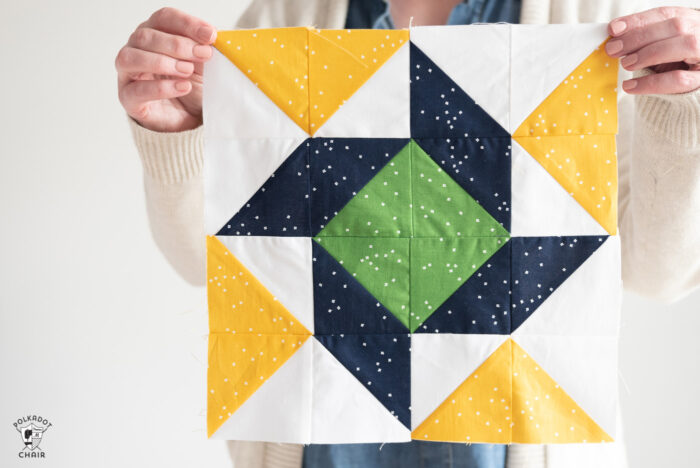
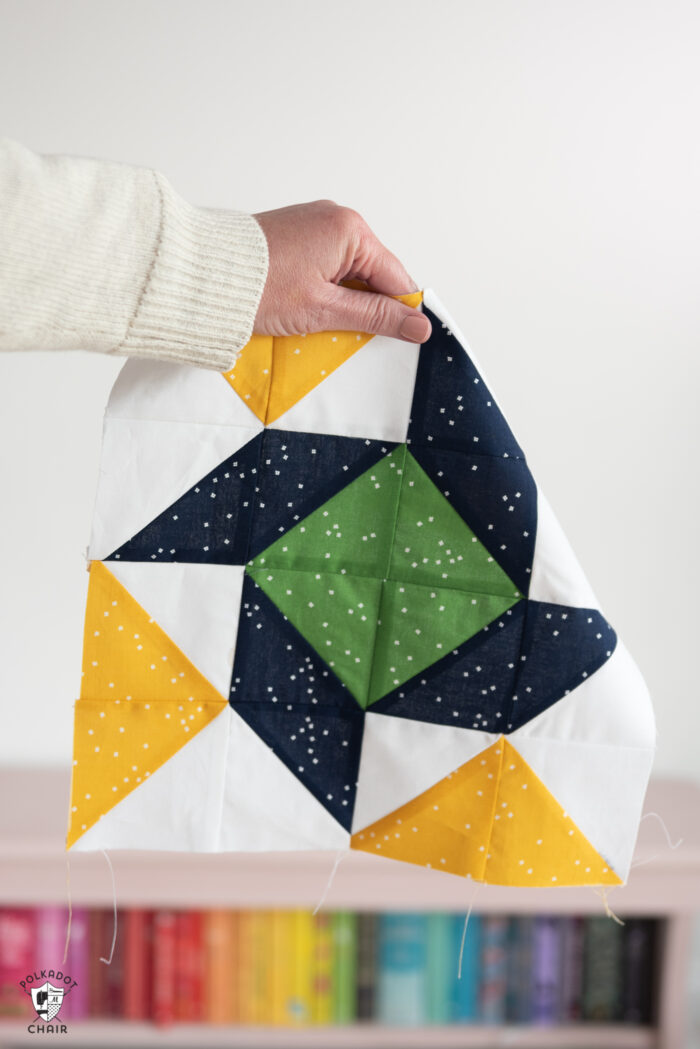
I finally settled on Sunshine & Stars because the center of the block reminds me of a beach umbrella and the yellow of the block, sunshine. Plus that navy with the speckles totally looks like a starry night sky!
UPDATE:
Now that the Quilt Along is over, you can purchase a PDF with all of the Quilt Block in ONE document. It includes all of the blocks shared in the series in an “easy to print” format.
- All of the Blocks in the Just for Fun Quilt Along:
- Block One: Under the Stars
- Block Two: Lake Days
- Block 3: Sunshine & Stars
- Block 4: Salt and Sand
- Block 5: Bike Ride
- Block 6: Road Trip
How do I sign up for the Blocks?
You don’t need to sign up for this quilt along! Just pop into the blog on the dates the blocks are posted (listed on this printable sheet). If you want I’d LOVE for you to sign up for my weekly newsletter. Then you’ll be sure never to miss a post! (Plus we have lots of fun quilt projects here all year)
[optin-monster-shortcode id=”vrbmhxkz5qwzgg51″]
Join our Quilting Facebook Group
Love to Quilt? Please join us in our Quilt Fun Facebook Group!
Ready to make a block? Let’s go!
If you’re brand new to quilting, here are a few tips to keep in mind:
1- Be careful as you cut to keep your measurements precise.
2- Double check your seam allowance on your sewing machine. You want it to be 1/4″ exactly. I recommend marking that spot on your machine with a bit of washi tape so you don’t forget where it is.
3- When you press your blocks, make sure you press up and down, not side to side. You don’t want to distort your blocks.
Also check out: 3 Tips for Beginning Quilters & How to Make a Quilt from start to finish.
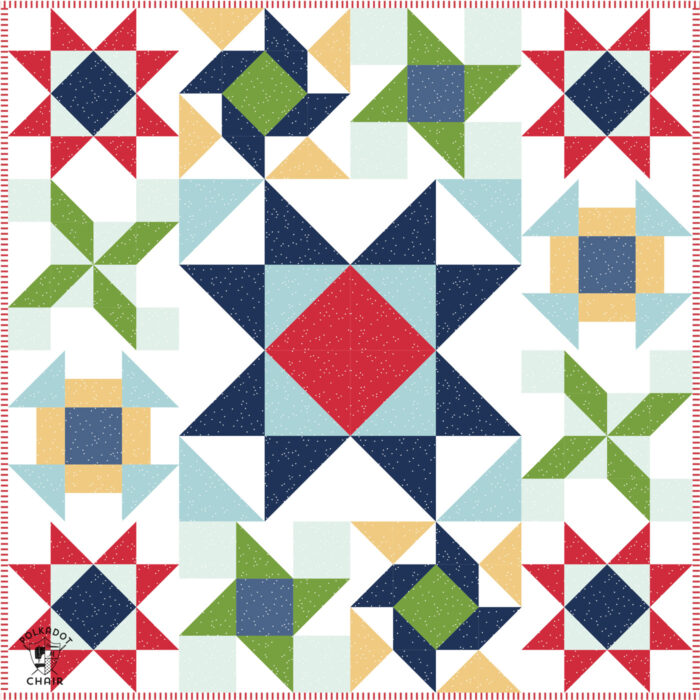
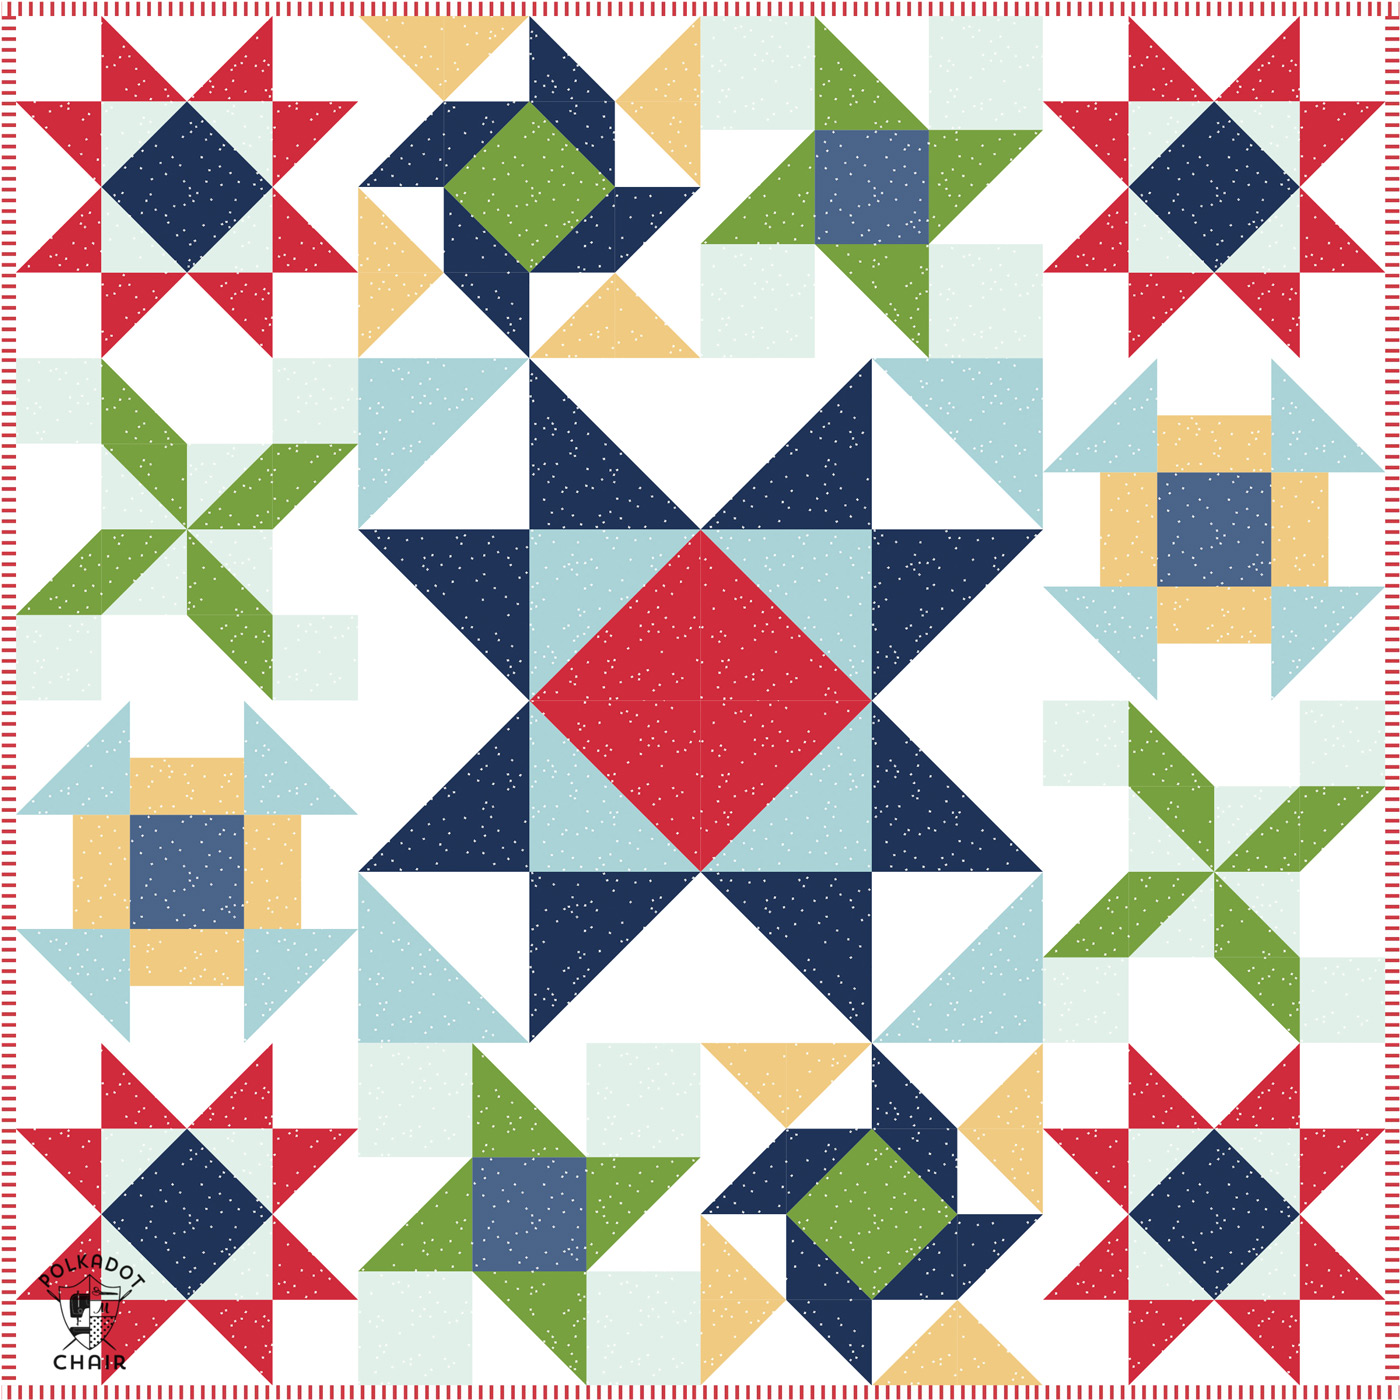
As a reminder, here is what the layout of the completed quilt will look like.
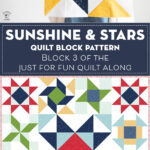
Sunshine & Stars Quilt Block Pattern:
You need to make TWO Sunshine & Stars Quilt blocks for the quilt. The directions are for ONE block. So DOUBLE this if you’re making both blocks for your quilt.
The fabric featured in the quilt is the Blossom Basic by Riley Blake Designs.
Cutting Directions per Block:
- 4 pieces from Navy fabric, 4″ x 4″
- 2 pieces from Green (color is called Holly) fabric, 4″ x 4″
- 4 pieces from Yellow (color is called Honey) fabric, 4″ x 4″
- 6 pieces from White fabric, 4″ x 4″
Assembly Steps:
Time needed: 1 hour
To Make the Summer Pinwheel Quilt Block:
- Create the Half Square Triangles
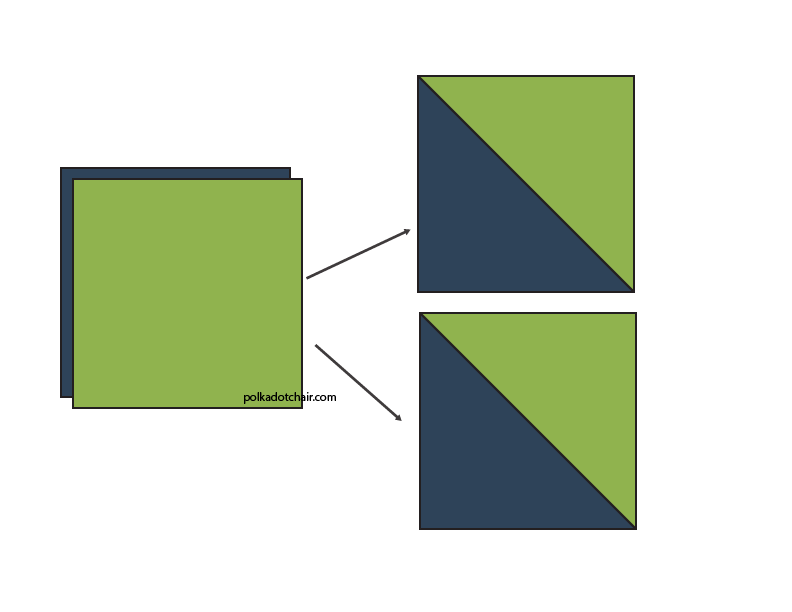
Using your squares of fabric, you need to create 16 Half Square Triangles. If you’re not familiar with the process you can click here to see a full Half Square Triangle (HST) tutorial.
You need to create:
4 Navy/Green HST
4 Navy/White HST’s
8 Yellow/White HST’s
To make the Navy and Green HST’s layer one green square and one navy square as shown below.
The steps are the same for the other color combinations. - Square up and Trim your HST’s
After you have created your HST’s you need to square them up and trim them to 3 1/2″ x 3 1/2″. I like to use a Bloc-Loc ruler for this step.
- Stitch Together by Rows
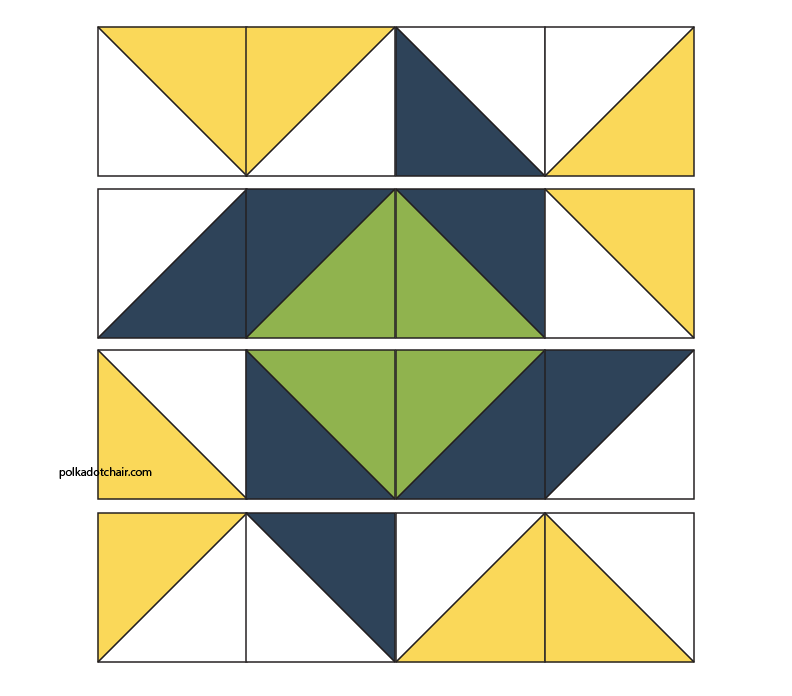
Arrange the sewn HST’s as shown in the diagram. Stitch them together by rows. Stitch row 1, then row 2, etc.
- Sew the Block Together
After you’ve sewn your rows, stitch the rows together to make a block. Stitch the bottom of row 1 to the top of row 2 and so on, until you’ve created the entire block.
- Repeat
The Just for Fun Quilt features two Summer Pinwheel quilt blocks.
You’ll need to repeat steps 1-4 to create a second quilt block.

I think it needs to be 6 white squares instead of 4 for each block…
You are right, thanks for the catch! I was using a stack of pre cut white squares when I made the block. I’ll get the illustration changed.
Hi I just came upon your quilt along. Is there anyway I can start now? If so where are the first few blocks?
Thanks
Very excited Colleen
Yes, just click where it says “To see all of the blocks shared to date CLICK HERE”
What is the finished block size?