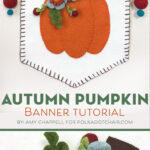
Wool Felt Pumpkin Banner Tutorial; a DIY Fall Craft Idea
The air is crisp and I can feel Fall right around the corner. Today Amy Chappell is sharing a free tutorial for this adorable Wool Felt Pumpkin Banner. It’s a cute and simple Fall Craft Idea!
Hey there friends! It’s Amy from Ameroonie Designs here again with a super fun fall project. This Wool Pumpkin Applique banner is a pretty quick project and can mostly be done on the go, making it perfect for soaking up the last warmth of summer while still getting ahead of the coming season!
How to Make a Fall Banner
If you have never done wool applique before, you are in for a treat! The feel of the wool and felt is soft and smooth and there is no worrying about fraying or turning under edges!
In fact, you could totally make this project No-sew if you wanted to- it’s up to you! I used wool blend felt for the banner, but if you wanted you could use a premade banner, or use a quilting fabric instead. Lots of ways to make this project your own.
Pumpkin Banner Supplies
- Felt in orange, brown, and white (banner)
- Thread to match orange and brown felt
- Freezer paper
- Wood dowel for hanging- I just use a 12” packaged one optional for flowers:
- Felt in rust, blue, light green, and medium green
- Extra small felt poms in red (3) and yellow (2)
- Wire
- Hot glue gun and glue
- Download the pattern for pumpkin here.
How to get the Pattern Pieces
Fill out this form and we will email you directions to get the pattern pieces.
You can find the tutorial to make the flowers and leaves as well as the free templates on Amy’s blog.
Construction Steps
One: Transfer the Applique Patterns onto the Wool Felt
My favorite way to transfer patterns onto felt is to print or trace the pieces onto the paper side of freezer paper.
Cut out the pattern pieces with a slight margin all the way around. Next, use a medium iron with no steam to fuse the waxy side of the pattern to the felt color of choice.
Cut out the pieces on the lines and then peel away the freezer paper. Set aside the pumpkin pieces.
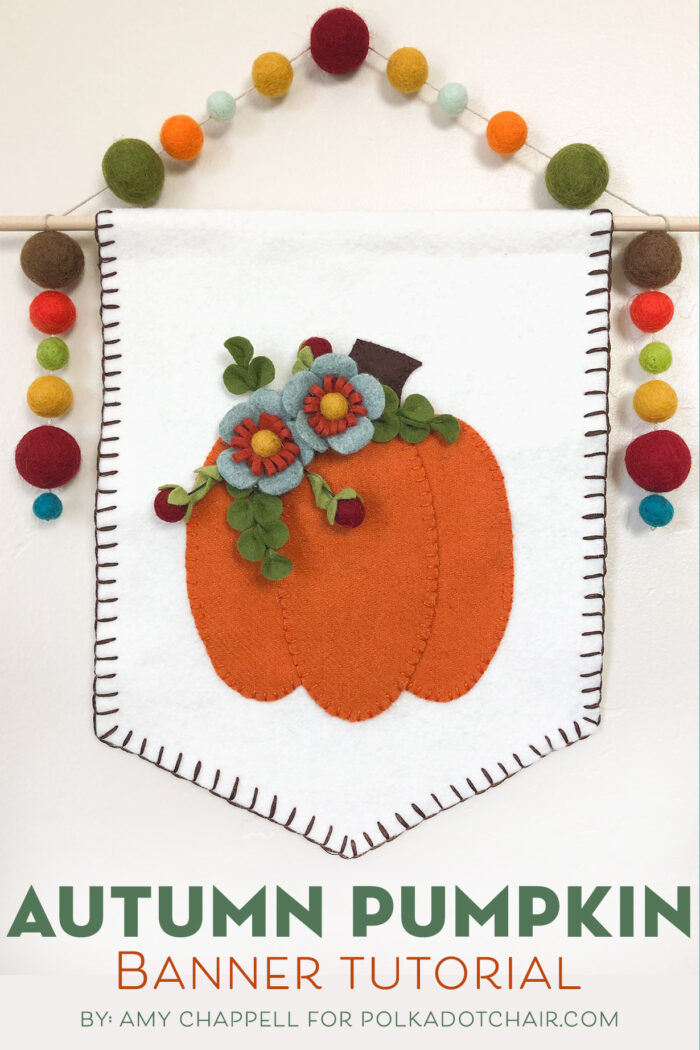
Two: Create the Banner
To make the banner, first cut a piece of white wool-blend felt to 8 1⁄2” X 12”.
With the felt piece vertical (tall, not wide) measure up 2” from the bottom on each side and make a faint mark.
Mark the center of the bottom (short) side of the banner piece. Use a ruler and draw a line connecting the center mark to the two side marks (it will make a very wide v).
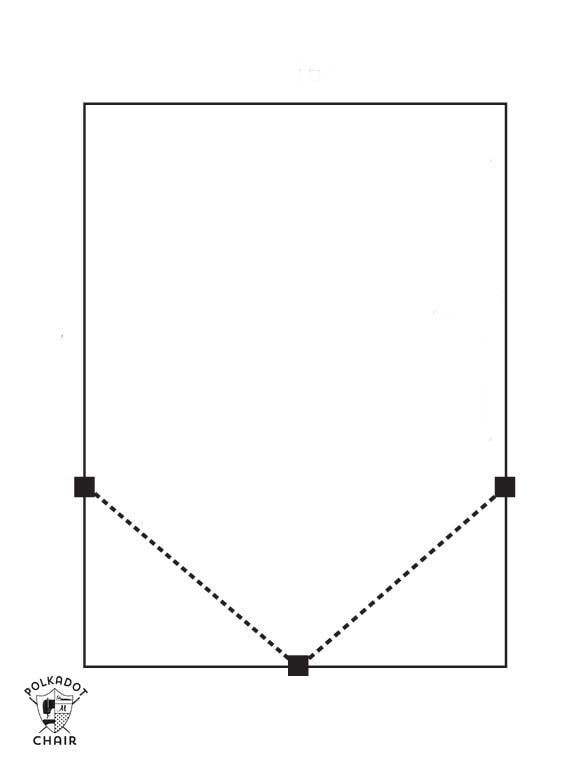
Cut along your drawn lines to make the point on the bottom of the banner. Fold over the top of the banner 1” and either glue with hot glue or sew down the edge to make a channel for your wood dowel.
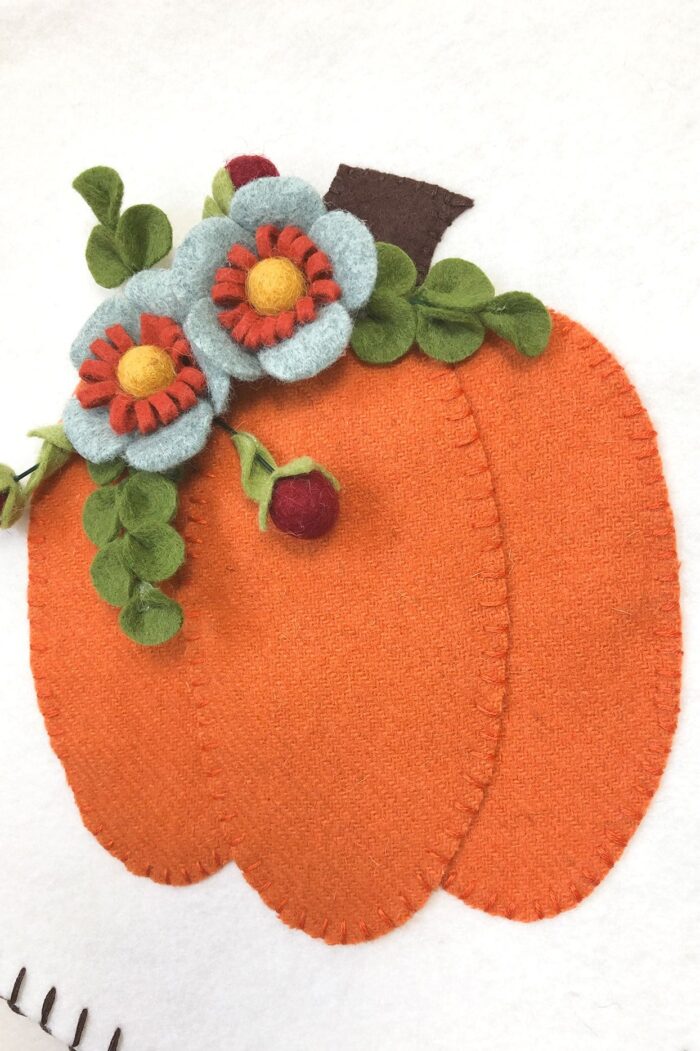
Place the pumpkin body piece where you like it. I decided to use 3 strands of embroidery floss so the stitches would stand out a little on my pumpkin, but you can also just use regular thread.
Options for stitching down your applique include:
- Blanket stitch
- Whipstitch
- Running stitch. I used a small whip stitch.
Once you have stitched the body down, place the stem so the bottom edges are lined up with the center ridge of the pumpkin. Stitch into place. Finally, place the center ridge of the pumpkin on the body and stitch around.
Four: Embellish
If you want to embellish the banner with stitches or trim, do that next. I used the brown floss from the pumpkin stem (all 6 strands) to blanket stitch around my banner. Now it’s time to decorate.
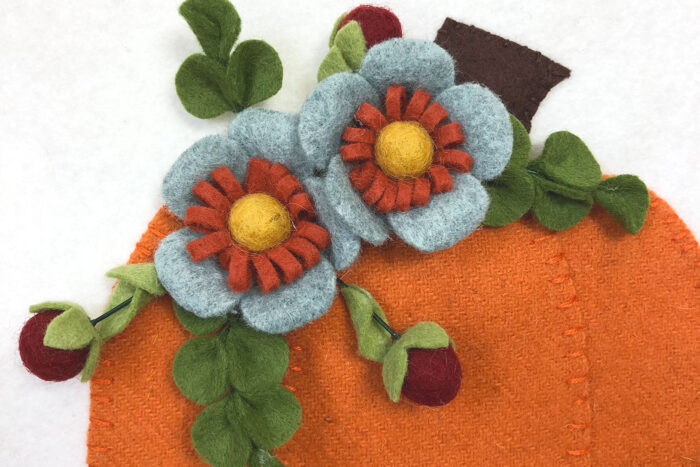
Using the pattern and tutorial from my blog, you can use dimensional flowers as I did.
Alternatively, you can use dies, electronic cutting machines, or purchased flowers to decorate your banner as desired. And last, but not least, create a hanger for your banner.
Finishing:
Slide the dowel into the channel at the top of the banner and use floss, twine, yarn or ribbon to create a loop for hanging. I embellished my hanger with felt poms in various colors and sizes.
That’s it! Just a couple of well-spent hours will yield you this gorgeous seasonal decoration.
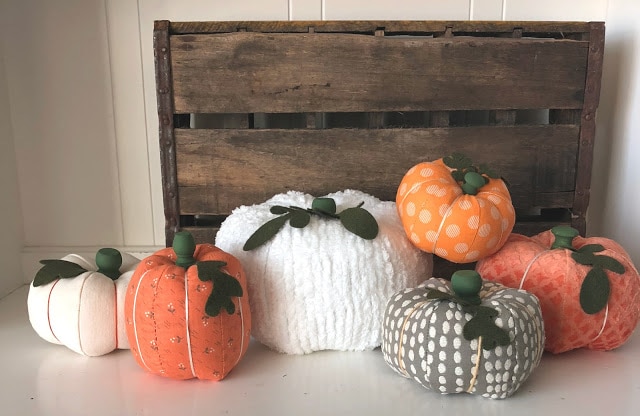
How to Make the Fabric Pumpkins
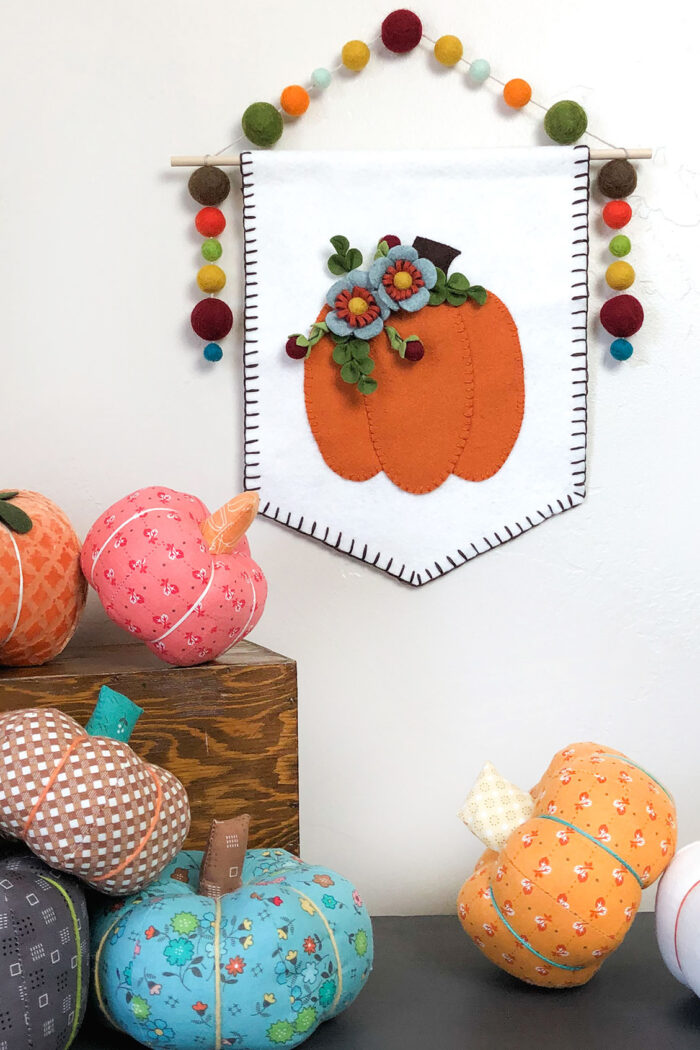
If you’d like to make the fabric pumpkins shown in the photo above you can find a tutorial for them on my blog.
About the Maker:

Hi! My name is Amy Chappell, and I blog over at Ameroonie Designs. I currently live in Wyoming with my husband and six kids. I love being a mom but needed an outlet that would give me something to do that stayed done. Enter sewing and creating. I love the satisfaction of taking fabric and ideas and making something new. I also love that blogging has given me a way to meet new people and find a community of amazing people who love fabric and sewing as much as I do.
xoxo,
Amy
Ameroonie Designs
www.amerooniedesigns.com
If you want more inspiration and projects, I hope you’ll follow me on Instagram @amerooniedesigns! Xoxo, Amy
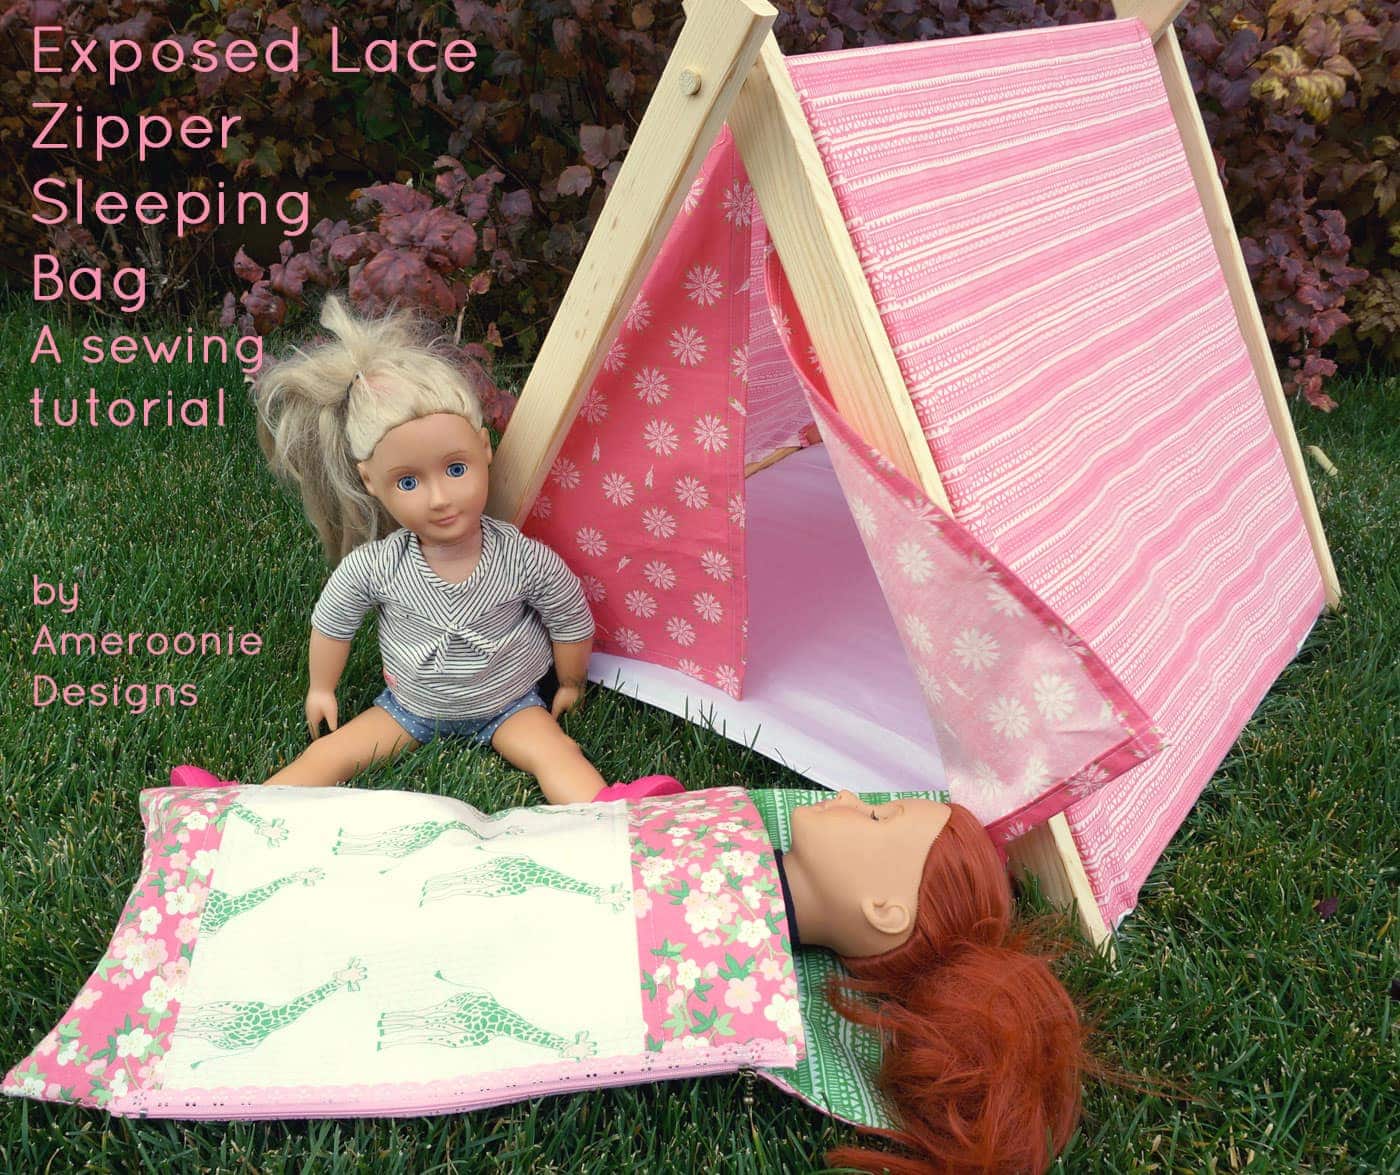
More Fall Craft Ideas from Amy:
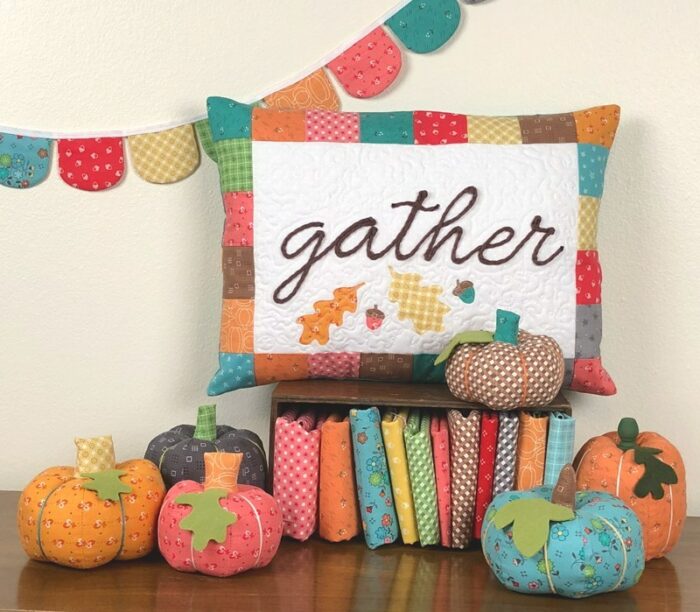
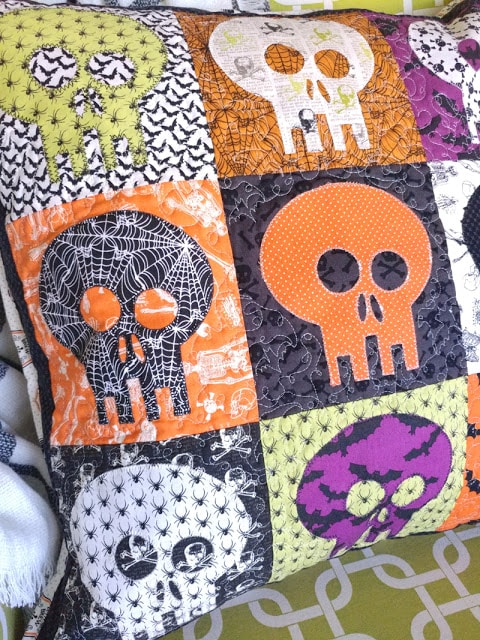
Skull Colorblock Halloween Pillow
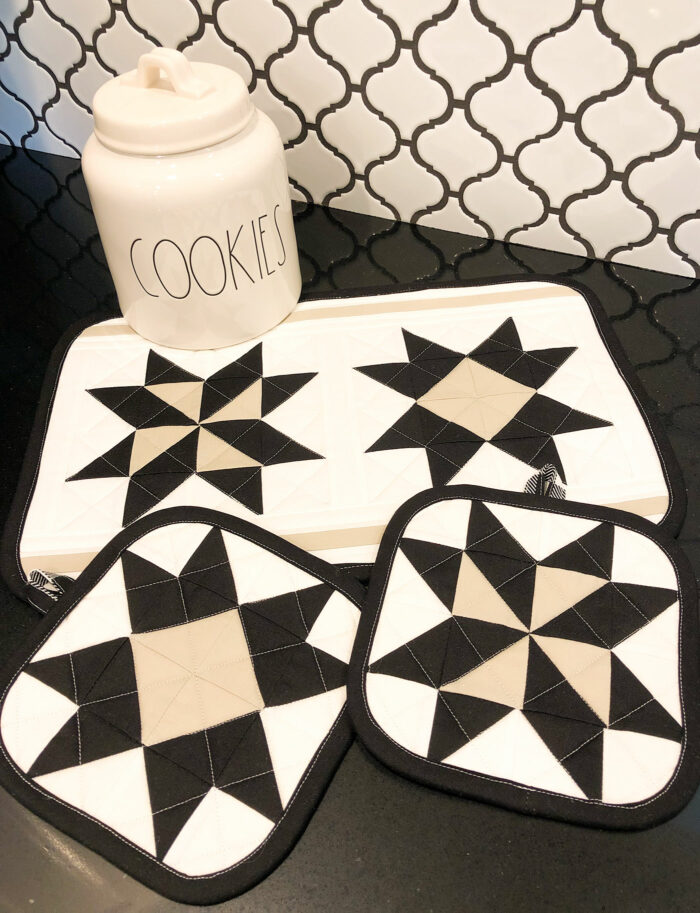
Quilt Block Hot Pad & Trivet Set
You May Also Like:
How to Make Felt Flowers; a Free Tutorial
Yarn Candy Corn Wreath Tutorial