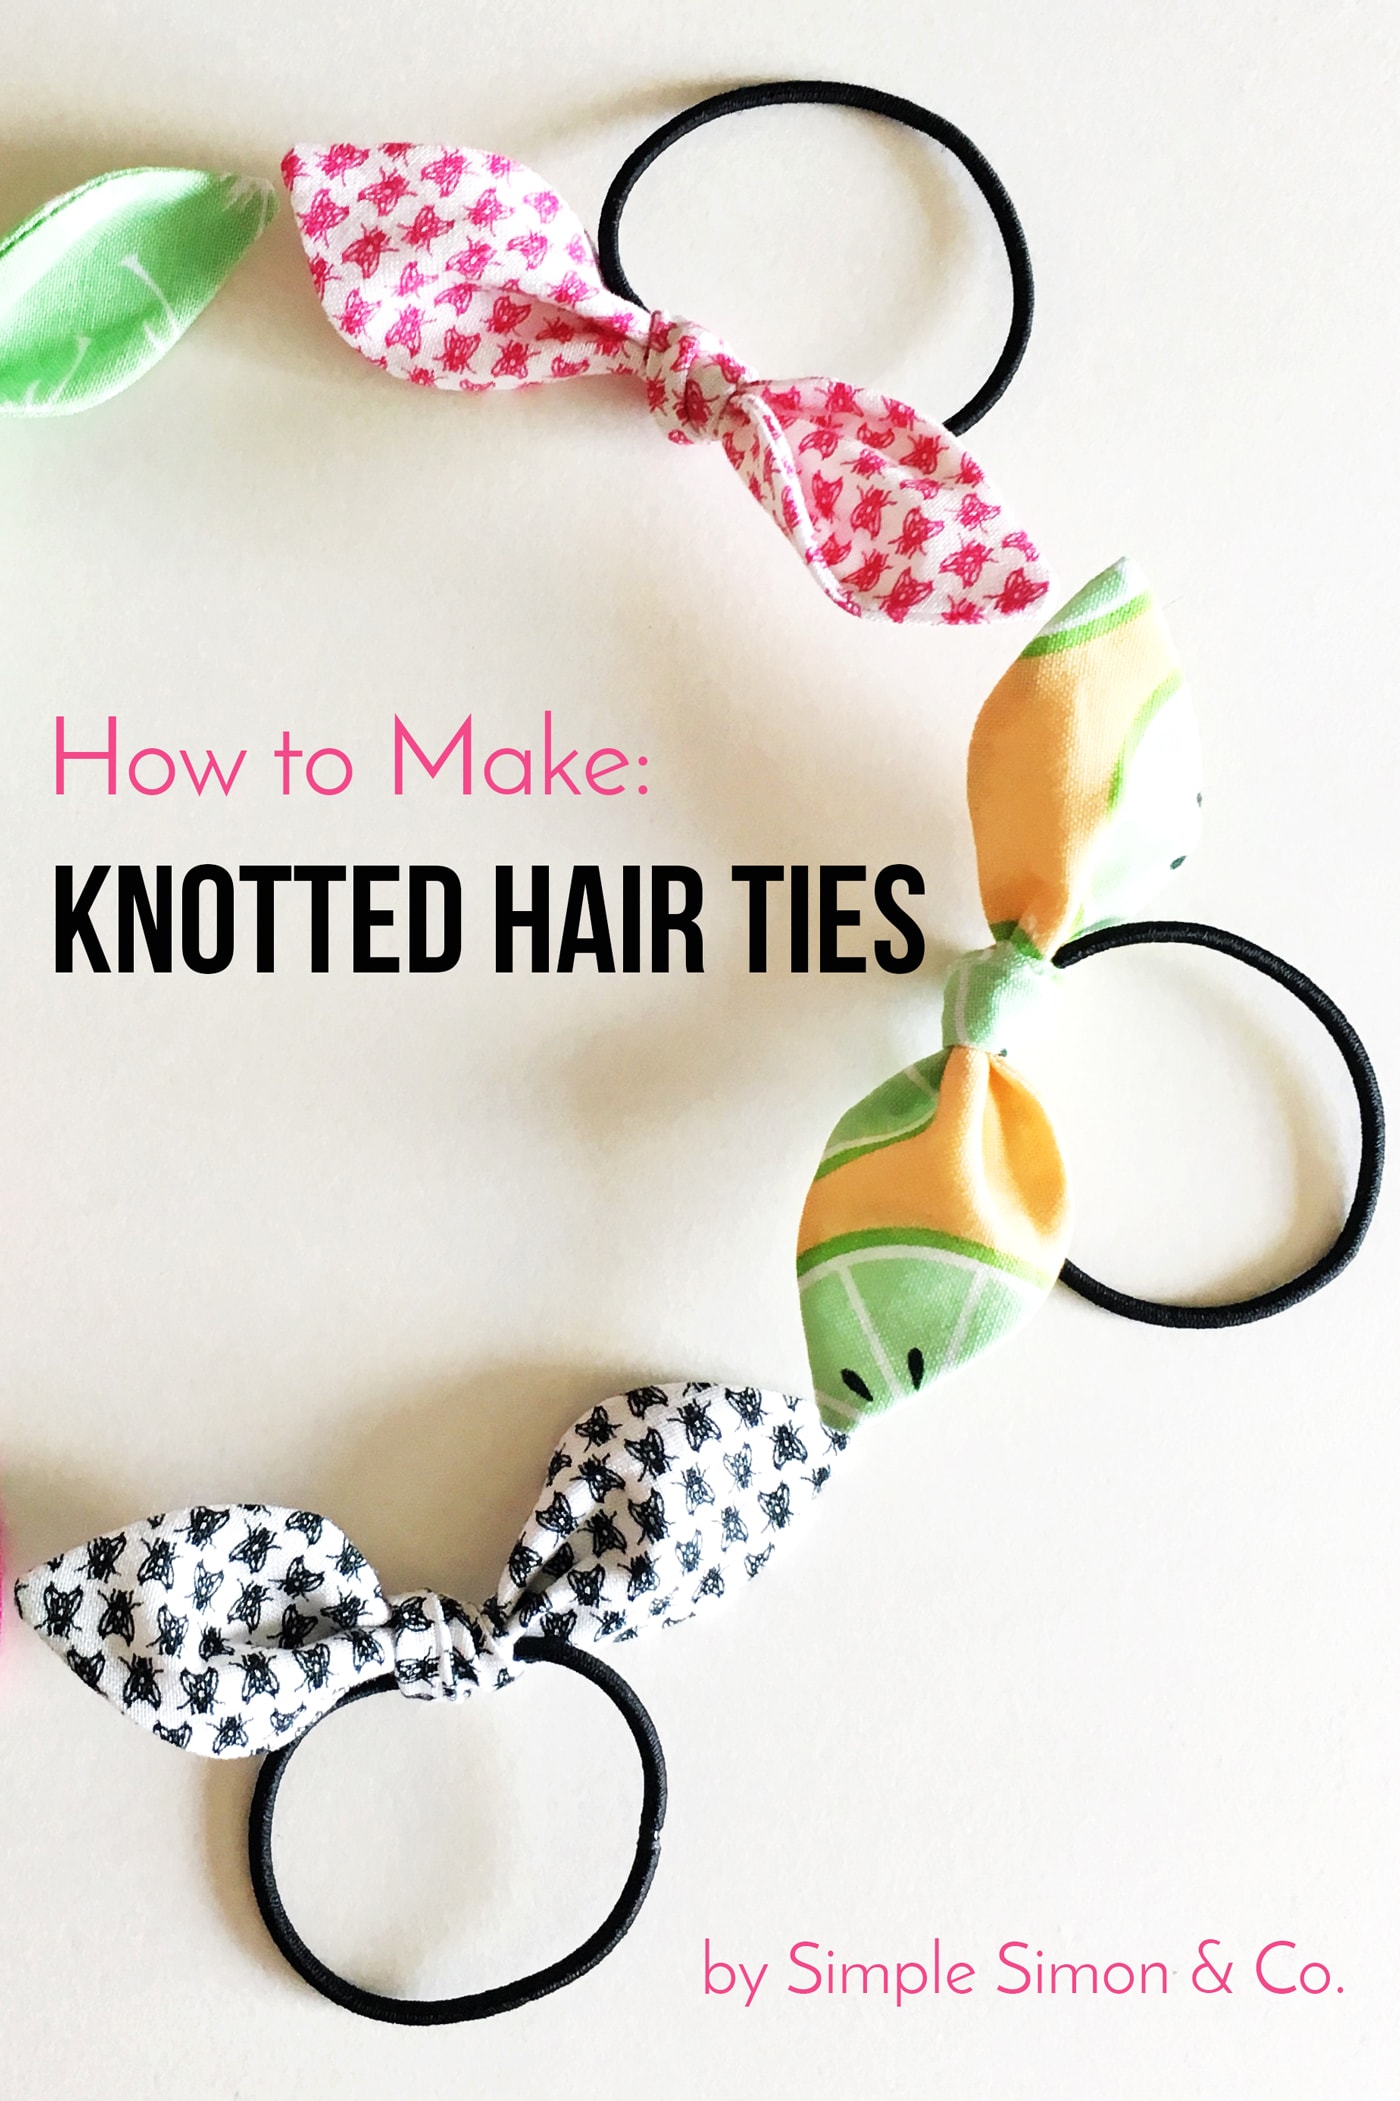
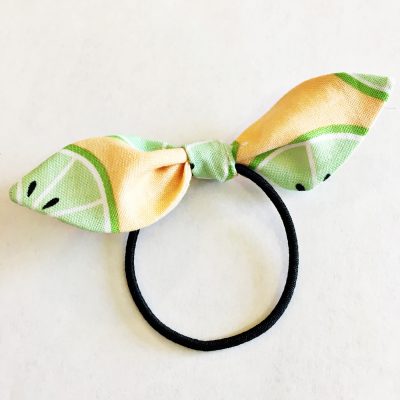
How to Make Knotted Hair Ties in 2 Sizes
Learn how to sew cute knotted hair ties in two sizes with our updated free sewing pattern! If you’re looking for a quick and easy sewing project that’s great for beginners or kids? Then I think you’ll love this project!
Liz from Simple Simon & Co. is here to teach you how to make knotted hair ties! If you like this project, you may also like this Bow Tie Bracelet Sewing Pattern.
Hello! It’s Liz from Simple Simon and Company. I’m excited to be on The Polka Dot Chair and sharing how to make one of my girls’ favorite hair accessories: knotted hair ties.
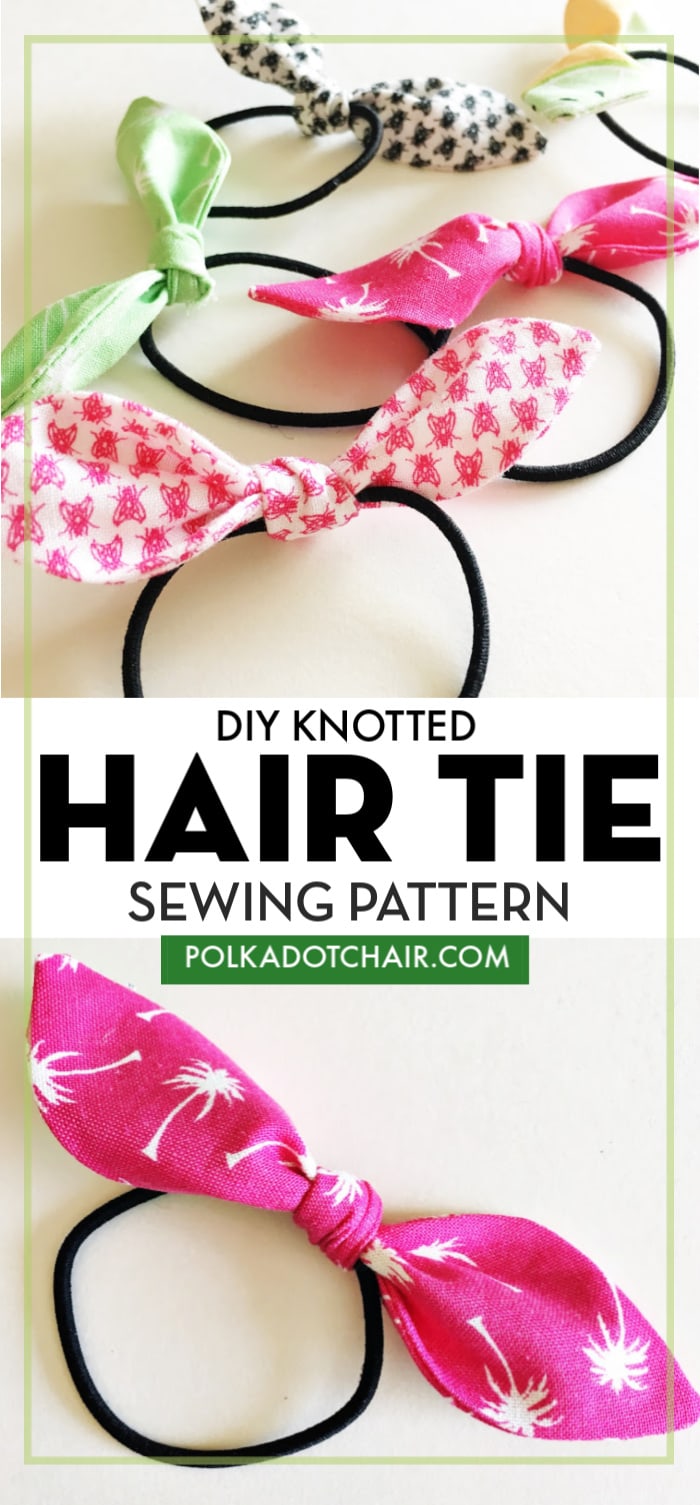
These hair tie bows are easy to make, are great gifts to put together for gifts, and are a perfect scrap-busting project! They are a great alternative to a hair scrunchie pattern, as they are a little bit quicker to sew and take less fabric to make.
Pattern Update!
This is one of our most popular free tutorials, and one of the most frequent requests we receive is for a larger size of the hair tie. I’m excited to announce that the printable PDF now includes TWO sizes. The original size (as shown in the photos) and a larger size!
We’ve also included printable directions! Just scroll down to the bottom of the sewing instructions and look for the big green print button!
Hair Tie Details & Construction Tips
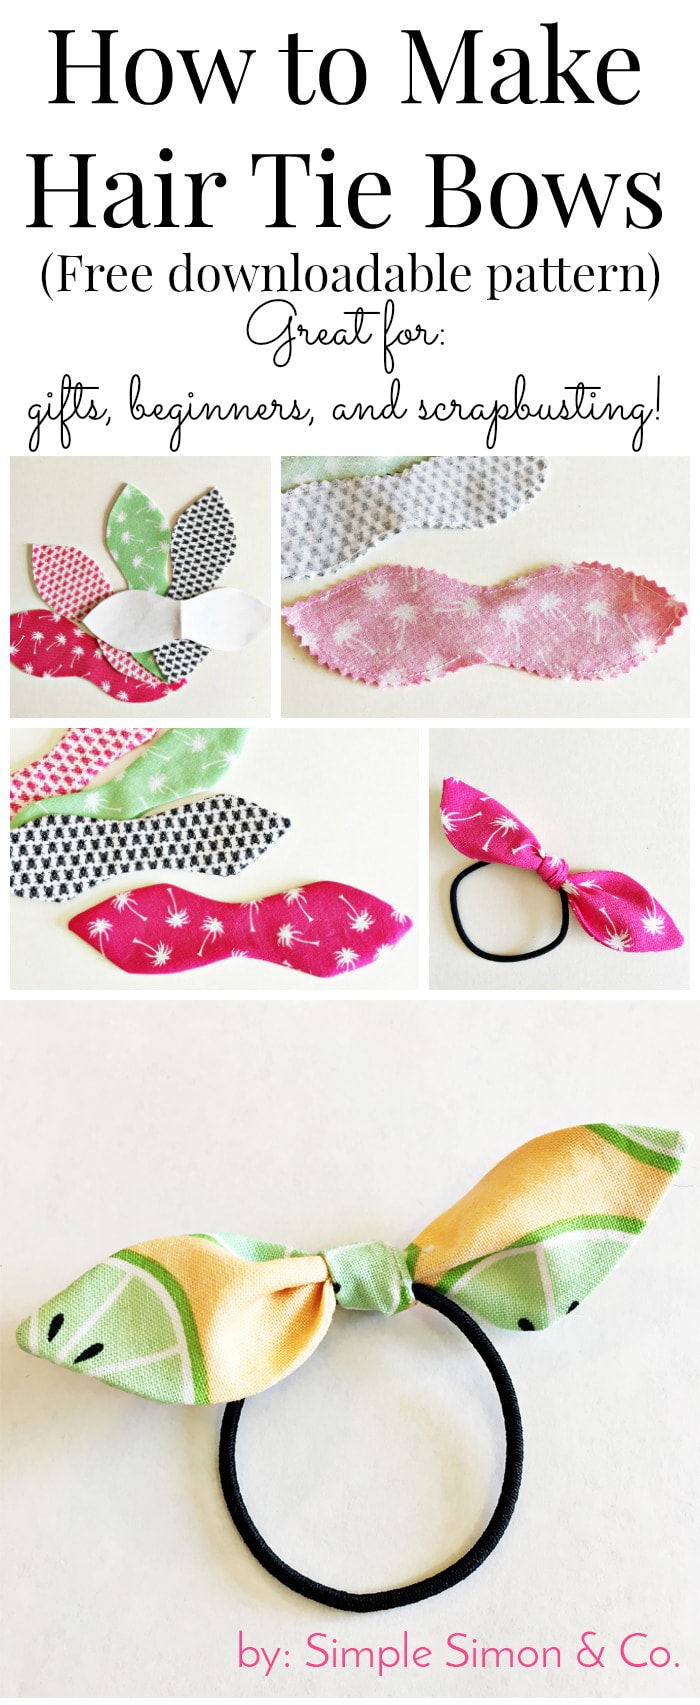
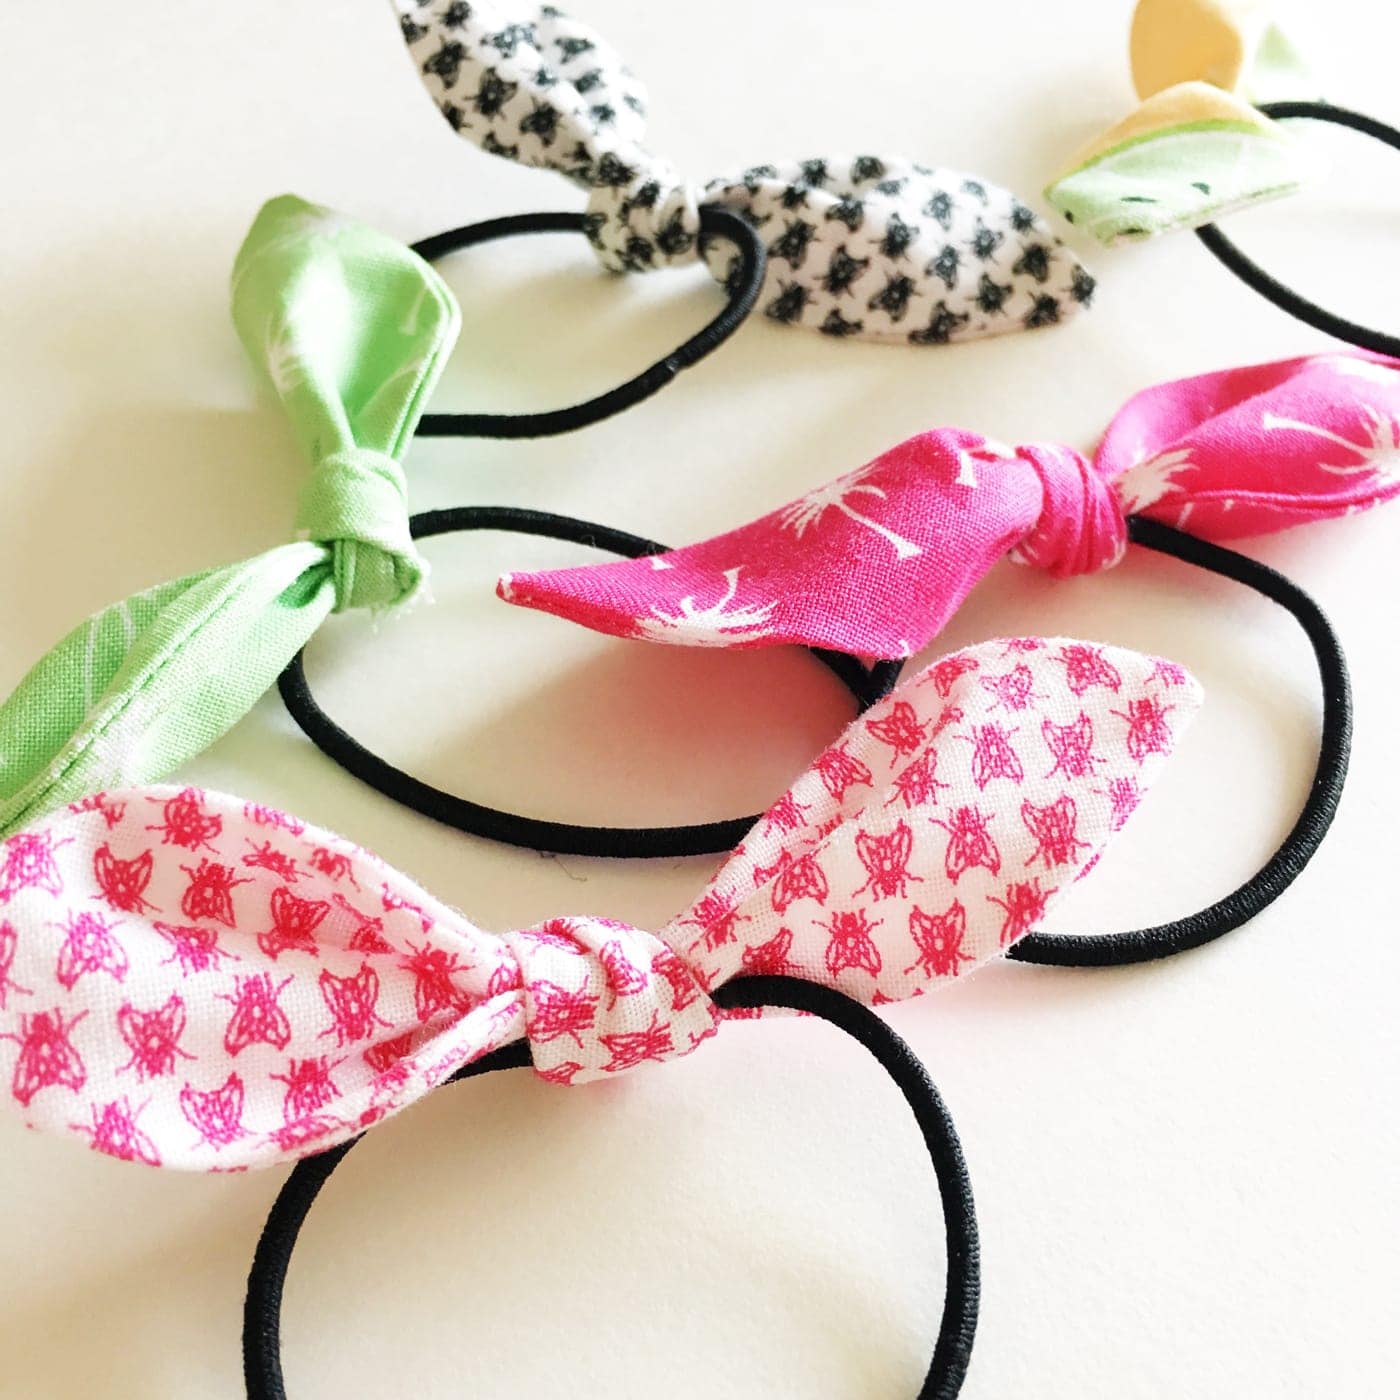
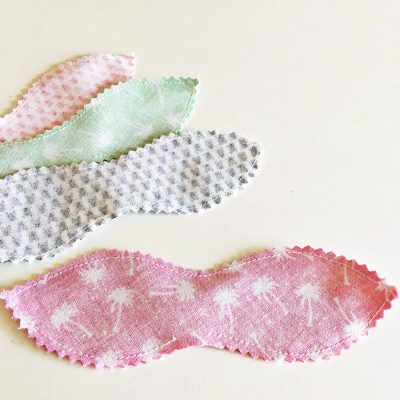
- The template includes two sizes for the “knot” portion of the hair tie. The smaller version is the one shown in the photos.
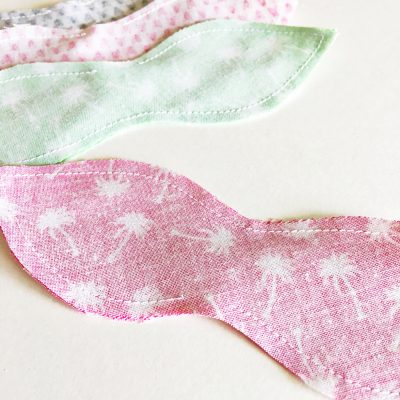
- Use pinking shears to trim the seam allowance around the hair ties. The shape left in the seam from the pinking shears will help reduce the bulk in the curves of the seam.
- Use a SCANT 1/4″ seam allowance. If you use a larger seam allowance, your piece will be too large and it will be hard to turn right side out.
How to Get the Printable
Fill out the form above, and we will email you a copy of the PDF of the template for the hair ties. You’ll still need to read the directions on this page to complete your project.

How to Make Knotted Hair Ties
supplies
- 2 pieces of fabric each about 8″x 4″
- 1 Hair elastic
- 1 Free pattern piece grab it above
Instructions
Step One: Print out the Pattern
- Print out the free pattern (linked above) and use it to cut out two pieces of fabric.Choose the smaller hair tie (shown) or the larger hair tie.

Step Two: Sew
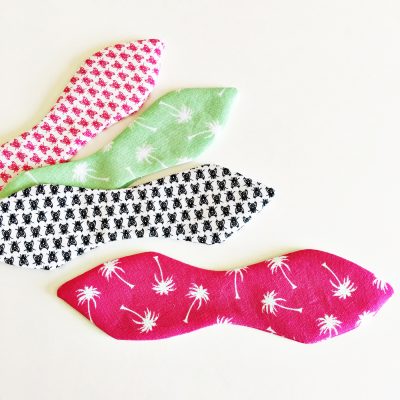
- Place your two pieces of cut fabric on each other with the right sides together and sew around the perimeter using a SCANT 1/4″ seam allowance. Leave a 1-inch opening for turning. (As shown in the photograph, I leave my opening in the middle of one of the sides.)
Step Three: Clip Curves
- Using pinking shears (or the method of your choice), clip the curves of your bow without cutting through your stitching.
Step Four: Turn Right Side Out
- Turn your bow right side out using the opening you left in the stitching. Press.
- *Note: At this point, you can also hand-stitch the opening closed; however, I don’t do that. If you left the opening in the middle of the bow, it will be covered when you tie the bow.
Step Five: Add Elastic
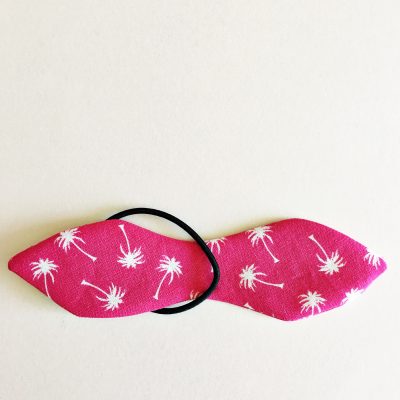
- Slide your bow through your elastic hair tie so that the hair tie is centered in the middle of your bow.
Step Six: Finishing
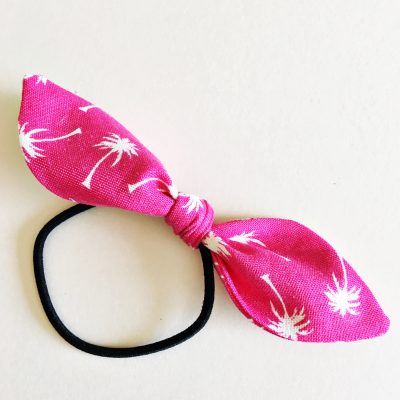
- Tie in a knot and fluff.
- And you are done!
- Repeat as many times as necessary.
Thanks for hanging out with us today!
About the Makers:

We are Elizabeth and Elizabeth, two girls who married brothers and ended up with the exact same name. We are also the same age, former school teachers, have the same number of children, live in the same county, have dogs rescued from the pound, and share a love for sewing, quilting, and homemaking art.
Together, we blog at Simple Simon and Company, where we get the opportunity to share tips, tricks, tutorials, recipes, and thoughts with our readership.
Other Projects from Simple Simon & Co.
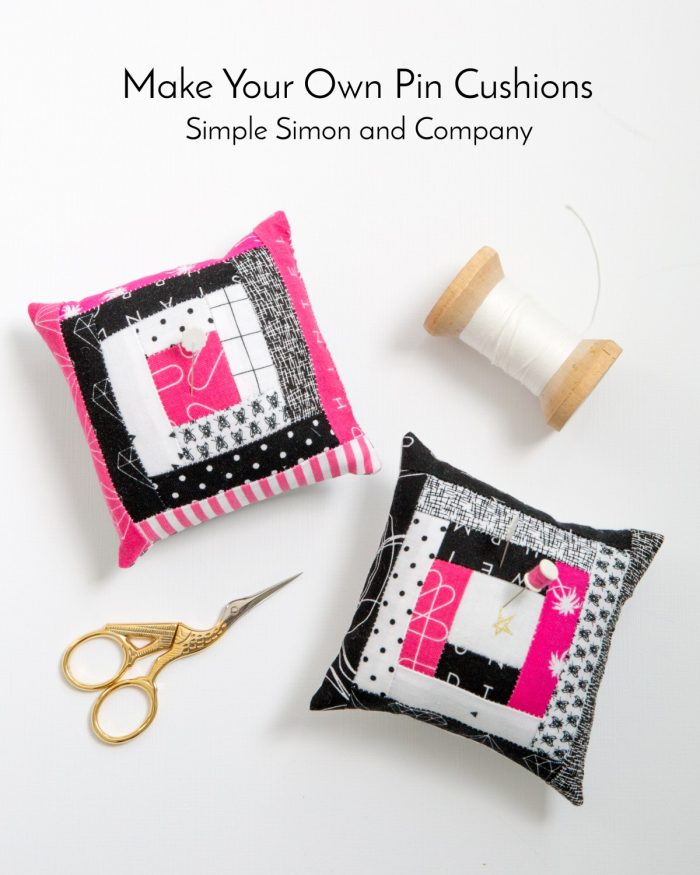
How to Make Quilt Block Pin Cushions
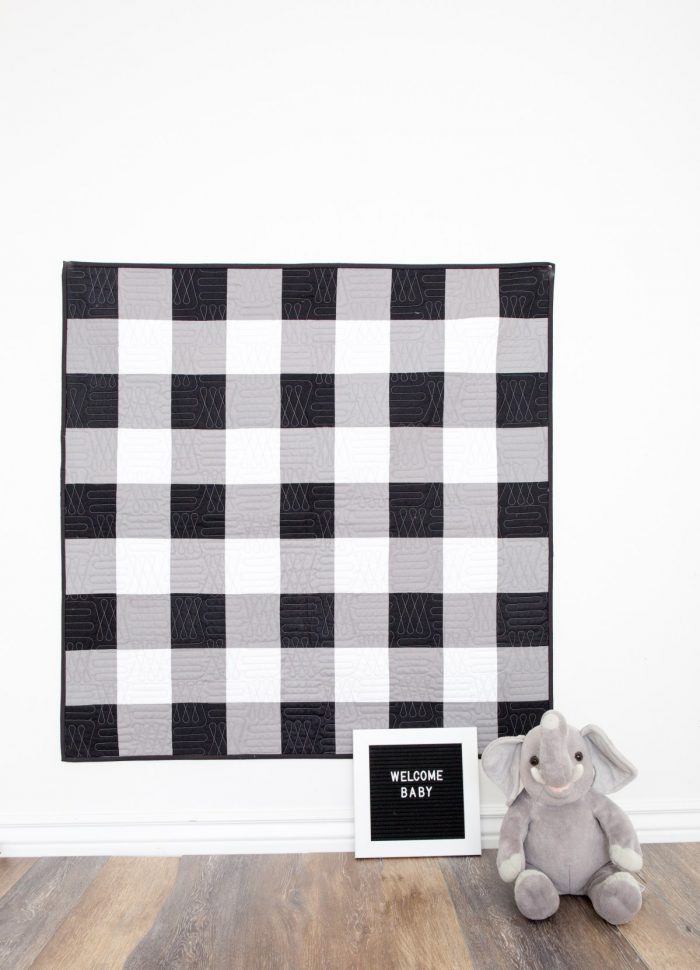
Black and White Gingham Baby Quilt
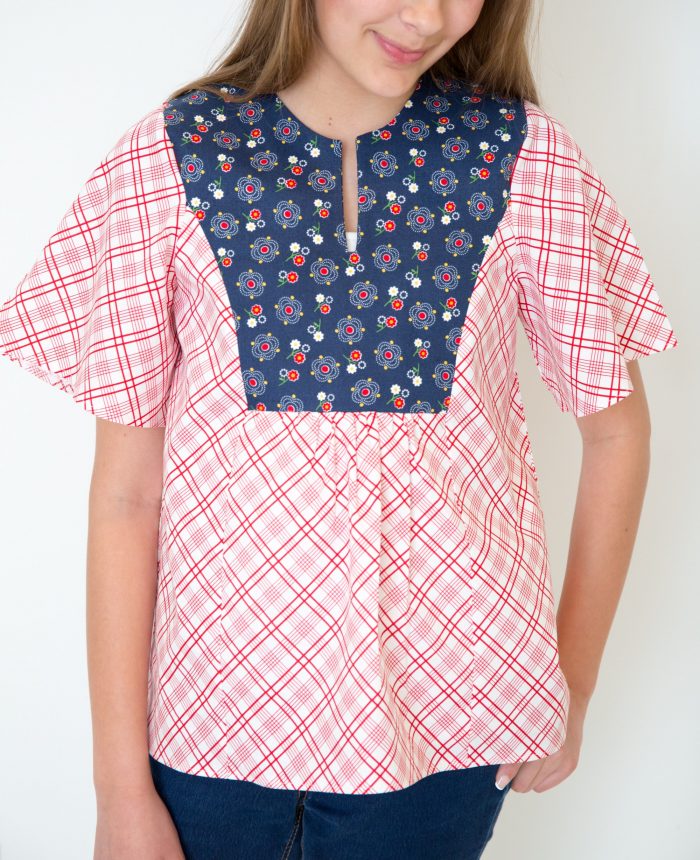
Spring Boho Inspired Peasant Top