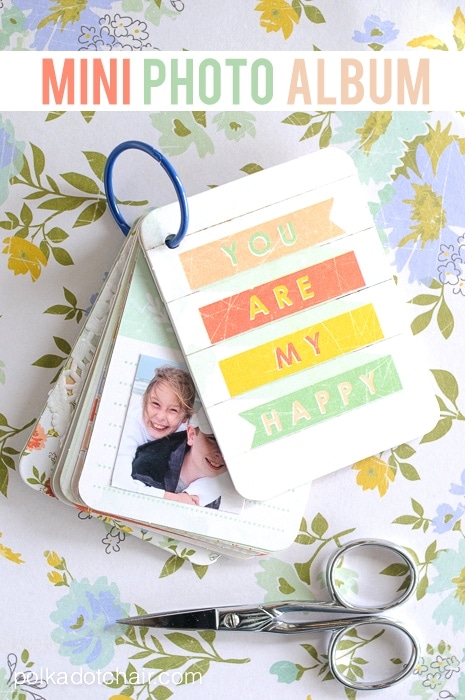
Mini Photo Album
A big thanks to We R Memory Keepers for providing the supplies for this project. This post contains affiliate links.
Today I’m going to share with you a super quick little mini photo album project that you can complete in a hour or so. I love keeping large 12×12 albums for my family, but I also love to create small mini scrapbooks to keep around the house. I especially love the feeling of satisfaction that comes from finishing these little projects.
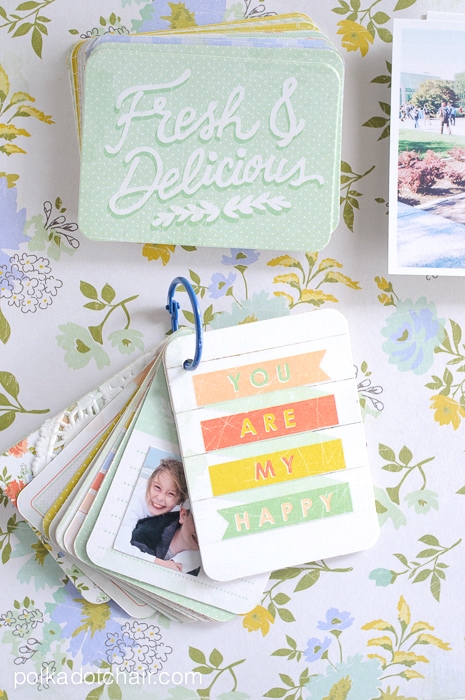
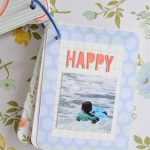
I usually try to create a mini scrapbook from most of our family trips. This little mini book is from our Spring Break from a couple of years ago.
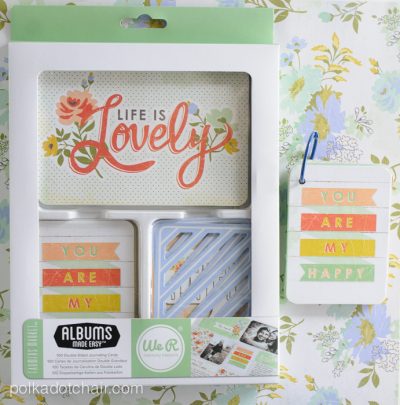
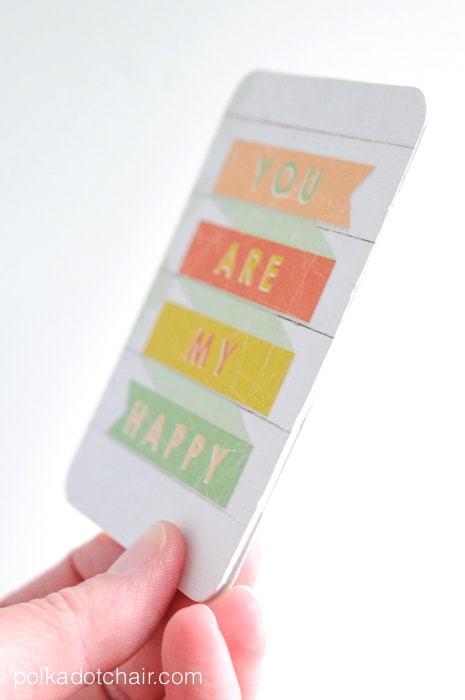
This album goes together quickly thanks to the use of the pre cut cards from one of WeR Memory Keepers Albums Made Easy kits. I thought it would be fun to think of a different use for the cards besides the traditional pocket style Project Life album.
These cards are from the Farm Fresh Albums Made Easy kit. I only used a few of them, that way I’ve got plenty left over to use in our Family Scrapbooks.
To create the album you’ll need:
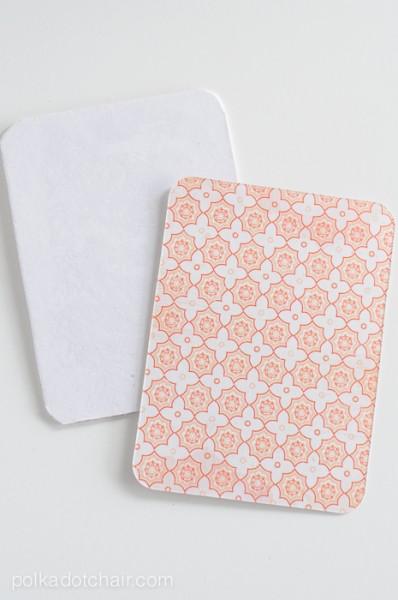
10-15 3″ x 4″ Albums Made Easy Cards
2 pieces of Chipboard at least 3″ x 4″
Photos
Ring
Albums Made Easy Text Dies
Glue
Heavy Duty Hole Punch – like a Crop-A-Dile
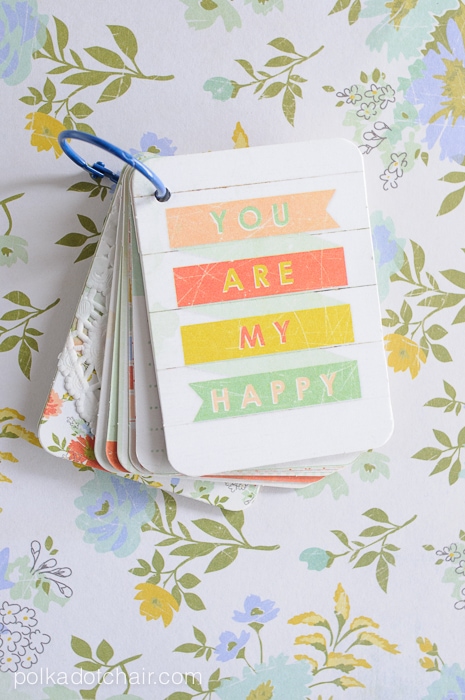
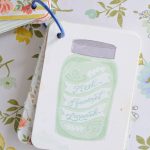
To begin, pick two 3″ x 4″ cards that you’d like to use for the album covers- front and back. Cut 2 pieces of chipboard the same size, adhere these cards to the chipboard (I like to use a glue stick for this step).
These are your front and back cover pieces. Pick out two more cards to cover the other side of the two cover pieces. Adhere with glue.
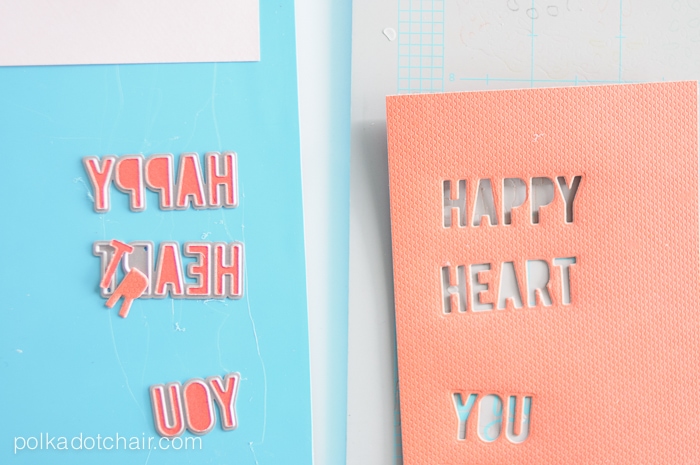
Next using your Evolution Die Cutting machine, cut out several of the words from the Text Albums Made Easy Die kit…. You’ll use these to embellish your pages, set them aside for now.
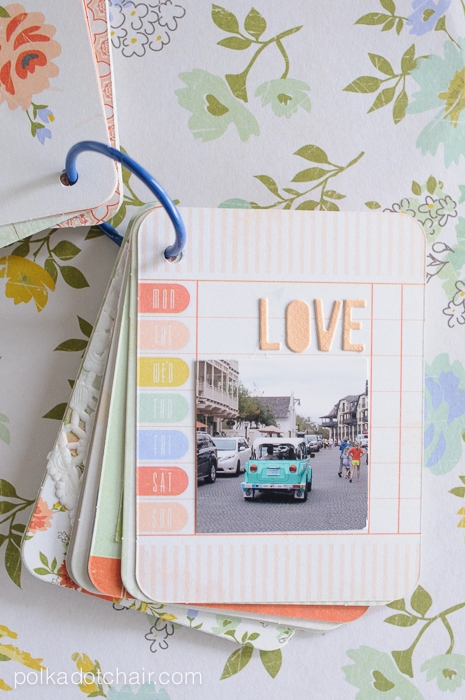
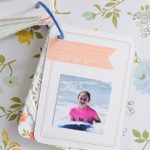
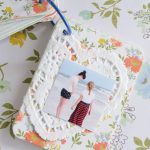
I chose to cut all of my photos to 2″ x 2″ to give them a uniform look. Crop your photos accordingly and adhere to your 3″ x 4″ cards. Embellish as you like.
The last step is to punch a hole in the upper left hand corner of all of the cards. If you have trouble punching through the chipboard pieces, use a crop-a-dile for this step.
Then simply feed all of your pages onto the ring! You’re done… Easy Peasy!!
Here are photos of the rest of the pages in the album, click on each one to view it larger…
If you’d like to pick up any of the supplies yourself you can use the code POLKADOT to get 20% off your entire order in the ShopWeR.com store!! (Links to all of the products used are on the supply list above)
Connect with me:

