Cute Disney Inspired Bag Charm Tutorial
If you love adding a handmade touch to your bags, backpacks, or key rings, these Mickey Mouse-inspired polymer clay bag charms are such a fun project to make. Using just a few colors of polymer clay and some simple shaping techniques, you can create adorable Disney-inspired accessories that are perfect for gifts, park trips, or adding a bit of personality to your everyday bag. These clay charms are beginner-friendly, easy to customize, and a great way to use your creativity to make something both cute and practical.
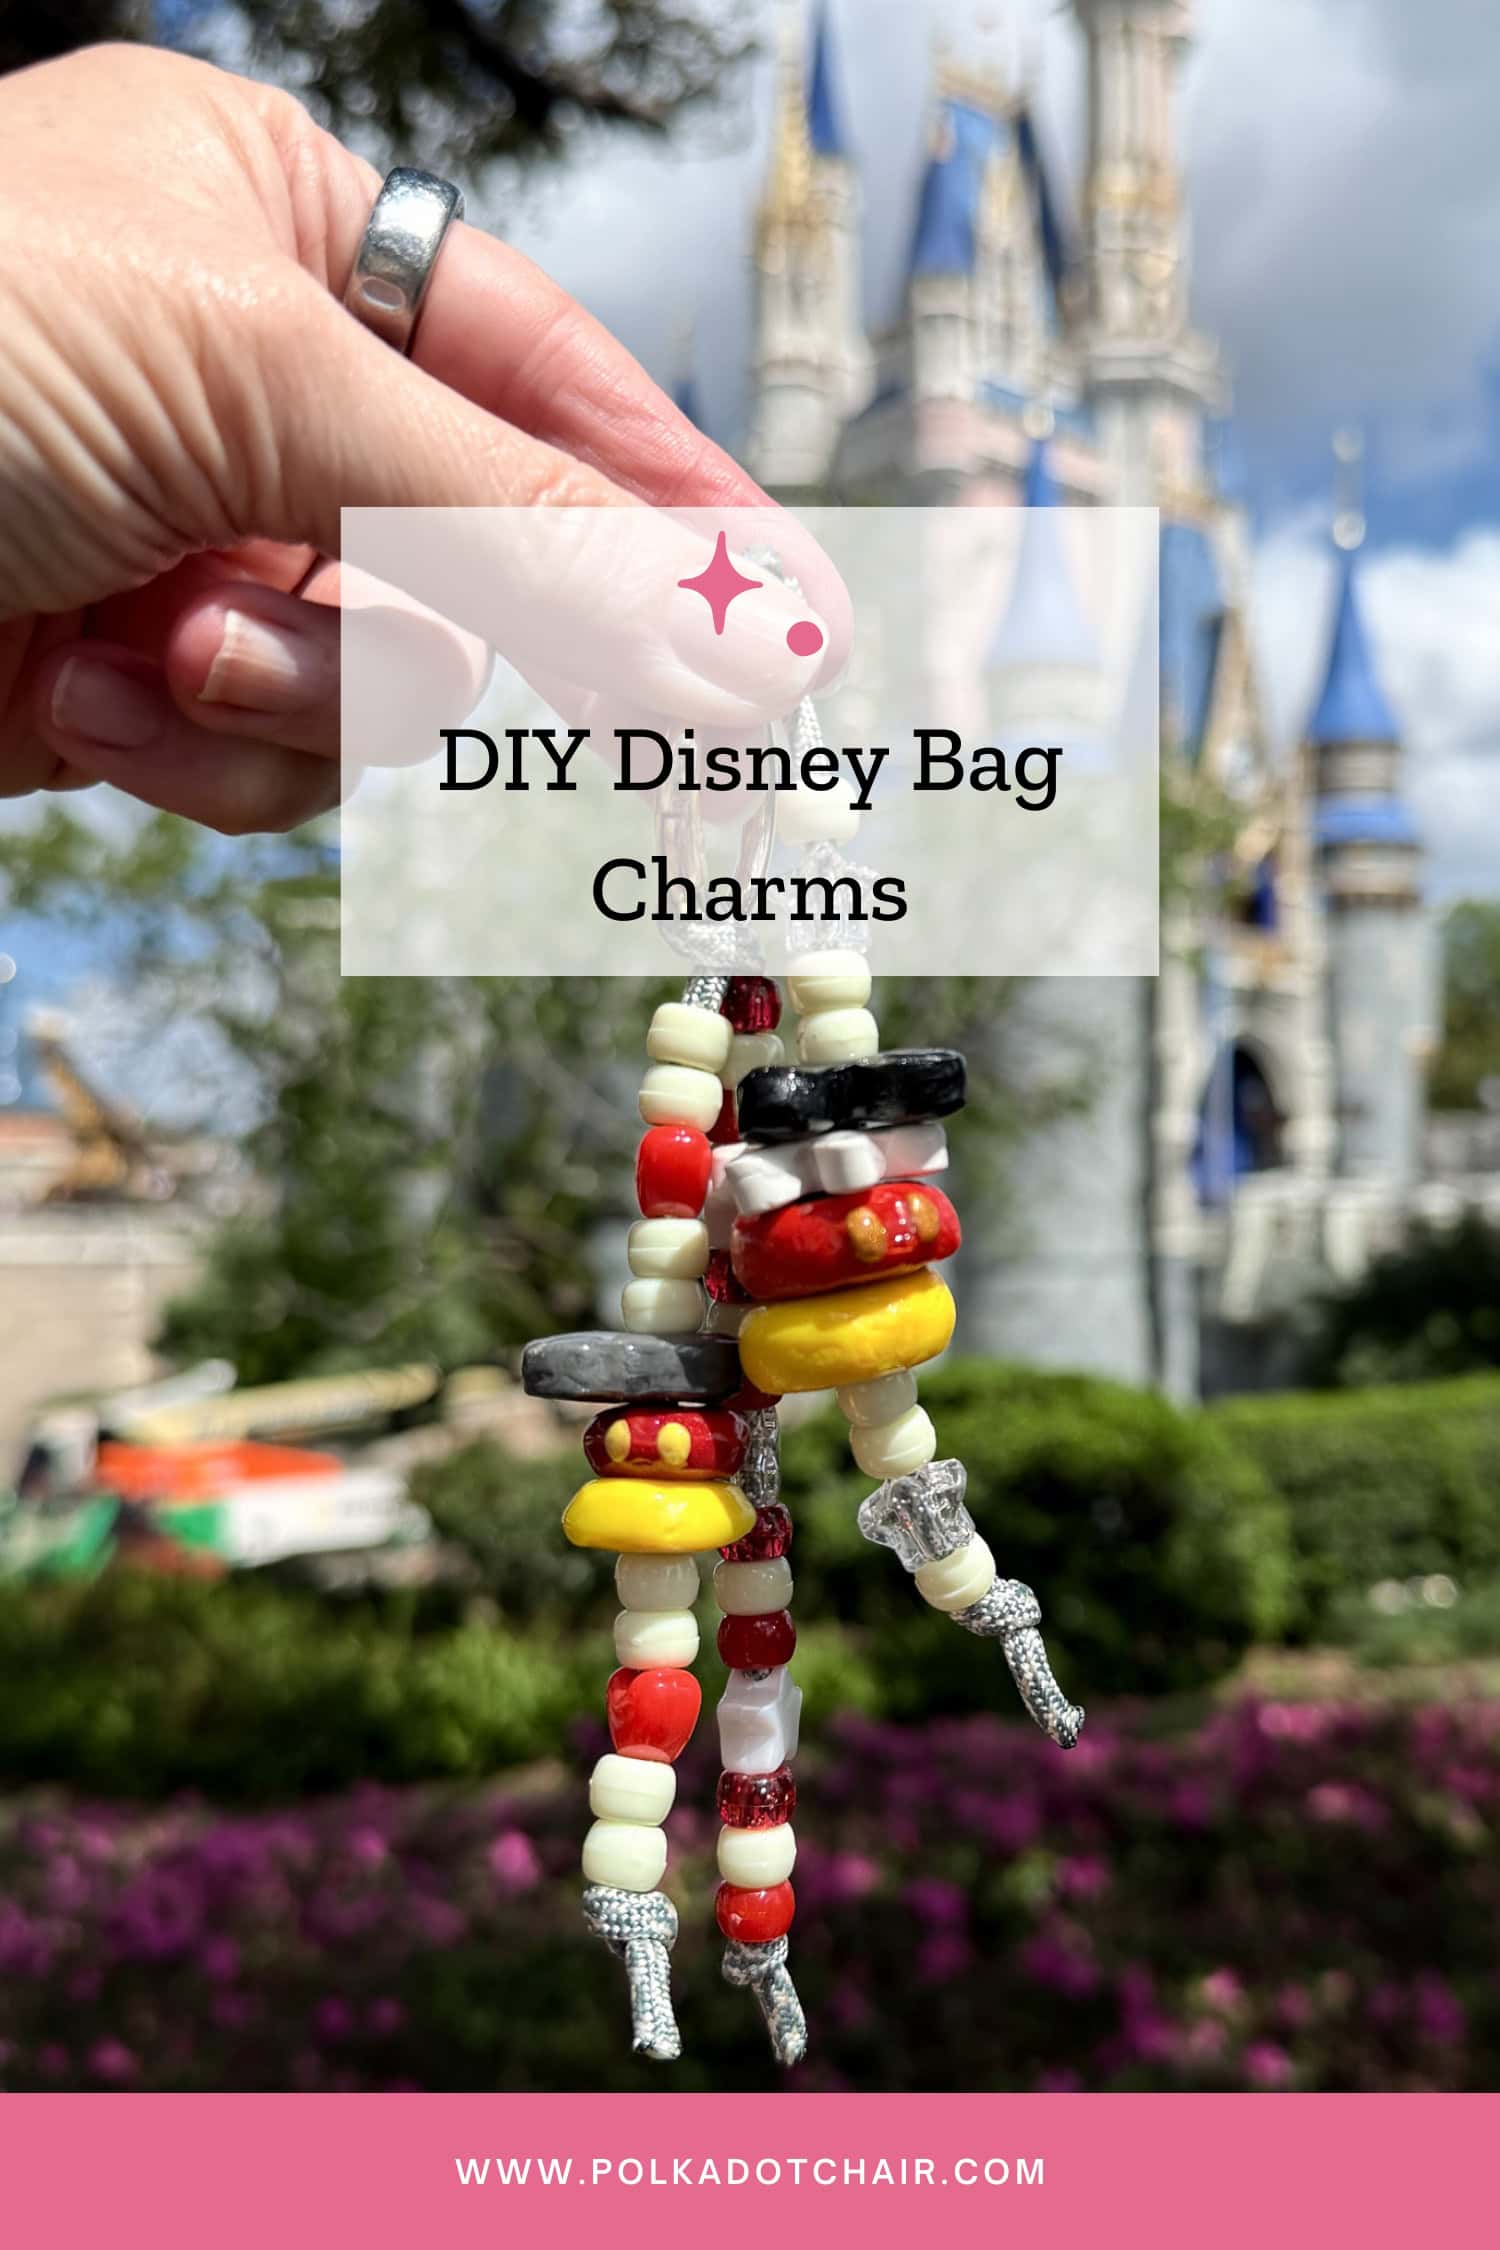
If you are in the Disney merch scene, I am sure you have noticed the overwhelming trend of adding fun bag charms to your park bag.
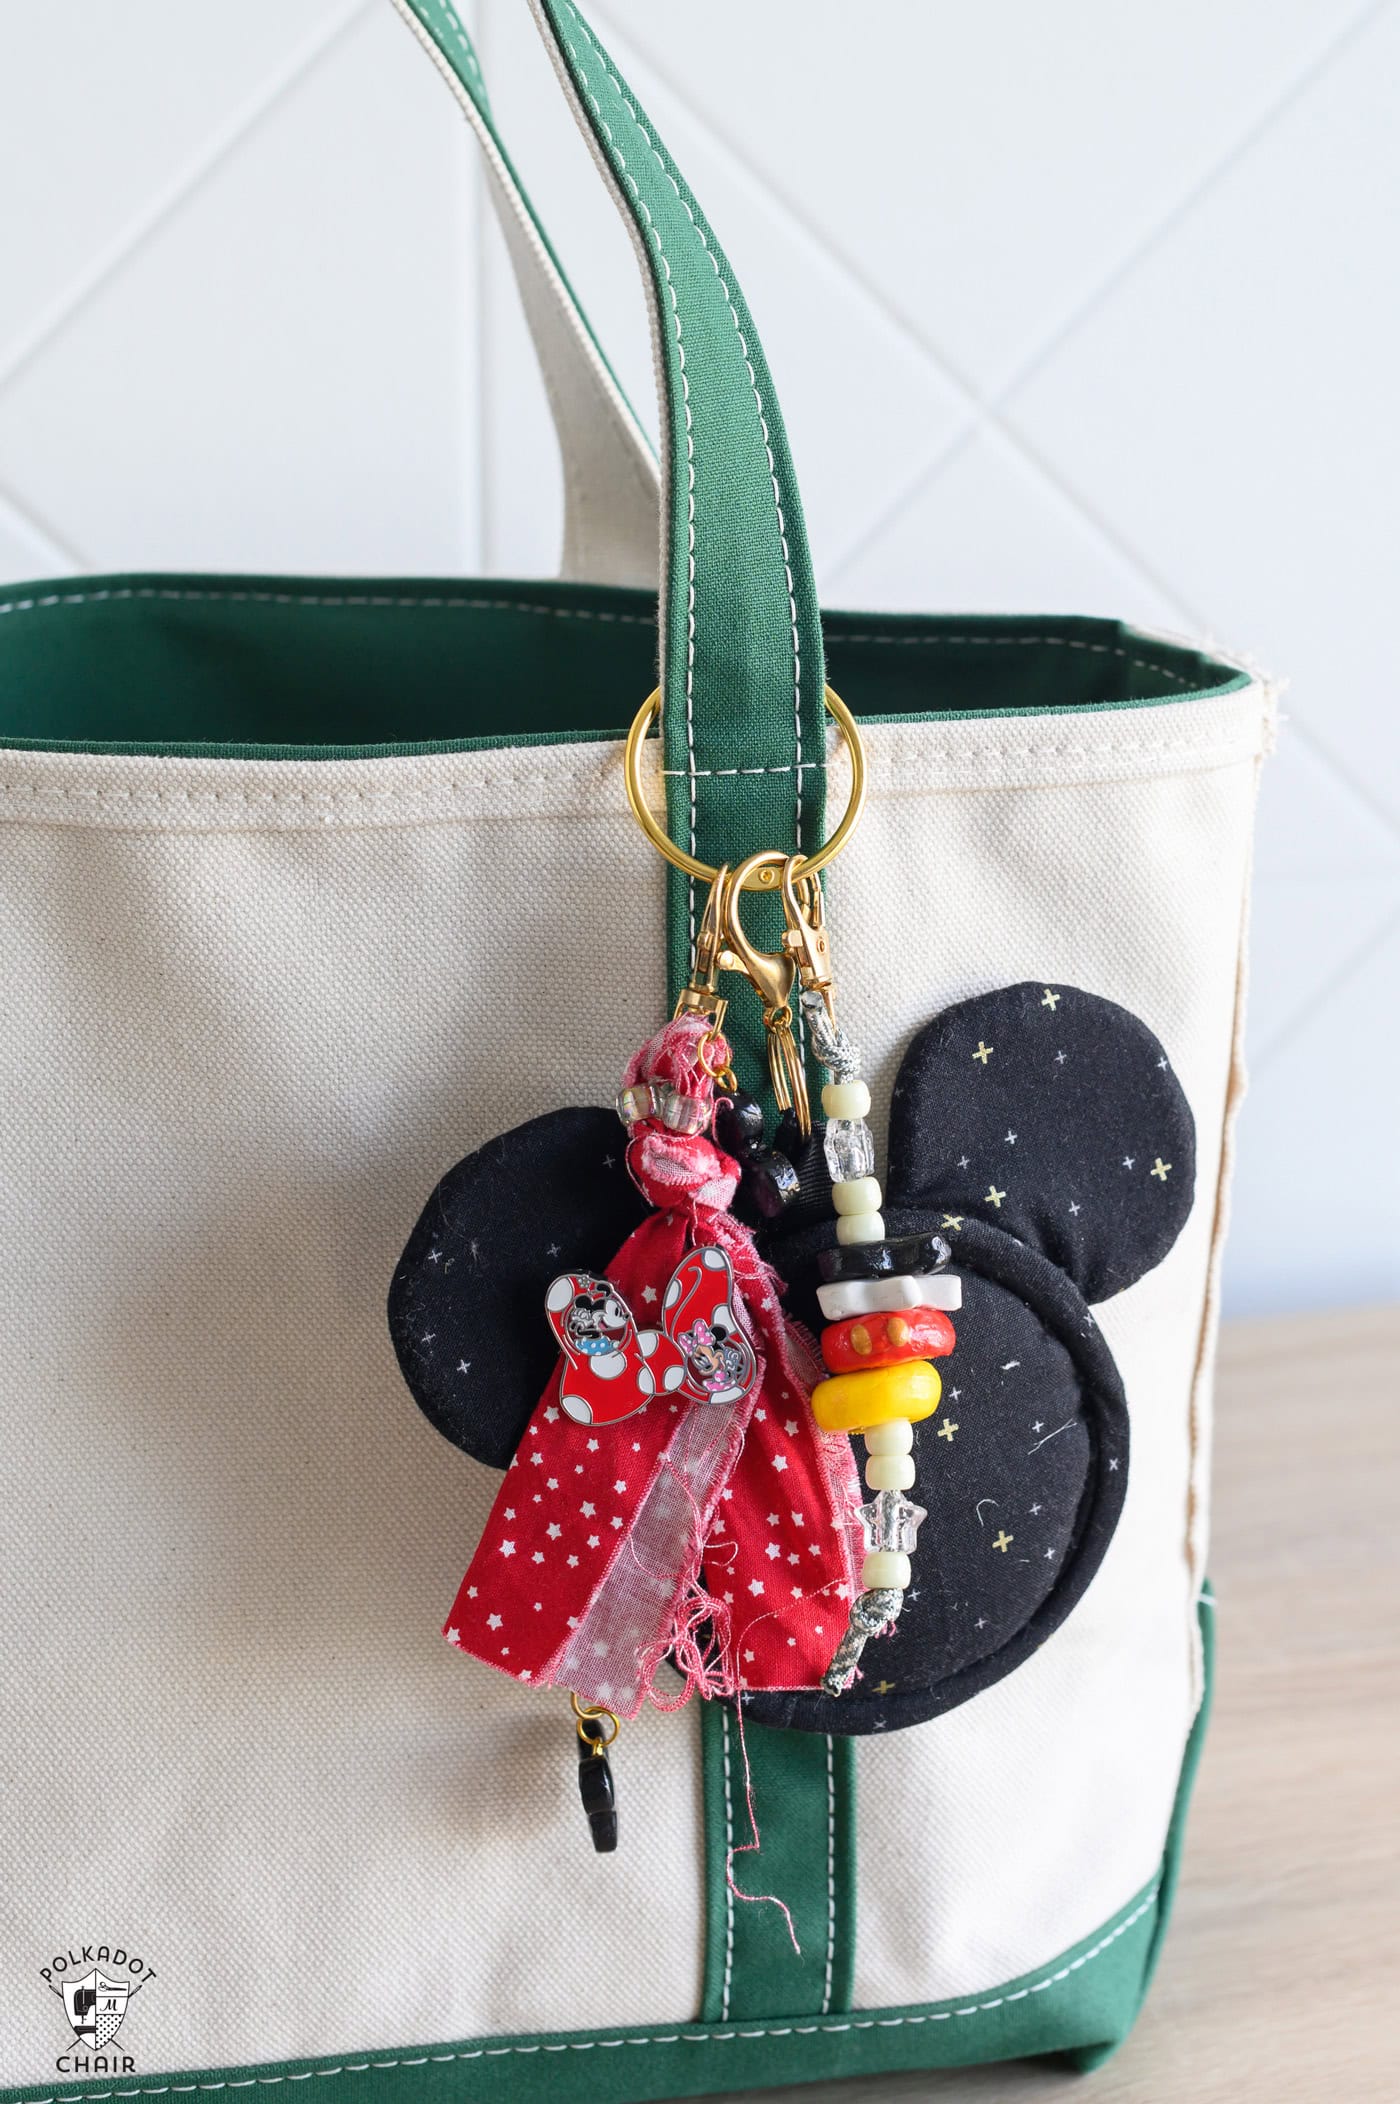
Disney park style is so fun and a great way to add a little nod to your favorite Disney character. Why not shout out the big man himself, Mickey Mouse, with this adorable beaded bag charm?
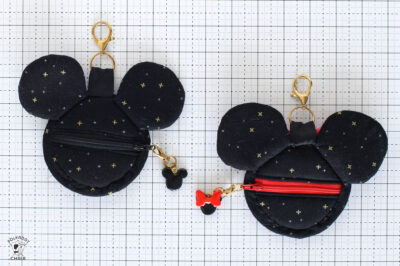
Pair it with a Zippered Bag!
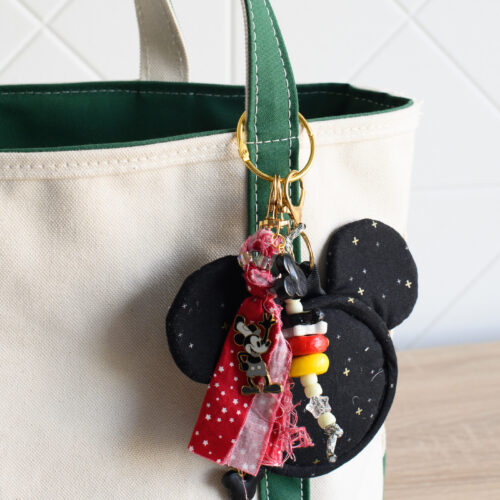
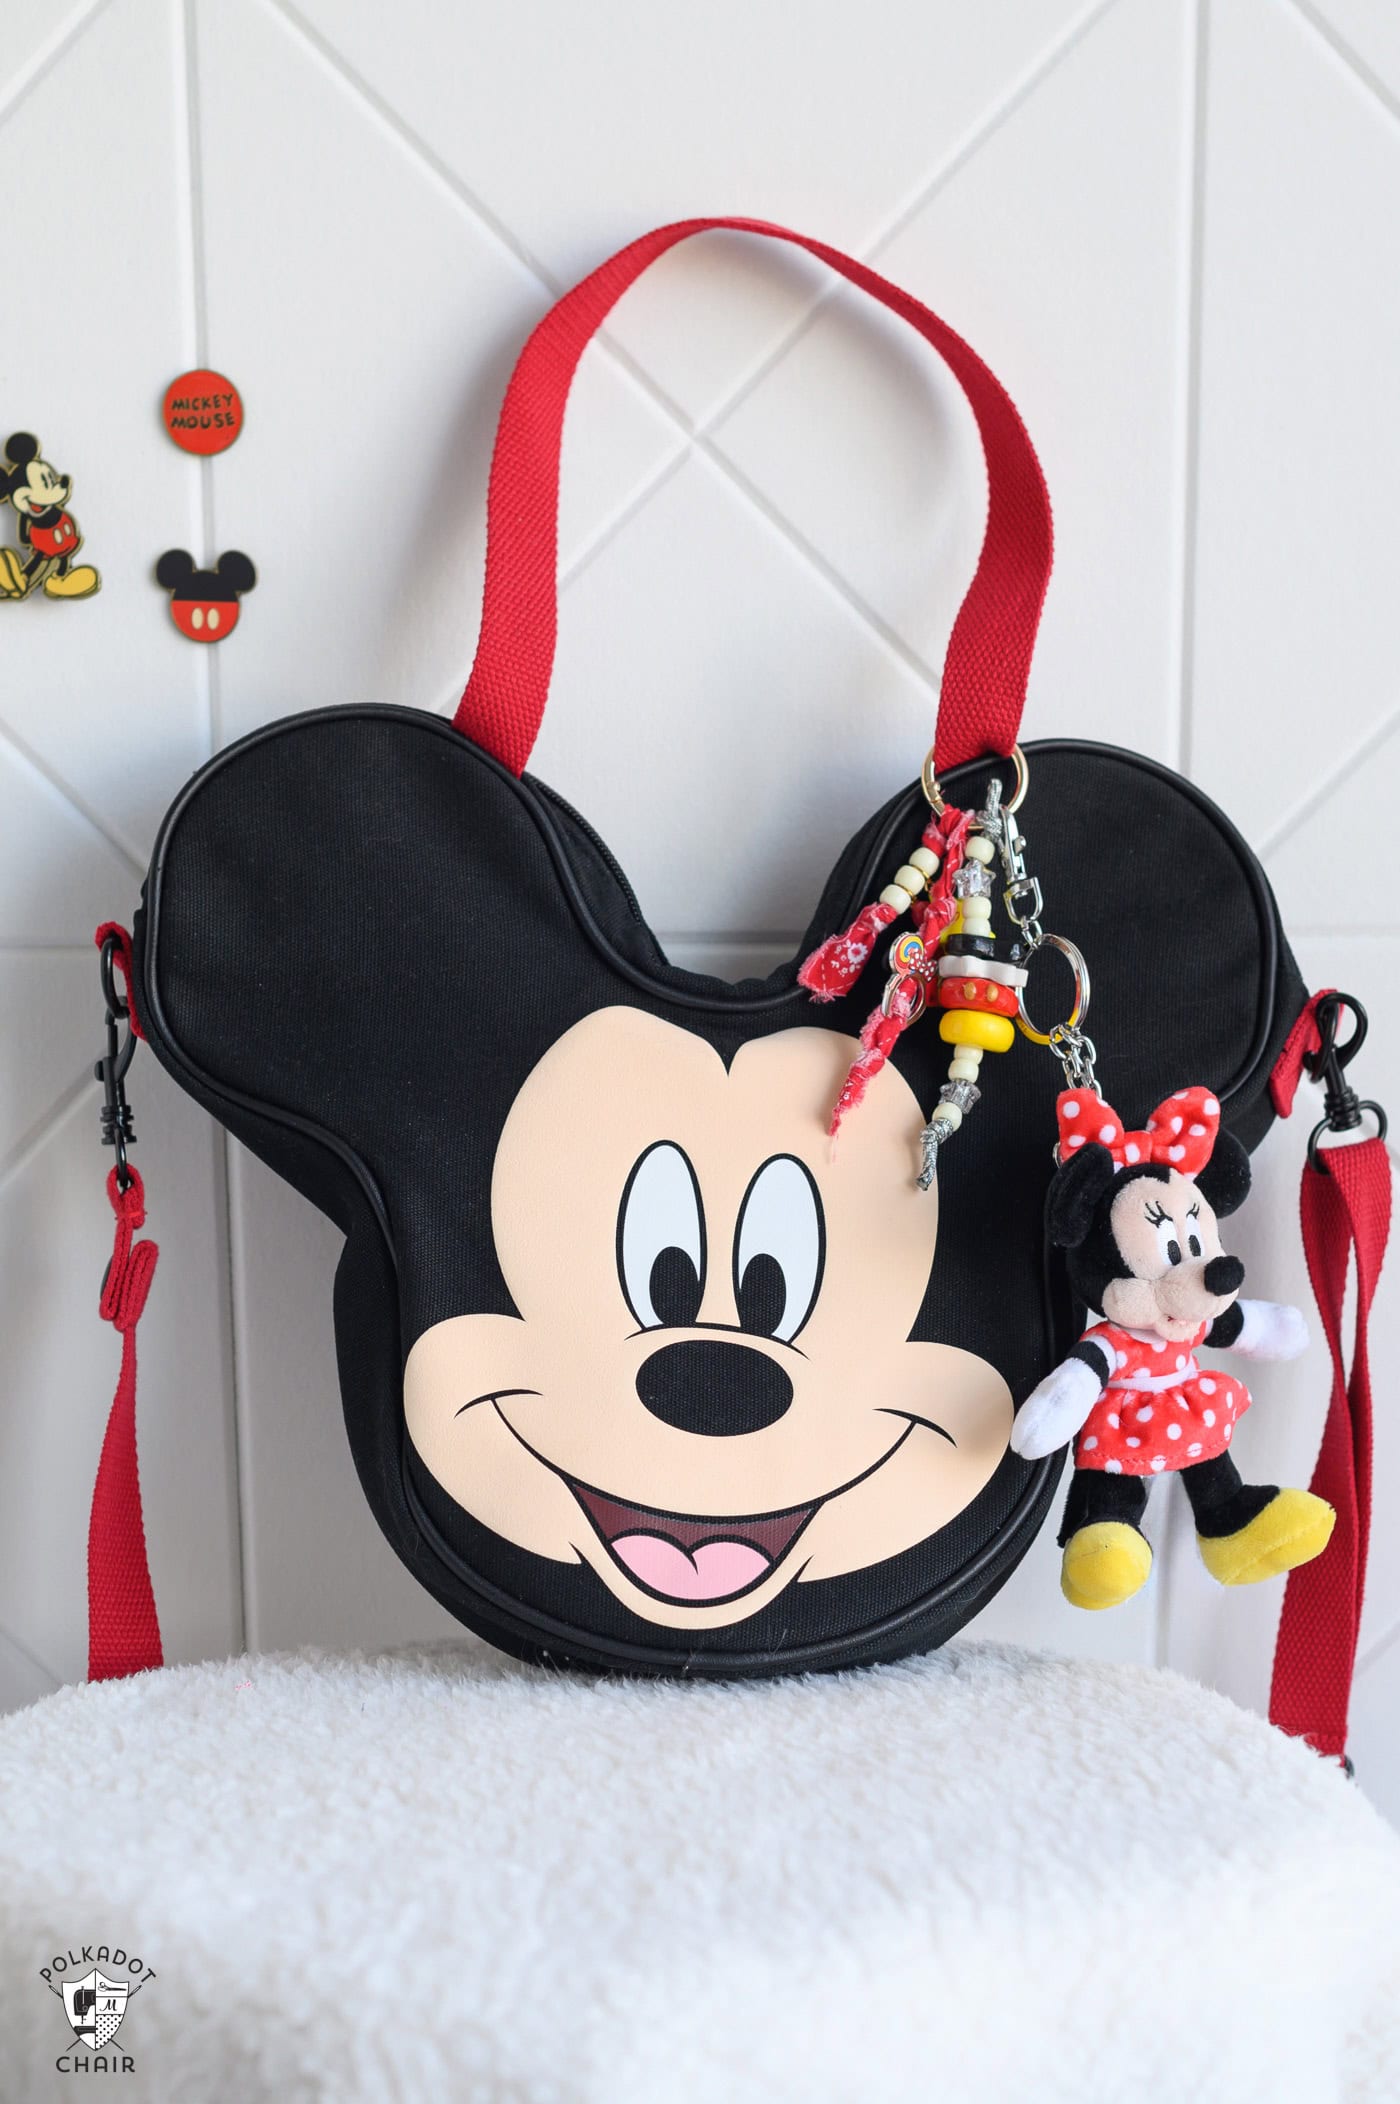
This beaded bag charm looks so cute layered with a Mickey or Minnie fabric bag charm, or a polymer clay zipper charm!
We always love a fun Disney-inspired DIY project. It’s such a fun way to build excitement for an upcoming Disney trip and keep a little of that magical feeling going before vacation starts.
By using specific-shaped cookie cutters and the right color combination, you can create a minimalist version of Mickey from polymer clay beads. He is just too cute not to take him with you on your next park outing.
Note: contains small parts and therefore should not be used around small children.
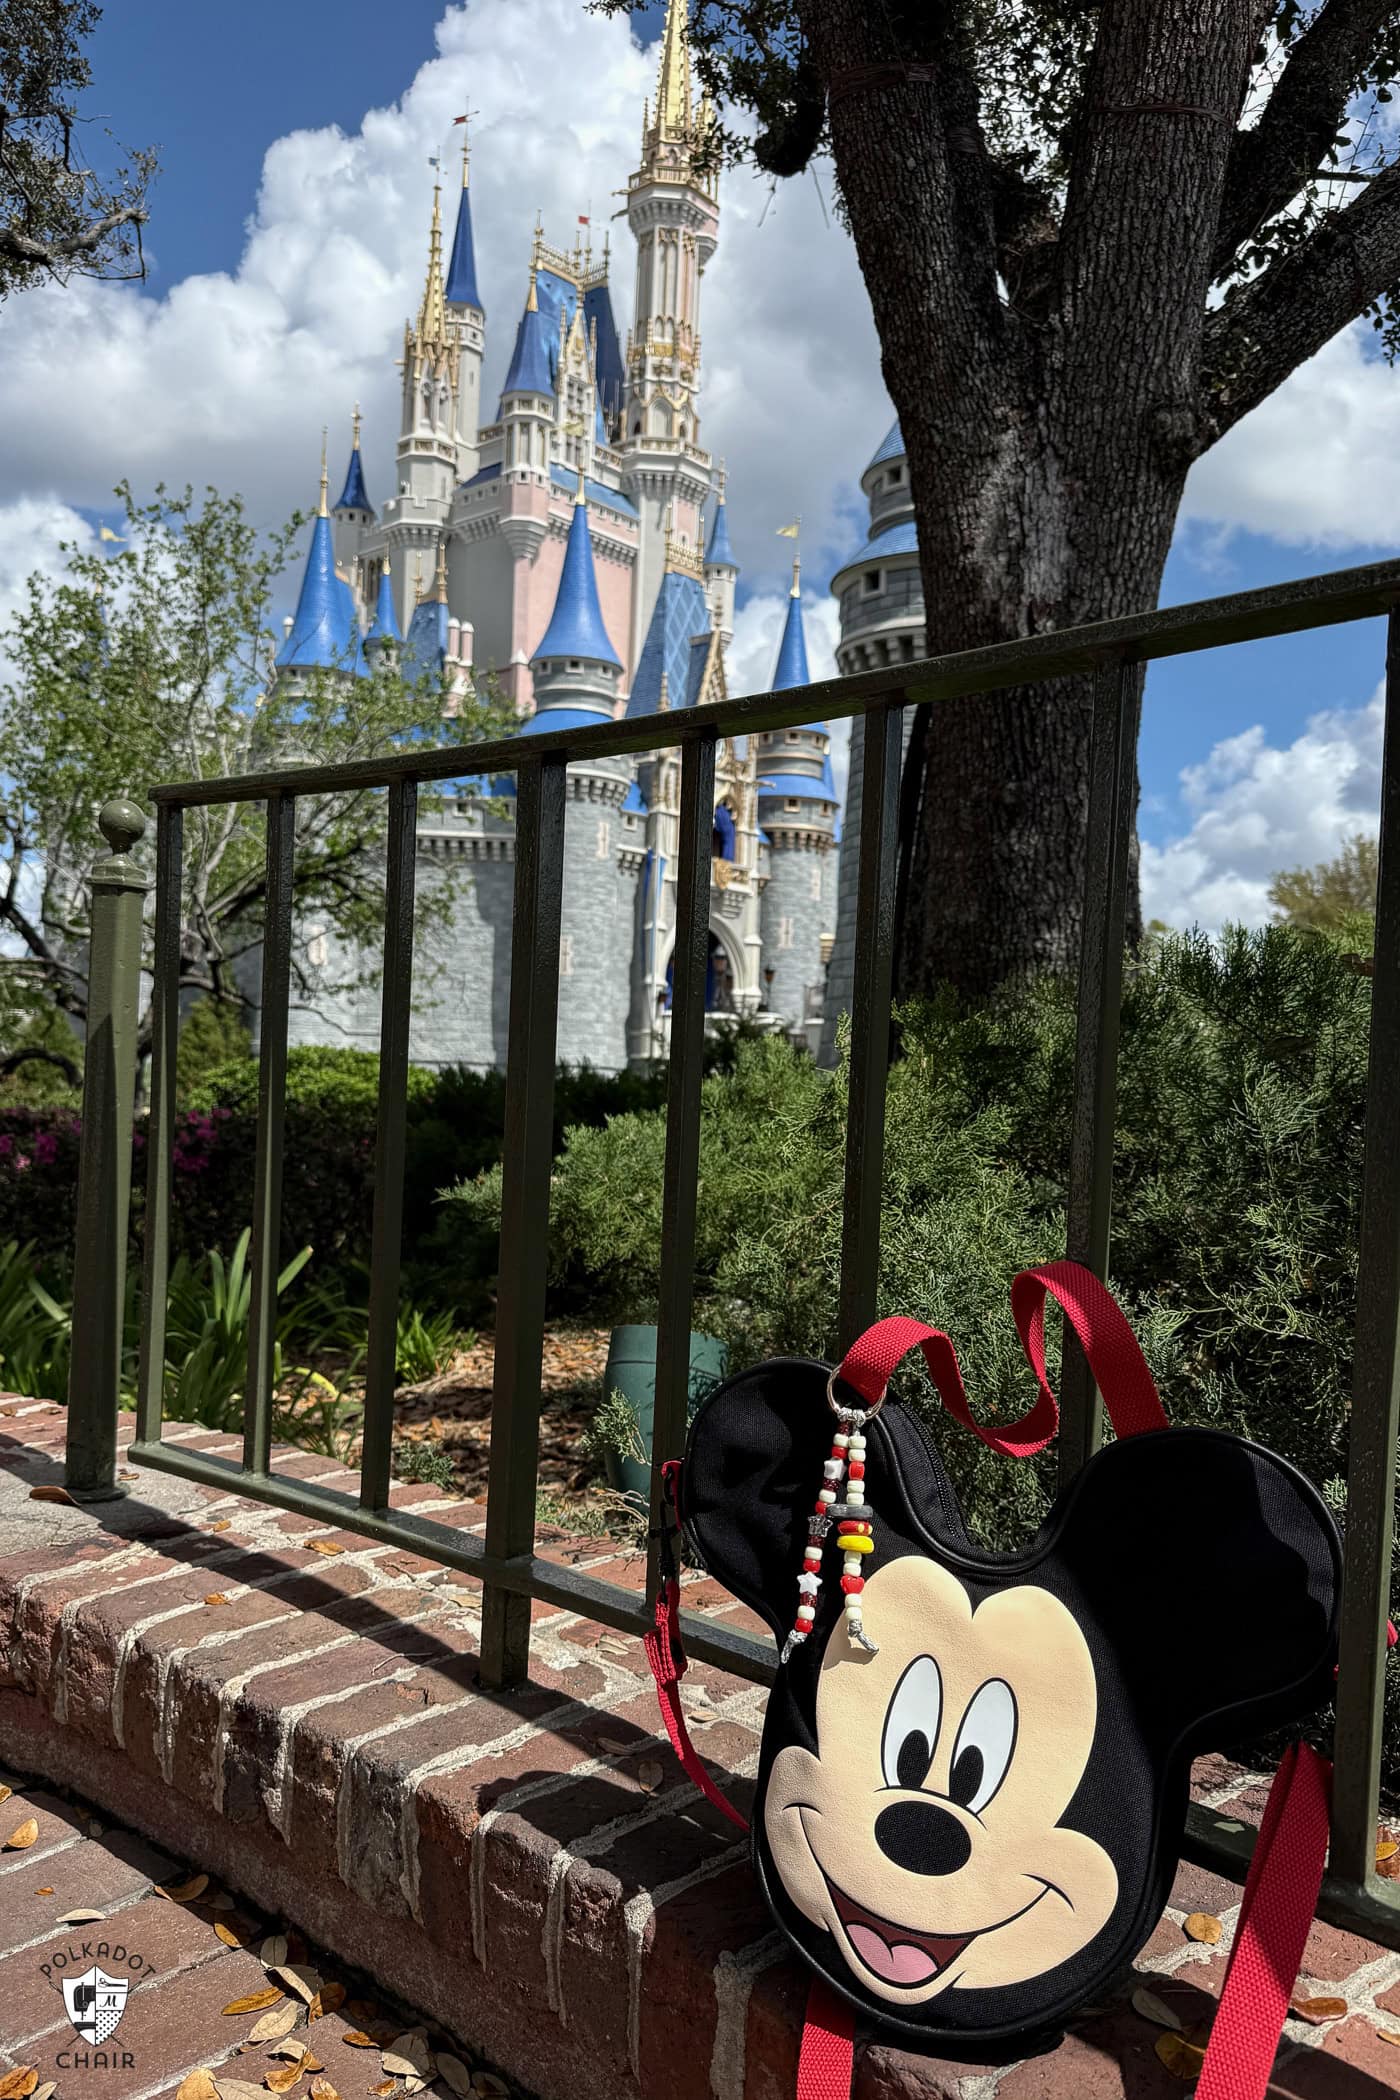
Bag purchased at Disney – shop similar online
Supplies Needed:
- Mickey Mouse cookie cutters
- Black, Red, White, Yellow, (optional gold) polymer clay
- Small round cookie cutter
- Paracord
- Lighter
- Pony bead
- UV light
- UV resin
- Key ring
- Optional: fabric scrap
- Optional: enamel pin
How to Make Beaded Disney Bag Charms

Equipment
supplies
- 1 Scrap Fabric optional
Instructions
Step 1:
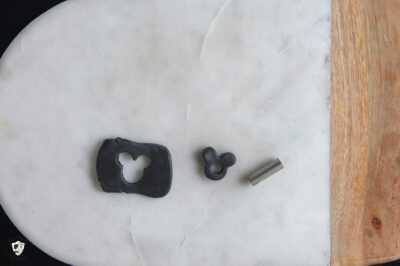
- Start by making the Mickey stack out of polymer clay. You will need to make a Mickey head, a glove, a red circle with yellow dots for pants, and a yellow circle for shoes.

- TIP: If you want to make a zipper pull instead of a bead, insert an eyelet into your piece at this point, and do not punch a hole in the center in the next step.
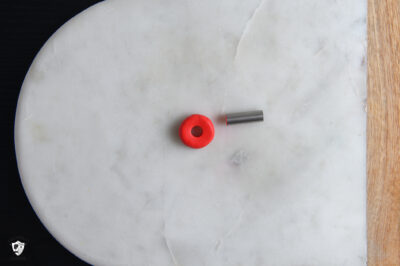
- For the pants and the shoes, you won’t need a shaped cookie cutter; you can use a round one or flatten a rolled sphere. The shoes will stay a solid yellow, but for the pants, you will need to add some detail.
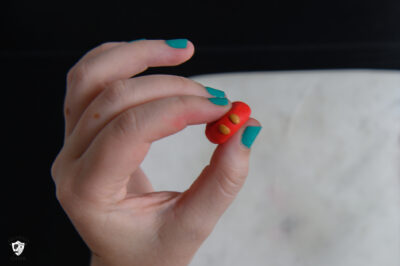
- Mickey has two dots on his pants. You can use gold or yellow; both look great. You take a teeny-tiny piece of yellow or gold clay and roll it into a rice-like shape. You then place it in the center of the red bead. You repeat the same process with a space between the two dots to create Mickey’s pants.
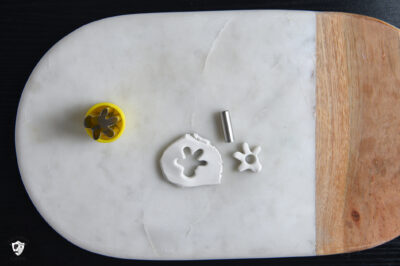
- To make these, you roll out the specific color of polymer clay for each bead. Each slab should be about 1/2 to 1 inch thick, depending on your preference.
- Then, using the coordinating cookie cutter, cut out the shape you need, and use the small round cookie cutter to cut out the center to form a bead.
Step 2:
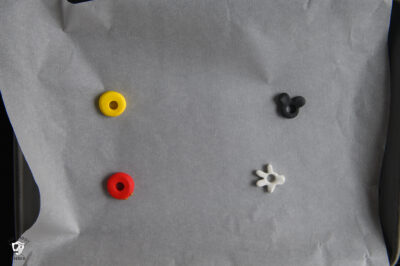
- Bake the beads according to the directions on the polymer clay packaging. While the beads are baking, you can prep your key ring.
- Take your piece of paracord, cut it to the appropriate length plus a little extra, and tie it around the keyring to secure. Then burn the ends of the paracord with a lighter to seal them and prevent fraying.
Step 3:
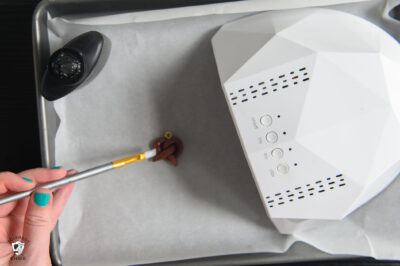
- Once the beads have finished baking and cooled. Take the UV resin and follow the instructions on the packaging to coat each bead with a layer of UV resin, then cure it.
Step 4:
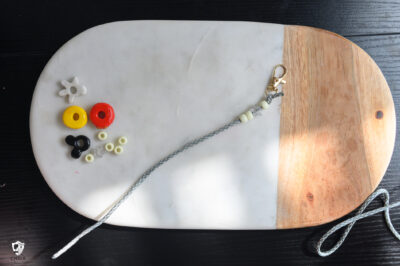
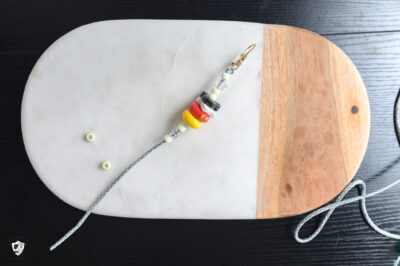
- Assemble your charm. I like to start with a few pony beads to create a little space at the top, then build my Mickey stack.
- To make the Mickey stack from the top, you will place the head, glove, pants (red), and shoe (yellow) beads. I like to follow up with a few more pony beads, then tie it off securely.
Bag Charm Ideas for Disney Pins!
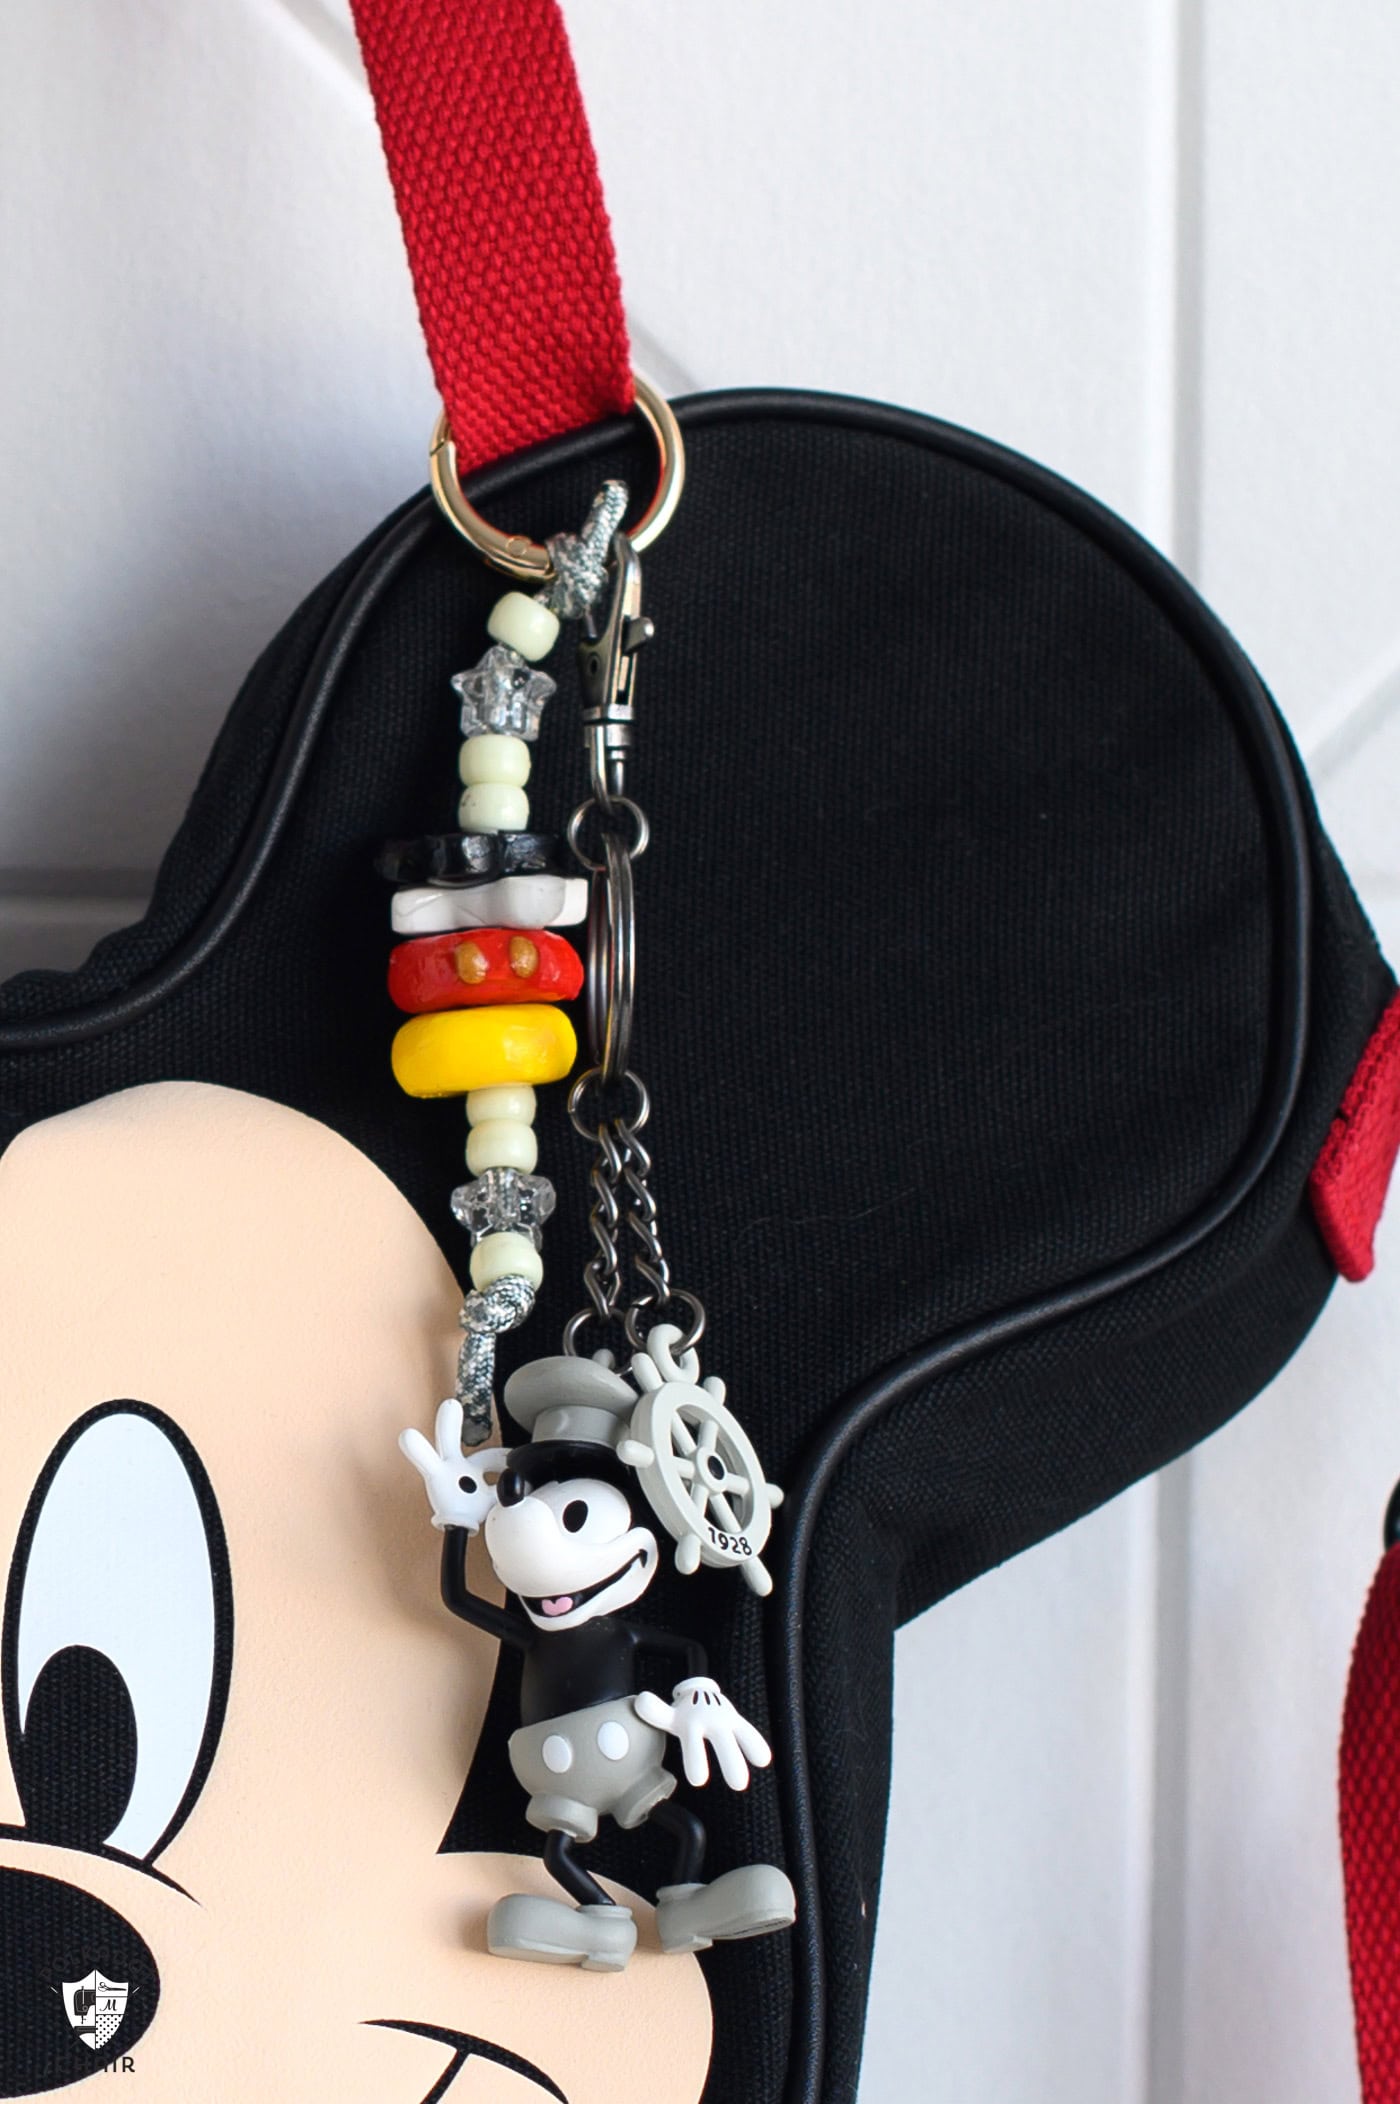
If you want to add a little extra to your bag charm and love a good Disney pin, you can use a small piece of fabric to showcase your favorite pins with your charm.
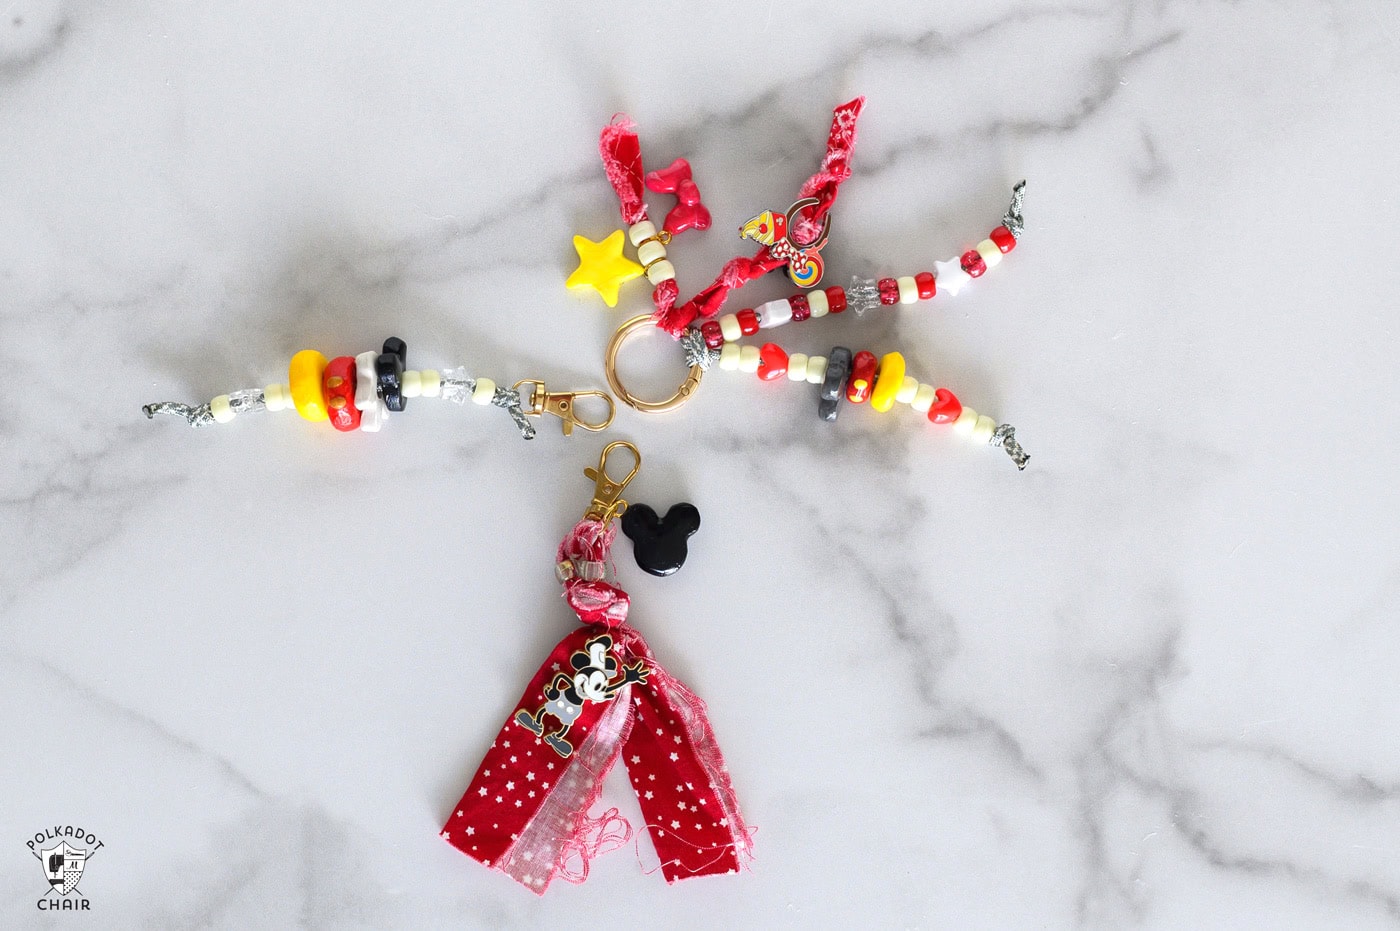
This doesn’t have to be anything fancy. I have done both a simple braided strand of fabric and a nicely tied knot, leaving the fabric to hang.
You can then add the pin to the body of the braid or the loose hanging piece of fabric from the knot. I would also recommend using locking pin backs so you don’t lose your favorite Disney pin.