Fuse Tool Review & Custom Photo Sleeves
This post is #sponsored by WRMK. Today I’m going to show you how you can make custom photo sleeves using the new Fuse Tool from WRMK. If you like this project you may also enjoy this post teaching you how to print two photos on one 4×6 print.
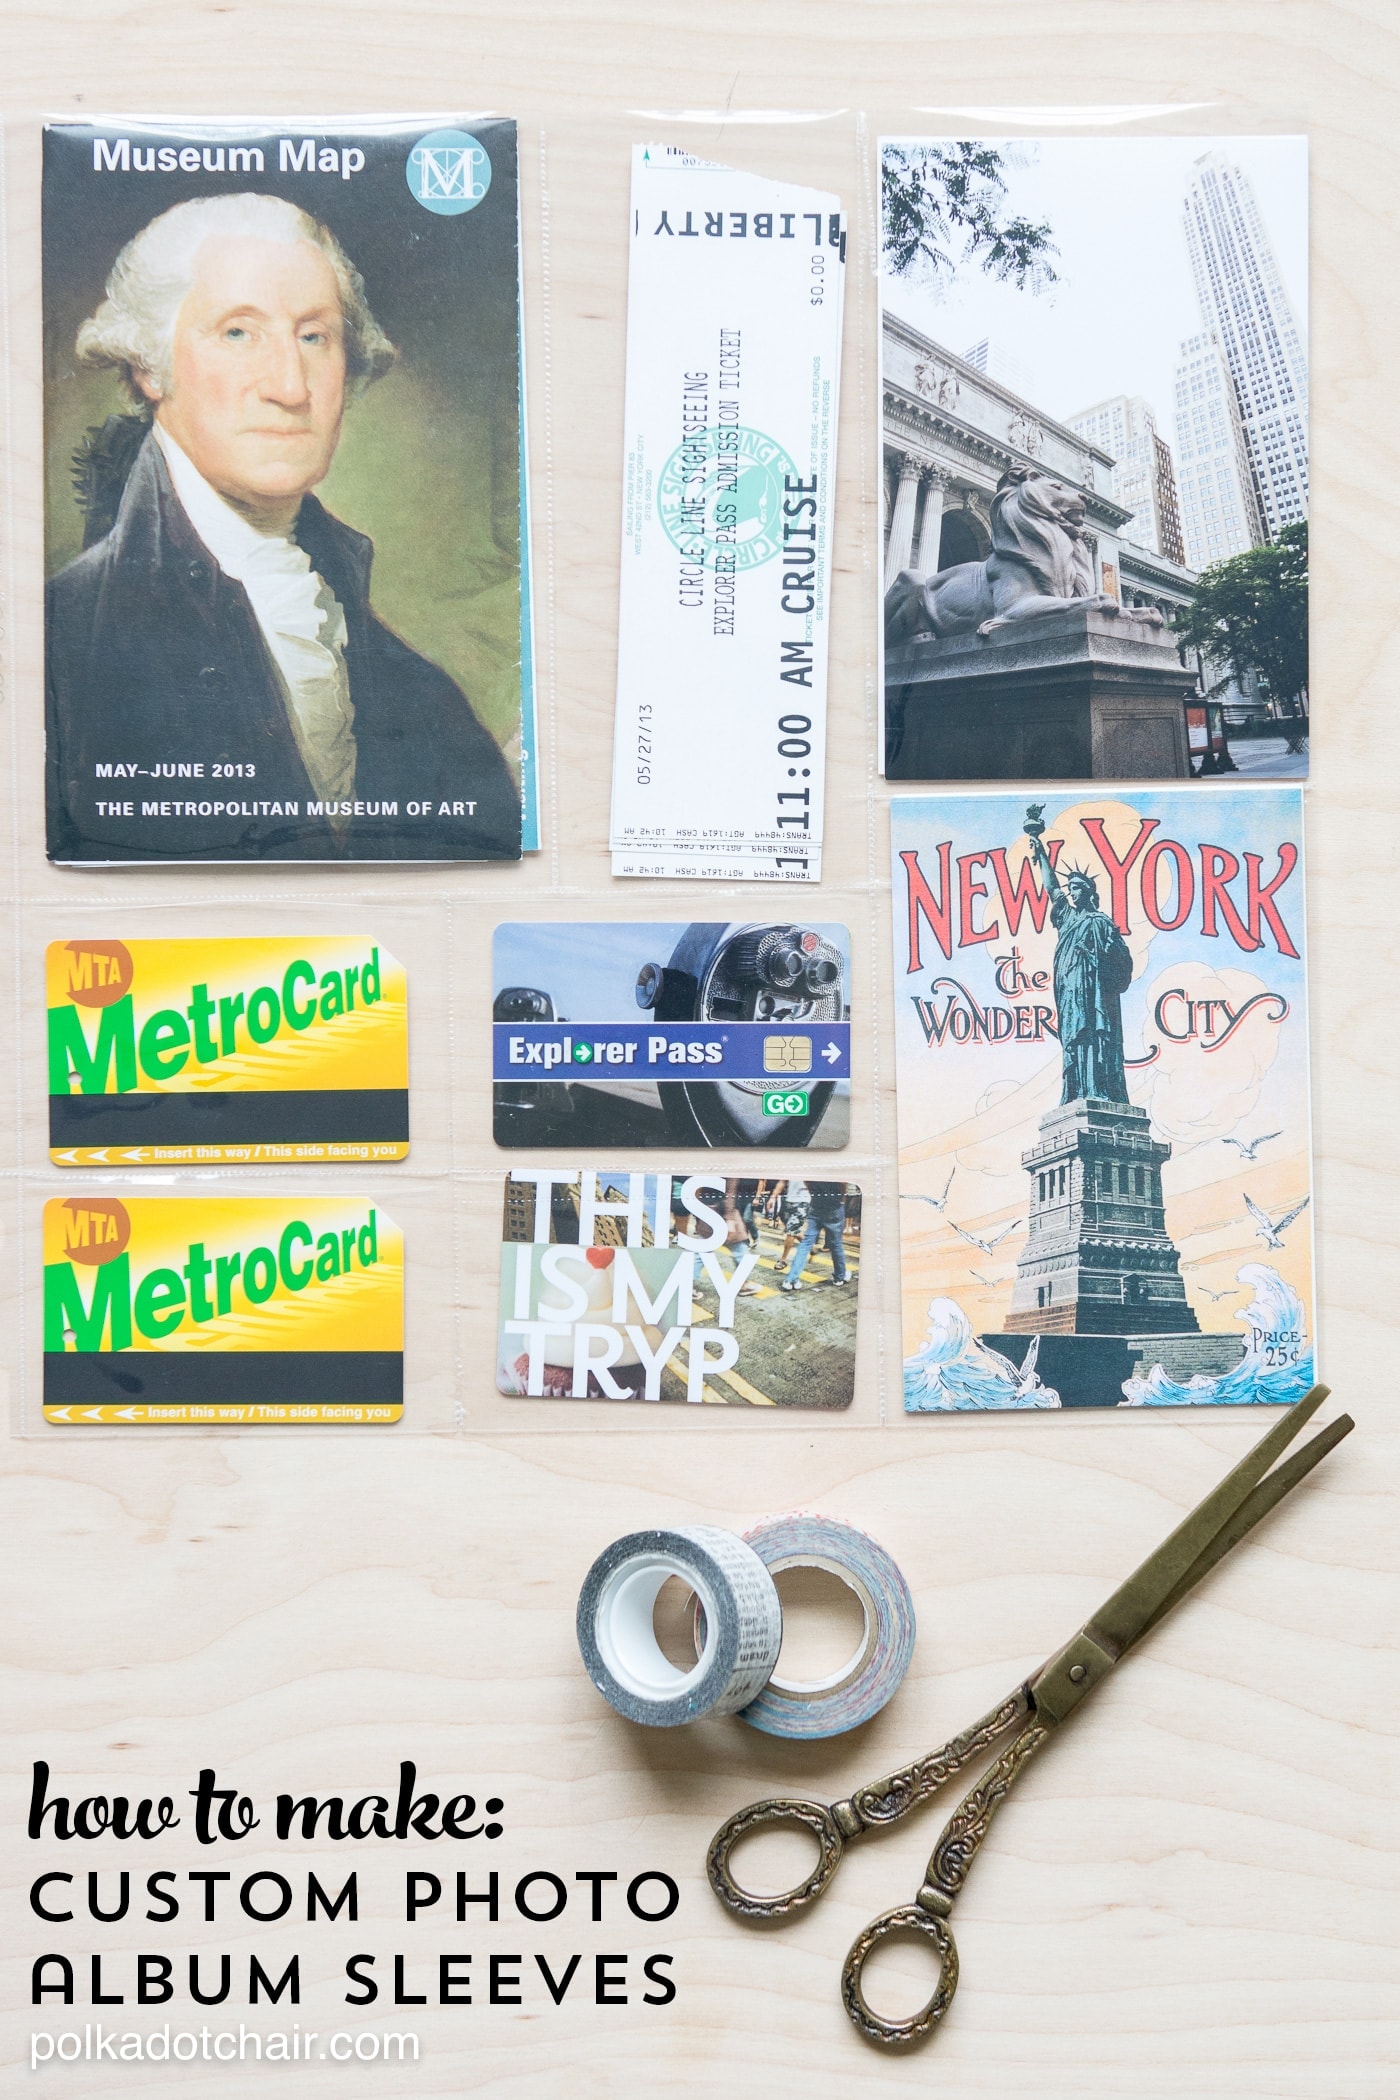
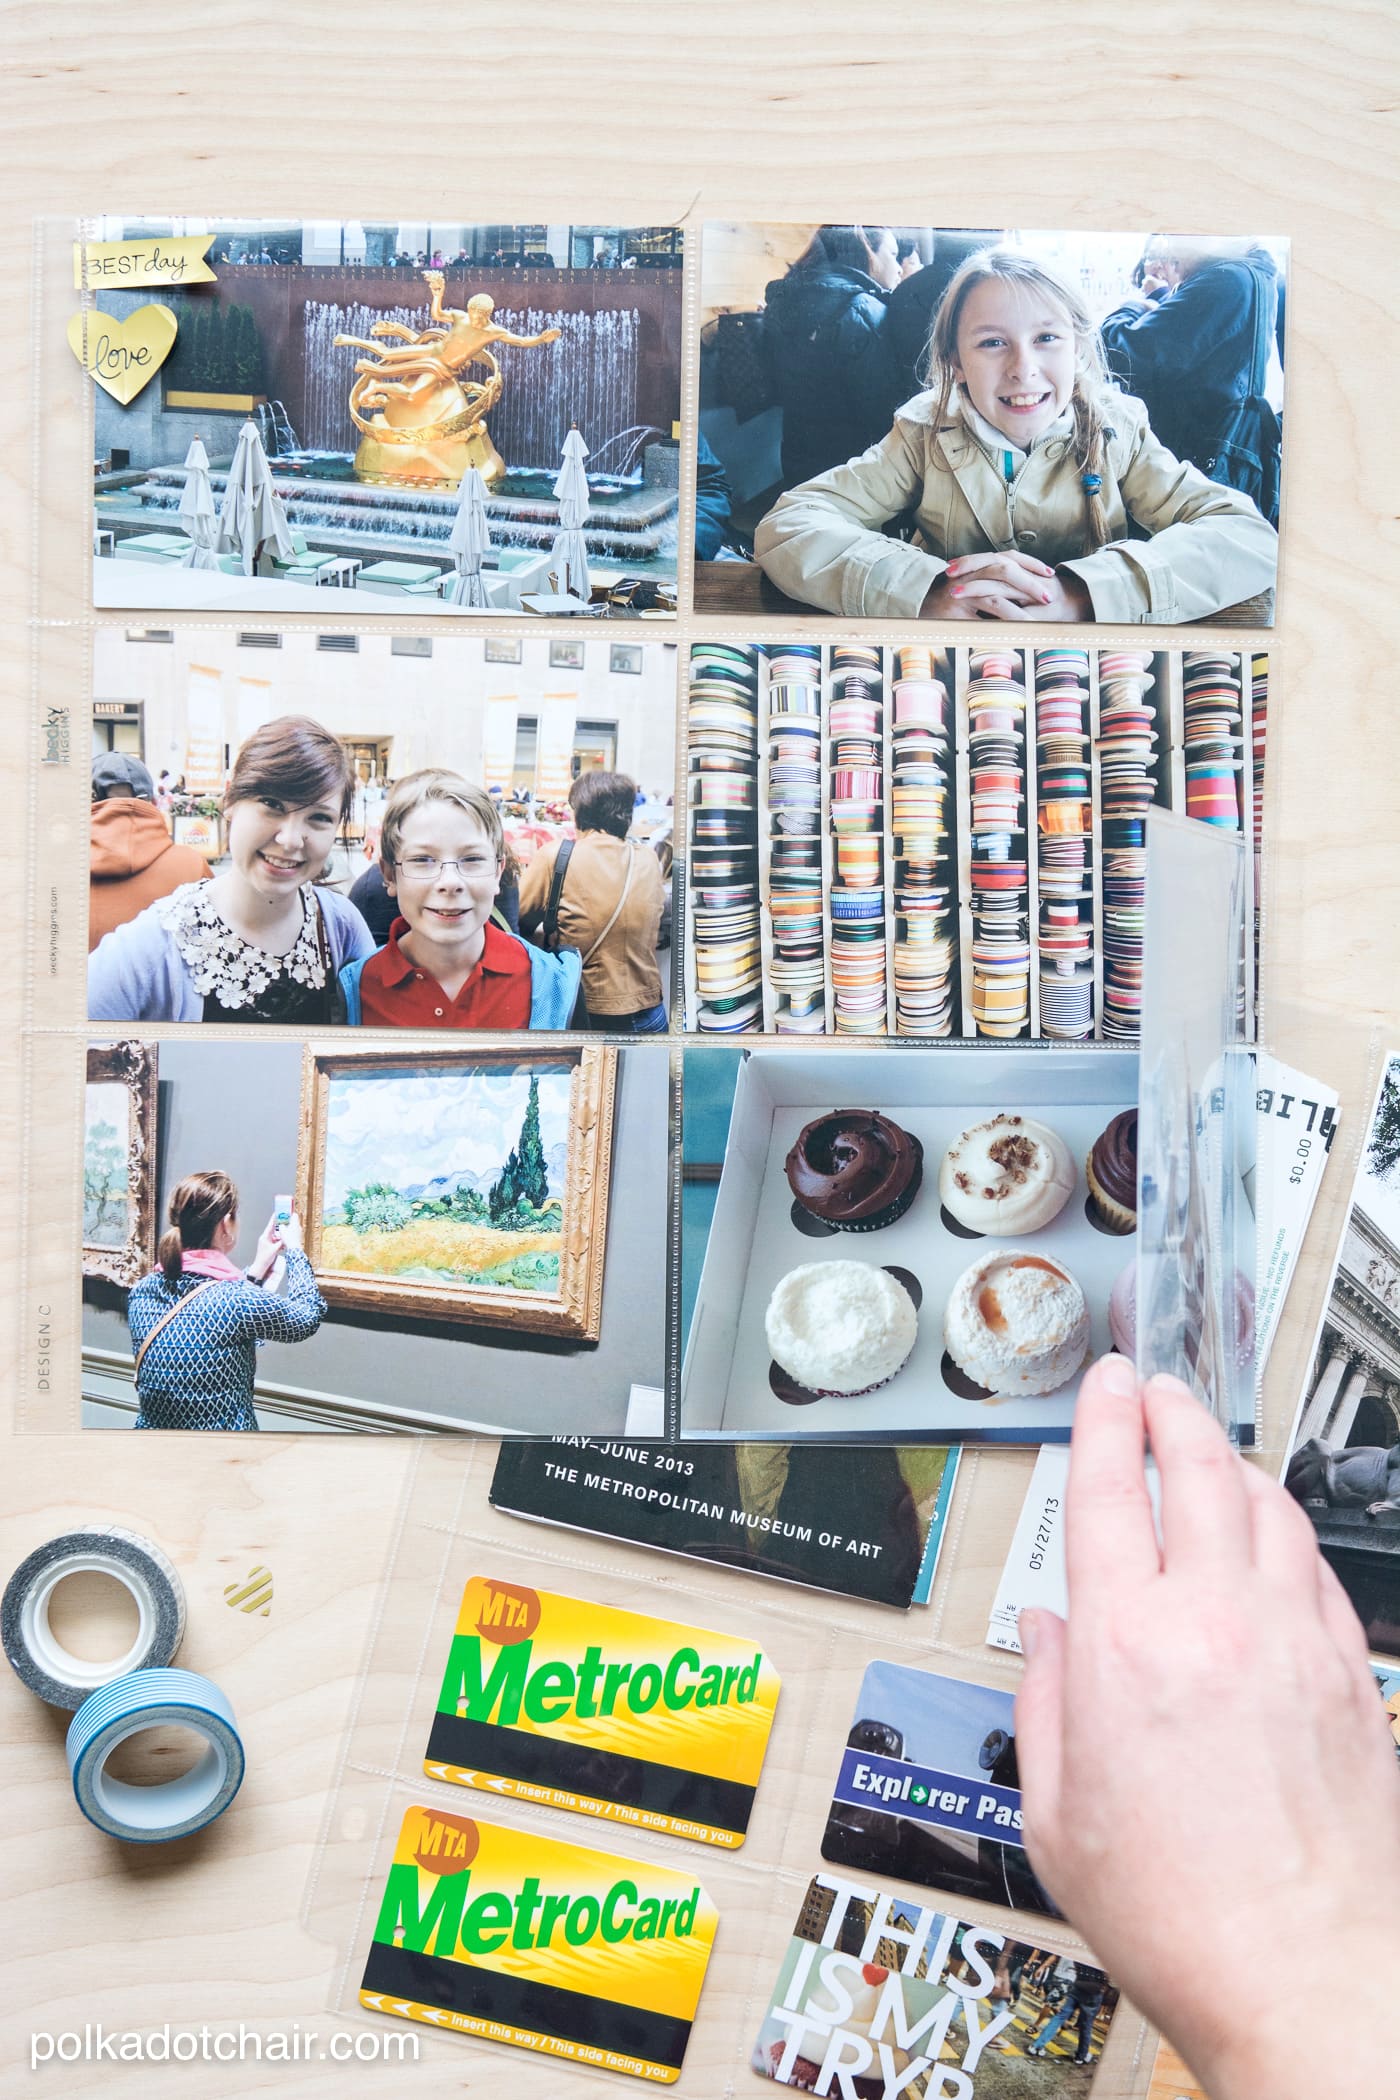
A few years ago our family visited New York City. Recently I’ve been trying to finish up scrapbooking our trip but was getting stuck as to what to do with all of the memorabilia that we had collected during the visit.
I always try to save ticket stubs and museum maps when we’re on vacation. I love going back and looking at the maps after we are home and love all of the graphics that you usually find on ticket stubs and hotel key cards.
I’ve worked with WRMK (while they were Lifestyle Crafts) in the past and they asked me if I’d like to review one of their new products, the Fuse Tool. It easily allows the user to easily create custom pockets and sleeves for scrapbooking or other craft projects.
As soon as I heard what it did, I knew right away that I had a bunch of projects perfect for it. I decided that I’d start with those random leftovers from my NYC scrapbook.
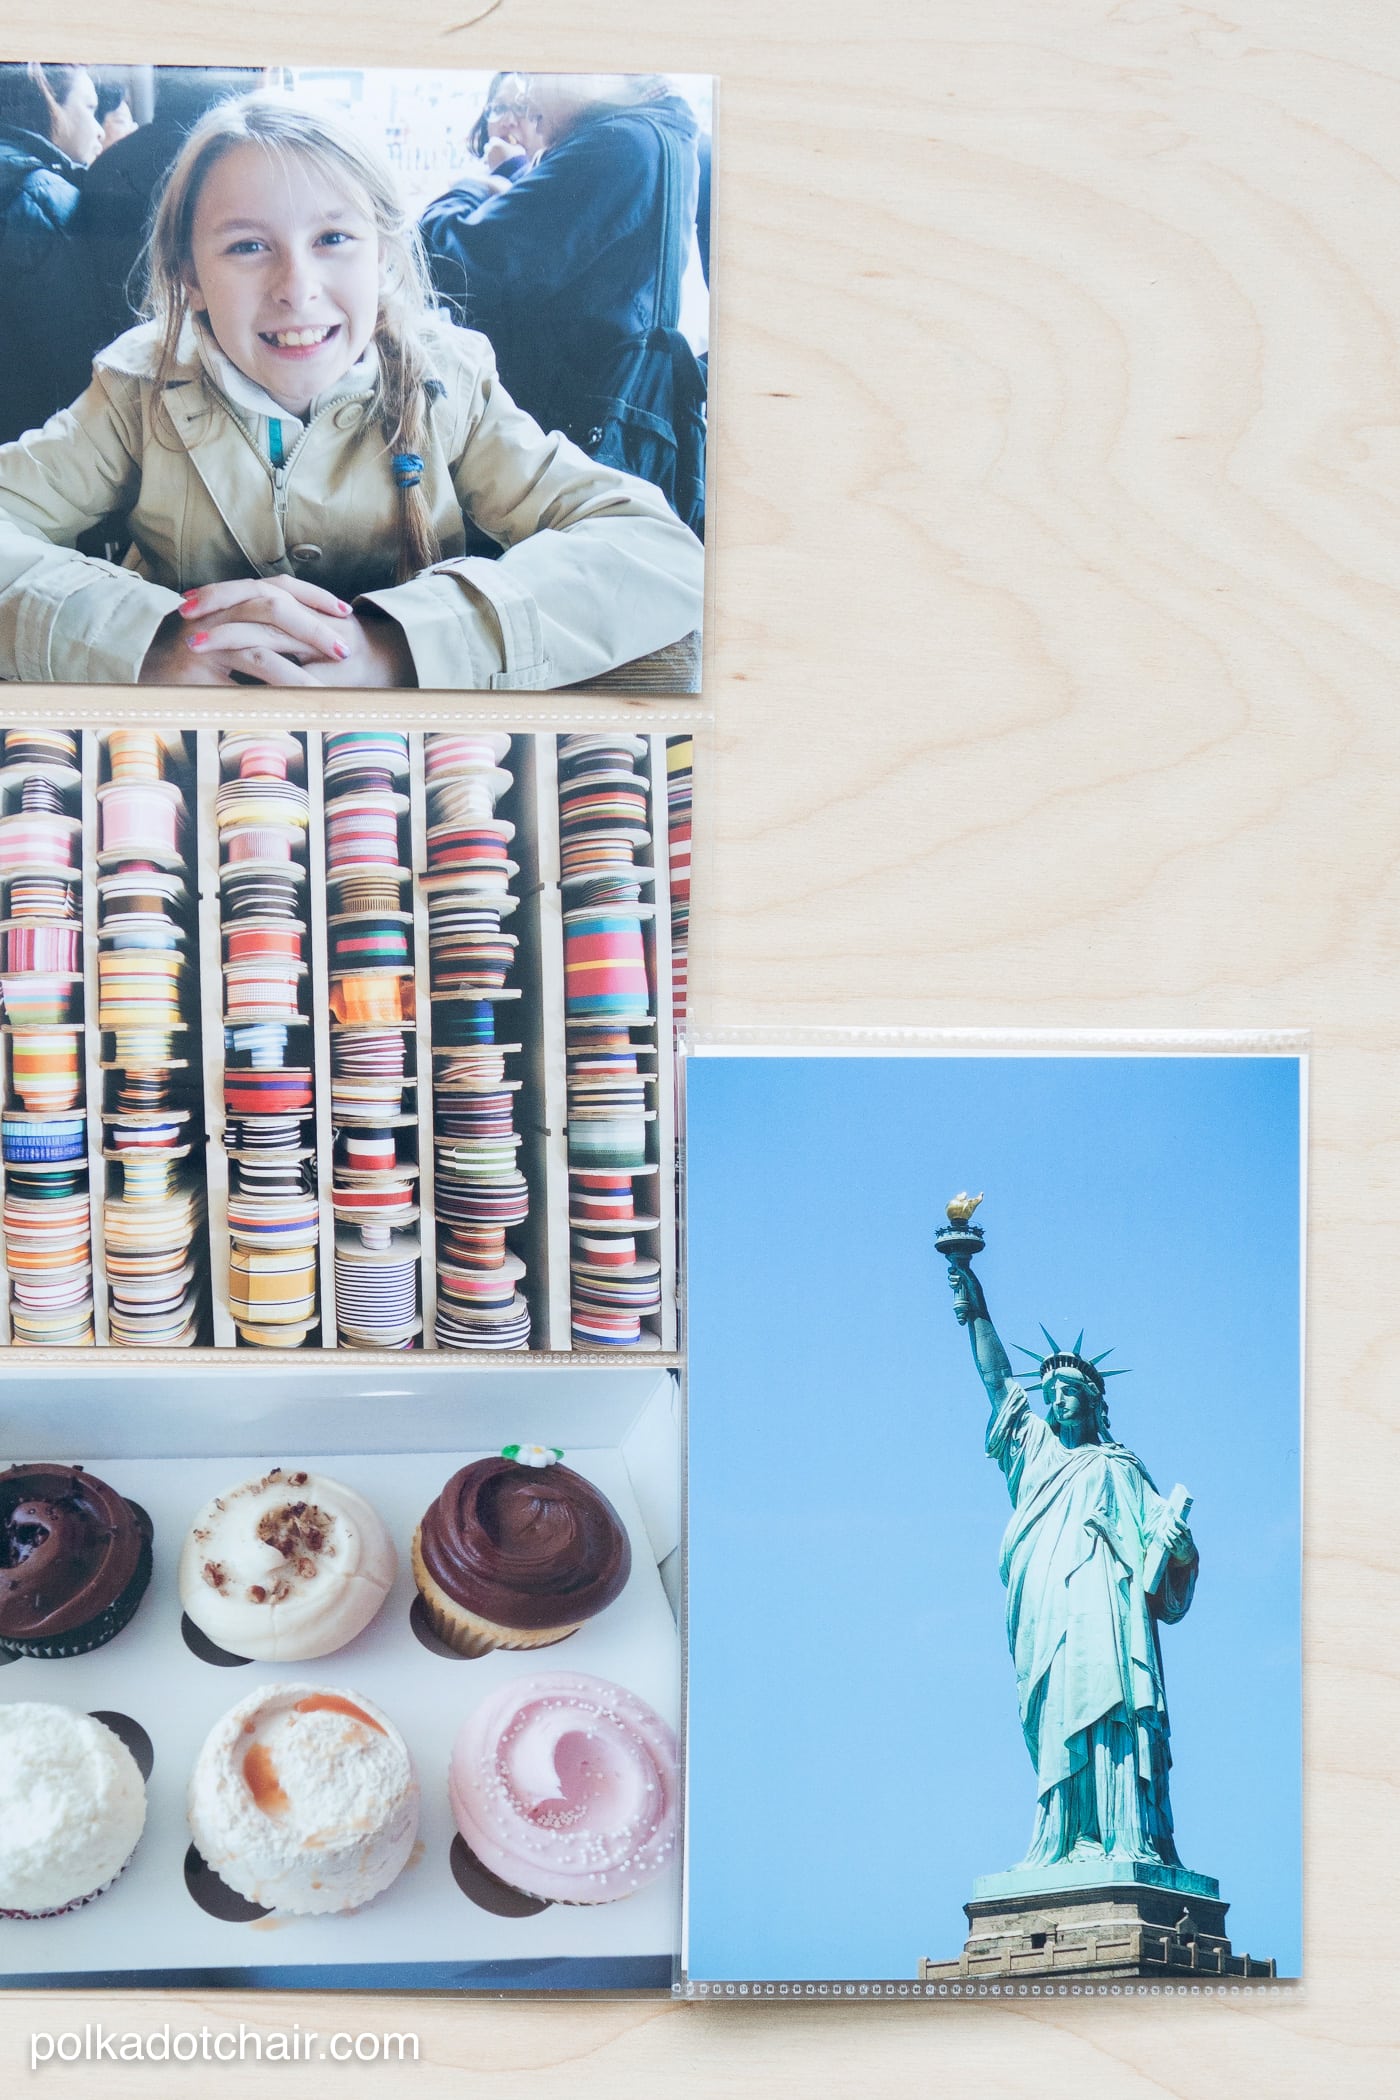
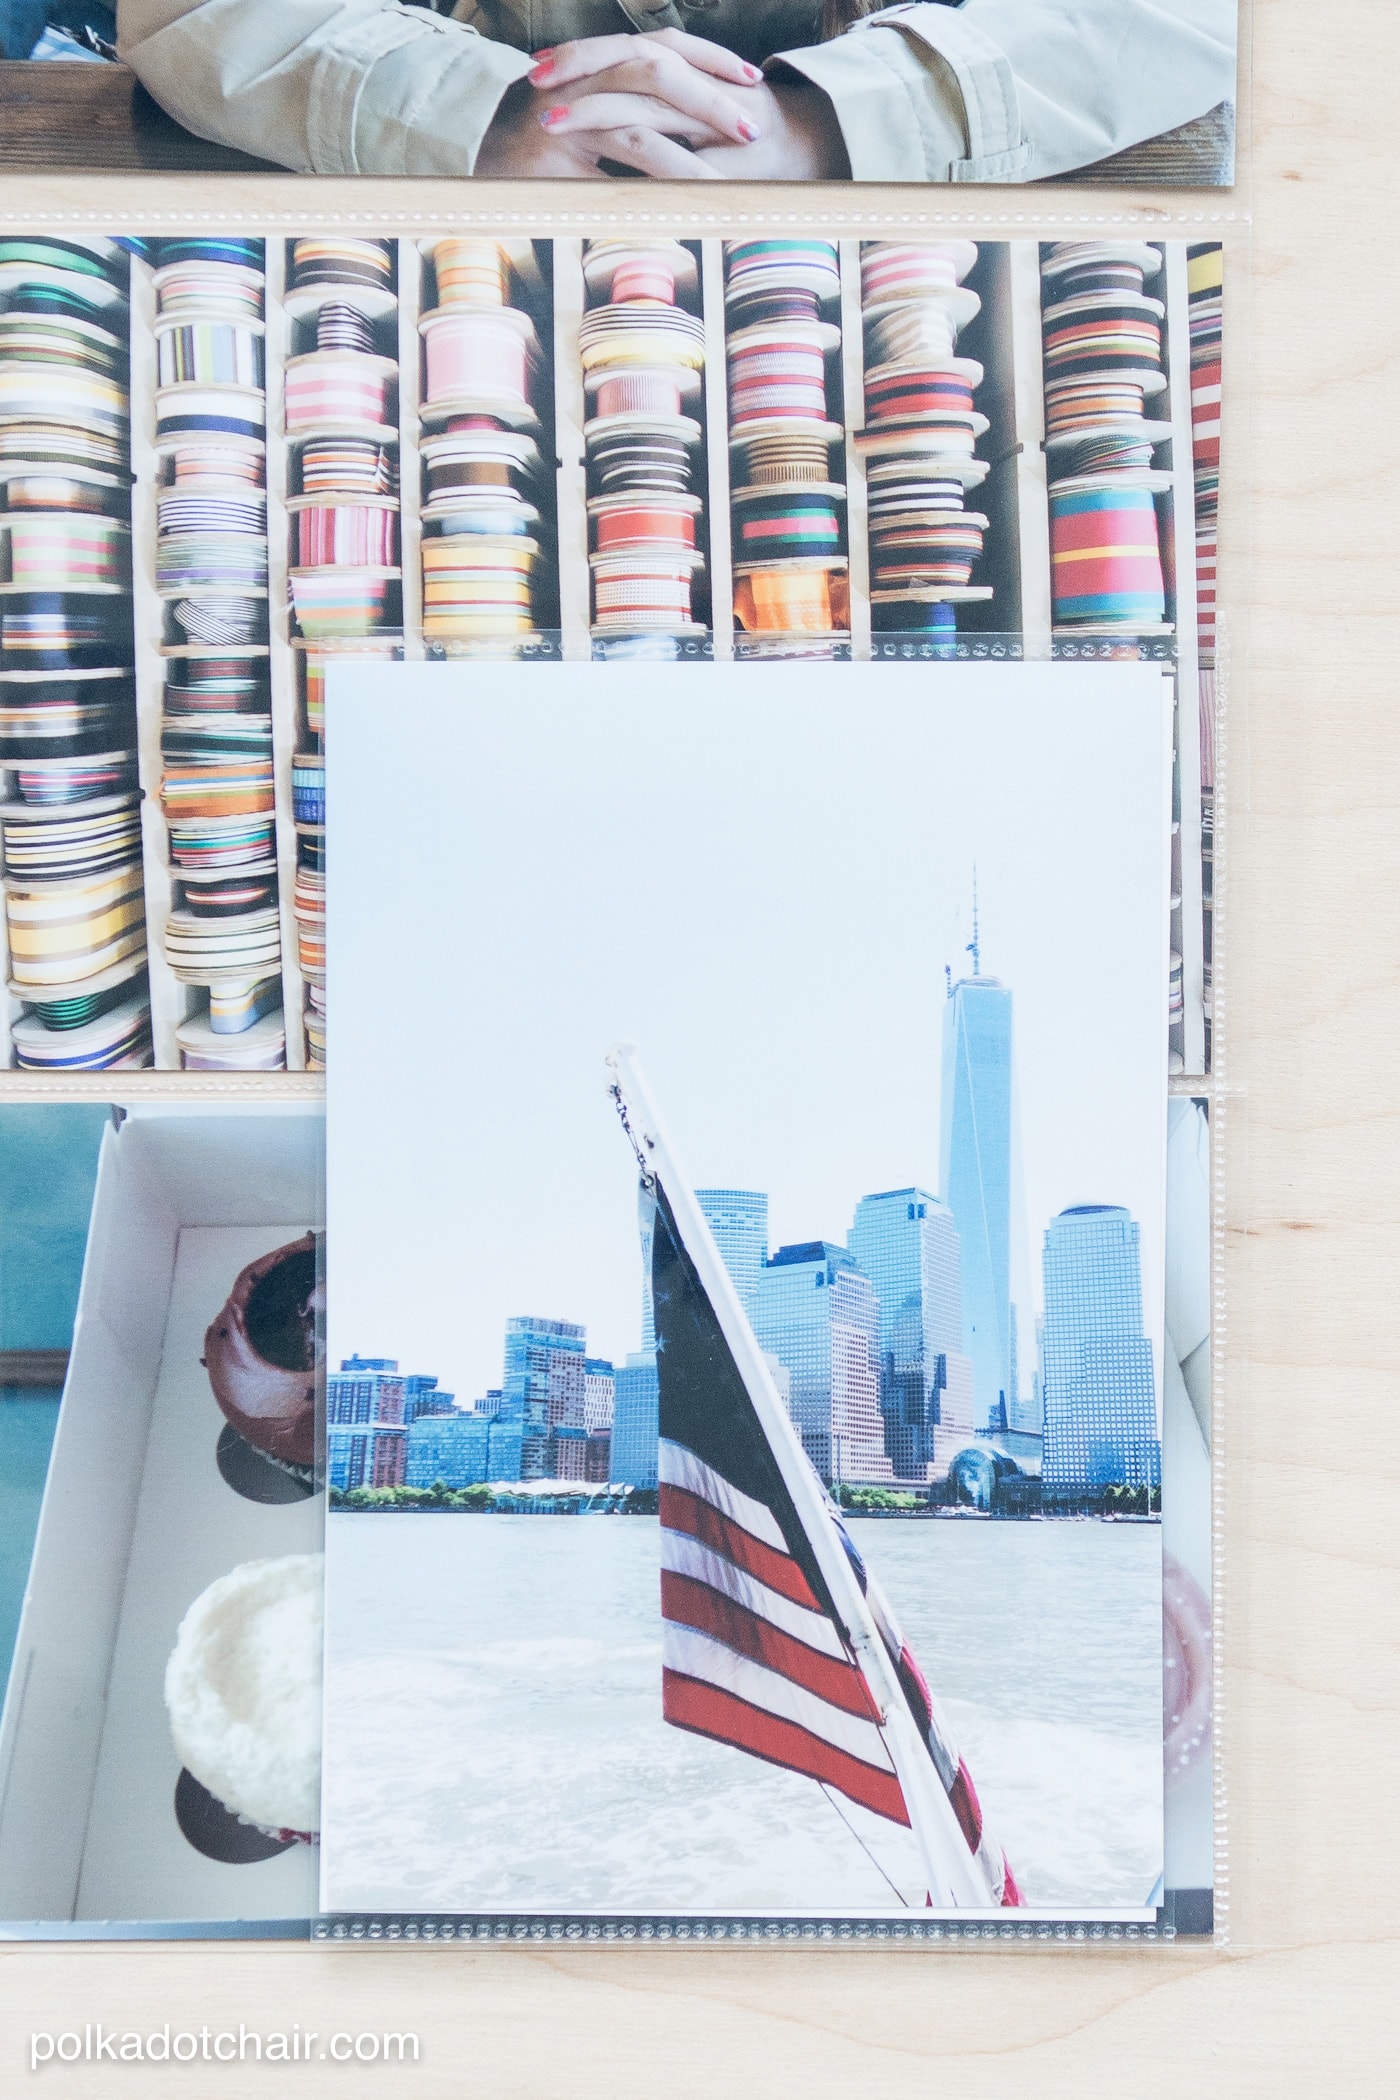
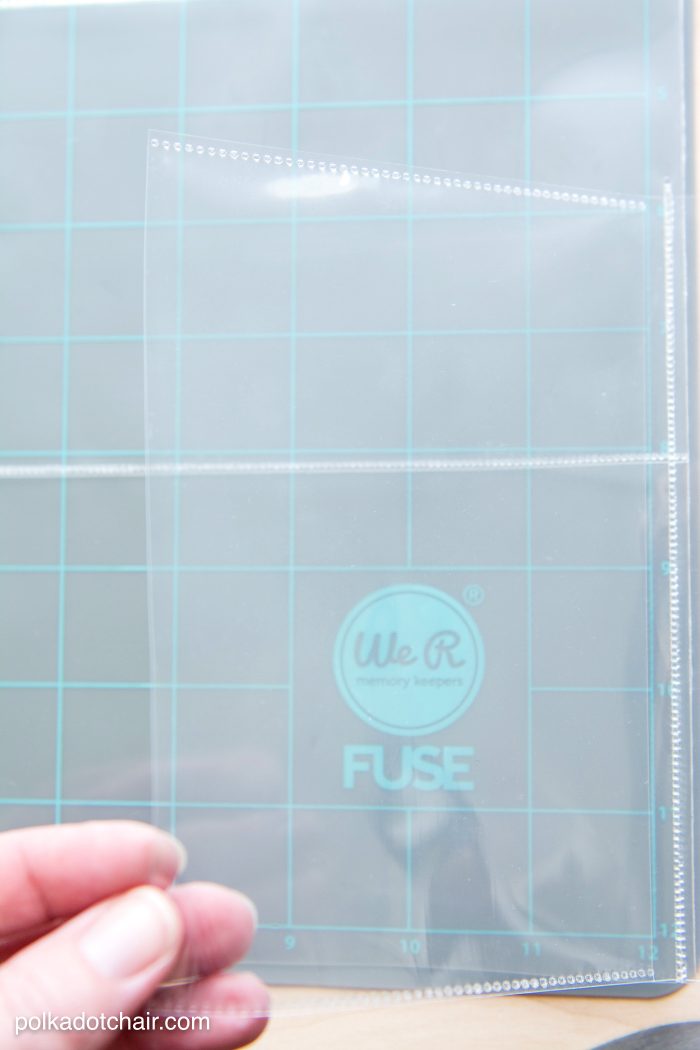
In addition to creating the custom page protector that you can see above, I also the tool to fuse some vertical photo pockets onto a horizontally divided page protector. Don’t you just hate it when you have ONE more photo to use in a layout but it’s vertical and you only have room for a horizontal one?? It drives me crazy!
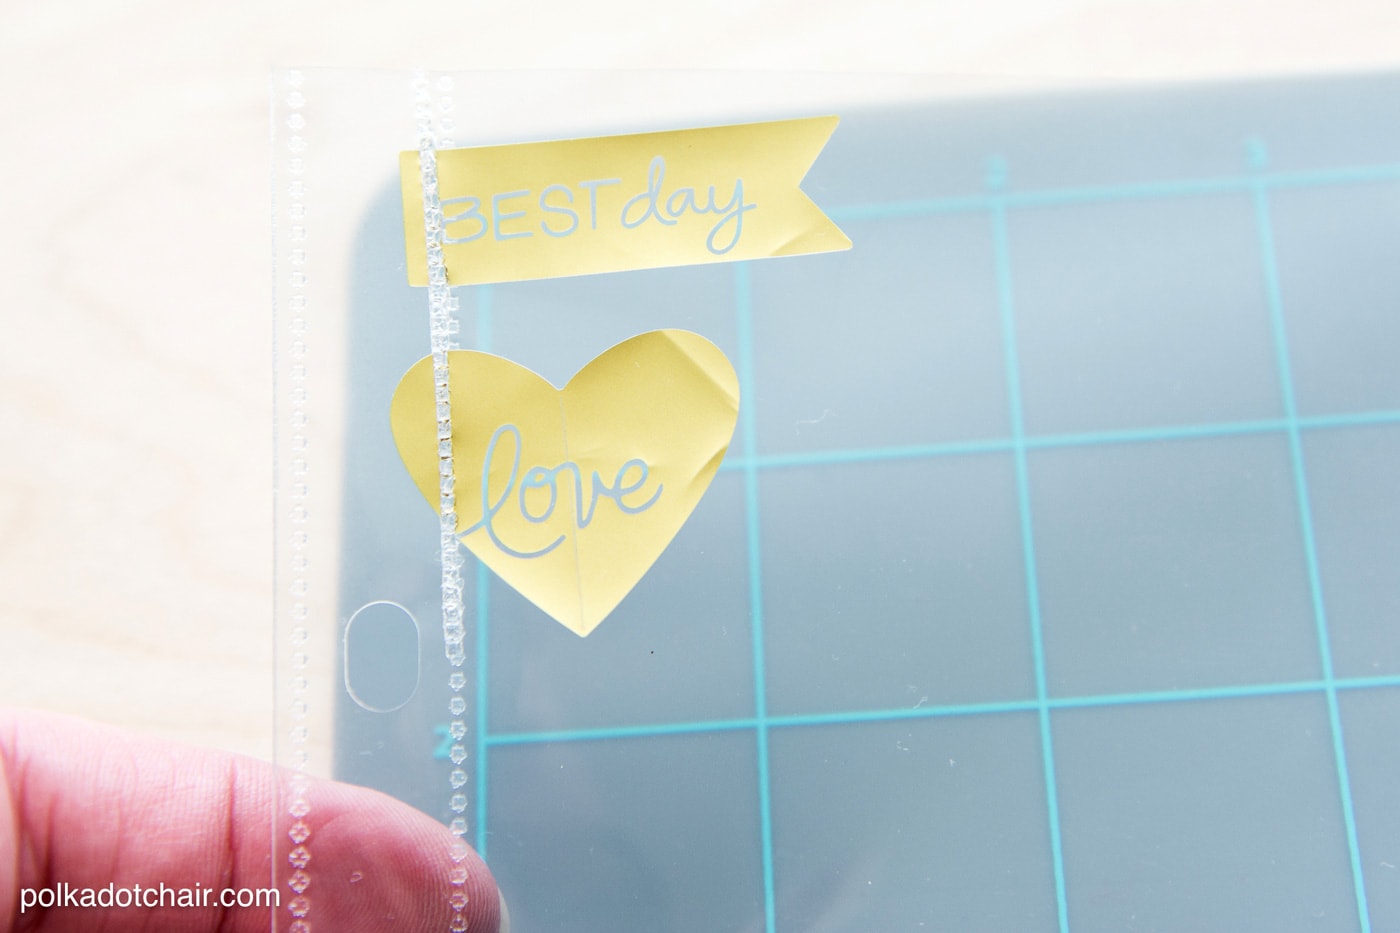
The tool uses heat to attach the page protectors together – there is no unsightly glue or tape showing, it just looks like a part of the original page protector.
The Fuse tool is going to be on HSN on July 1st at a VERY special price. It comes in a kit with a bunch of other items, like these really really cool fusible page elements. You can use the heat tool to attach them right to the outside of the page protector (no staples!!!)
Included in the HSN kit are:
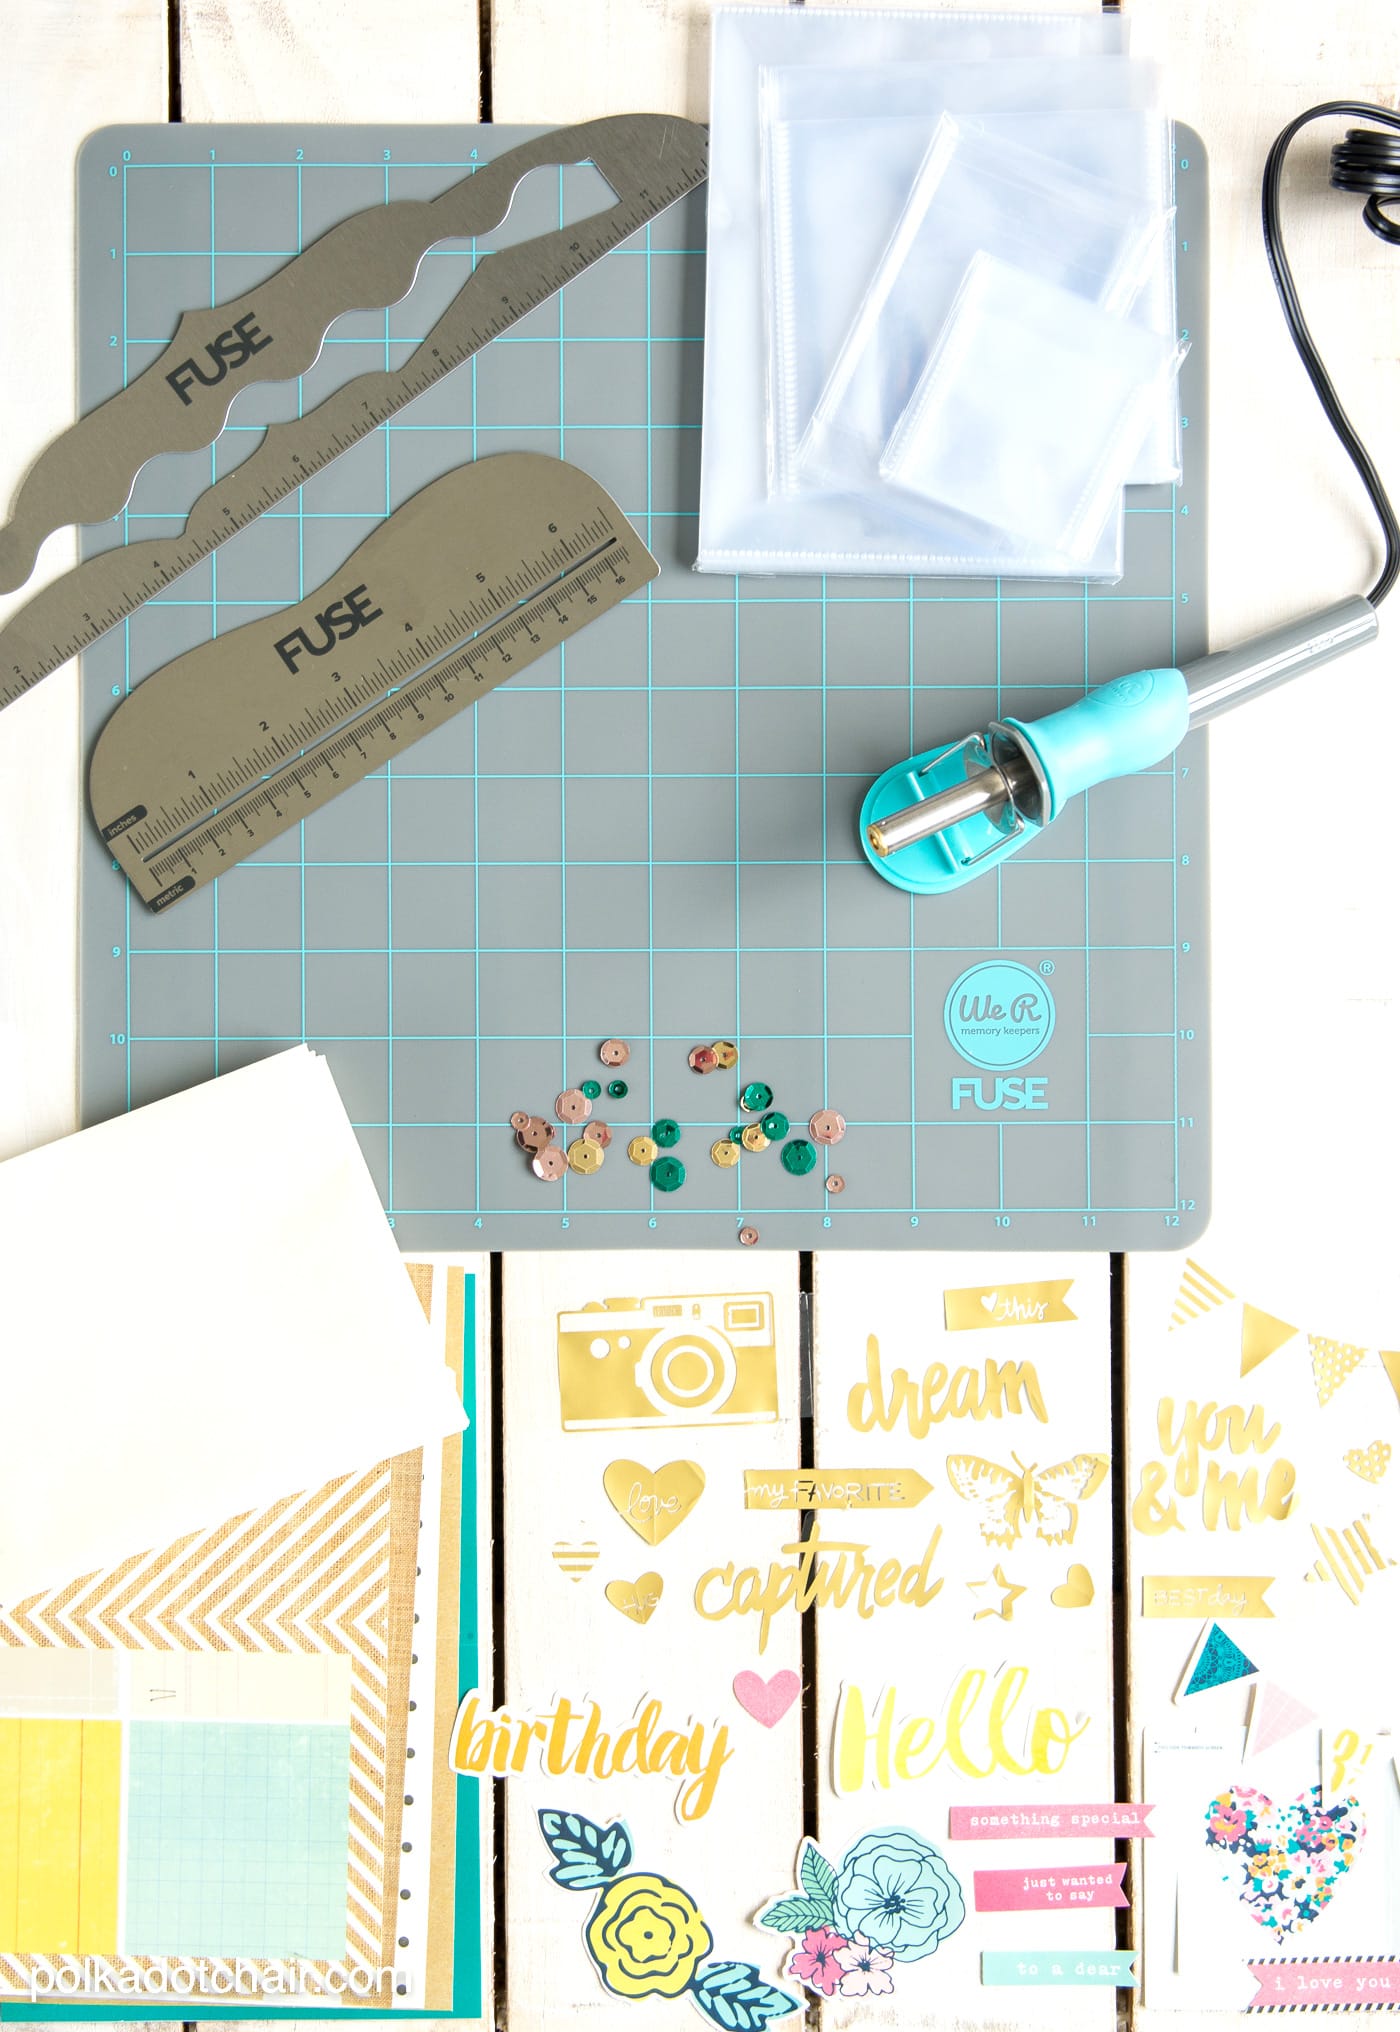
- Fuse tool, with ruler, stand and two tips (1)
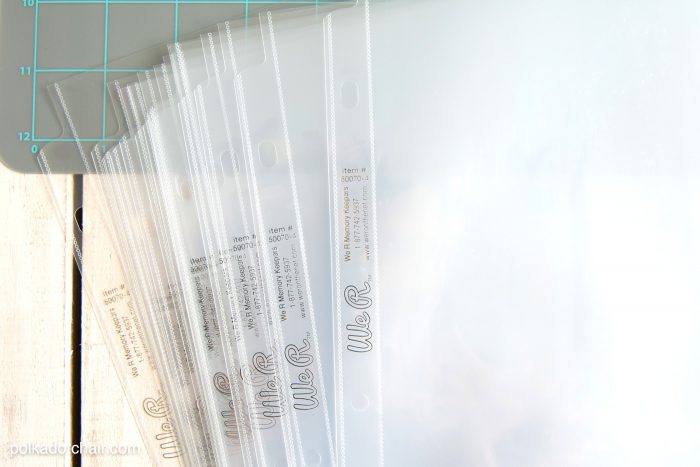
- 12×12 photo sleeves (15)
- 4×6 photo sleeves (20)
- 4×4 photo sleeves (20)
- 2×2 photo sleeves (20)
- 1.8×2.4 photo sleeves (20)
- heat resistant mat (20)
- cards (6)
- shaker cards (6)
- embellishments (52)
- envelopes (12)
- sequins (1)
Here you can see most of the contents of the kit…. the gold camera is my favorite! The photo does not show all of the embellishments, there were too many to fit in the photo. All of the embellishments are fusible, meaning they can be attached to each other or the page pockets using the tool.
Curious about how the tool works?
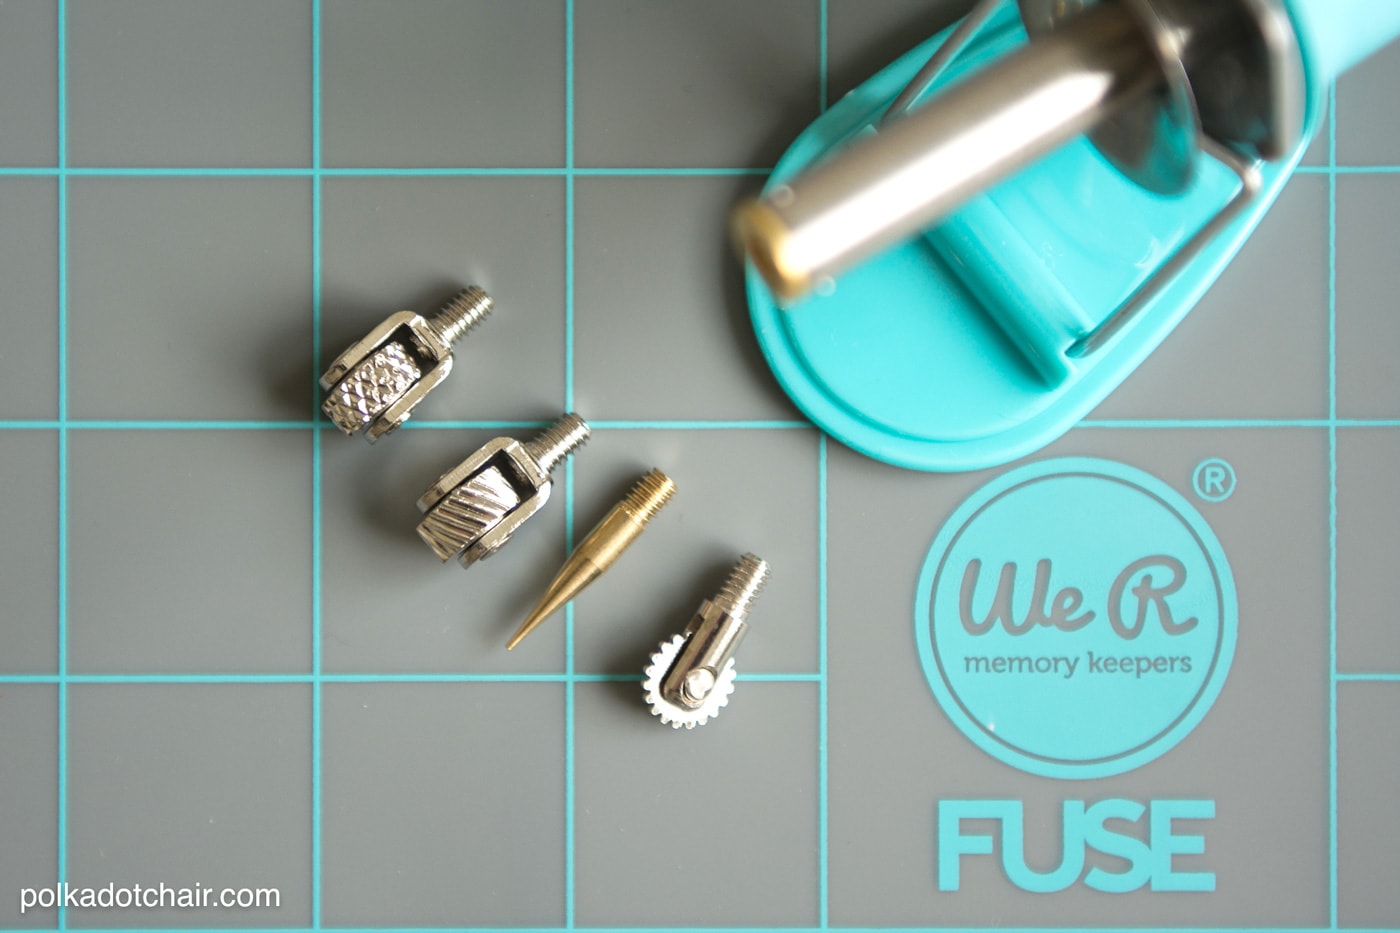
The tool comes with 4 attachments. 3 for fusing and one for cutting. The attachments screw into the top of the tool. The tool uses heat to seal the plastic of the page protectors (or embellishments) together.
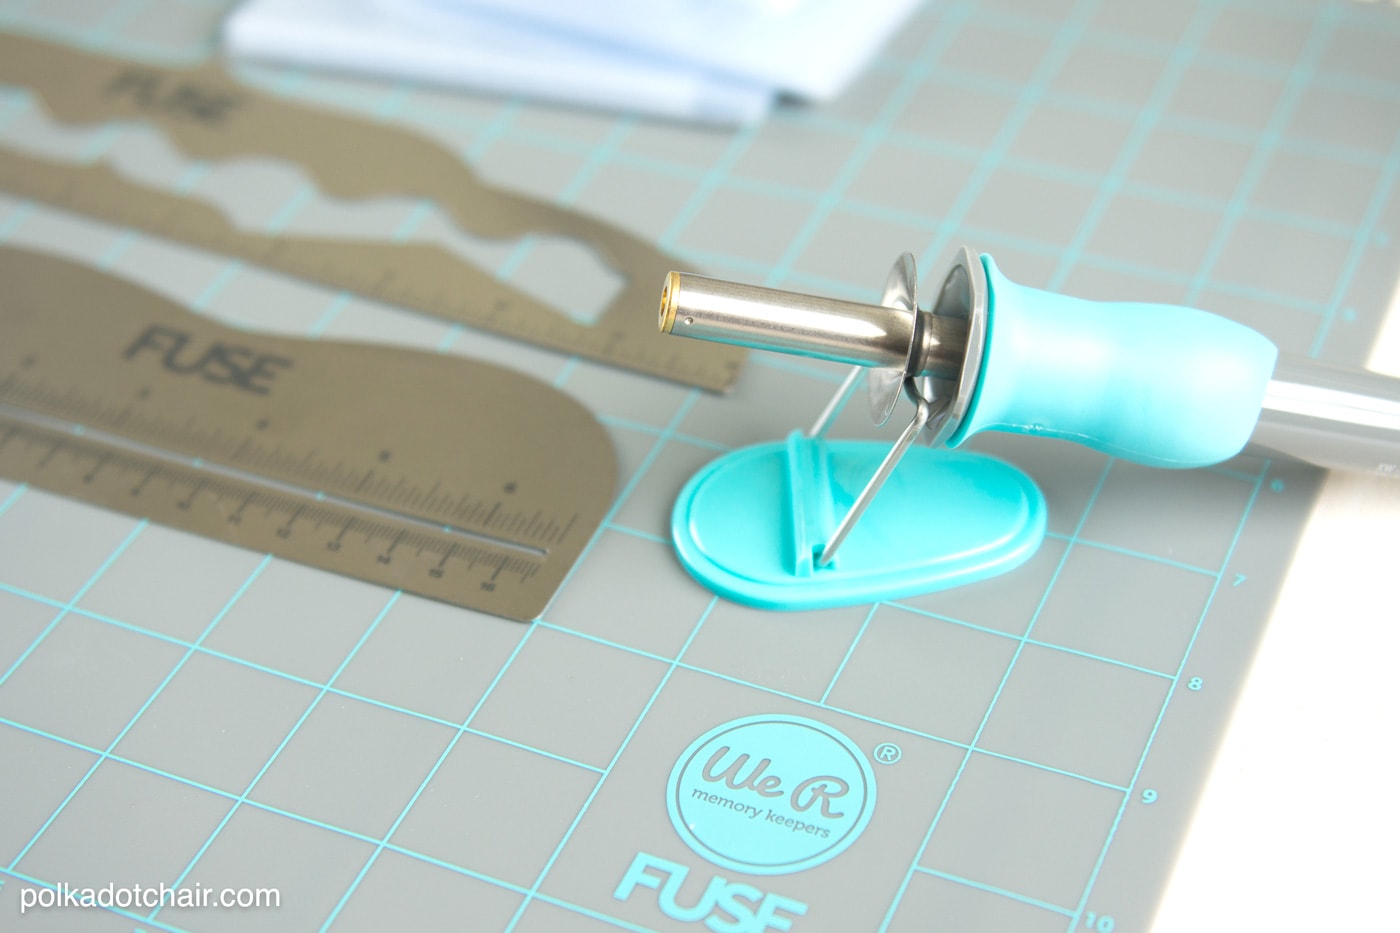
Since it uses heat to do the work, you need to be careful where you use the tool. It comes with a special heat-resistant mat. The mat also has measurements which help to plan out how to divide your page protector.
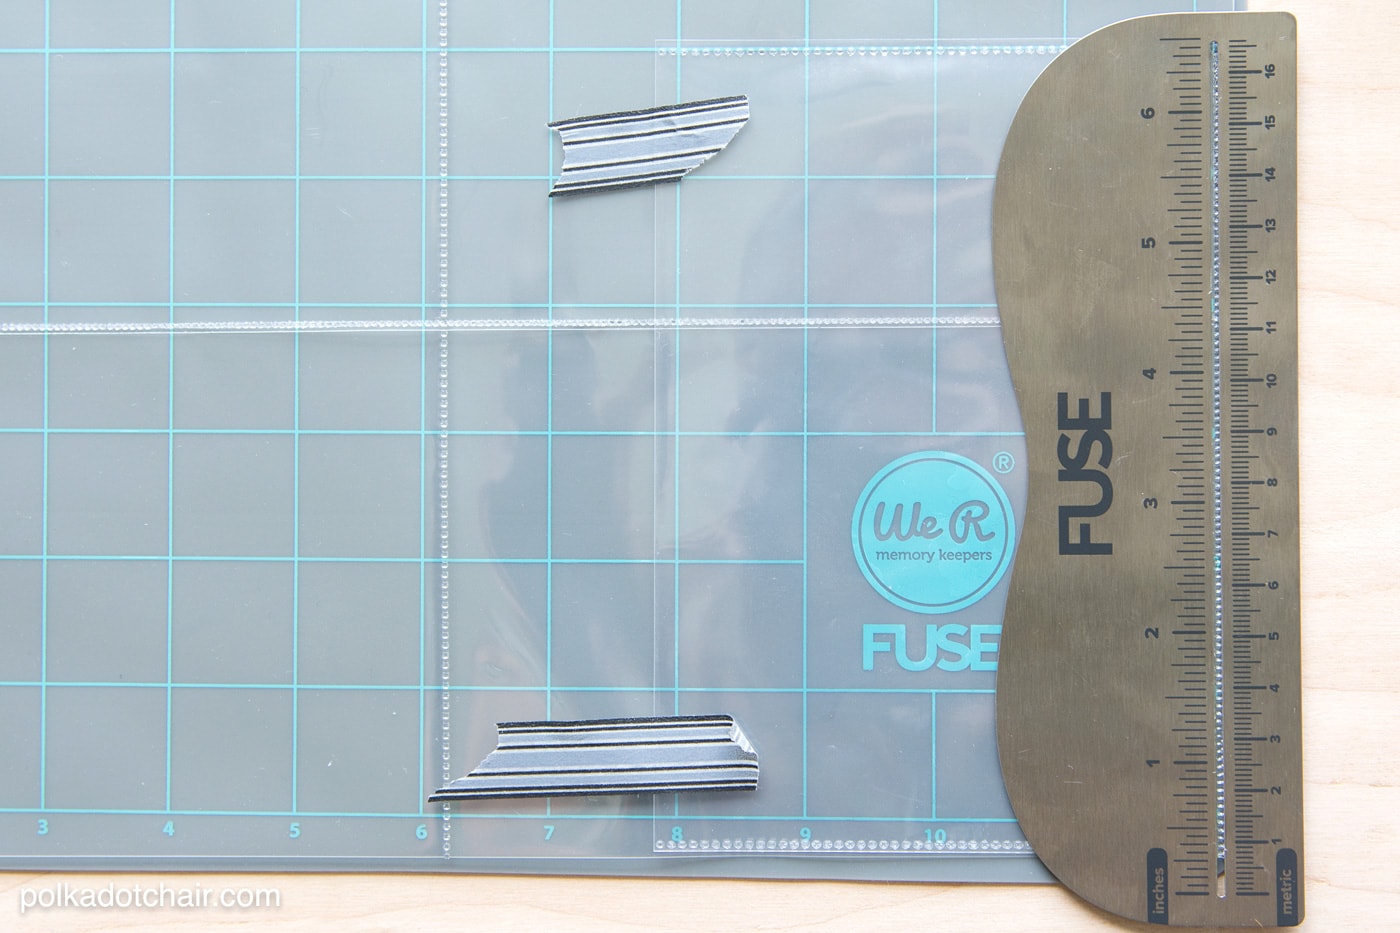
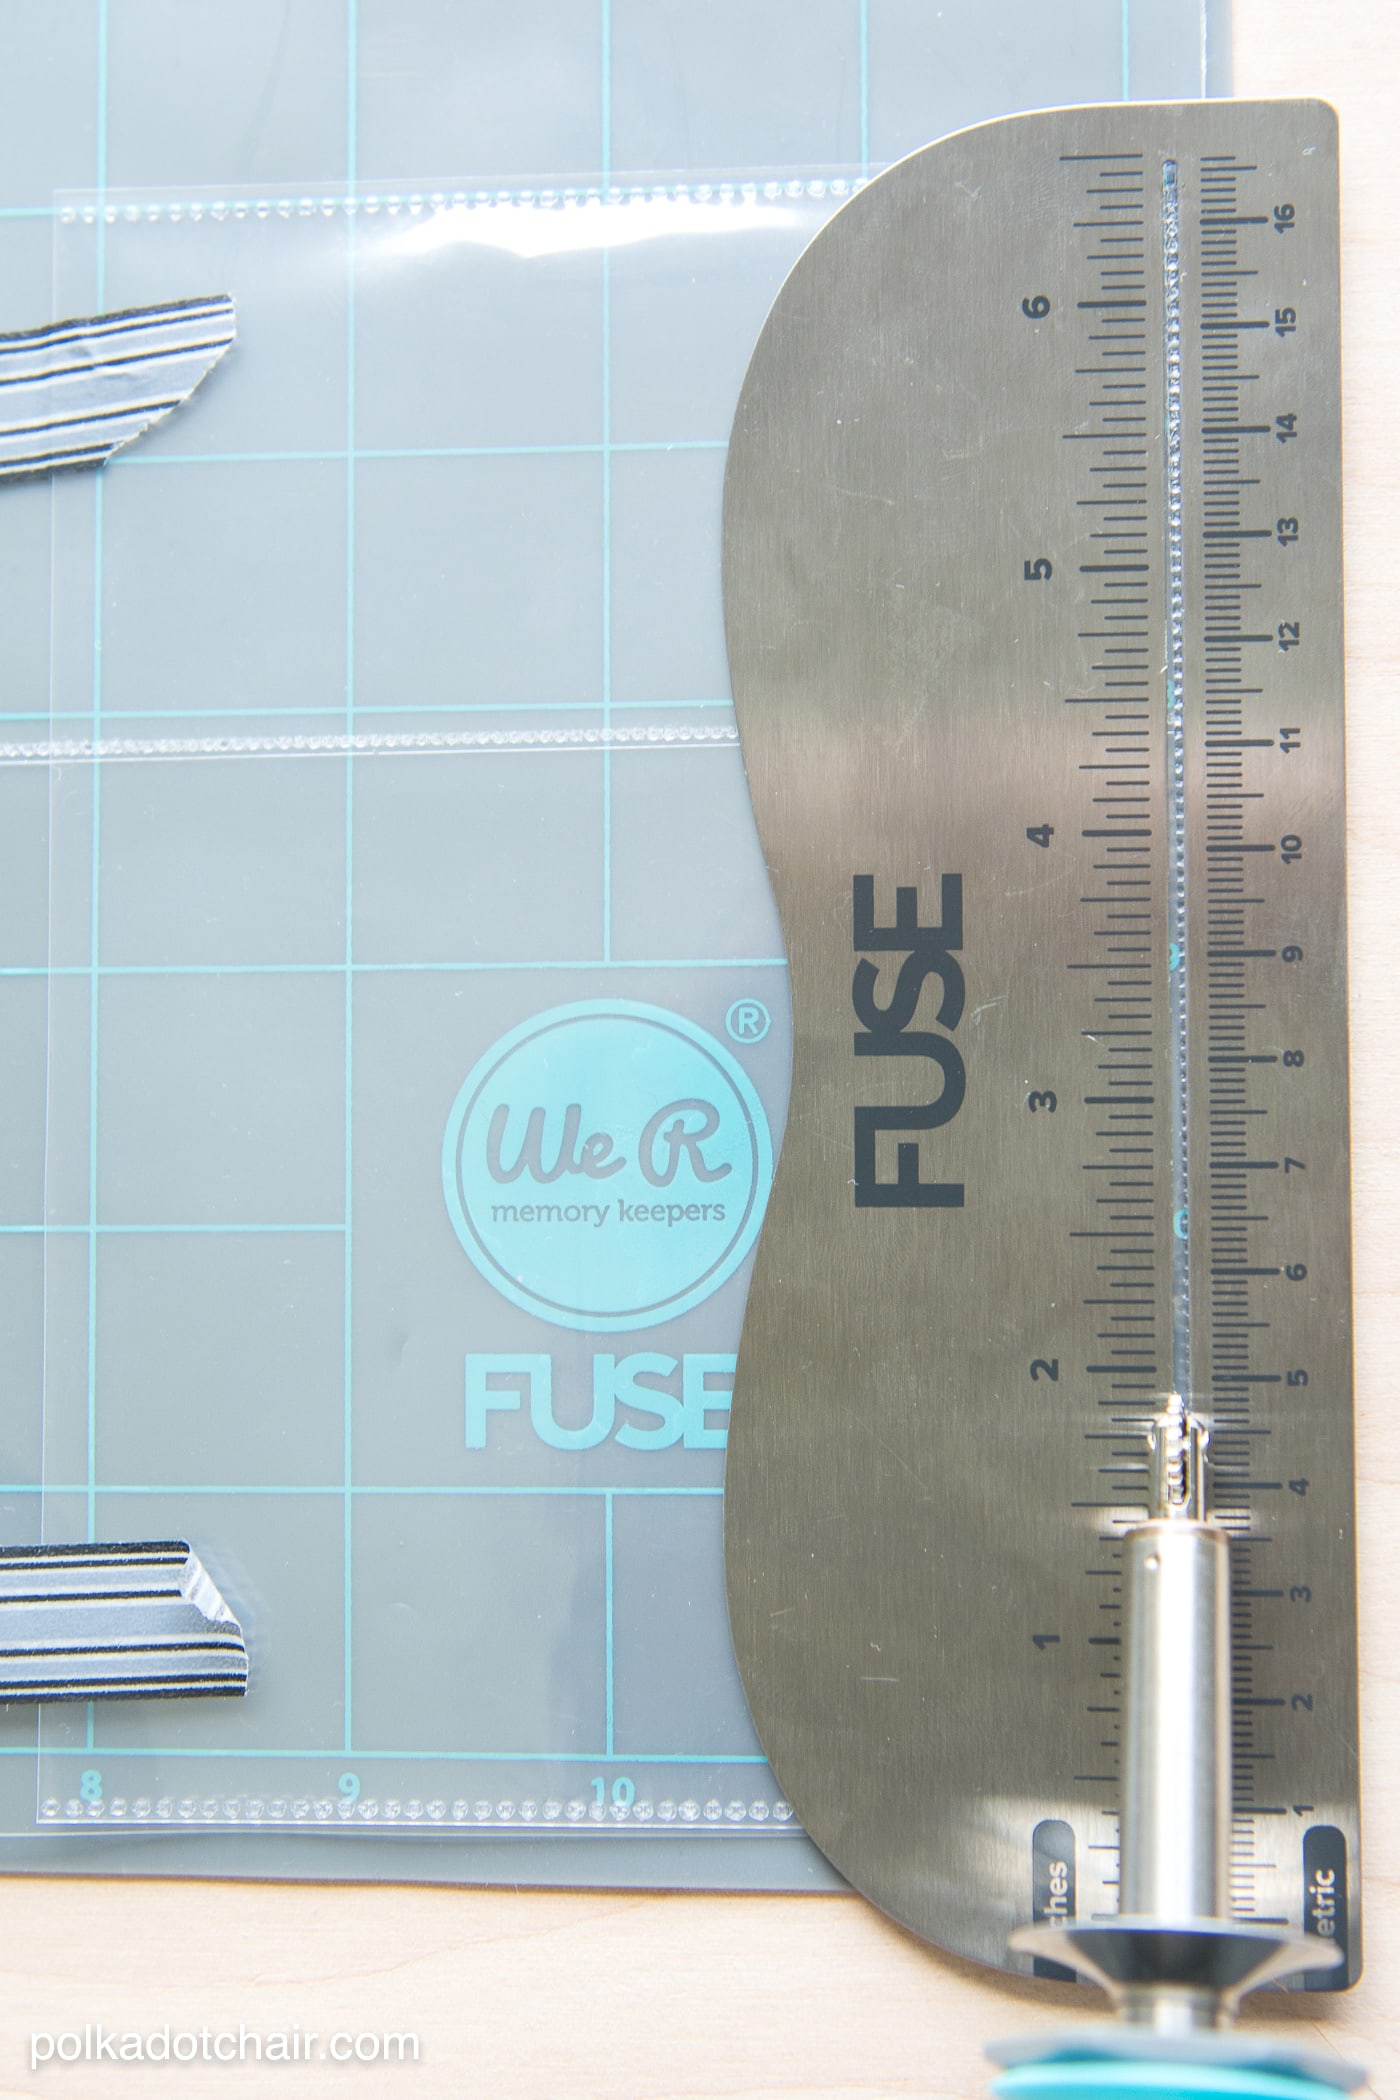
To fuse to protectors together, place the pieces to be fused on top of each other. I found that it helped to use a bit of washi tape to keep the pieces from shifting during the process. Lay the fuse ruler over the pieces with the opening in the ruler right over where you want the fuse line to be.
Heat up the tool for at least 10 minutes. Then using the ruler as a guide roll the tool over the opening.
That’s it.
A few tips:
-Make sure the tool is heated up for at least 10 minutes before you fuse.
-Let the tool cool down before changing the head
-Move the tool in a smooth even stroke, this gives you the best fuse line.
-Use the markings on the mat to make sure that you get straight lines.
-The tip will be HOT be careful when using it, don’t set it down next to a stack of paper or anything like that!
The total value of the kit on HSN on July 1st is over $100, but it will only be a fraction of that price, the pricing goes live July 1st. To check it out or get more info just visit the HSN website.

