DIY Earbuds Case Sewing Pattern
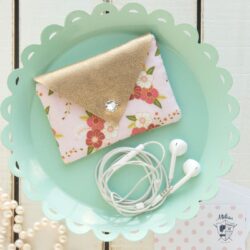
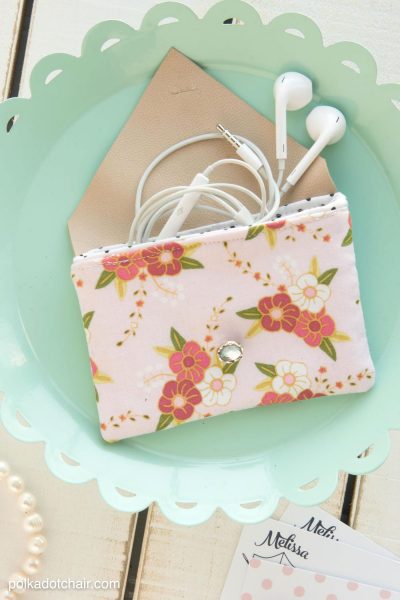
Are you constantly losing your earbuds? I may have a half dozen or so hidden all over the house *wink*… Then you may like today’s sewing tutorial for this Leather & Fabric Earbuds Case (it would also be adorable as a business card holder). If you like this project, then you may also like this Mickey Ears Zippered Pouch.
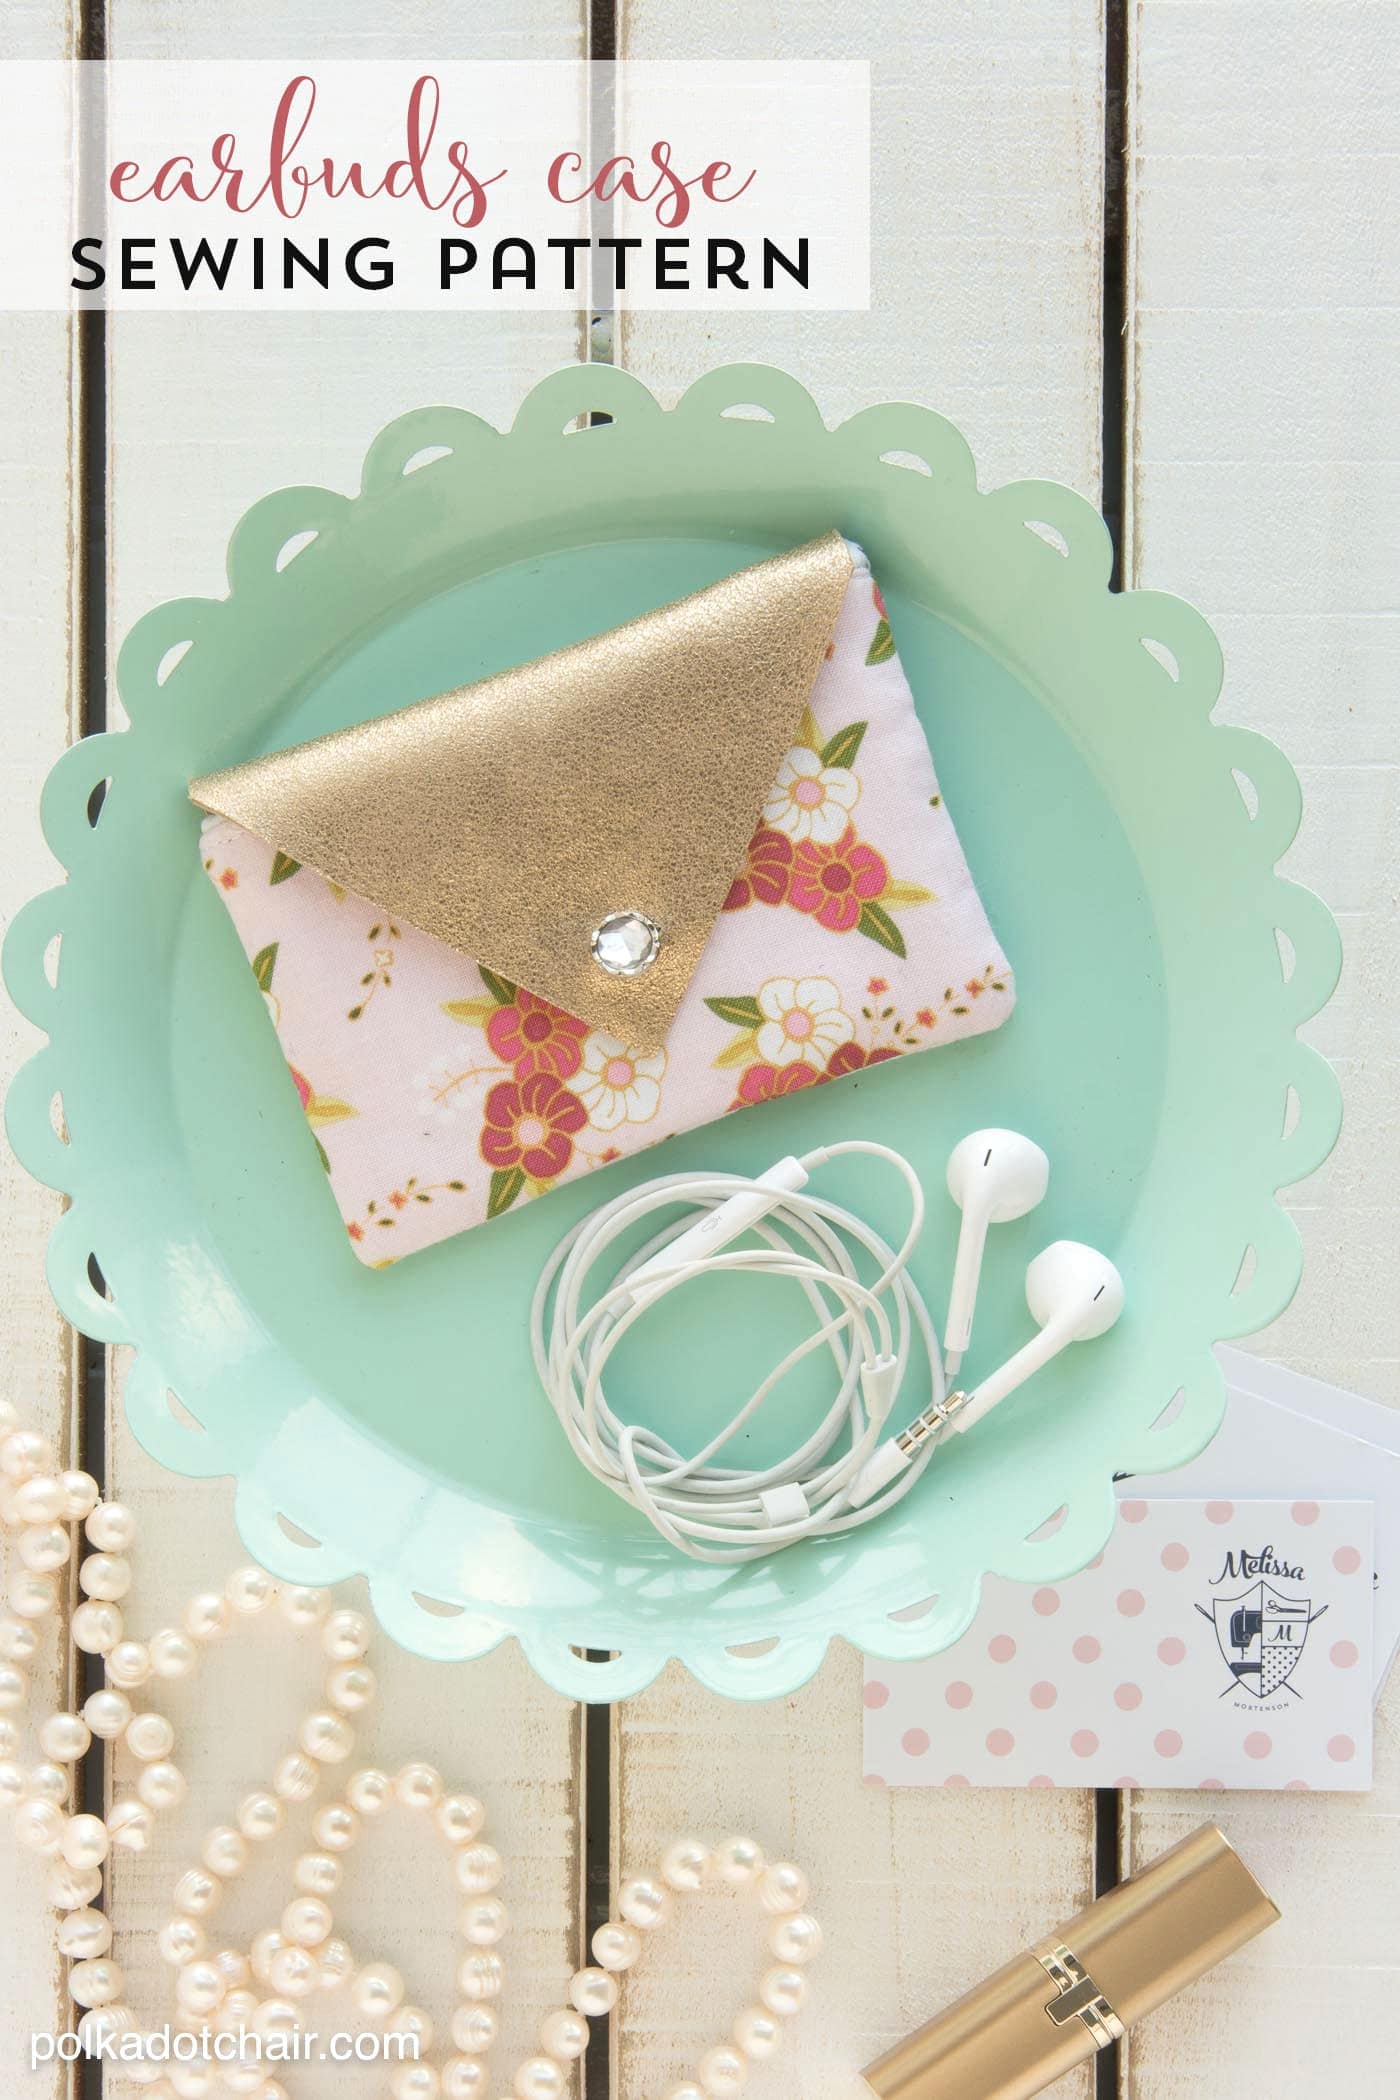

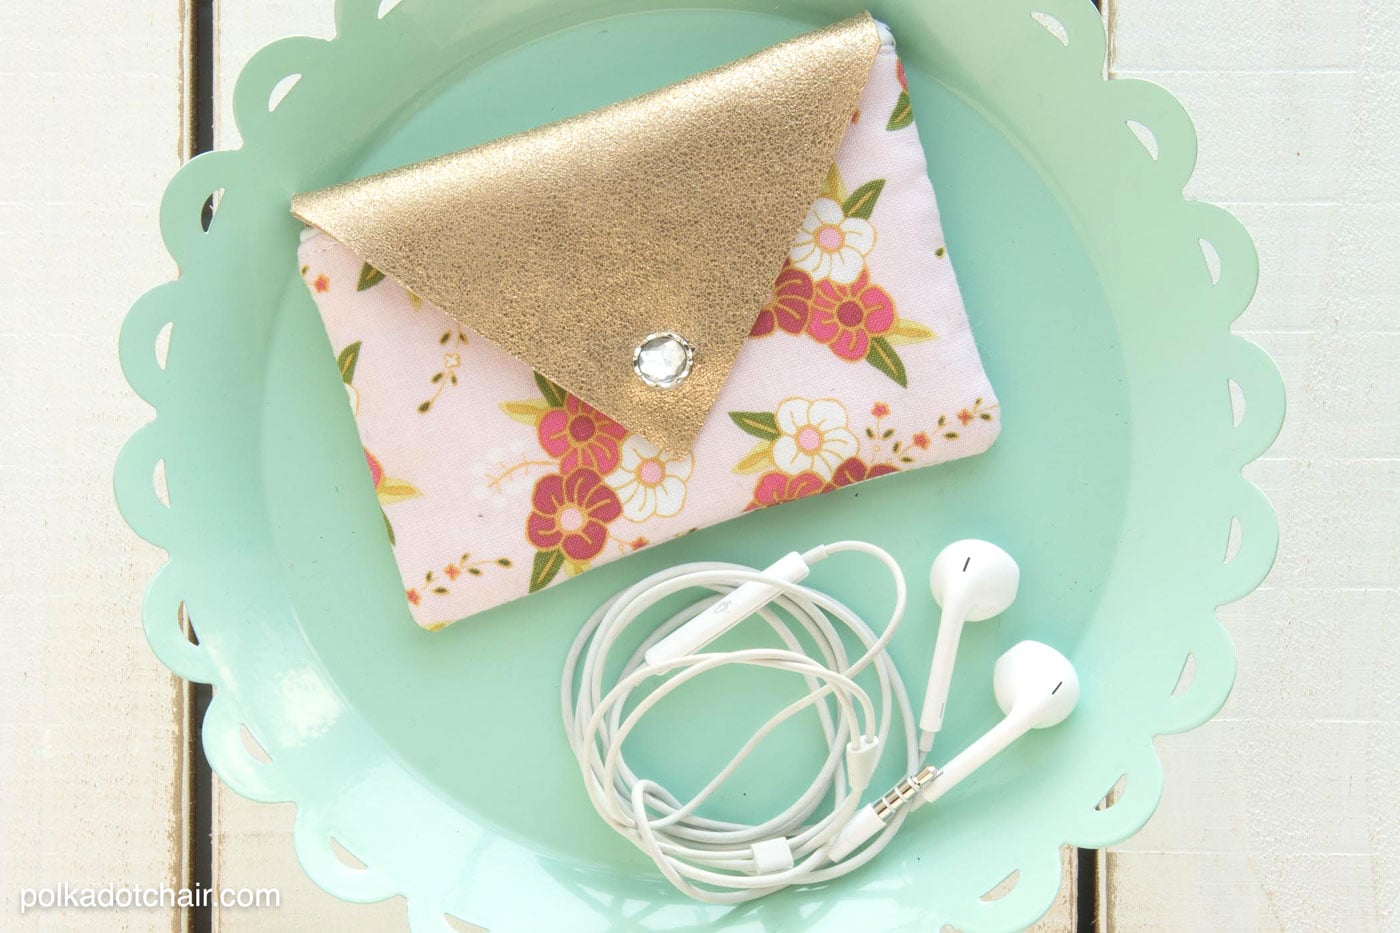
This cute little earbuds case features a tiny bit of metallic gold leather to give it a bit of sparkle. If you’ve not sewn with leather before, it’s not that hard; you just need to know a few tricks.
Want to make one?
DIY Earbuds Case Sewing Pattern
Are you constantly losing your earbuds? I may have a half dozen or so hidden all over the house *wink*… Then you may like today’s sewing tutorial for this Leather & Fabric Earbuds Case (it would also be adorable as a business card holder). If you like this project, then you may also like this Mickey Ears Zippered Pouch.
Equipment
- Leather Needle for Sewing Machine
- Exacto Knife
- Rotary Cutter specifically for leather. It is the same as a regular rotary cutter, but since the leather dulls the blade, I keep one cutter just for leather
supplies
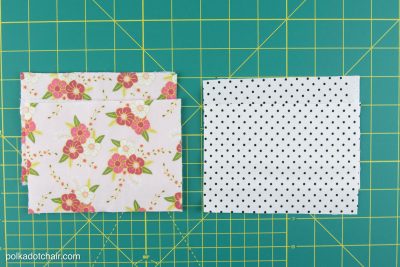
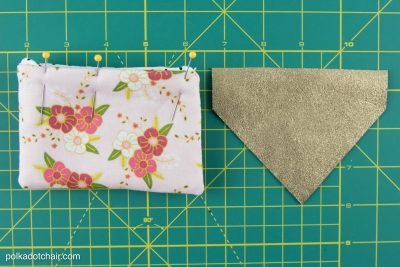
- 2 pieces of fabric for the case front and back each 4″ x 5 1/2″
- 2 pieces of fabric for case lining each 4″ x 5 1/2″
- 1 piece of leather 4 1/2″ x 3 1/2″
- 2 pieces fusible fleece each 4″ x 5 1/2″
- 2 pieces medium-weight interfacing each 4″ x 5 1/2″
- Small Button
Instructions
- Begin by pressing the fusible fleece onto the wrong side of the case outside pieces. Press the medium-weight interfacing onto the wrong side of the lining pieces.

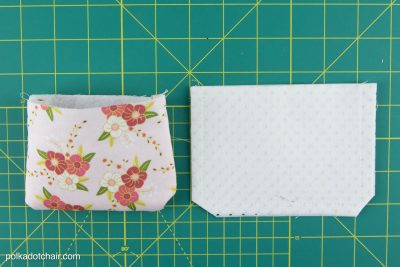
- Next, sew the case front and back pieces together right sides facing, leaving the top open. Clip corners and turn right side out. Sew the lining piece the same way, but do not turn it right side out.
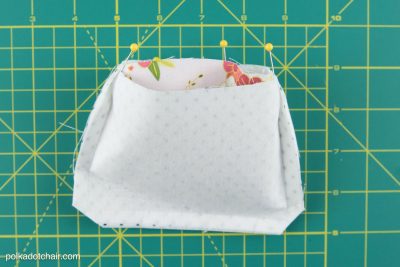
- Slip the case outside into the lining so that the right sides of the fabric are facing and the seams are lined up. Stitch around one side of the case, starting and stopping at the side seams.
- Cut the leather piece to a point at the end as shown in the photo.
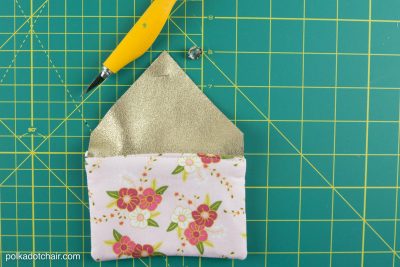
- Turn the case right side out and press. Pin the opening closed and press. Remove the pins.
- Insert the leather piece into the case so that the leather is sticking out of the top of the opening in the case. Pin in place.
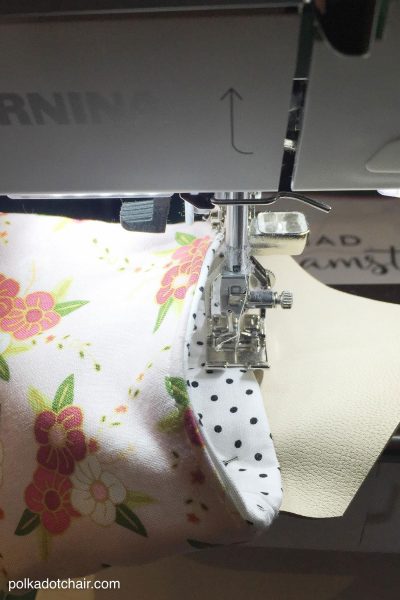
- Put the leather needle on your sewing machine.

- Stitch the leather flap in place by stitching around the entire perimeter of the case. Go slow at first to make sure your machine can handle the bulk. The stitching on the back will attach the flap, and the stitching on the front will serve as topstitching.
- Remove the leather needle from your machine.
- Fold the flap over and mark where you’d like the button to go. Cut a slit in the leather with an exacto knife, the same width as the button. Stitch the button to the case.
- That’s it! Now just fill it up and enjoy!!
Love this tutorial? Get the behind the scenes on Instagram