Make a Quilted Patchwork Tote Bag with our Free Pattern
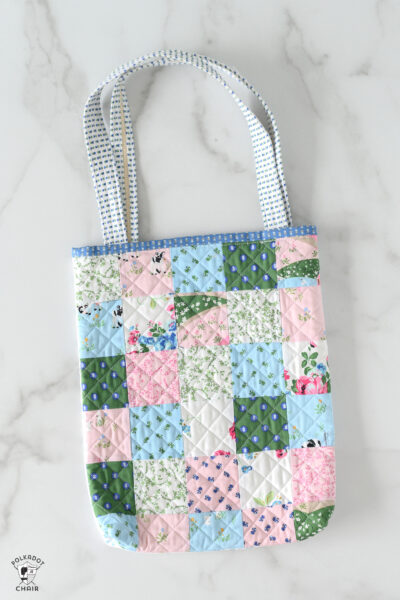
Is your fabric scrap bin overflowing? If so, we’ve got the perfect solution! Turn some of those scraps into a colorful patchwork tote bag. Learn how to do it with our free Quilted Patchwork Tote Bag pattern.
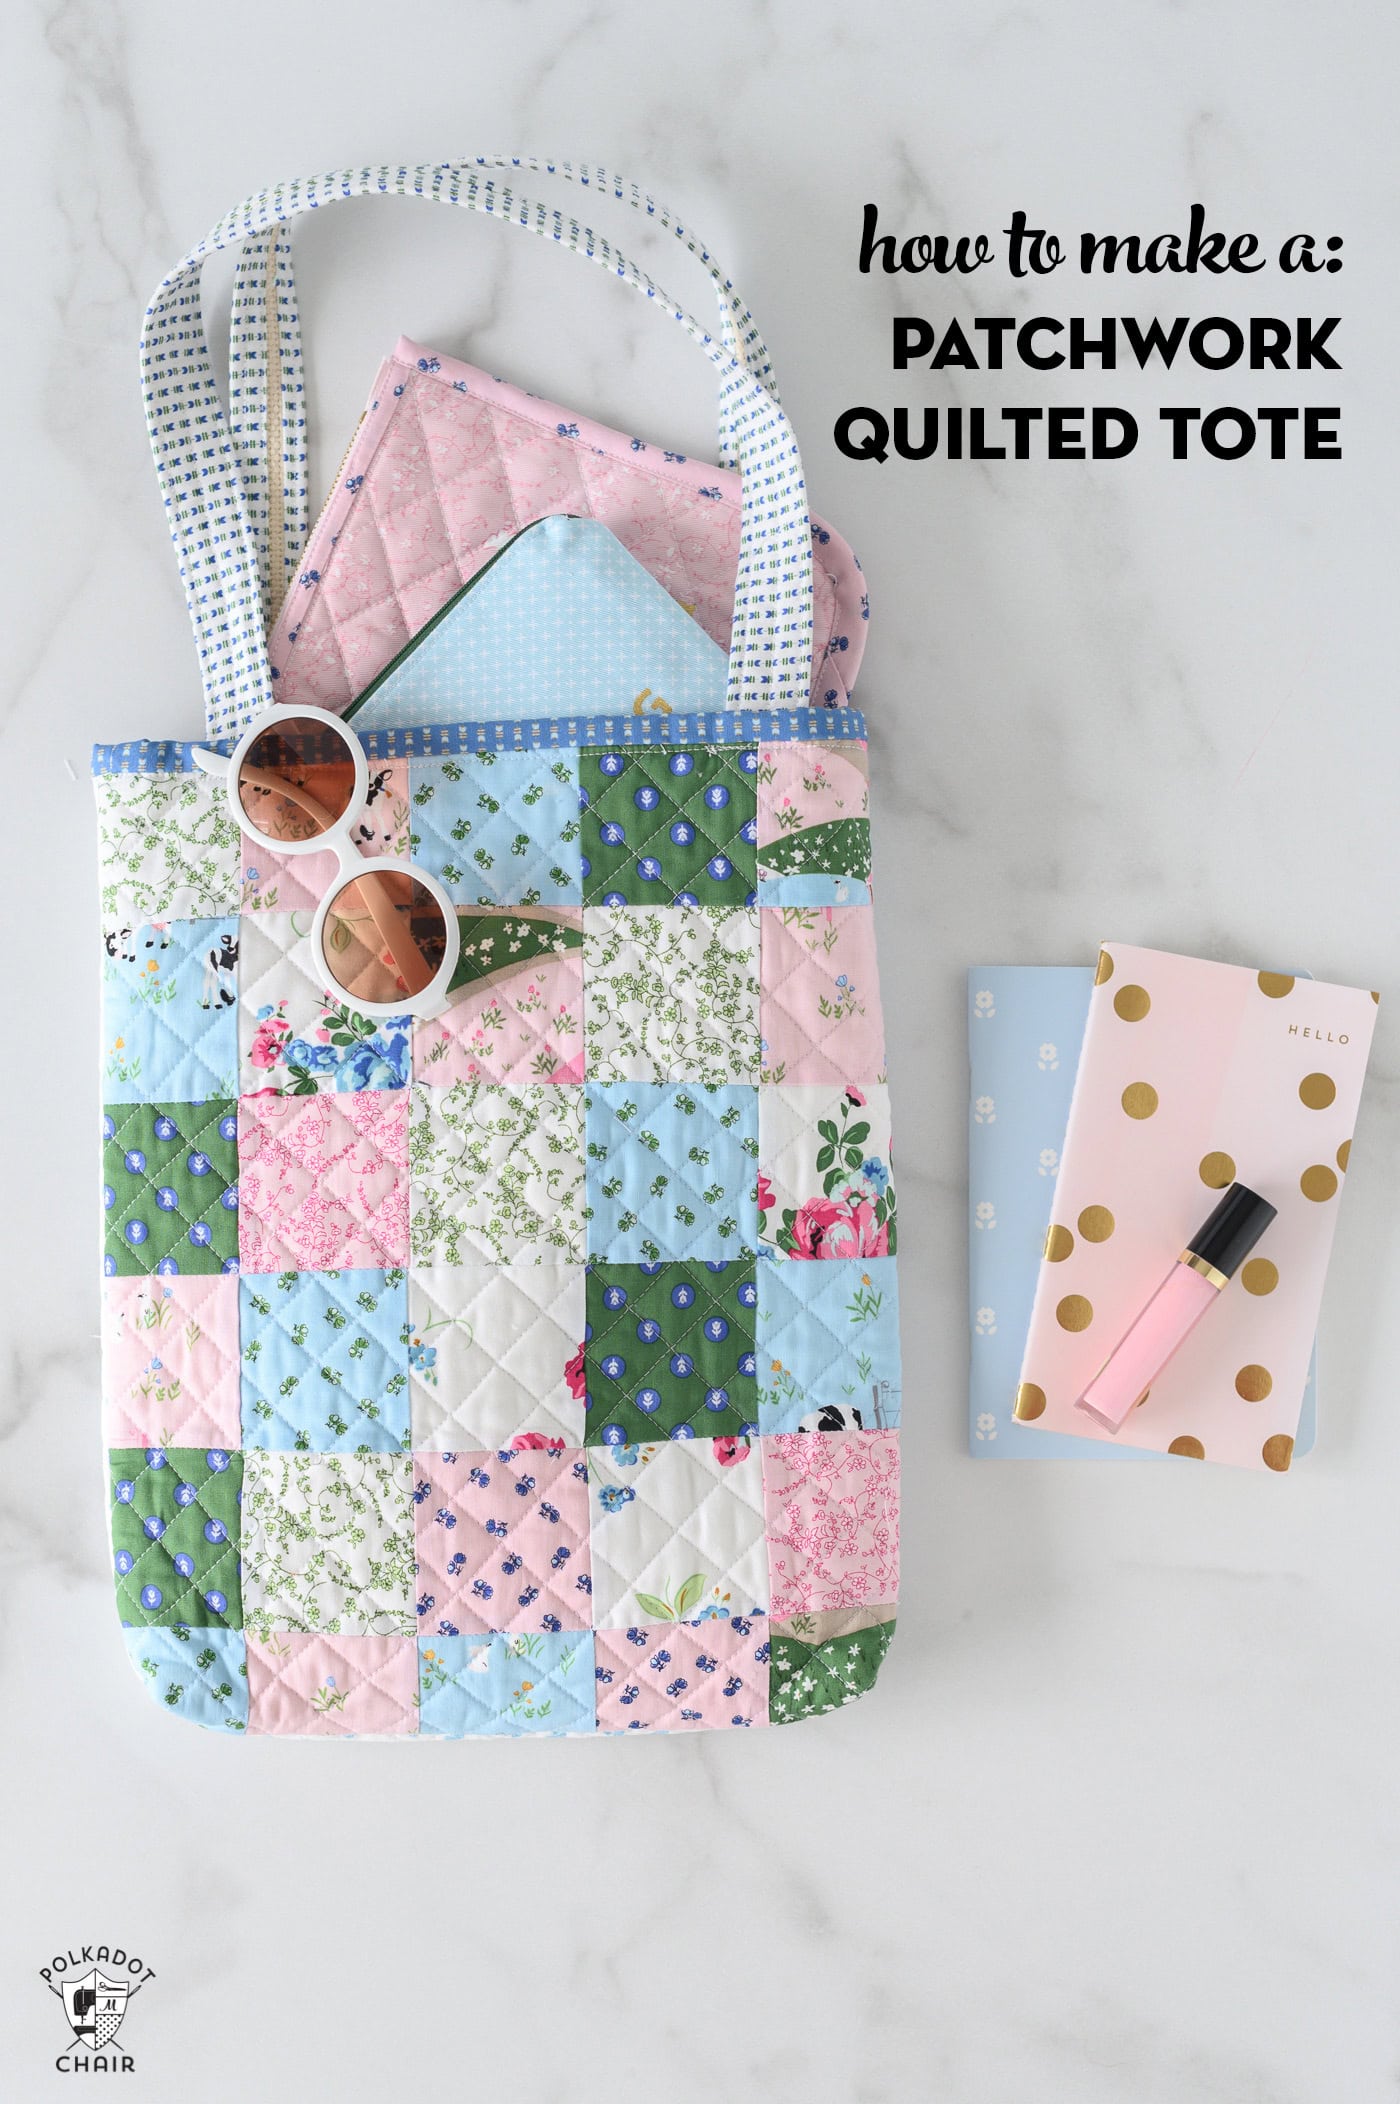
Last week, I shared a free tutorial for making a quilted tote bag using a panel from my Tulip Cottage fabric collection.
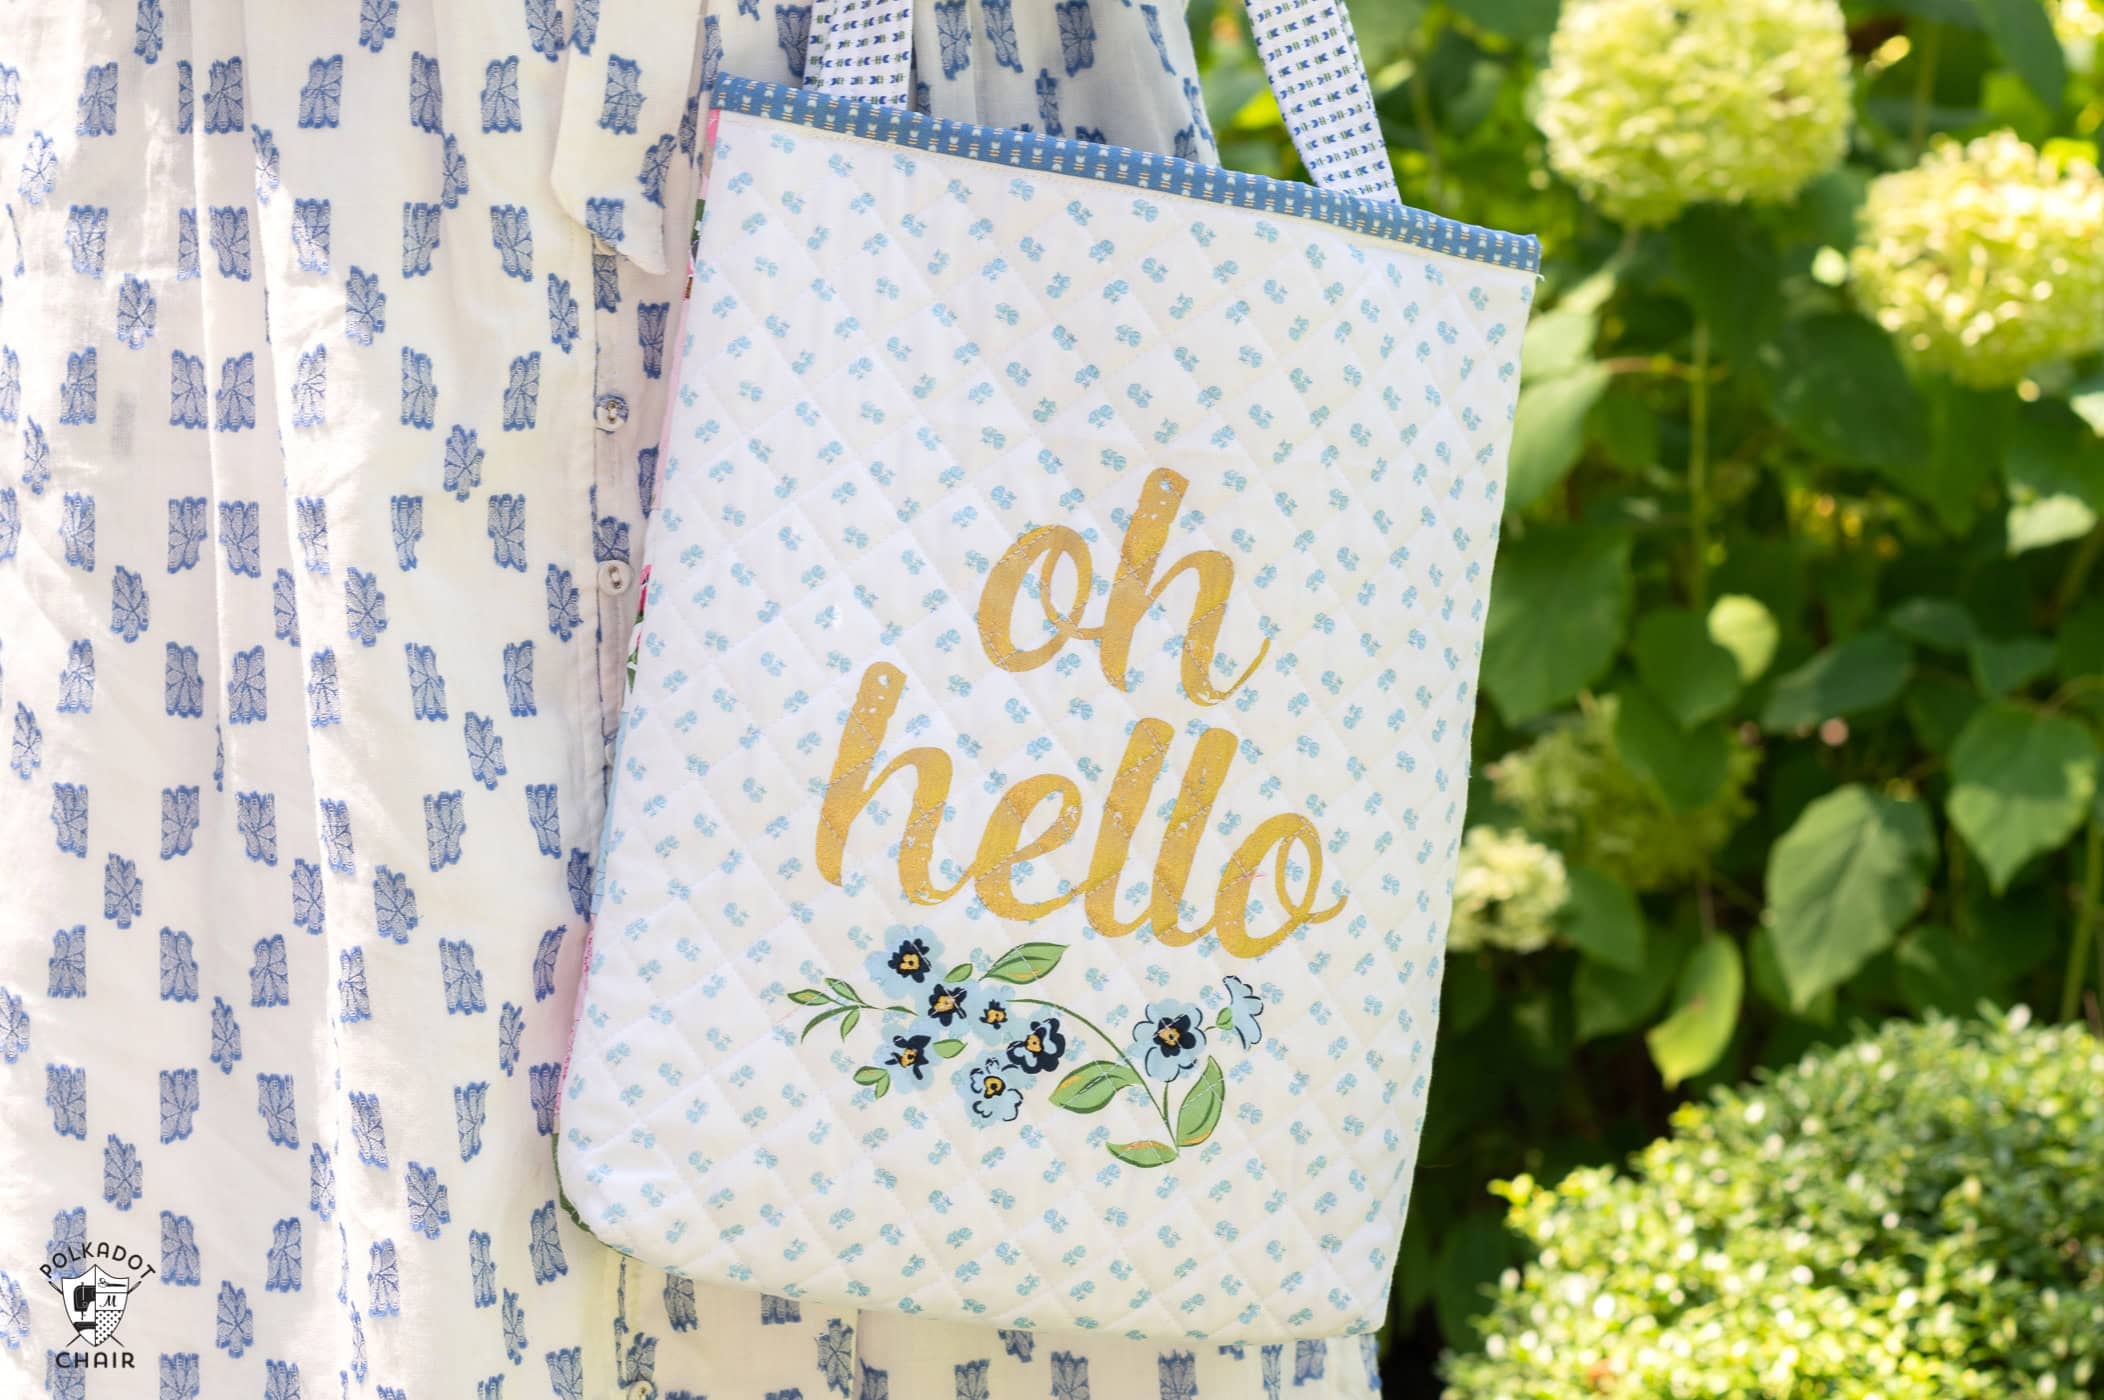
I mentioned in that post that I made two bags using the same pattern: a patchwork and a non-pattern version. Today, I will share with you how to make the patchwork version of the bag.
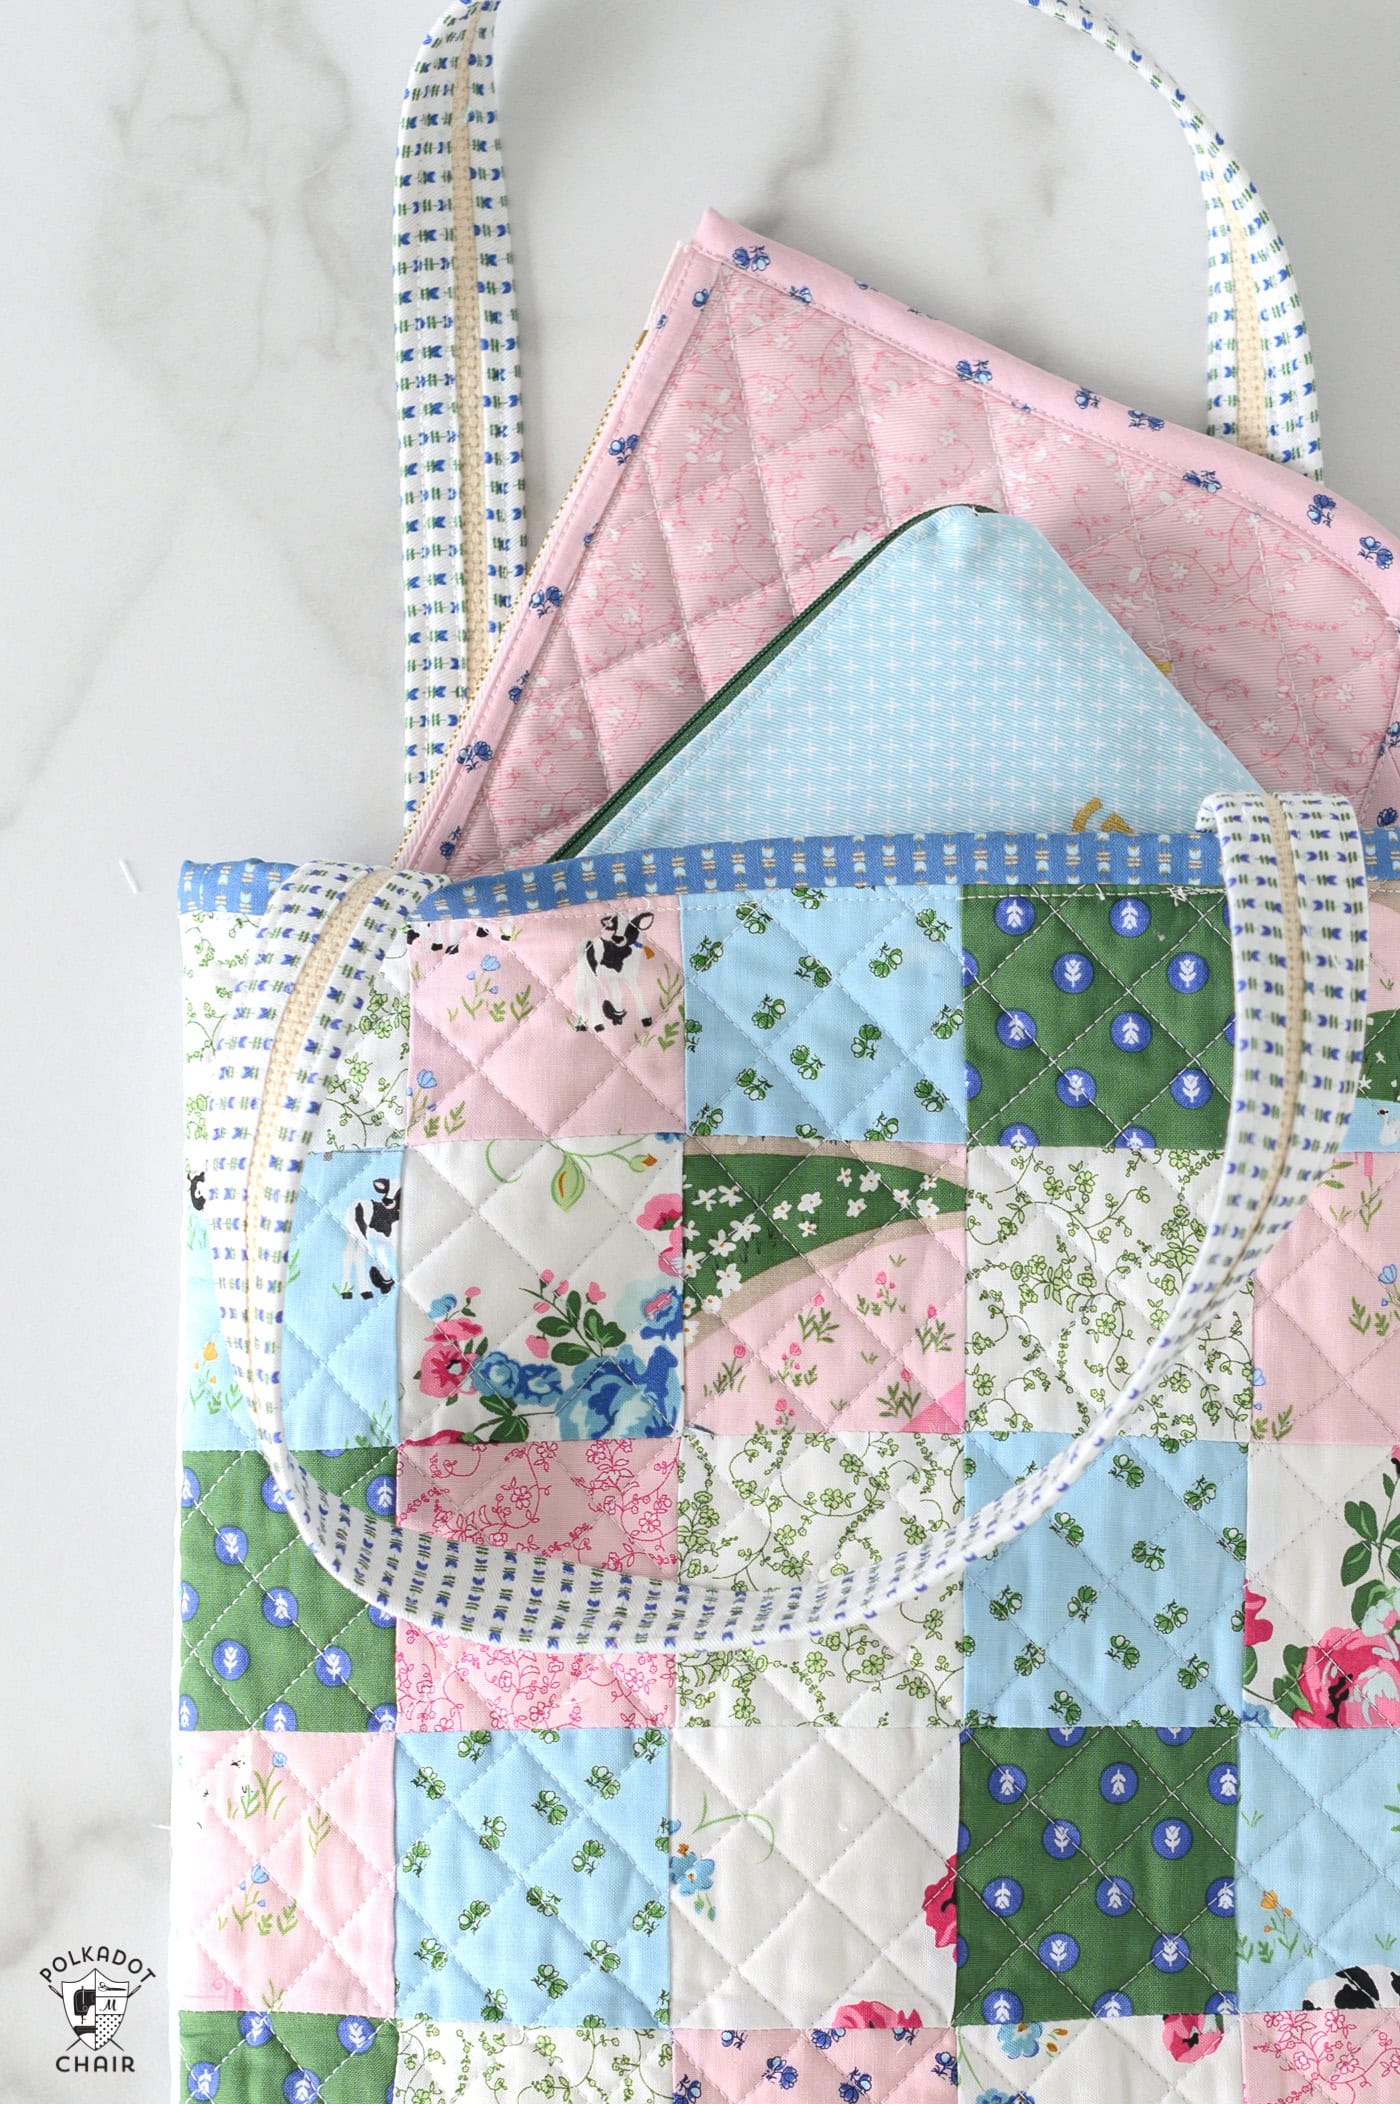
Both bags are the same size and use the same quilting and handle attachment methods. The only difference is how the exterior of the bag is created.
Supplies Required
In addition to basic sewing and quilting supplies, you’ll need the following materials to create a tote bag.
SUPPLY LIST
- For the outside of the bag, enough fabric scraps are at least 3″ x 3″ to cut 60 squares.
- 3/8 yard fabric for lining (I used Boy Blue Sparkler)
- 100% cotton batting.
- 1 1/2 yards of 1” wide cotton webbing
- 1/4 yard fabric for the handles
- 1 Fat Quarter for the Bag Top Binding
This tote bag features patchwork squares on both the front and back of the bag. You’ll need 30 squares for the front and 30 for the back of the bag.
Instructions
Patchwork Quilted Tote Tutorial
Equipment
supplies
- 3/8 yard fabric for lining I used Boy Blue Sparkler
- 60 scraps of fabric at least 3" x 3"
- 2 pieces Cotton batting at least 14” x 17”
- 1 1/2 yards 1” wide cotton webbing
- 1/4 yard Fabric for tote bag handles
- 1/4 yard fabric or one fat quarter For tote top binding
Instructions
Cutting Instructions
- From fabric scraps: 60 pieces 3" x 3"From Bag Lining fabric cut: 2 pieces 15” x 18”For Binding Inside: 3 pieces 2” x 16”From Quilt Batting cut: 2 pieces 14” x 17”From Top Binding fabric cut: 1 piece 2” x 28” (if you purchased a fat quarter for this binding, cut two pieces 2" x 14 1/2" and sew together along the 2" side)For Bag Handles: 2 pieces 3" x 24"
Step One: Create Patchwork
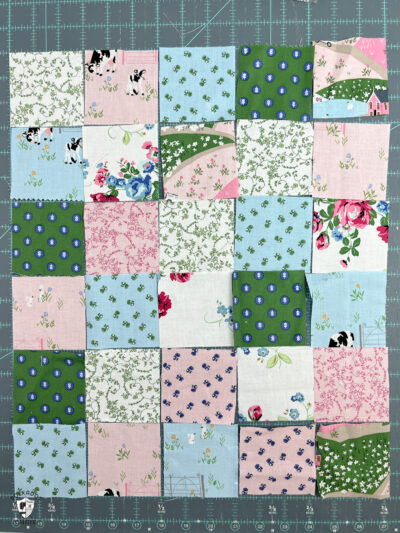
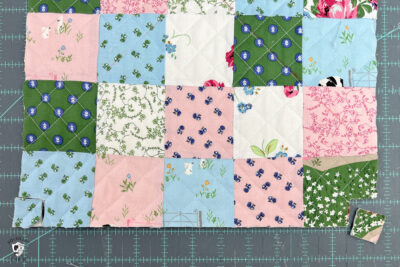
- To create the bag front piece.Arrange your cut fabric squares into two piles with 30 squares in each pile.Lay out the squares so that you have 6 rows with 5 squares in each row.Sew the squares together by row, then sew the rows together.
- Repeat for the bag back piece.
Step One: Two Quilting
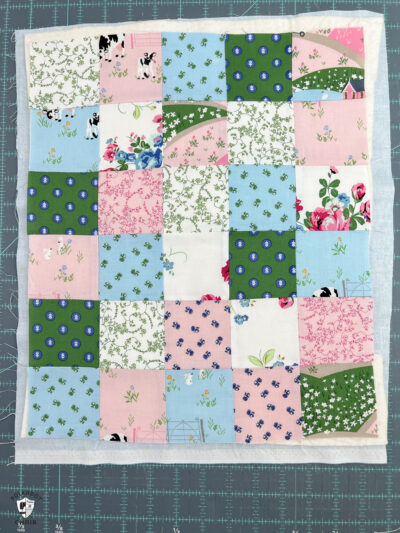
- Make a quilt “sandwich” with the bag lining fabric, quilt batting, and tote bag front outside piece. All of the right sides of the fabric should be facing out.
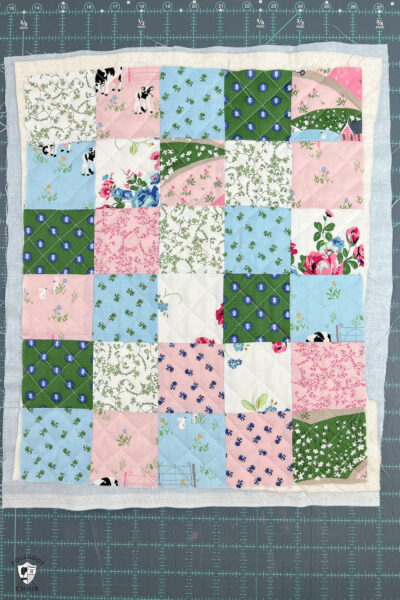
- Quilt the bag as desired. I quilted a grid on the diagonal 1” apart.
- Repeat with the tote bag back outside piece.
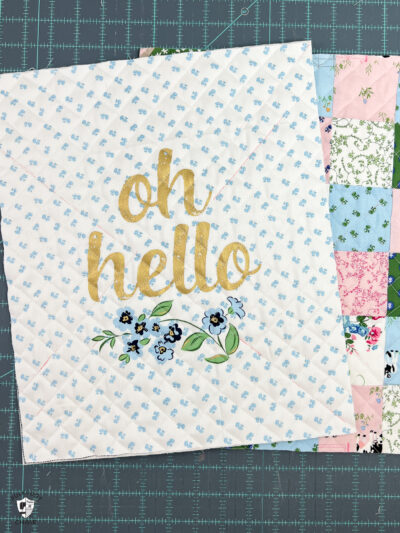
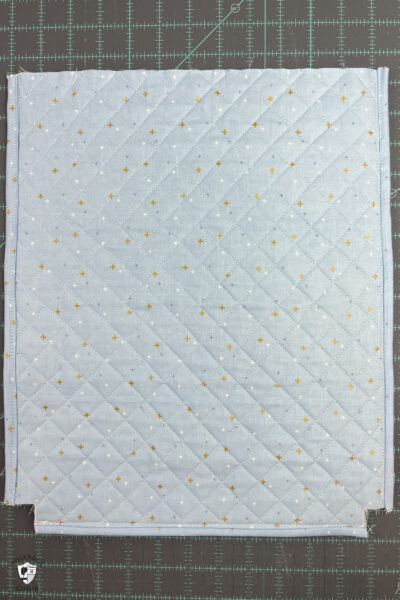
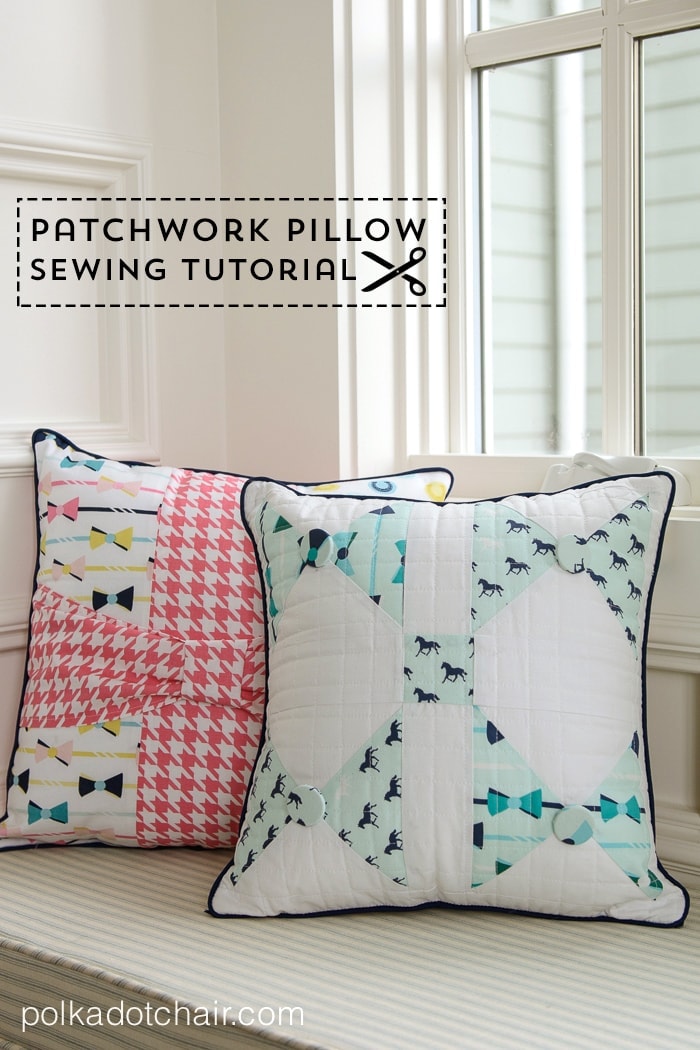
- Trim all of the quilted layers even.(reminder, the second piece in the photo is from the bag created from a panel tutorial shared previously)
- Cut out a 1” square from the bottom corners of the front and back bag pieces.
- With the right sides facing, baste the bag front to the bag back, down the two sides, and across the bottom seam.
Step Two: Binding
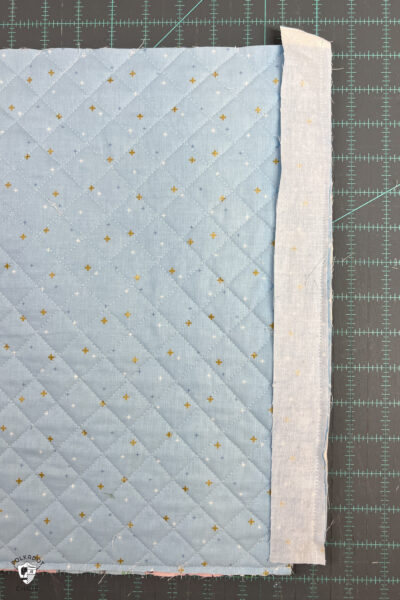
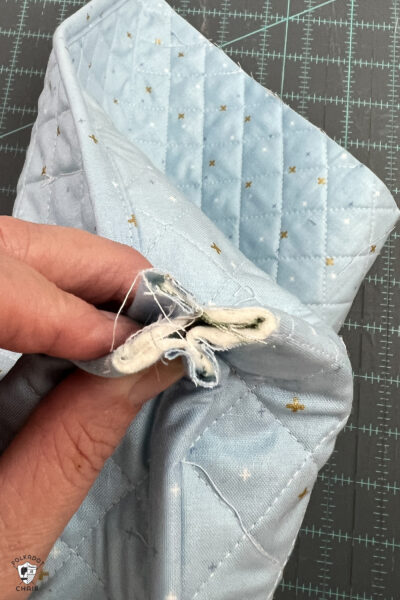
- Sew one cut 2” x 16” binding strips to the bag’s side seam, with the fabric’s right sides facing. Sew with a generous 1/4” seam allowance.
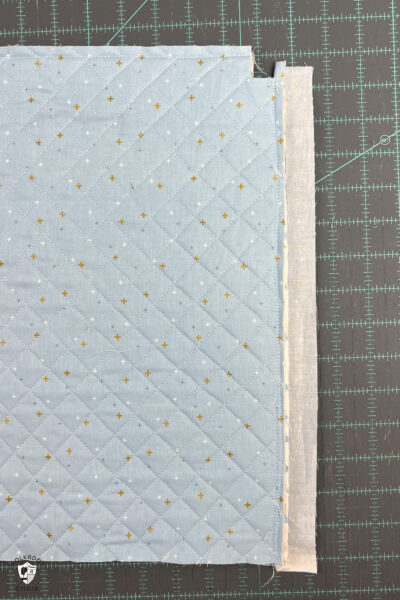
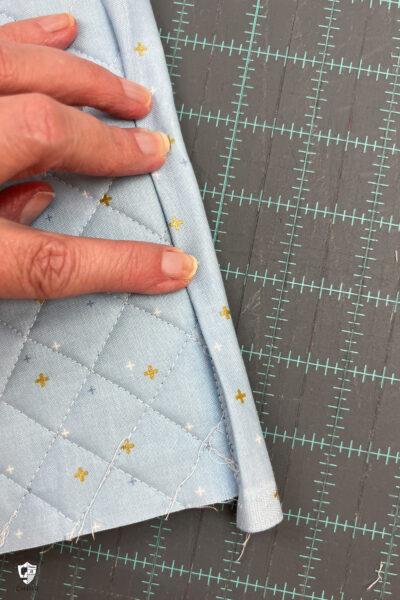
- Bring the binding around to the other side of the bag.
- Fold under the raw edge so that it’s flush with the side seam, and press.
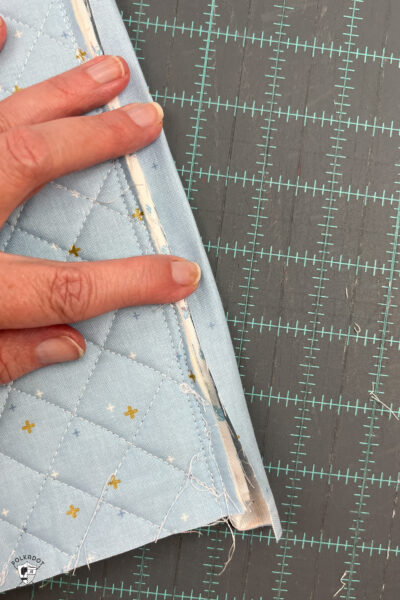
- Fold this piece again so the folded edge covers the bag’s seam.
- Use a bit of glue to secure in place.
- Sew along the folded edge.
- Repeat for the other side seam and bag bottom.
Step Three: Straps
- Cut two pieces of 1” webbing the same length as the cut strap pieces from the panel.
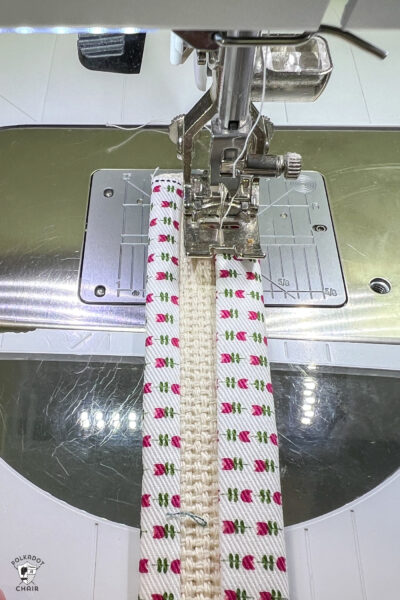
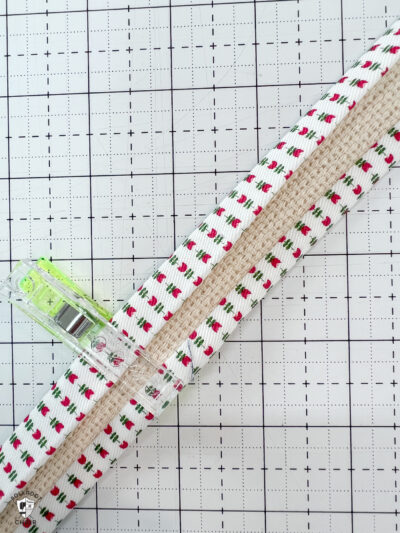
- Sew the webbing to the strap fabric piece with a 1/4” seam allowance, as shown in the photo.
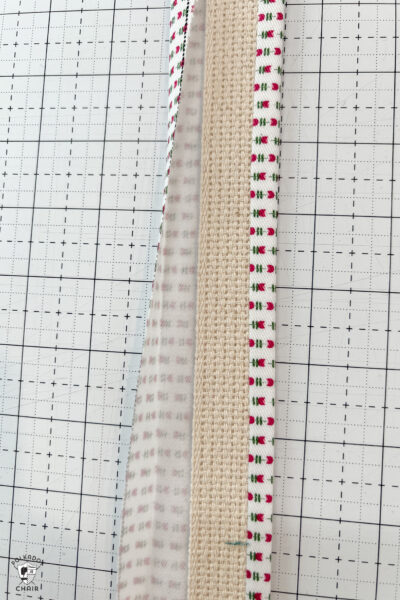
- Bring the fabric around to the other side of the strap and turn the fabric under 1/4” on the raw edge.
- Pull the folded edge of the strap and secure it with binding clips and glue.
- Sew on the sewing machine along the folded edge on both sides of the strap.
- Finish the ends of the strap with fray check and zig-zag the ends several times to prevent from fraying.
Step Four: Finishing
- Pinch the bottom corners of the bag so the side seams are on top of each other. Sew in place with a 1/4” seam allowance.
- Bind the seam edges the same way you did in Step 2. This time, turn under the binding’s raw edges to create a clean, finished edge.
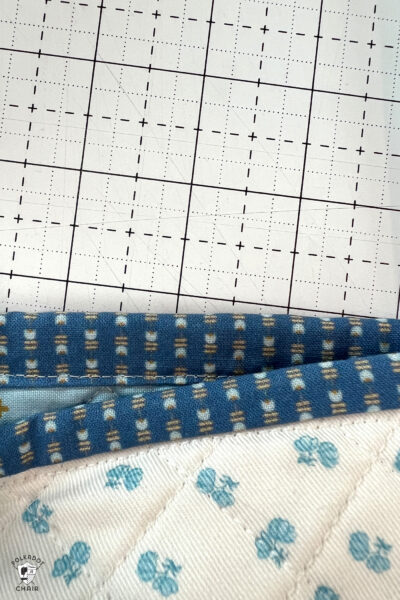
- Using the bag top binding fabric, bind the top of the bag using the same method in step two.
- Start the binding on the back of the bag, bring it around to the front, and then return to where you started. Mark the overlap point.
- Cut the binding 1/2” on EACH end longer than the binding point, and sew together with 1/2” seam allowance. Finish sewing the binding to the top of the bag.
- Turn under the raw edge 1/4” and press. Bring it inside the bag and secure it in place. Sew in place on the outside of the bag, making sure to catch the fold in the binding as you go.
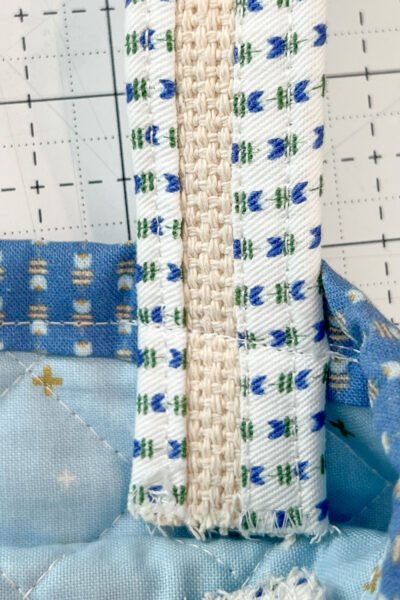
- Pin the straps to the inside of the bag 2” from each side seam.
- Stitch in place close to the bound edge. Sew over this seam 3 or 4 times to secure it in place.
- Give the bag a good press, remove any stray threads and enjoy!
Notes
Bag Details
Size: Approx 12 1/2″ x 14 1/2″
Handle Drop: Approx 11″ (handles are 24″ before they are sewn to the bag)
Fabric: Tulip Cottage by Riley Blake Designs
You May Also Like:
30 Things to Sew with Fabric Scraps

