How to Make a Turnstile Quilt Block – January Block of the Month
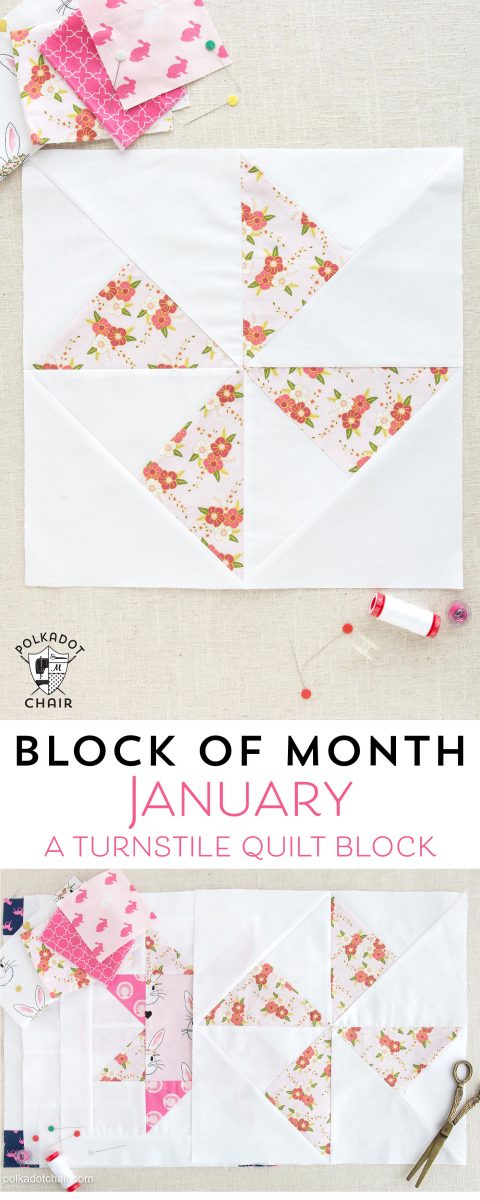
Today, I’m very excited to share with you the January Quilt Block of the Month. This month, we are making a very simple 15 inch Turnstile Quilt Block!
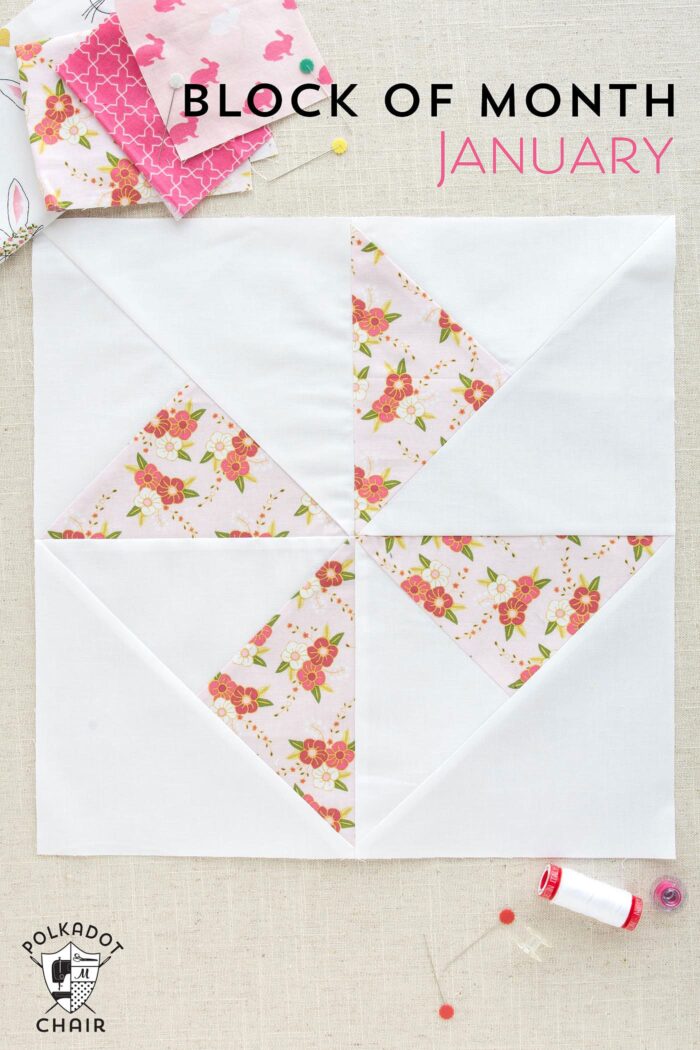
This is block #5 of 12. The turnstile block is a simple combination of a Half Square Triangle and a Quarter Square Triangle.
If you’re playing along be sure to share your finished blocks on social media with the hashtag #PolkaDotChairBlocks (if you have a private IG account, hashtags won’t work for you, so share it to my Facebook instead) , I’m on Instagram as @Polkadotchair or you can also share it right to my Facebook Page (you can post a photo over there)
If you missed it be sure to check out this post offering tips and trick to picking out fabric for a quilt. You can find an index to all the posts in this quilt block series to date by clicking here.
UPDATE: You can now purchase a PDF with ALL of the block instructions for each month in one place!! Click here to PURCHASE
I hope you’re ready for the January block in our Quilt Block of the Month series here on the Polka Dot Chair! So far I’m pretty proud to say that I’m all caught up with my blocks, which is pretty good considering I’m making 4 different quilts!
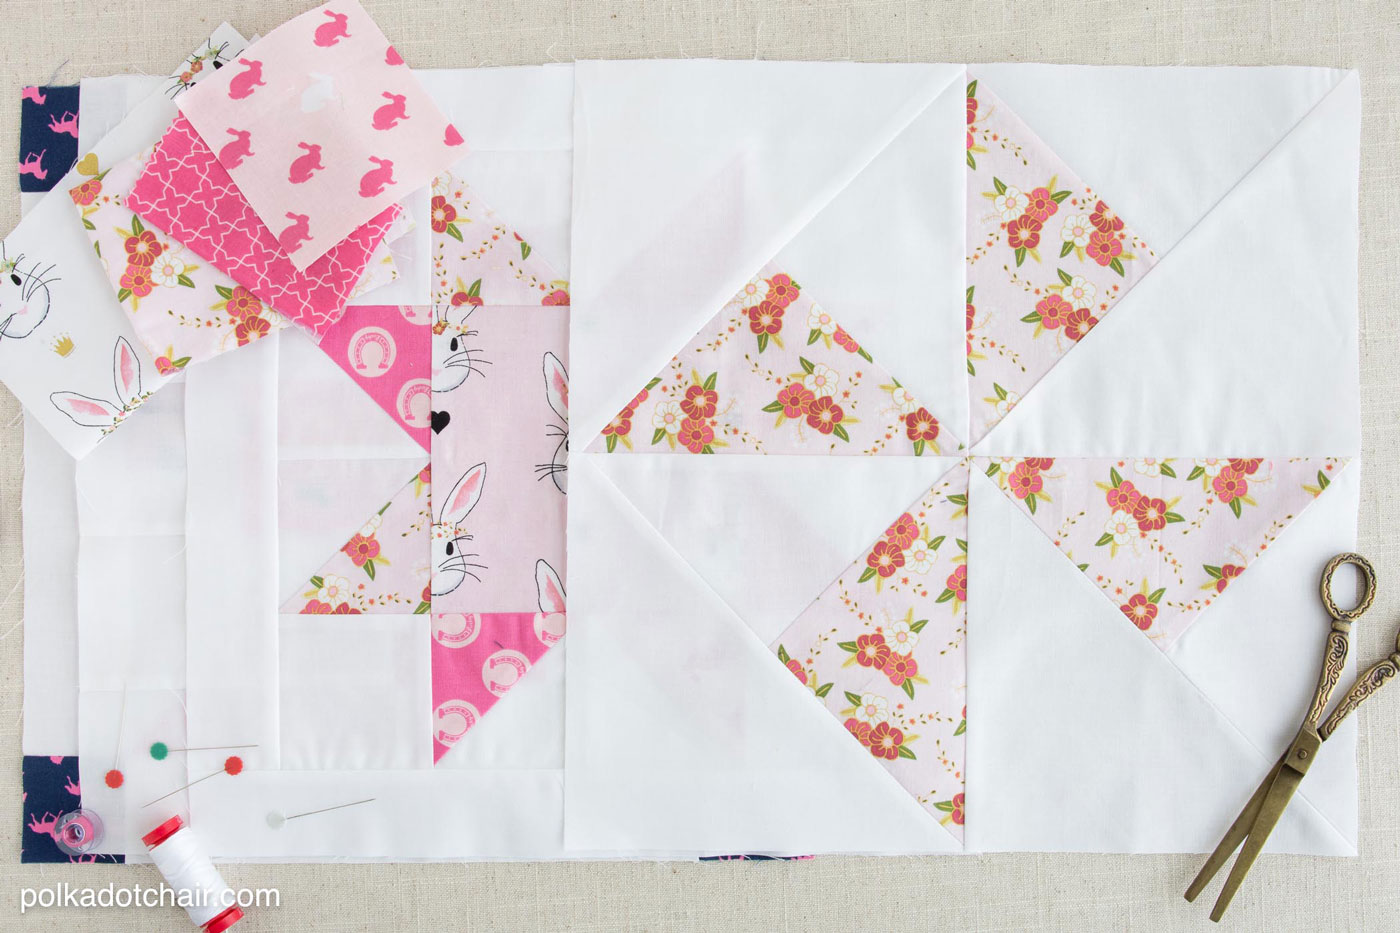
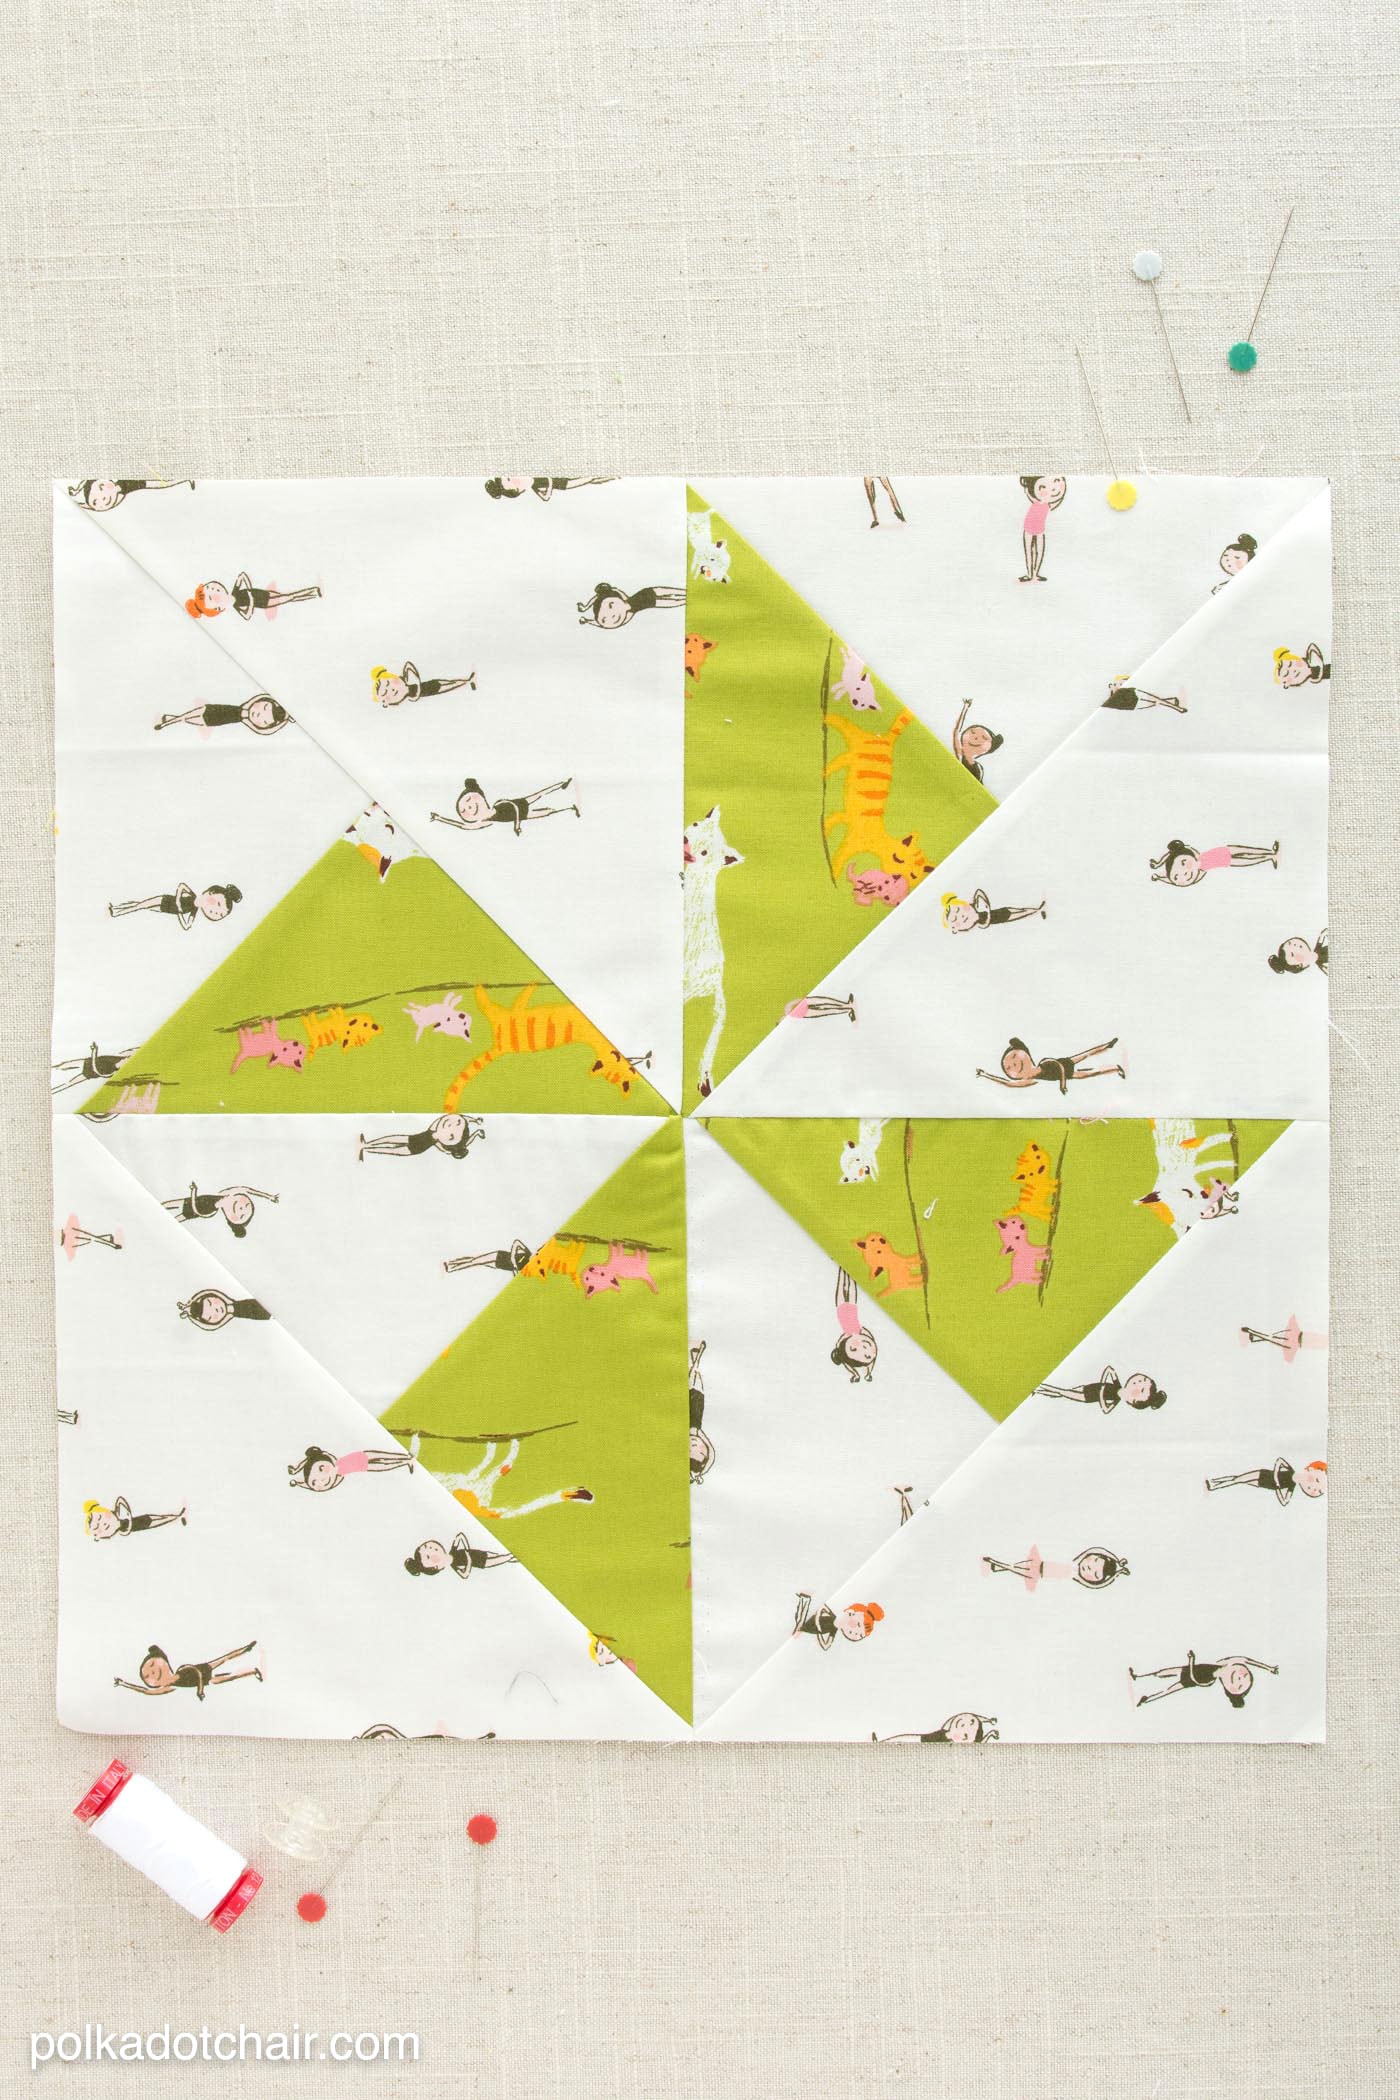
About the Turnstile Quilt Block:
I think that this months block is the simplest one to date. If you ever need to quick piece a quilt I think this block would be the way to go. You only need to cut 4 pieces of fabric and there is minimal piecing involved.
A Turnstile Quilt Block is pretty much a Pinwheel Quilt Block that is set “on point”. Which basically means it’s rotated 45 degrees. This is a simple way of achieving the look of an “on point” block without doing any extra math.
Are you ready to sew?
How to Make a Turnstile Quilt Block
Supplies
9 x 9 square of fabric cut from print fabric
9 x 9 square of fabric cut from background fabric
Two 8 1/2″ x 8 1/2″ squares of fabric cut from background fabric
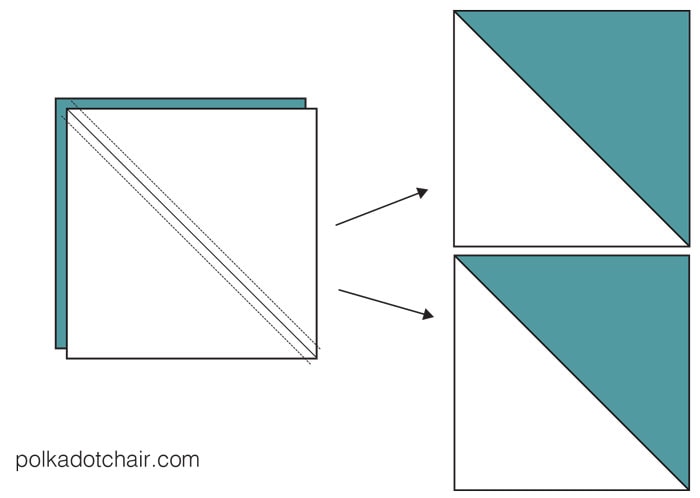
Step One: Create Half Square Triangles
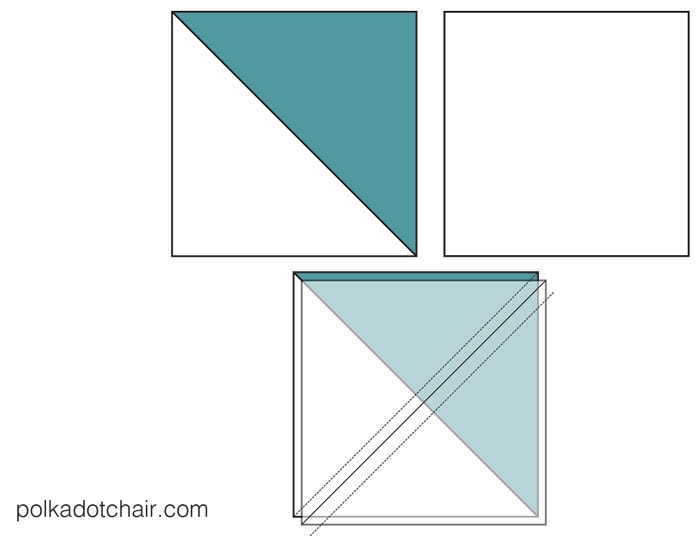
Begin by making two Half-Square Triangles (HST) from the 9×9 pieces of fabric. Draw a diagonal line on the wrong side of the 9×9 background fabric. Lay it right side facing with the 9×9 print fabric—stitch 1/4″ off each side of the line.
Use a rotary cutter to cut the blocks in half along the line you drew. Press and square up blocks to 8 1/2 x 8 1/2.
Step Two: Add Solid Fabric
Draw a diagonal line on the wrong side of the 8 1/2″ squares cut from your background fabric.
Layer one square on top of one of the sewn HSTs so that the diagonal lines face opposite directions. In the above illustration, I’ve adjusted the opacity of the top fabric a bit so you can see how the squares line up on top of each other.
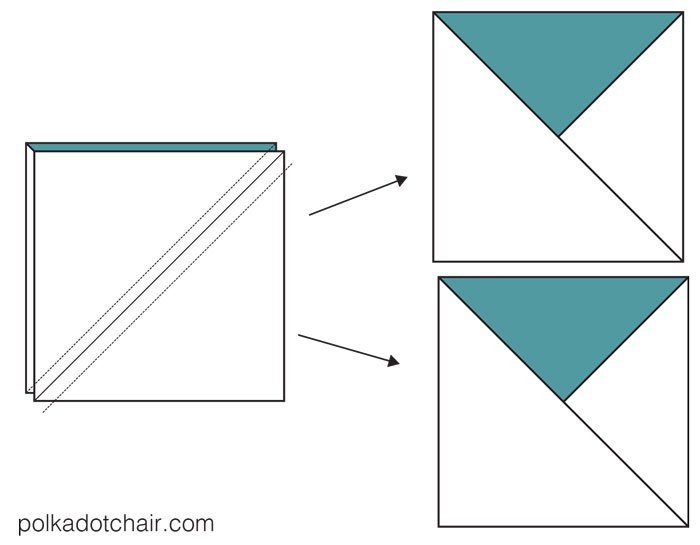
Stitch 1/4″ on each side of the line you drew. Cut along the line and square up the blocks to 8″ x 8″. Repeat for the other HST and background fabric.
Step Three: Lay the Pieces Out and Construct the Block
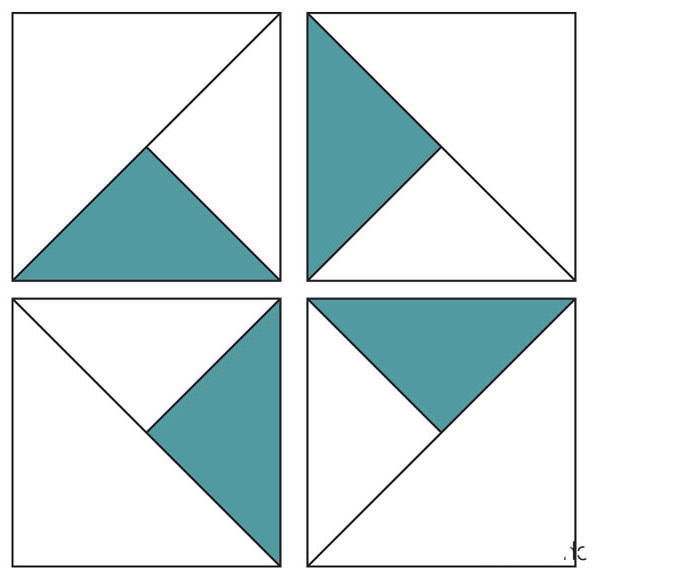
You will now have four blocks. Line up as shown in the diagram above.
Stitch the squares together in the top row, then stitch the squares together in the bottom row. Press the seams and stitch two rows together.
Trim to 15 1/2″ x 15 1/2″.
Block Variations
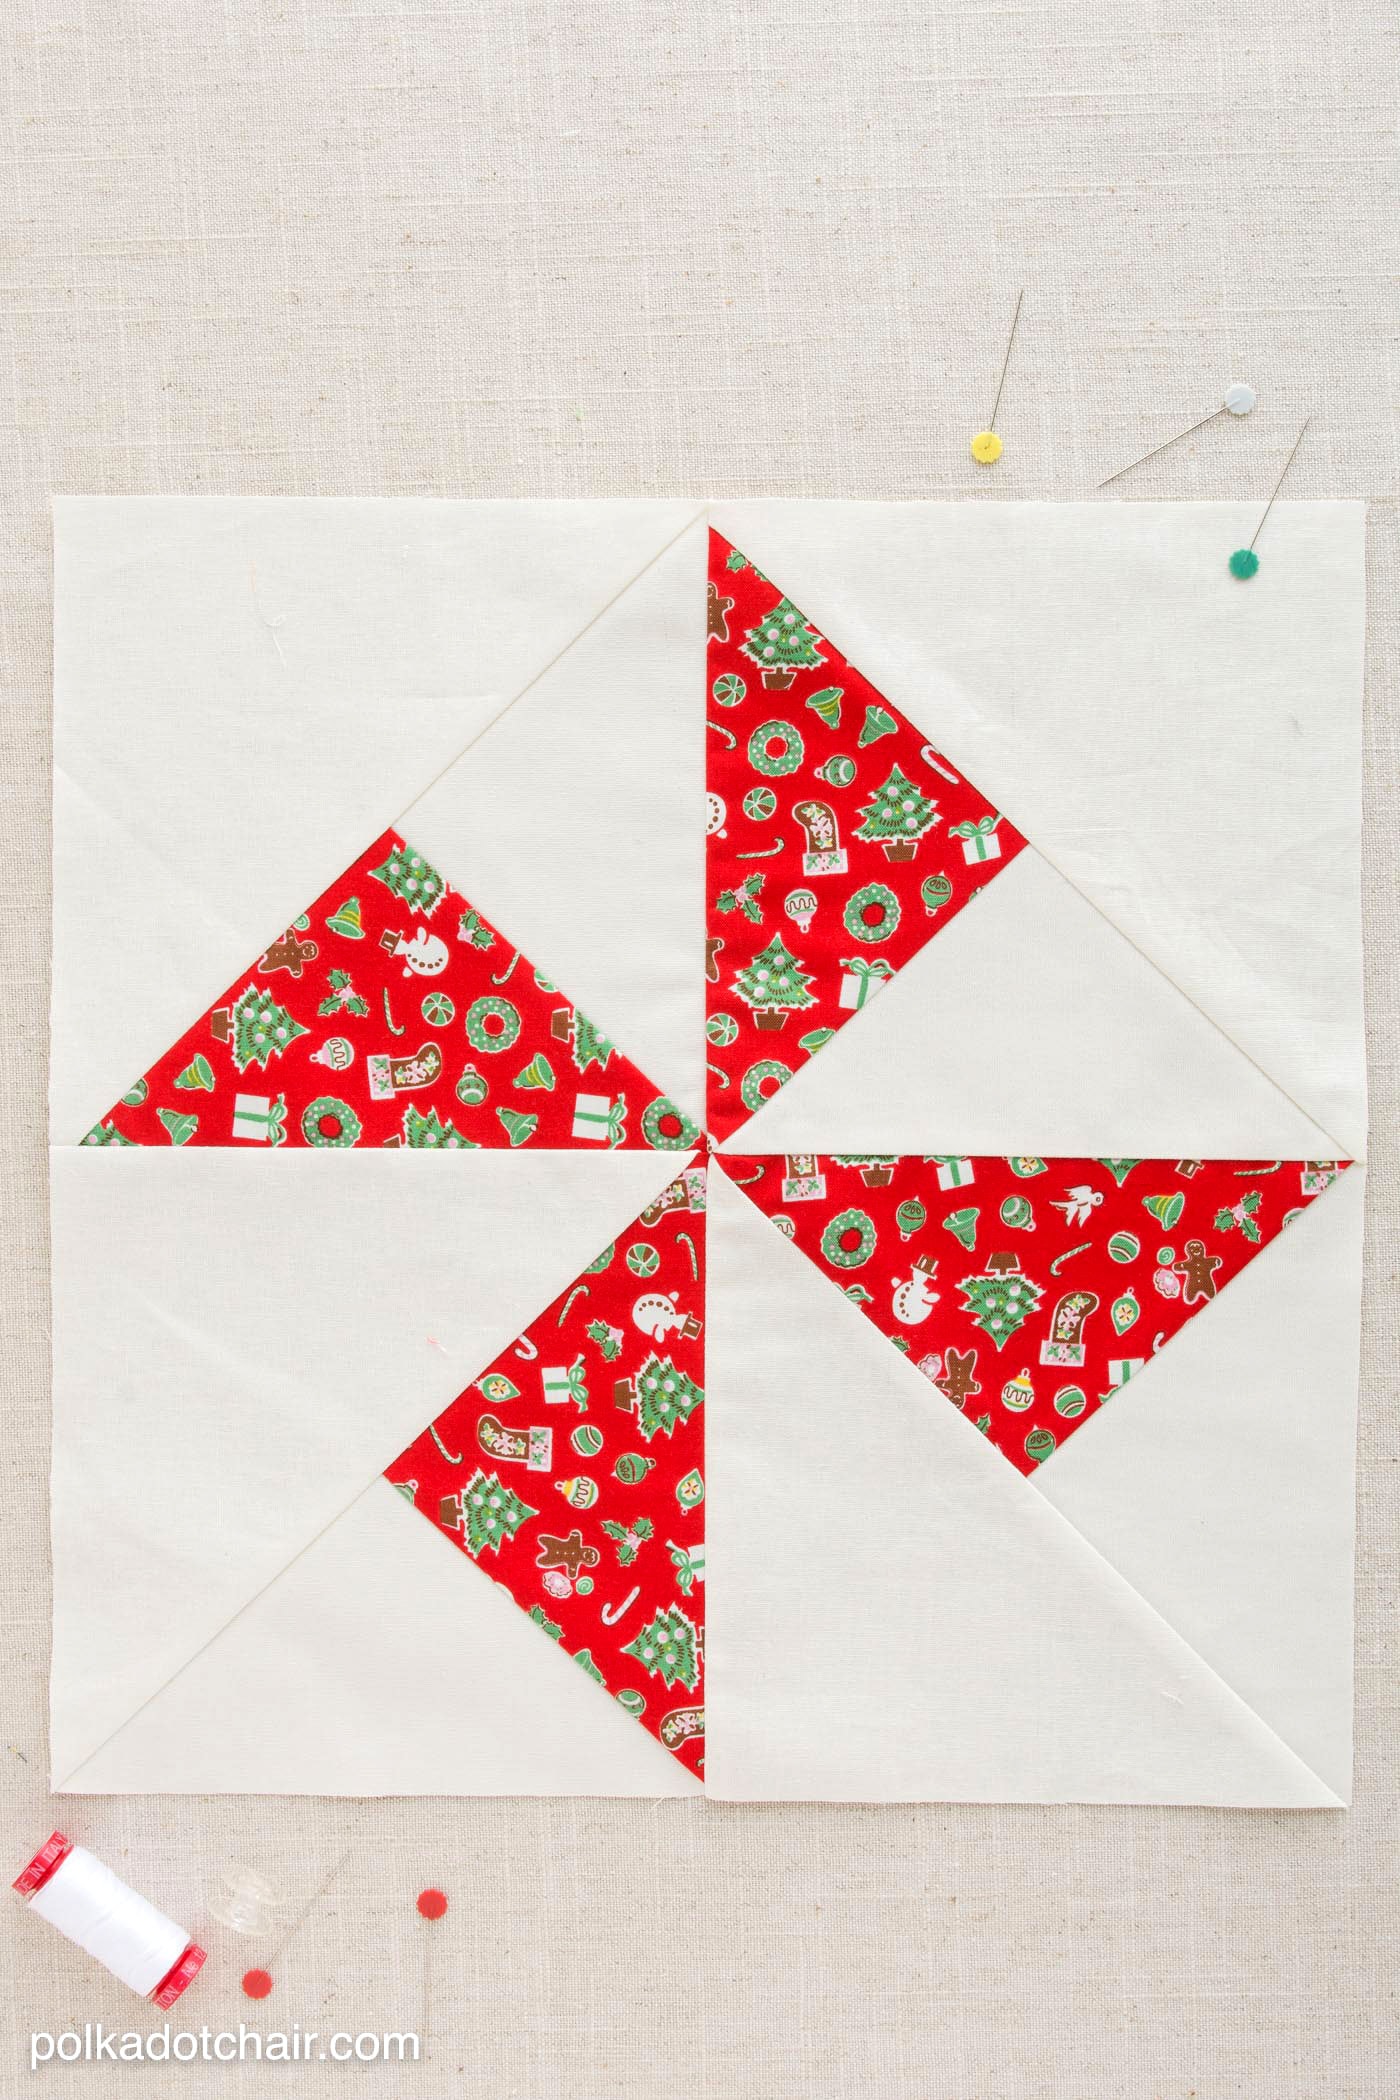
Here, you can see the block I made for my Christmas quilt. I’m excited that this one is almost done since I will stop at 9 blocks. That will give me enough time to get it quilted and bound before next Christmas.
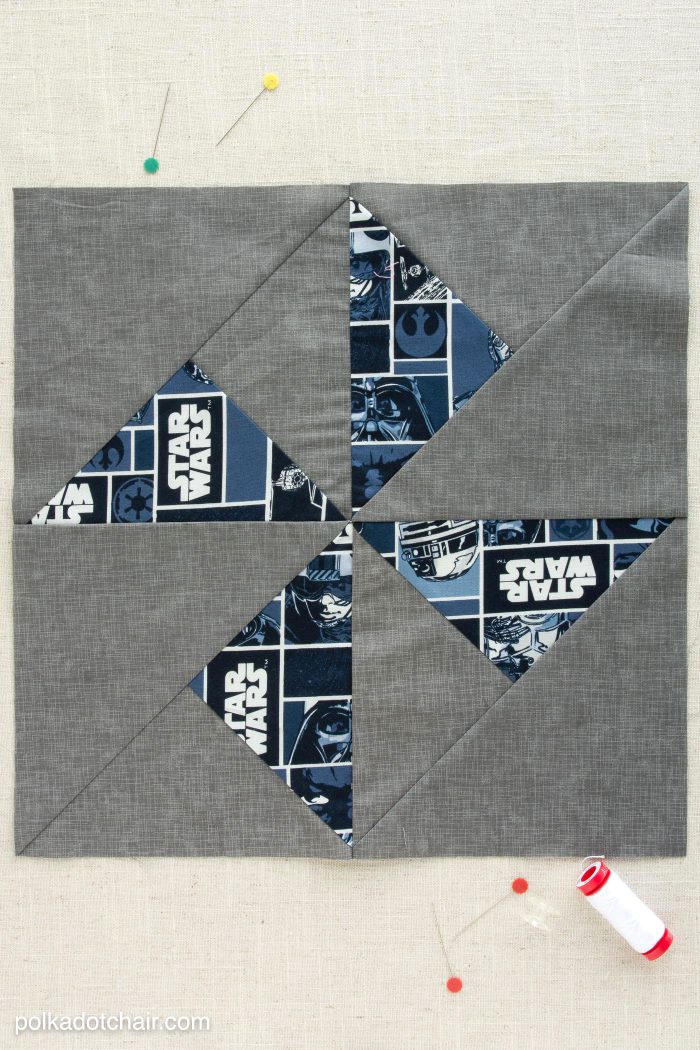
My son was begrudgingly running errands with me last week, and we stopped at Jo-Ann’s—let’s just say it is not his favorite store. As he was waiting for me to pick out a few things, he noticed this Star Wars fabric on the shelf and handed it to me. It turns out it’s the perfect color to work into the quilt I’m making for him.
Plus, I love that it makes the quilt into a mini “I Spy” of things that he likes. By the way, have I mentioned that he saw the movie three times already and has taken down all the “little kid” art in his bedroom and replaced it with Star Wars posters? It seems he inherited his father’s love of Star Wars, after all.
Just a quick reminder: This project and ALL of the other projects on this blog are offered to you for free. The only thing that I ask is that you do not use them for any commercial purpose. If you have a shop, this is not meant to be a program for you to use in your store. It’s meant to help build the online community of people who all LOVE quilting. Please respect that so that I can go on sharing these projects for everyone.
Okay now go forth and STITCH! I can’t wait to see your blocks!

thank you Melissa,
I am on my way to my quilt room (the basement archives) to get this block cut and done!!! Thank YOU!
Melissa, a huge thank you for your tutorials….I am new to o quilting, carrying on my Granma’s tradition…your instructions are clear, concise, and easy!!! Thank you from the bottom of my heart!!!! When I think of the hours she used to spend hand cutting each little piece of scraps, hand stitching them all and hand sewing the quilt tops, honestly, I don’t think I could do it….many blessings to you and your family!!!
I just stumbled onto your site and thrilled to say the least! I too am new to quilting and somewhat apprehensive in starting a new project. When I saw your quilt block for this pattern and it’s colour combination I immediately felt a sense of relief. Something manageable without great stress! Loved the beginnings of your your Star Wars quilt for your son and would love to make one. Would you be so kind as to share your finished creation with us when completed?
Many, many thanks!!!!!
I am new to block of the month quilts and would love to do one but I have no idea how to begin. Where do you start how do you know how much material you would need to even begin? I have been piecing quilts for a very long time. So please give me a starting point. Lol or do I just jump in anywhere?
I do love you illustrations and step by step how to. They are easy to follow great for beginners as well as advanced quilterz.
Thank you,
Koryne
Yes, just jump in anywhere. This block of the month is over a year old now, so all of the blocks are online. If you want all of them in a printable format you can buy one at shop.polkadotchair.com – since it was a “sew as you go” block program there was not a fabric requirements post, it was designed to be “scrappy” and a kind of “use what you have” type quilt. Hope this helps!
This past Sunday I found out I am going to be a great-grandma. I love this quilt and I’m going to make it for the new great-grandbaby.
Thank you for all your beautiful quilts.