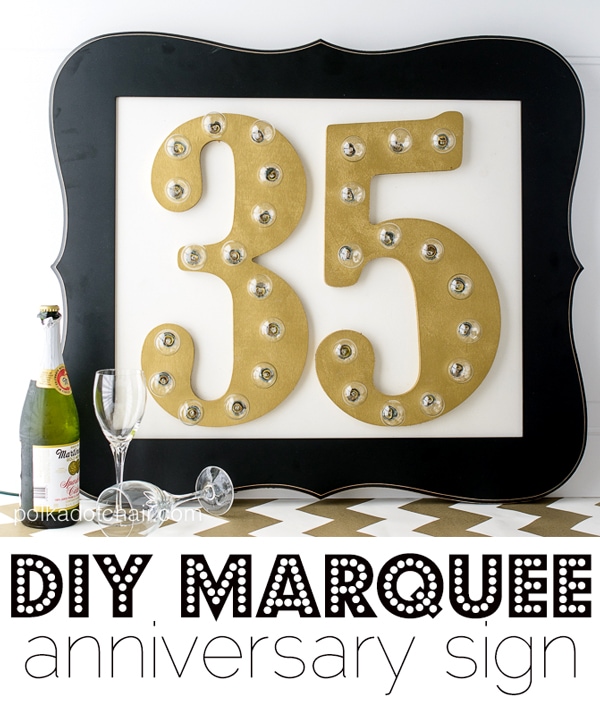
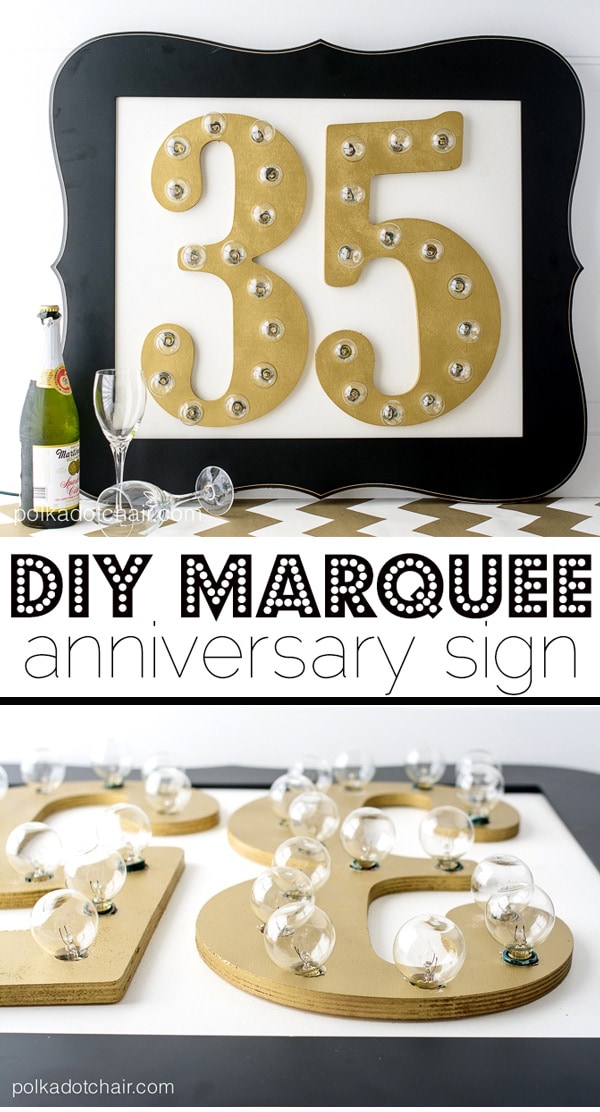
How to Make a Number, Light Up, Marquee Sign
We recently threw an Anniversary party for the office where my husband works. We were expecting a lot of people and wanted to have party decorations but knew that we needed to keep it simple. I also needed to figure out what would fit within our budget and what I could get done in the time I had before the party.
How to Make a Marquee Sign with Numbers:
I had the idea to make a marquee sign of the number 35 (the anniversary the party was for), so I went off to my local craft stores to find giant paper mache numbers. When I got there I realized there is no such thing. No one makes large paper mache numbers – letters yes, but numbers no. (hint hint – craft companies, start making numbers).
After researching online I realized I had one of two options, build my own paper mache letters out of cardboard or think of a new plan. After deciding I didn’t have the patience to build numbers I came up with a plan B. I was not originally going to write a tutorial for this sign (because there are already so many online), but then after I started making it I realized that it was different from other signs I had researched online and thought that someone else might like to make a similar sign.
Numbered Marquee Sign Uses:
I think that this kind of sign would be really perfect for a birthday party (I mean how cute would this be with a giant 16?!?) or graduation, or anniversary party. It would even be fun for a holiday (think 31 for Halloween or 25 for Christmas). It’s too bad I don’t have another use for a #35 in my life… because I really like how it turned out.
I ended up purchasing my supplies at Hobby Lobby, Lowes, & Amazon (affiliate links included) – but just know this is not a sponsored post, I’m just heading off some inevitable “where did you get that” questions.
DIY Marquee Sign Supplies:
-A large black frame
-A piece of masonite cut to the same size as your frame opening (your home improvement store will cut it to size for you)
–25ct. Clear G40 Globe String Lights
-White paint
-Spade drill bit (mine was 3/4″ but wait to buy one until you read the entire tutorial)
Step One: Spray Paint
Spray paint your letters gold. Paint one side of the masonite board with white paint. I used leftover paint from a room we painted earlier.
Using gorilla glue, glue the letters to the masonite. Make sure they are in the right place you can’t move them later. Let the glue set up.
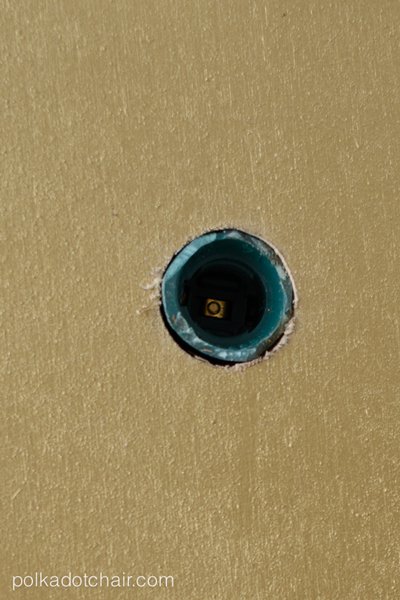
Step Two: Drill the Holes
Remove all of the bulbs from your globe light string. Put in a safe place, they are fragile.
Mark the numbers at even intervals to drill holes for the lights. In our case, the holes were 2 1/2″ apart on center. Double-check that your marks are centered and all look evenly spaced.
Now, here’s where we got tripped up. So learn from our mistakes!
I measured the diameter of the plastic part of our light socket and saw that it was 3/4″ so I bought a 3/4″ drill bit…. well let me tell you, it was not 3/4″… it was more like 7/8″. I had not taken into account the “flare” at the end of the light. Of course, I didn’t find this out until AFTER I drilled my holes. So when I went to string the lights in they would not go through the hole as the wood and the plastic are obviously not bendable. So to fix this, I used some heavy-duty scissors and trimmed off the “flare” from the light socket so that it would fit.
If you do this, double check your measurement and buy the correct size drill bit. All light brands are a bit different from each other, so check yours. Or you can trim off the “flare” as I did, just be careful and obviously don’t do it when the lights are plugged in!!
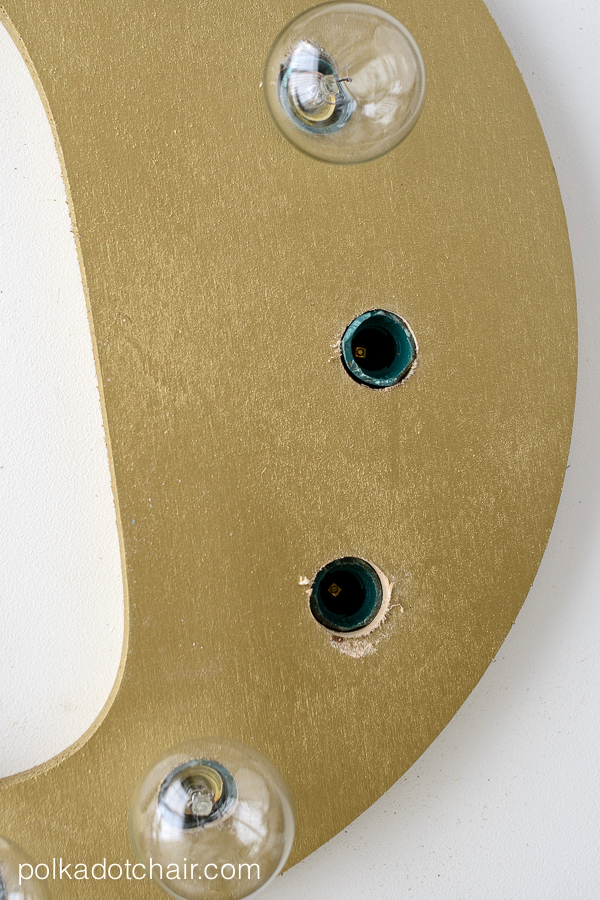
Step Three: Feed the Lights though the Holes
After your sure that the light socket will fit in the hole you drilled, begin feeding the light strands in one at a time from the back in order.
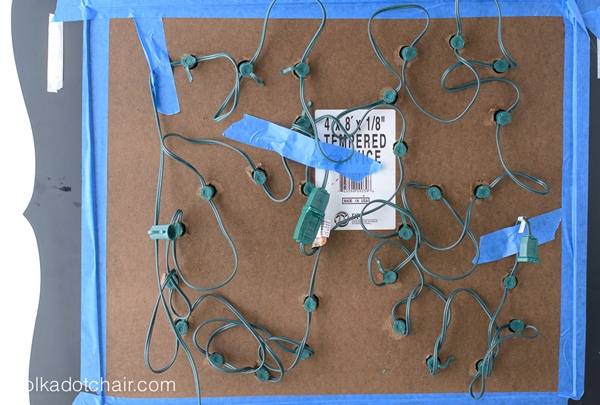
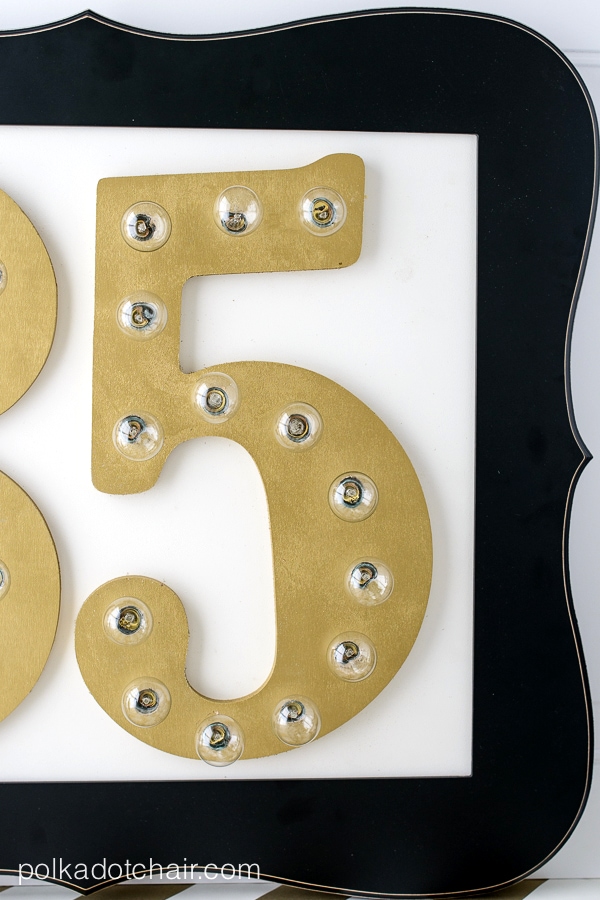
This is what the back of your sign will start to look like. I used some painters tape to keep the cords from tangling. Next place the masonite in the frame and secure. I just used tape and it held fine, but attach as you like. After all of the light sockets are fed through (my number took 2 strands of lights), you can start screwing the light bulbs back in the sockets.
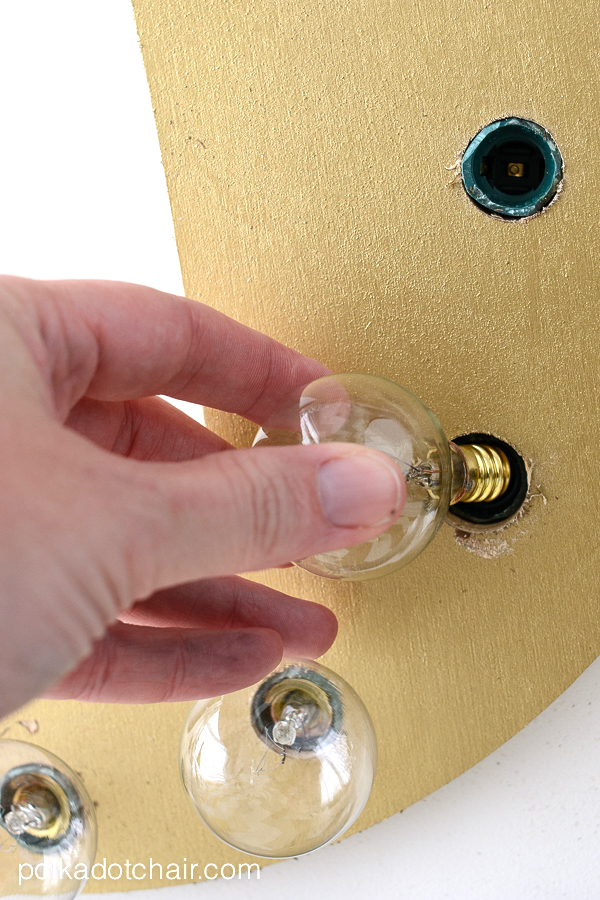
That’s it! Just be really careful with the sign now, you don’t want to break a light bulb.
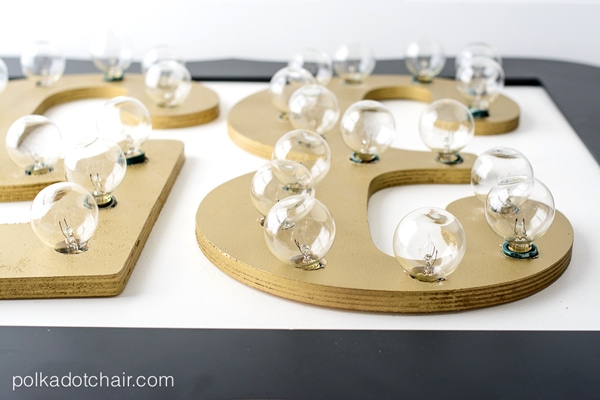
Here’s a side shot so that you can see how the sign looks when it’s all laid out.
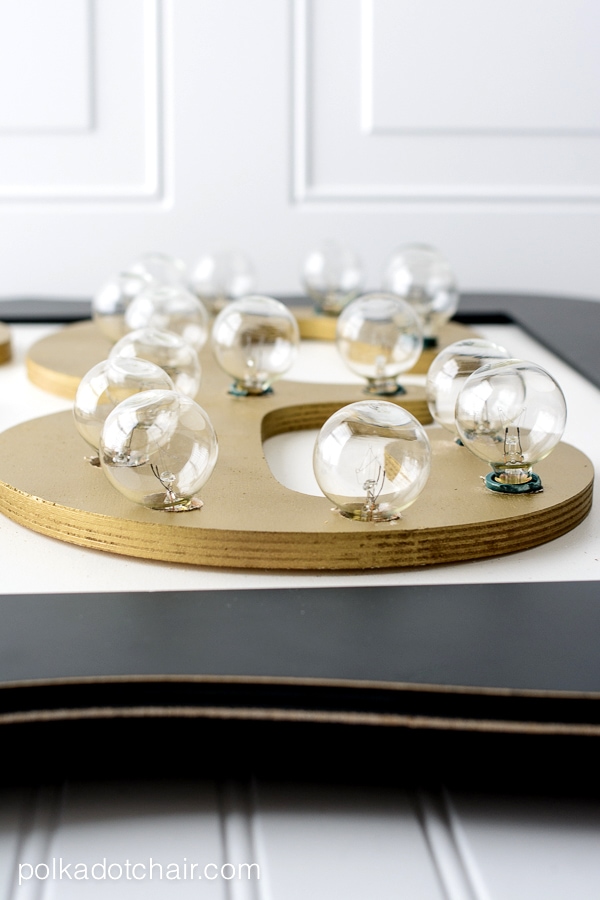
Now I want one for Halloween, who’s going to make it for me???
More Fun Party Ideas:
Free Printable Paper Party Hats


You are so clever! I could never do this, I tried jewelry making, I actually went to college for that for one year not so long ago and was soooo clumsy it was dangerous. I hurt myself twice, it got really bloody in the classroom (actually whenever I ran out of the classroom with a hand held high to stop the blood, my fellow classmates wouldn’t look up anymore and would go ‘must be Phyllis again ‘ 😉 ) .
So I am in awe of people who can make things like this, I have to stick with soft (and safe!) materials…. like fabric.
Oh, and it looks great too, fun! It bet it looked wonderful at the party!