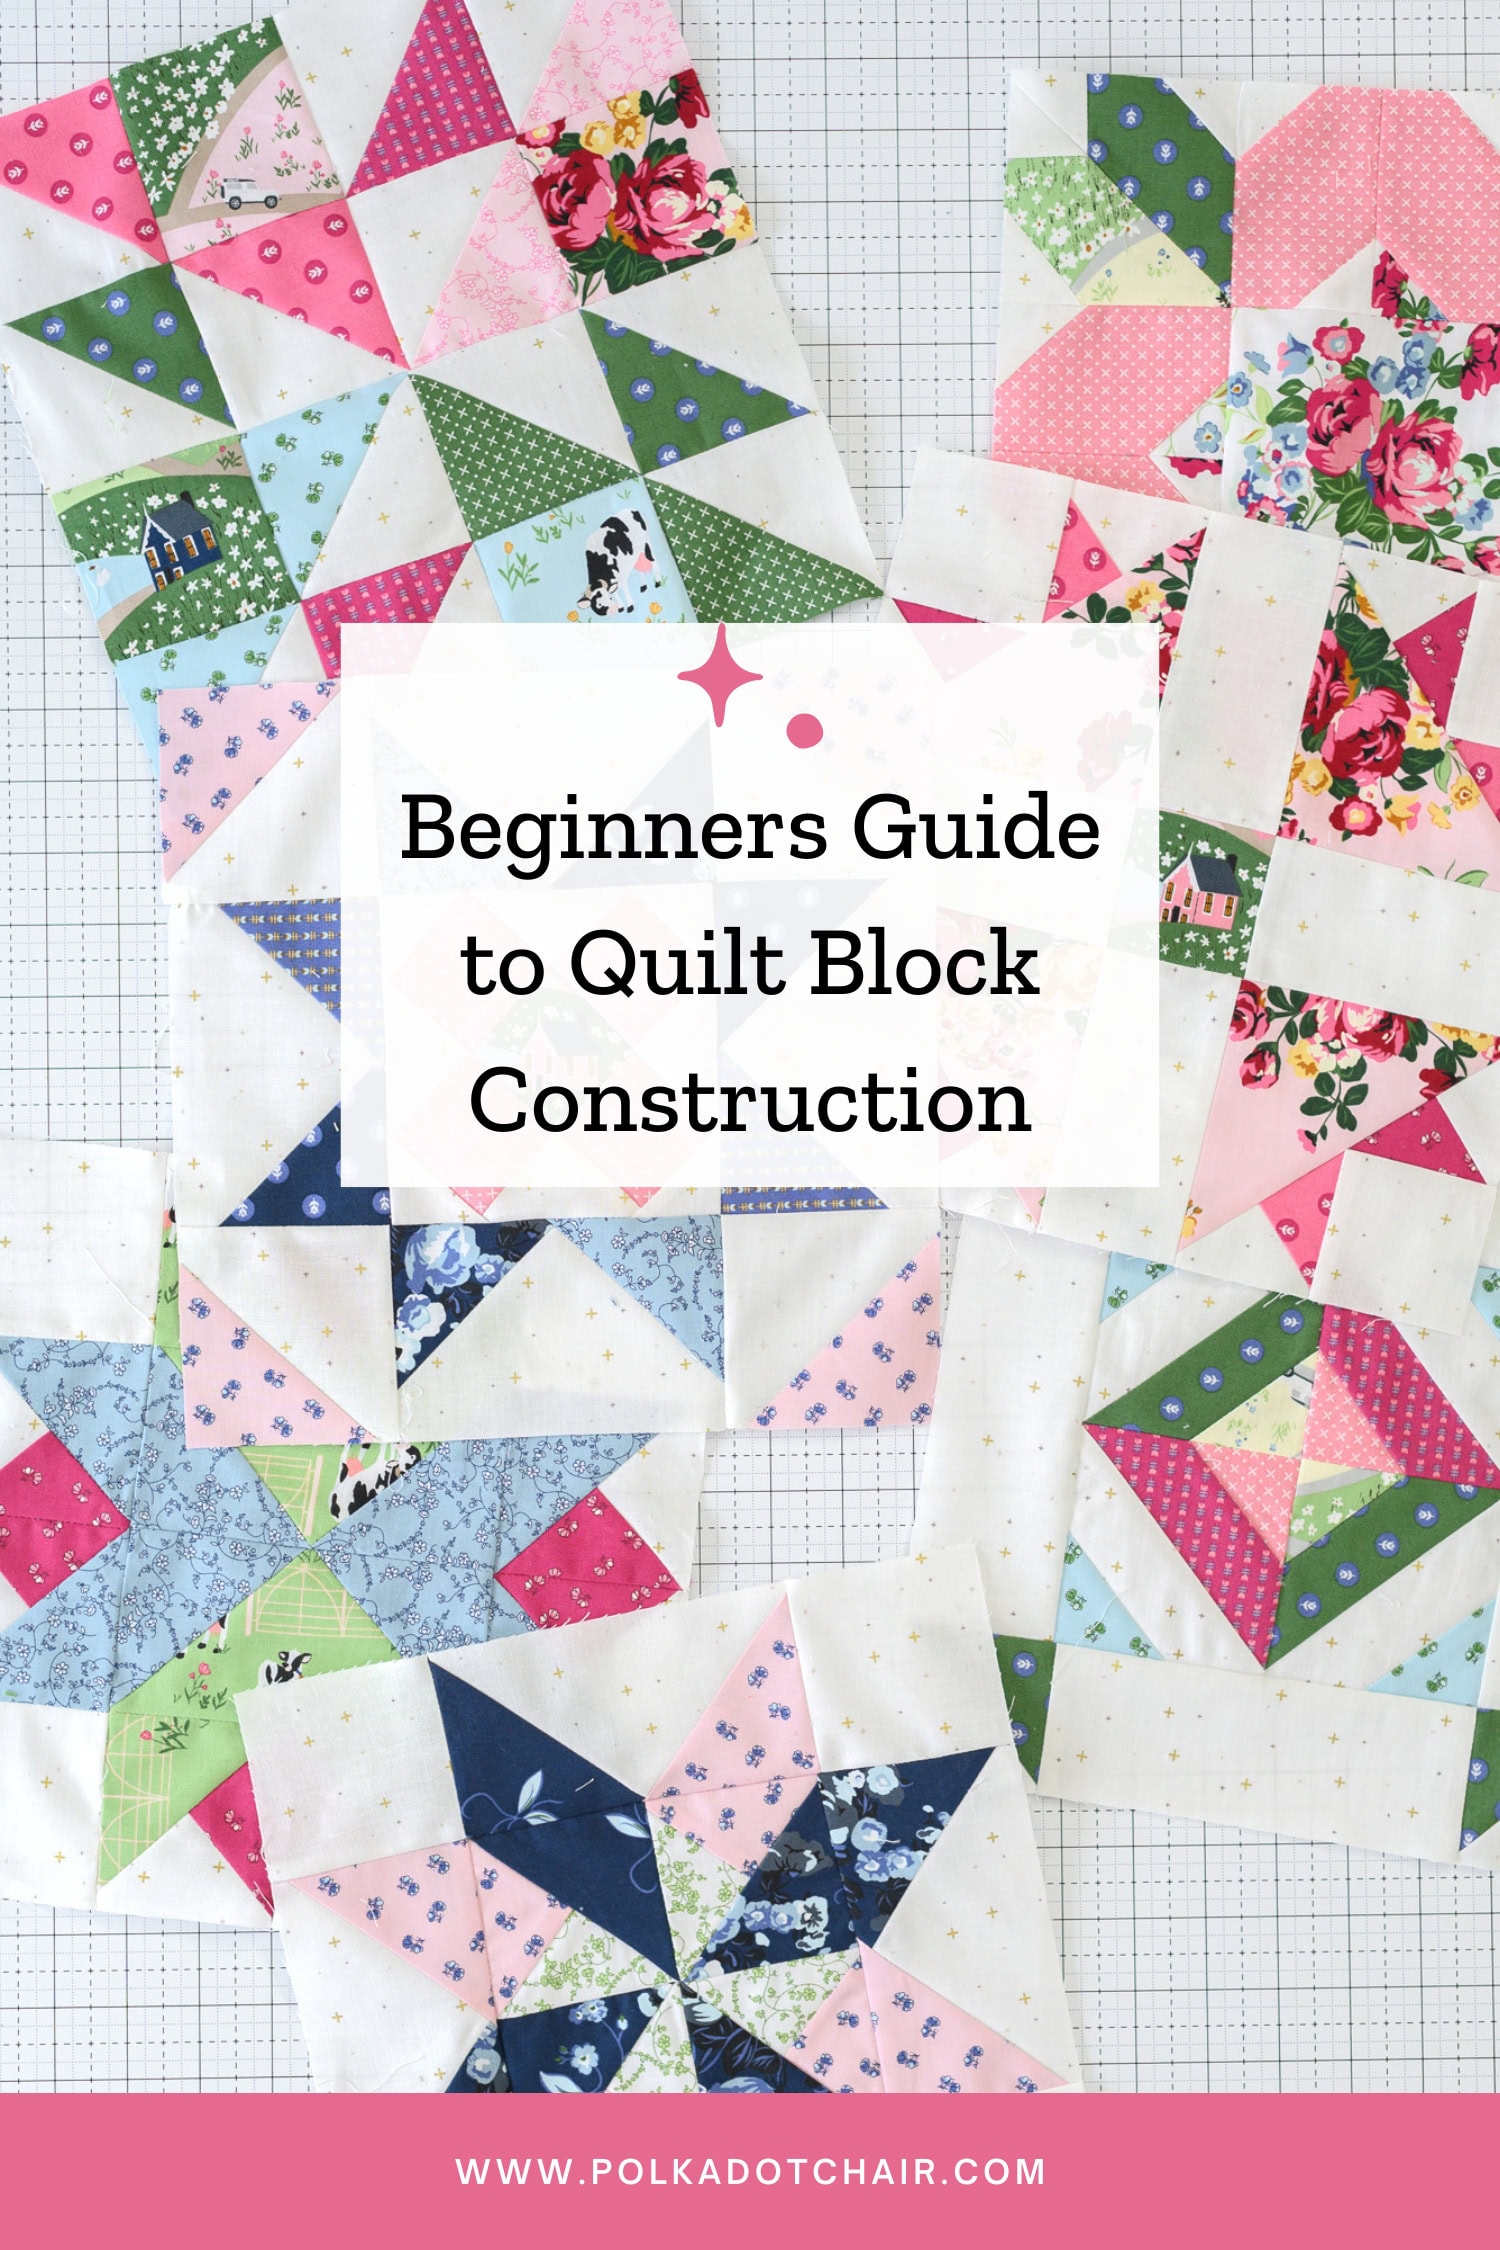
A Beginner’s Guide to Constructing Quilt Blocks
Quilt Blocks are the building blocks of every quilt, but some terminology and techniques may seem confusing and overwhelming if you’re new to quilting. This guide will take you through the basics of quilt block construction and offer a few tips and tricks to help you create beautiful and precise quilt blocks.
What is a Quilt Block?
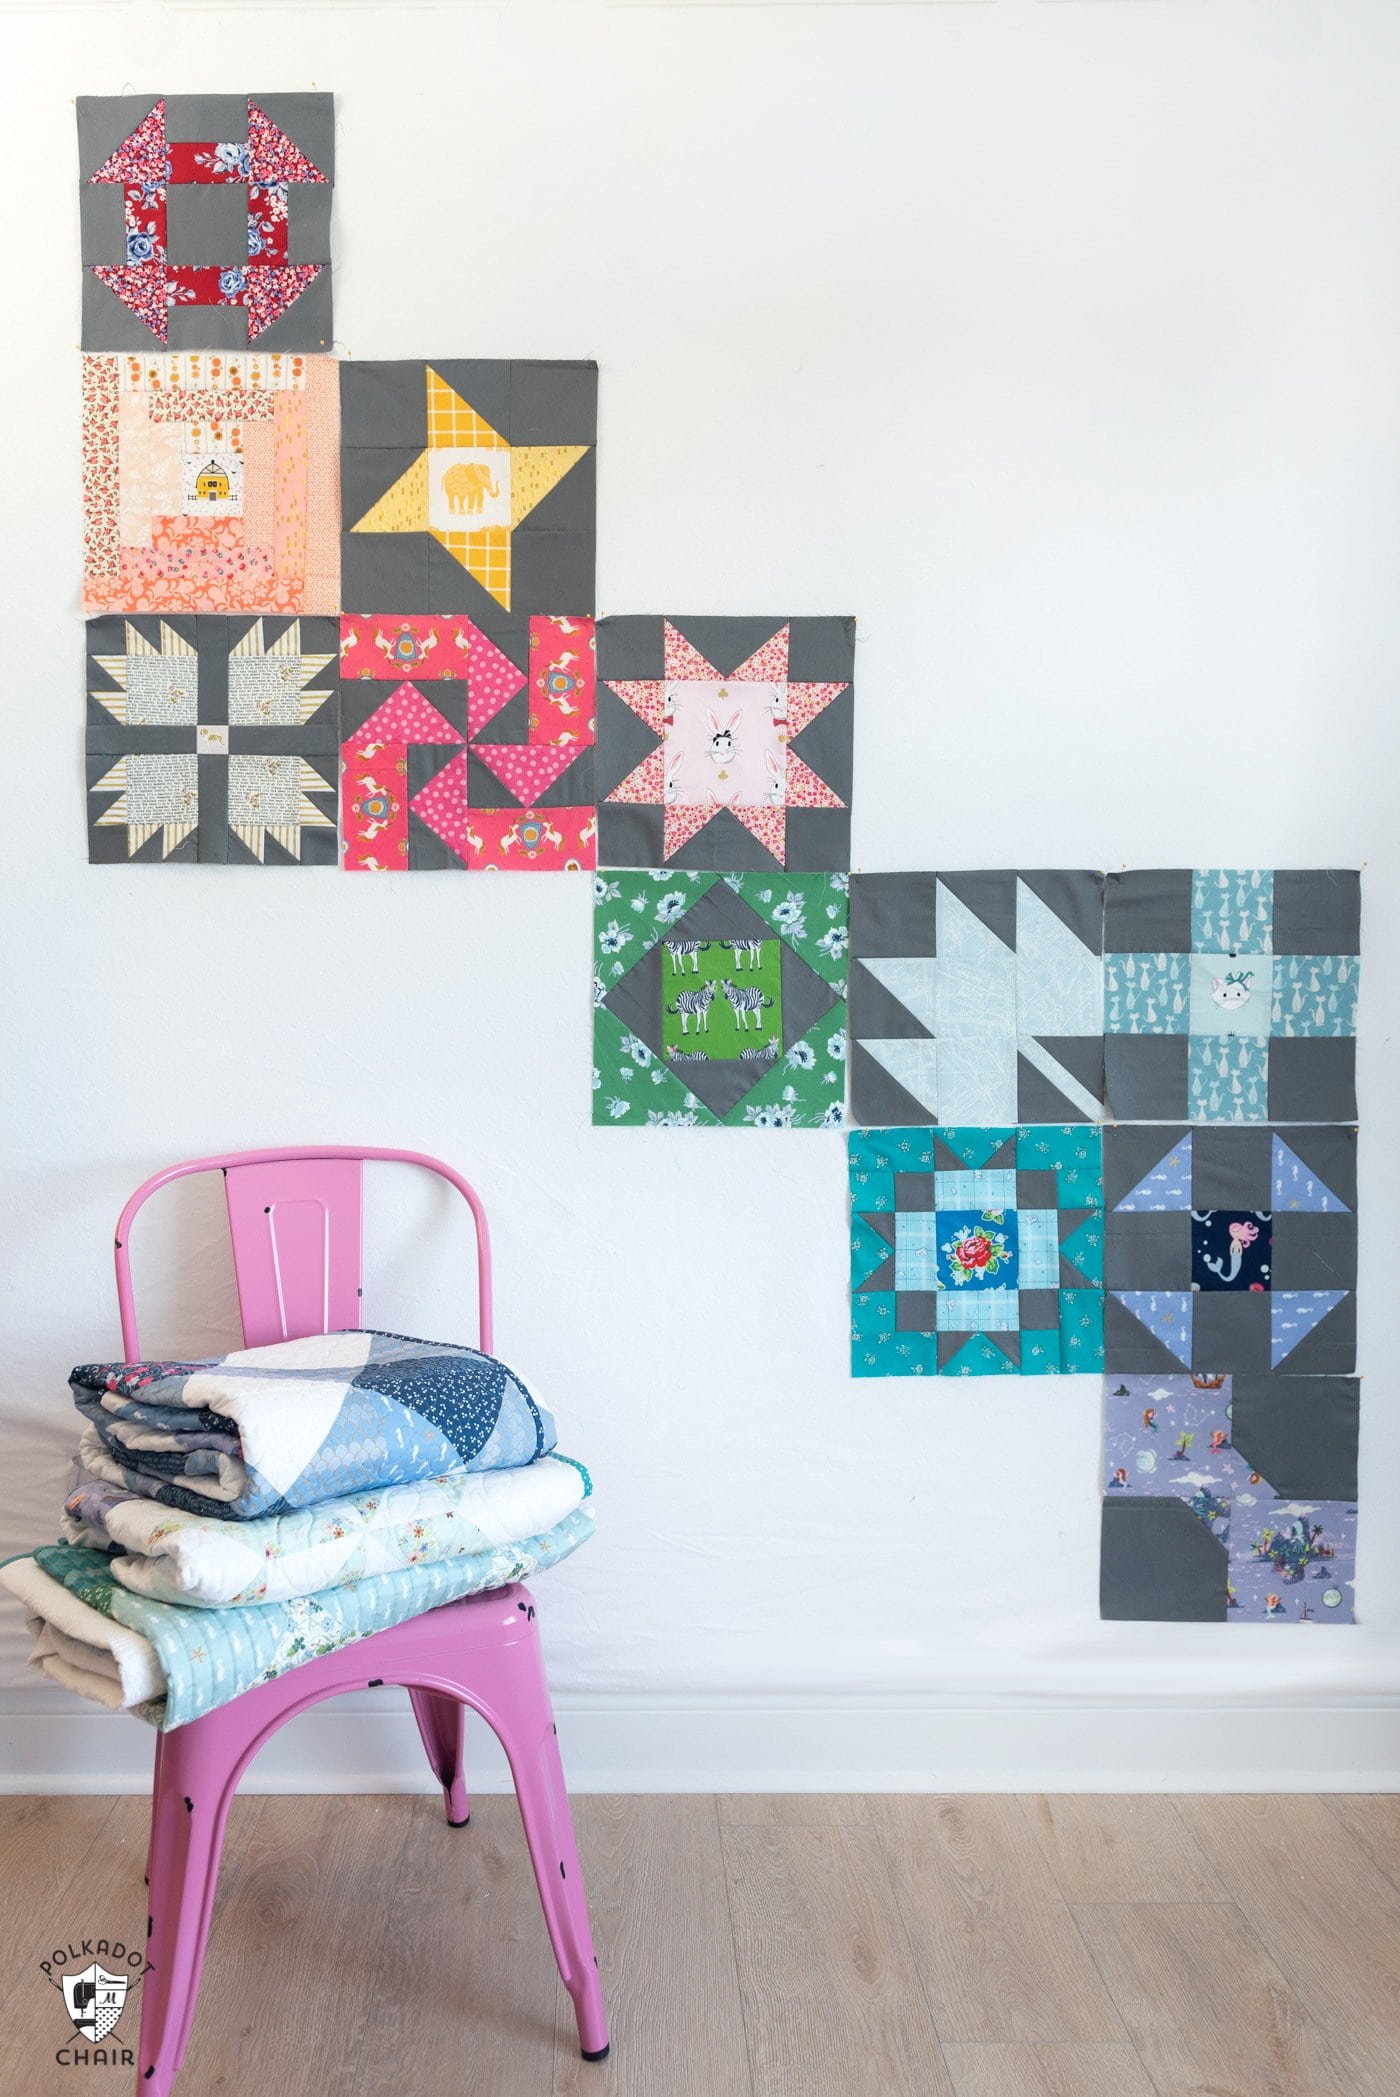
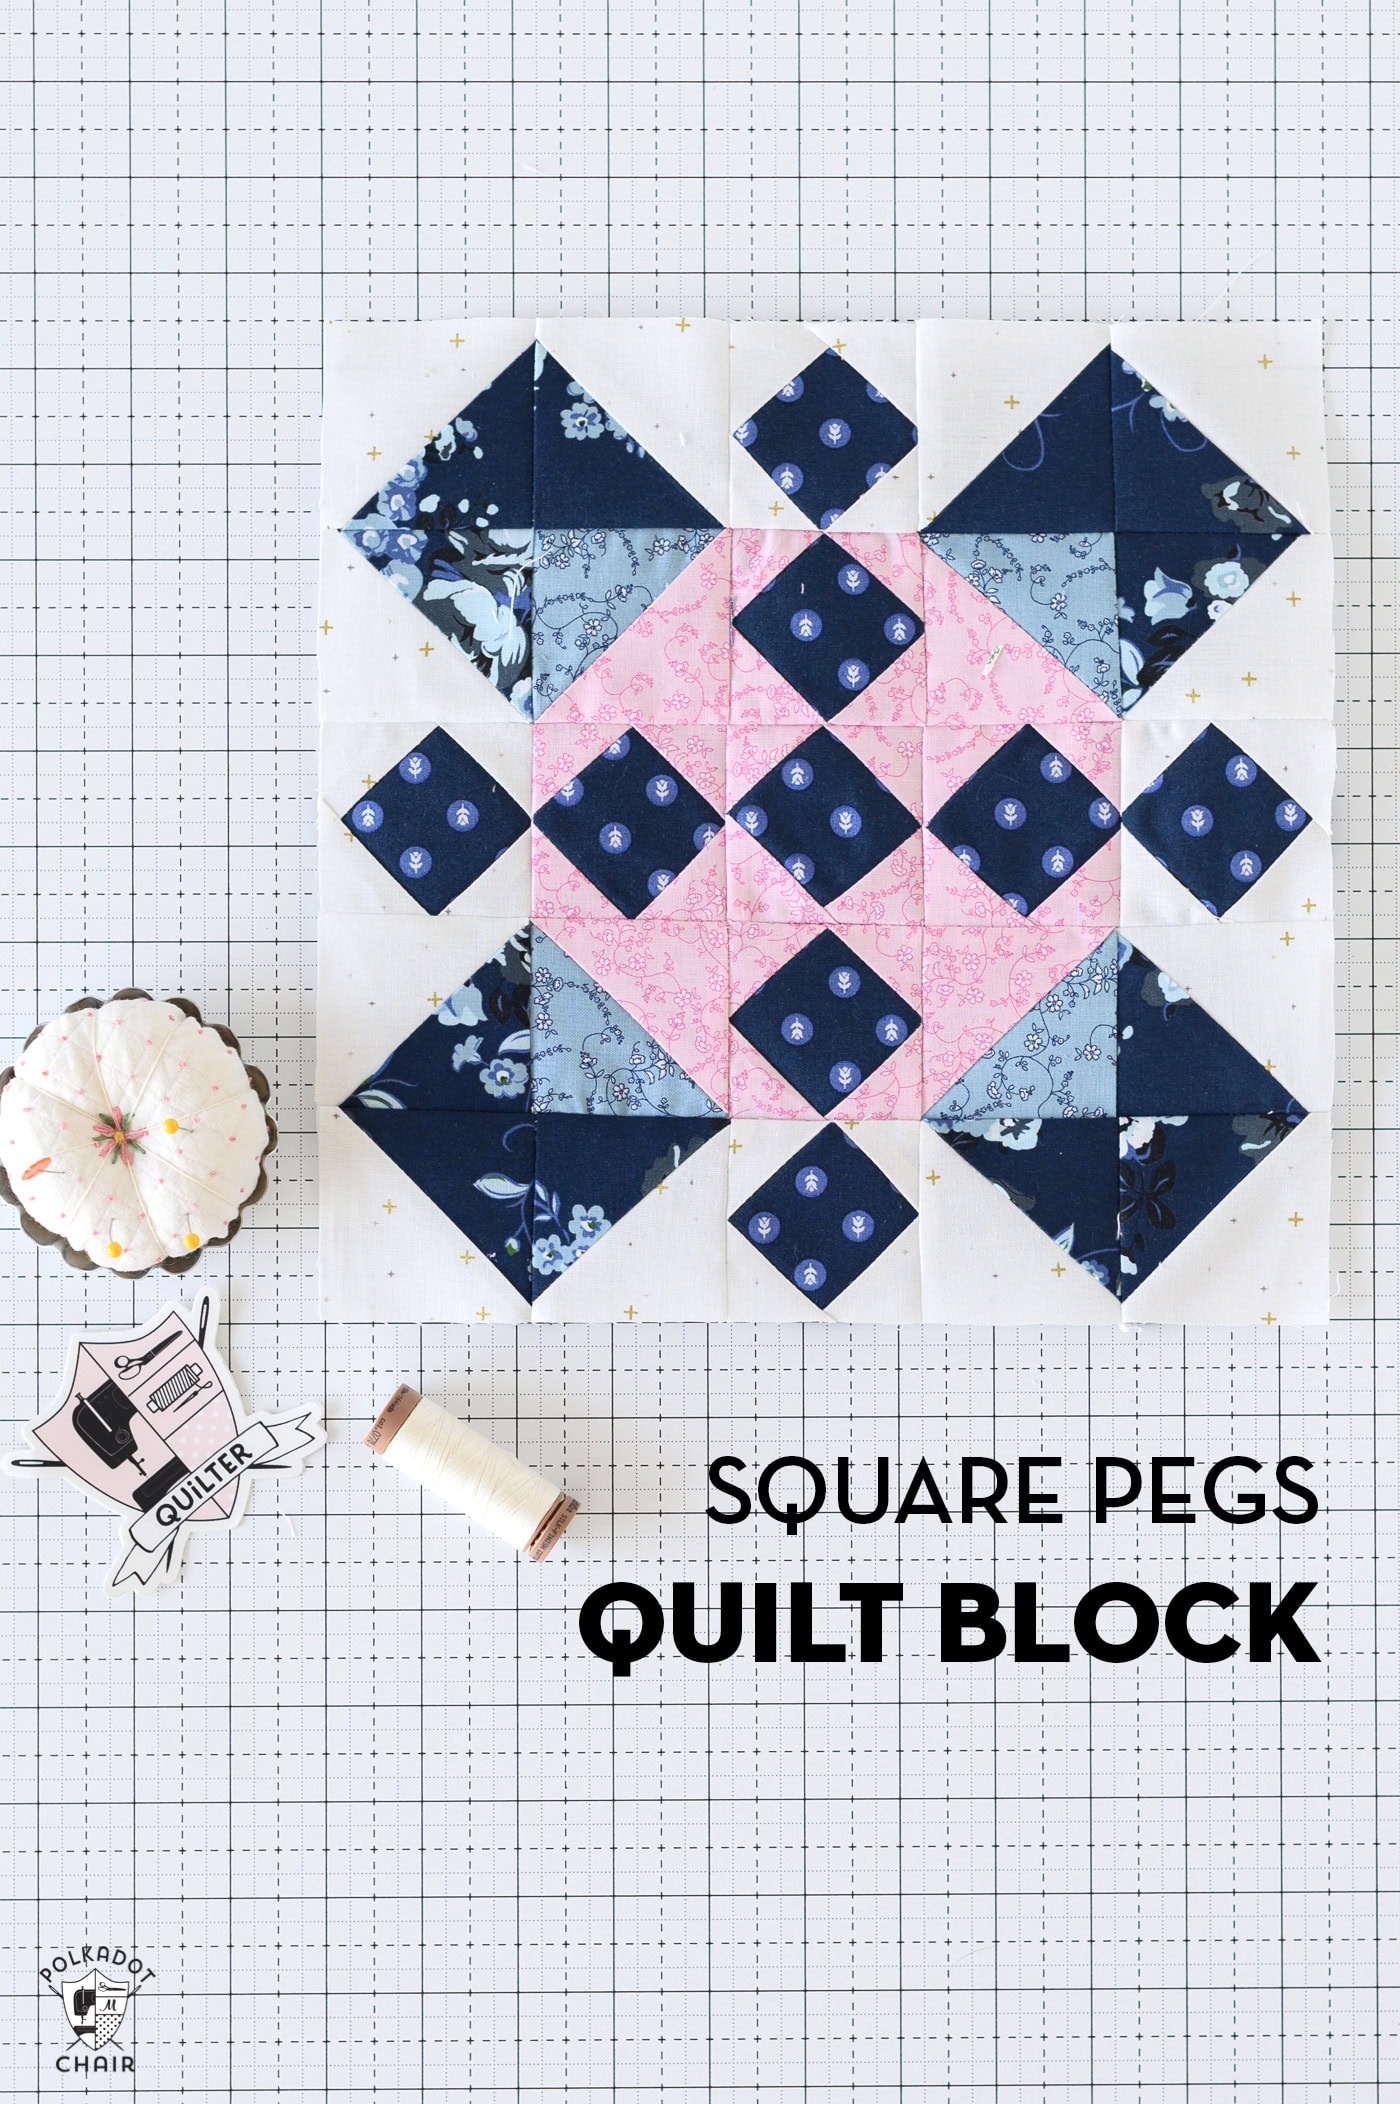
A quilt block is a square or rectangular unit that forms the quilt top when sewn together with other blocks. Quilt blocks can be simple or complex and feature a variety of shapes, patterns, and colors. Some common types of quilt blocks include the Nine-Patch, Log Cabin, and Half-Square Triangle.
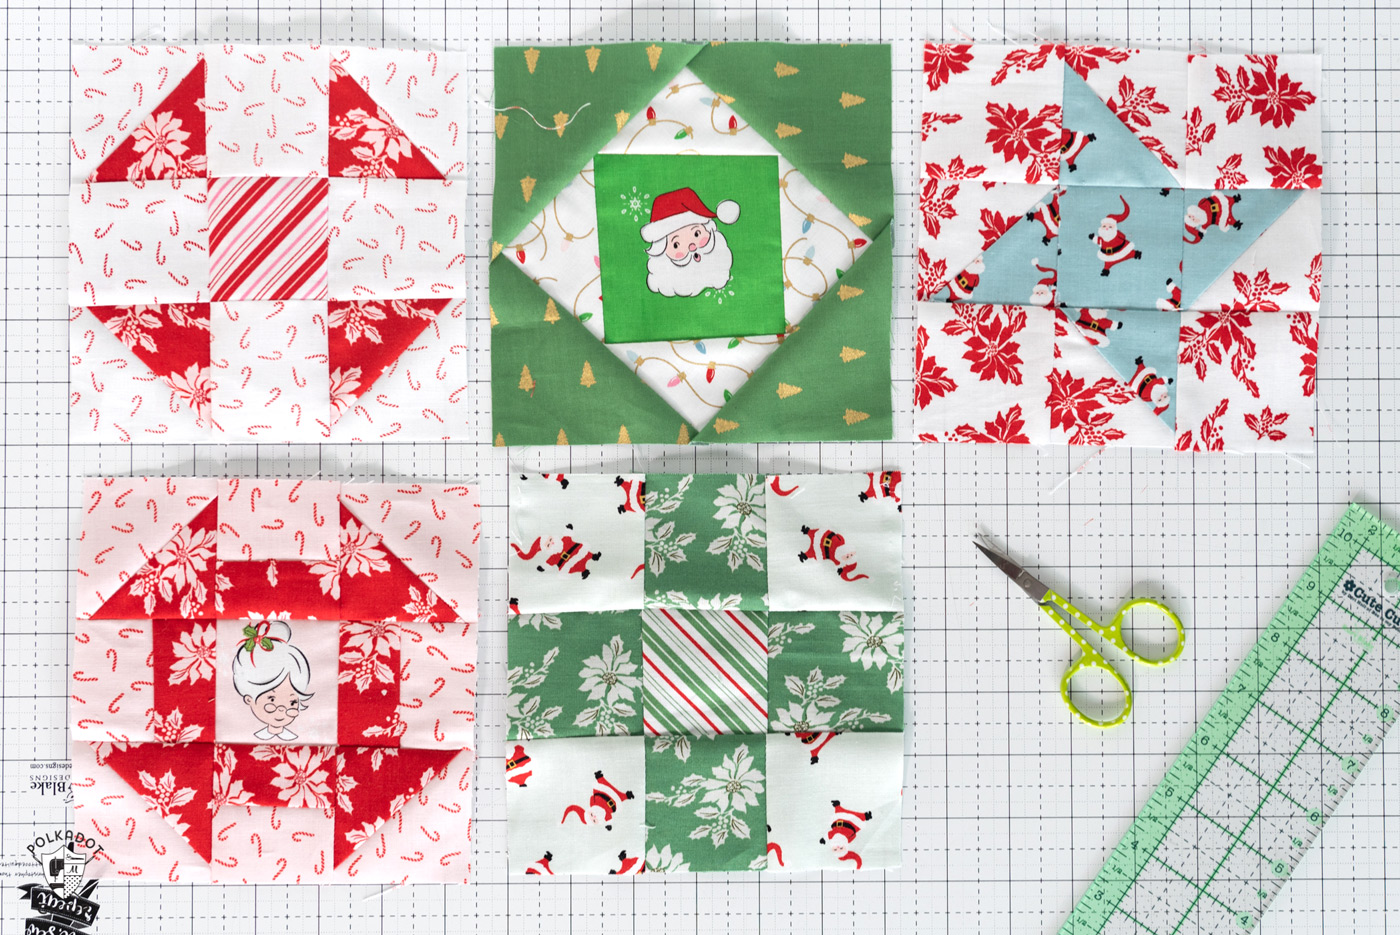
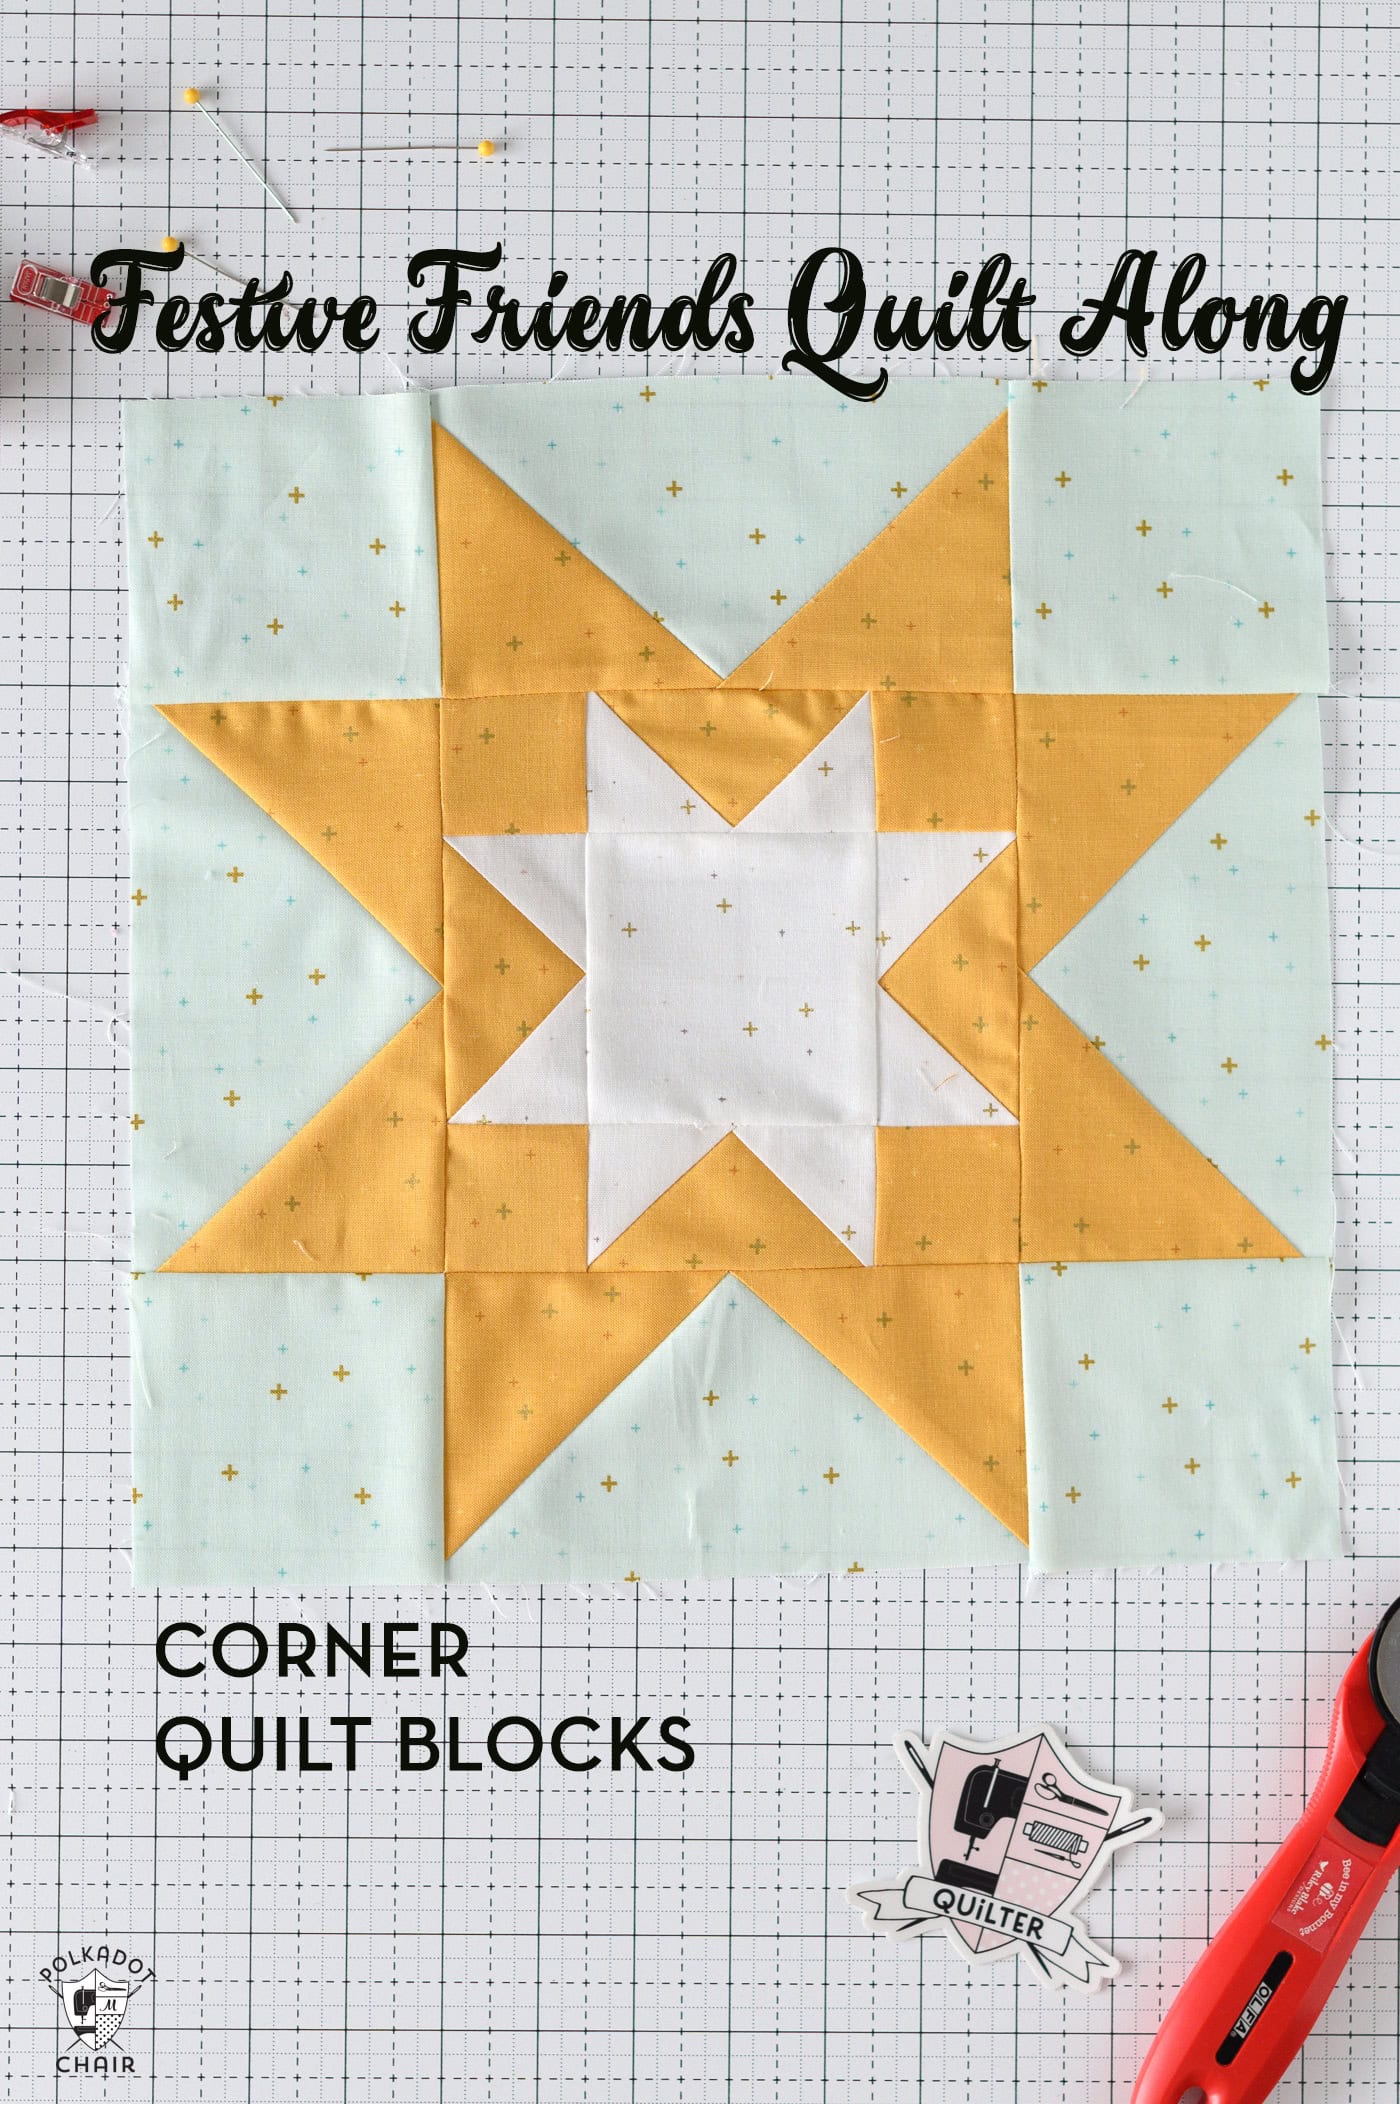
There are dozens, if not hundreds, of traditional quilt block designs. Many of them have been around for generations! These include Ohio Star Blocks, Sawtooth Star Blocks, Churn Dash Blocks, and more!
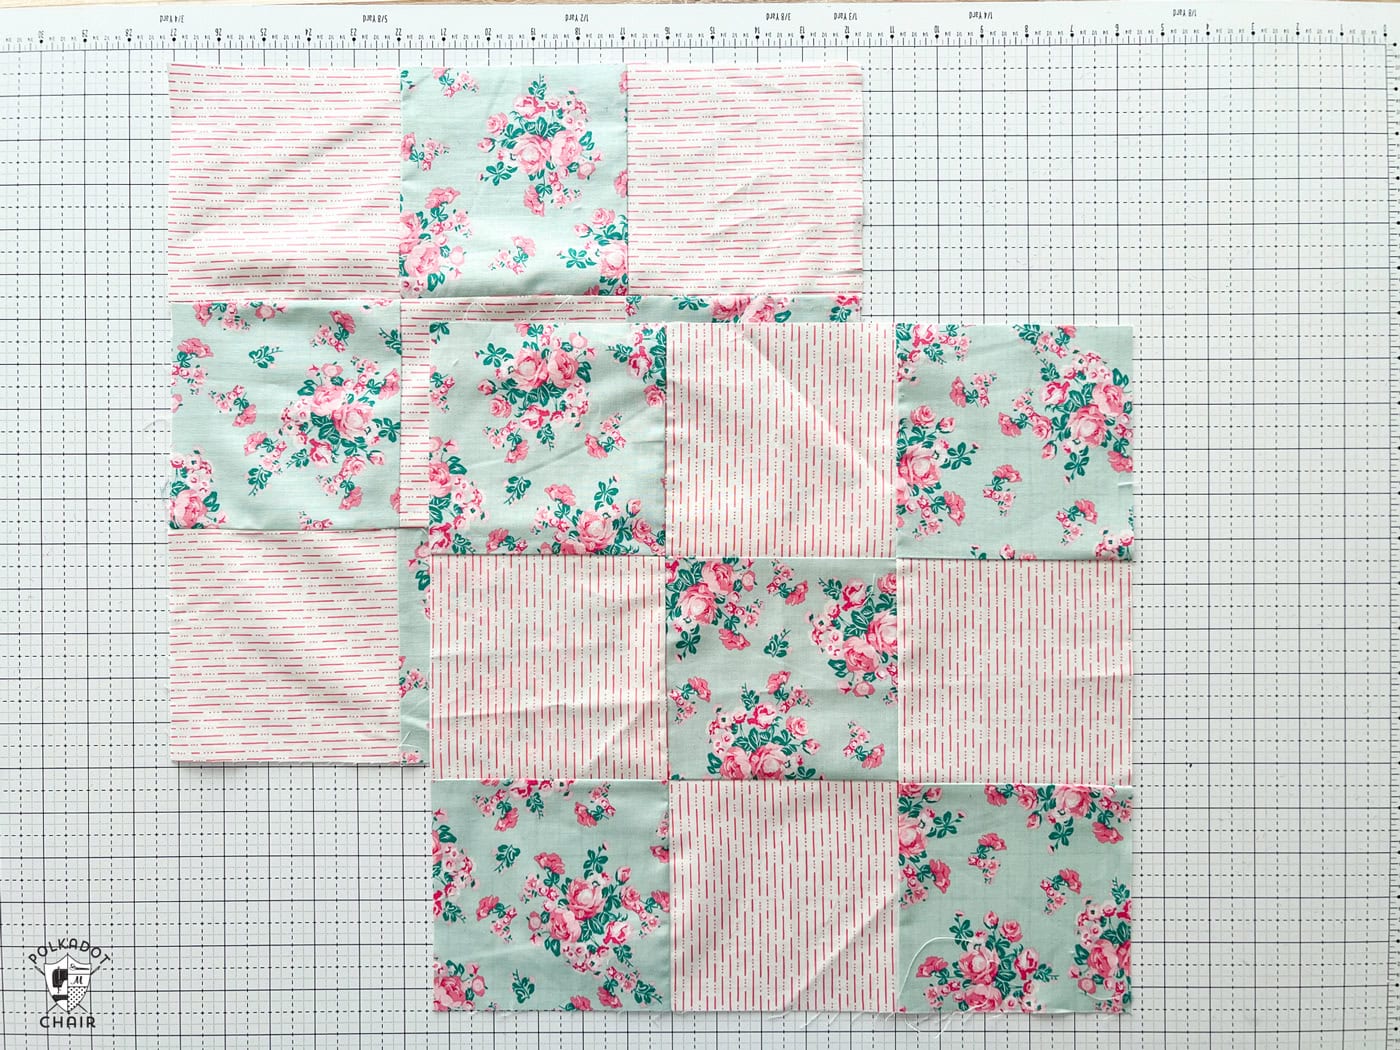
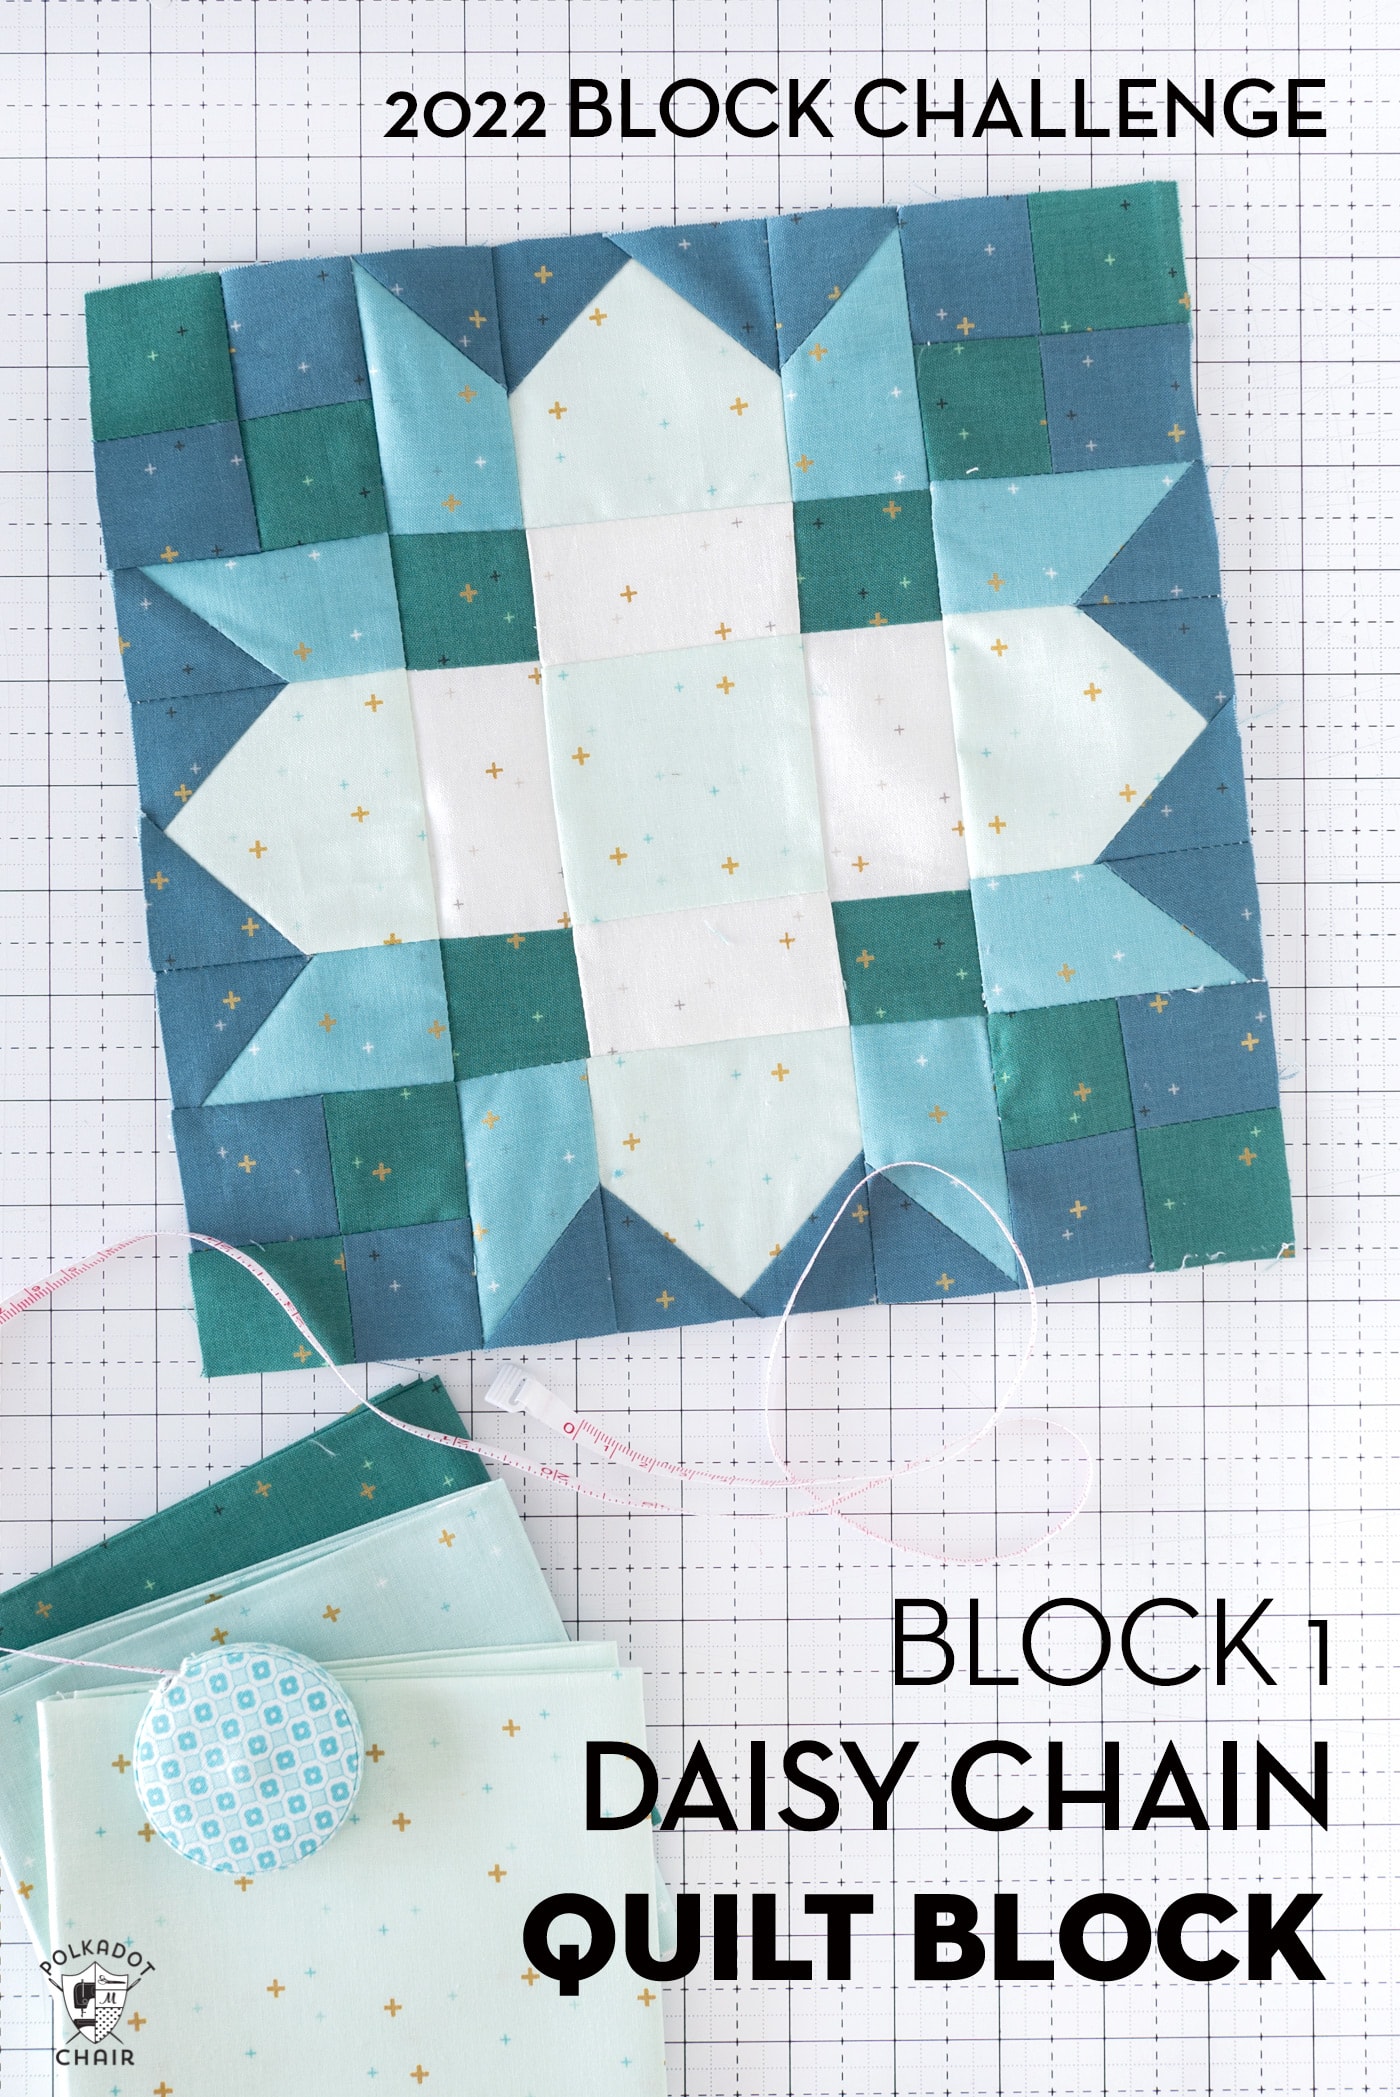
A quilt top is created by combining a variety of blocks (sometimes all the same blocks, sometimes a wide variety, as in a sampler quilt) in a visually interesting way.
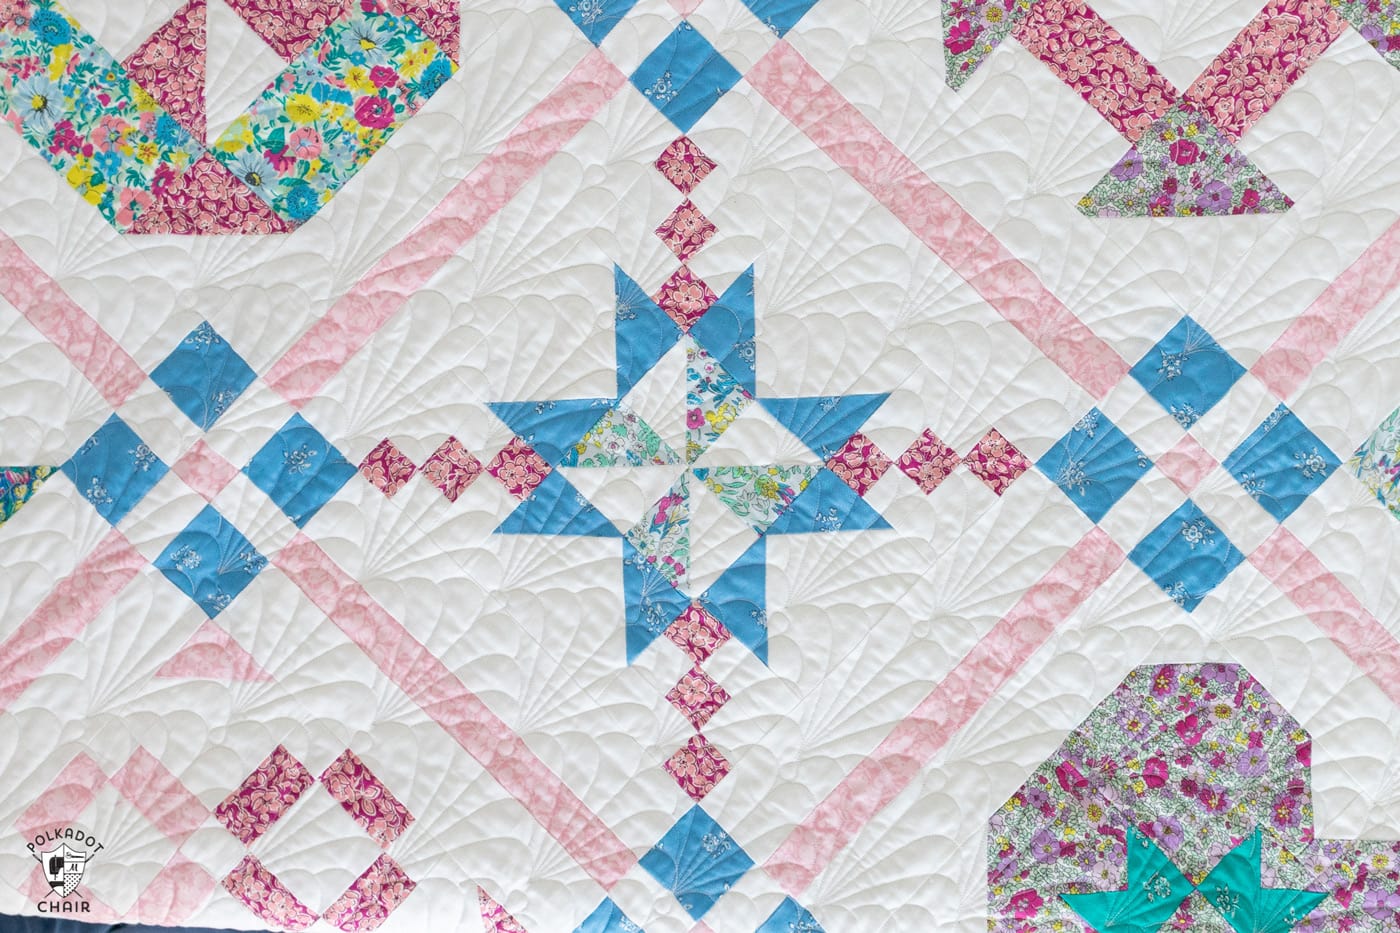
Sometimes, the blocks are sewn together in a grid, and other times, they are sewn with extra pieces of fabric between them (referred to as sashing). There are almost as many ways to sew the quilt blocks together as there are types of blocks!
In my opinion, this is one of the reasons that quilting is so interesting and fun. There are so many unique, beautiful ways to construct a quilt top!
Recommended Tools for Quilters
Before we start constructing a quilt block, let’s chat about some of the supplies you’ll need to get started!
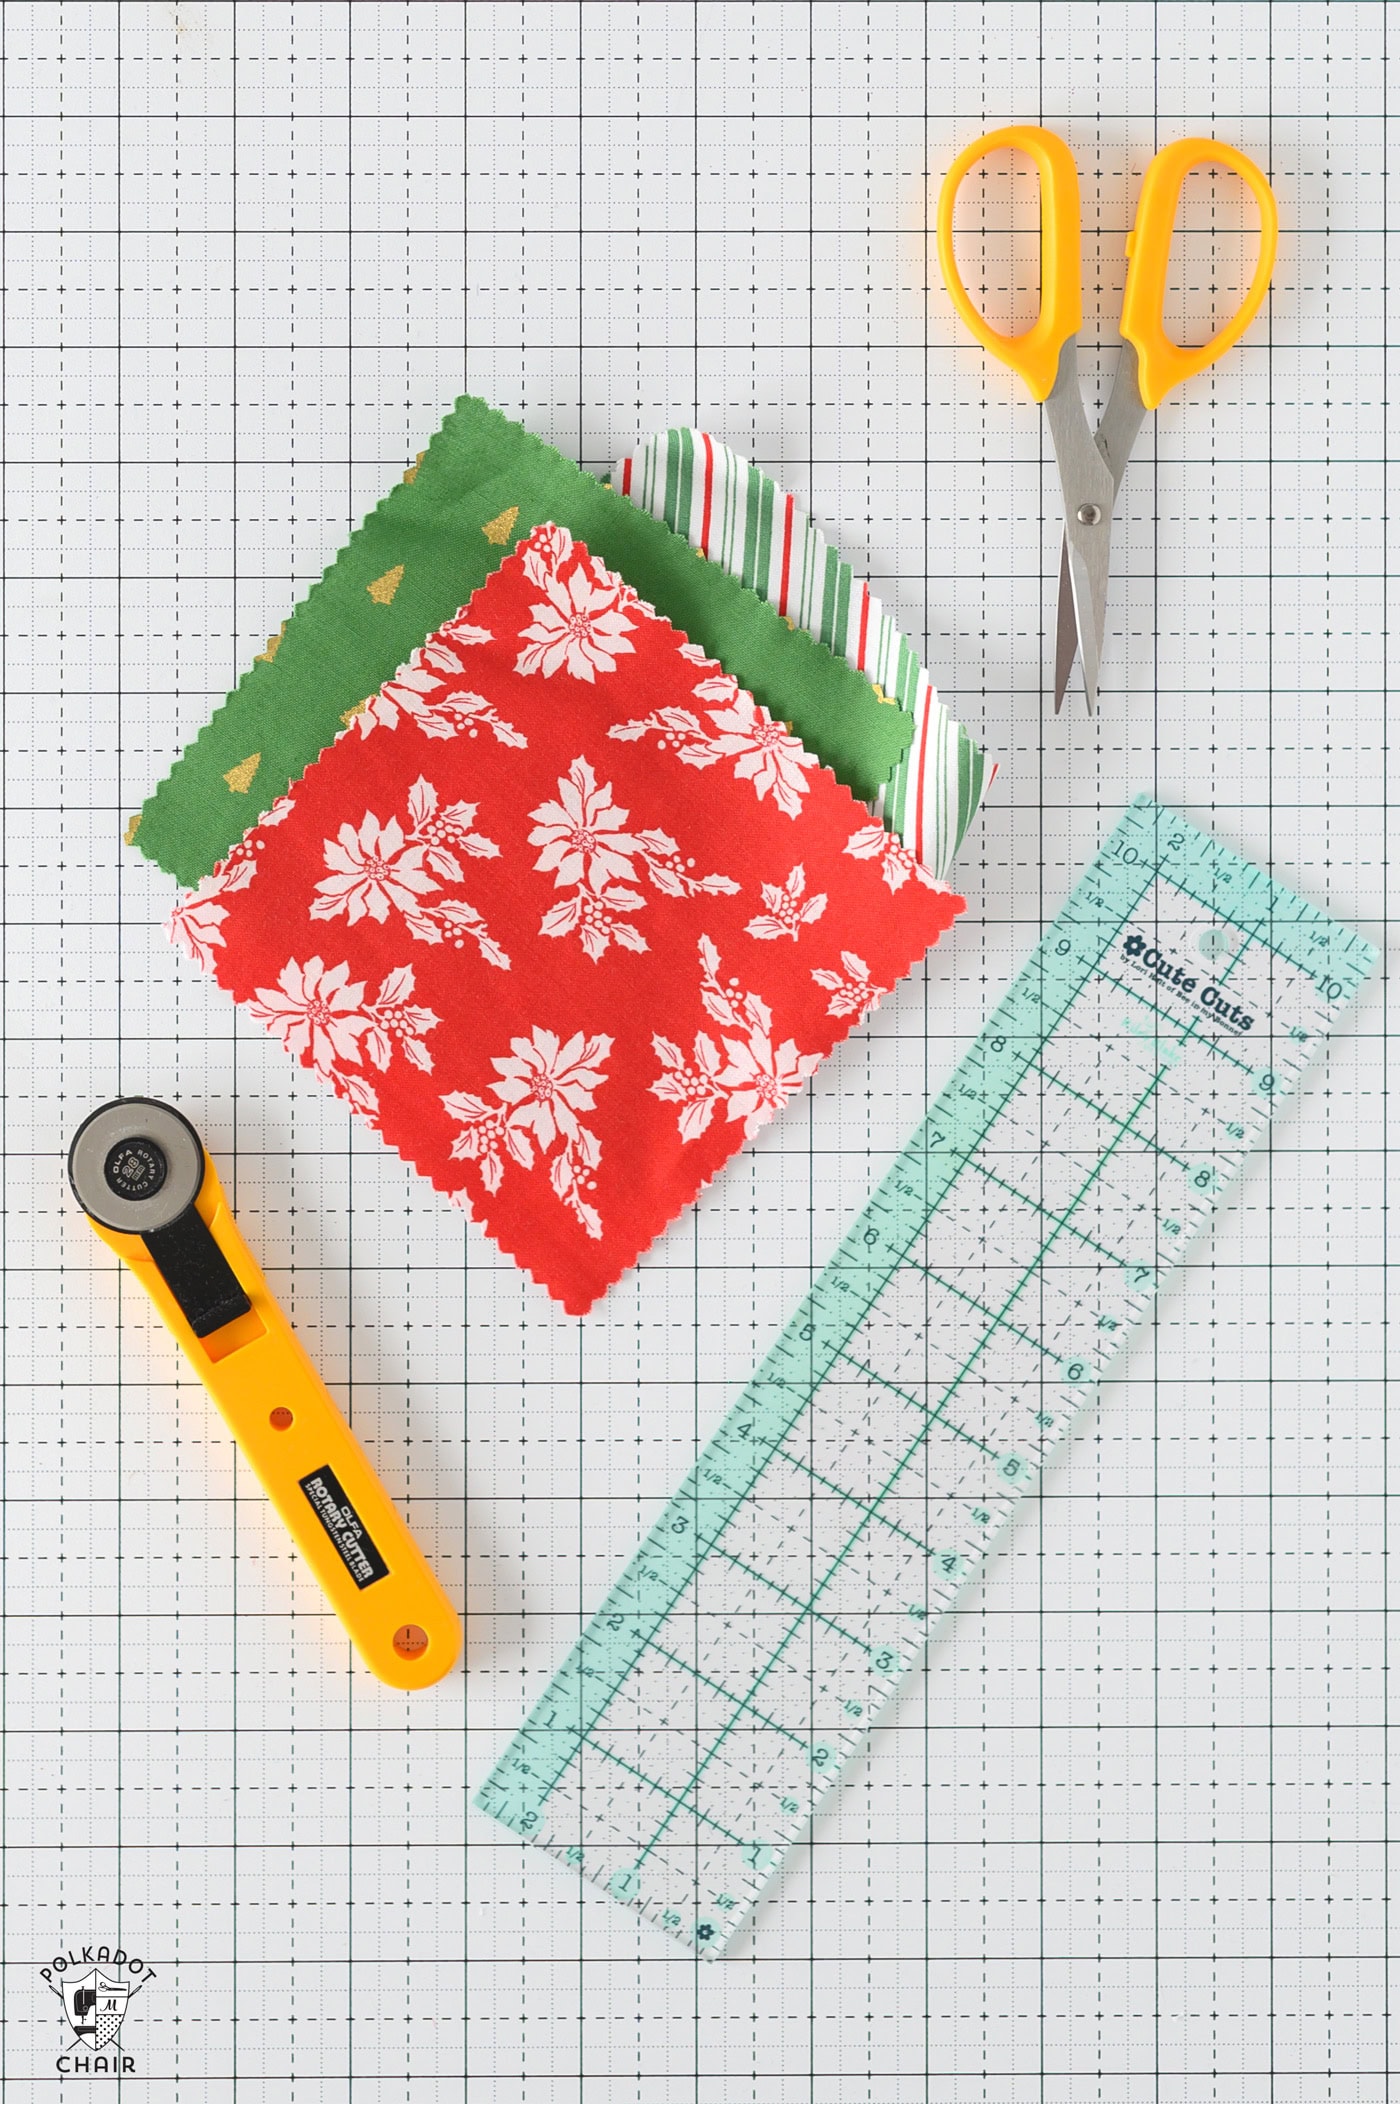
- Rotary Cutter and Cutting Mat: This is for precise cutting of fabric. Quilting differs from sewing because you don’t normally use scissors to cut the fabric. Our guide to cutting fabric with a rotary cutter and ruler will walk you through the steps to cutting fabric this way.
- Quilting Ruler: This tool helps you measure and cut fabric accurately. Start with a large quilt ruler, then add smaller rulers for trimming as you collect more supplies.
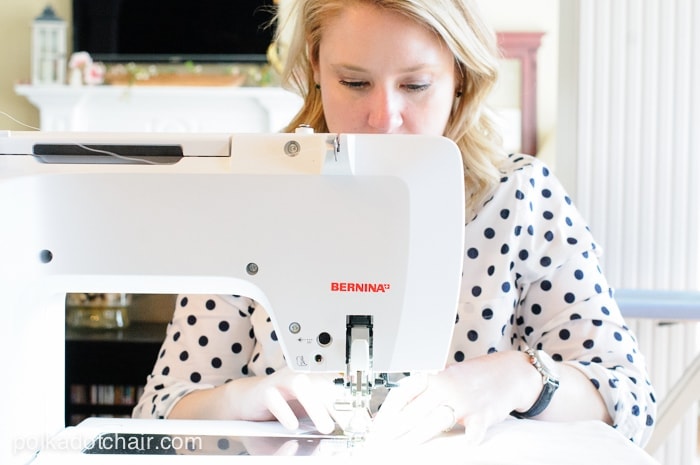
- Sewing Machine with a 1/4″ Foot: A 1/4″ seam allowance is standard in quilting, and a specialized foot will help you maintain this consistency. If you’ll be quilting frequently, investing in this type of specialized sewing machine foot is worth it.
- Pins or Clips: To hold fabric pieces together before sewing.
- Iron and Pressing Surface: Pressing seams as you go is key to accurate quilt blocks. I have a large iron and ironing board that I use for pressing fabric before construction and a smaller iron and wool pressing mat that I keep close to my sewing machine for pressing during the construction process.
Links to My Favorite Tools
- 24″ Quilt Ruler
- Small Quilt Ruler – for Trimming
- Ergonomic Rotary Cutter
- Small Scissors
- Cutting Mat
- Large Iron
- Small Iron
- Wool Pressing Mat
- Sturdy Ironing Board
Things You Need to Know Before You Start
#1 Check your Seam Allowance
The scant quarter-inch seam allowance is the backbone of quilt block construction. An accurate seam allowance ensures that your blocks fit together perfectly.
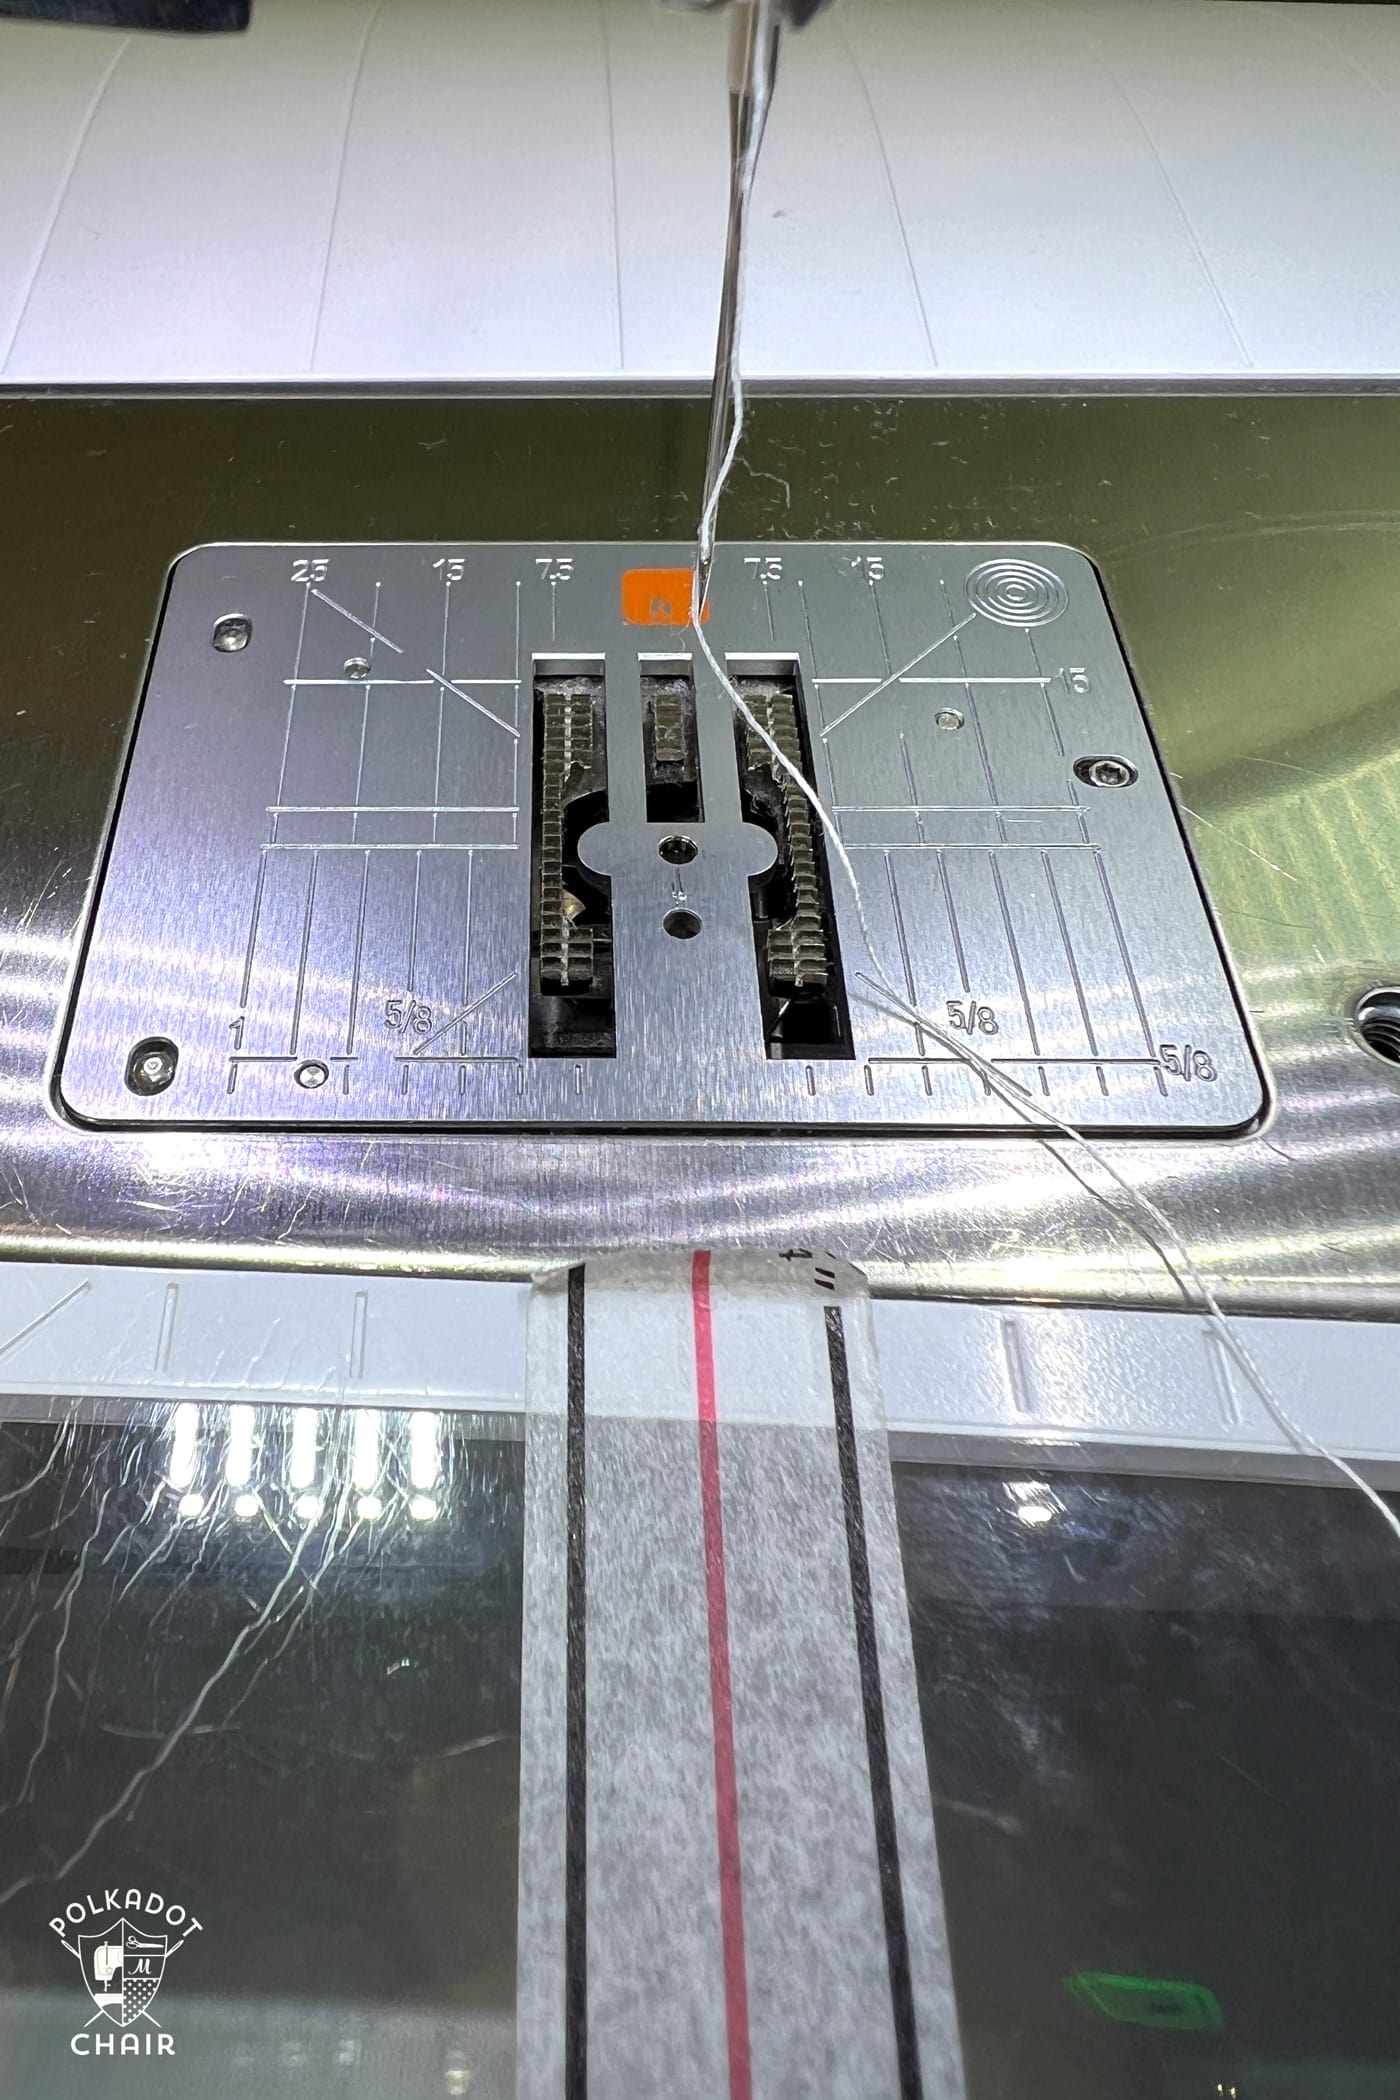
Practice sewing straight quarter-inch seams using a 1/4″ foot on your sewing machine, or mark the seam line on your machine with painter’s tape as a guide. I use Seam Guide Tape by Allision Harris.
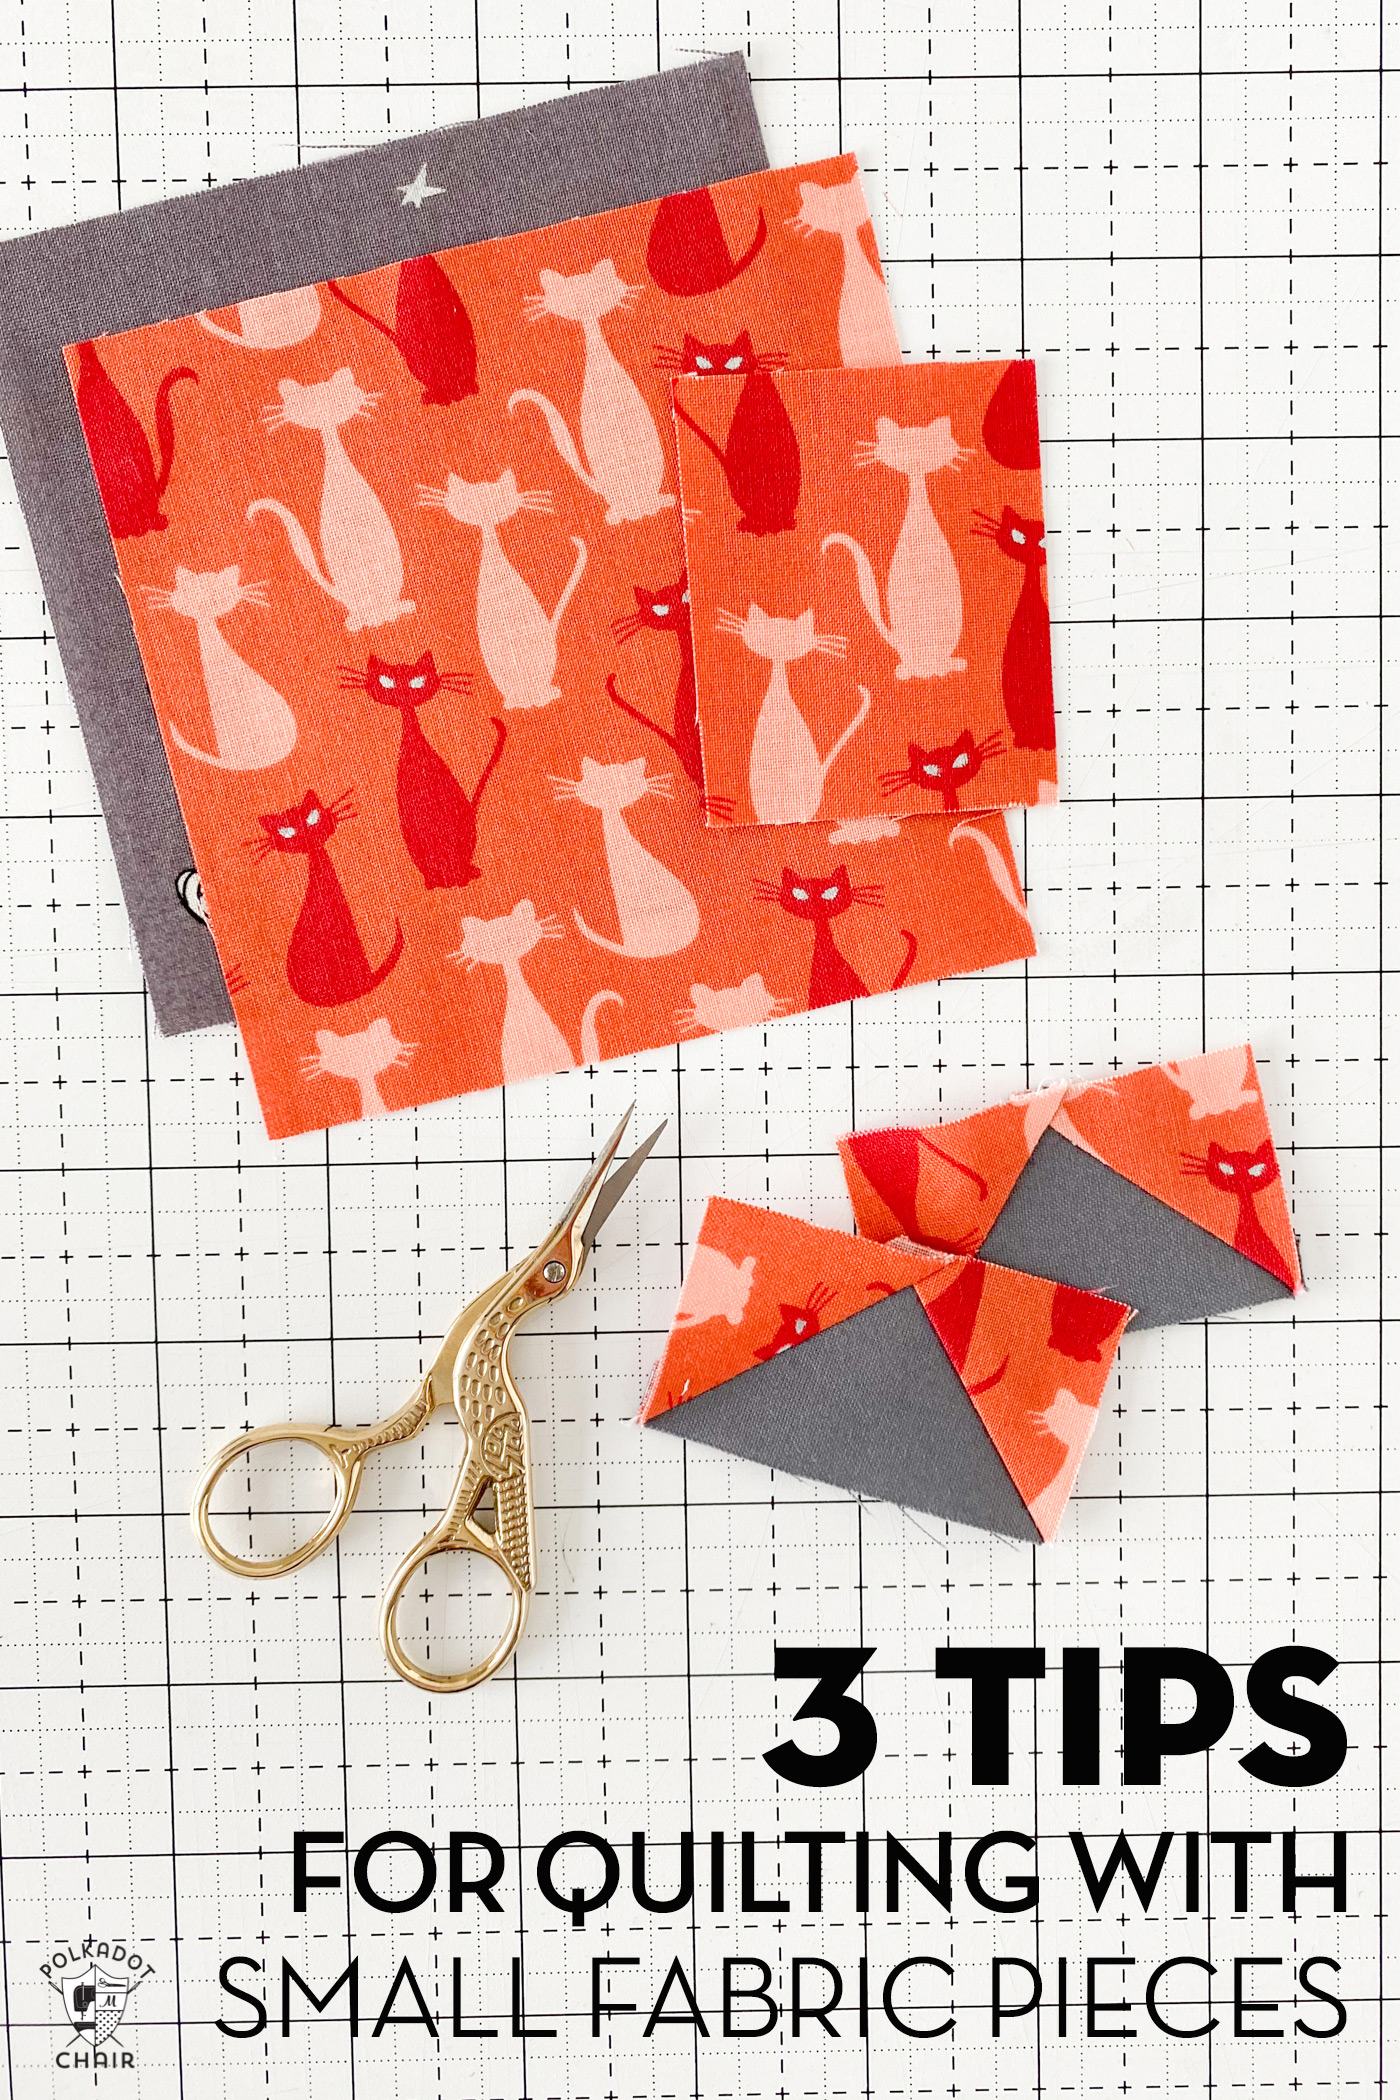
#2 Cut your Fabric Accurately
Accurate cutting is crucial to achieving precise quilt blocks. Measure and cut your fabric pieces using your rotary cutter, mat, and quilting ruler.
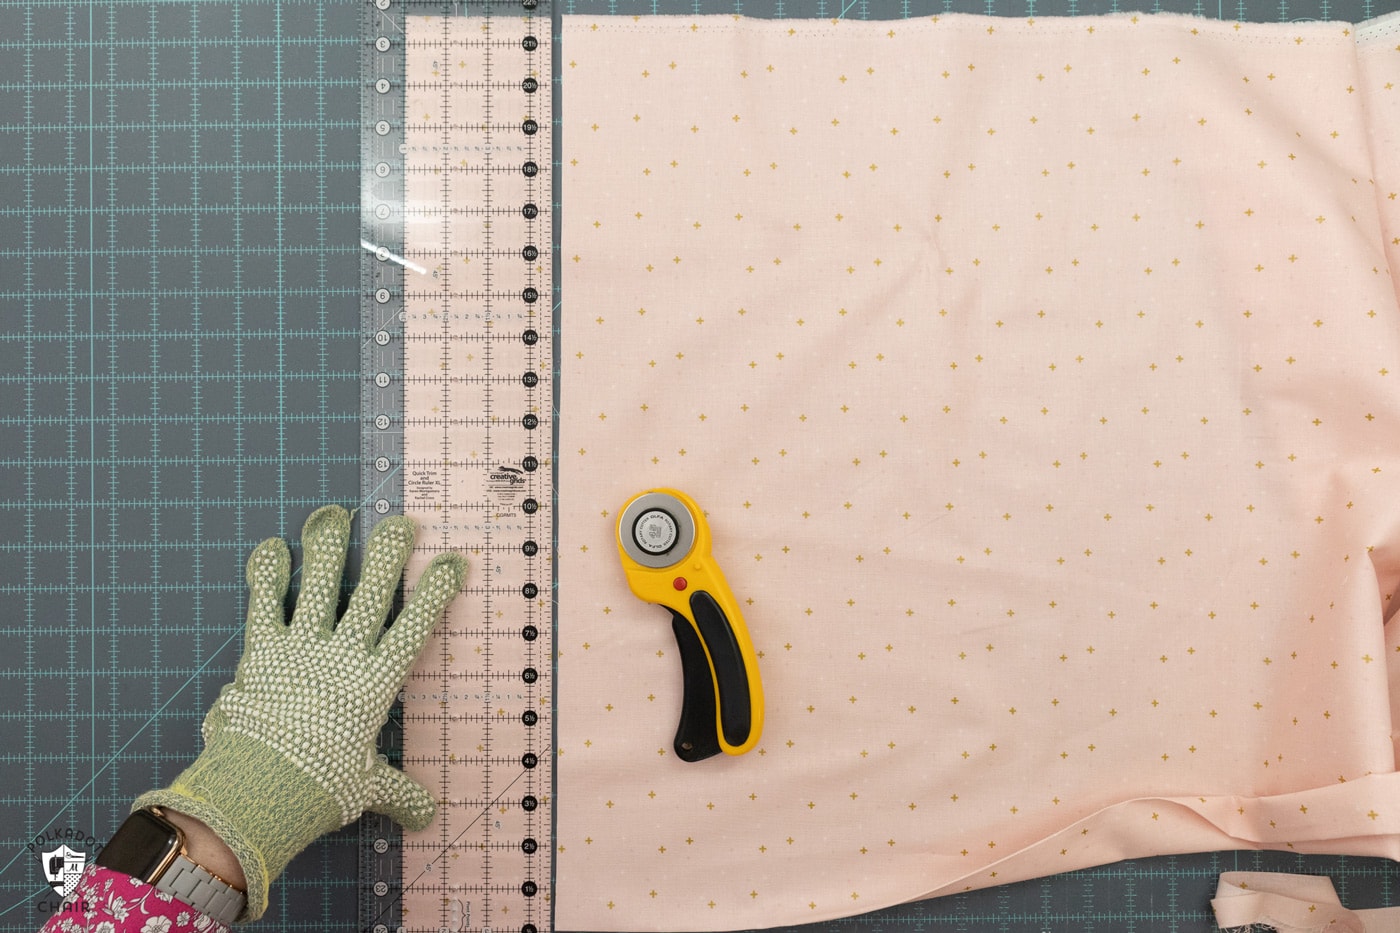
Ensure your fabric is straightened and free of wrinkles before cutting. Take time to avoid mistakes—cutting accurately from the start will save you time and frustration later.
#3 Know How to Press
Pressing is different from ironing—when pressing, you lift and press the iron onto the fabric rather than sliding it.
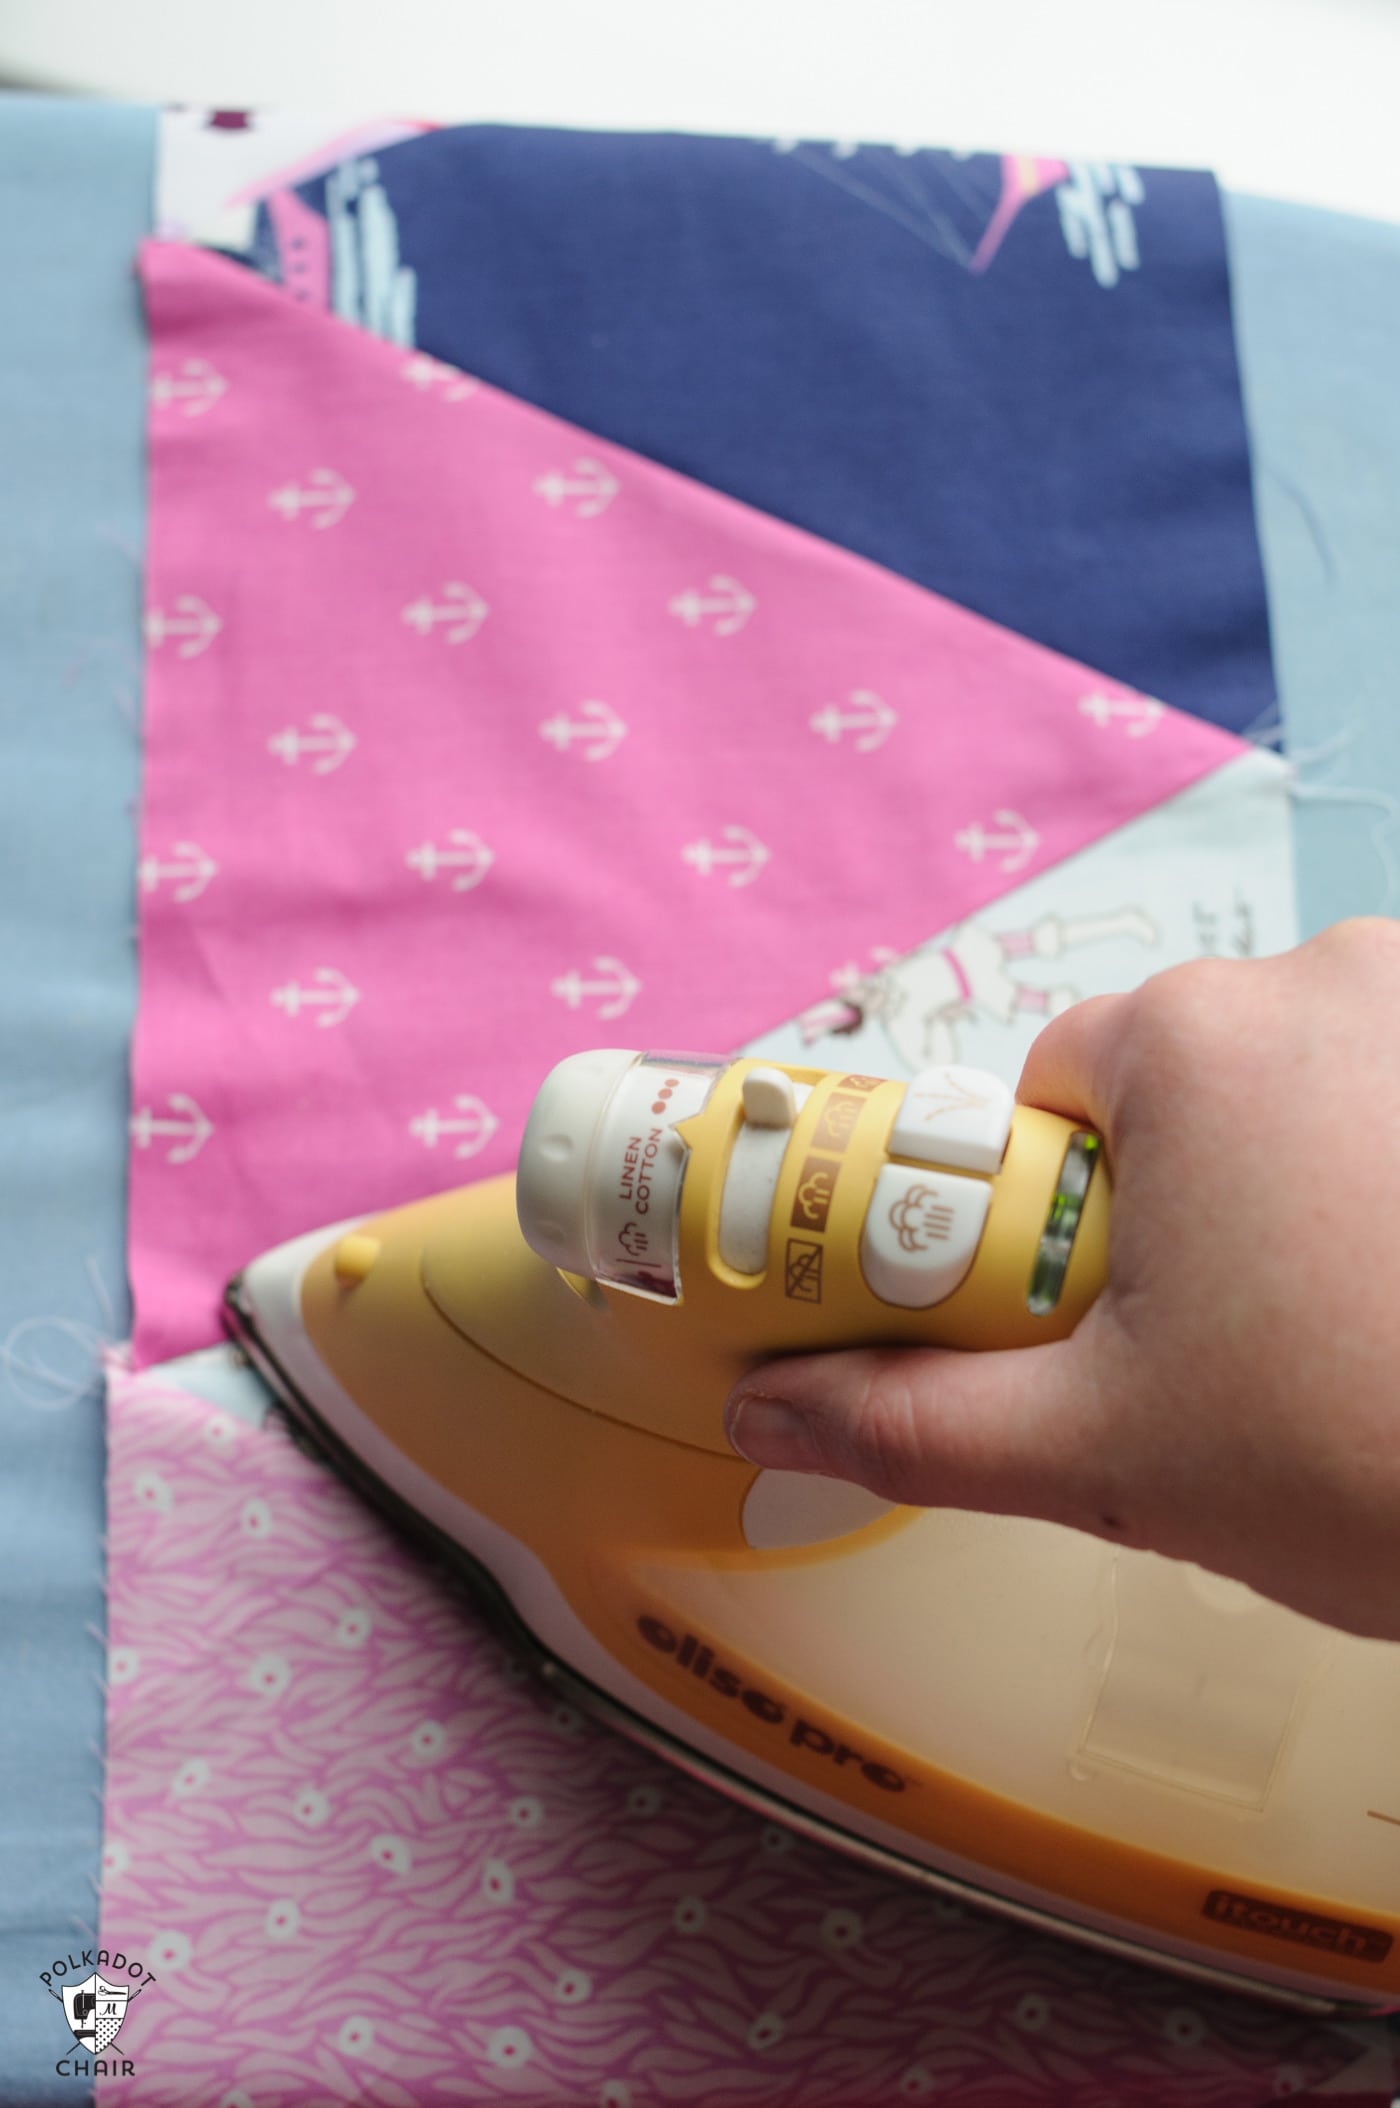
Press your seams as you go, usually towards the darker fabric, to prevent shadows from showing through the lighter fabric. Proper pressing ensures that your quilt blocks lie flat and fit together neatly.
If you’re new to quilting, you may be interested in our guide to proper quilt-pressing techniques.
Common Quilt Block Shapes
Quilt blocks are made up of smaller shapes that, when put together, create a new, unique design. Many times, these shapes are simple squares and rectangles; other times, they are quilt-specific shapes. If you’re new to quilting, some of the names of these shapes/units may seem confusing. Here is a breakdown of some of the more common quilt block units.
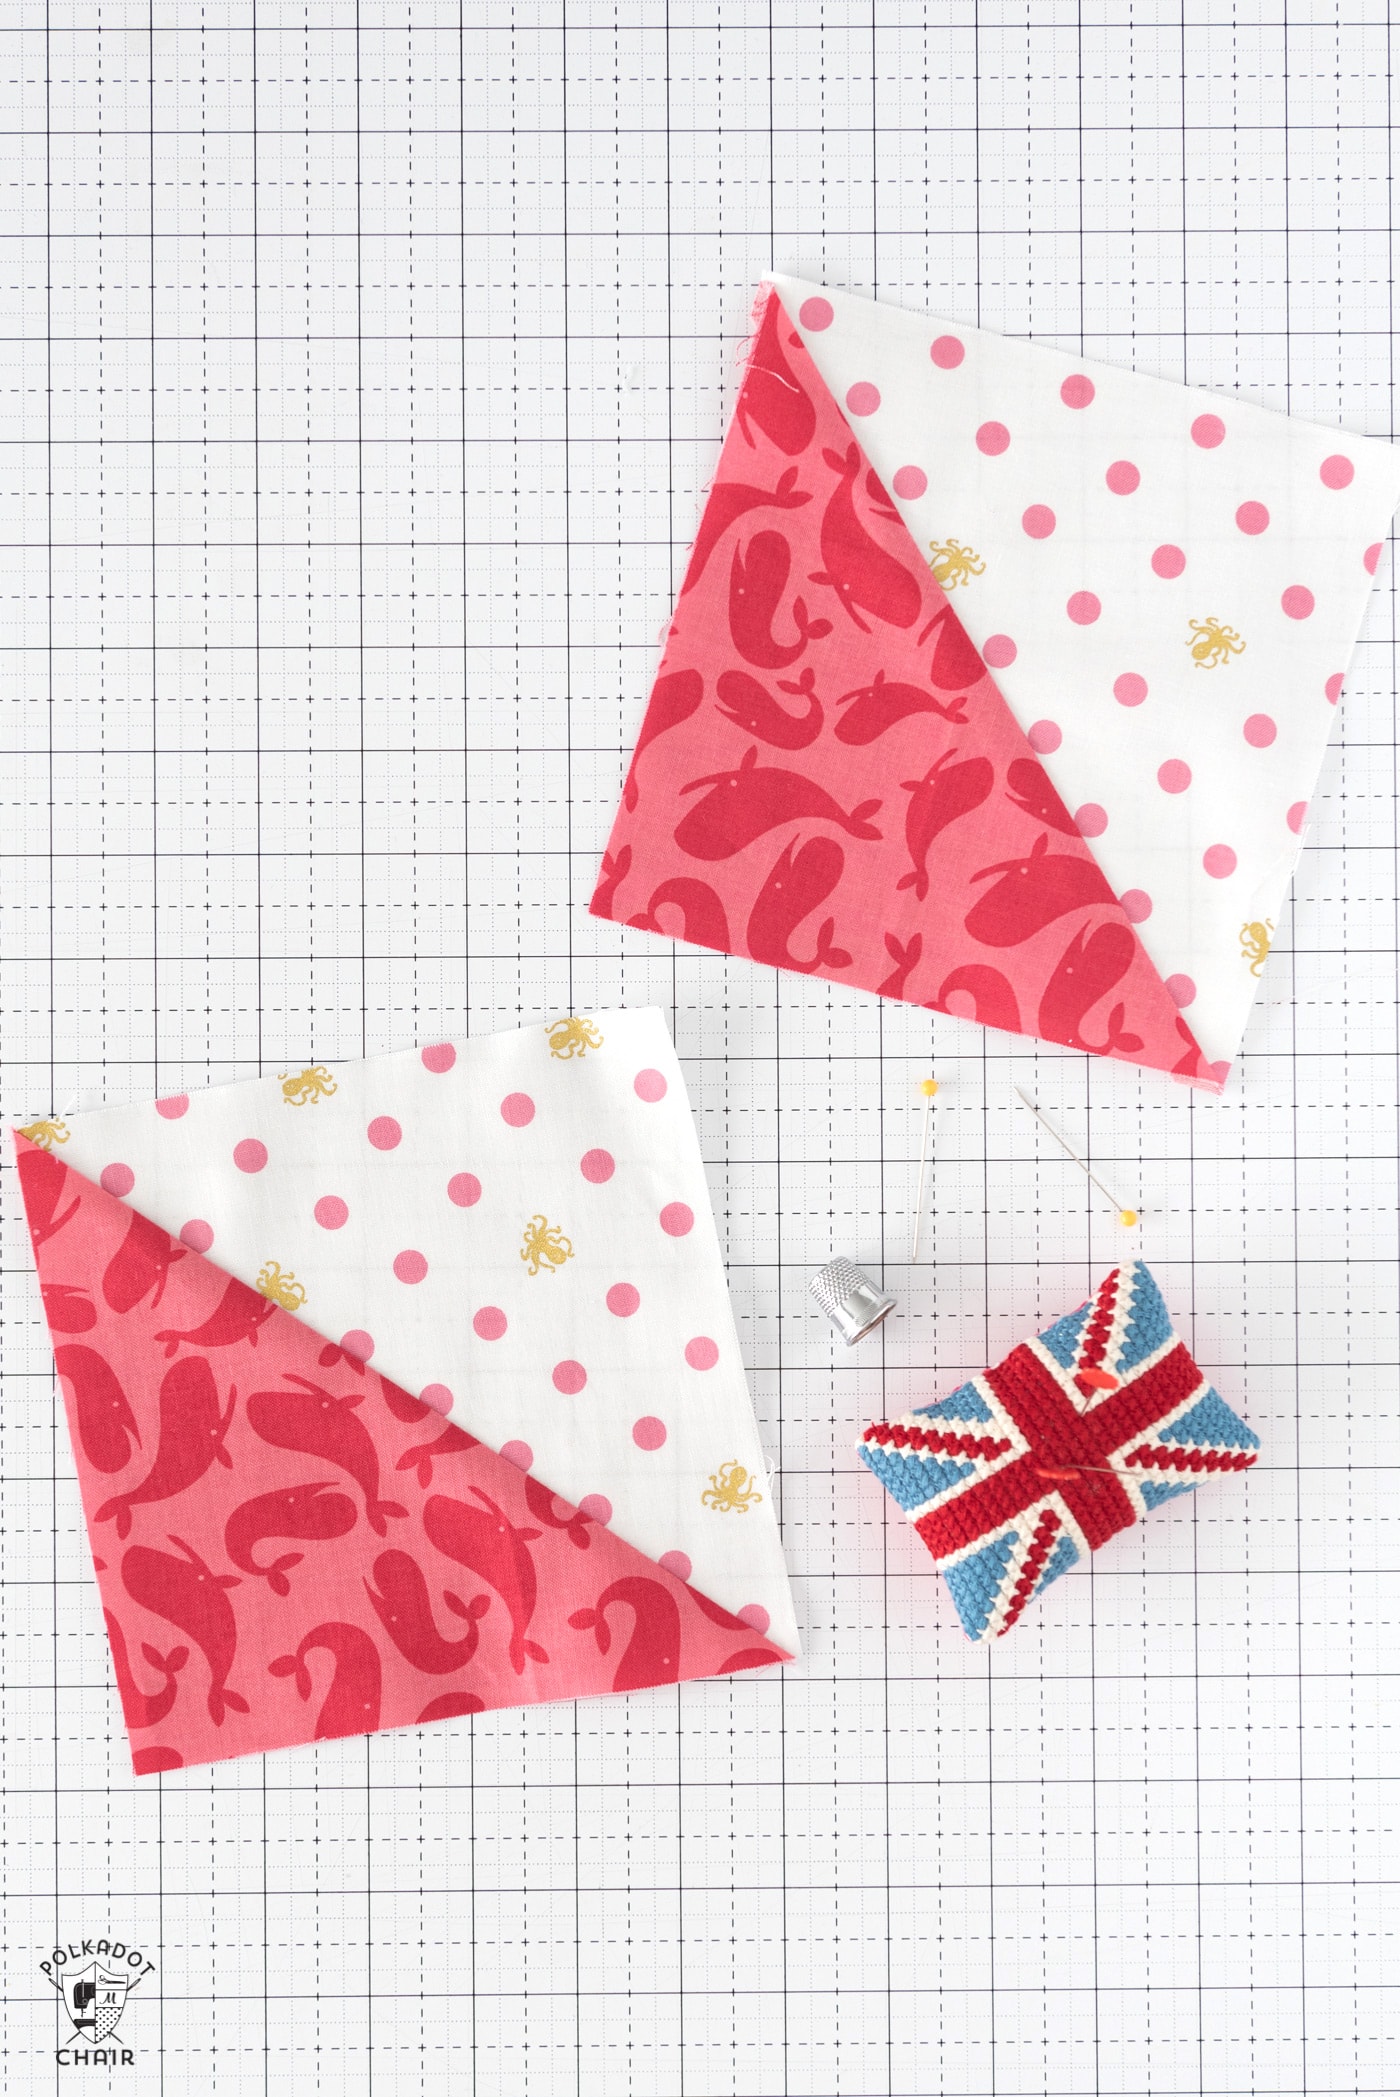
- Half-Square Triangles (HST): A square unit comprising two right triangles. It is created by sewing two squares of fabric together on the diagonal and then cutting them apart. HSTs are versatile and used in many quilt patterns.
- Flying Geese: A rectangular unit with a triangle pointing upwards, often used in borders or to create star patterns.
- Four-Patch: A block of four smaller squares arranged in a 2×2 grid. It’s simple but forms the basis for more complex designs.
- Nine-Patch: This block is similar to the Four-Patch but with nine smaller squares arranged in a 3×3 grid. It’s a classic block used in many traditional quilts.
Troubleshooting Quilting Issues
Even experienced quilters encounter issues. Here are some common problems and how to fix them:
- Wonky Blocks: If your blocks are not square, check your seam allowance and cutting accuracy. If necessary, use a square ruler to trim them to size.
- Seams Not Lining Up: Pin intersections carefully and press seams open or to one side to reduce bulk and improve alignment.
- Fabric Stretching: Handle fabric gently to avoid stretching, especially on bias edges. Starching fabric before cutting can also help maintain stability.
- Find more tips in our quilting troubleshooting guide.
Beginners Tip: Practice!
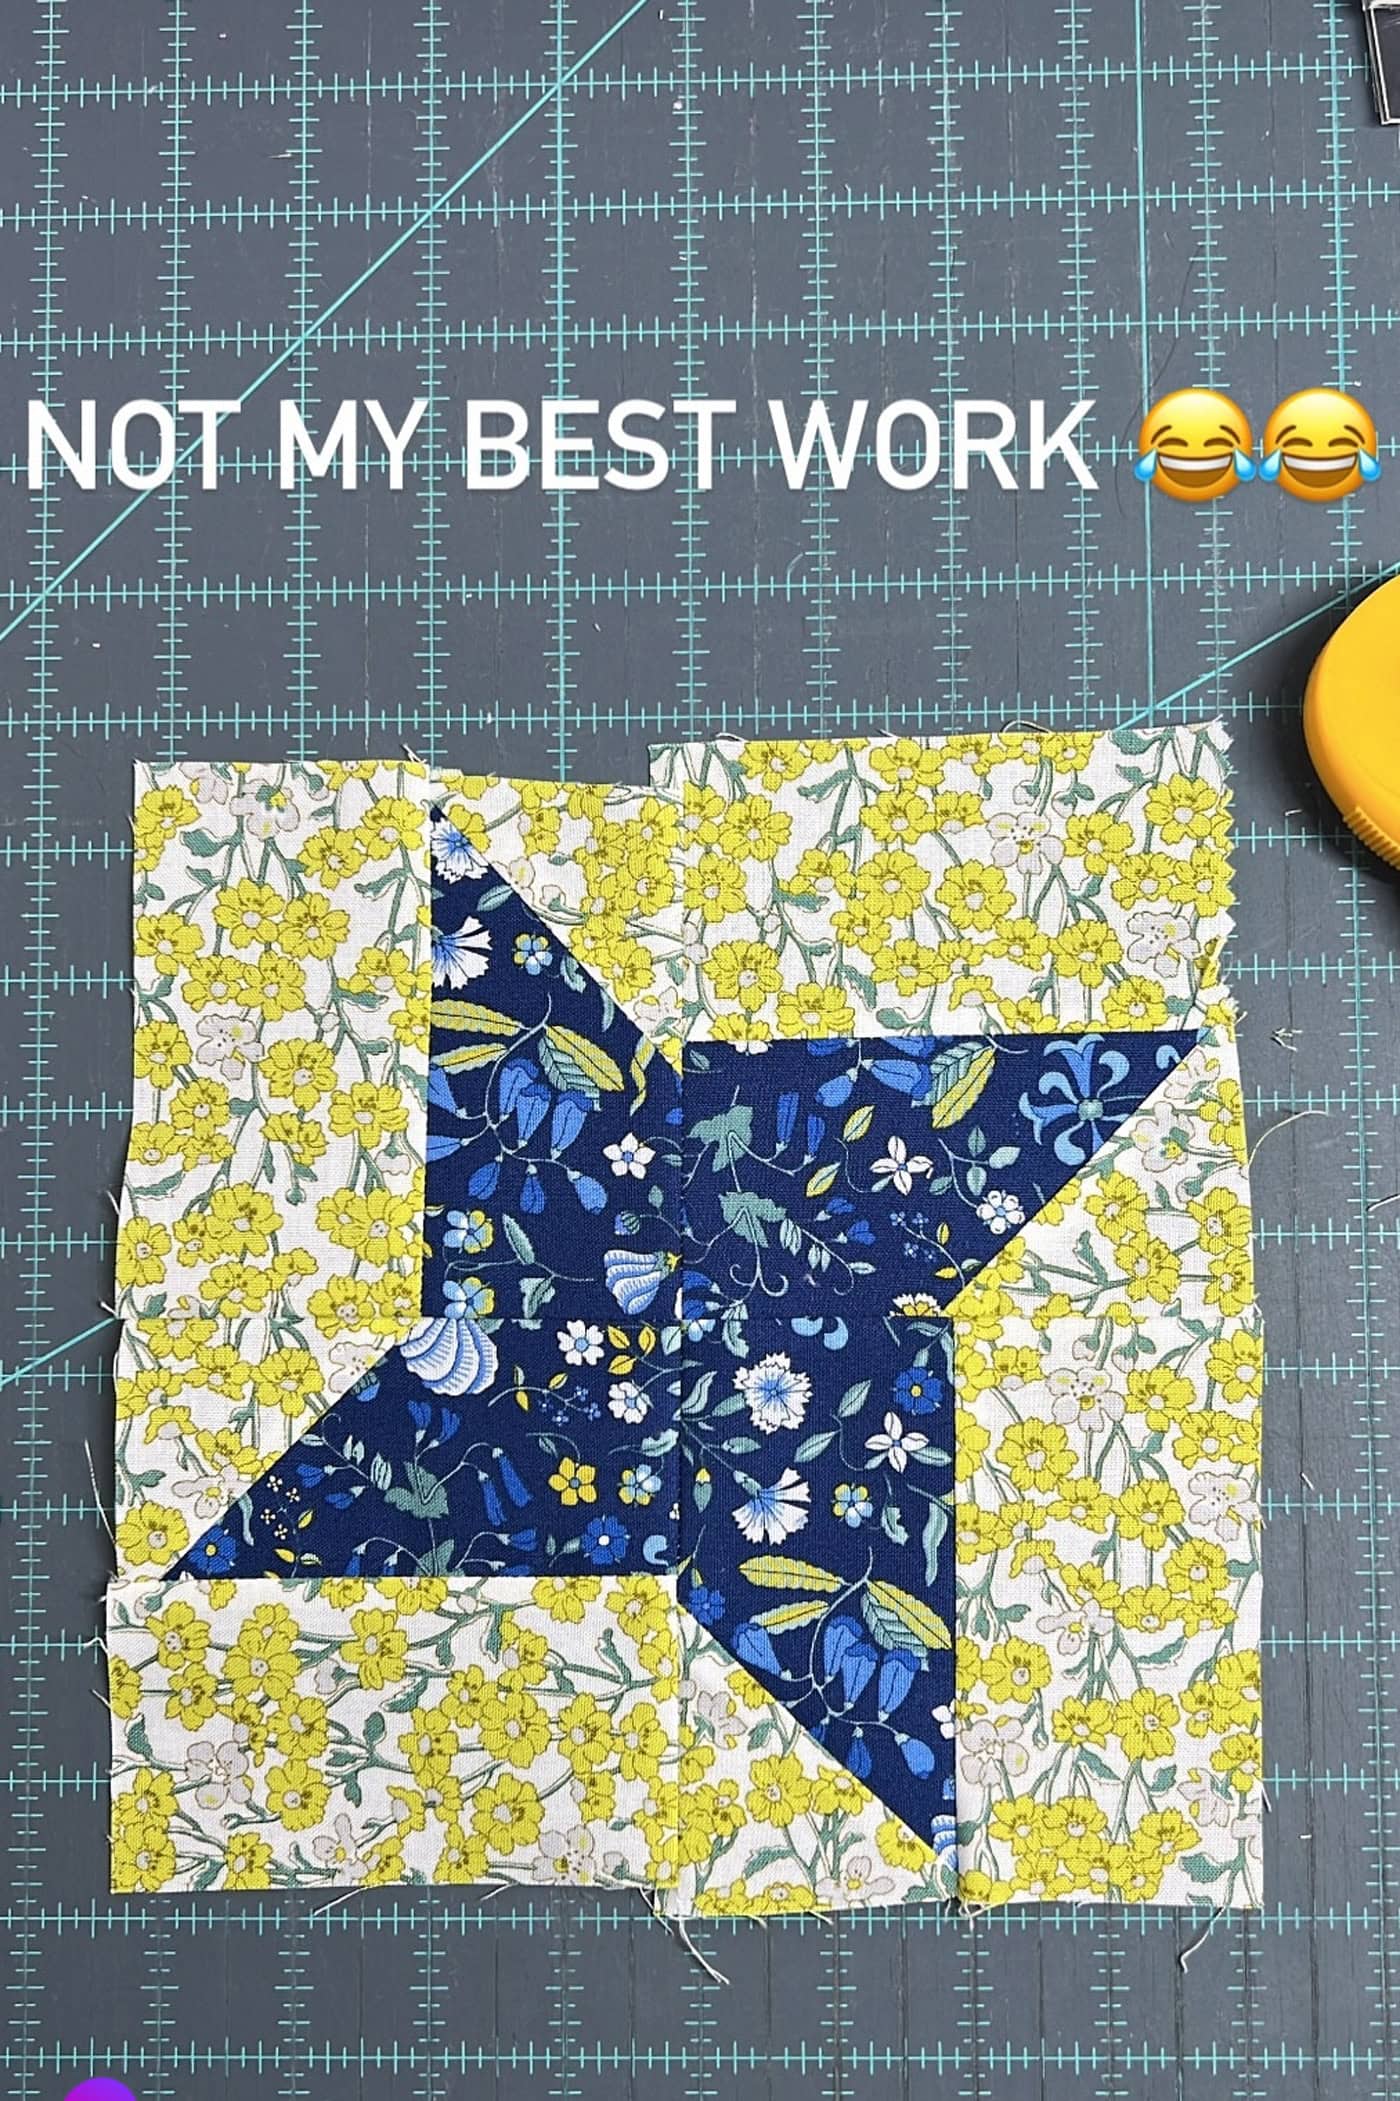
The key to mastering quilt block techniques is practice. Start with simpler blocks and gradually work up to more complex designs. Don’t be discouraged by mistakes—they’re part of the learning process. You have to be ok with making a mistake if you will improve and learn.
Let go of some of the pressure; it’s just fabric! If you mess up, it is ok. Some of my favorite quilts were created when I needed a “plan B” after making a mistake!
Consider creating a sampler quilt, which includes a variety of blocks, as a way to practice different techniques in one project.
Once you’re comfortable with basic block construction, experiment with color choices and layouts. Play with fabric combinations and try different arrangements to create unique quilt designs. Remember, quilting is as much about creativity as it is about precision.
Where to Find Quilt Block Patterns
There is so much more to this process than I can mention here. I firmly believe the best way to learn is to DO!
Just start sewing! The more you sew, the more you will learn. If you’re looking for suggestions for quilt block patterns to get you started, browse our extensive Quilt Block pattern archive for a project that interests you.

Quilting takes time, patience, and practice, but the rewards are worth it. As you improve your skills, you’ll find that quilting becomes more enjoyable, and your projects will reflect that! Best of all, you’ll have a stack of quilts to cuddle up with or gift to others!
Some excellent tips and lots of encouragement.