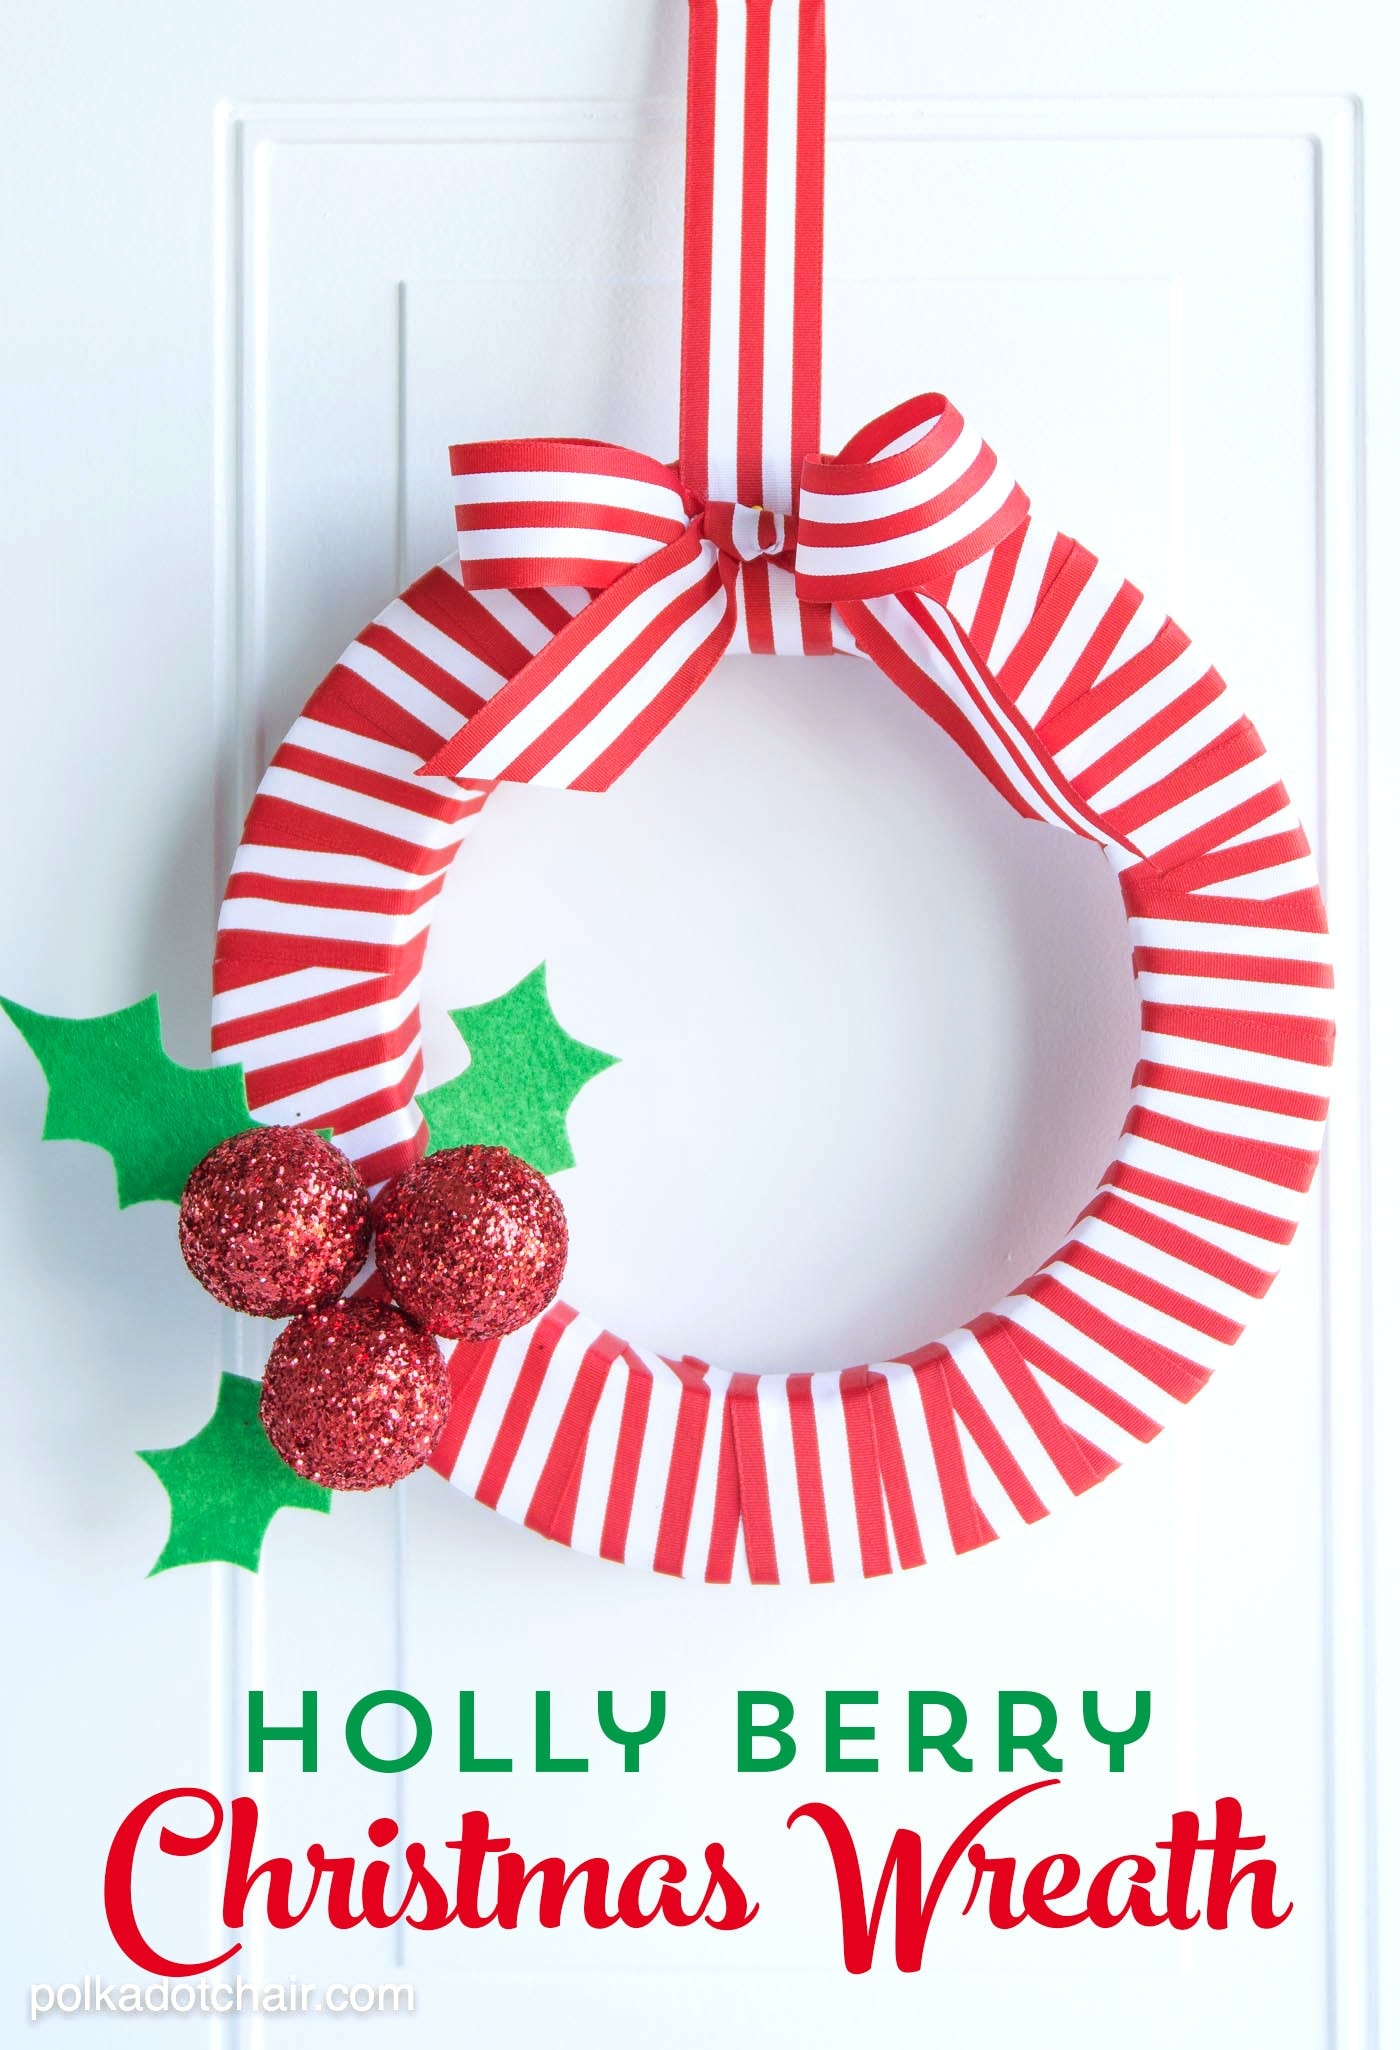
Holly Berry DIY Ribbon Christmas Wreath
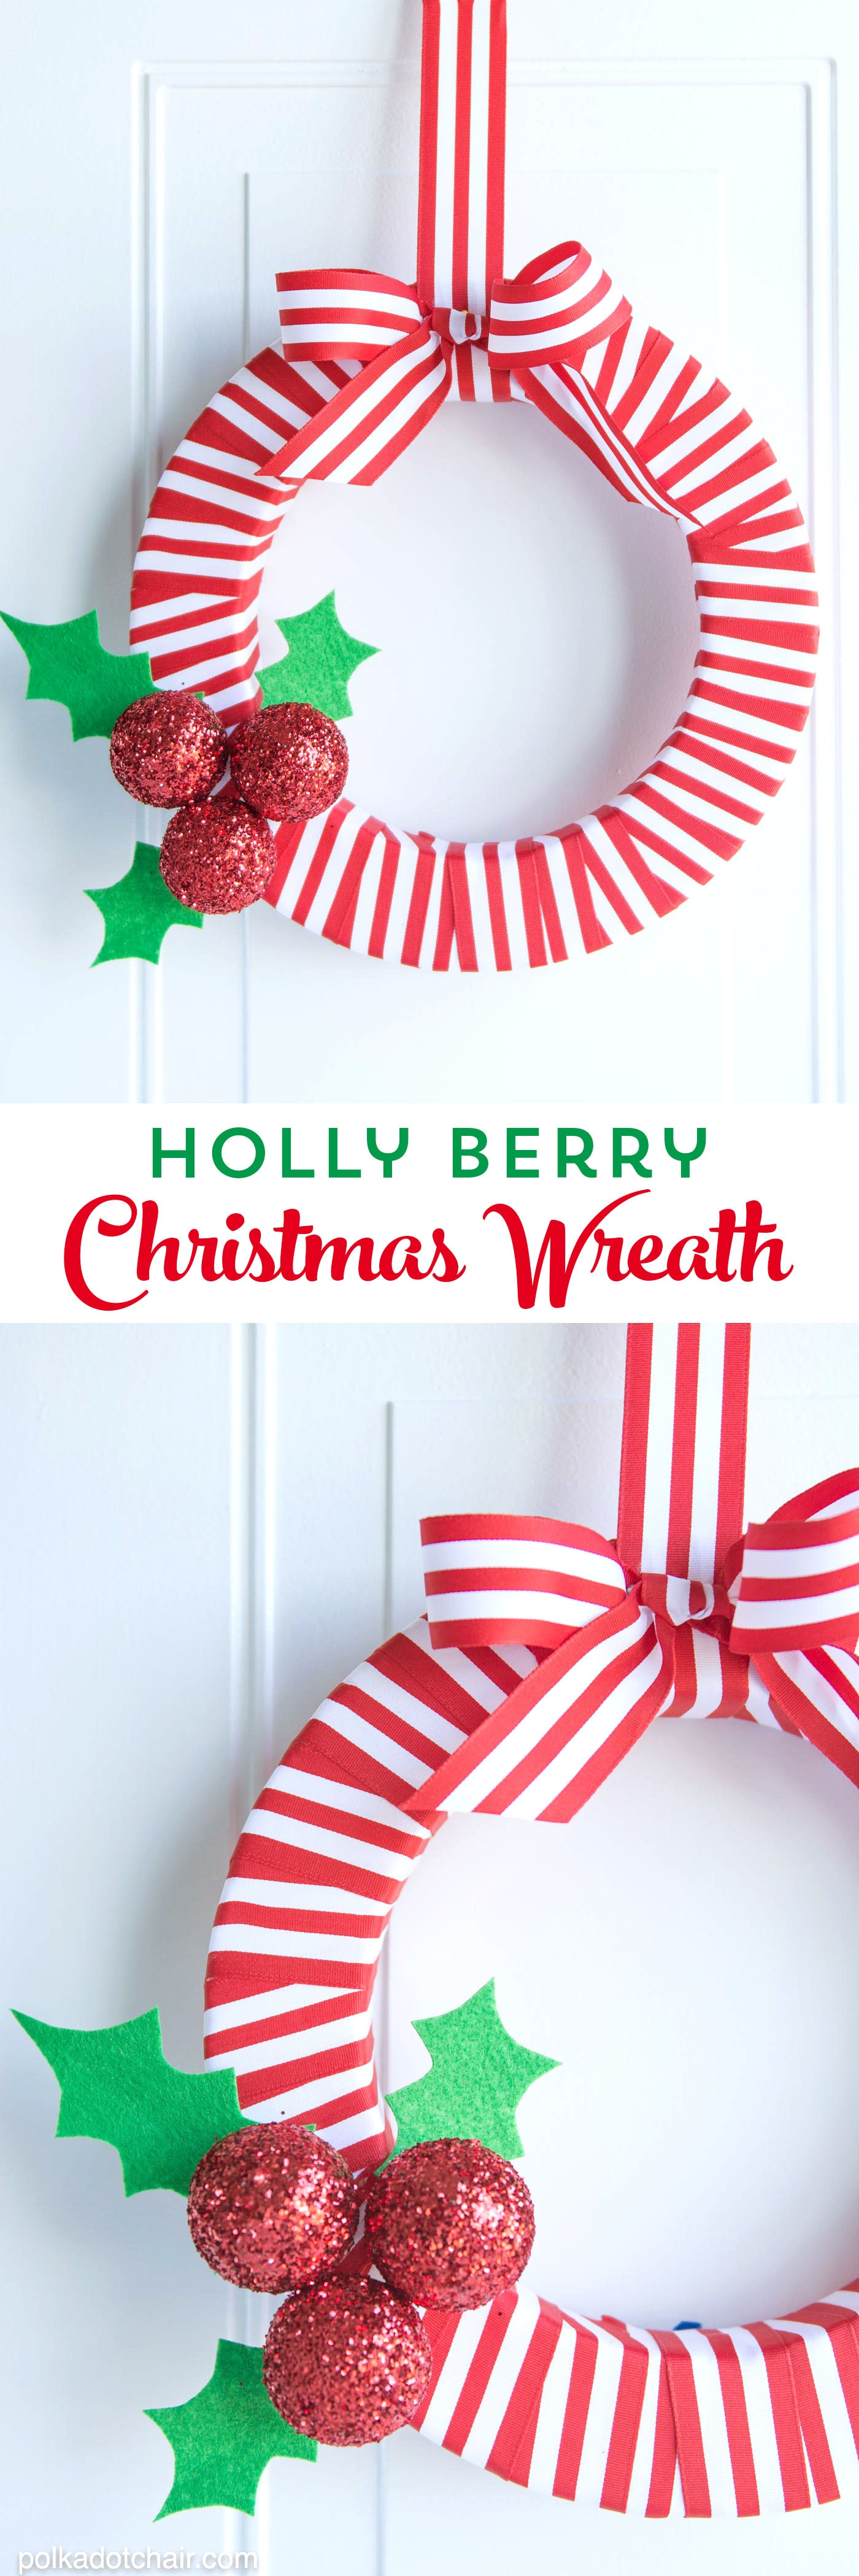
This Holly Berry DIY Ribbon Christmas Wreath is so simple to make! Invite a few friends over to make one and have a Holiday Crafternoon! This project is sponsored by Make It Fun Crafts, all ideas, work, opinions and crazy ideas are 100% mine.
A long time ago one of my girls had the cutest Christmas outfit. It had red and white striped leggings and a red top with holly berries embroidered on it. I loved that little outfit. I think I especially loved the stripes. The wreath I’m going to show you how to make today is inspired by that little outfit from so many years ago.
The folks at Make it Fun Crafts emailed me and challenged me to make a craft from their Holiday E-Book and add a bit of my own personality to it.
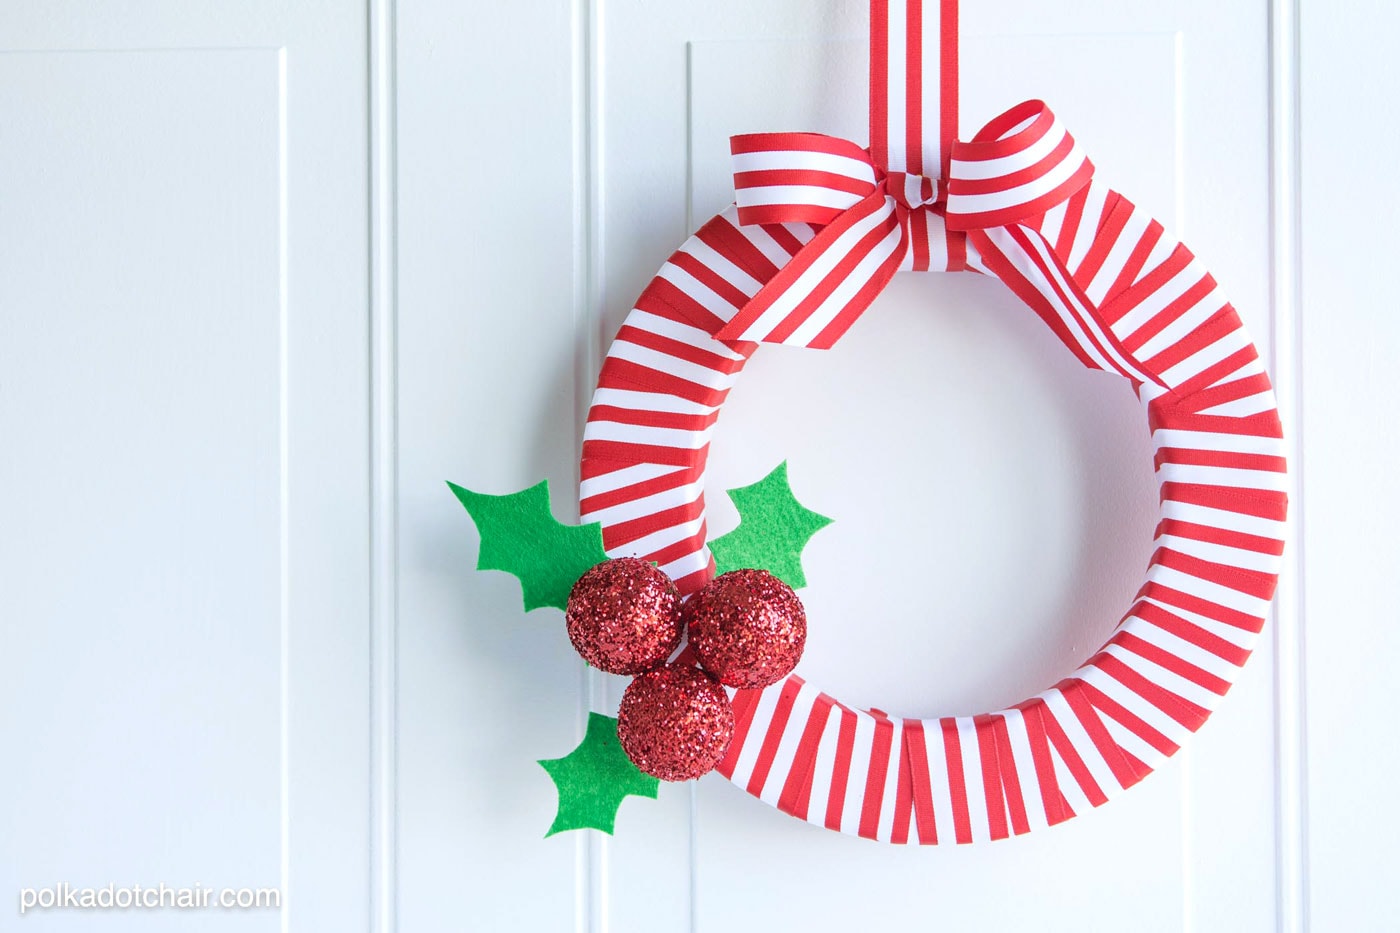
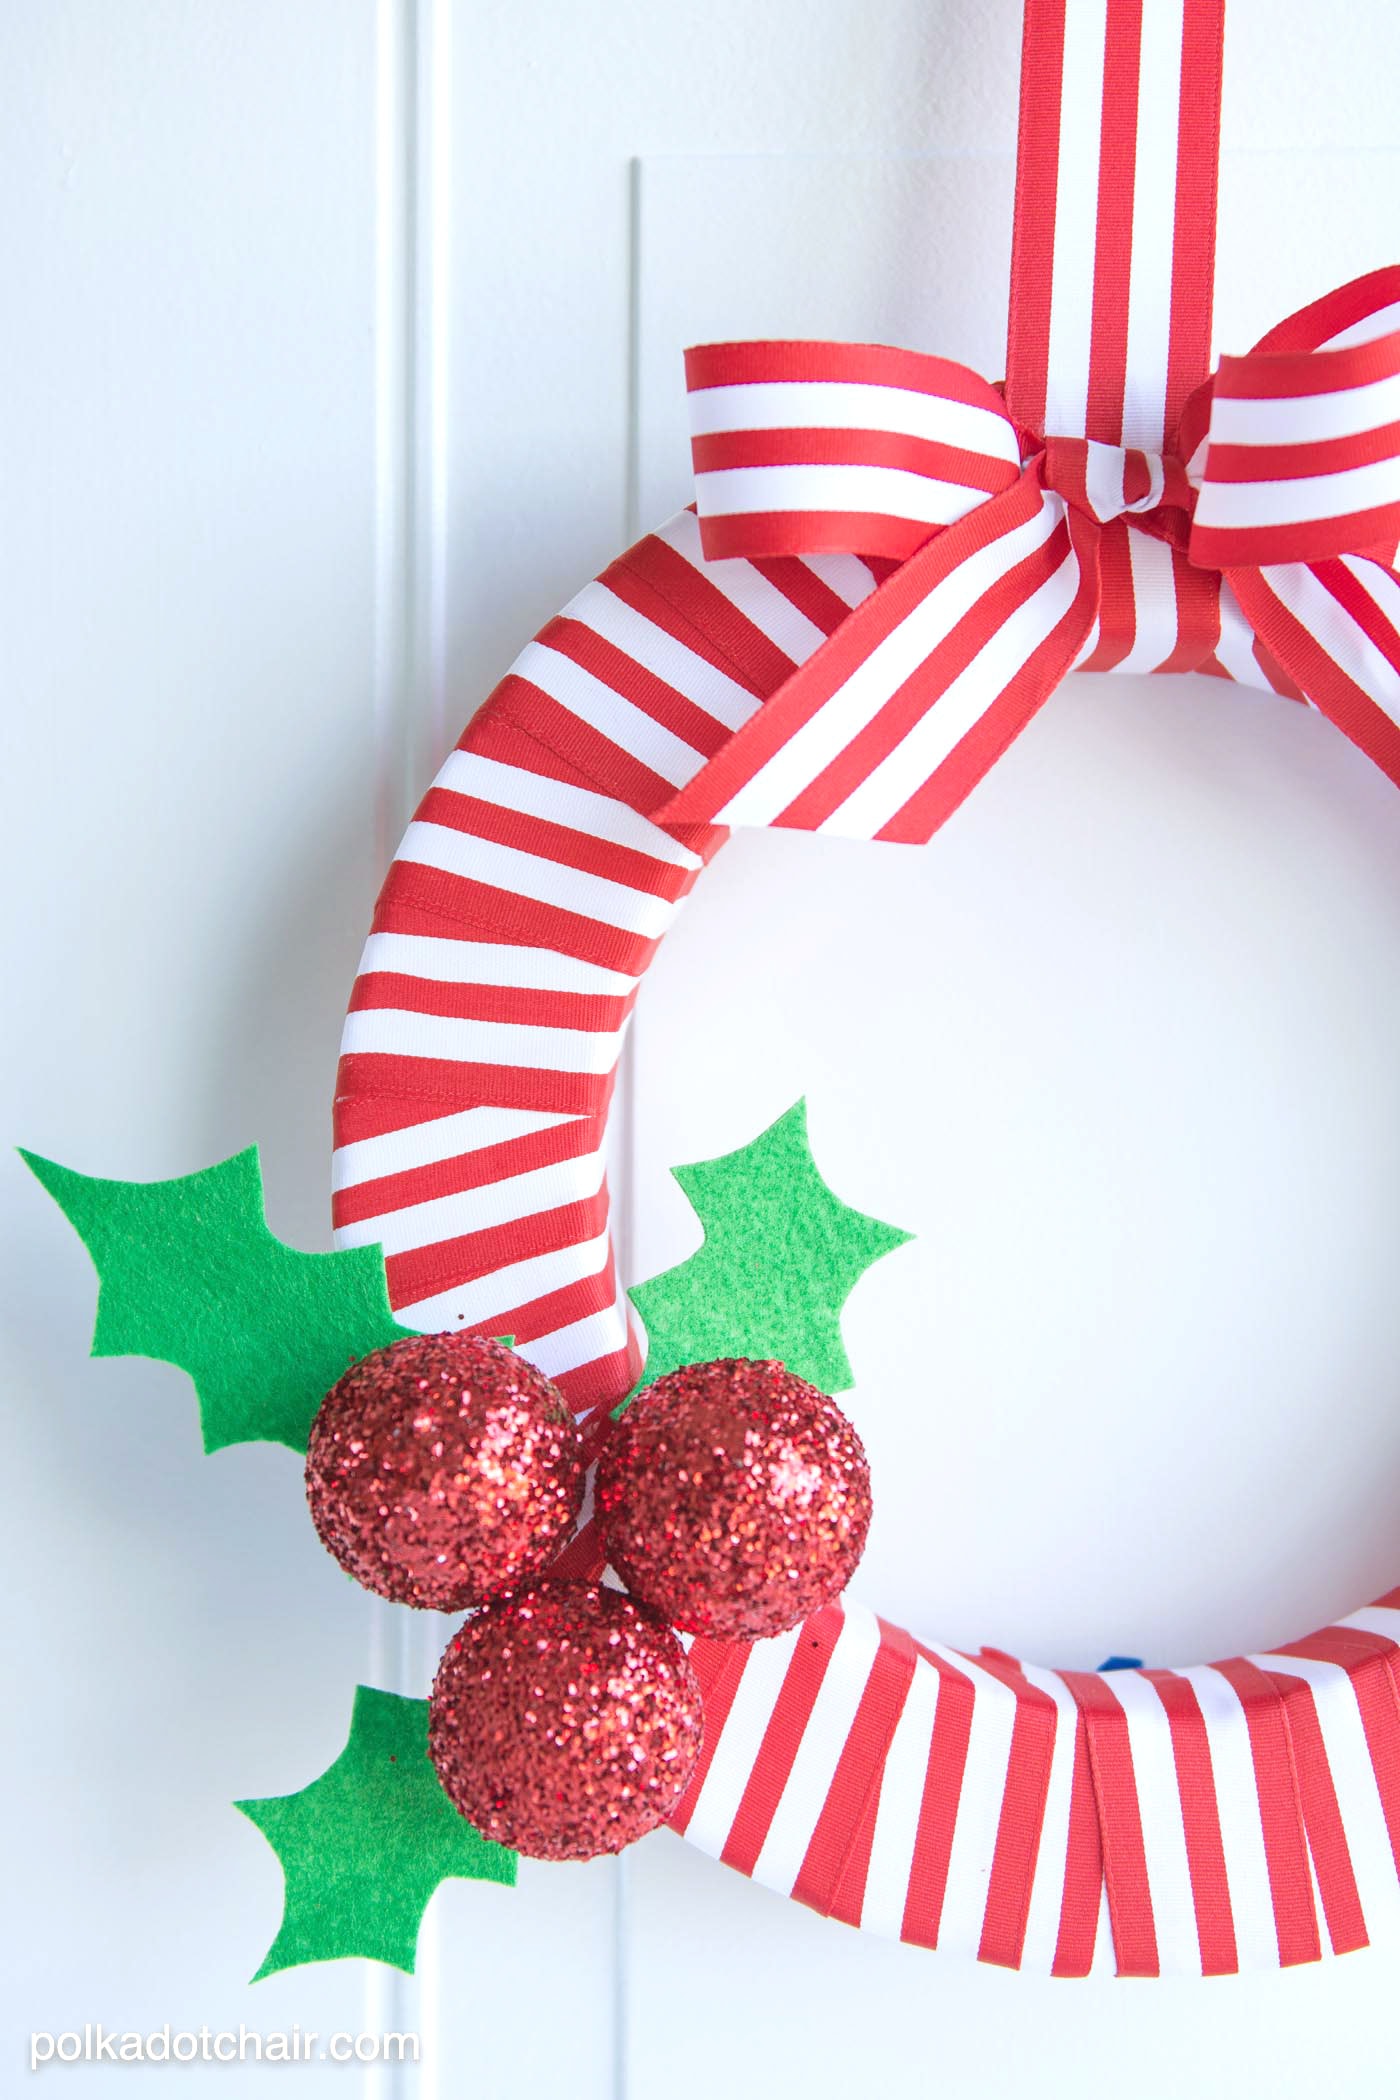
I chose to make the holly berries featured in the book, but instead of attaching them to gift tags I added them to a Make it Fun Foam Wreath Form wrapped in striped red ribbon to make this Holly Berry DIY Christmas Wreath.
Supplies:
If you’d like to make one here’s how to do it and what you’ll need (click links for supplies):
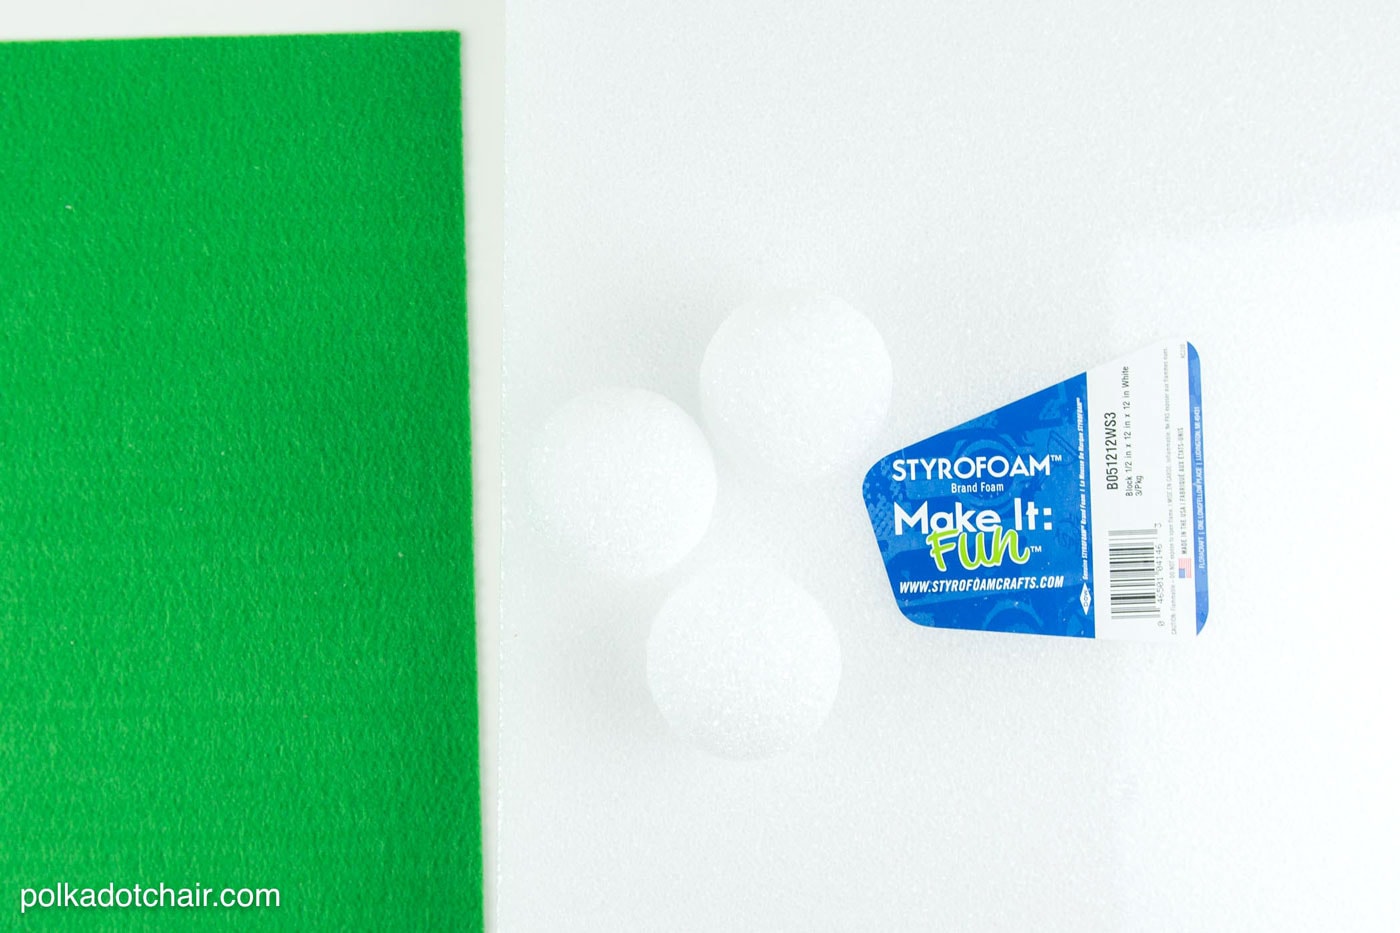
-12″ Make it Fun Foam Wreath Form
-1 1/2″ wide Striped Ribbon (you’ll need 5-6 yards depending on the size of your wreath form)
Instructions:
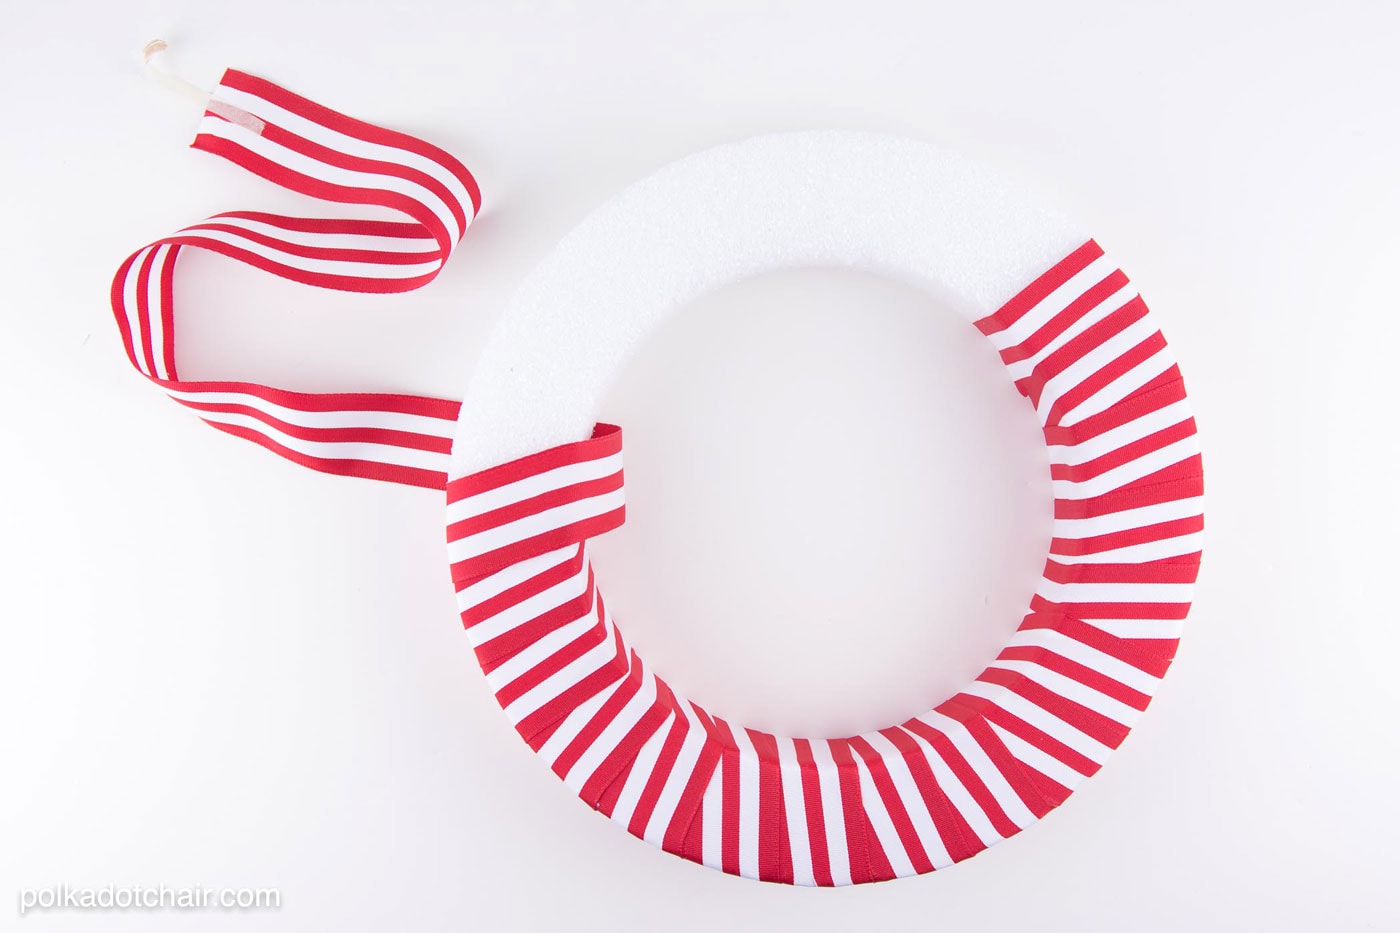
Begin by wrapping the wreath form with the ribbon. Use a straight pin to attach the ribbon at the start and the end. Make sure you hide the pins on the back of the wreath.
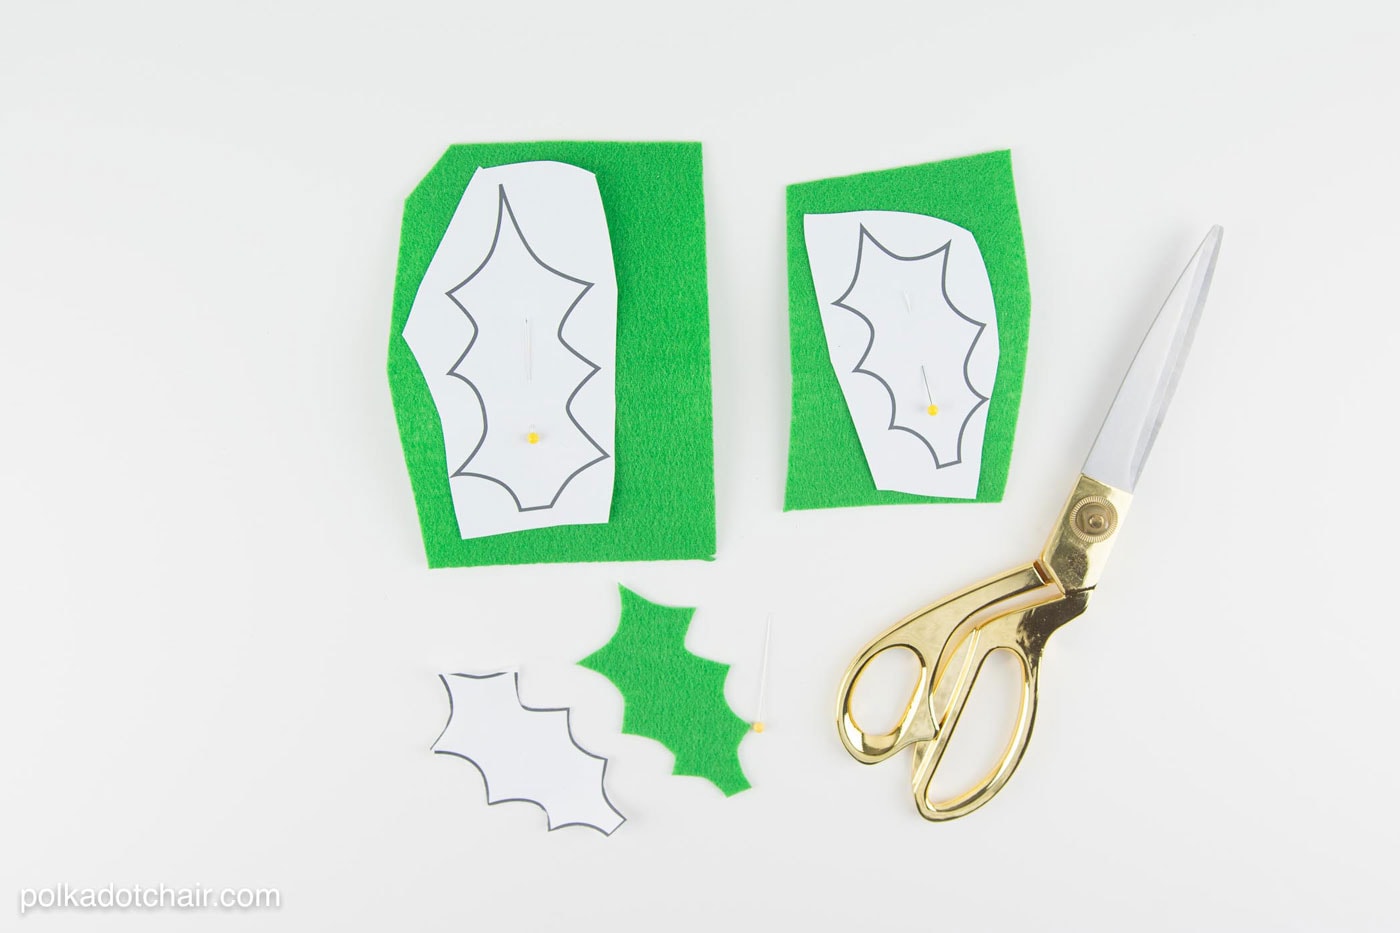
Print out the Holly Berry templates from the eBook at 150%. Trace and cut them out onto green felt.
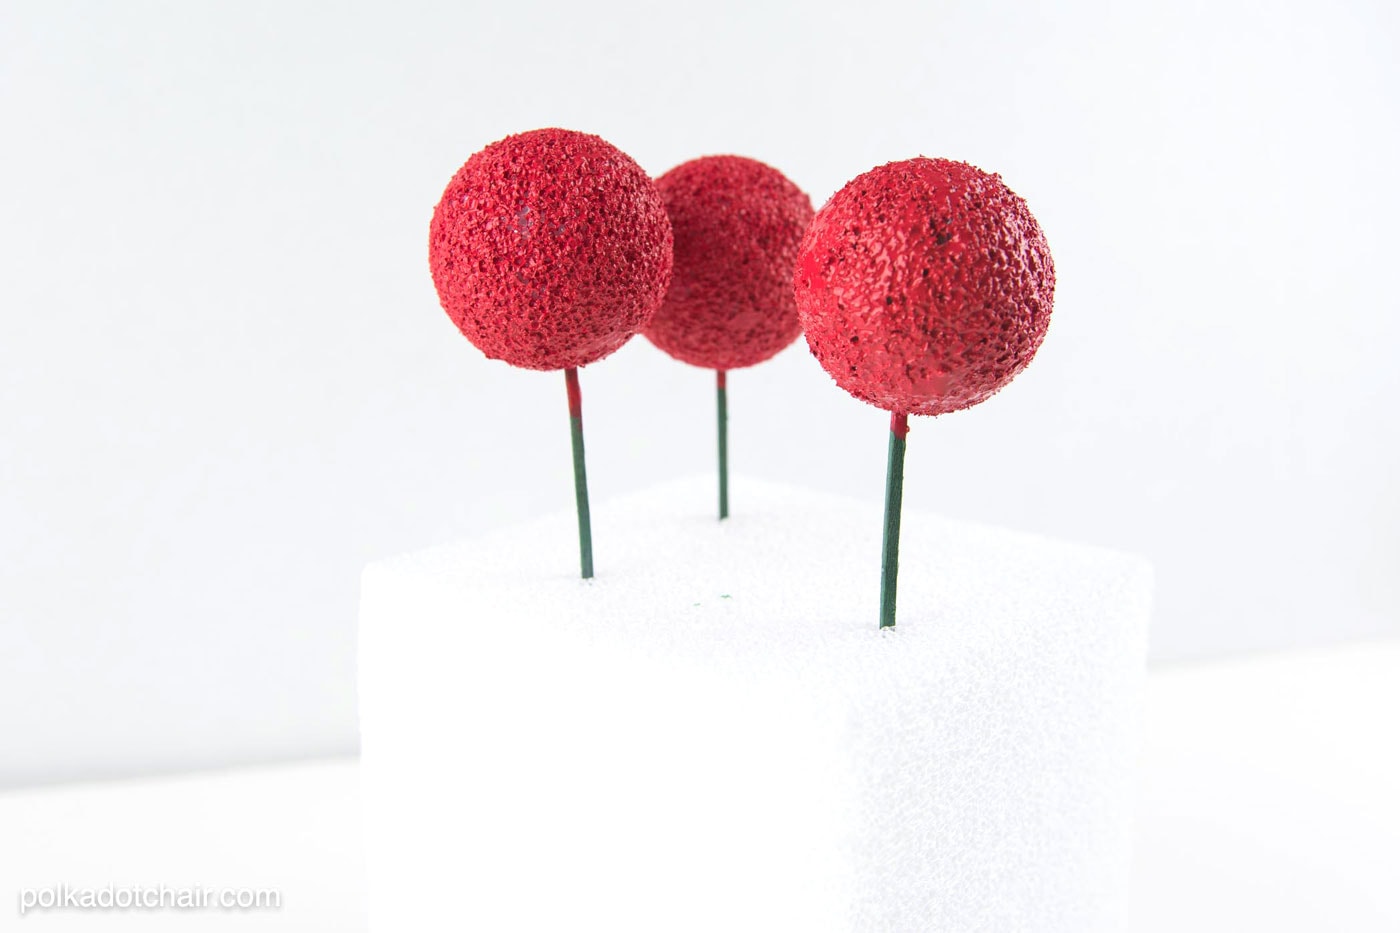
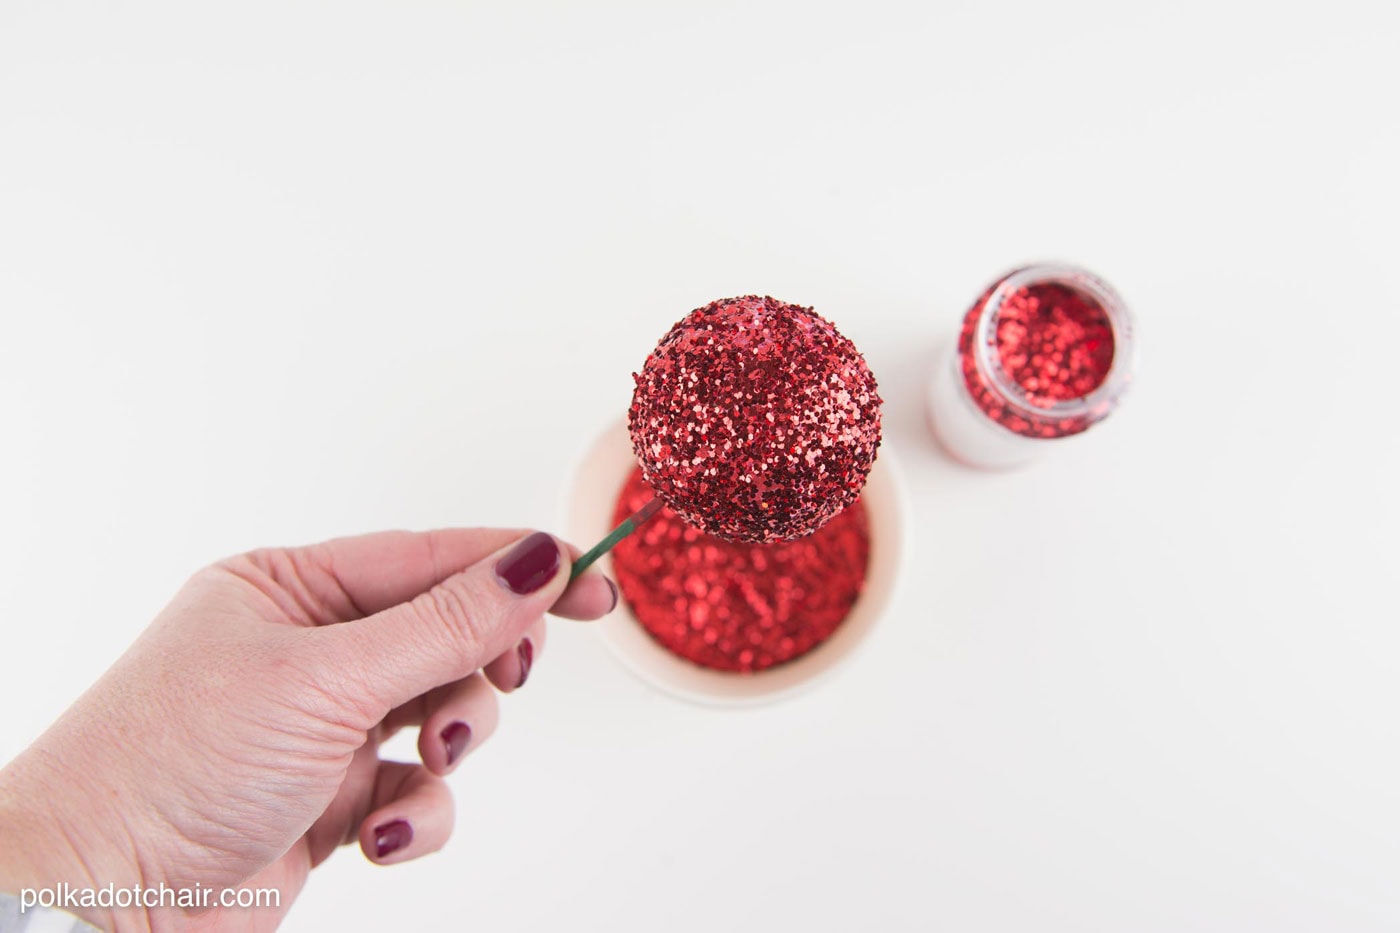
Paint the make it fun foam balls red and allow to dry. Use toothpicks and a piece of make it fun foam to help you with this step. Allow to dry. When they are dry coat them in glue and them cover them with glitter.
After they are dry simply attach them to the wreath. Use hot glue and toothpicks.
Add a bit of extra ribbon to the top of the wreath and you’re done.
For more great holiday ideas, make sure you check out the Make it Fun Crafts free Holiday eBook!



I love this! Great tutorial! Thanks so much for sharing this! Just pinned it!
Thanks for pinning!!!
I LOVE THIS!!! I think I have most of the supplies on hand! Thanks for sharing. Happy Christmas!
So cute and simple. I love it too!
Oh my gosh — this is so cute and cheery!
I love, love this wreath! I shared it and your post on my blog today about wreaths that inspire me. Here’s a link:
whitearrowshome.com/12-beautiful-christmas-wreaths-for-your-front-door/
Loving your blog! It’s beautiful and inspiring!