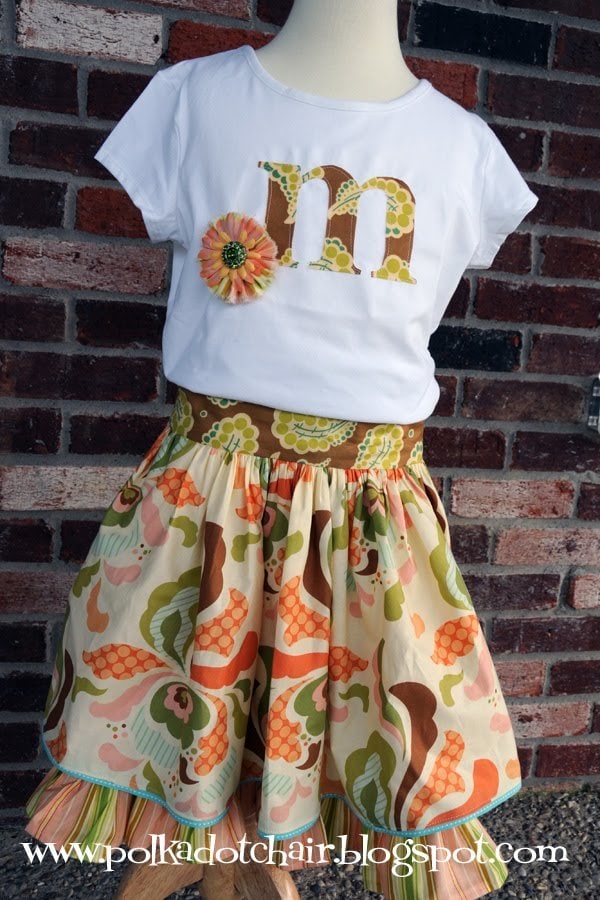
Sydney’s Skirt: The Tutorial
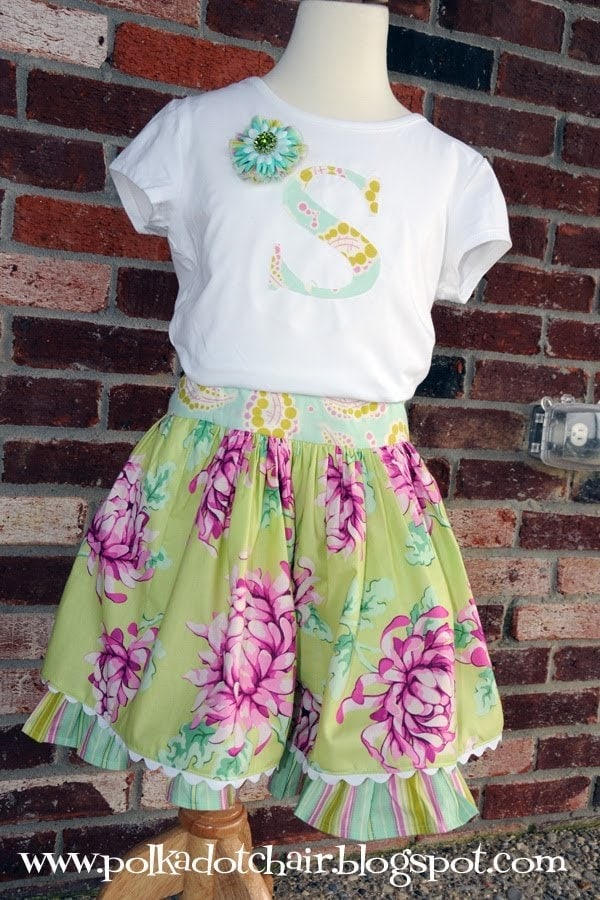
I’m so excited to share the tutorial for the Sydney skirt with you. It is similar to my twirly skirt tutorial but a bit “new and improved”.
Fabric Requirements:
3/4 yard main fabric
1/2 yard ruffle fabric
1/4 yard waistband fabric
3/4 yard white muslin or cotton lining fabric
1 package ric rack
1 package 3/4″ or 1″ elastic
First, you need to determine the size you want to make your skirt. Mine was about a size 6-8.
Measure your “model” or daughter 🙂
You need:
-Waist measurement
-Hip measurement (widest part, around their bum)
-length measurement- from hip bone to where you want the skirt to fall
Take the waist measurement and times it by 2. This will give you the WIDTH for your 2 skirt front pieces.
For example, my daughter’s waist was 20″ so my skirt WIDTH was 40″… (2 pieces)
Take the hip measurement and add 3″ or so – if you aren’t sure, add more- this will give you your waistband measurement. My daughter’s hips were 25.5… so I cut the waistband 28″ WIDE
Now for the length measurements:
After you figure out how long you want it (by measuring from hip to where you want the skirt to fall) you can cut your pieces). 12″ was a good length for my daughter.
So I cut:
2 pieces 12″ x 40″ of Skirt front fabric (this is your MAIN fabric)
This skirt uses white muslin to for the underskirt (saving $$$). So out of your white muslin cut:
2 skirt under pieces:
11″ x 40″ (if you want the skirt more FULL or twirly… go ahead and made this piece WIDER, like the full 44″ width of the muslin… if you are making this for a baby or a toddler, that’s probably too much fabric, stick to the same measurement as the main fabric)
To make the ruffle cut:
4 pieces of fabric 4″ x 44″ (or the width the fabric comes already if you are making a tiny skirt you will have extra, if you are making a skirt for an older girl, cut a 5th piece)
Cut one waistband piece: 28″x6″
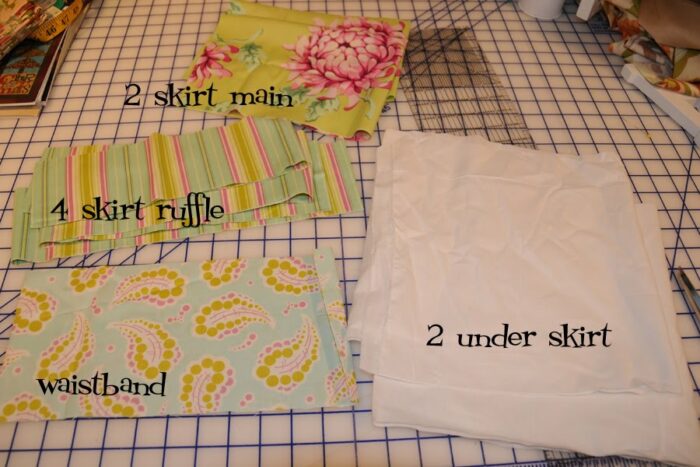
This is what you will have to start with…
2 main skirt panels (12x 40)
4 skirt ruffle pieces (4×44)
1 waistband (28×6)
2 underskirt pieces (11×40)
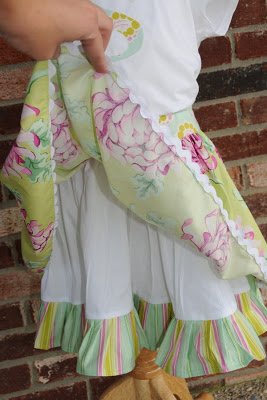
Sew the 4 skirt ruffle pieces together at seams. Press seams open. Finish hem on one side buy turning fabric under 1/4 ” then turning under another 1/4″ and sew.
Press.
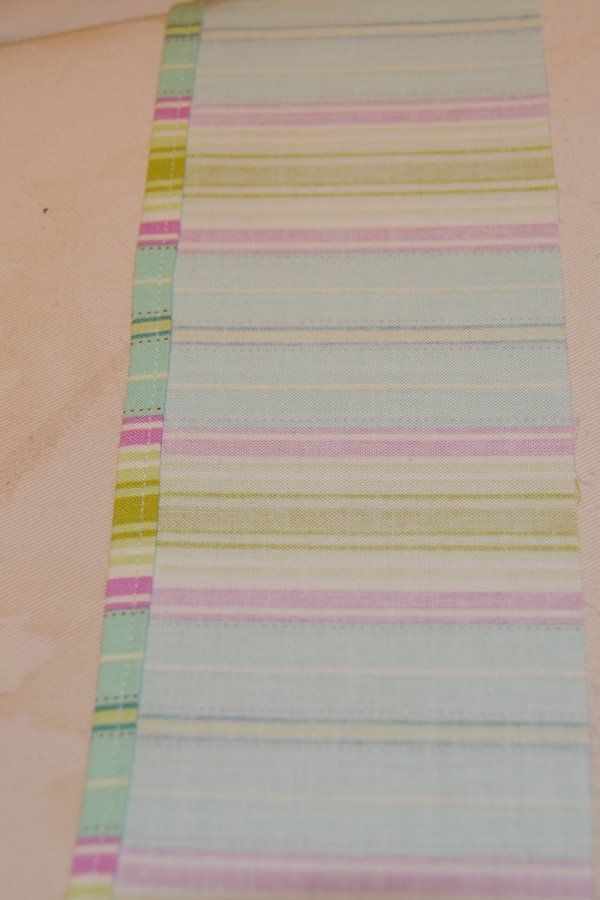
It will look like this when finished. You could also finish this with ric rac instead if you like.
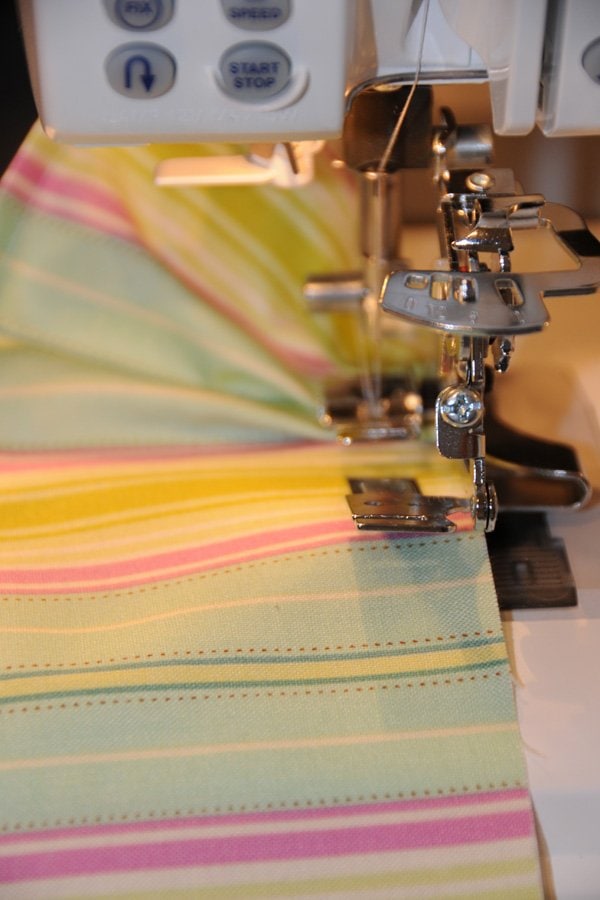
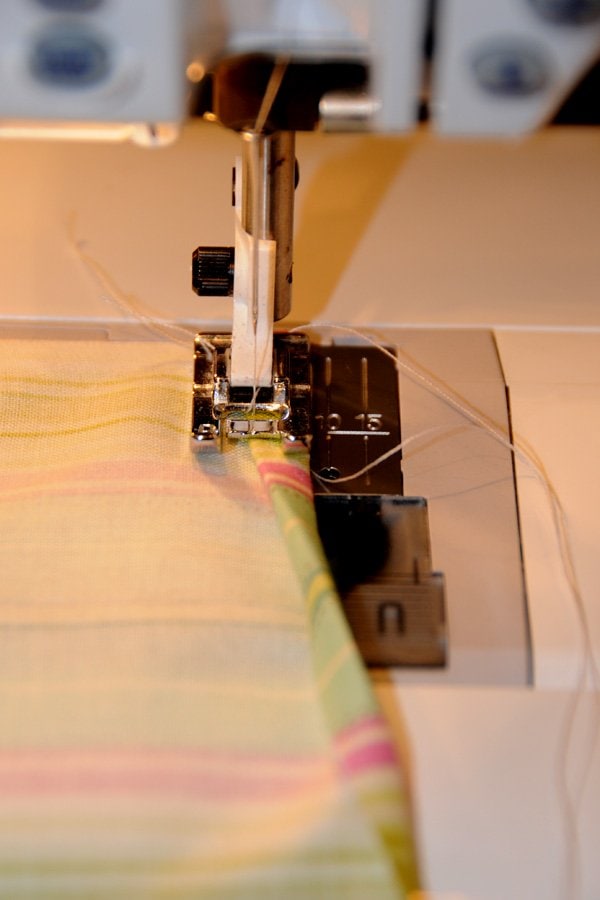
Gather the ruffle. I got a ruffling foot.. what a great invention! You might have one and not even know it! It is harder to figure out how to put it on your machine than to use it. If you don’t have a ruffling foot, run 2 rows of gathering stitches (set your machine to the longest stitch length) along the edge. Pull stitches until gathered.
Sew 2 underskirt pieces together at side seams. Finish seams with serger or zig-zag stitch.
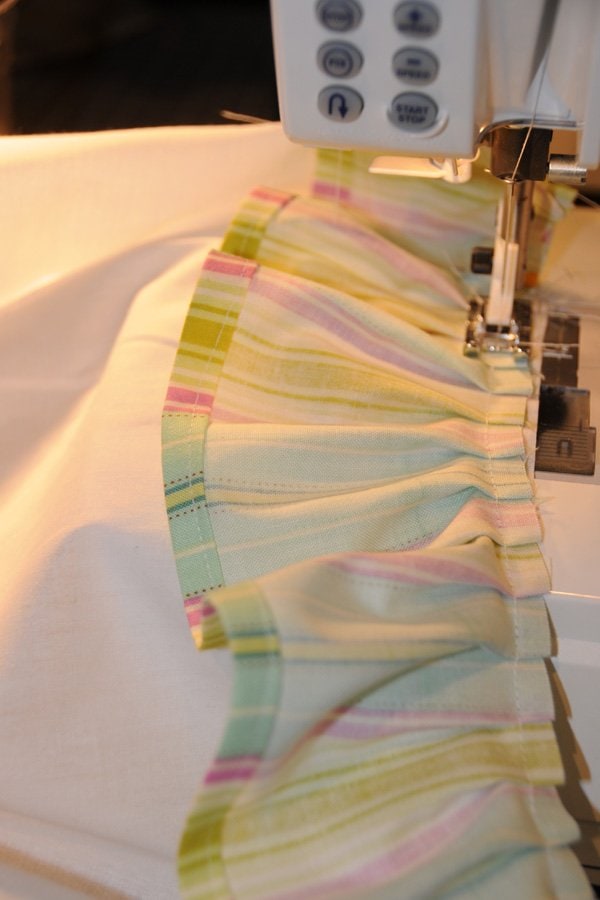
Attach the ruffle to the bottom of the underskirt pieces, right sides together. Sew. When you get back to where you started attaching the ruffle, adjust gathers and sew a seam in the ruffle.
Using a zig-zag or serger, finish this seam off.
Set the underskirt piece aside.
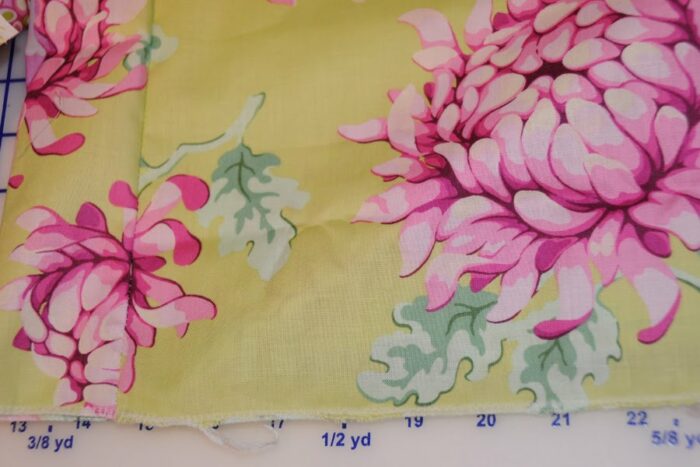
Sew 2 skirt pieces together at side seams. Finish seams. Finish bottom hem of skirt with either zig-zag or serger.
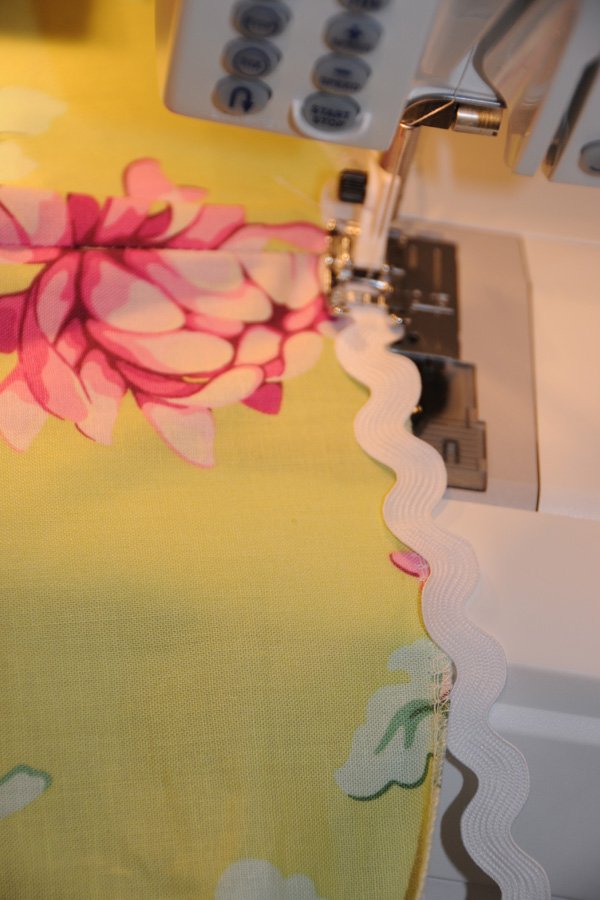
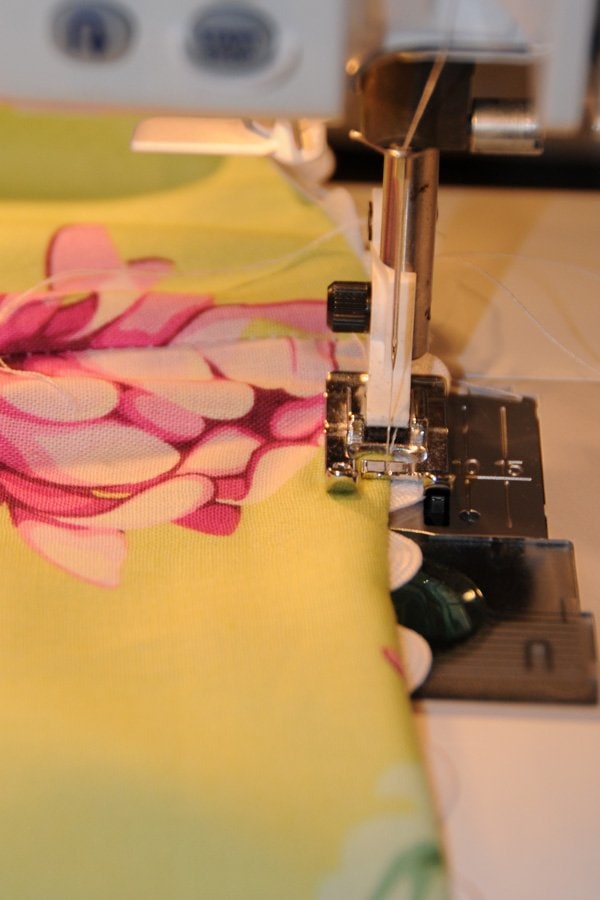
Attach ric rack to the bottom of the skirt on the right side. Sew straight down the middle of the ric rack.
Turn the ric rack under… then topstitch to hold ric rack in place. PRESS well.
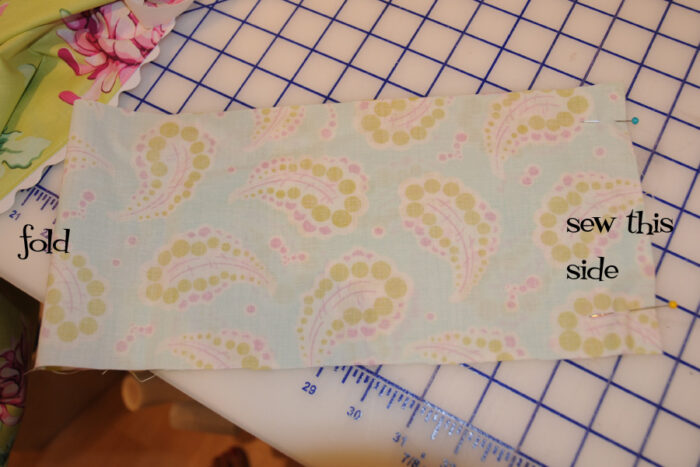
Take your waistband piece. Use a marking pen and mark the fold on one side. On the other side, sew a 1/2″ seam.
Run 2 rows of gathering stitches on your main skirt piece AND your underskirt piece… gather them separately…don’t sew them together at this point.
Pull up on gathering threads, and matching side seams, fit into waistband. You will have your right side of your waistband, then your main skirt, then your underskirt.
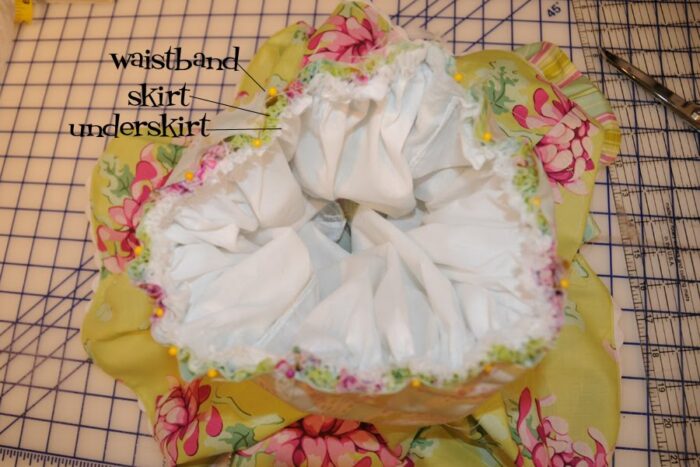
Stitch all layers together. Making sure that you caught all the gathers as you stitch.
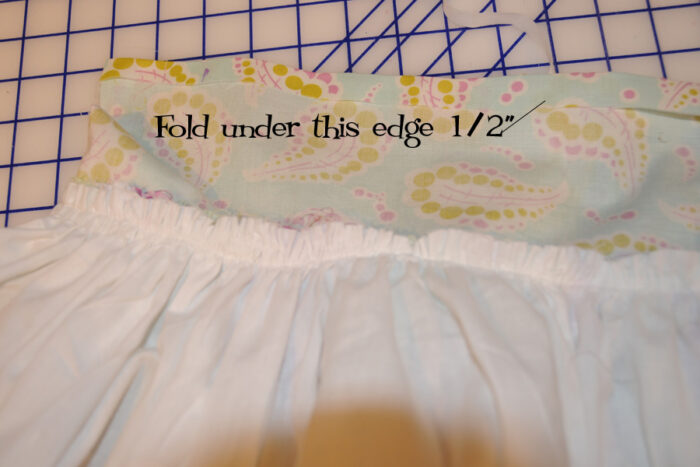
Fold under edge of waistband 1/2″ and press.
Fold the waistband over skirt so that the folded edge lines up with the seam of the skirt. Pin in place. Press.
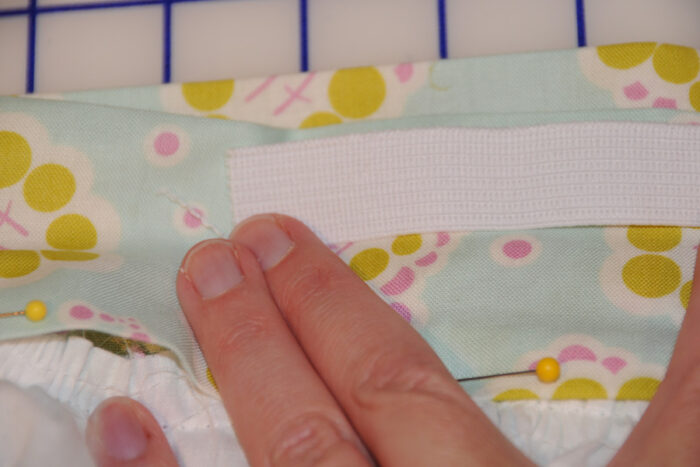
Lay your elastic on your waistband. Use a marking pen and note where lies. Along this line, sew a casing for your elastic. Leaving open a 1″ hole to feed elastic through.
Cut elastic to size.
Using a safety pin feed though casing. Sew elastic together. Sew casing closed.
By hand, sew the waistband to skirt.
You’re done!!
I’d LOVE to see the skirts you make! Leave a comment with a link if you do! And please please ask me questions if something is not clear.
Oh…
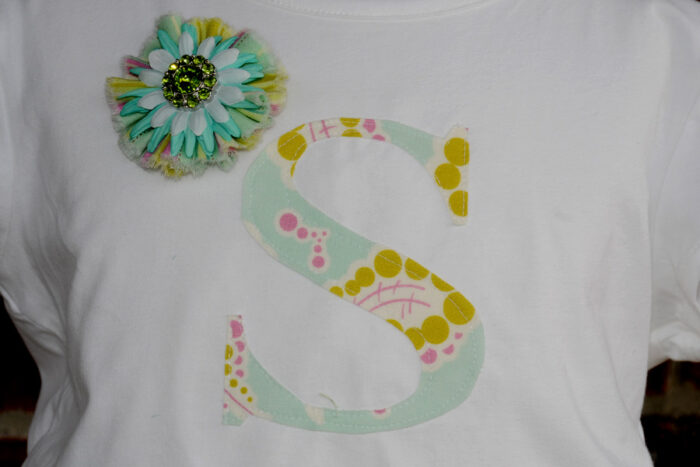
The posy pins, were made with a tutorial on Heather Bailey’s website, I just substituted scrapbook flowers for felt (since I don’t have any of that FAB felt yet! it looks so yummy!) The button was from Joann’s… and the letter’s on the t-shirts are simple applique… just printed a letter on (used times new roman font) paper, traced it on wonder under, ironed it on then sewed a simple seam around it. You can see more of how I did it here.
Hi – my 3 year old was looking at my plastic drawer thing that is stuffed full for fabric for my Therapy Pack business and had a gleam in her eye. She wants a twirl skirt…. Yeah so here I am looking for instructions lol. I made her one when she was a year old but not sure where I put the instructions.
Would you make it with or without the underskirt? She wants to twirl and feel it swing out like a “tutu”. Likely she’ll wear it over her leggings, to church and during the summer.
Sad to say that my youngest daughter has just outgrown the first one of these that I ever made. Of course, it wasn’t made for her – it’s been passed down from girl to girl and has been much loved, and is now going to a younger cousin who’s sure to love it as well. The good news is that now I have a reason to make another one. I love these skirts, so pretty and so practical as well – they’ve been worn to parks and playgrounds, kinder and beaches, as well as plenty of birthday parties. And they’re fun to make too. Love your work!
My youngest has outgrown them too!! It makes me so sad! But I still love the pattern, I’ll just have to start making them for friends now 🙂
This is so cute!
Thanks so much for getting this back! Now, I can finish my daughter’s skirt. Yea! I can’t wait, it is such a cute skirt!
Can’t wait to finish this skirt!!! But I’m stuck on the waistband as well…..please advise!!! How do I make a waistband that sits as perfectly flat and sharp looking as yours does?? My email is KiwiHeaven@gmail.com. Thanks for sharing the wonderful tutorial — it really is a gorgeous skirt!!!
Love the skirt and the tutorial!!! Can’t wait to finish it!! …but in order for me to get to the finish line, would you mind emailing me some clarification on the waistband as well? I’m new to seeing dresses so, maybe it’s my inexperience…but I cant seem to figure out how to make an elastic waistband that sits so perfectly flat! Thanks so much!!! 🙂 jjguarini@gmail.com