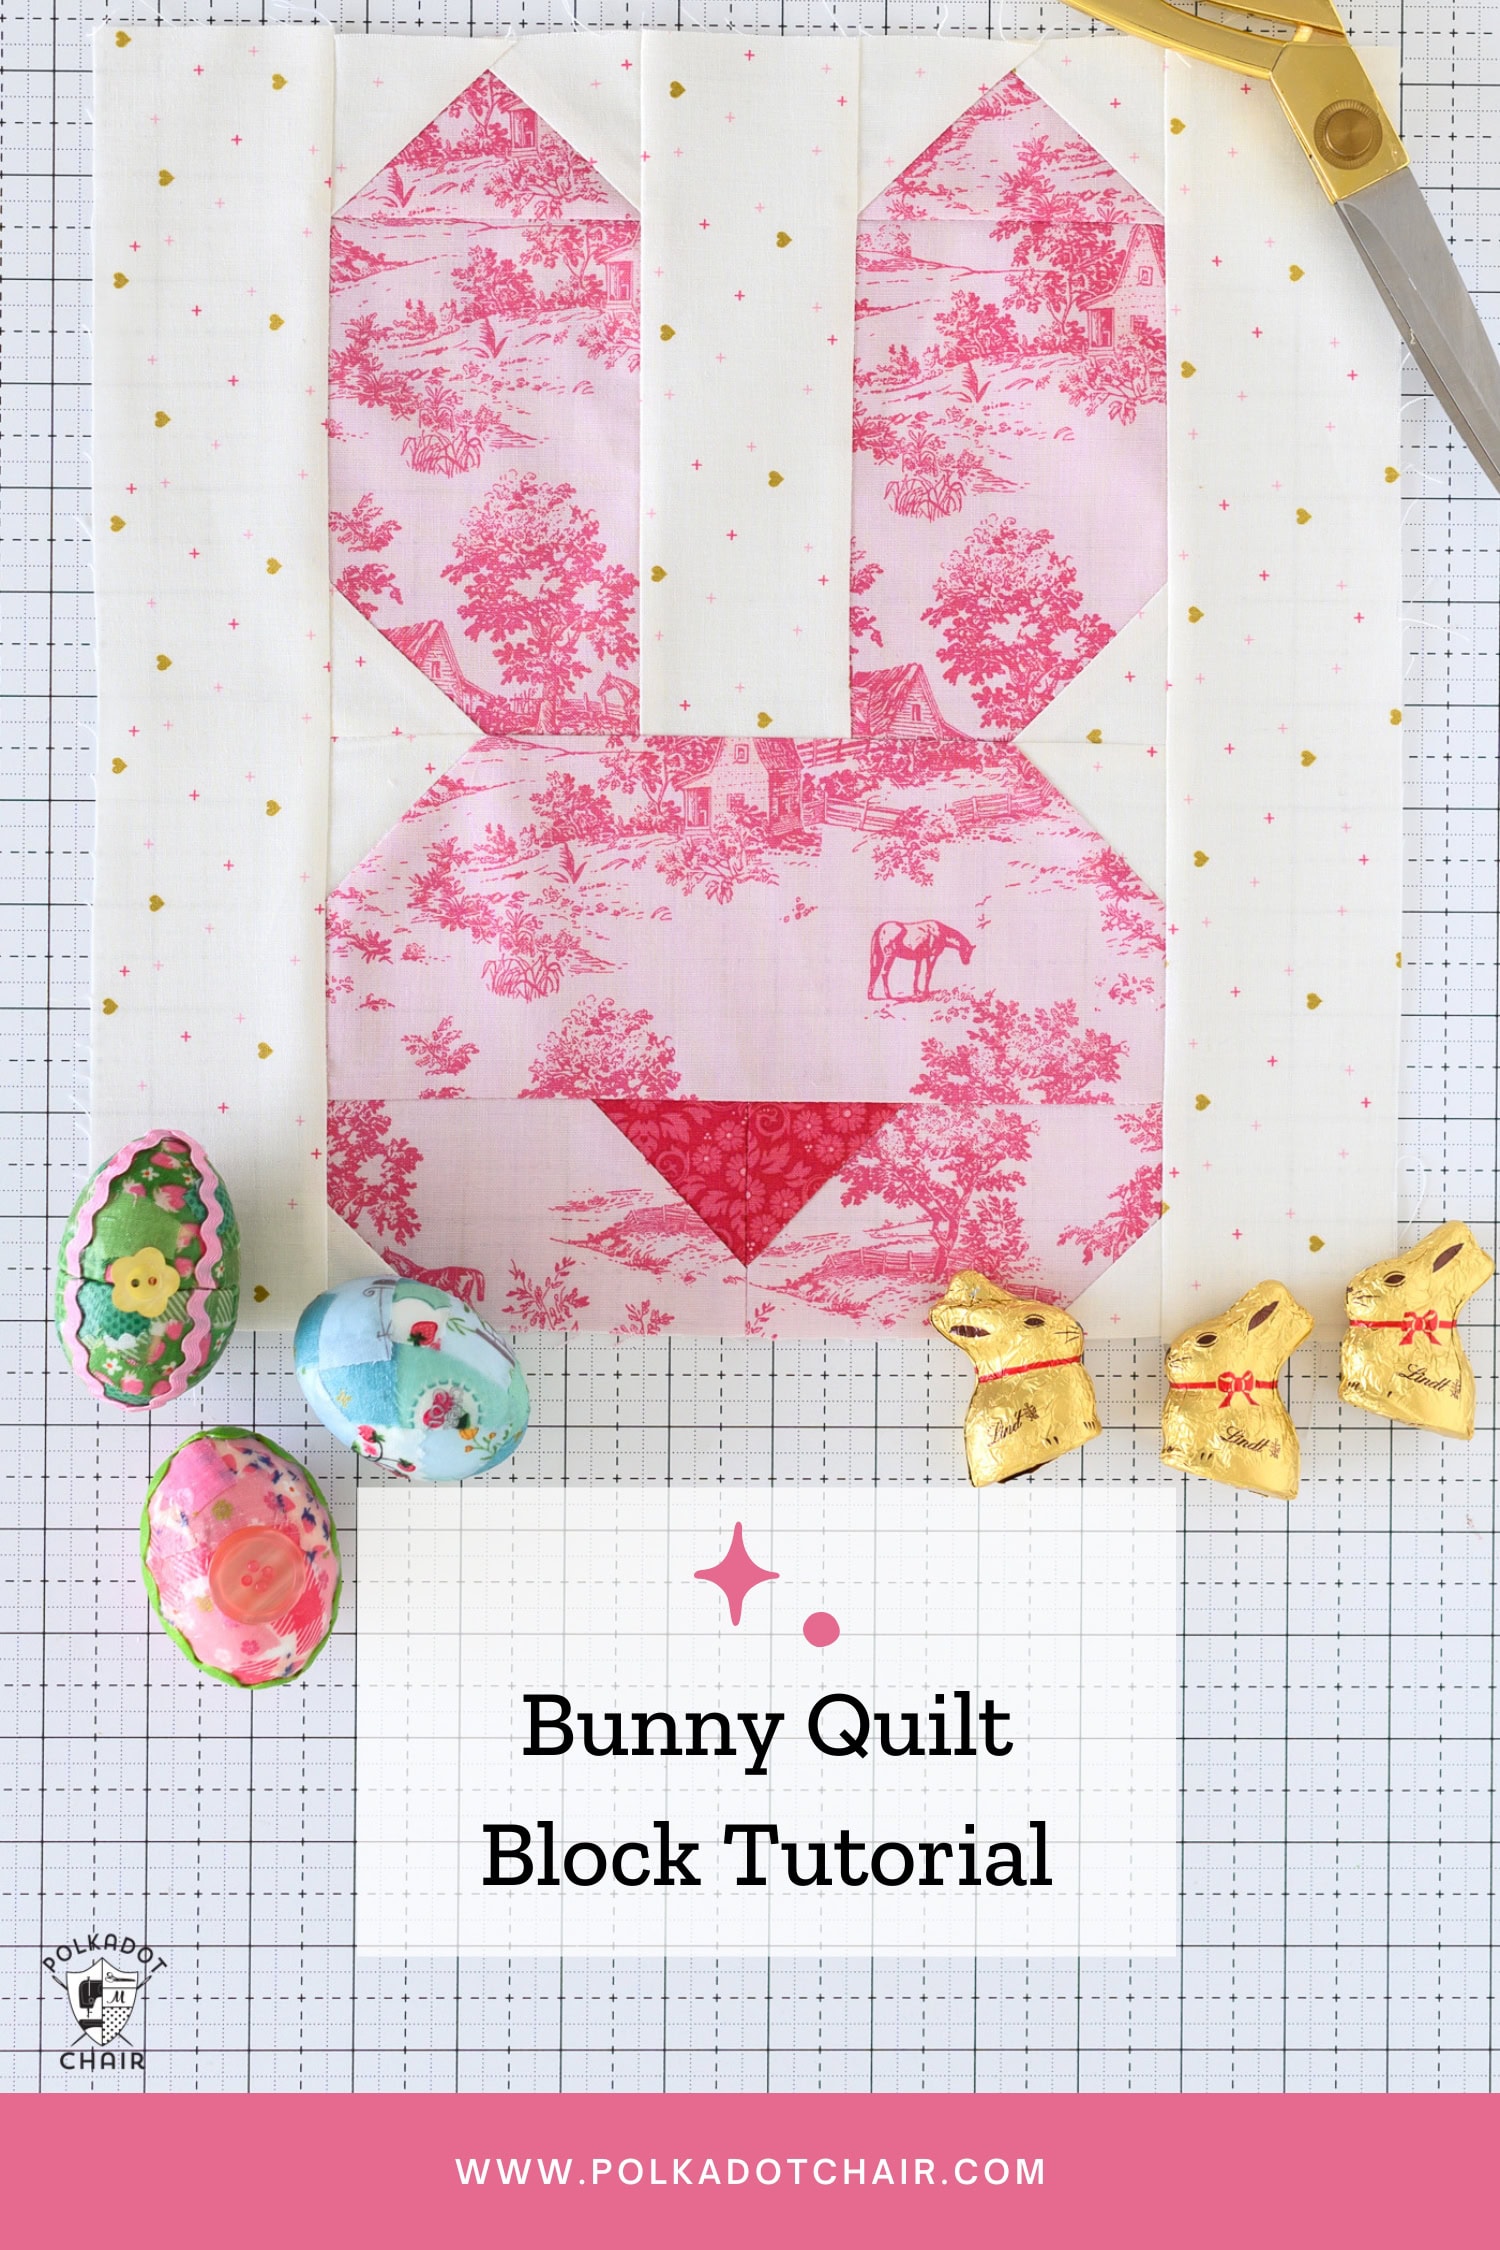
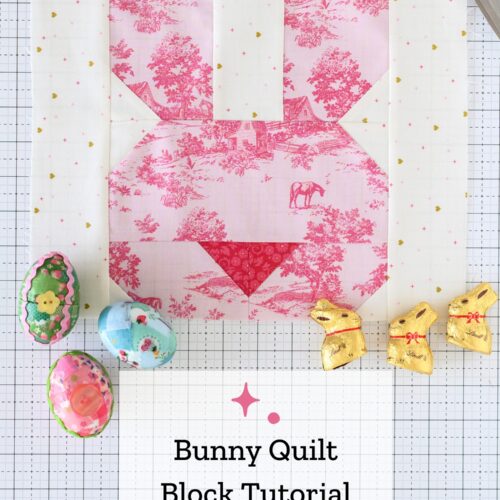
Hop Into Spring with This Bunny Quilt Block Tutorial
This 12″ bunny quilt block tutorial is a fun and easy way to create a seasonal quilt block perfect for spring and Easter projects. Designed with simple piecing in mind, this block comes together quickly and is ideal for quilts, pillows, or table décor. Follow along as I guide you through each step to create a crisp, 12-inch finished bunny block.
This block is a great opportunity to play with soft pastels, low-volume backgrounds (like the ones I used on my block), or even a bold mix of prints for a more modern look.
You can keep your bunny classic with neutral tones or give it personality with florals, ginghams, or subtle texture prints. Since the block finishes at 12″, it’s a versatile size that works beautifully on its own as a mini quilt or combined with other blocks for a larger spring quilt project.
As you work through the steps, take your time with cutting and pressing to keep your seams crisp and your points nice and sharp. The construction is straightforward, but those small details will make a big difference in the final result.
About the Fabrics
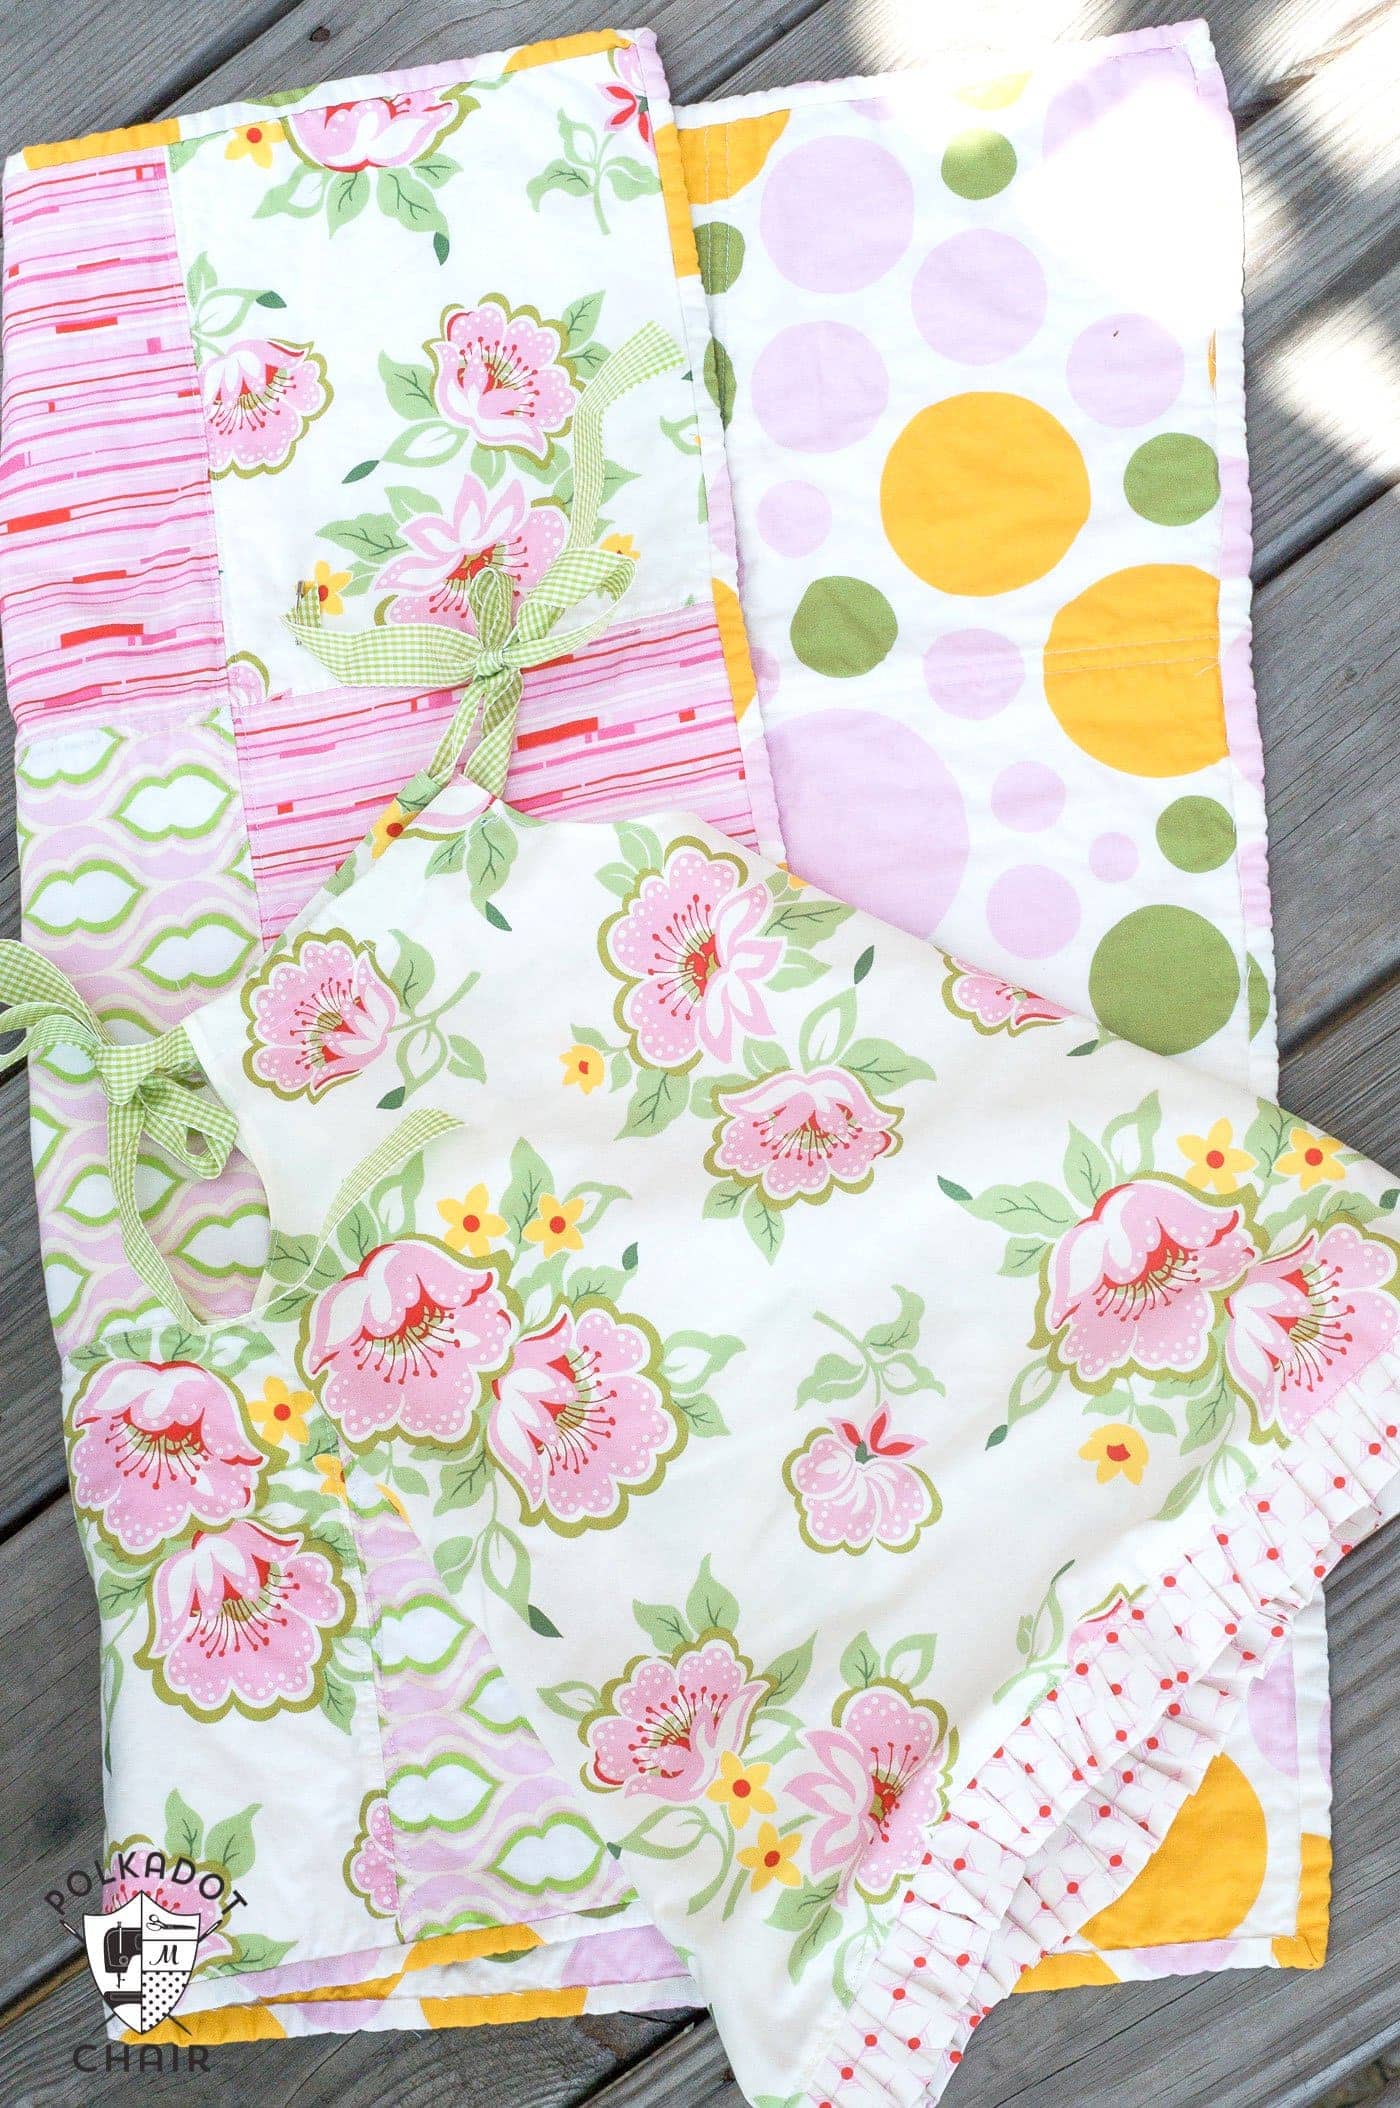
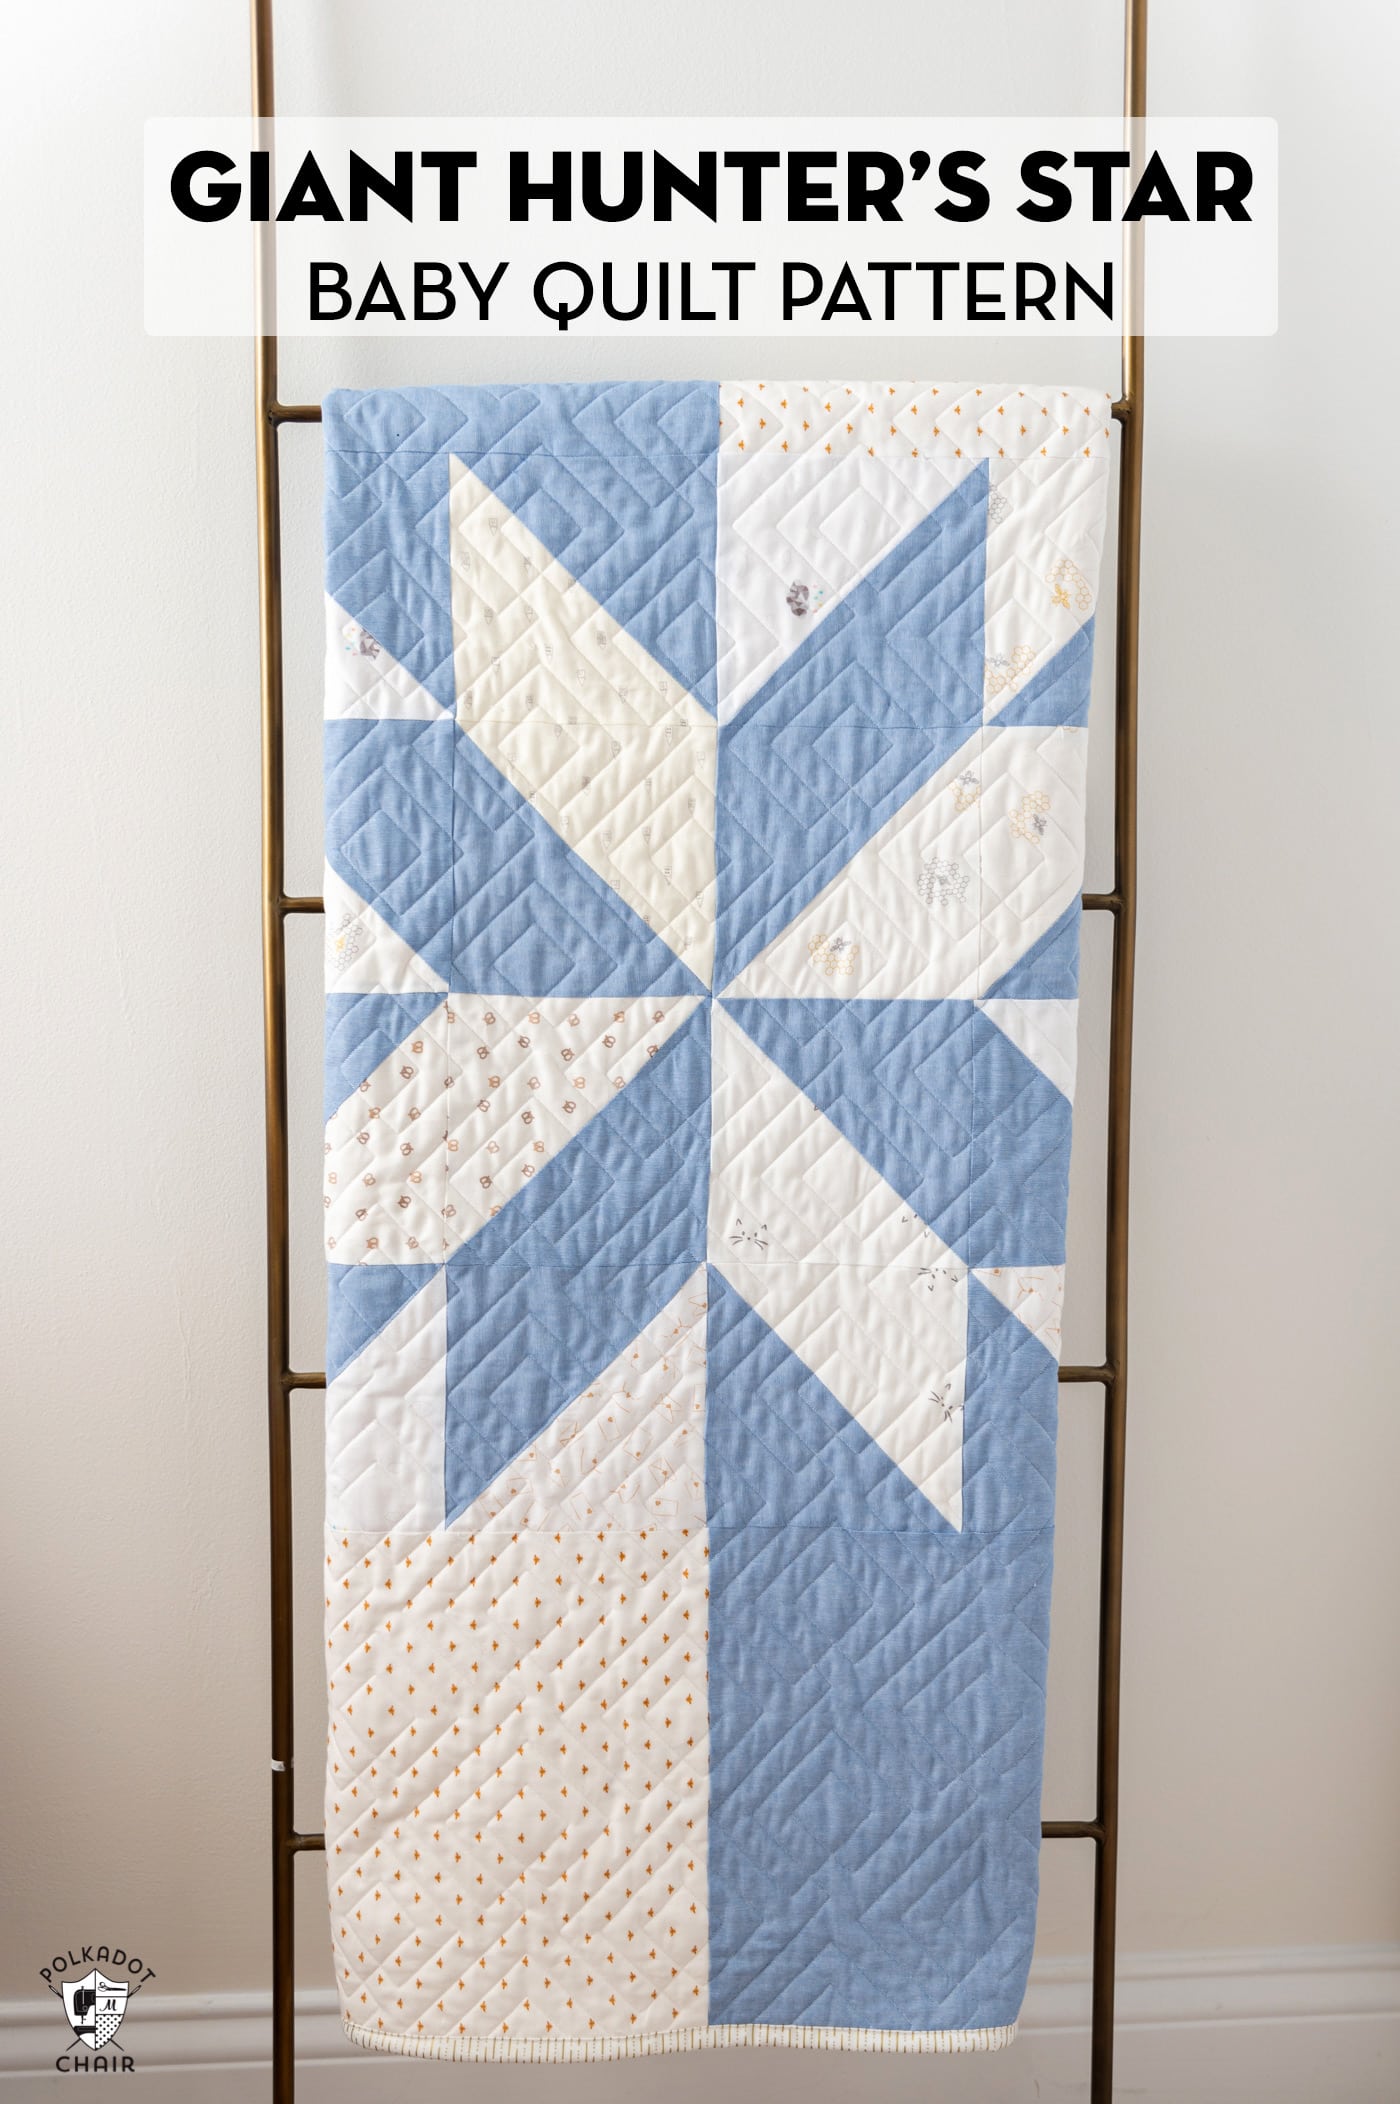
The fabrics used in this Bunny Quilt block are from my Bluegrass Charm and Sparkler Fabric collections (we still have a pink bundle of Bluegrass Charm available in our sho).
Did you notice the tiny hearts on the background fabric of this block? It’s a brand new variation of my Sparkler fabric collection! We’ve replaced the + in the traditional Sparkler print with a heart in a few colorways.
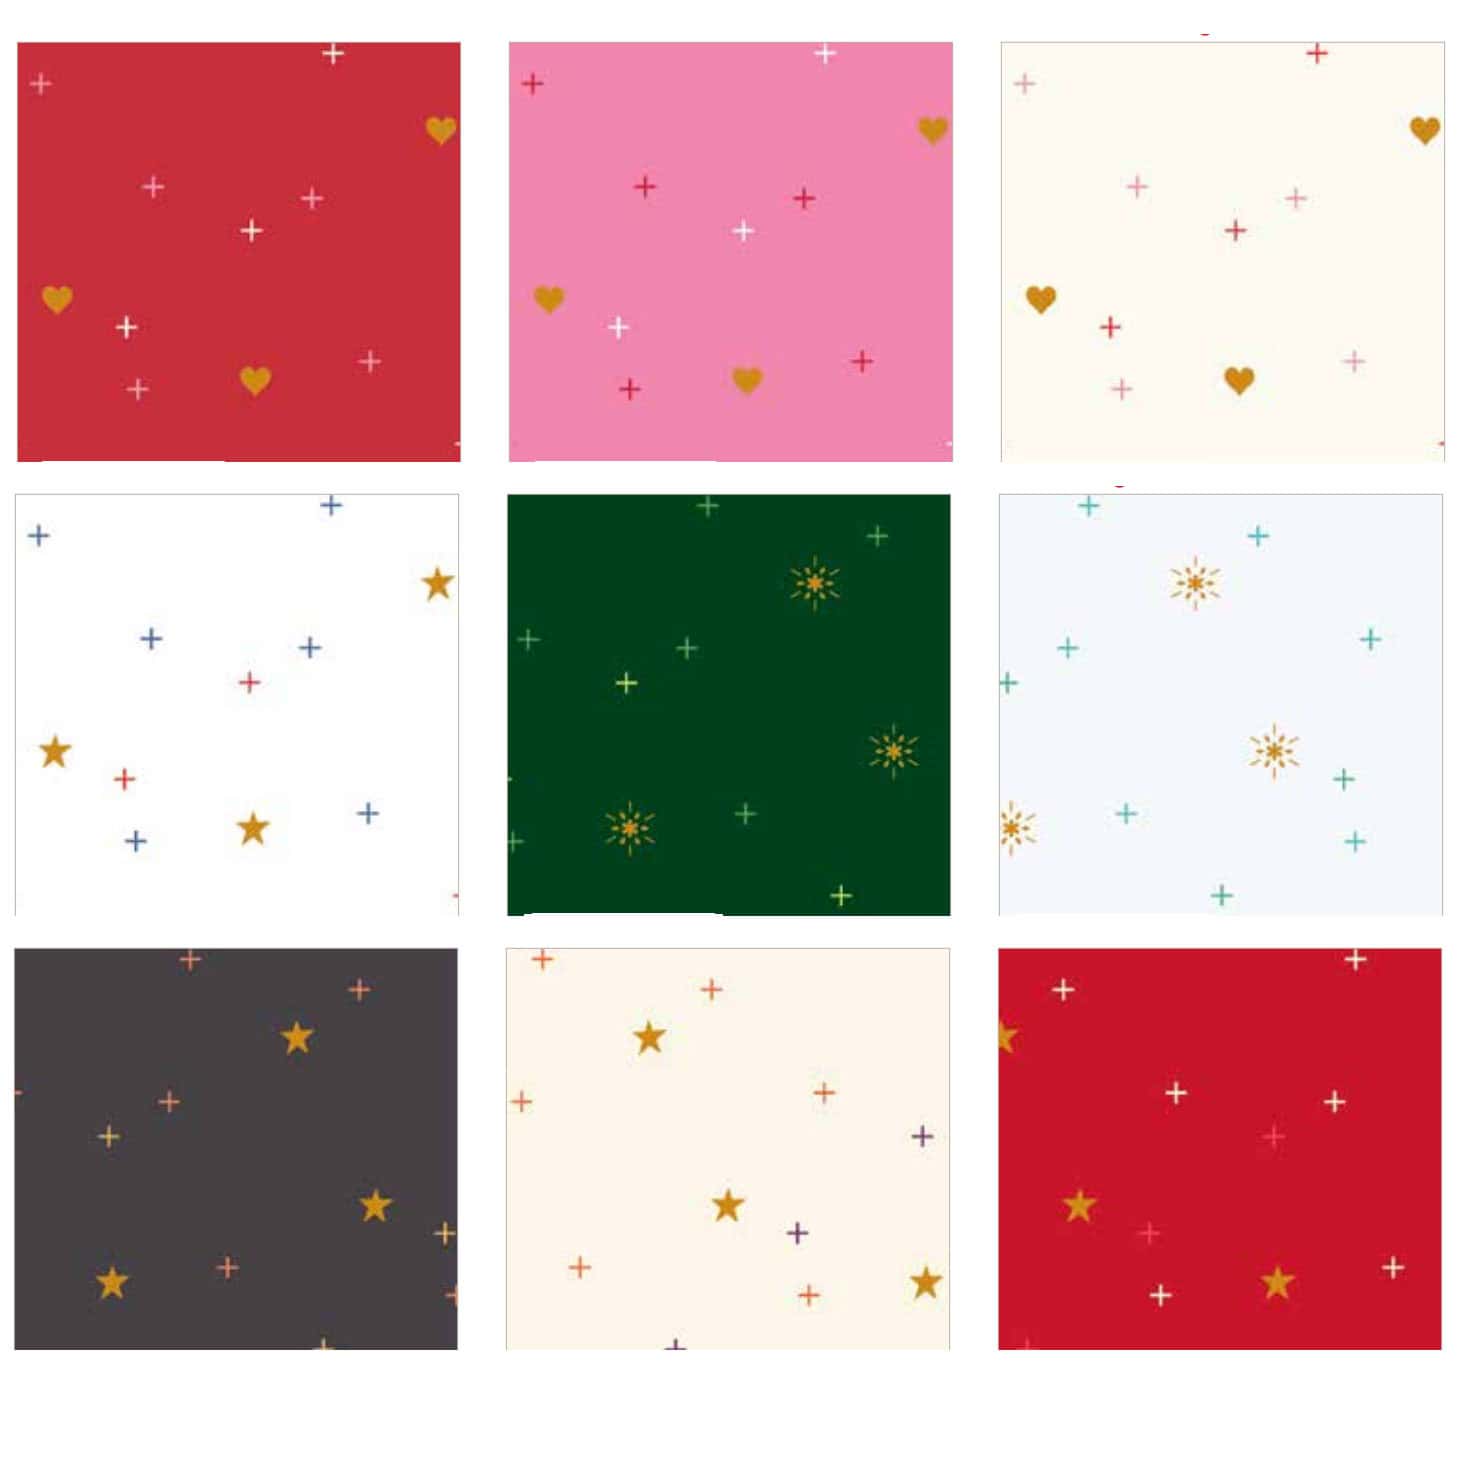
There’s also a version with stars and a snowflake! We’ve also been able to add several new colors to the line. Keep an eye out for more information about the fabrics and a LOADS of project ideas!
About the Block
This cute bunny quilt block measures 12″ x 12″ finished, making it a great option for a quilted pillow, a table runner, or even a full quilt!
If you want to make a quilt just with the bunny blocks, it’s pretty simple. Simply create these blocks in multiple fabrics and sew them together in a grid pattern. You can add sashing if you like, or simply sew the blocks together! Whatever you prefer!
This block would also be a fun addition to a seasonal sampler quilt, combined with other spring-themed quilt blocks.
I AM working on a full quilt pattern using this block, so keep an eye out for that!
12″ Bunny Quilt Block Tutorial
Equipment
supplies
- 1 Fat Quarter Fabric for Background Sparkler Heart in Cloud
- 1 Fat Quarter Fabric for Bunny Bluegrass Charm Toile in Pink
- 1 Large Scrap For Nose
Instructions
Cutting:
- Fabric A: Background Fabric (White):1 piece 2 1/2” x 7”2 pieces 2 1/2” x 12 1/2”8 pieces 2” x 2”2 pieces 1 1/2” x 1 1/2”
- Fabric B Bunny Fabric (Pink):1 piece 4” x 8 1/2”2 pieces 3 1/2” x 5 1/2”2 pieces 2 1/2” x 4 1/2”2 pieces 2” x 3 1/2”
- Fabric C Nose Fabric (Red):2 pieces 2” x 2”
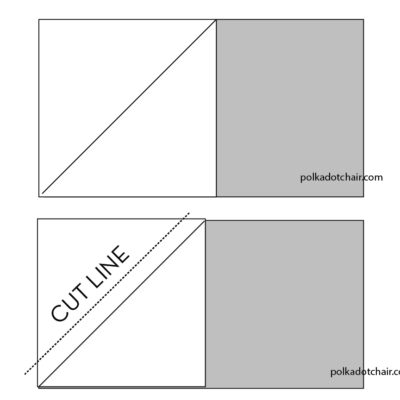
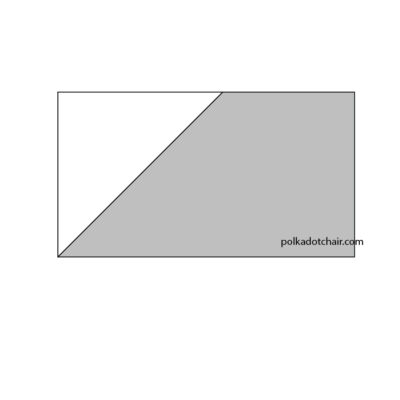
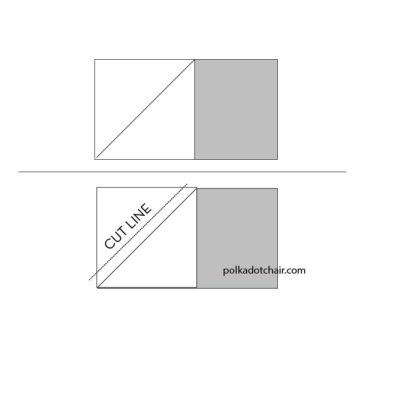
How to Stitch and Flip
- Draw a diagonal line on the wrong side of a small square. Place it on top of a larger square (or rectangle), right sides facing. Sew along the drawn line.

- Trim 1/4” on the outside of the sewn line. Flip the fabric up and press. The unit should be the same size as the larger piece of fabric when finished.
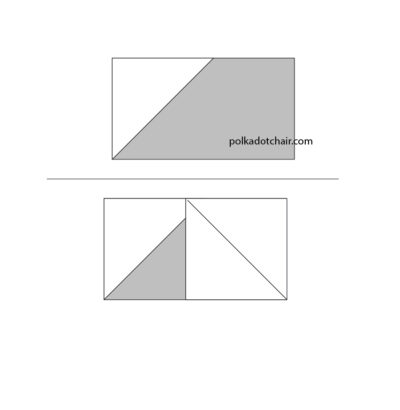
Step One: Flying Geese
- Draw a diagonal line on the wrong side of two 2” x 2” pieces of Fabric A.
- Layer one 2” x 2” piece of Fabric A on top of one 2” x 3 1/2” piece of Fabric B. Note the direction of the line.
- Sew on the drawn line.
- Trim fabric 1/4” on the outside of the sewn line. Flip the fabric up and press.
- Repeat with a second 2” x 2” piece of Fabric A on the other side of the unit.

- Sew and trim to complete flying geese unit.
- Repeat one more time to have two sewn flying geese units.
Step Two: Stitch and Flip
- Using the direction in the Sitch and Flip section of this tutorial, piece the lower right corner of one of the 3 1/2” x 5 1/2” pieces of Fabric B with one 2” x 2” piece of Fabric A. Sew one of the flying geese units from Step One to the top of this unit.
- Using the direction in the Sitch and Flip section of this tutorial, piece the lower left corner of one of the 3 1/2” x 5 1/2” pieces of Fabric B with one 2” x 2” piece of Fabric A.
- Sew one of the flying geese units from Step One to the top of this unit.
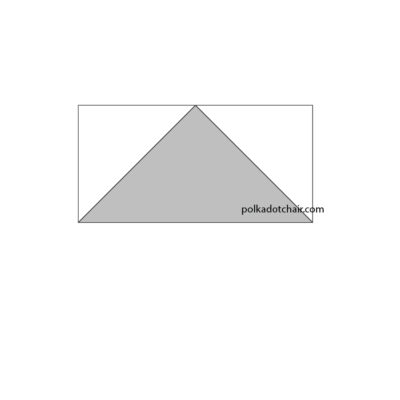
Step Three: Assemble Top Section
- Sew one Step Two unit to each side of the 2 1/2” x 7” piece of Fabric A as shown in the diagram.
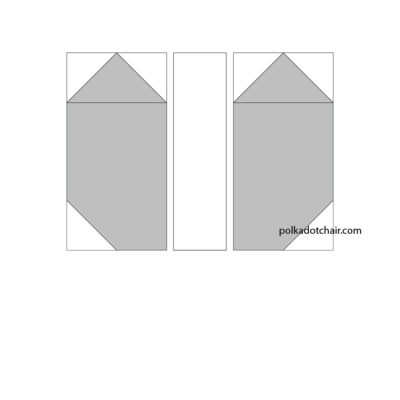
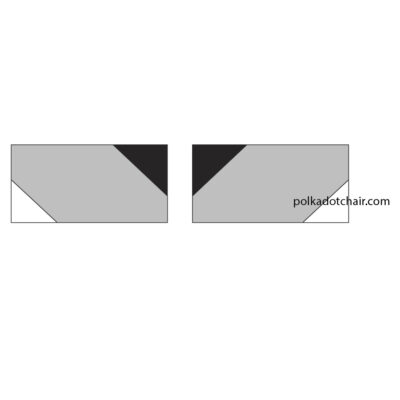
Step Four: Nose Section
- Using the directions in the stitch and Flip section of the tutorial, piece the upper left section of one of the 2 1/2” x 4 1/2” pieces of Fabric B with one 2” x 2” piece of Fabric C.
- Piece the lower right corner of this unit with a 1 1/2” x 1 1/2” piece of Fabric A.
- Using the directions in the stitch and Flip section of the tutorial, piece the upper right section of one of the 2 1/2” x 4 1/2” pieces of Fabric B with one 2” x 2” piece of Fabric C.
- Piece the lower left corner of this unit with a 1 1/2” x 1 1/2” piece of Fabric A.
- Sew these two units together to create the nose section of the block.
Step Five:
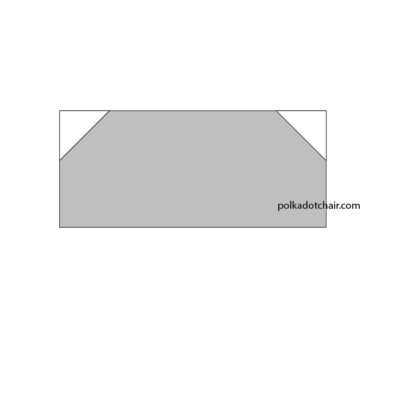
- Piece one 2” x 2” piece of Fabric A on the two upper corners of the 4” x 8 1/2” Fabric B piece.
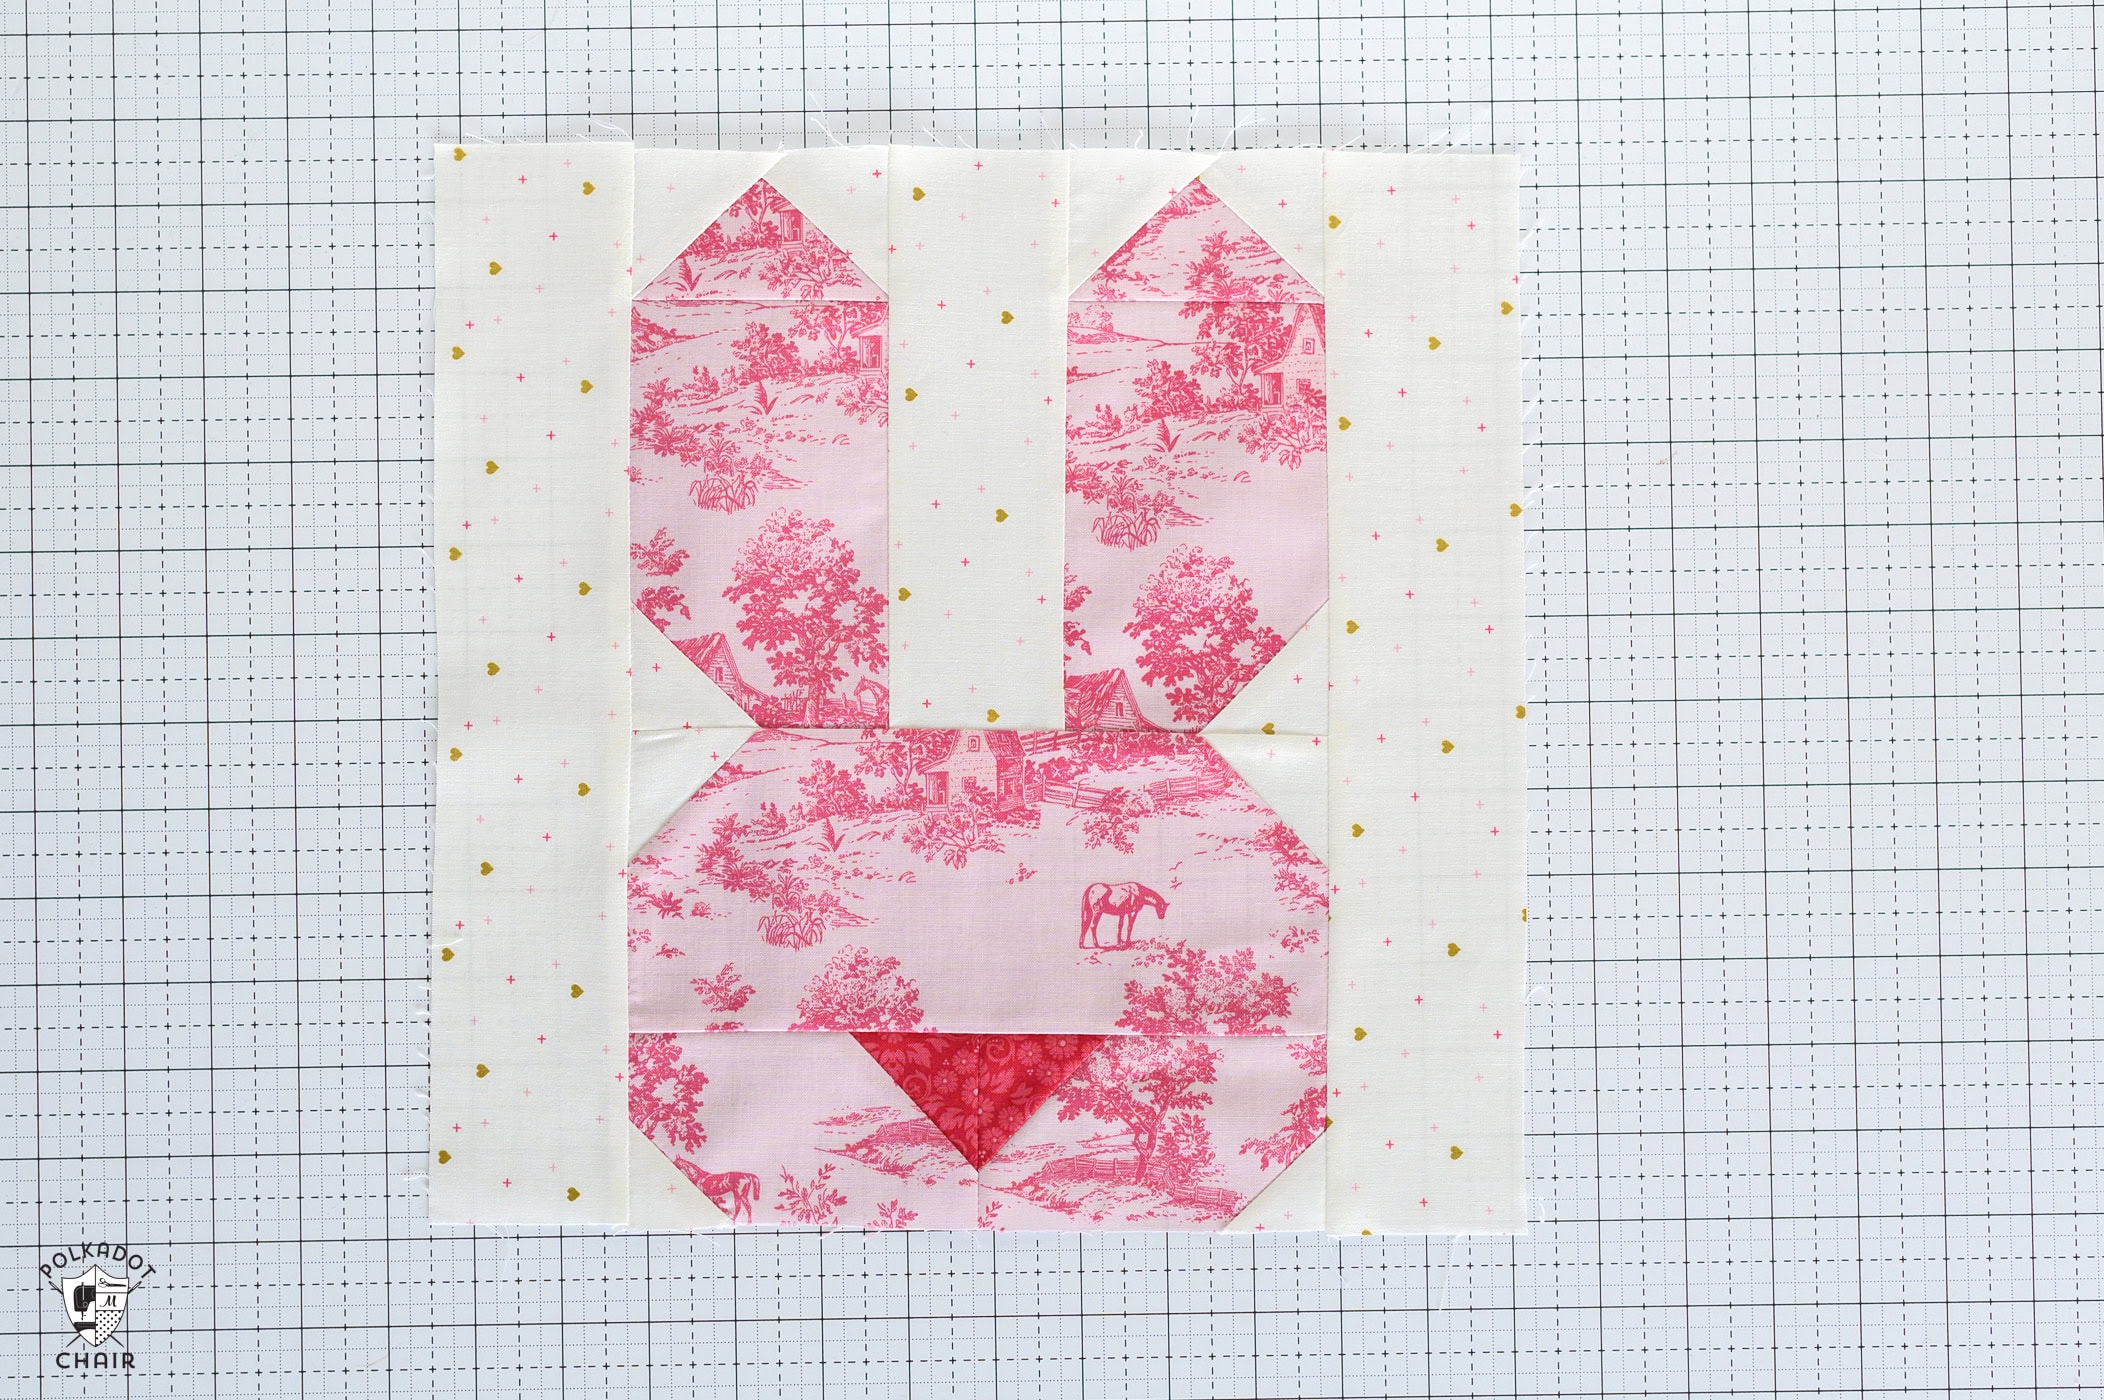
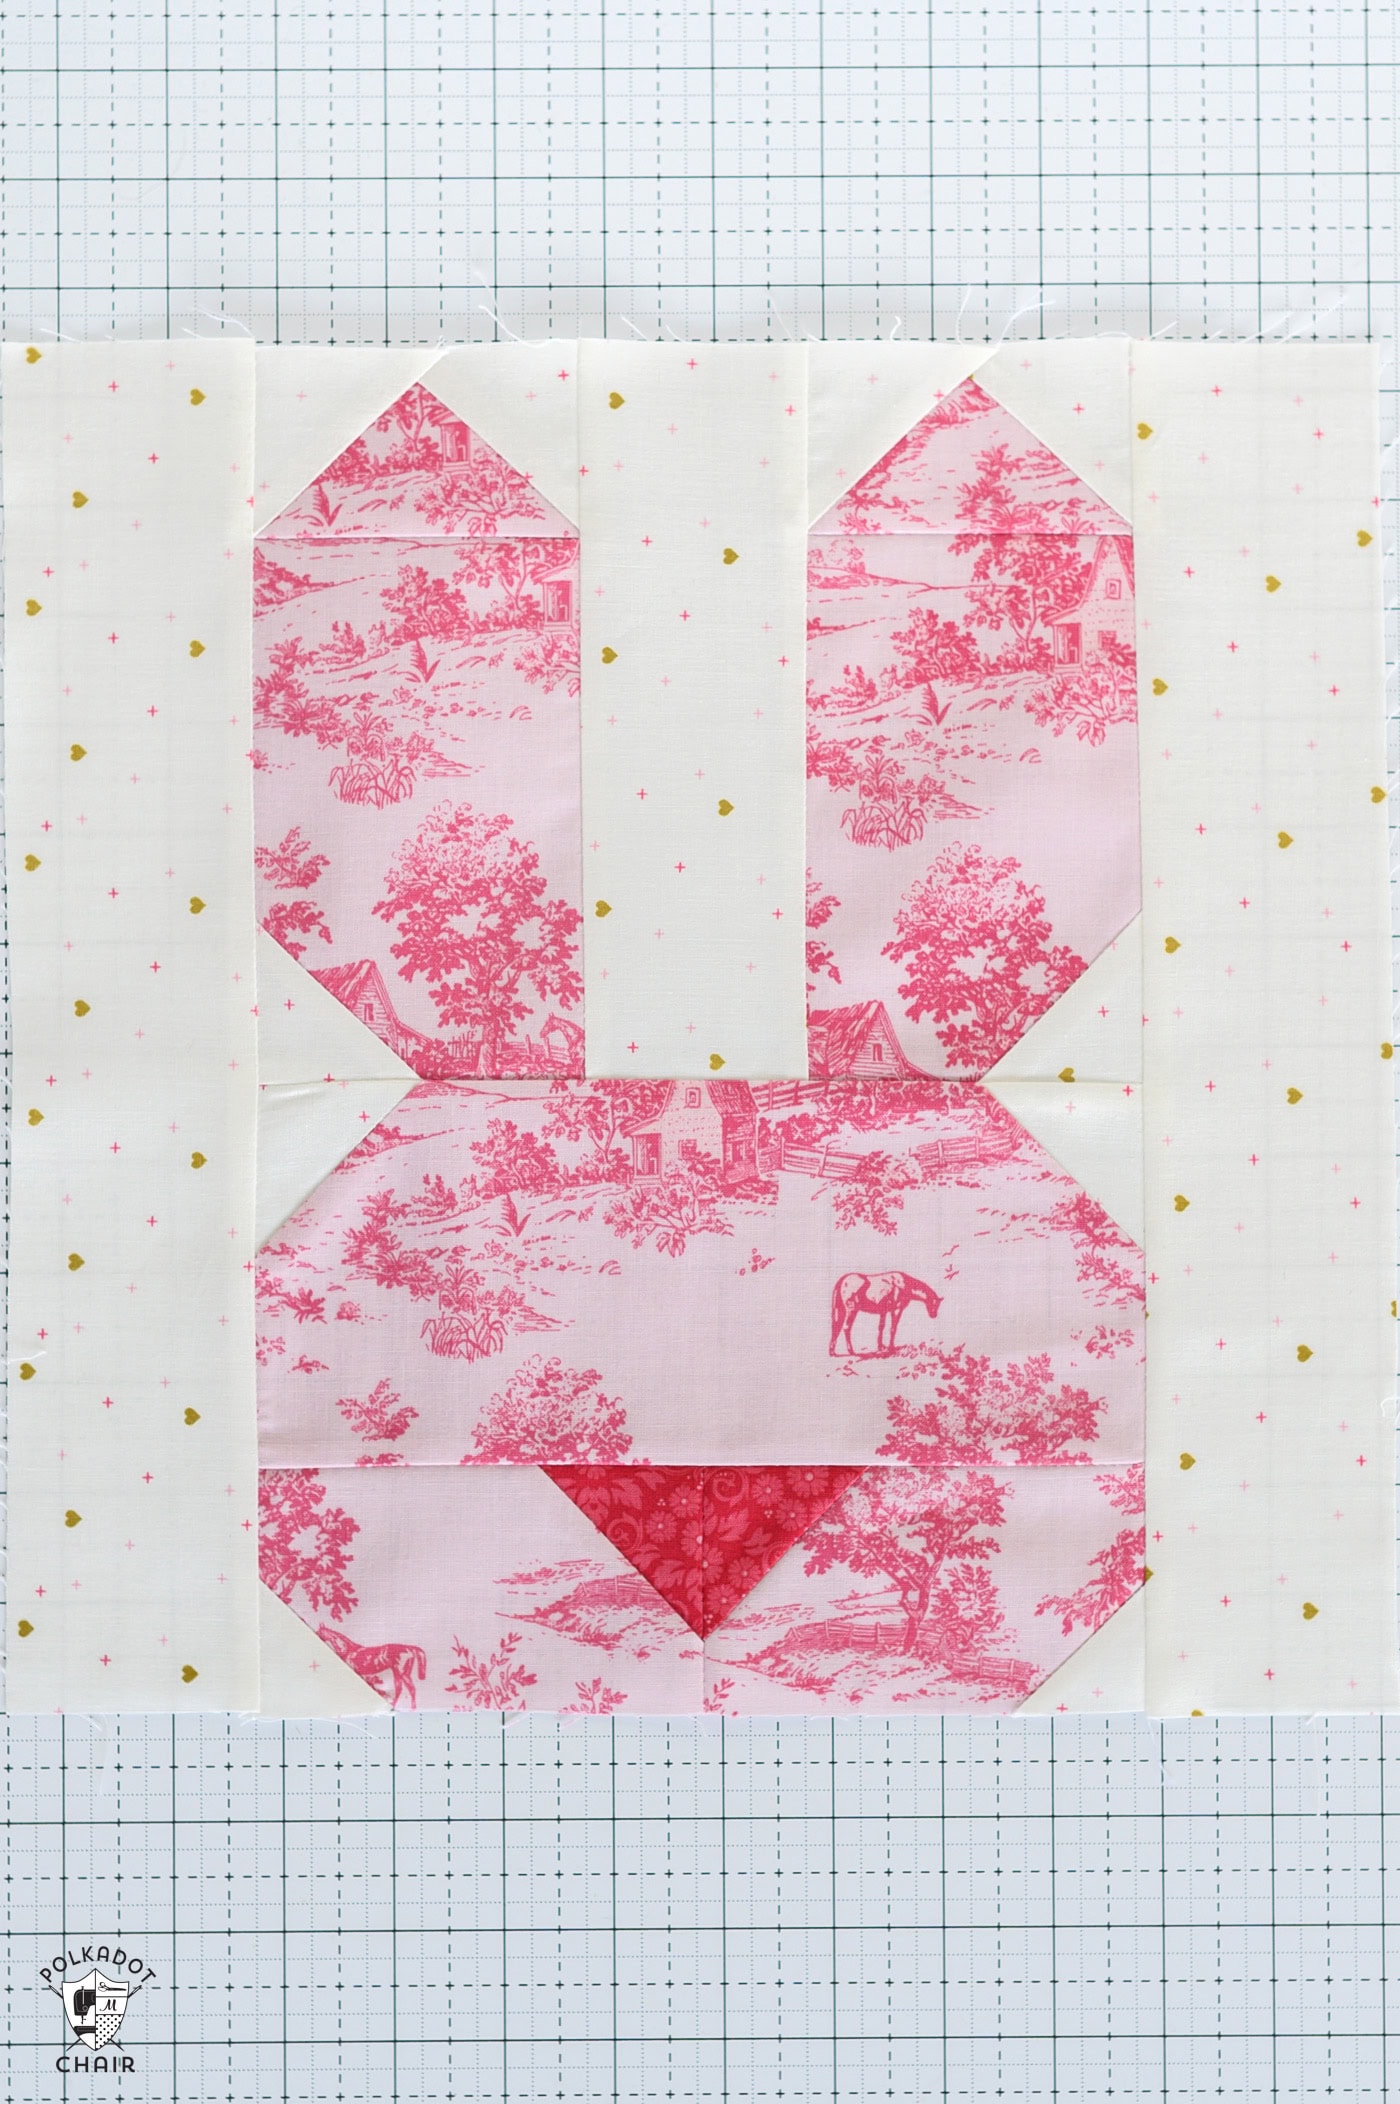
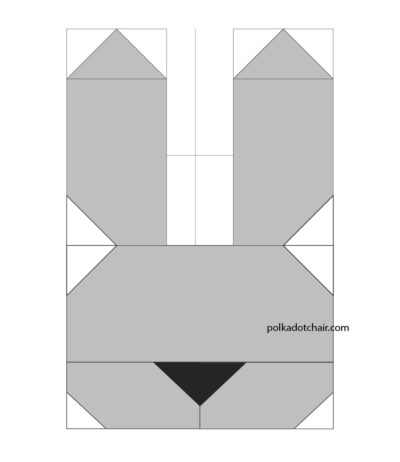
Step Six: Assembly
- Sew the Three, Step Five, and Step Four sections together as shown.
- Sew one 2 1/2” x 12 1/2” piece of Fabric A to each side of this unit to complete the block.


Thanks for the bunny pattern!
Can you post a “print” link?
There is one here, it’s the big green button at the bottom of the instructions.