• Skip to primary navigation
  • Skip to main content
  • Skip to primary sidebar

The Polka Dot Chair logo

  • SEWING
    • Free Sewing Patterns
    • Bag Patterns
    • Costumes
    • Apparel
    • Learn to Sew
    • Beginner Friendly
    • Embroidery Projects
    • Tips & Techniques
    • All Sewing
  • QUILTING
    • Quilt Blocks
    • Learn to Quilt
    • Free Patterns
    • Quilt Patterns
    • All Quilting
  • CRAFTS
    • Disney
    • Cricut
    • Printables
    • All Crafts
  • HOLIDAYS
    • Seasonal Projects
    • Valentine’s Day
    • Easter
    • 4th of July
    • Halloween
    • Thanksgiving
    • Christmas
    • All Holidays
  • TUTORIALS
  • ABOUT
    • About Me
    • My Fabric Collections
    • Published Books
    • Press
    • FAQ’s
    • Contact
  • SUBSCRIBE
  • SHOP
menu icon
go to homepage
  • SHOP
  • TUTORIALS
  • SEWING
  • QUILTING
  • SUBSCRIBE
  • CRAFTS
  • HOLIDAY PROJECTS
  • ABOUT
    • Published Books
    • My Fabric Collections
  • CONTACT
    • Facebook
    • Instagram
    • Pinterest
    • YouTube
  • subscribe
    search icon
    Homepage link
    • SHOP
    • TUTORIALS
    • SEWING
    • QUILTING
    • SUBSCRIBE
    • CRAFTS
    • HOLIDAY PROJECTS
    • ABOUT
      • Published Books
      • My Fabric Collections
    • CONTACT
    • Facebook
    • Instagram
    • Pinterest
    • YouTube
  • ×

    Home » Quilts

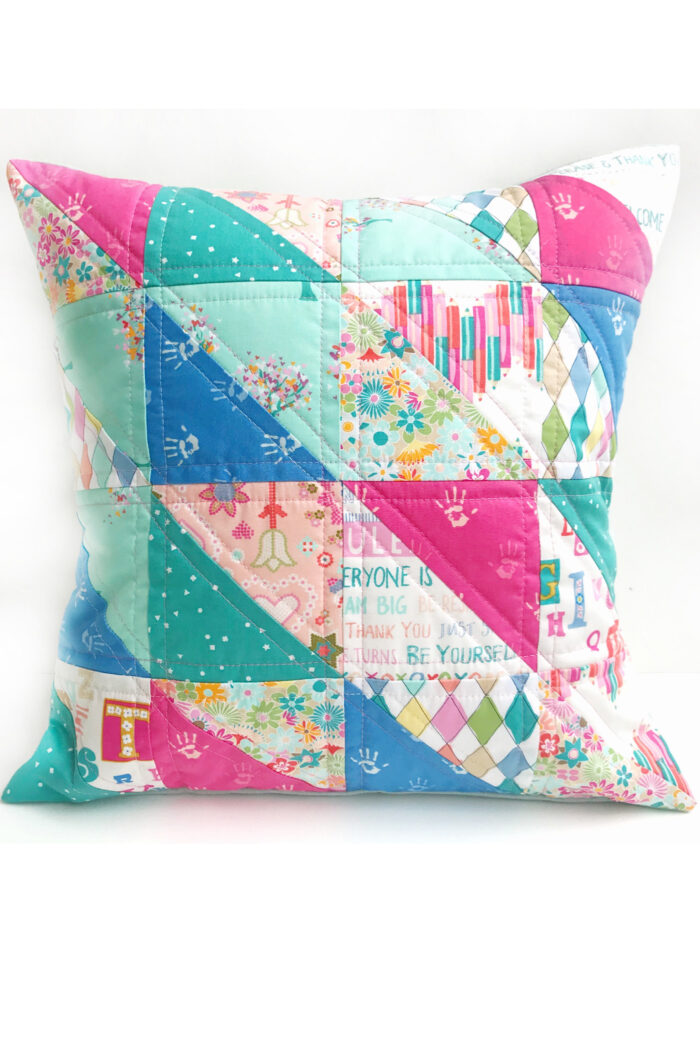
    How to Make a Quilted Pillow using Half Square Triangles

    Updated: Jan 27, 2022 by Melissa Mortenson · This post may contain affiliate links · This blog generates income via ads · Leave a Comment

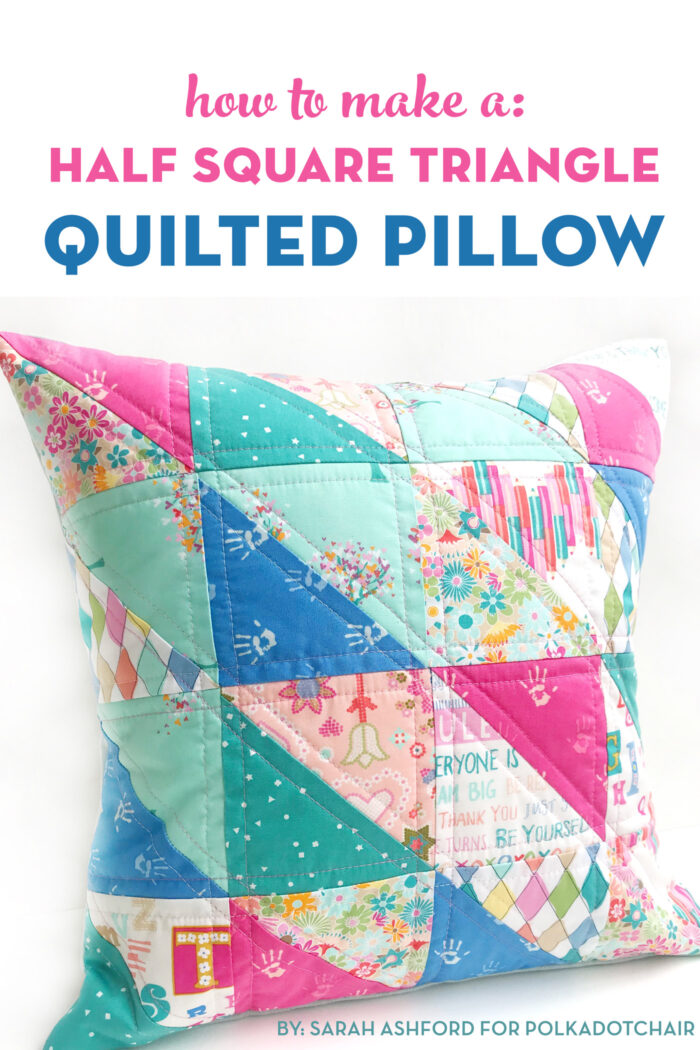
    Stitch away the winter blues with this bright and sunny quilted pillow by Sarah Ashford. She’s sharing a free tutorial teaching you how to make a quilted pillow out of half square triangle quilt blocks.

    quilted pillow on white background

    A home can never have too many pillows in my opinion. You can try out new techniques without committing to a whole quilt, you can make one relatively quickly and they make your house look beautiful! What’s not to love.

    Table of Contents
    • Why Half Square Triangles?
    close up of quilted pillow on white background

    Why Half Square Triangles?

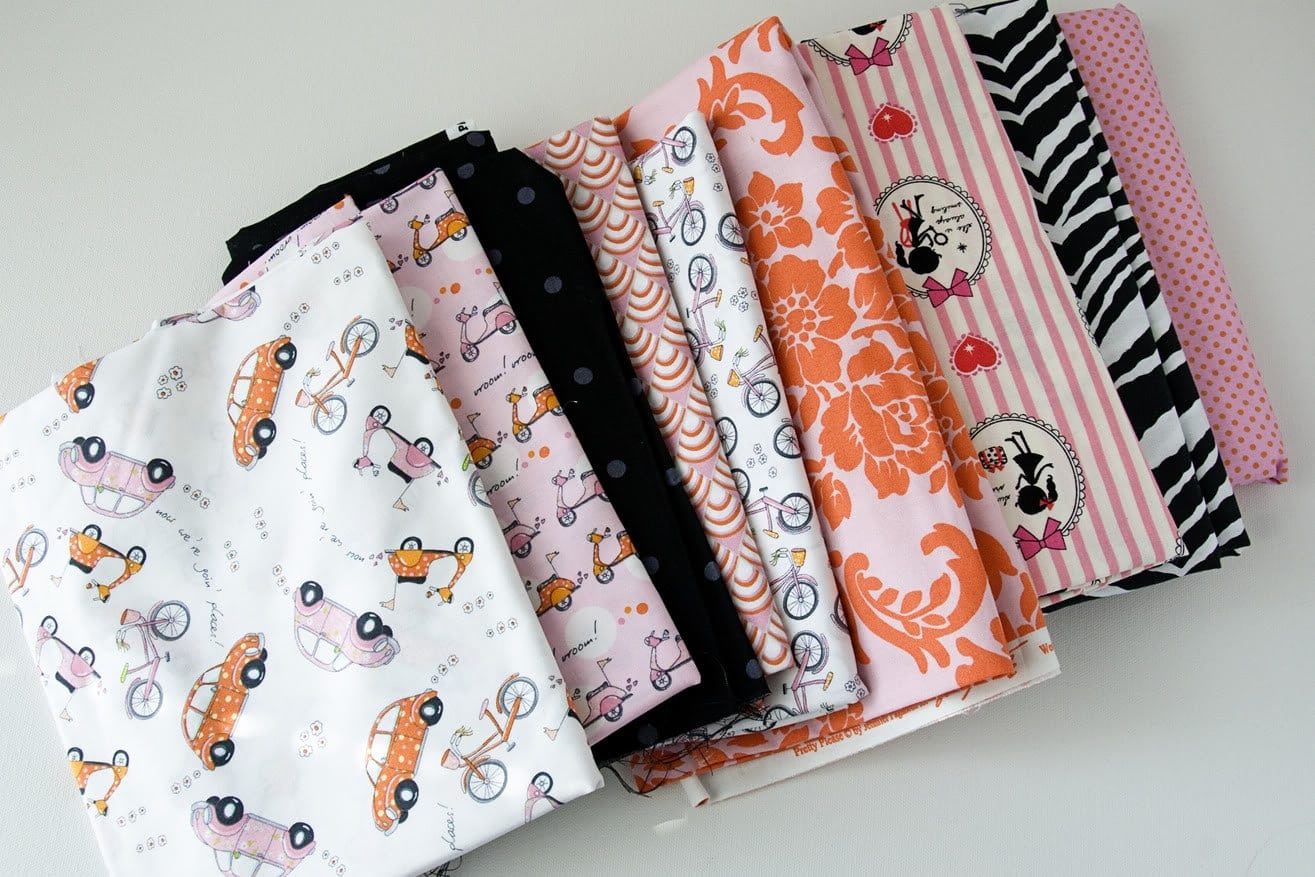
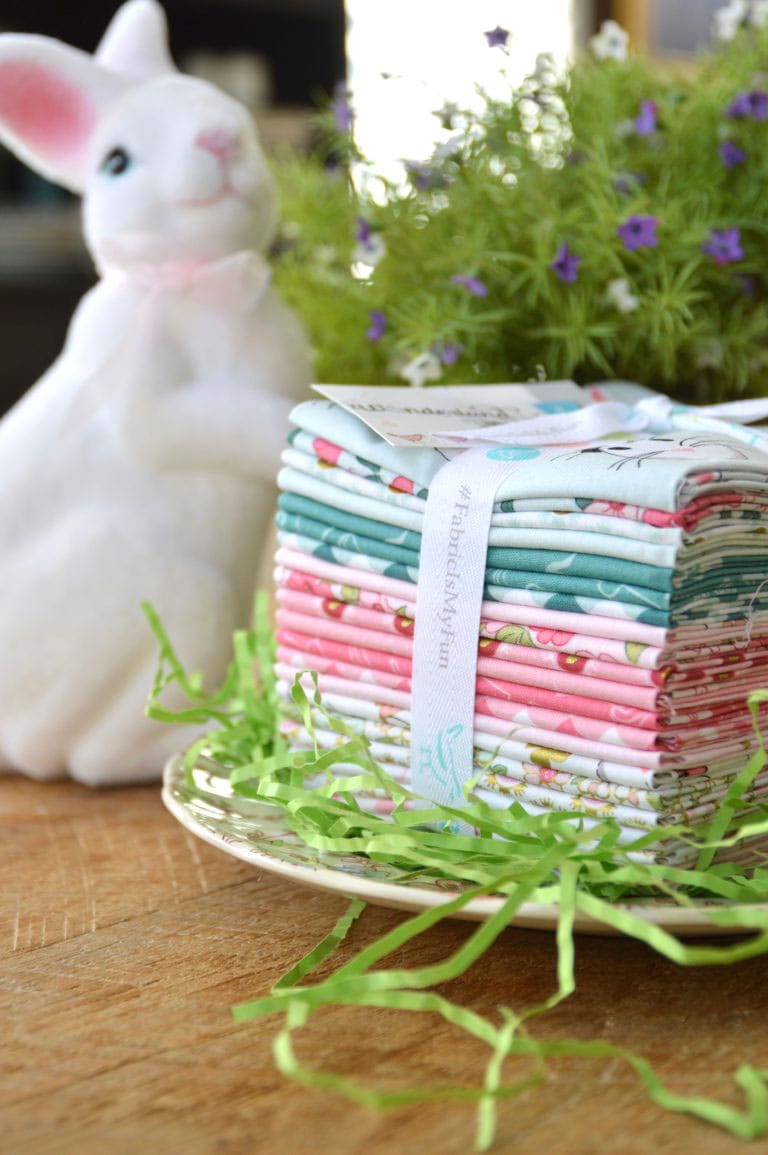
    This simple yet very effective half square triangle design is a great way to use up scraps, or in this case showcase a fabric collection, where all the hard work of putting fabrics together has been done for you. I’ve decided to use the fun and creative ‘Playroom’ collection by Mister Domestic, as it’s just so pretty! These colors are right up my street.

    quilted pillow on white background

    Half Square Triangle Quilted Pillow

    Sarah Ashford
    Create this cute scrappy pillow using half square triangle quilt blocks. Fits in a 16" pillow form.
    4.10 from 10 votes
    Pin It! Share by Email Share on Facebook
    Prep Time 30 mins
    Active Time 1 hr
    Total Time 30 mins

    Equipment

    • Sewing Machine
    • Rotary Cutter
    • Quilt Ruler
    • Cutting Mat
    • Marking Pencil
    • Binding Clips

    supplies

    • 16 scraps Fabric larger than 5 ½" x 5 ½"
    • 1 piece Batting 20" x 20"
    • 1 piece fabric 16" x 13" for pillow back
    • 1 piece fabric 16" x 8" for pillow back
    • 1 16" Pillow Insert

    Instructions
     

    Create the Half Square Triangles

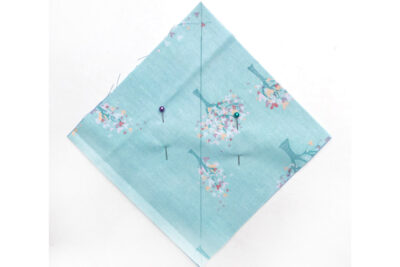
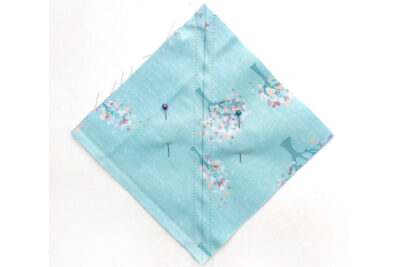
    • From each fabric cut a 5 ½ inch square, so that you have a total of 16 squares.  Place two contrasting squares right sides together and draw a line from one corner to the other.  Put a pin in either side to hold the squares together.  Do this for all of the squares.  
      Blue square of fabric on white table
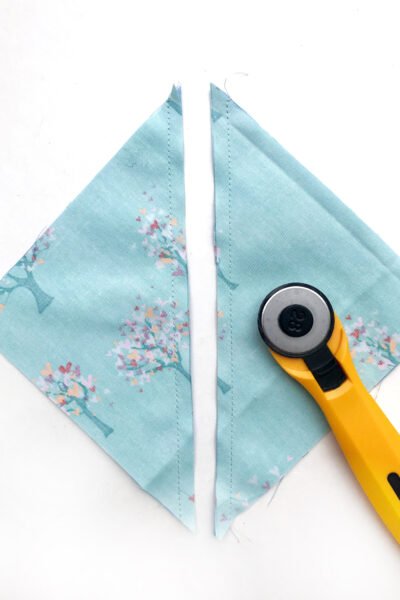
    • Stitch a ¼in either side of the line for each pair.  You may find it easiest to chain piece the squares, stitching down one side of all of them first, then rotating the squares and stitching down the other side of each square.  
      blue square of fabric with line drawn diagonally on white table
    • Cut down the drawn line for each square.
      Sewn half square triangle cut in half along the diagonal
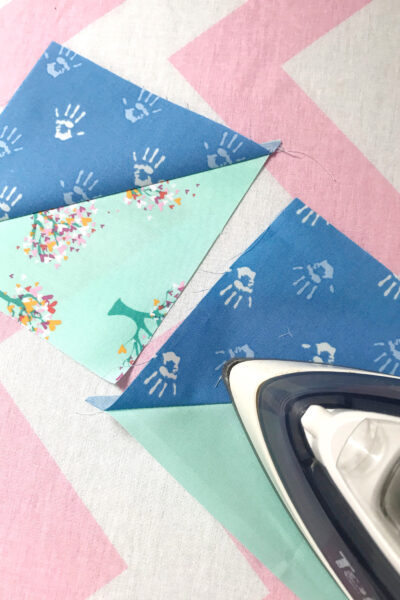
    • Open out each square to reveal the two half square triangles. (HSTs).  Press.
      iron and quilt blocks on ironing board
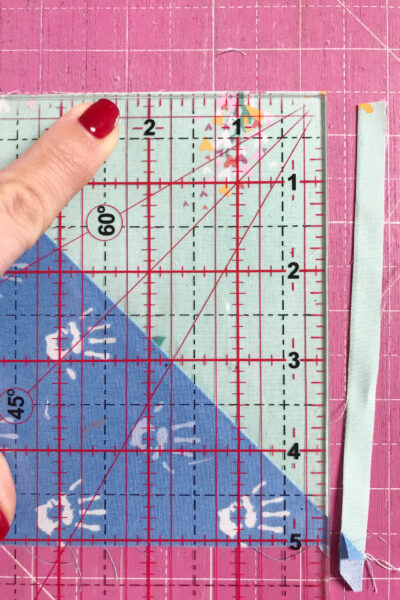
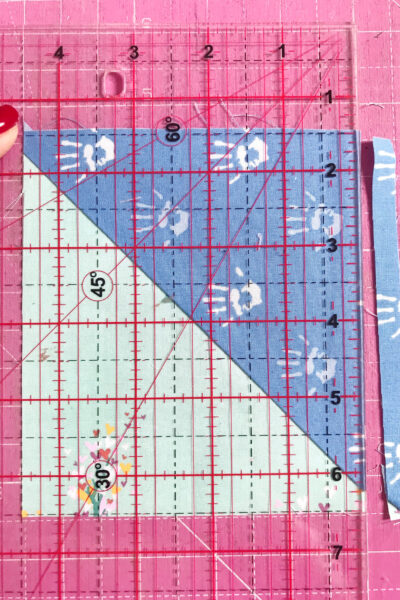
    • Each HST needs to be trimmed to 4 ½ inches.  To do this, fold the HST in half and make a crease at the top.  Place the ruler at the 2 ¼ inch position on this crease and trim the right side of the HST.  
    • Rotate the HST 180 degrees.  Put the ruler at the 4 ½ inch position on the left side of the HST and trim.
      quilt ruler on pink cutting mat
    • Do the same for the other two sides to make your accurate 4 ½ inch square.  
      Repeat for all 16 HSTs and them lay them out in a formation that you're happy with.  There's lots of fun to be had with layout here!  Go with what you think looks best.  
      several colorful half square triangle blocks arranged in rows of 4

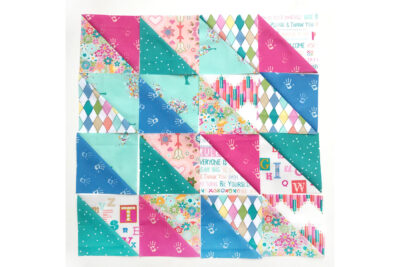
    Sew the Half Square Triangles Together

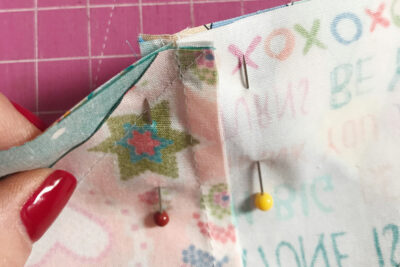
    • Sew each row one at a time, first stitching the pairs together then joining the pairs to complete the row.  Do NOT press yet.  
      Once you have all the rows sewn together, you can press the seams.  Take the top row and press the seams to the right.  Take the next row and press the seams to the left.  Keep going, alternating the direction of the row seams.  This will allow you to 'nest' the seams together nicely when you join the rows together.  
      Now take the top and next row and pin together, ensuring that the joins line up.  You can do this by putting a pin either side when you nest the seams. 
      two quilt blocks pinned together along seam
    • Stitch the rows together using a ¼ inch seam.  Then join the pairs of rows together and stitch, to complete the pillow top.  
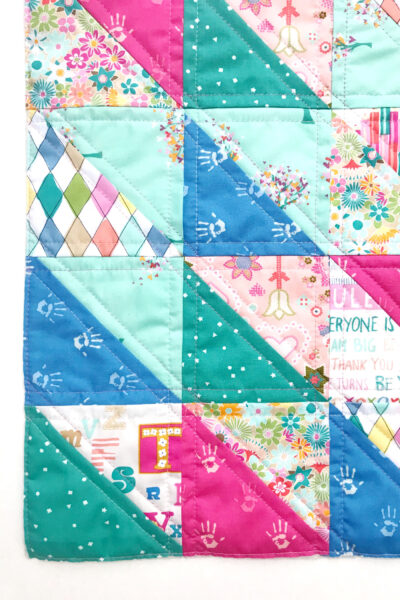
    Quilt Pillow Top

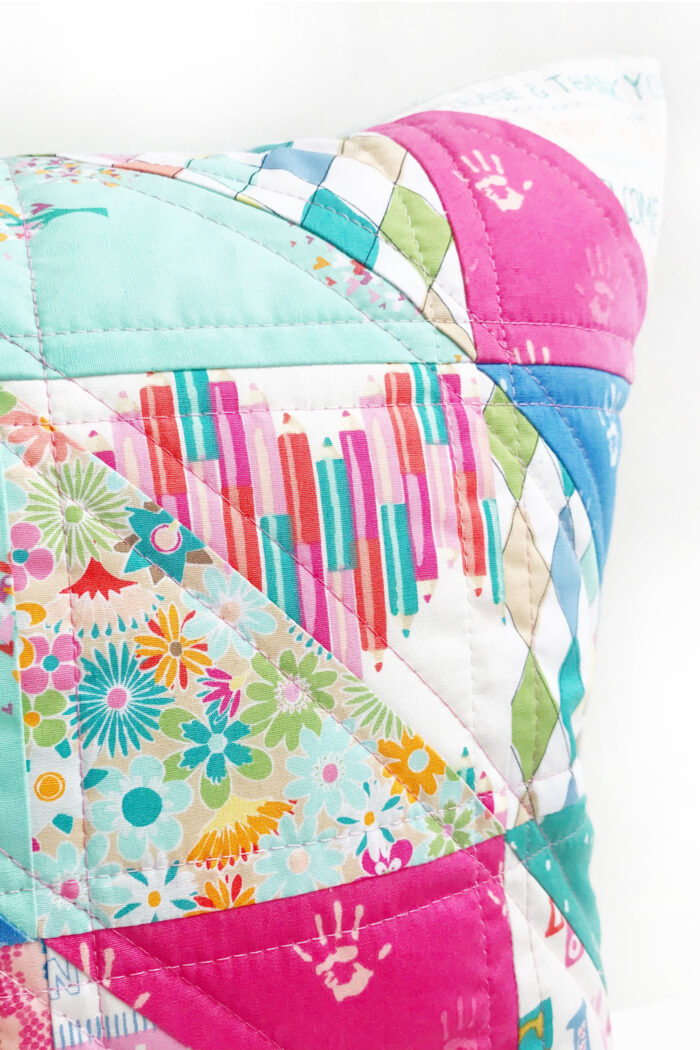
    • The next job is to baste the pillow top to the batting.  I like to use spray baste for this, but you may prefer to use pins.  Quilt as desired, either by hand or machine.  I've quilted either side of the seam lines.  Then stitch all the way around the edge to 'seal' the cushion.  

    Sew the Envelope Back for the Pillow

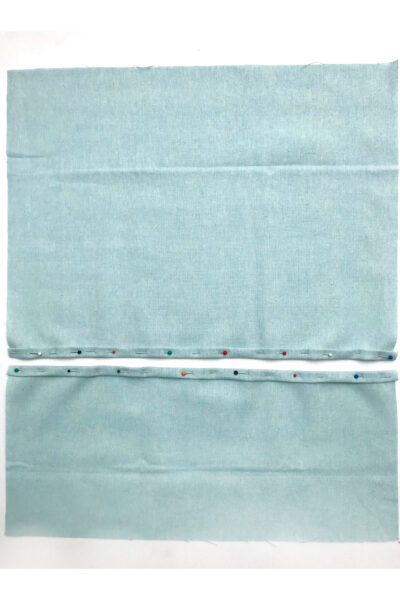
    • Now to make the envelope back.  Take the top larger panel and fold ¼ inch hem on the long side, and then fold again.  Pin in place.  Repeat with the bottom panel, creating a hem on one long side.  
    • Stitch close to the edge to secure the hem on each section.  

    Sew the Pillow Together

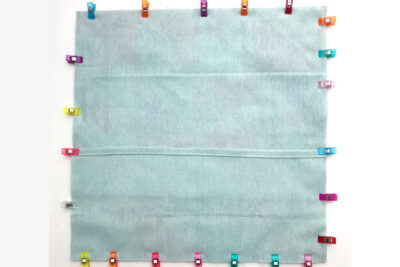
    • It's now time to construct the cushion.  Take the patchwork top and place right side up.  Take the large top section and align the raw edge with the top, with the hemmed edge in the centre, right sides down. 
      Take the bottom section and align the raw edge with the bottom of the pillow, with the hem overlapping the top section, right side down.  Hold in place using binding clips.  
    • Using a ½ inch seam, stitch all the way around the edge of the cushion, reinforcing the sections where the top and bottom panels overlap. Clip the corners and turn right sides out.  Insert your cushion inner and you're done!  
    PRINT
    Tried this tutorial?Let us know how it was!
    quilted pillow on white background

    About the Maker:

    Sarah Ashford is a British Quilter and embroiderer and founder of the GreatBritishQuilter challenge on Instagram. Sarah regularly contributes projects to magazines and loves to spread the joy of quilting everywhere she goes. Follow her on Instagram at @sarahashfordstudio and be sure to check out her beautiful sewing room decals in her Etsy shop www.etsy.com/shop/sarahashfordstudio

    A few other Simple Quilt Projects that you Might Like:

    Fat Quarter Quilted Table Runner

    How to Make a Quilted Pillow using the Quilt as you Go Method

    Choose Happiness Quilt Along

    More Projects You May Enjoy

    • The Heart of Hearts Quilt Along
    • Fabric Flash Mug Rug Pattern
    • Meet My Valentine’s Day Fabric Collection
    • 40 Valentine’s Day Projects to Sew

    • Share
    • Email

    About Author

    Melissa Mortenson

    Melissa Mortenson is a blogger, designer, and content creator. She is the Polka Dot Chair blog founder and has been sharing fresh and creative ideas with readers since 2008. She is the author of “Project Teen, Handmade Gifts your Teen will Actually Love.” Her work and designs have been featured on HuffPost, TODAY, Pioneer Woman, HGTV, BuzzFeed, Better Homes & Gardens, and many other established publications. Her first fabric line, “Derby Style,” debuted in January 2015 through Riley Blake Designs.  Additional fabric collections have followed it in subsequent years. A mom of 3, she considers herself lucky to be living in Kentucky.

    Reader Interactions

    Leave a Reply Cancel reply

    Your email address will not be published. Required fields are marked *

    This site uses Akismet to reduce spam. Learn how your comment data is processed.

    Primary Sidebar

    Hello! It’s nice to meet you.

    I’m Melissa. I like to design things, like fabric, printables, and projects.

    I’m also a Mom and a Maker. I am like most of you, just trying to do my best every day. Some days I succeed, many days I fail.  I find joy in creating, if you do too, then I hope that you find something here bring a little “happy” to your life.  Find out more about me here.

    COPYRIGHT POLICY

    All my images and text are copyrighted. You may NOT use any images from this site in any kind of Video (this includes YouTube). If you would like to feature my work, you may use ONE (1) NON-COLLAGED image and must “follow” link back to my original blog post. You may NOT edit, crop, or change my images in any way without written permission. You MAY NOT print out or copy and distribute any text, images or patterns from this site. All patterns, content, instructions, and templates are for personal use ONLY! Thank you! Violators will be reported.

    Footer

    ↑ back to top

    About

    • Privacy Policy
    • Disclaimers
    • About Melissa
    • Instagram
    • Facebook
    • YouTube
    • Pinterest

    Newsletter

    • Sign Up! for emails and updates

    Contact

    • Contact
    • FAQ
    • Press
    • Published Books
    • Fabric Collections

    Welcome to the Polka Dot Chair! Here you’ll find easy, step-by-step, sewing, quilting, and crafting projects. We design projects for Makers of all skill levels. Beginners are welcome!

    DISCLAIMER:

    While every effort has been made to ensure the accuracy of the content on this website, the information is made available without warranty of any kind. The Polka Dot Chair accepts no responsibility or liability, whether direct or indirect, as to the currency or accuracy of the information, nor any consequence of its uses. This website is not intended to substitute the advice of a professional.

    Copyright © 2022 Polka Dot Chair

    [ Placeholder content for popup link ] WordPress Download Manager - Best Download Management Plugin