5 Minute Fabric Gift Bag Tutorial
It seems like I’m always short on gift bags this time of year! This tutorial from our next “regular” blog contributor Kim of Sweet Red Poppy, is going to be a lifesaver this Holiday season! Keep reading to find out how to make these bags with this simple 5 Minute Fabric Gift Bag Tutorial. If you like this project you may also like this fabric basket sewing tutorial.
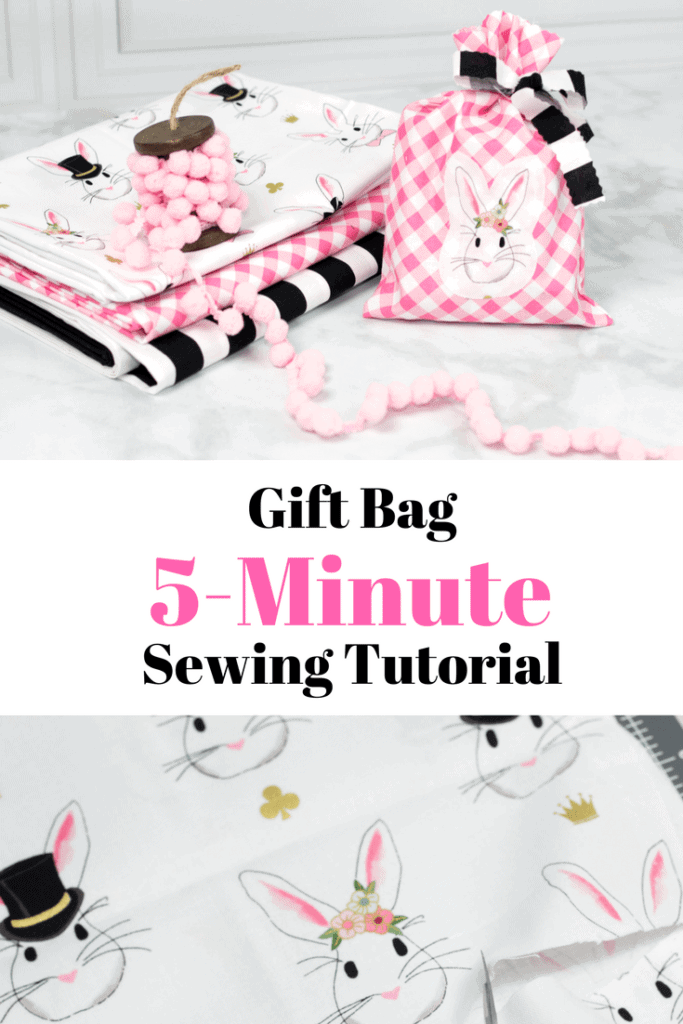
Hi, I’m Kimberly from Sweet Red Poppy and I’m so excited to share this super easy sewing tutorial with you today! This 5-minute bag is one of my favorites because it’s perfect for last-minute gifts, party favors or neighbor gifts! It requires a minimal amount of fabric and it all comes together in just under five minutes! I’m a huge fan of Melissa’s Wonderland fabric collections and I’ve been hoarding some prints waiting for the perfect project. What better time to cut into these lovely fabrics than for a guest post on Polka Dot Chair?!?
I’m a huge fan of Melissa’s Wonderland fabric collections and I’ve been hoarding some prints waiting for the perfect project. What better time to cut into these lovely fabrics than for a guest post on Polka Dot Chair?!?
Supplies:
Are you ready to get started?
Instructions:
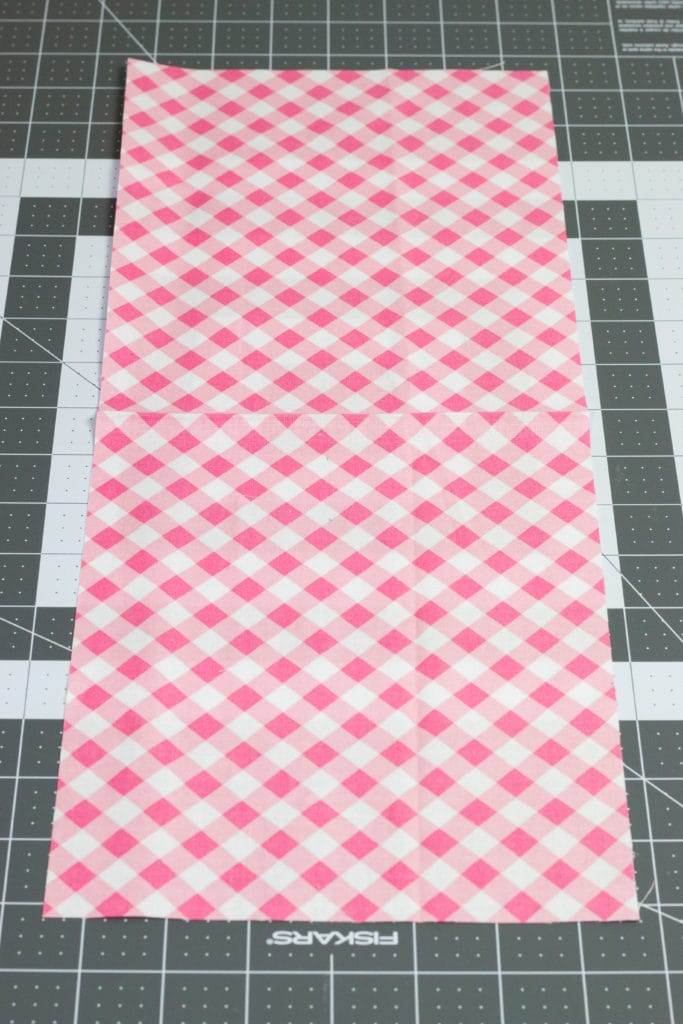
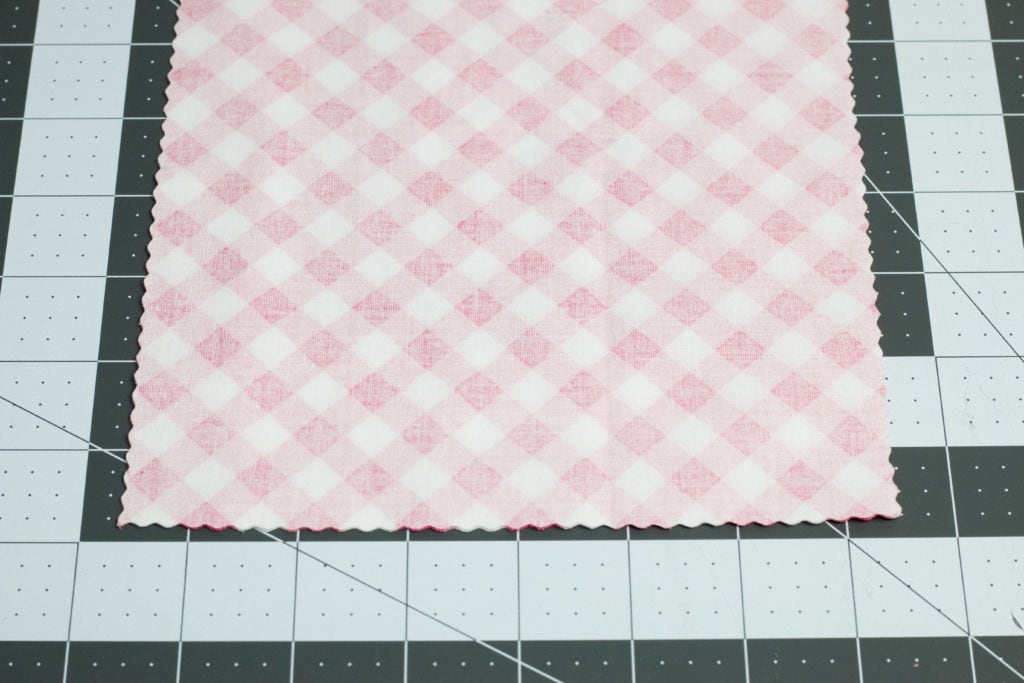
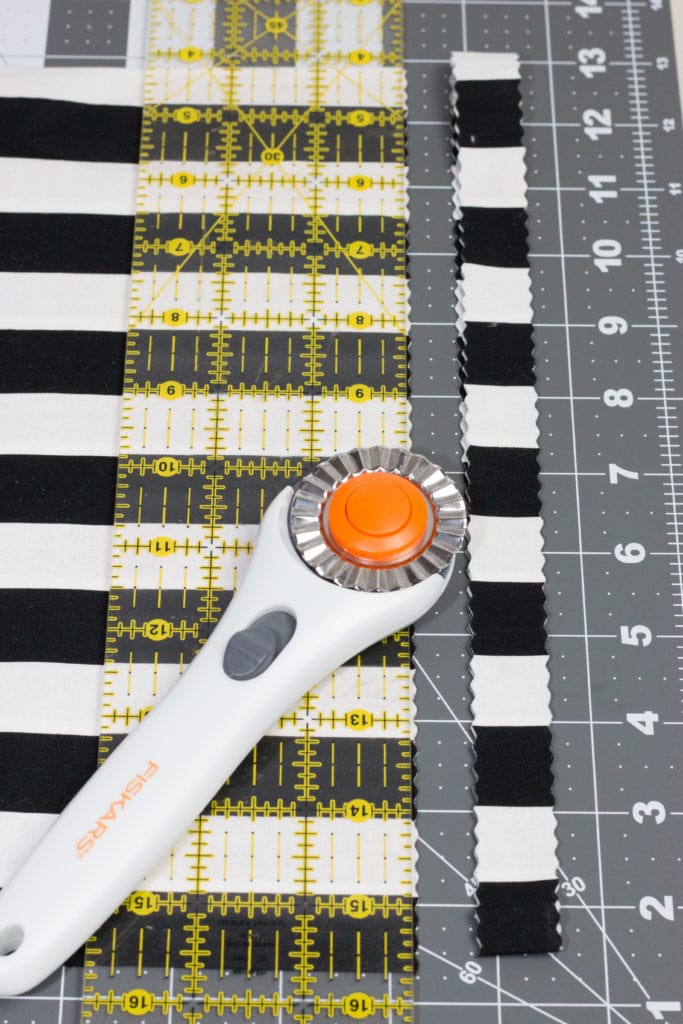
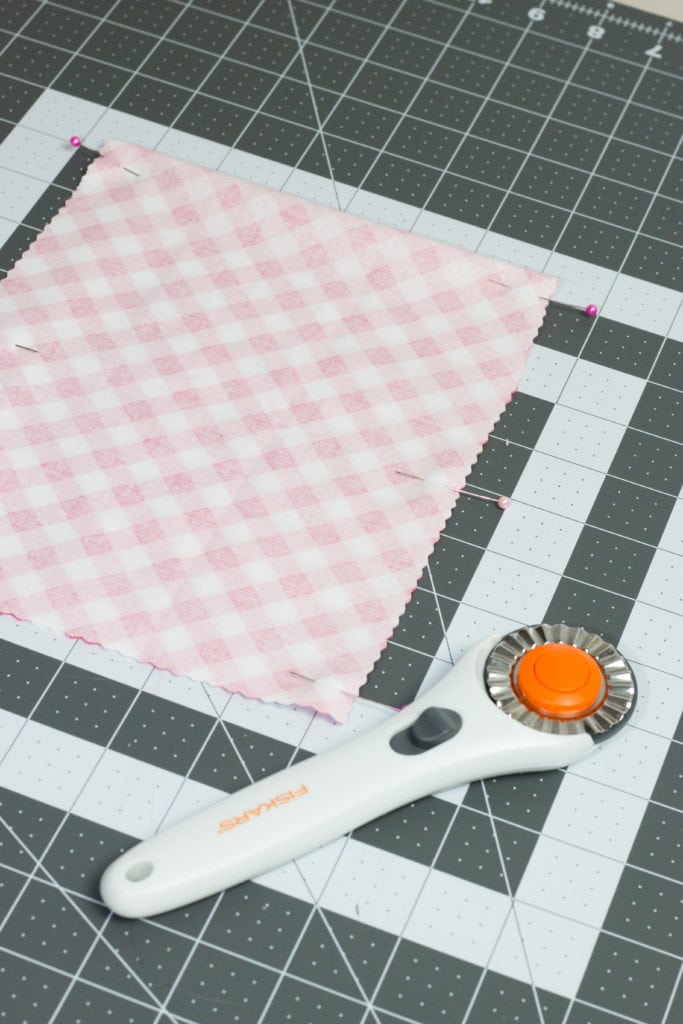
Cut out a rectangle that measures 6 x 18 inches. Use pinking shears or a pinking blade to prevent the fabric from fraying. This is one of my favorite tricks for making quick projects!
A pinking blade cuts the fabric in opposite directions preventing the fabric from fraying which means the seams won’t require any finishing.
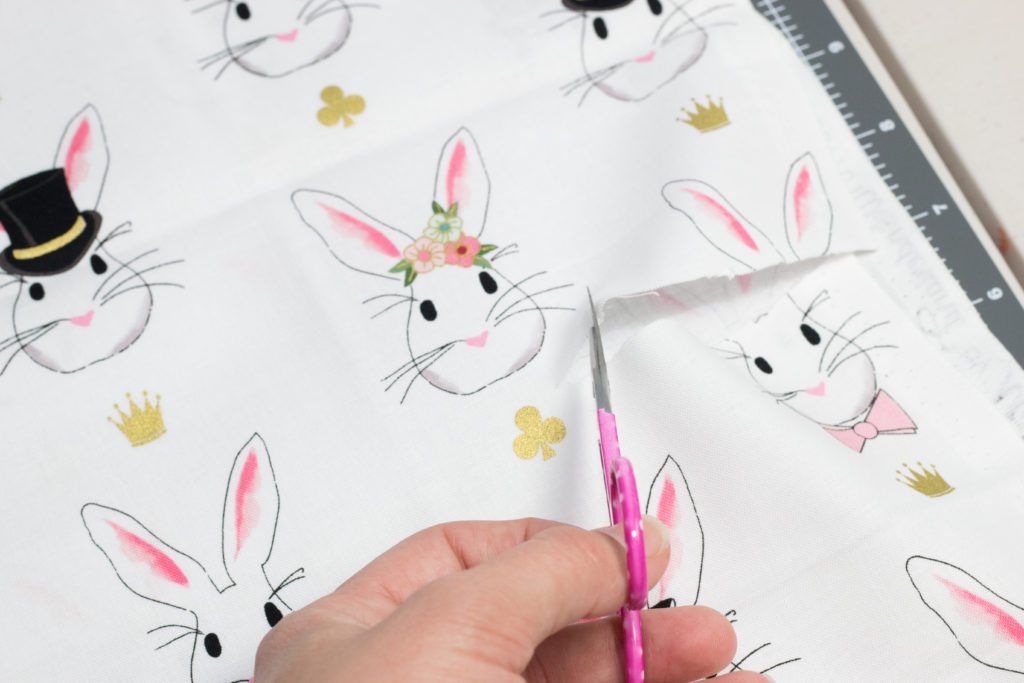
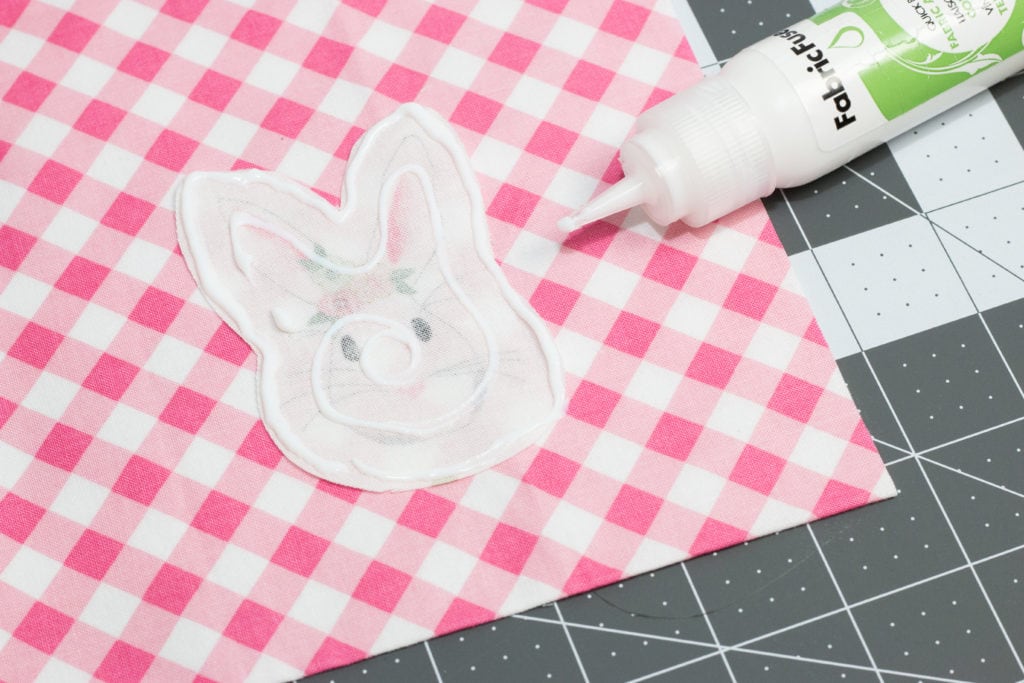
Cut out a fun applique for the front of the bag. Turn the applique upside down and line the outside of it with Thermoweb Fabric Fuse. Fold the main fabric in half, flip the applique right side up and place it on top the bag about an inch from the bottom.
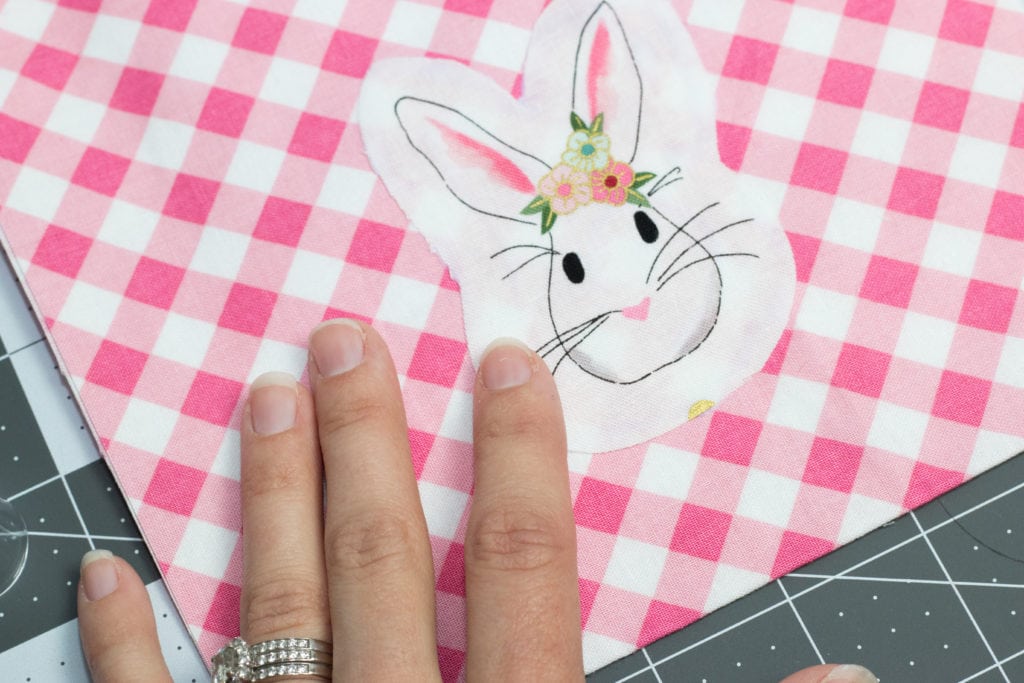
Carefully press down all sides and make sure that it is securely attached to the bag. Allow a few minutes to dry.
With a pinking blade cut a strip of fabric 3/4ths of an inch by 20 inches.
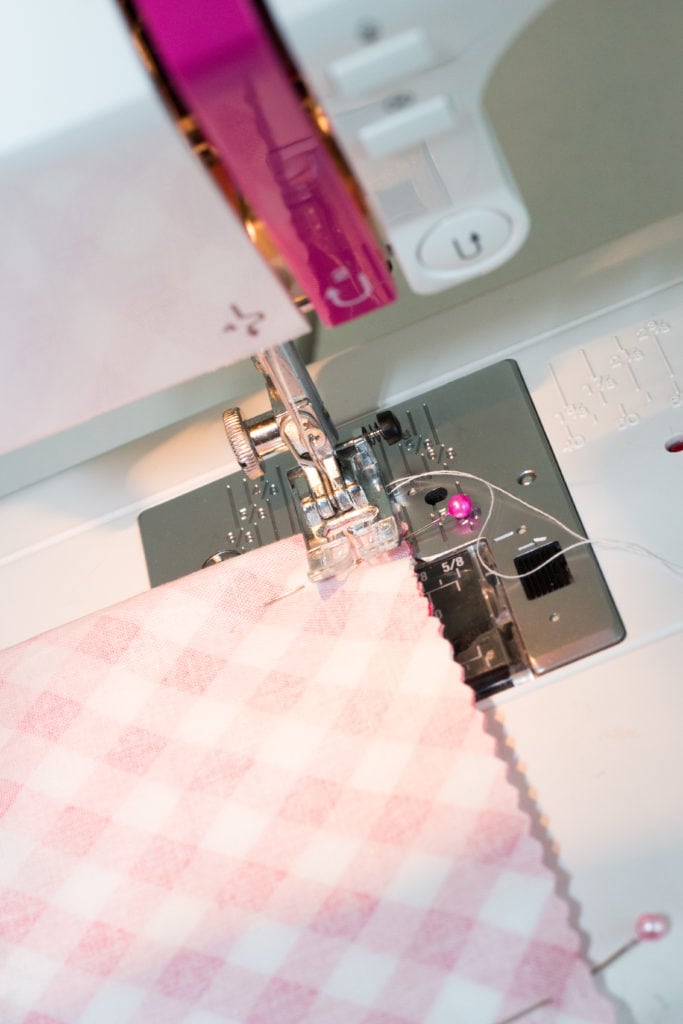
Once the applique has dried fold the bag in half with right sides together. Pin both sides together and sew them closed leaving an opening at the top using a 3/8th-inch seam allowance. Don’t forget to backstitch at the beginning and end!
Flip the bag right side out and gently poke out the corners. Press the bag with a hot iron to get rid of any creases.
Fill the bag with goodies and tie the fabric ribbon around the top!
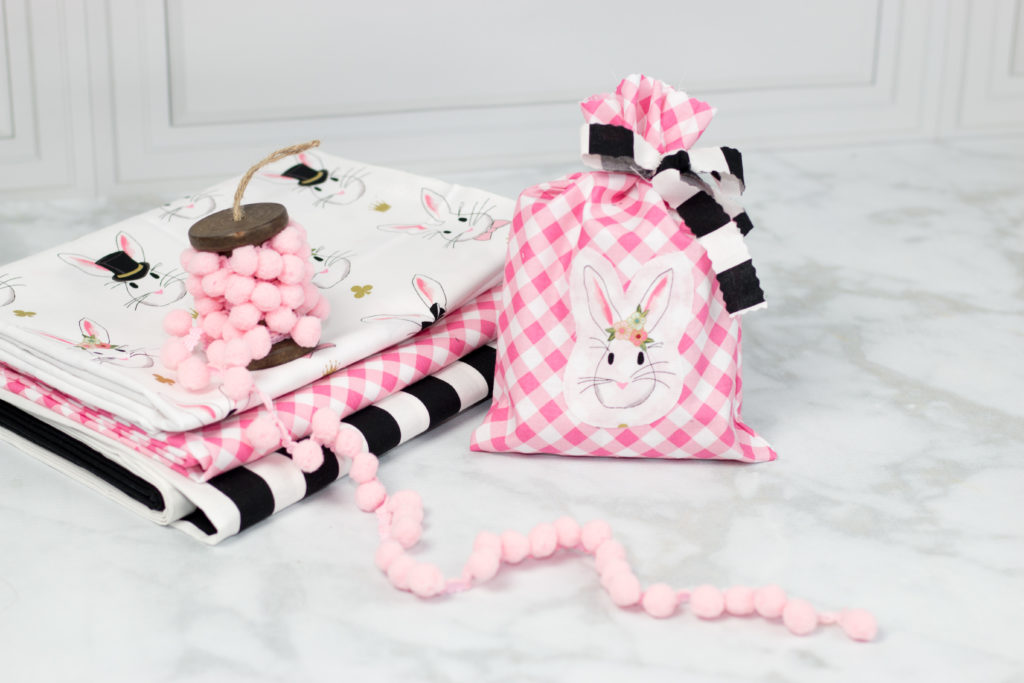
How easy was that? This bag makes for the cutest party favors and can be made in all different fabrics.
More “must see” Projects from Kim!
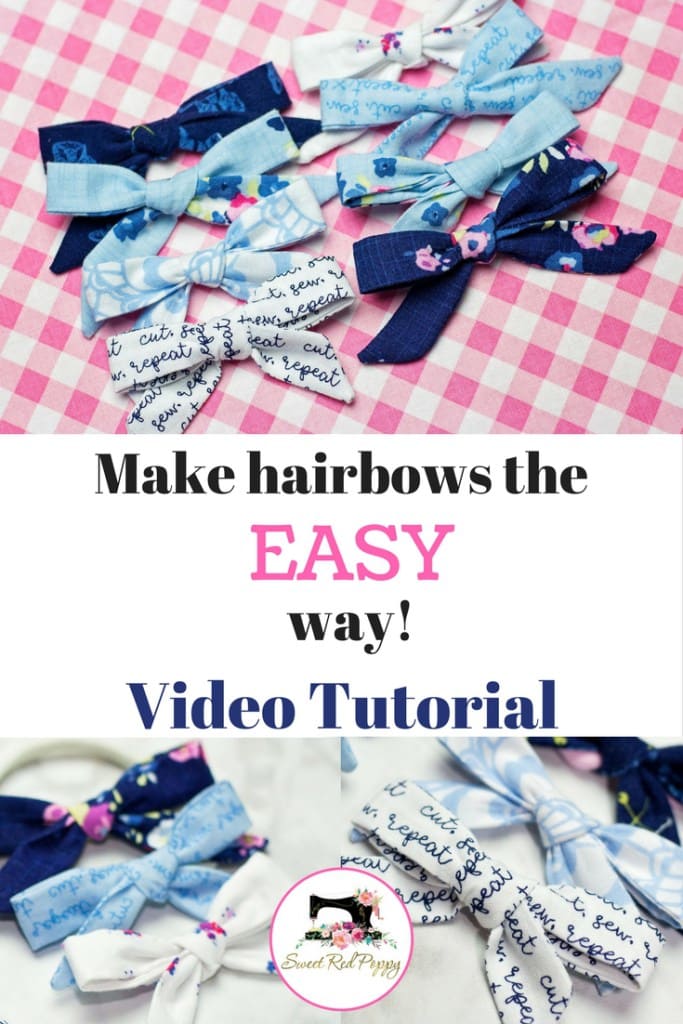
DIY Girls Skinny Hair Bows (with video tutorial)

25 Hacks Every Seamstress Should Know
 Wife and mother to three by day, quick-stitching seamstress by night. Kimberly is the “sew”cialist behind the blog Sweet Red Poppy (http://www.sweetredpoppy.com)